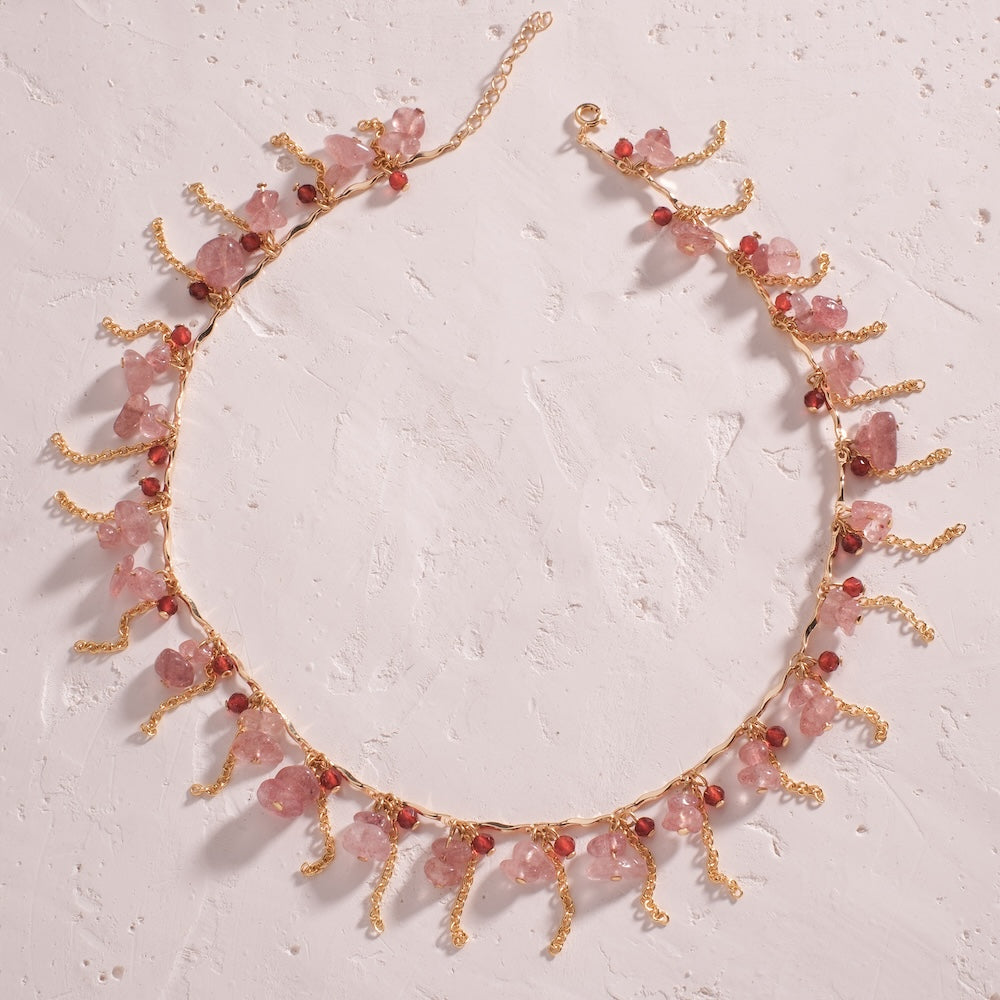
A knot, a bead, a knot. Here, the knots hold the beads in place on the waxed thread, exactly where you decided. Between each motif, about 2 cm of bare thread. It is not an empty space: it is a measured pause, and it is what shapes the necklace.

For those who love a precise gesture and understated jewellery. Wear it close to the neck, on its own, or layered with a longer chain.

Tools needed: fine needle to place the knots, ruler, scissors, flat nose pliers (pink flat nose pliers), lighter to finish the thread ends

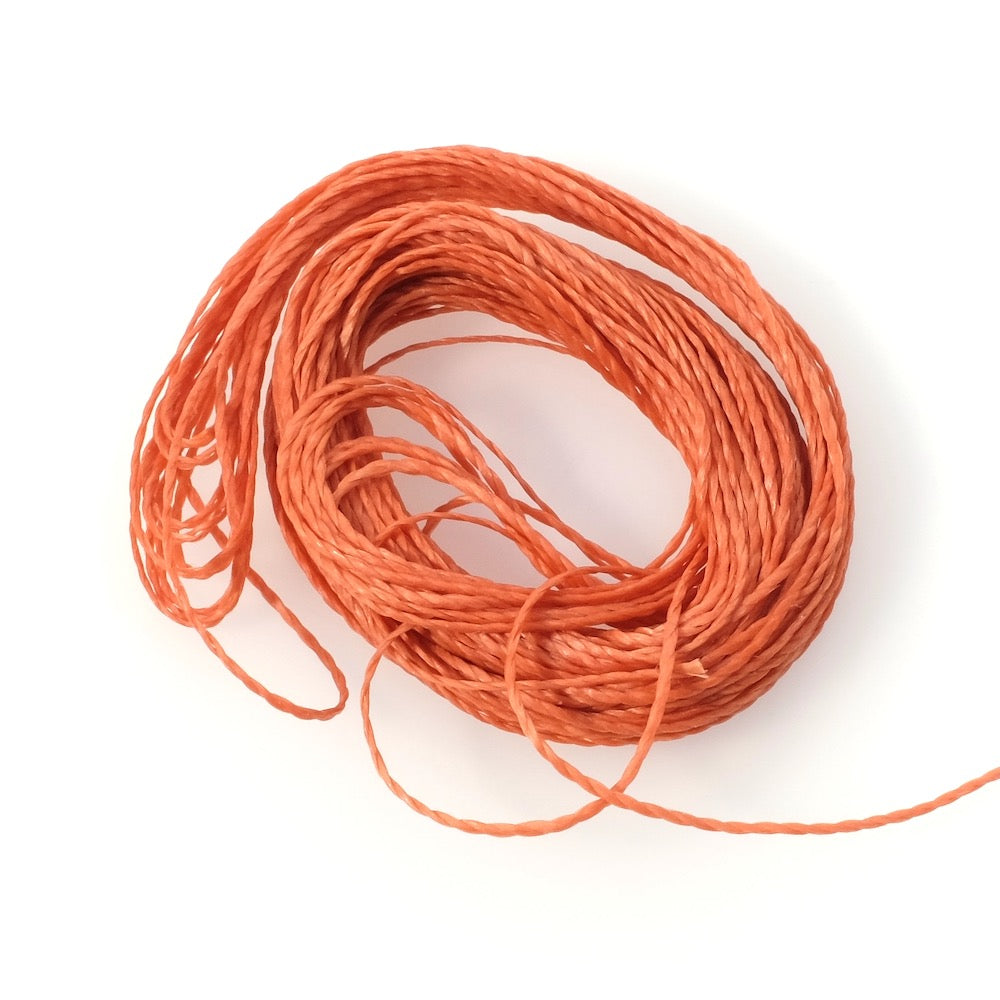
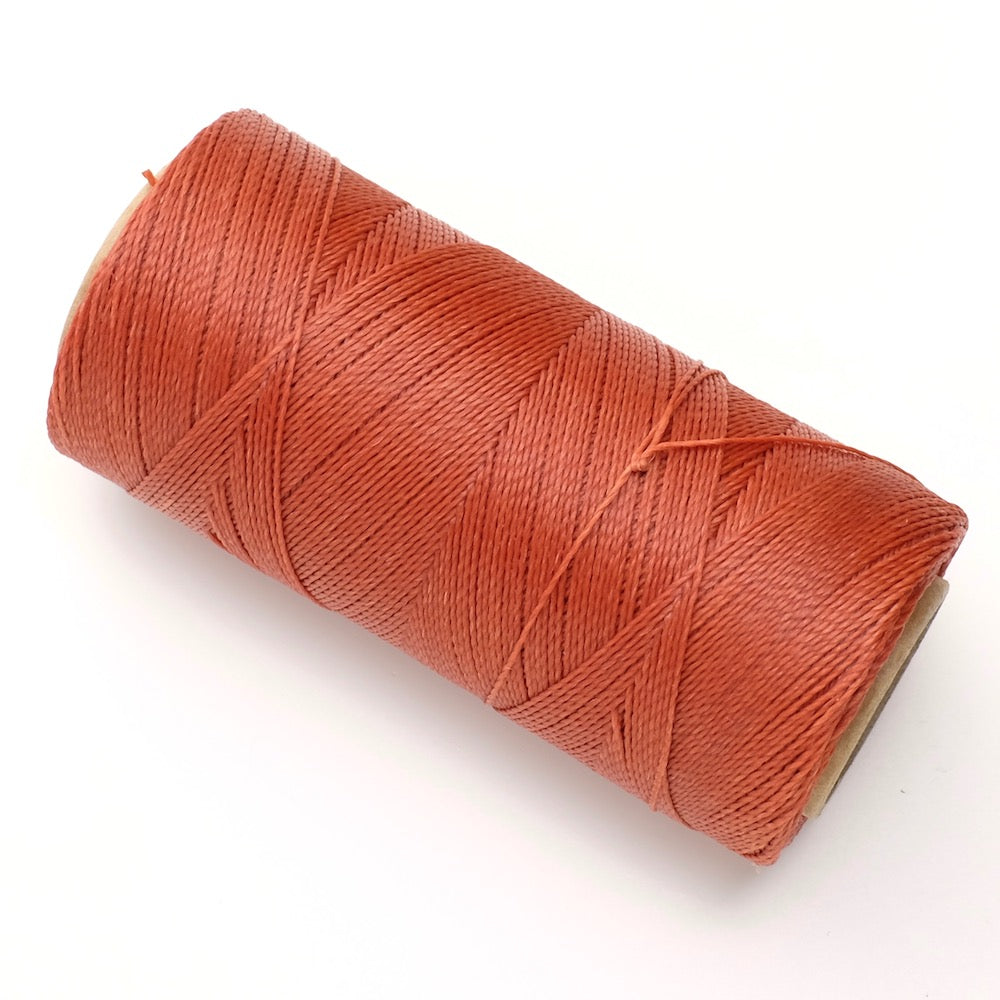
Cut about 80 cm of waxed thread for a finished necklace of about 40 cm. This extra length gives you enough to knot and finish comfortably.
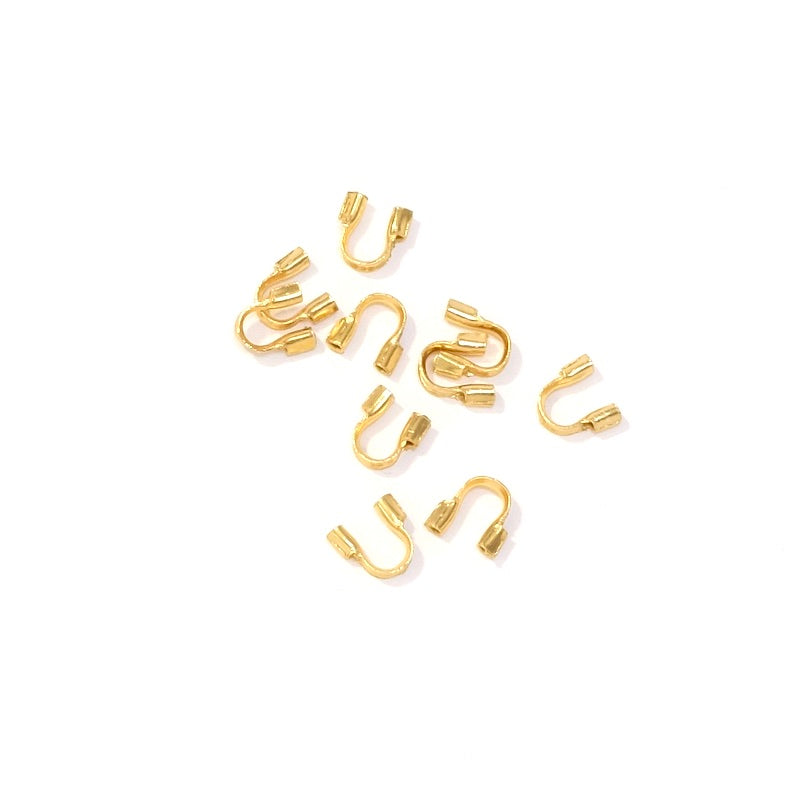
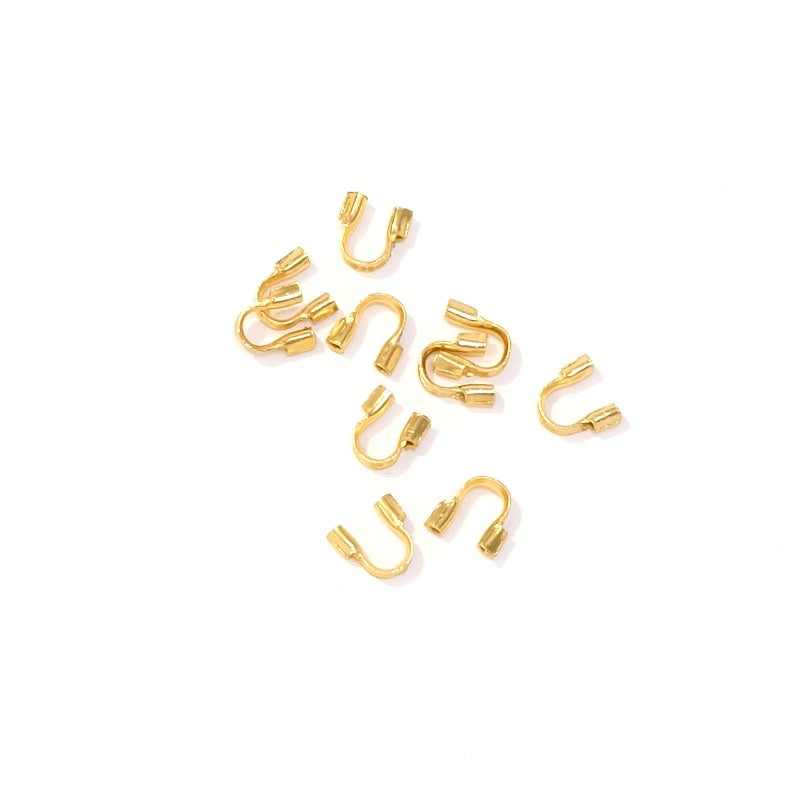
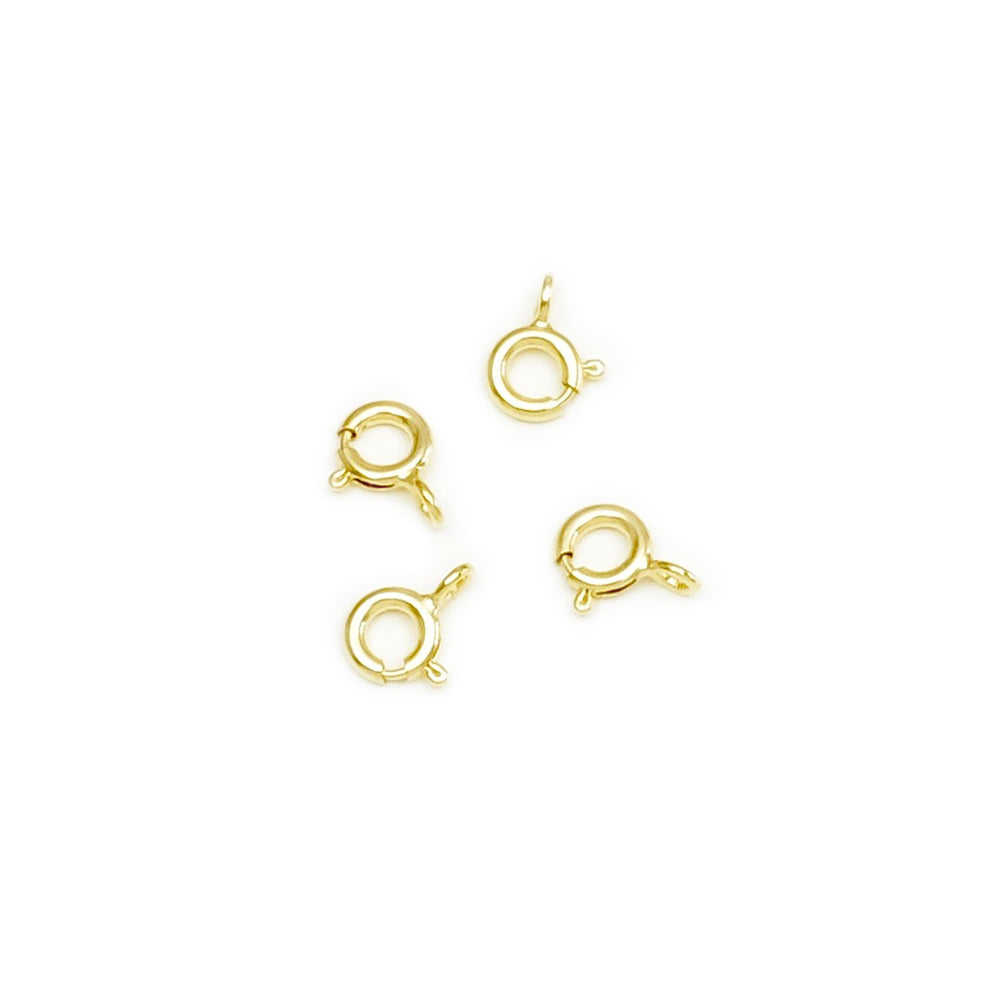
Pass one end of the thread through a thread protector. Tie a double knot right against the thread protector. Cut the excess thread, then lightly melt the end with the lighter: it melts and sticks to the knot. Then connect the spring ring clasp to the thread protector: twist the clasp's ring open sideways with the flat nose pliers, slip it onto the thread protector, then close it.
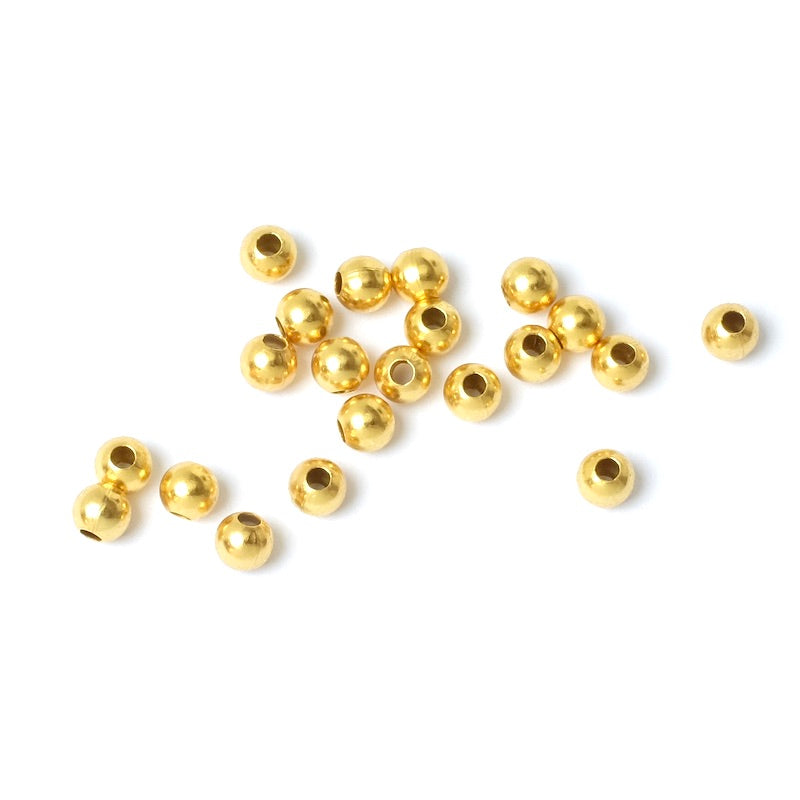
Thread a round bead in 24K gold-plated brass. Slide it down to the double knot. It covers the knot and gives a neat finish on the clasp side.
Measure about 2 cm of bare thread after the gold bead. This is where your first knot goes. Here is the key move of this tutorial, in three stages.
First, push a fine needle into the thread, exactly where the knot should sit.
Next, form a simple knot around the needle. Keep it loose, without tightening.
Finally, slide the knot until it touches the needle and tighten. Remove the needle last. Without it, the knot tightens wherever it likes. With it, it tightens exactly where you decided.
Thread a tourmaline and tie a knot against it. Thread a drop, then a knot. Thread a second tourmaline, then a knot. Each knot is placed with the needle, right against the bead. This way, every bead is locked in place.
Measure about 2 cm of bare thread again. Tie a knot, thread a garnet bead, then tie a knot against it. It stays on its own, like a dot between two trios.
Continue alternating: 2 cm of thread, a bead trio, 2 cm of thread, a garnet. Work up to the length you want. Check with the ruler every two or three motifs. A one-millimetre gap does not show. Five of them added up do.
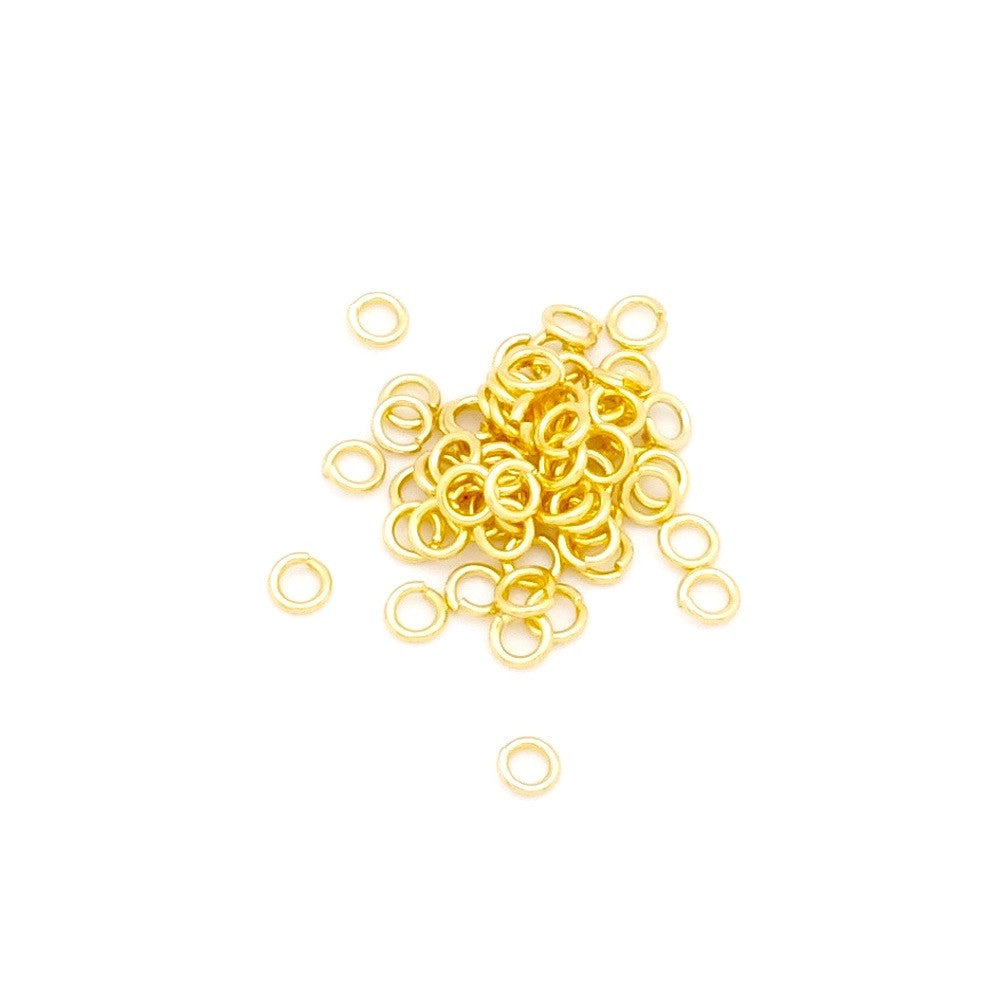
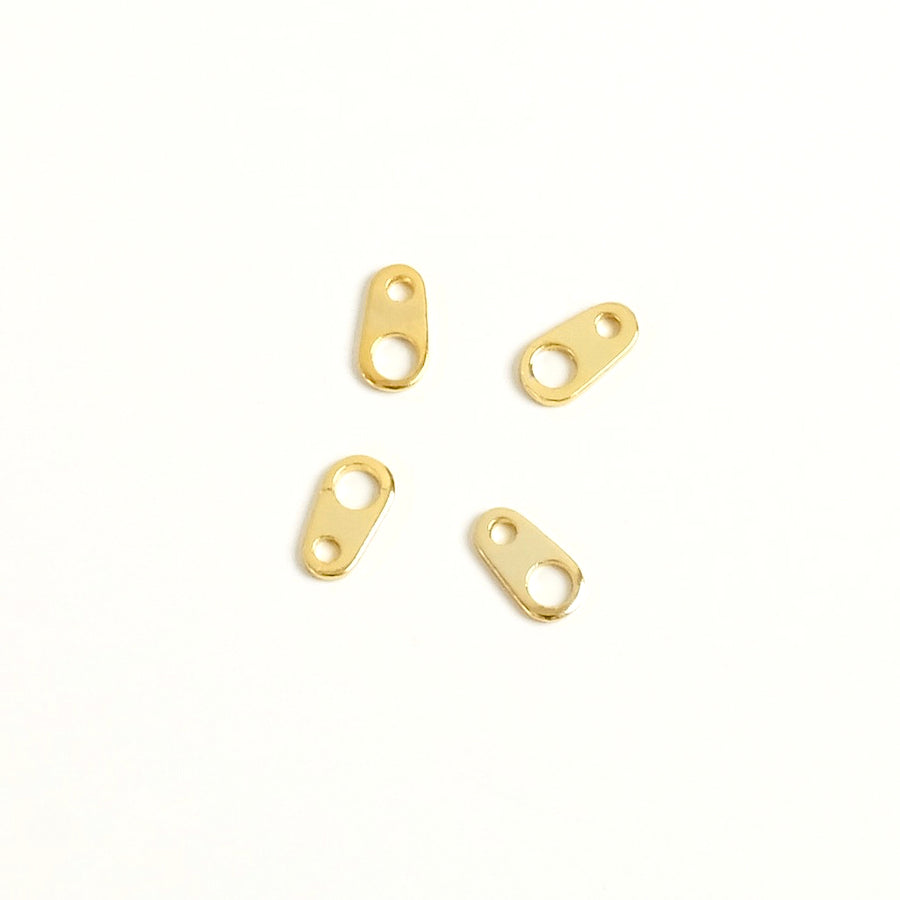
Once the last motif is in place, thread a round gold bead. It will hide the finishing double knot, as on the clasp side. Pass the thread through the second thread protector. Check the length, then tie a double knot right against the thread protector. Cut the excess, melt it with the lighter, then slide the gold bead over it. Open a 3 mm jump ring, slip the clasp tag onto it and connect the jump ring to the thread protector. Close the jump ring.
The needle that holds the knot. You don't place a knot, you let it slide. Push a fine needle into the thread at the chosen spot, knot around it, tighten against the needle, and remove it last. The knot lands within a millimetre, every time.
Change the colour of the waxed thread and the necklace changes season. A light shade brings out the gold, a deep shade puts the stones forward.
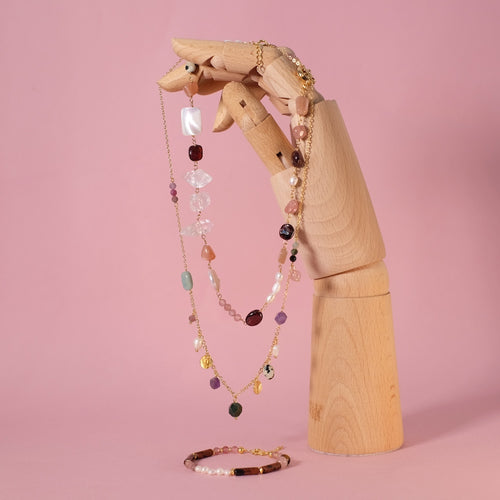
Play with the spacing too: 1 cm of bare thread for a denser necklace, 3 cm for a lighter one. And with the rest of the thread, repeat the same rhythm over about 18 cm for a matching bracelet.


To be reserved alone or with friends!

Inspirations, tutorials, and new arrivals: receive the best of handmade in your inbox.