|
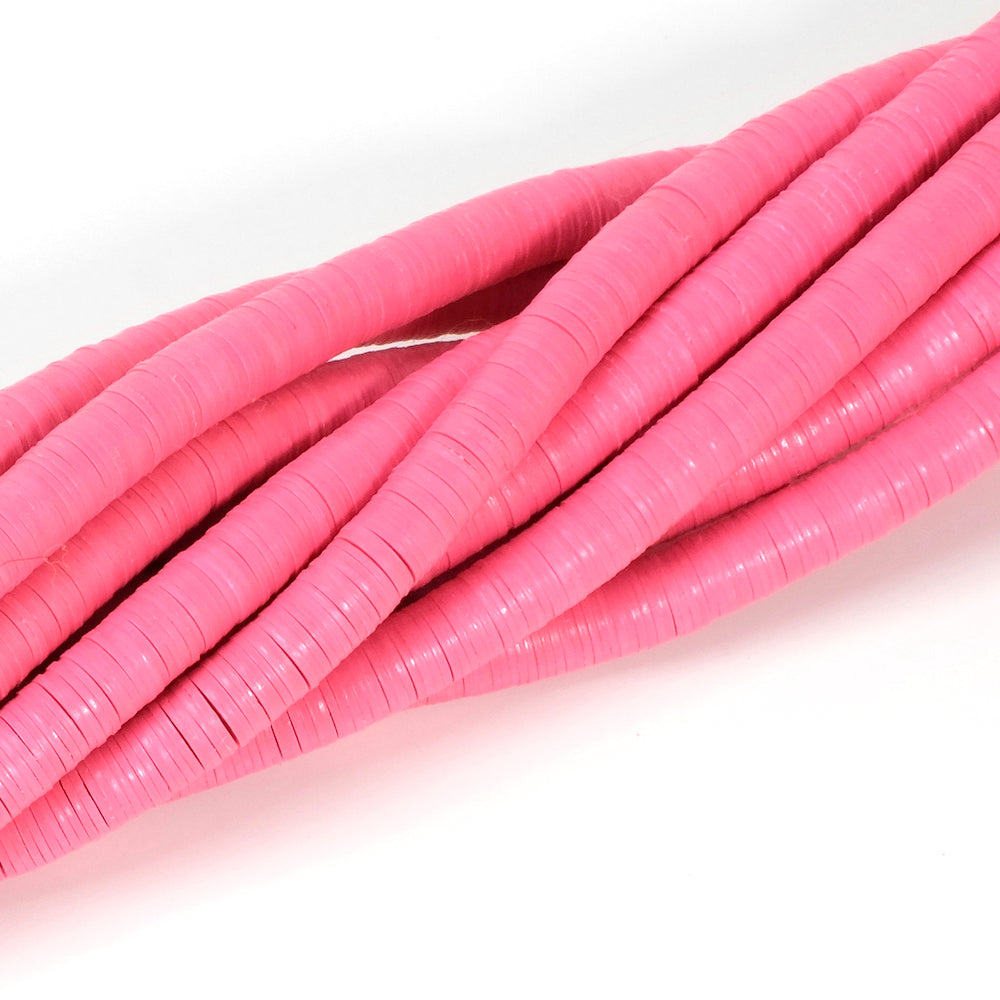
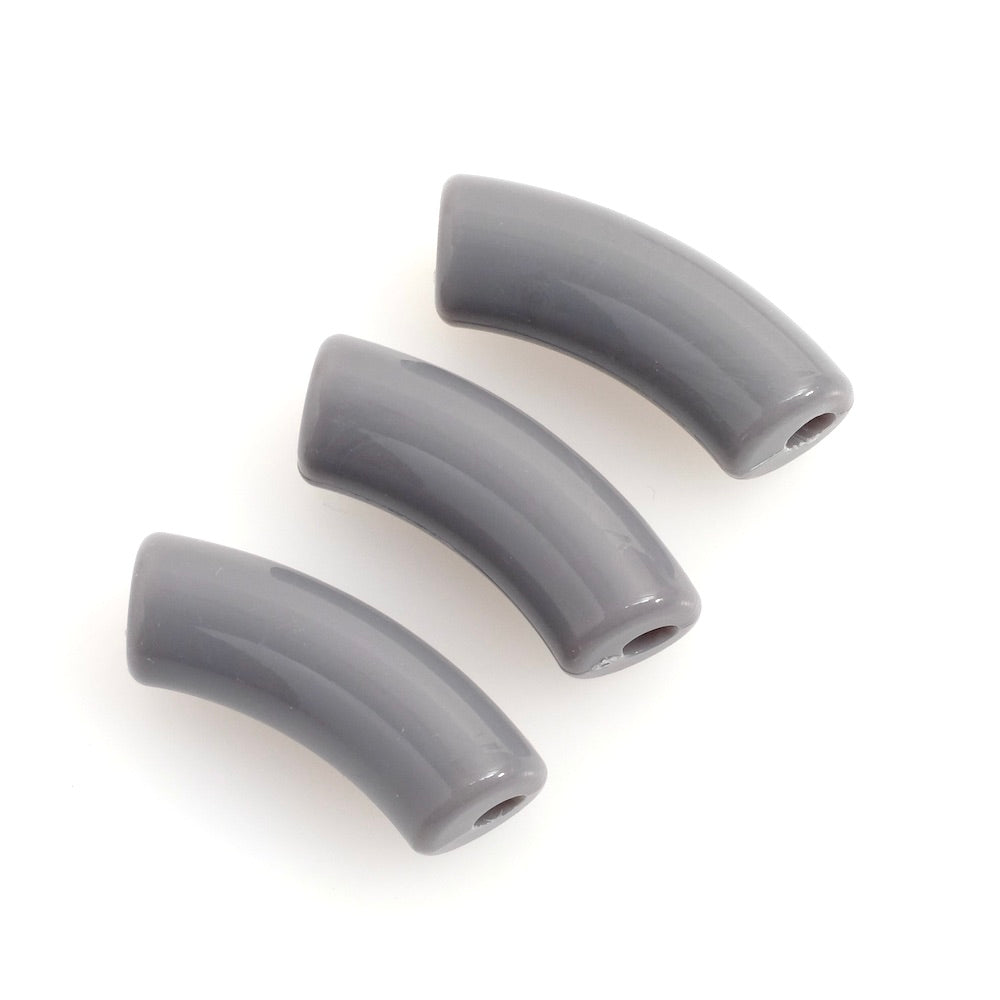
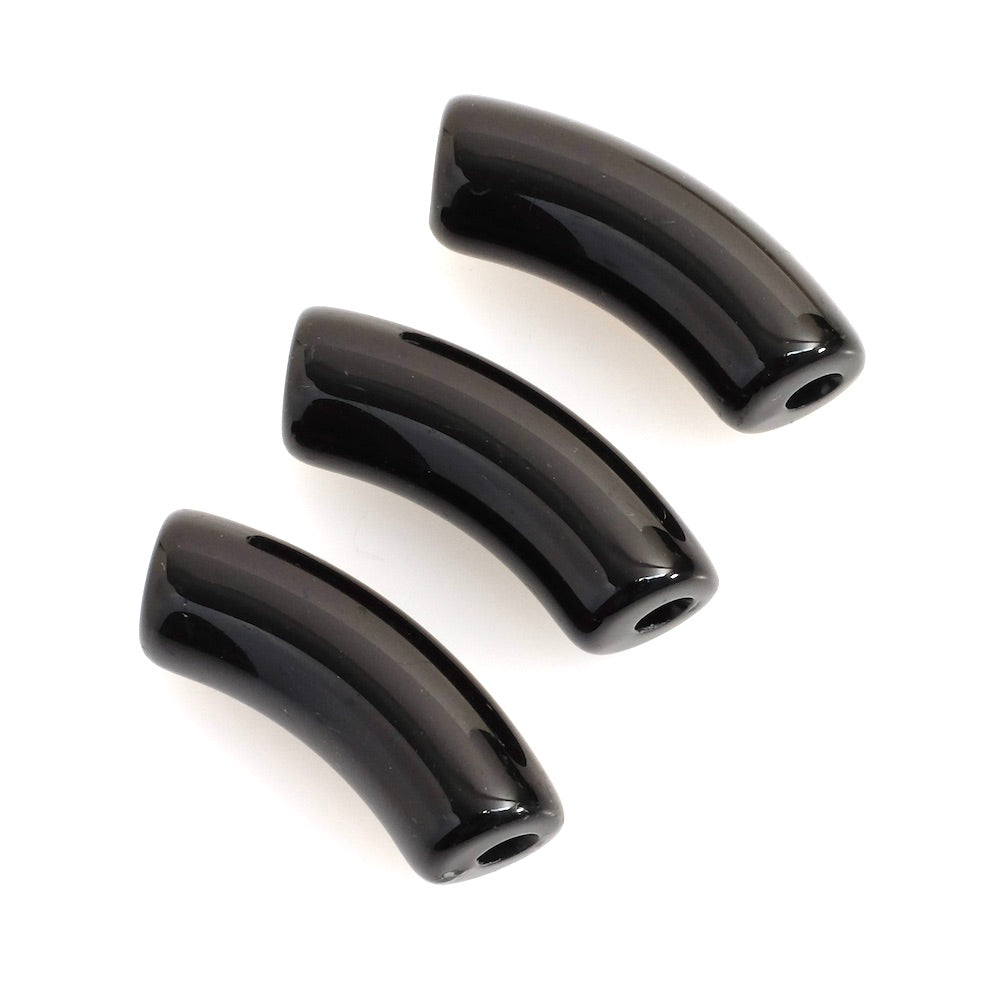
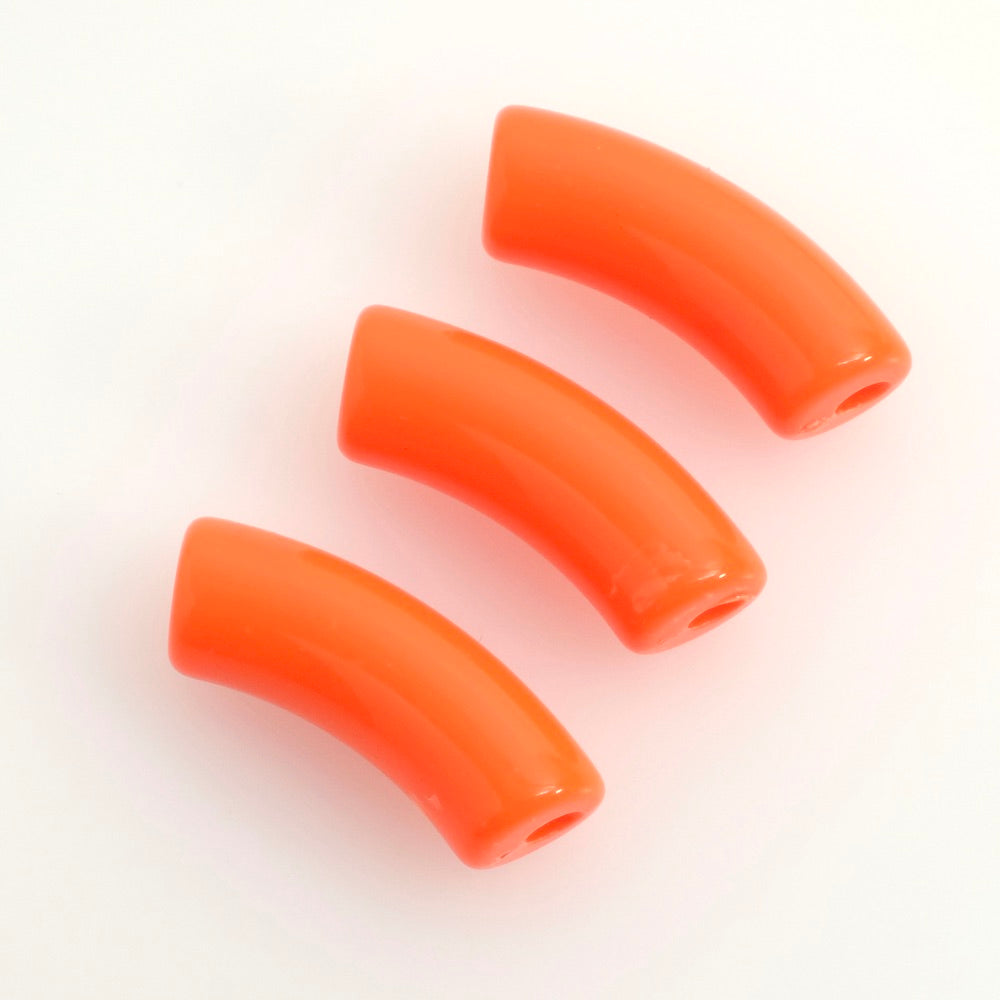
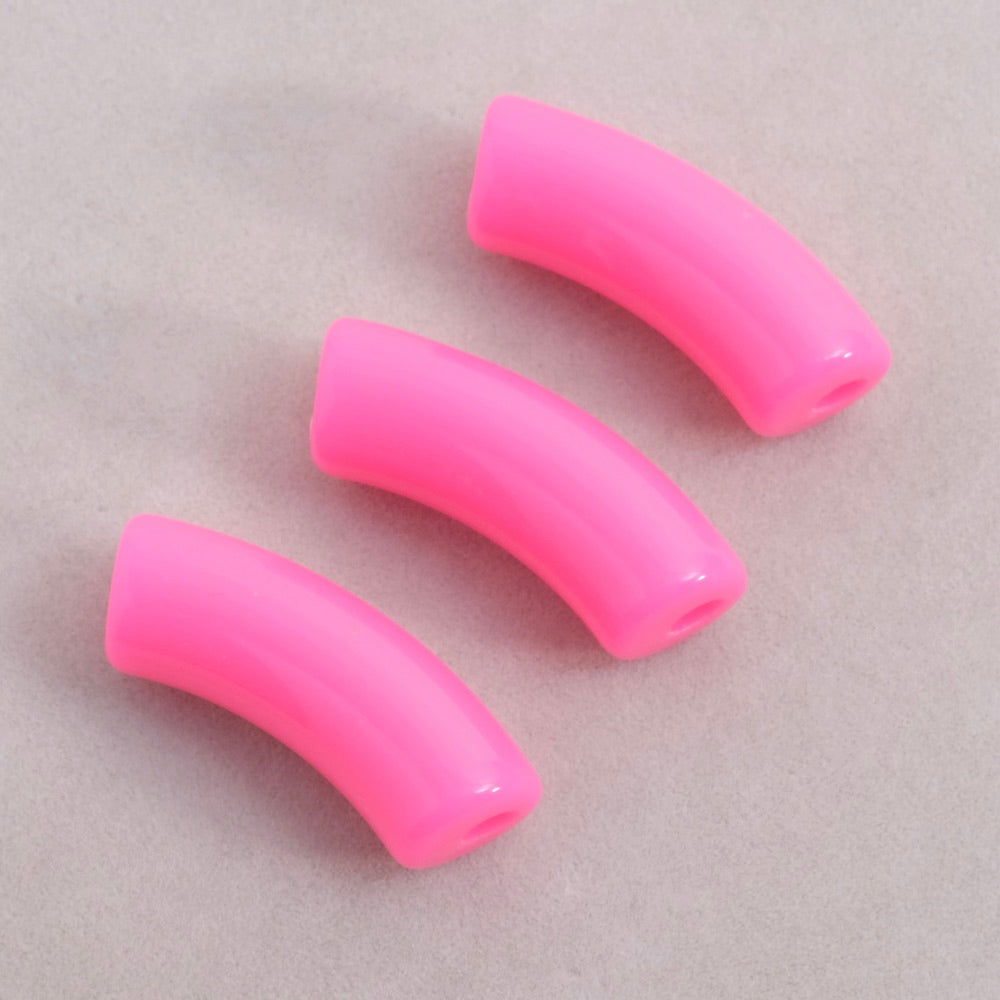
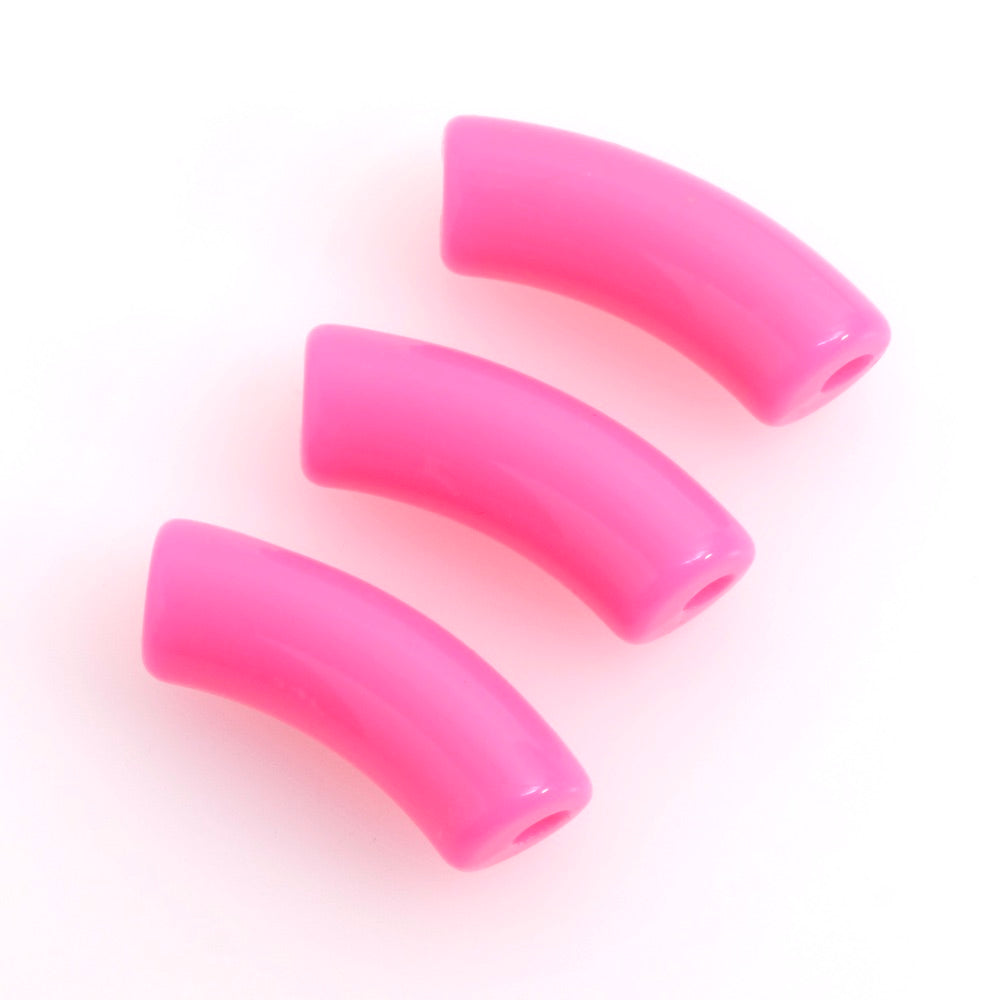
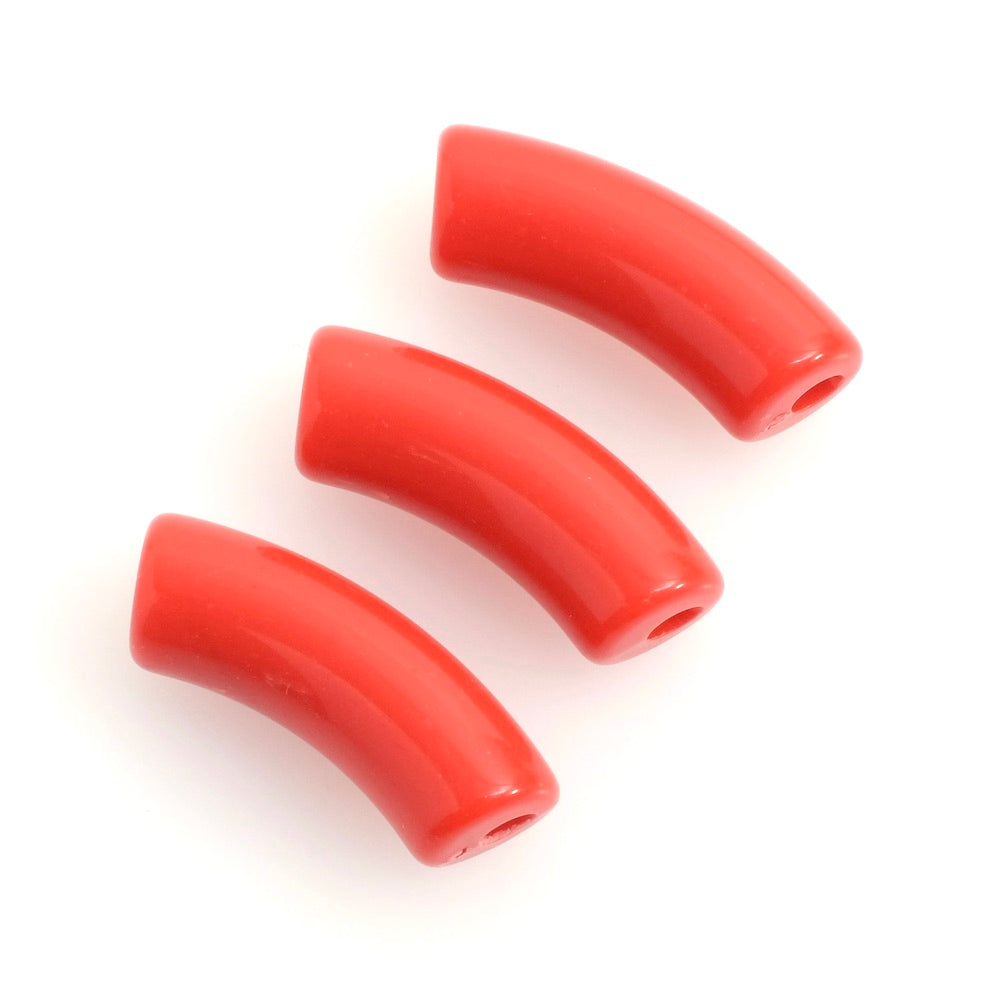
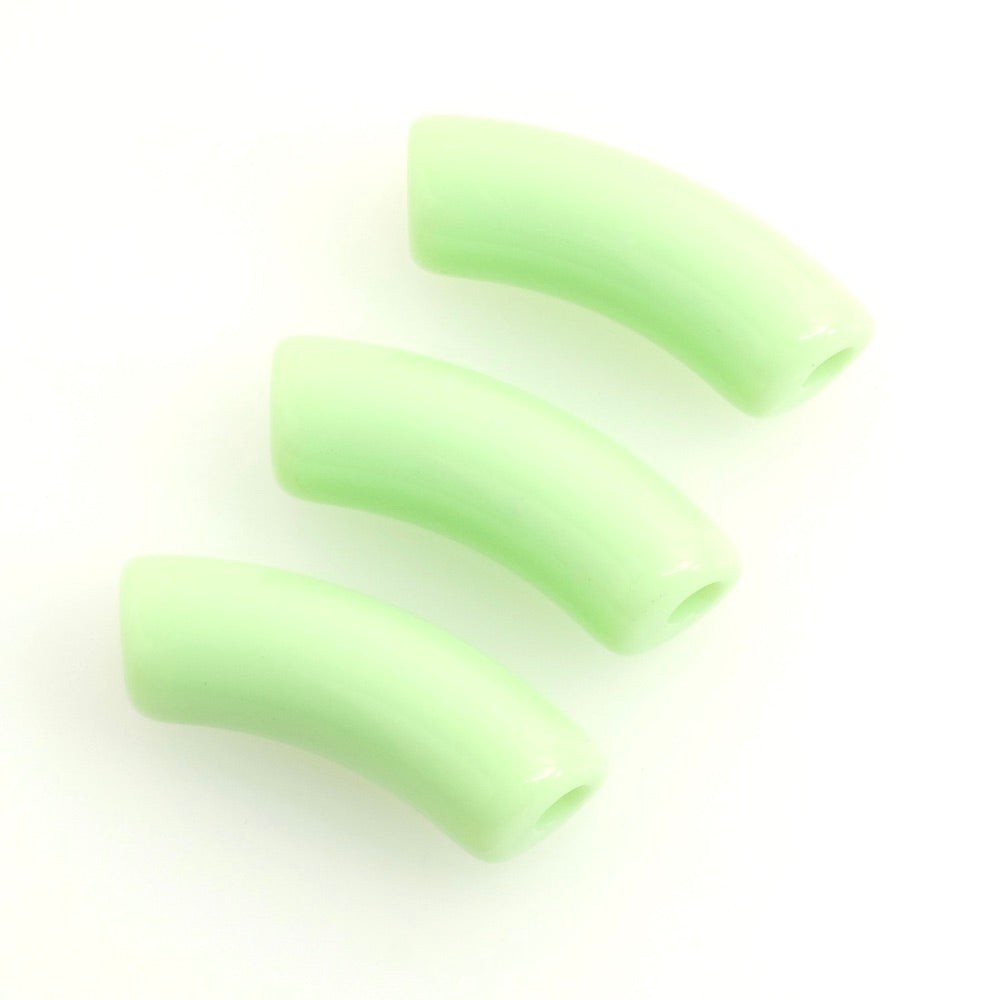
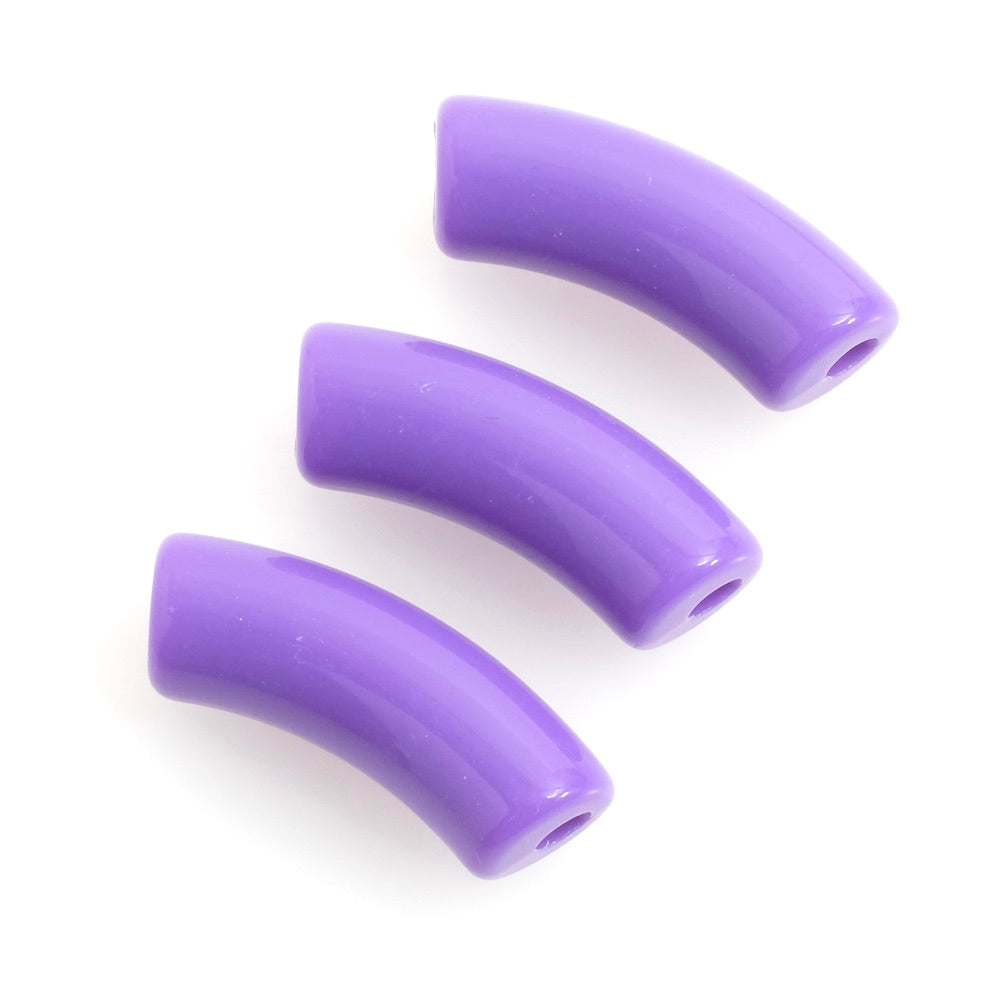
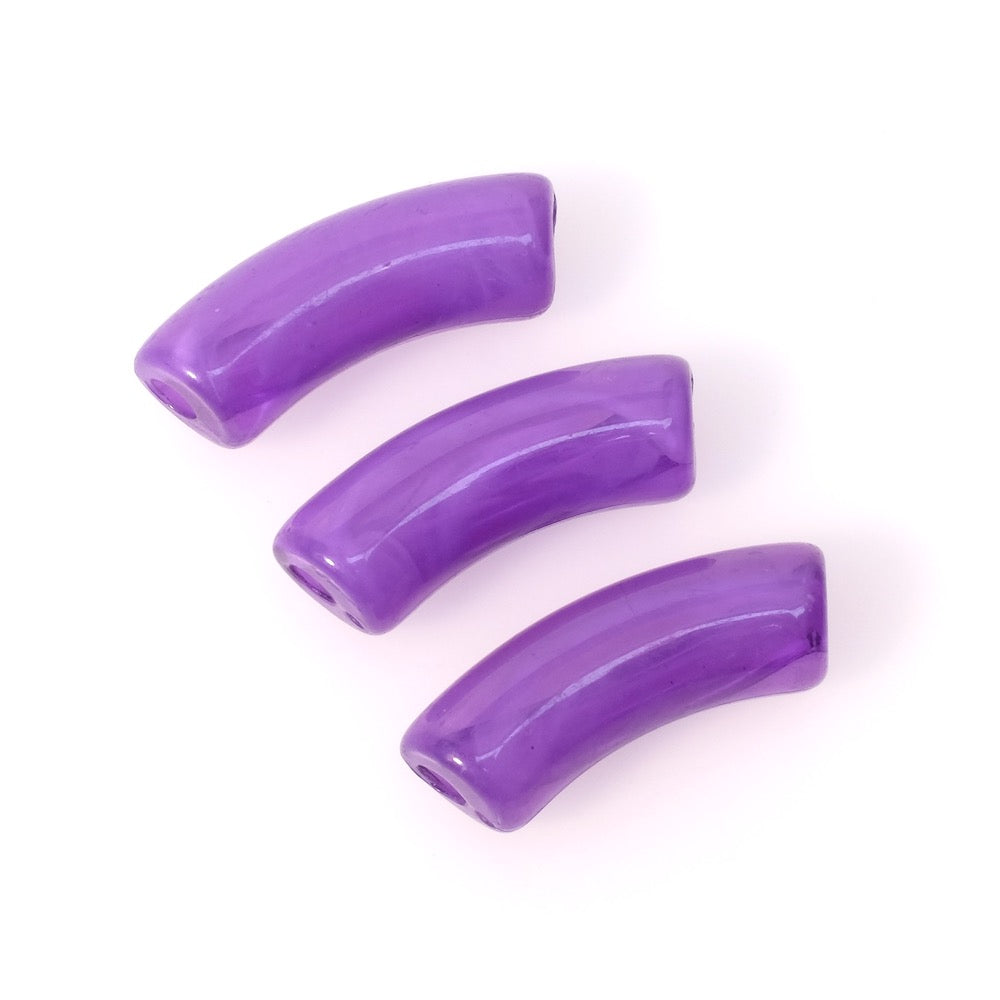
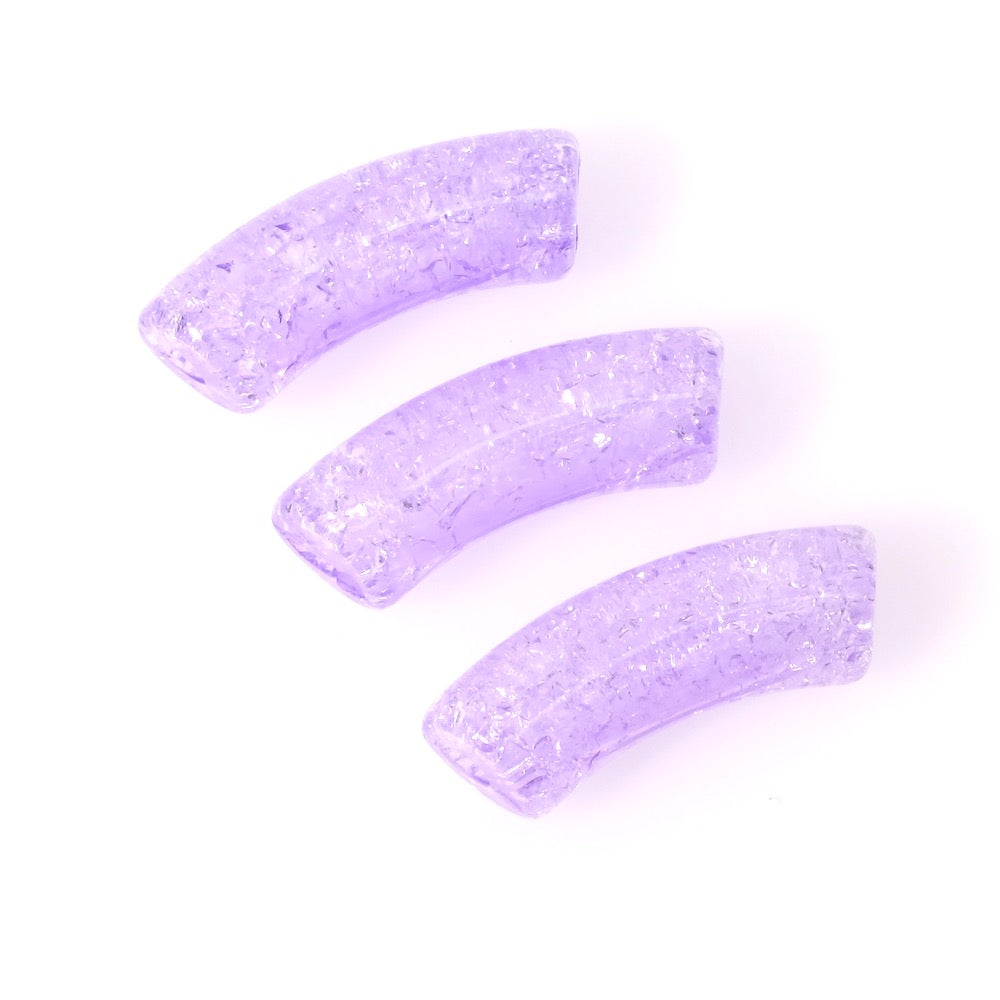
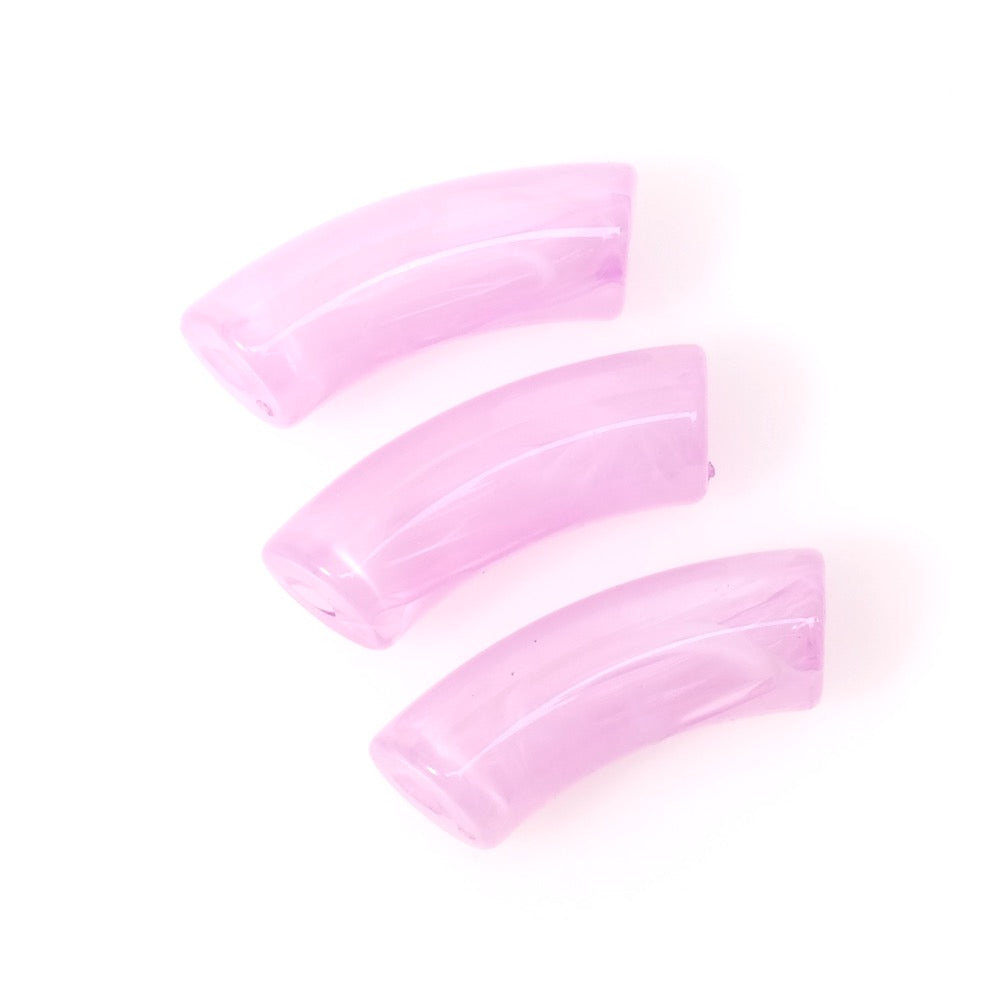
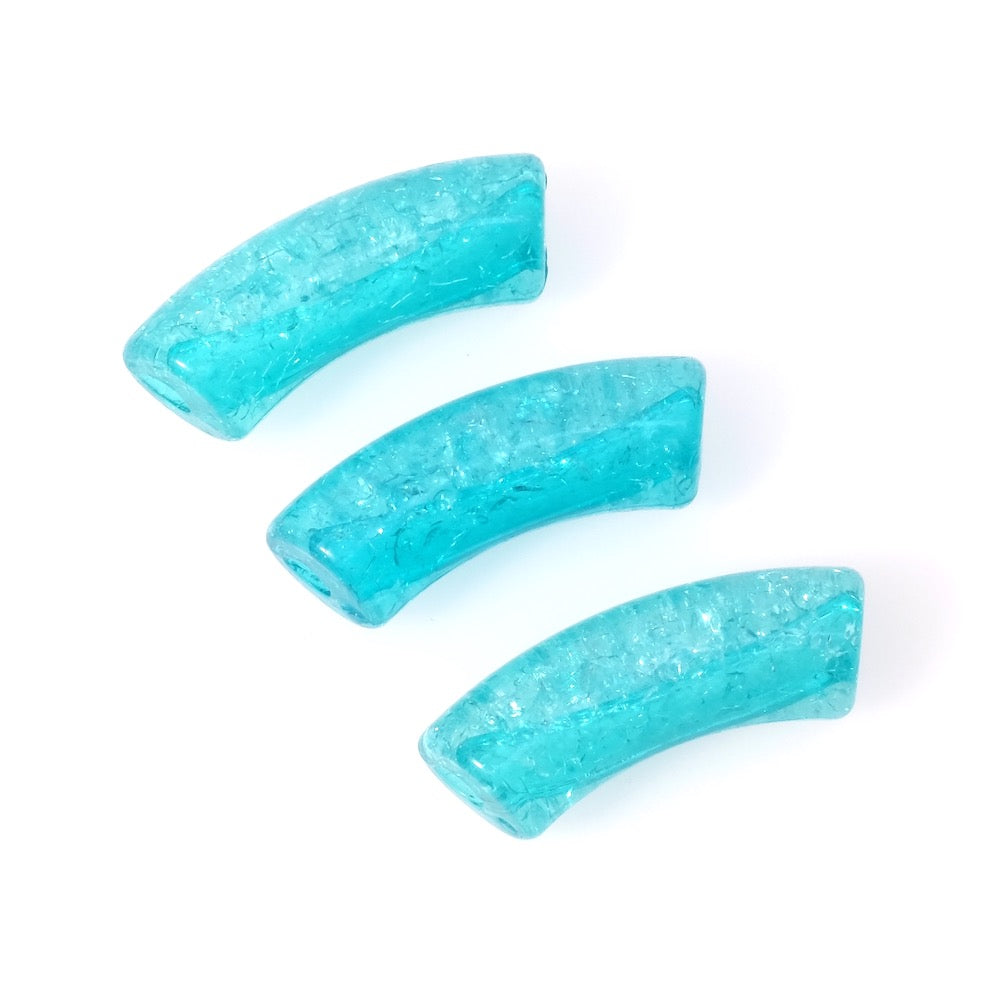
Fall for our latest jewelry tutorial: the choker necklace with traditional heishi beads, enhanced with beautiful natural amazonite beads and a touch of modernity with a colorful acrylic tube bead!
This choker necklace is the must-have accessory to perfect your trendy and bohemian look this summer. Easy to make, it will allow you to express your creativity and customize your jewelry as you wish. Pair it with your favorite outfits, wear it layered with other necklaces or solo for a minimalist effect. Whatever your preference, this choker necklace will add a stylish touch to each of your looks!
|
||||
|---|---|---|---|---|
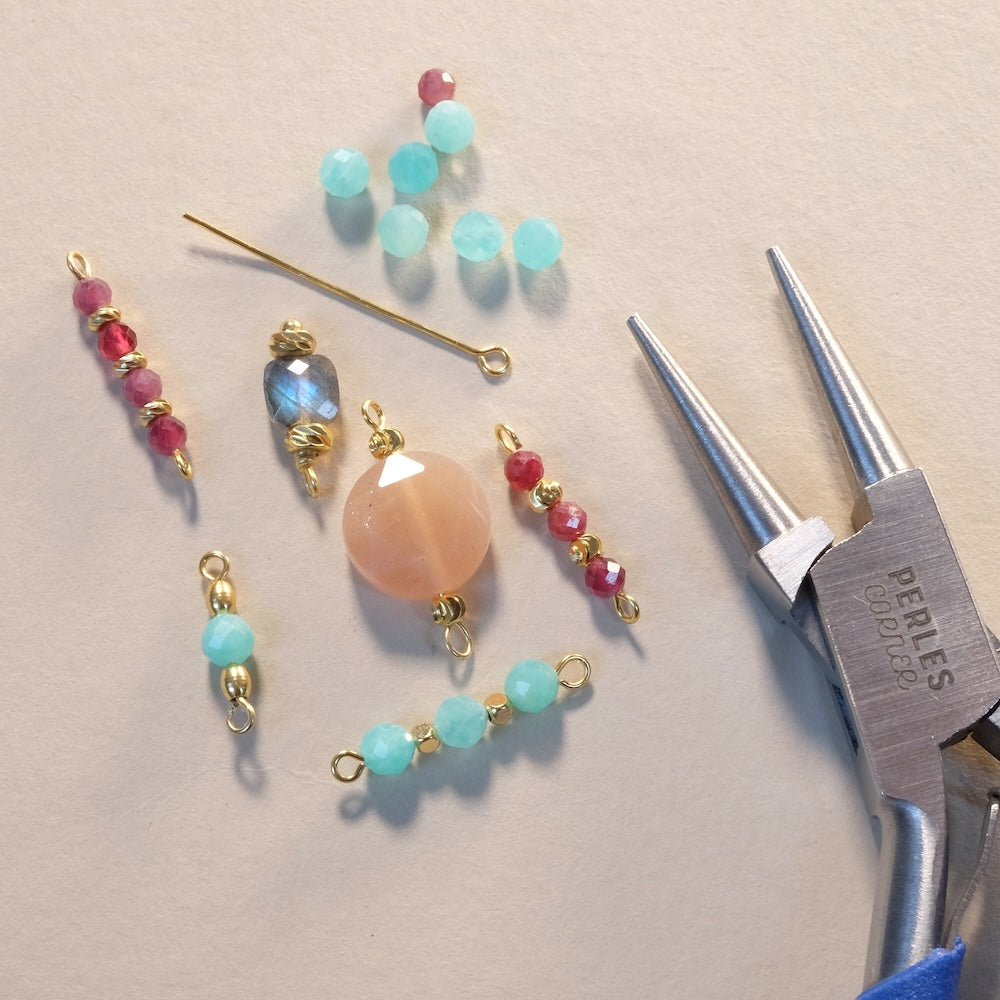
| For this project you will need: | ||||
|
|
||||
| Some explanations: | ||||
|
|
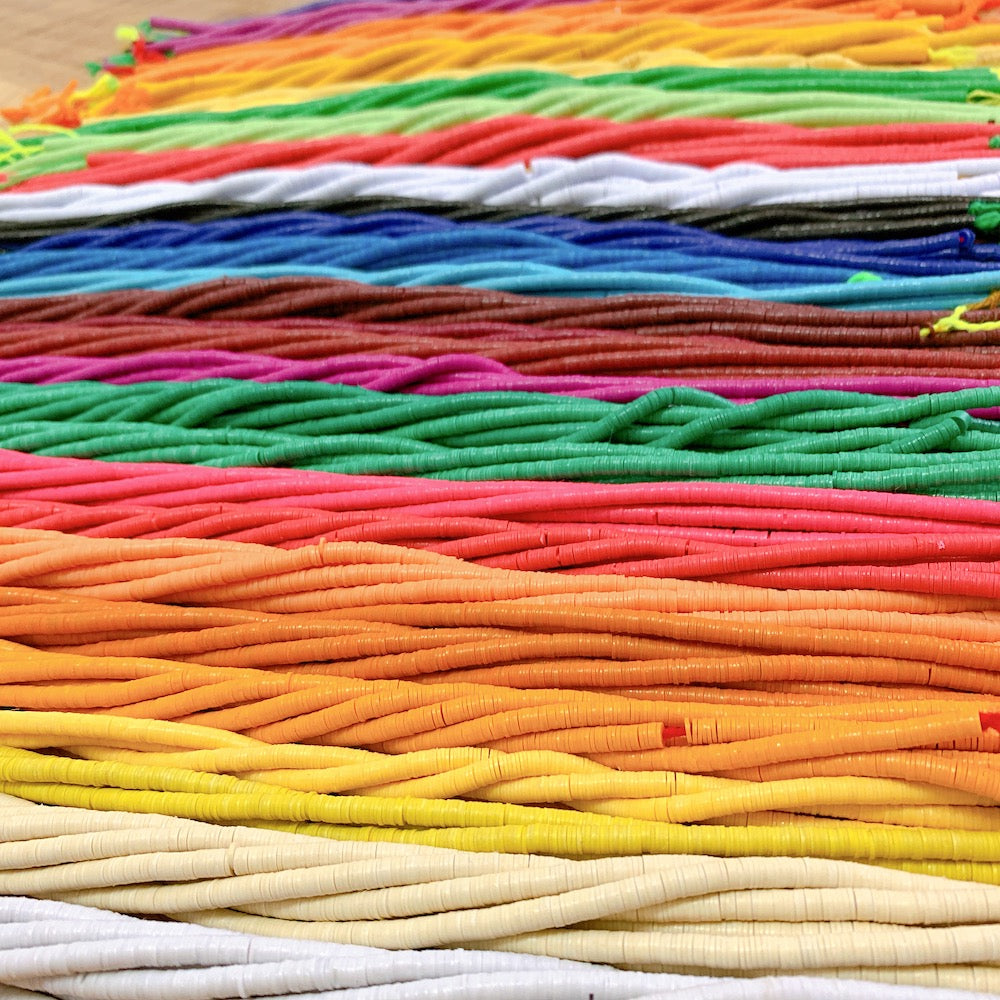
This jewelry is very simple to make; just thread the different beads in the order you want on the thread. You can play with the different shades of beads and the natural and metal beads to give rhythm to the threading.
Tip: Start threading from the center of the necklace, so you can easily reproduce the symmetry as you go. You will directly visualize the result without having to dismantle everything if a bead combination doesn't please you. It's also simpler because you don't have to recount all the beads!
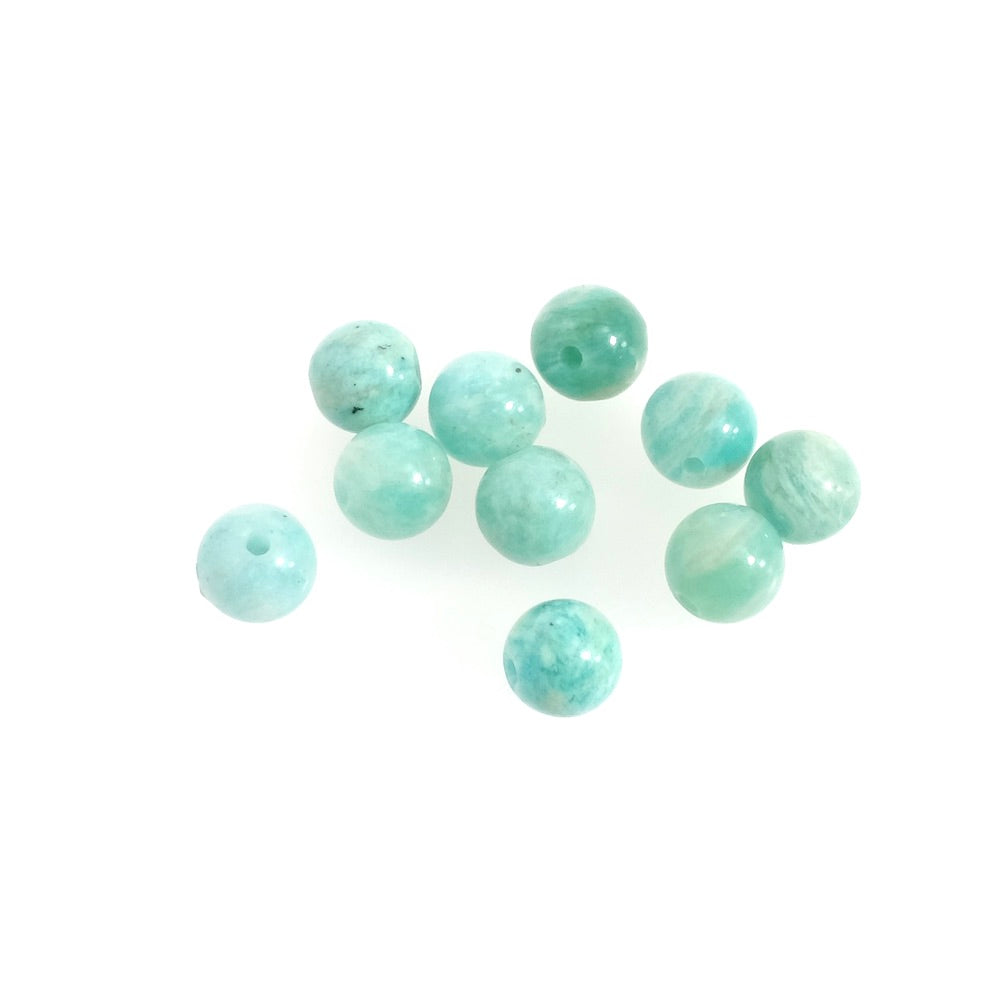
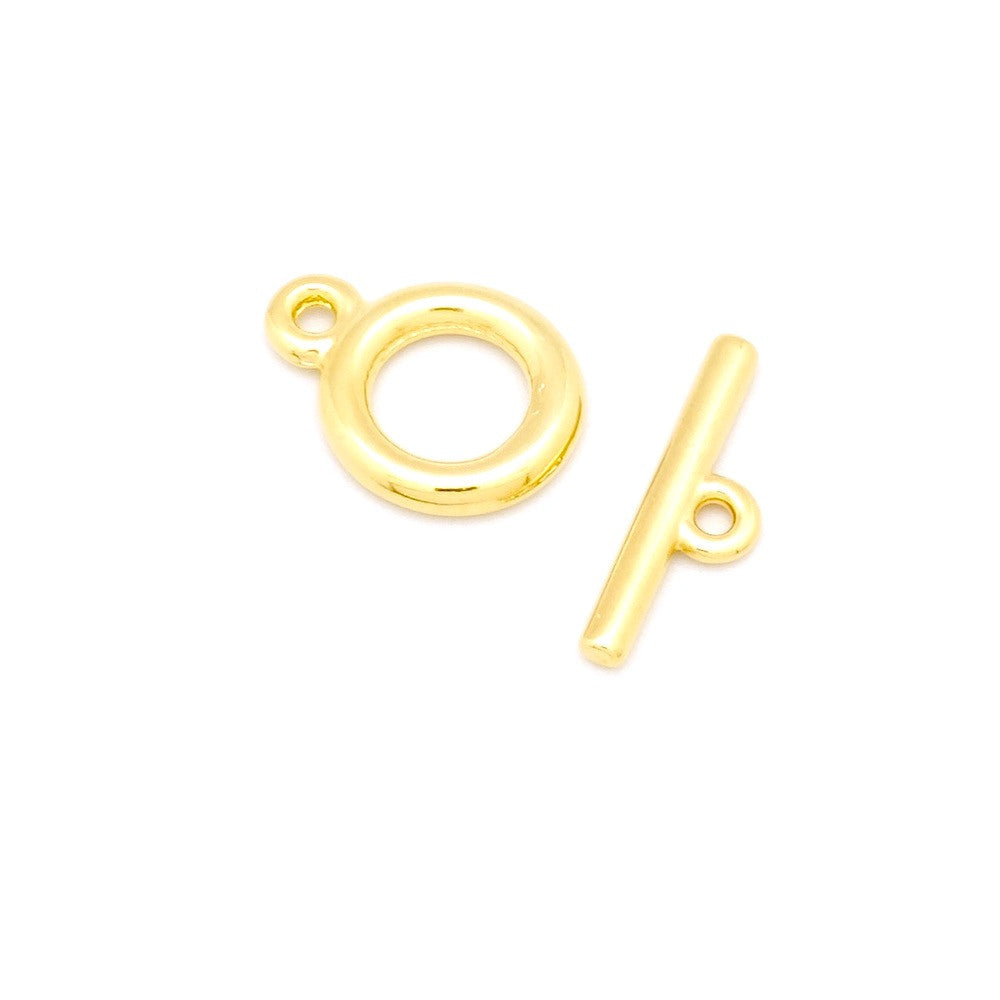
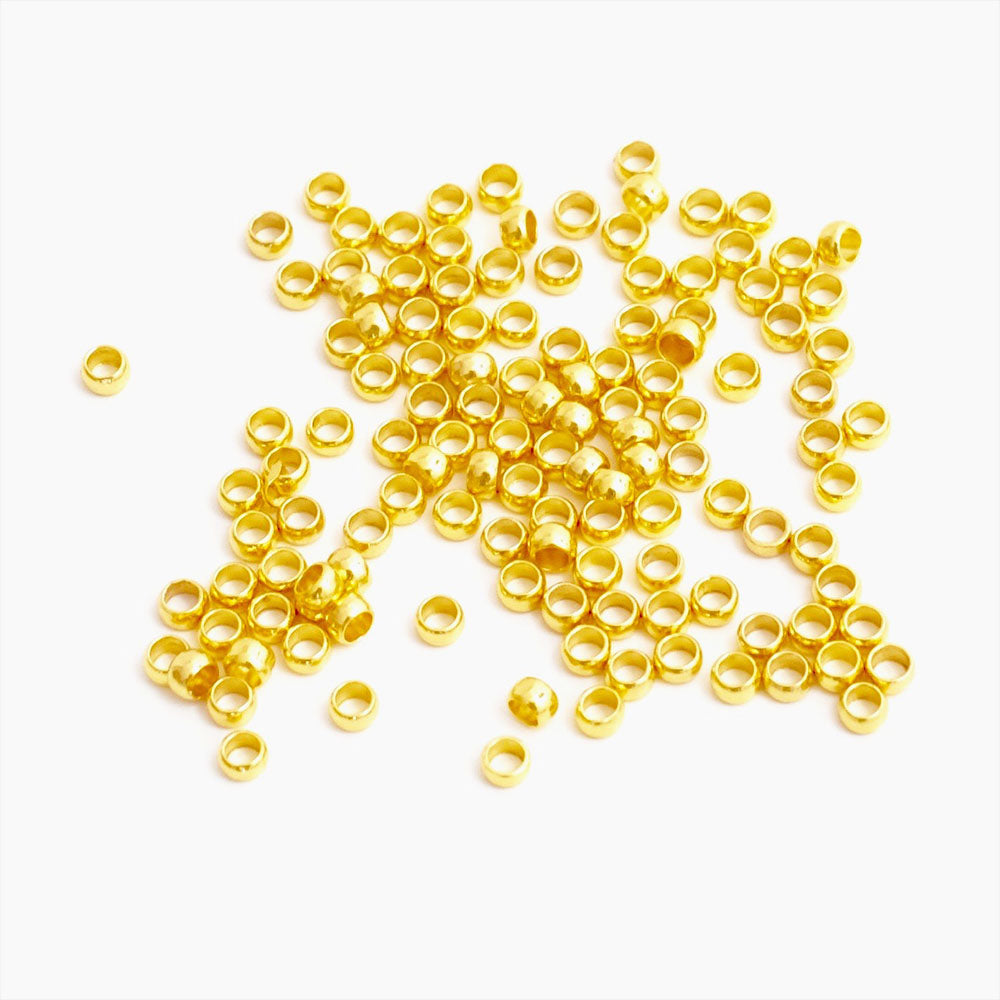
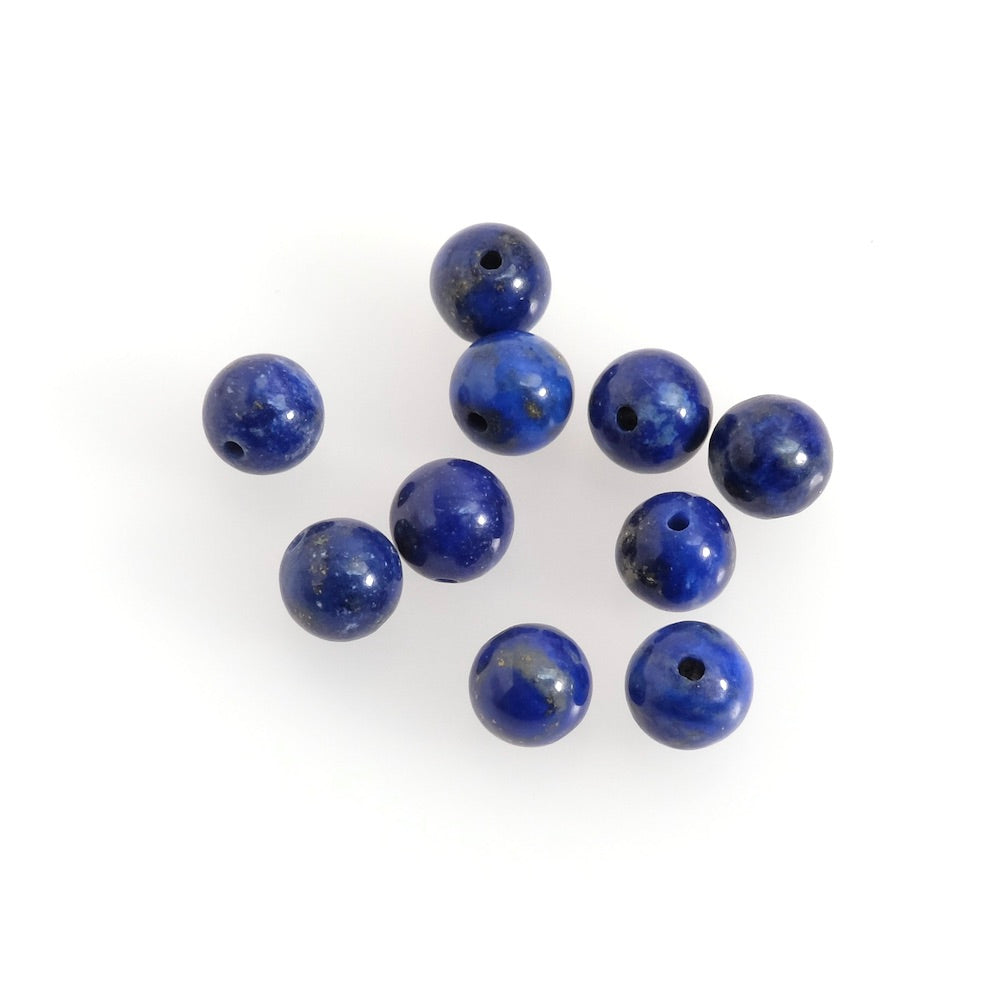
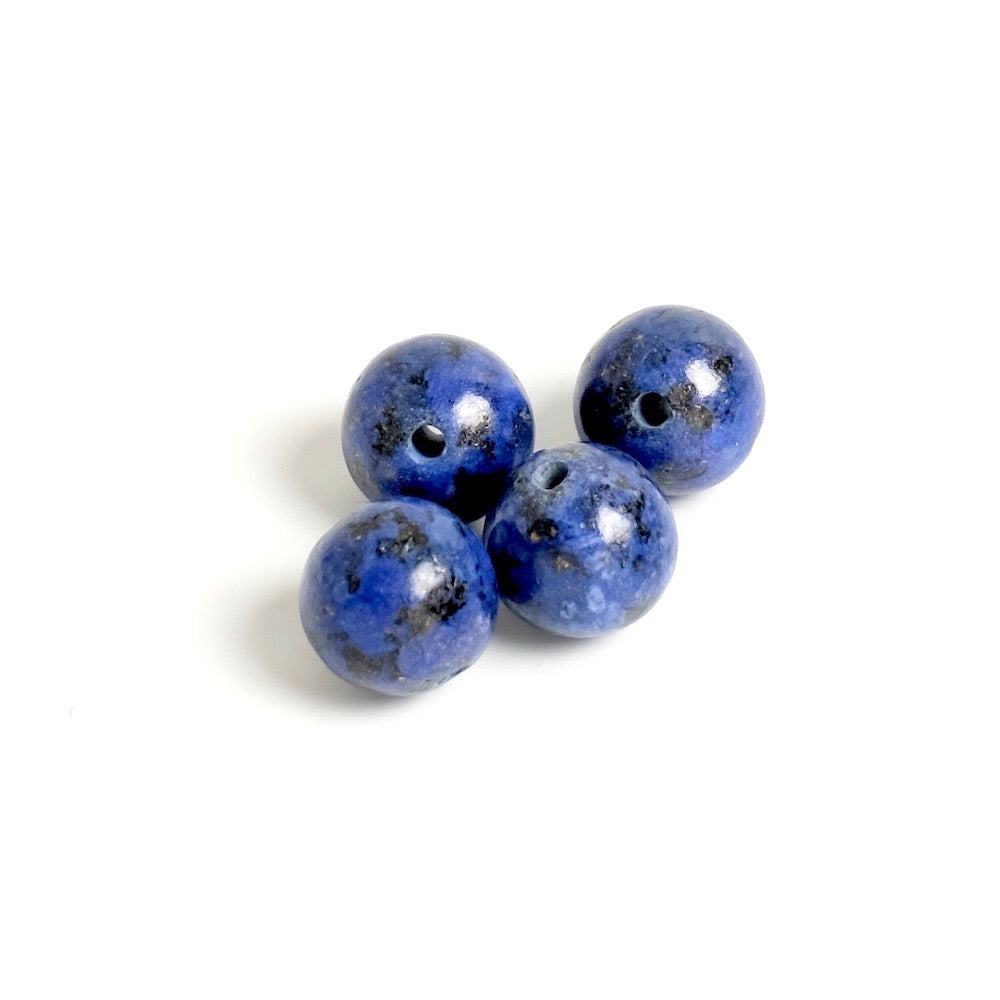
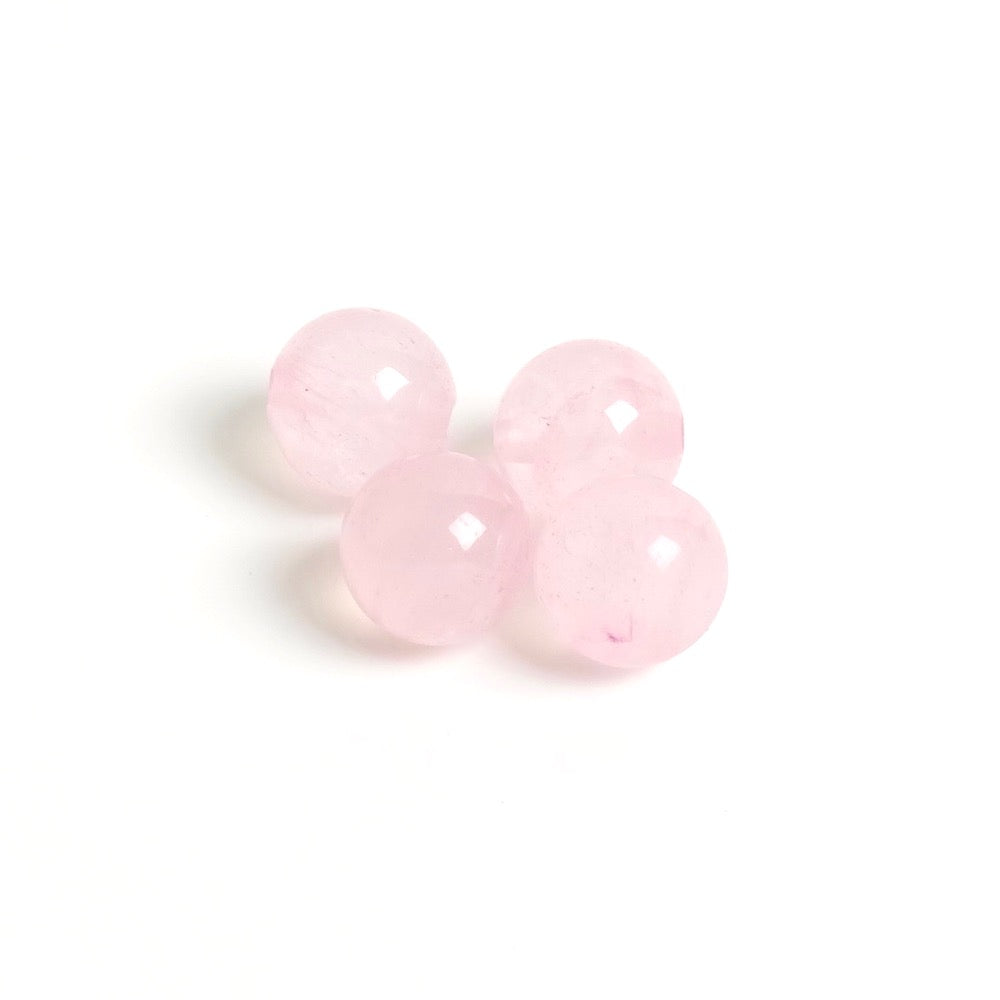
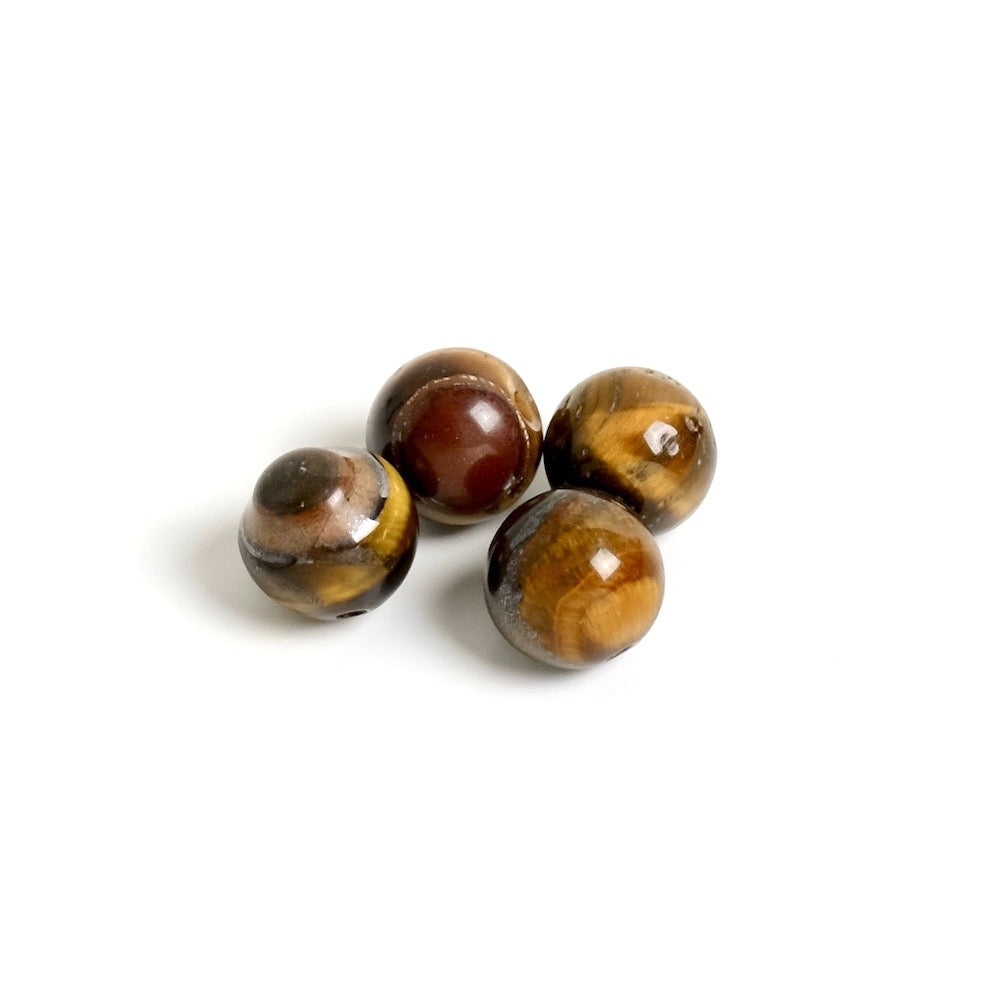
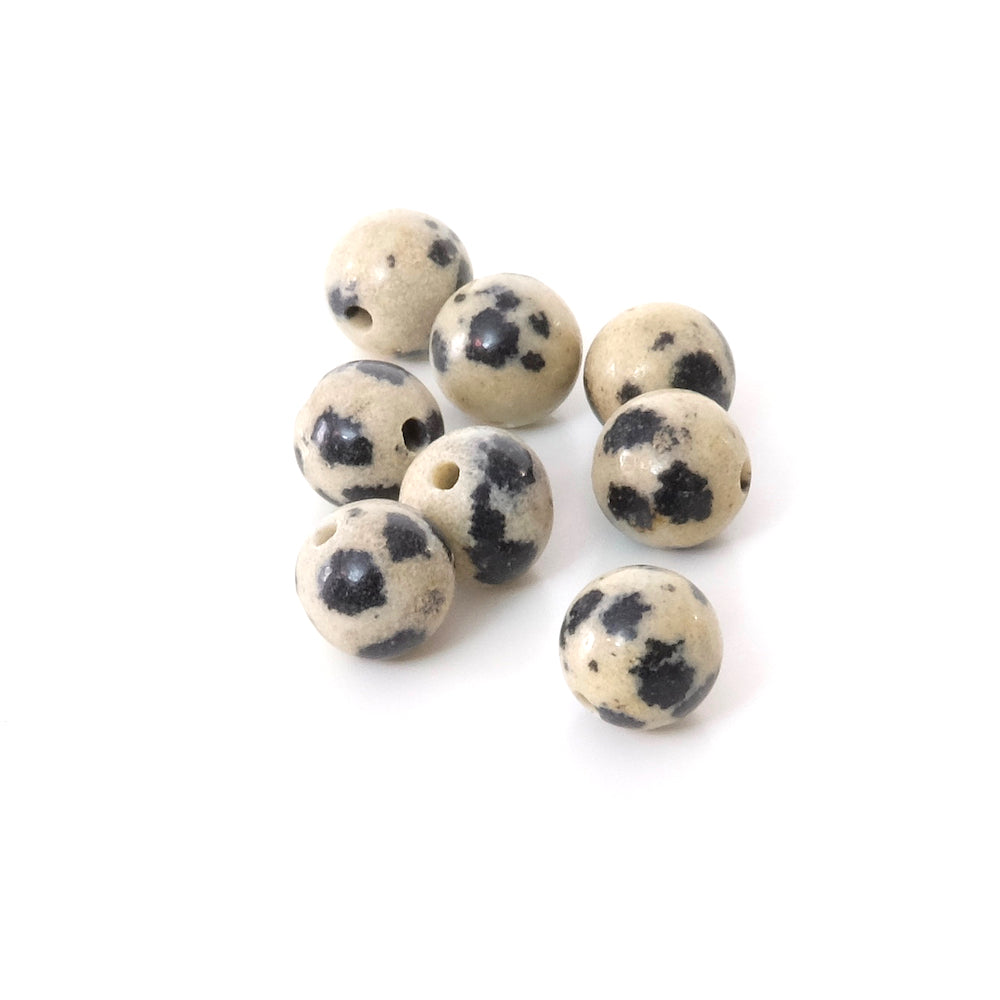
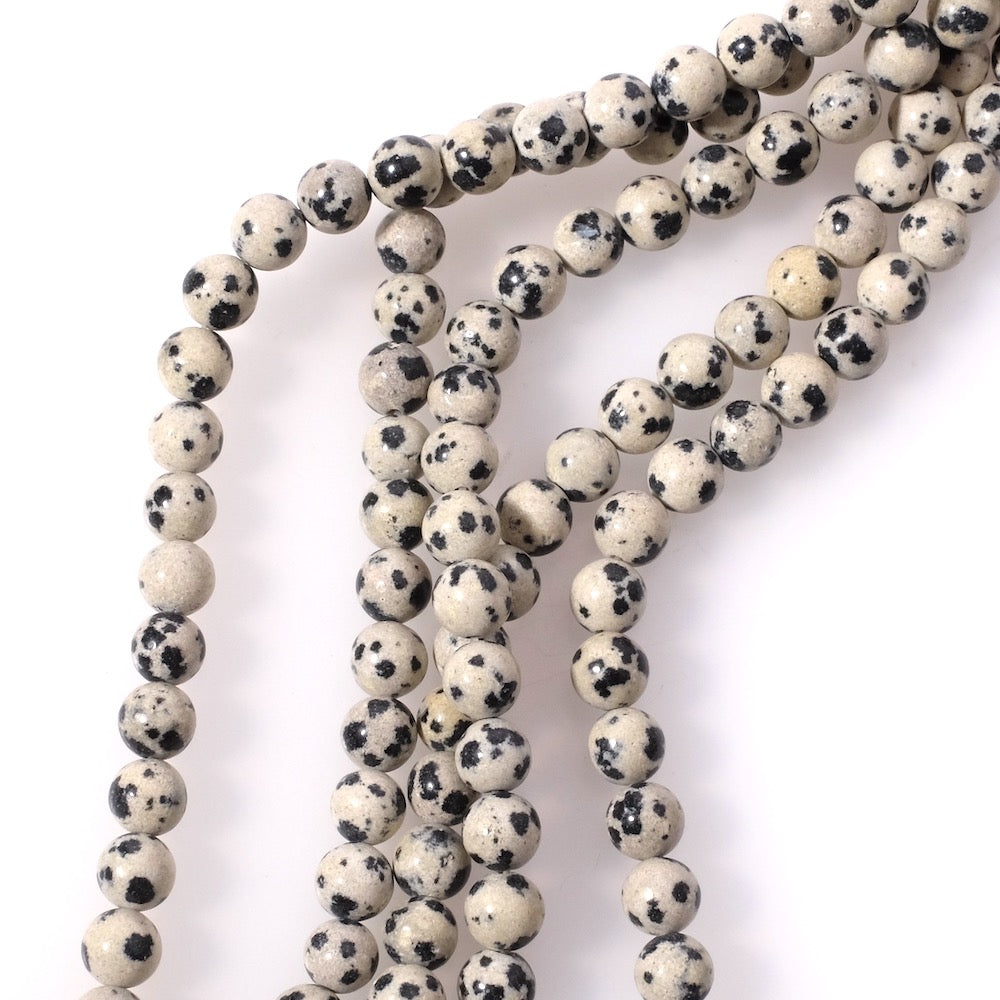
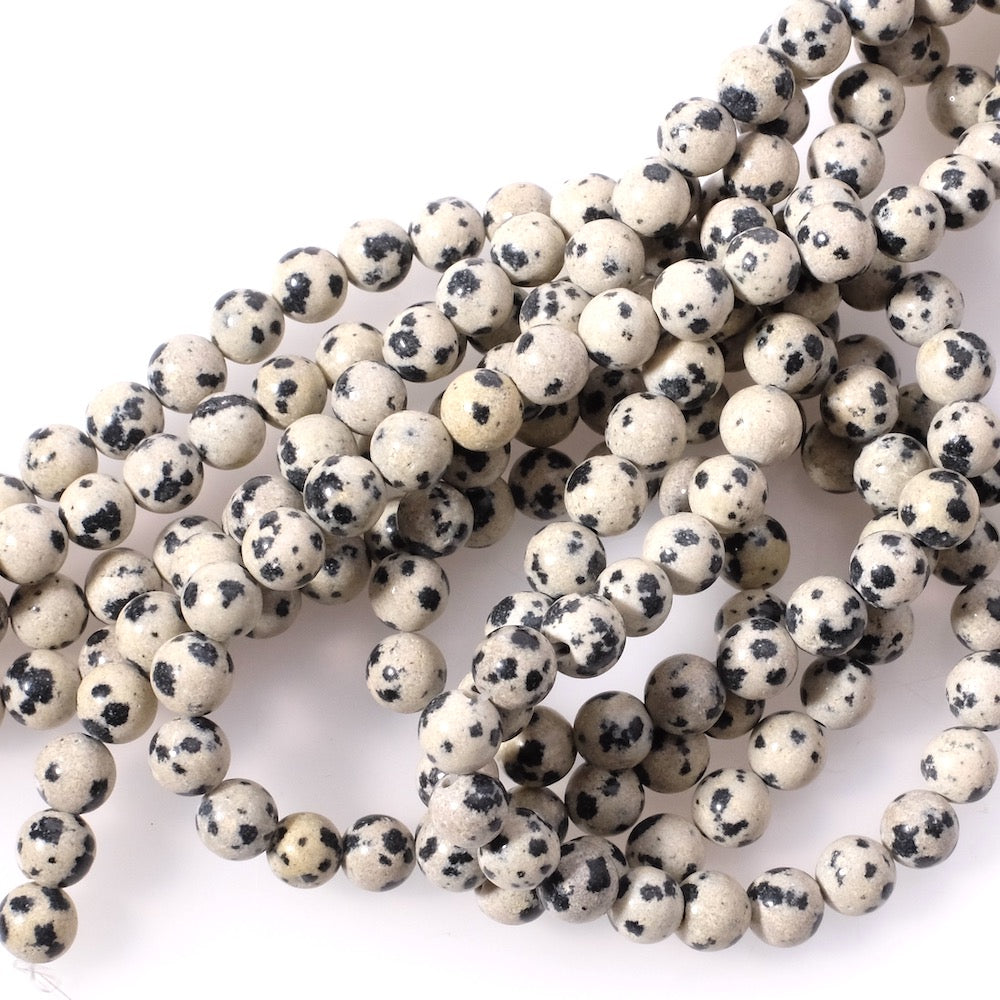
Here we placed the tube bead in the center, then on each side we placed a metal rondelle. Then thread the heishi beads (here we placed them in groups of 20 beads to have a regular rhythm). Alternate the heishi beads with metal rondelle beads and 6mm round beads in natural stones. Once the desired length is reached, clamp the thread at the ends with pliers to prevent everything from slipping away!!! Here we made a 38cm strand. The necklace will measure 40cm with the clasp attached. Thread 2 crimp beads at one end of the thread, then the clasp ring, then pass back through the crimp beads. Pull the thread to bring the clasp to the edge of the beads. Then gently flatten the crimp beads. Tip: Don't crush the crimp bead too firmly as you might break the nylon thread. A light pressure is enough. Test the hold to be sure of the strength. To prevent the end of the thread from scratching you, tuck the remaining thread back about 3cm into the beads. For the other side, do the same operation but this time with the other part of the clasp. But before flattening the crimp beads, position the necklace in its final shape while keeping some flexibility between the beads. Your necklace must remain fluid to avoid creating tension that would be unpleasant and unsightly. And there you go! Beautiful work! |
|||


To be reserved alone or with friends!

Inspirations, tutorials, and new arrivals: receive the best of handmade in your inbox.


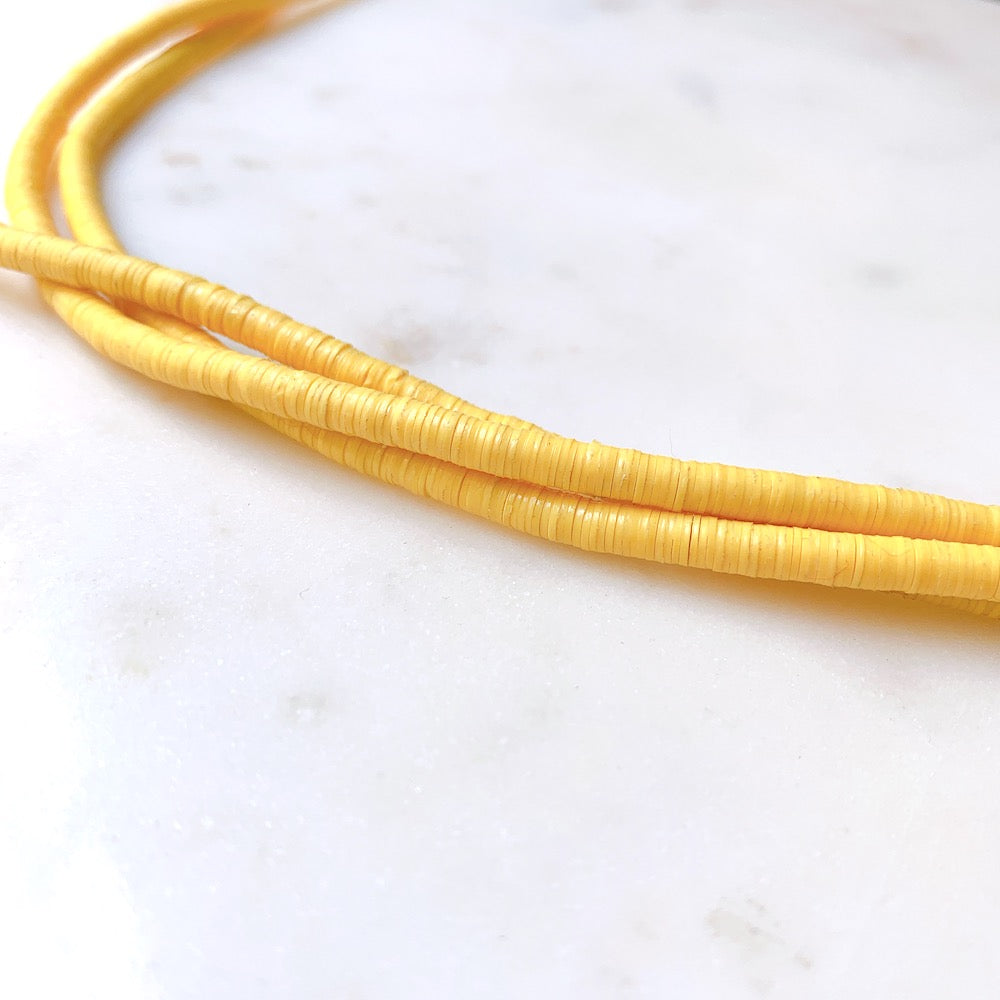
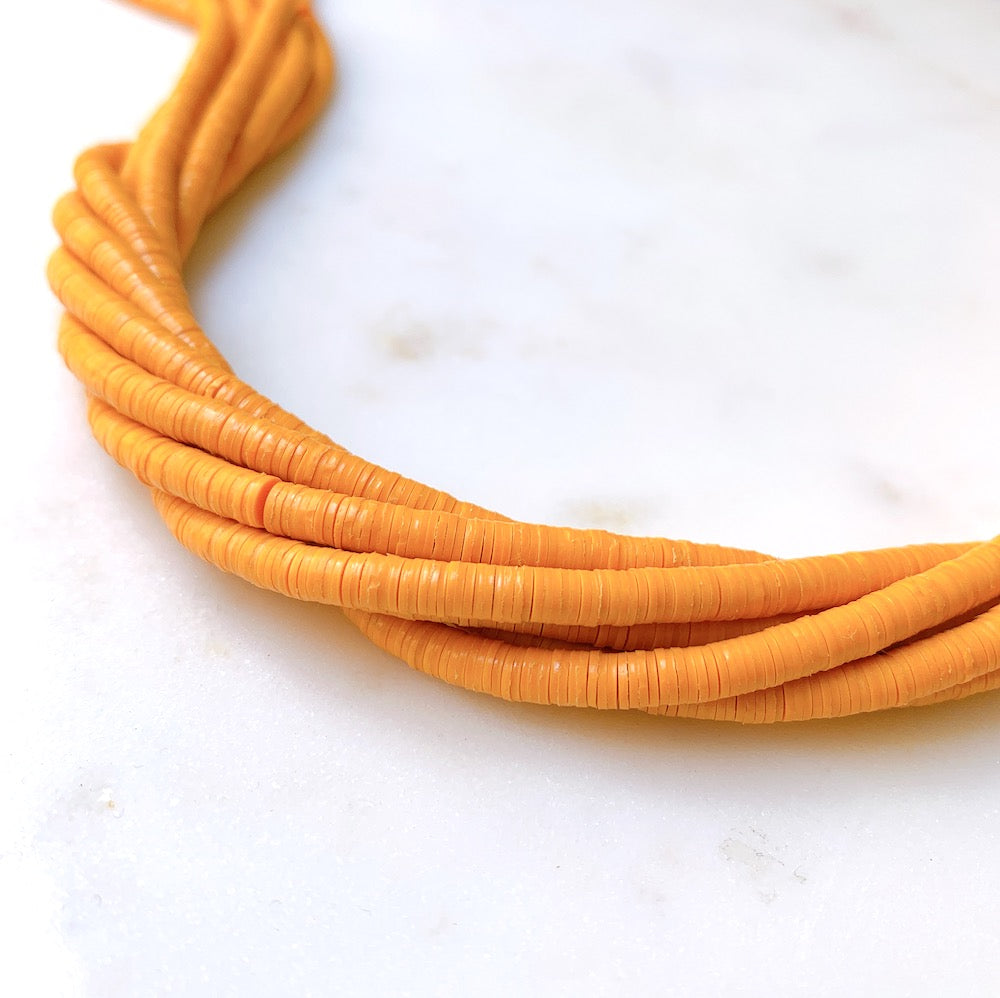
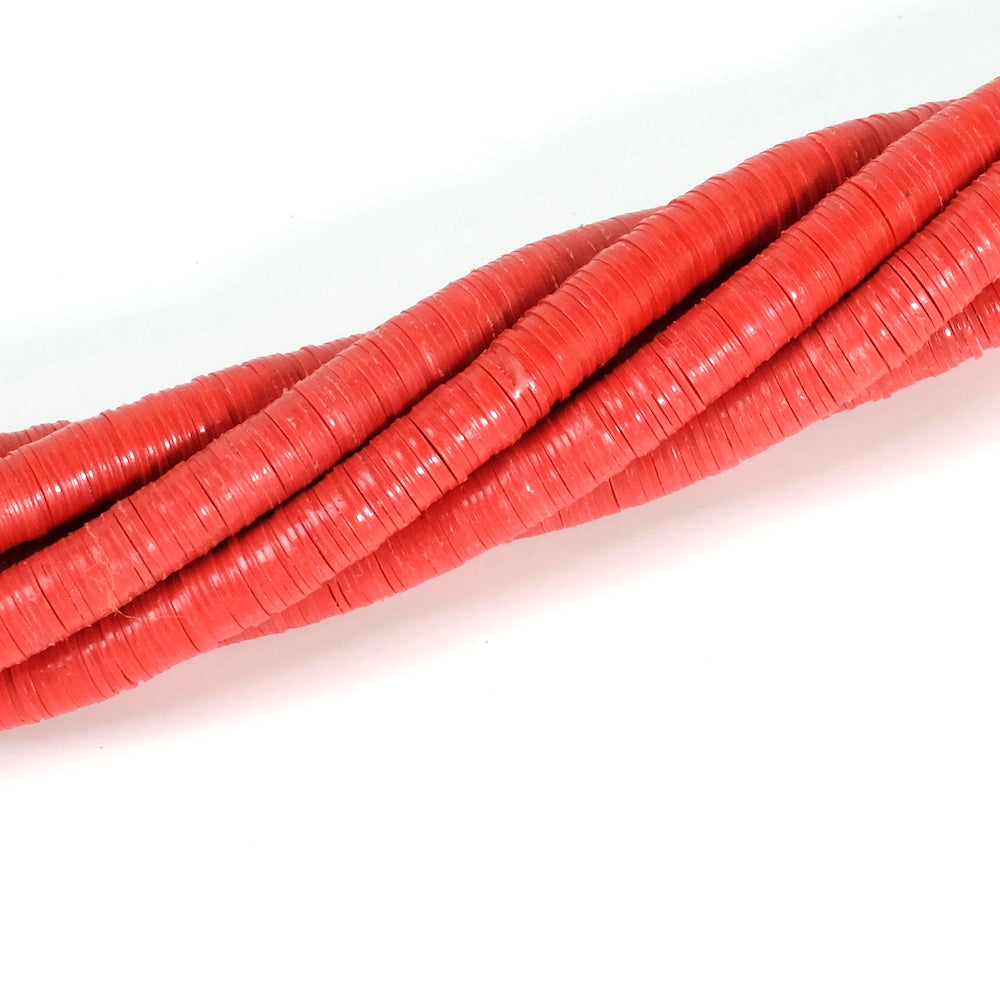
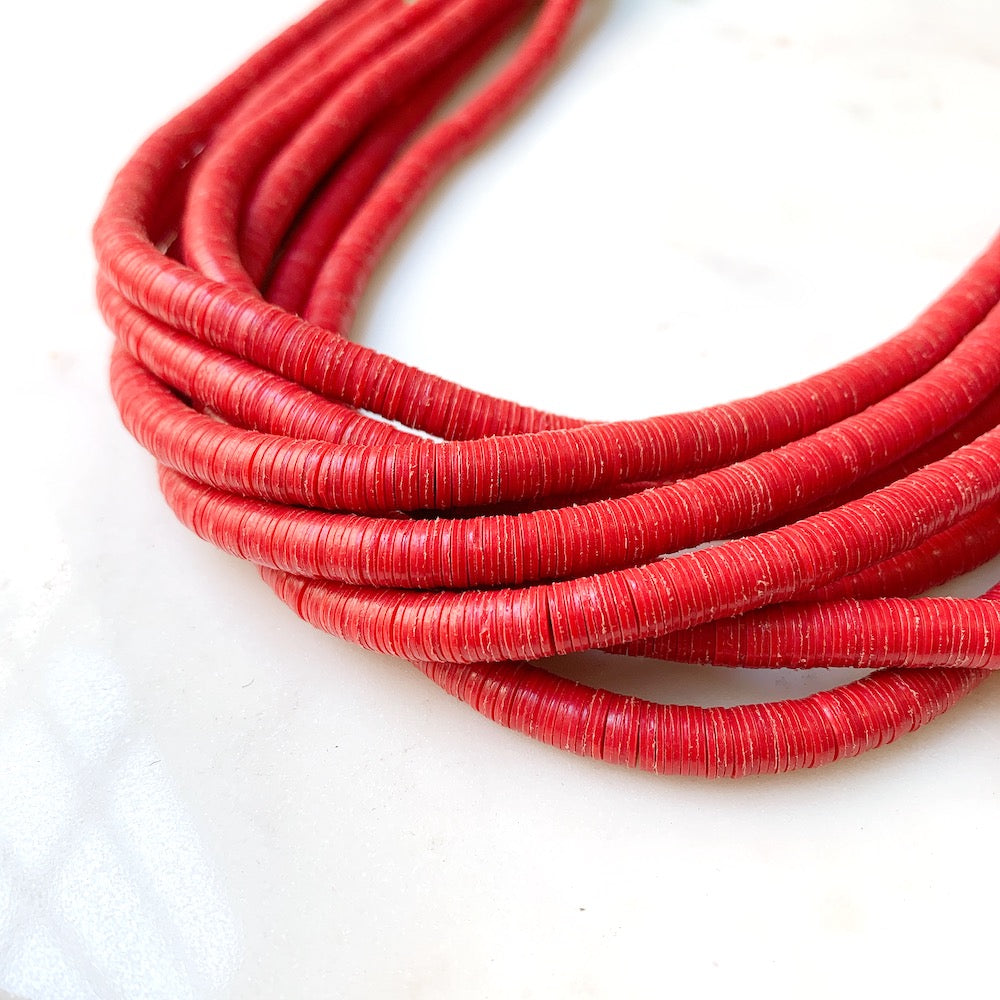
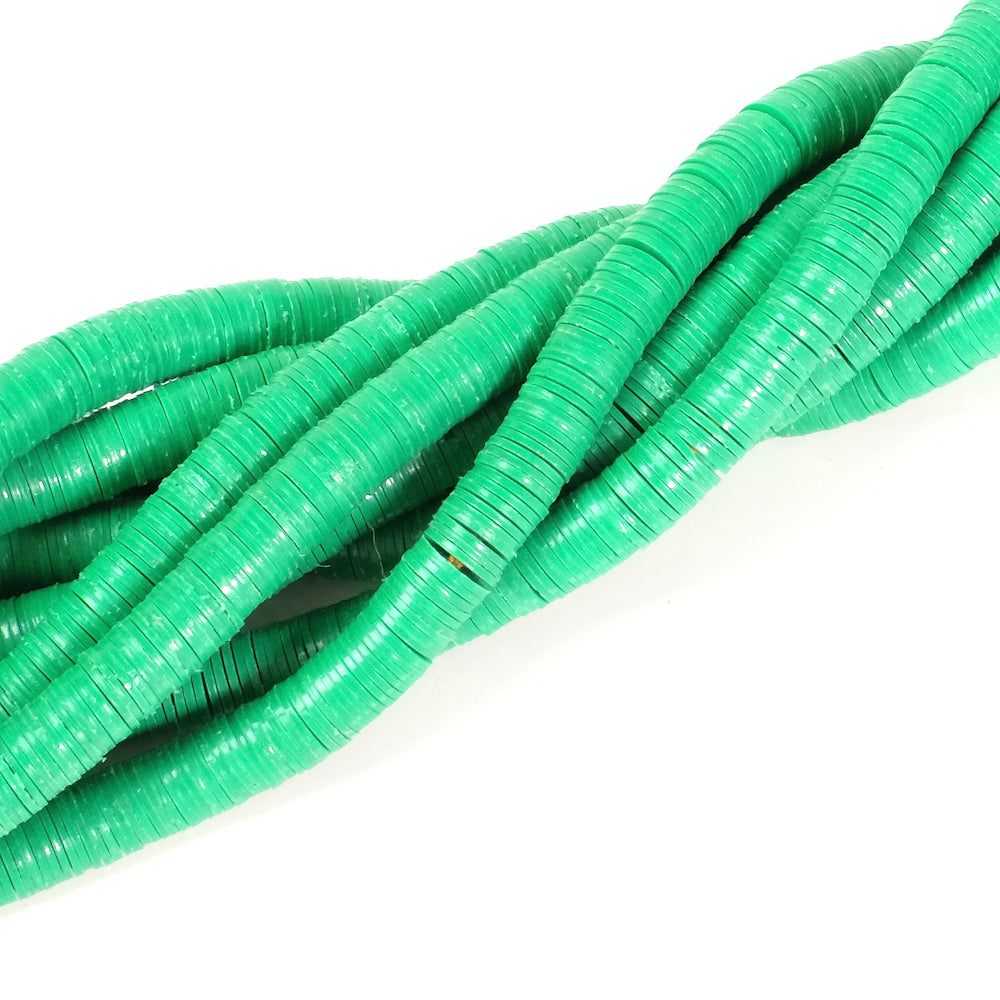
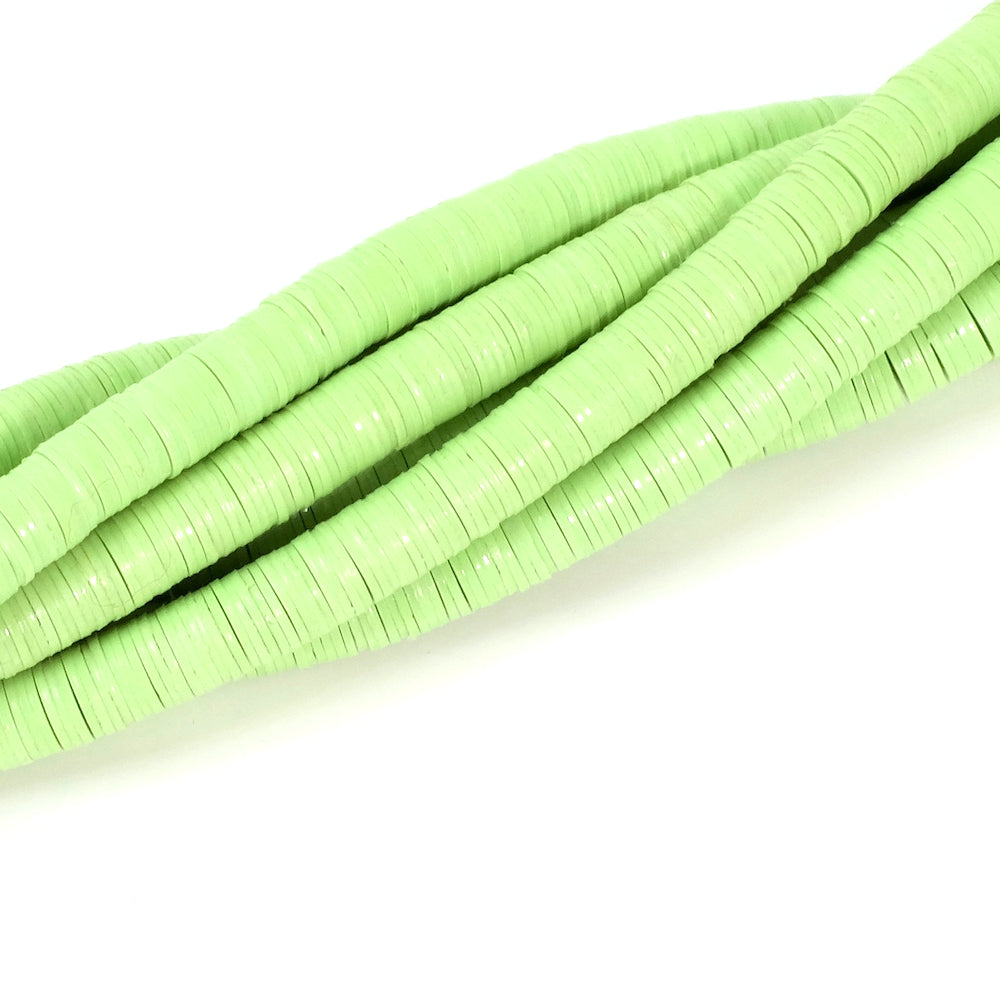
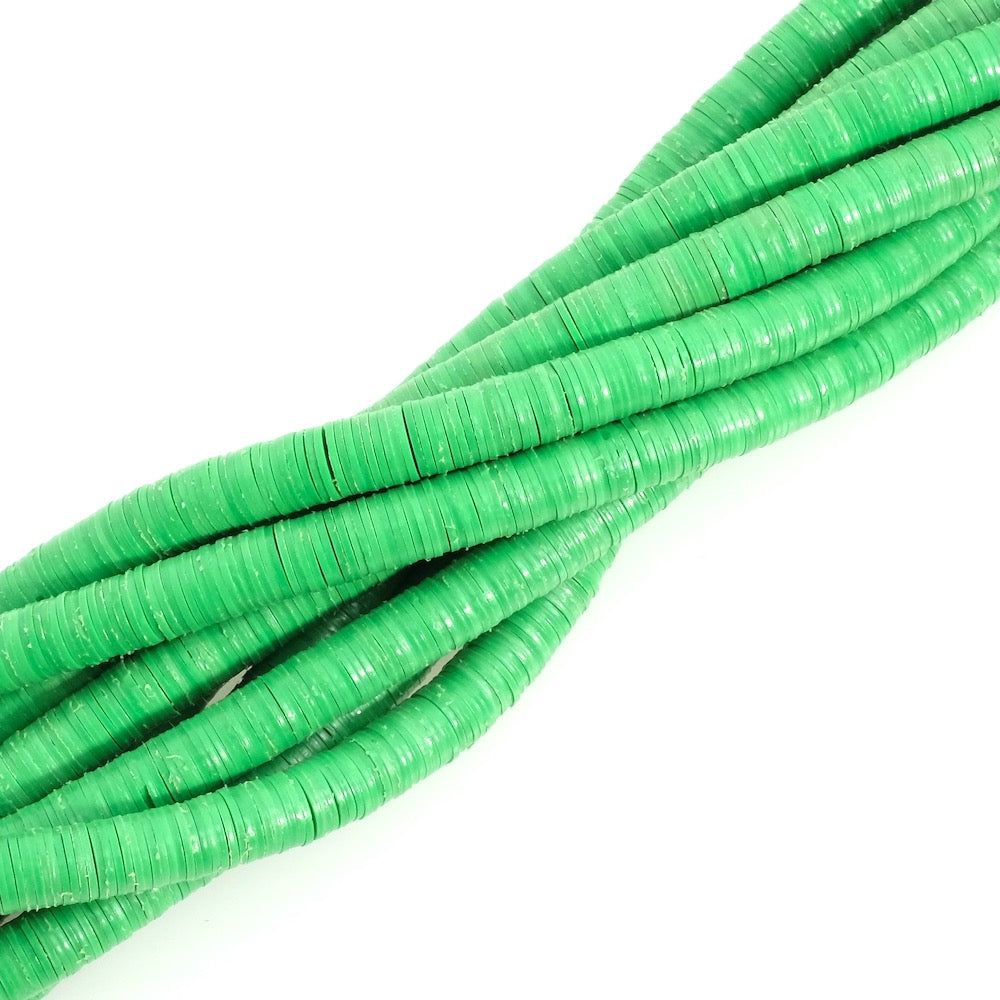
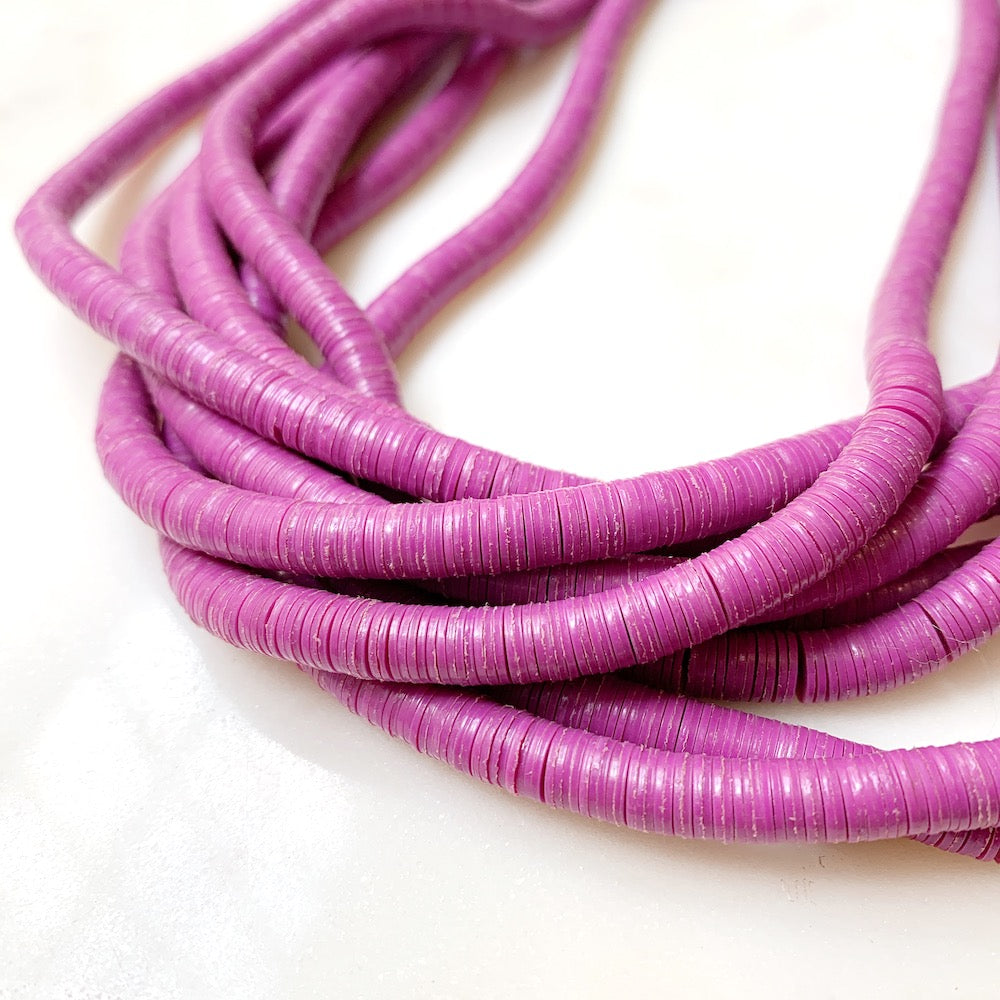
 heishi beads 6mm