|
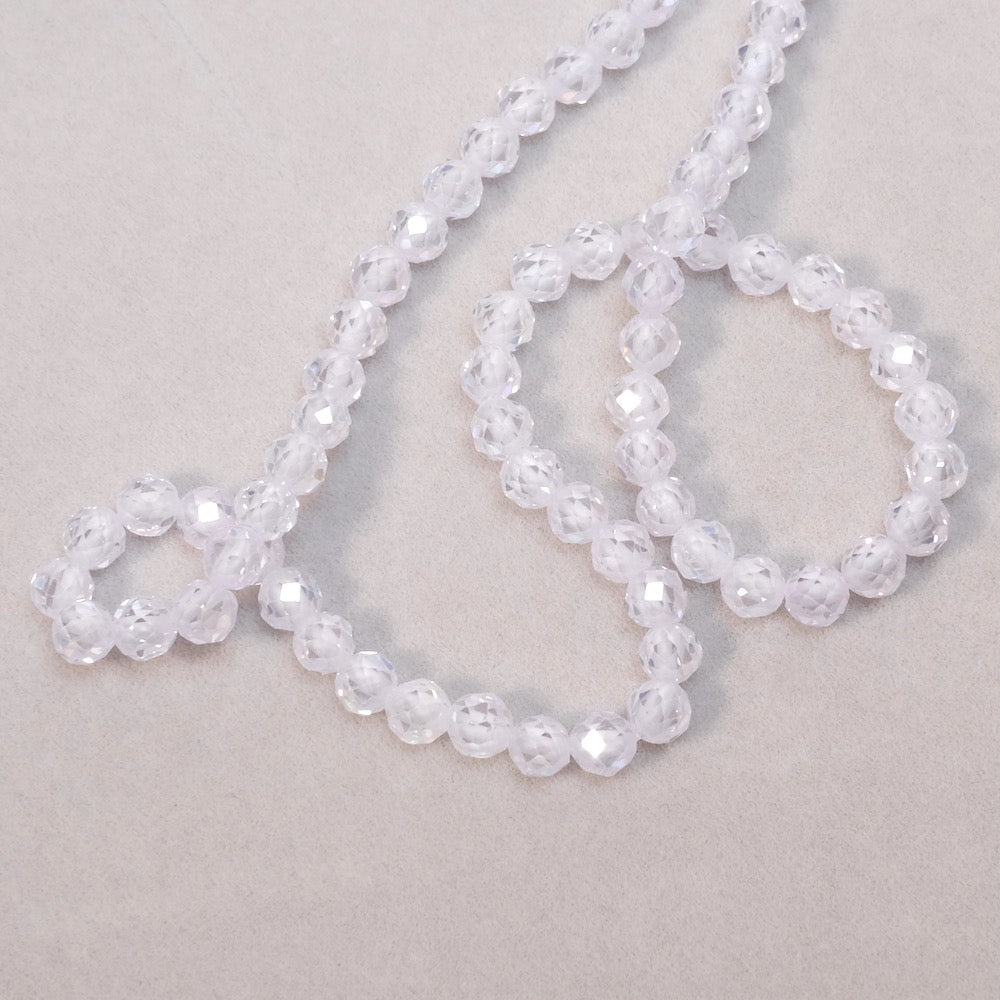
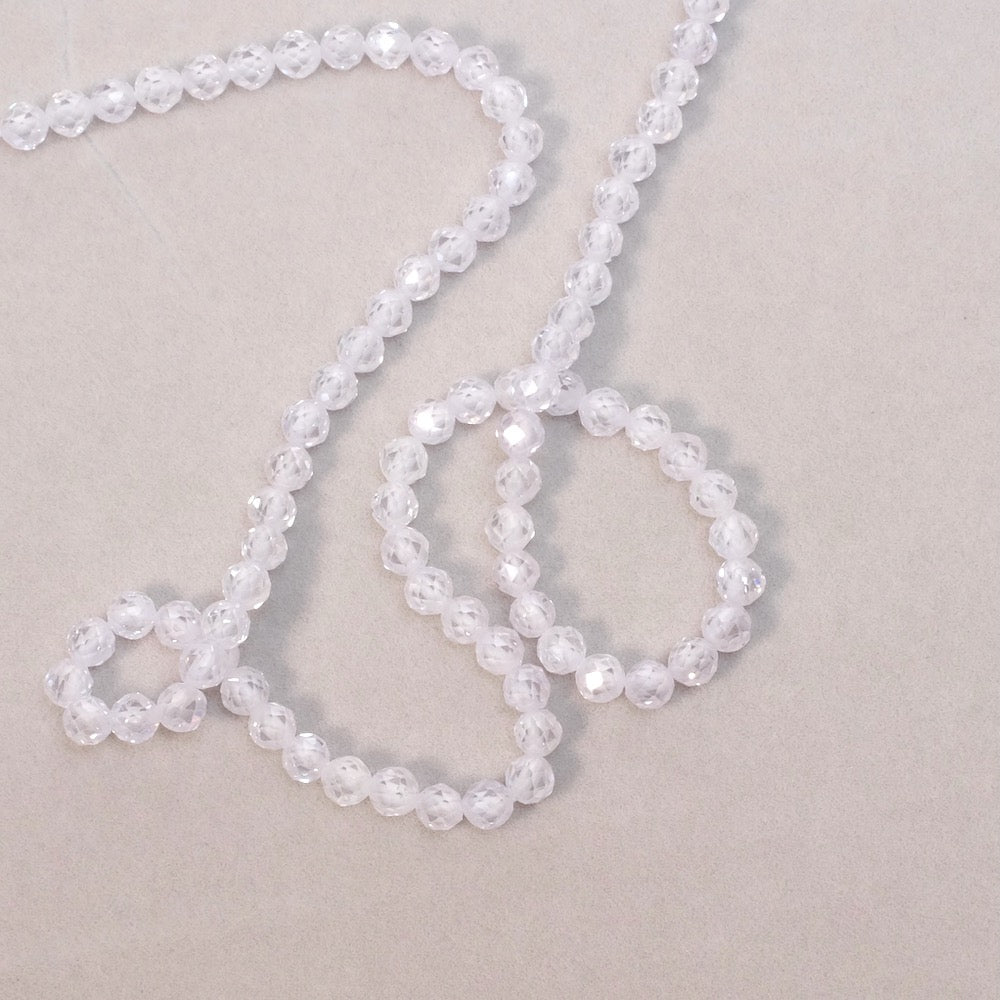
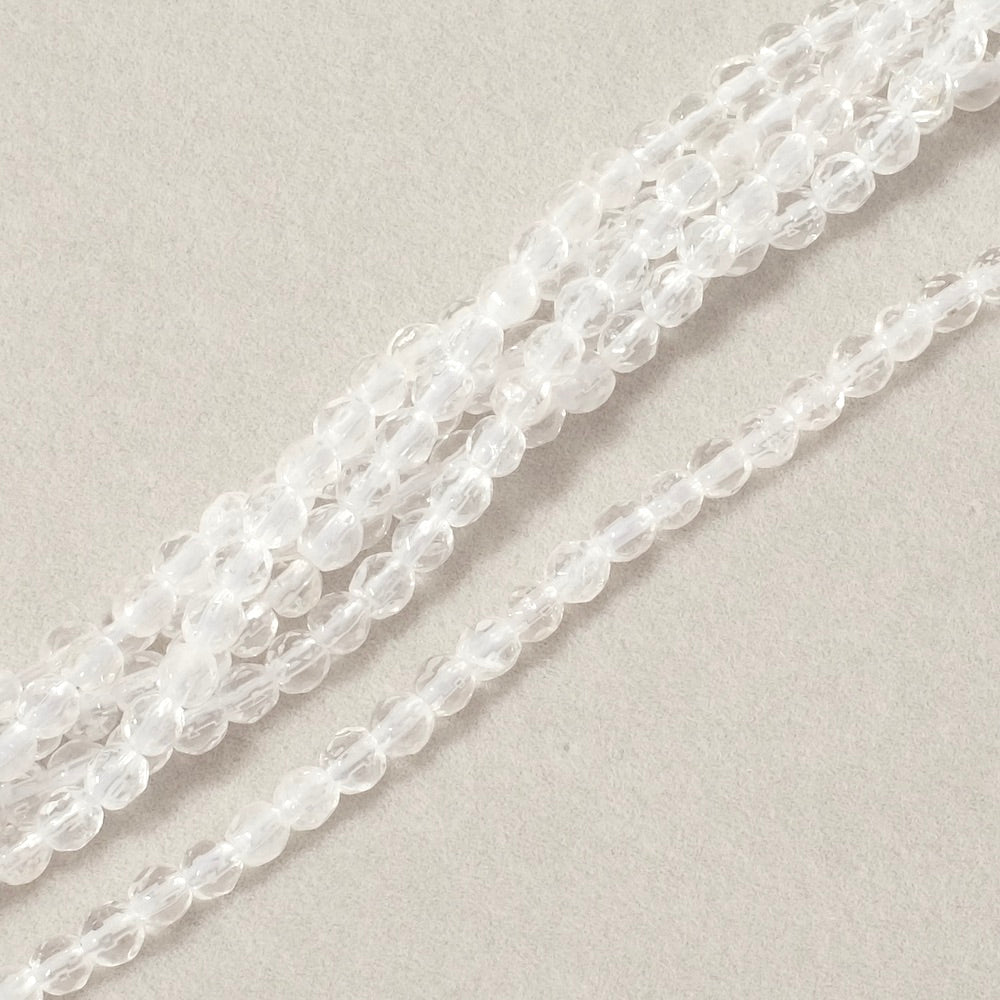
VIDEO TUTORIAL I am pleased to present a new poetic creation for the upcoming holiday season! A pretty Snowflake pendant mounted on a necklace chain that you can also use as decoration placed on the Christmas tree, hanging in front of a window, on a festive table... Here I used beads in Zirconium Oxide, their bright shine allows you to create jewelry that perfectly captures the light and reminds me of the effect of sun rays reflecting on snow. A simple tutorial to follow, carefully follow the steps in the video to perfectly recreate this model! Beautiful creation!
|
|---|
| For this project you will need: | ||||
|
|
||||
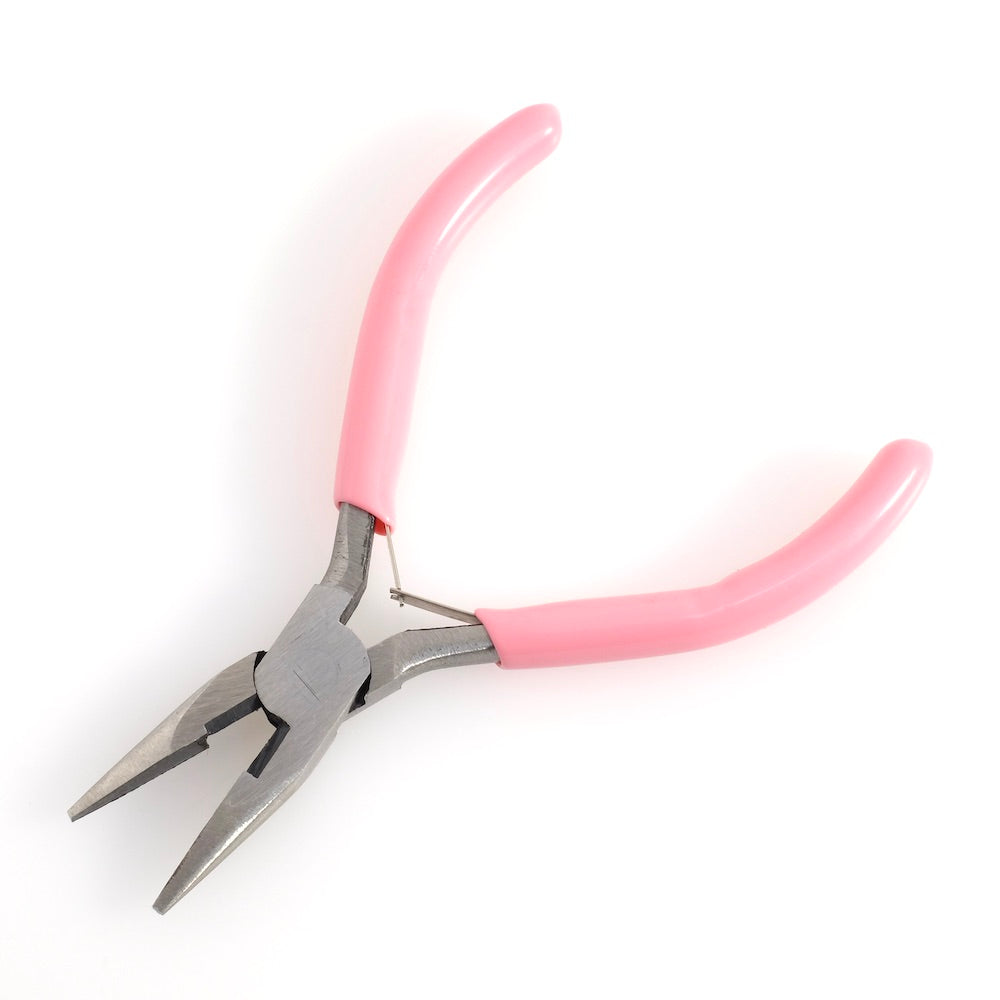
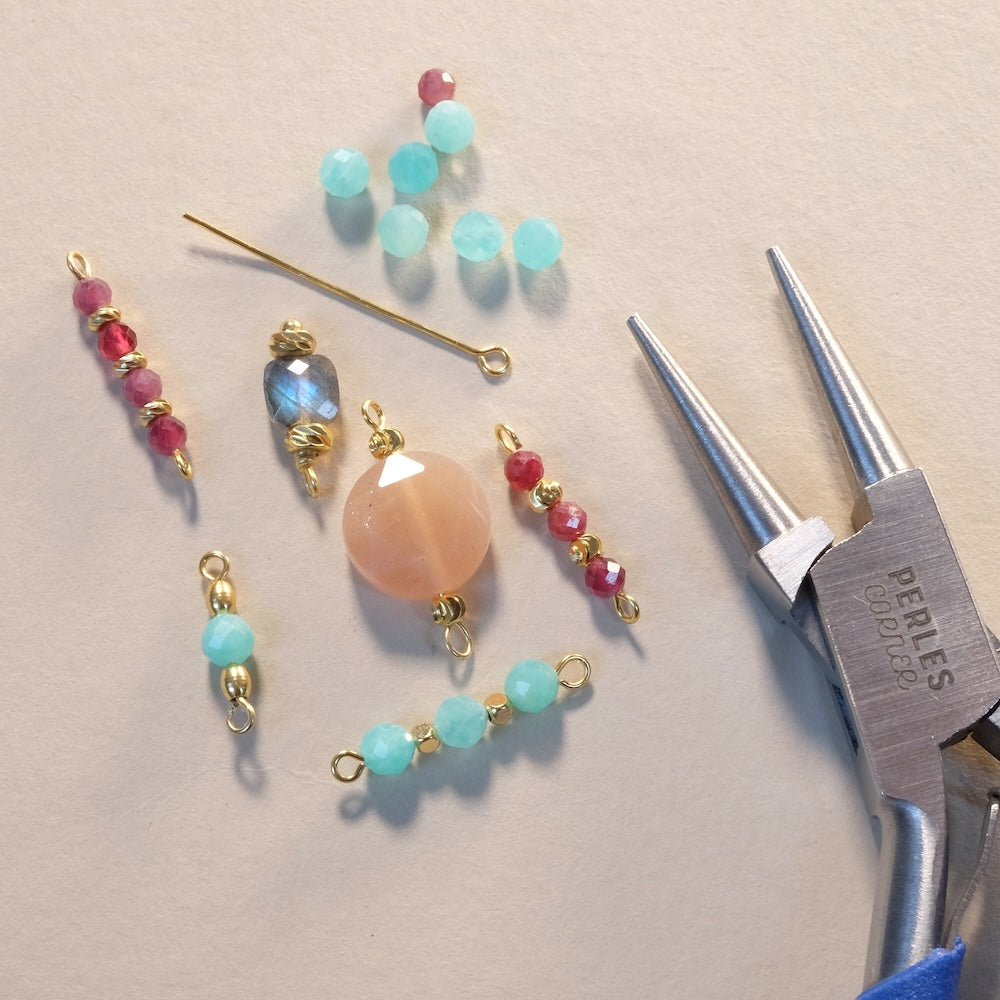
| Tools to use: | ||||
|
|
||||
|
The assembly: |
||||
|
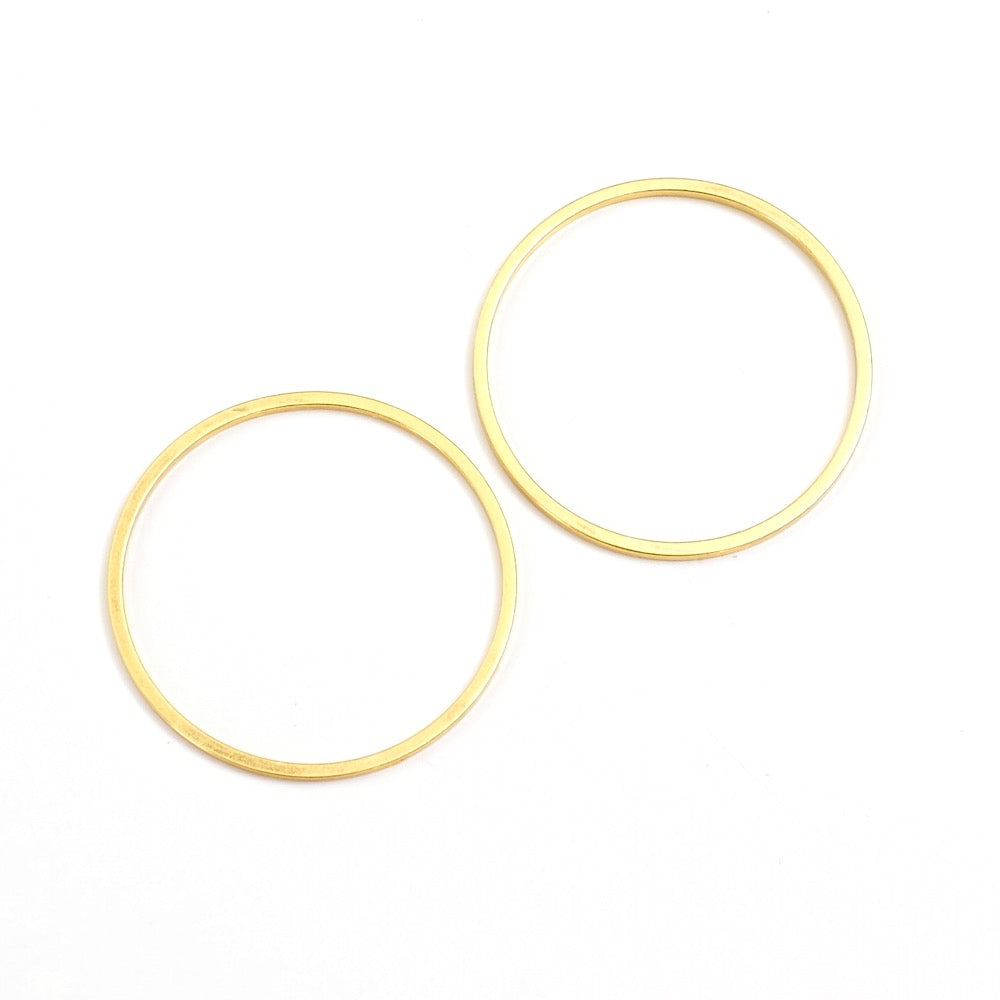
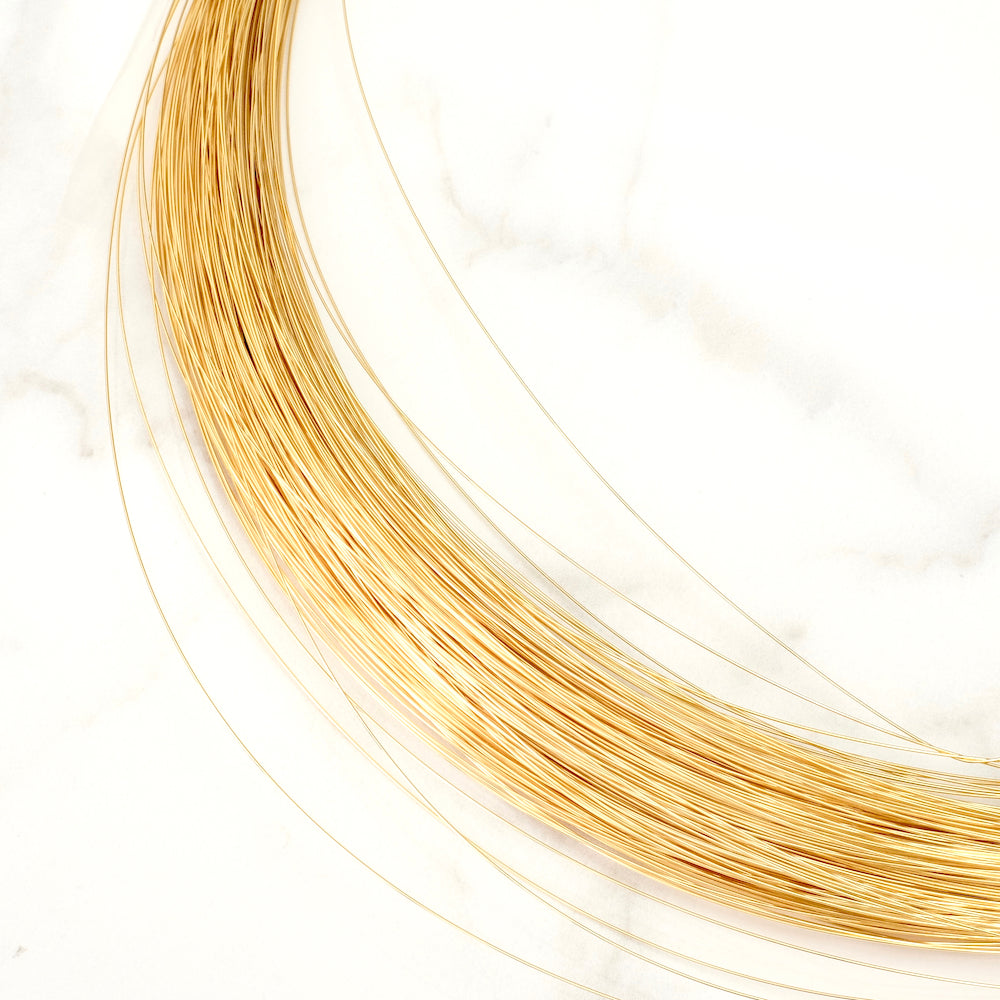
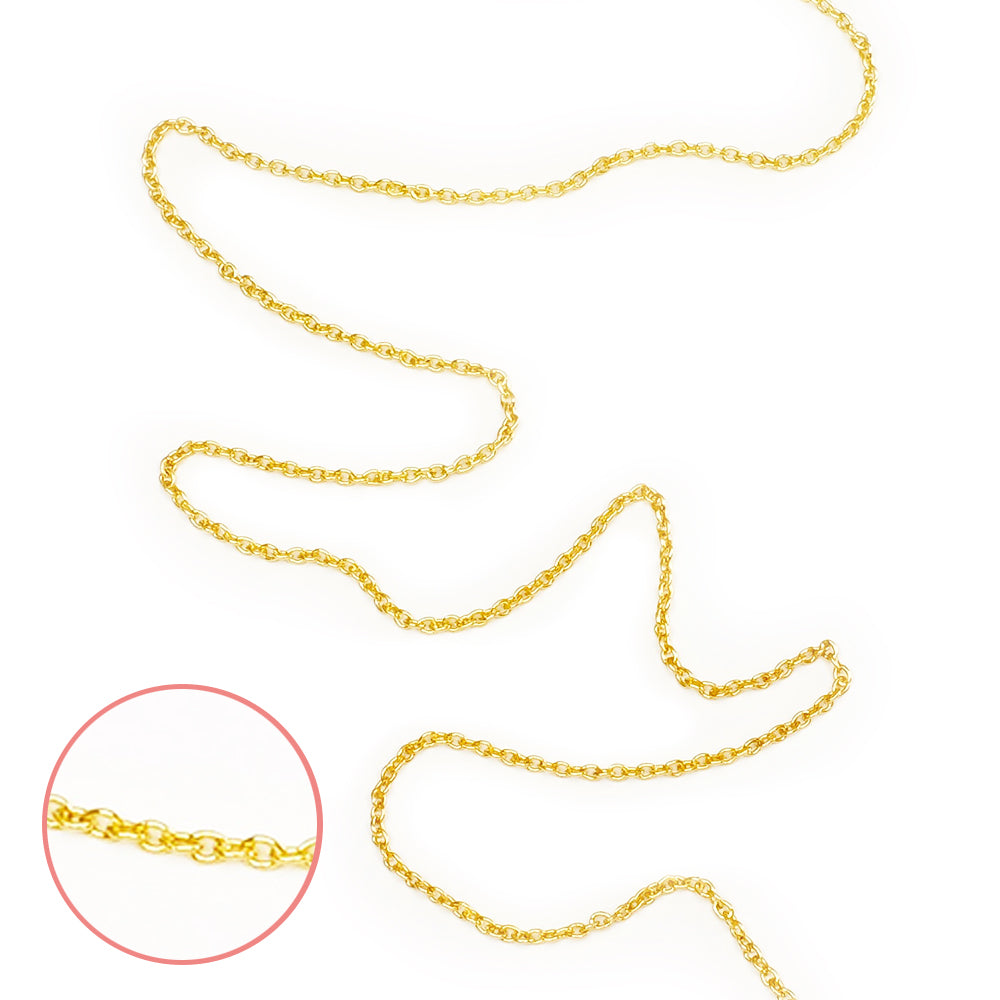
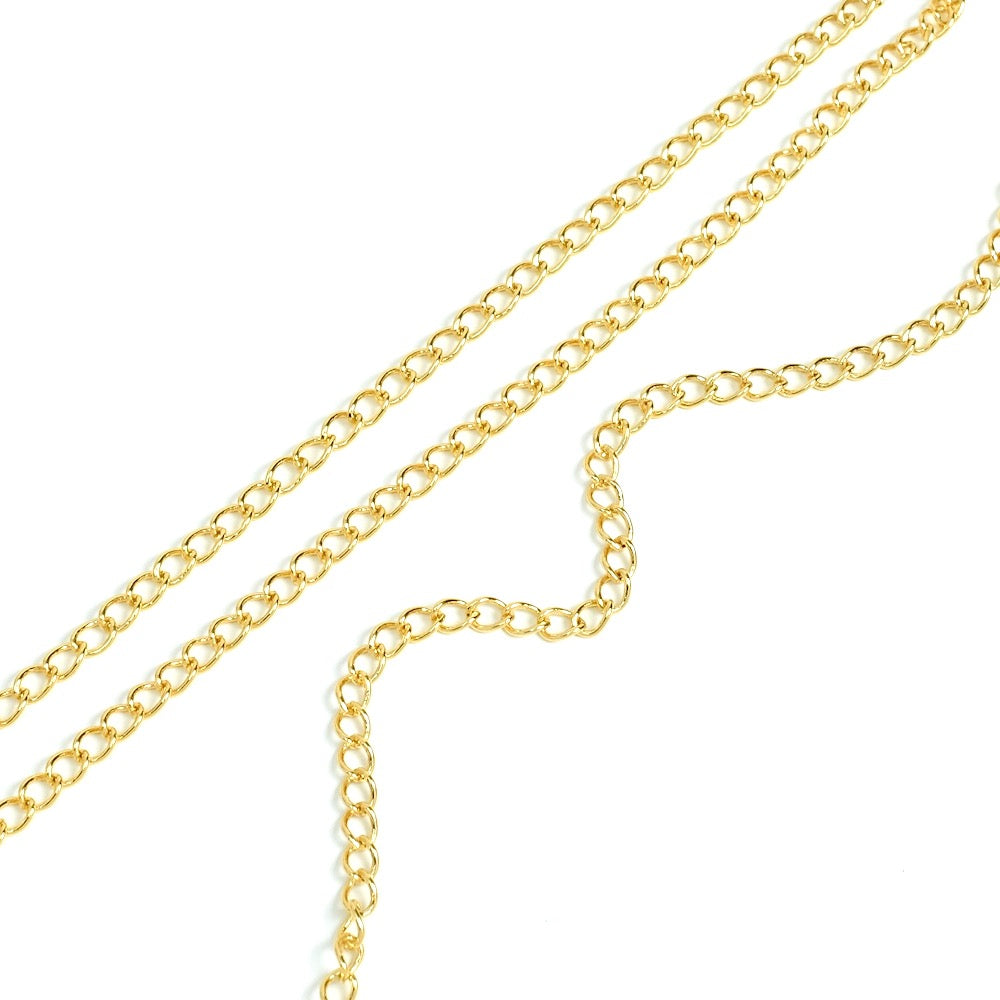
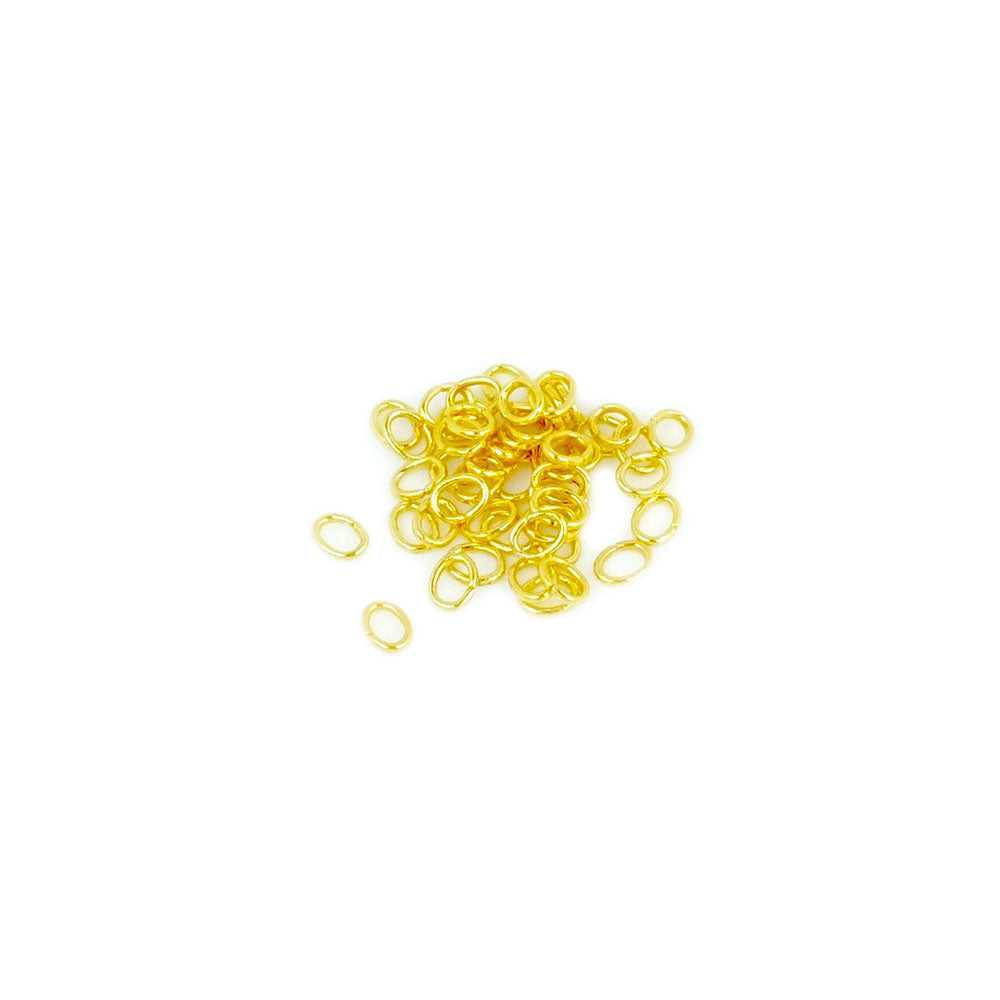
This creation is not very complicated to make, carefully follow the explanations below to faithfully reproduce this model. Our video below shows you the essential assembly steps. Feel free to recreate this model with the beads of your choice! Here we used Zirconium Oxide beads for their sparkle and their appearance close to the transparency and color of snowflakes. To start, cut a flexible brass wire about 60cm long. Be careful not to take a wire that is too short to avoid joints. Wrap the brass wire on the closed ring and neatly cut the excess wire. Now thread 3 beads onto the wire then wrap the wire on the ring forming a small curve with the beads. Tighten the wire well to prevent the beads from moving. Continue with the same method to place all the beads. With this ring size, you will place 24 beads in total, that is 8 modules of 3 beads which will go all around the ring.  Take the faceted link fancy chain, here 20cm, fold it in half to visualize the central link. Place the center link on the brass wire then wrap the wire between 2 beads to secure the chain on the ring. Wrap the wire between the bottom of the link and the ring to finish the attachment. Cut the excess wire flush.  Now cut the simple link chain into 2 pieces of 15cm, or longer depending on the desired necklace length. Attach the simple link chains to the ends of the fancy chain with jump rings. At the ends, place the clasp and the extension chain (about 4cm) with jump rings. And there you go! Your creation is finished! I hope you enjoy this tutorial and that it inspires you to recreate it with other beads, as hanging Christmas decorations...  Beautiful creation! |
||||
 |


To be reserved alone or with friends!

Inspirations, tutorials, and new arrivals: receive the best of handmade in your inbox.


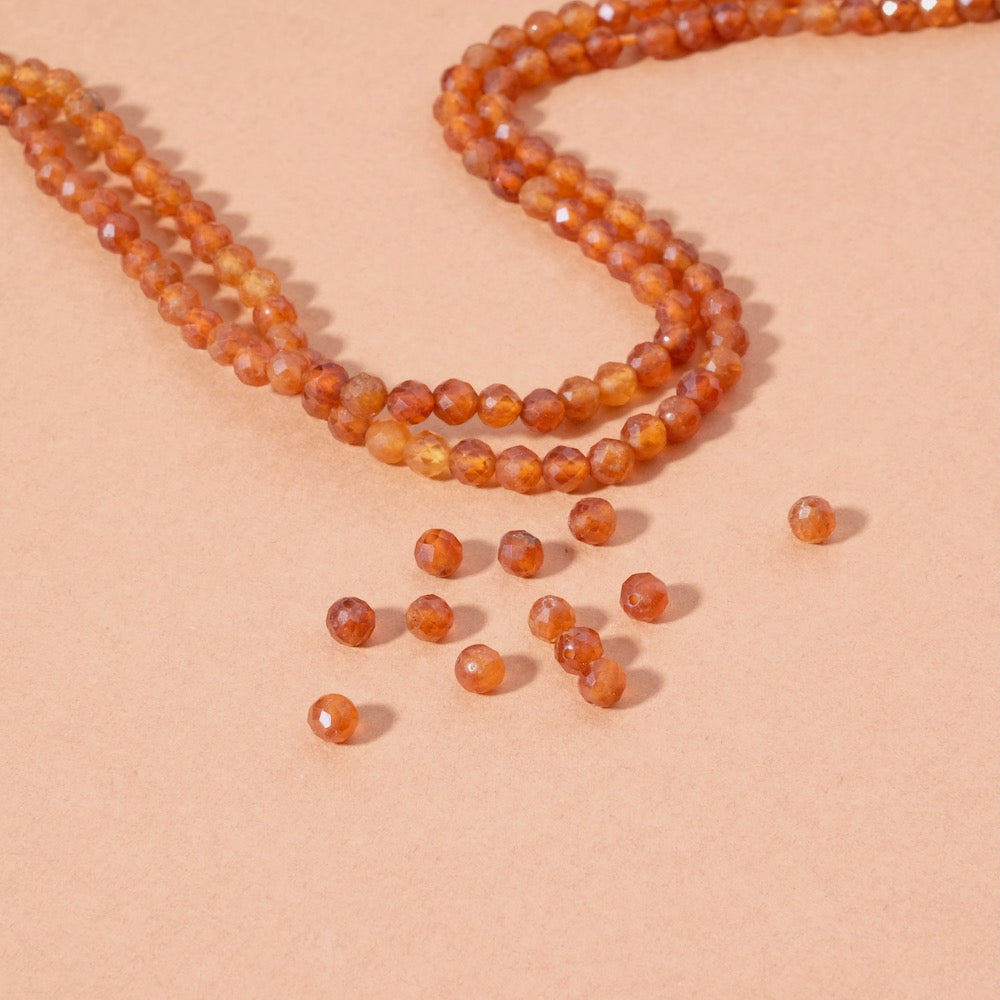
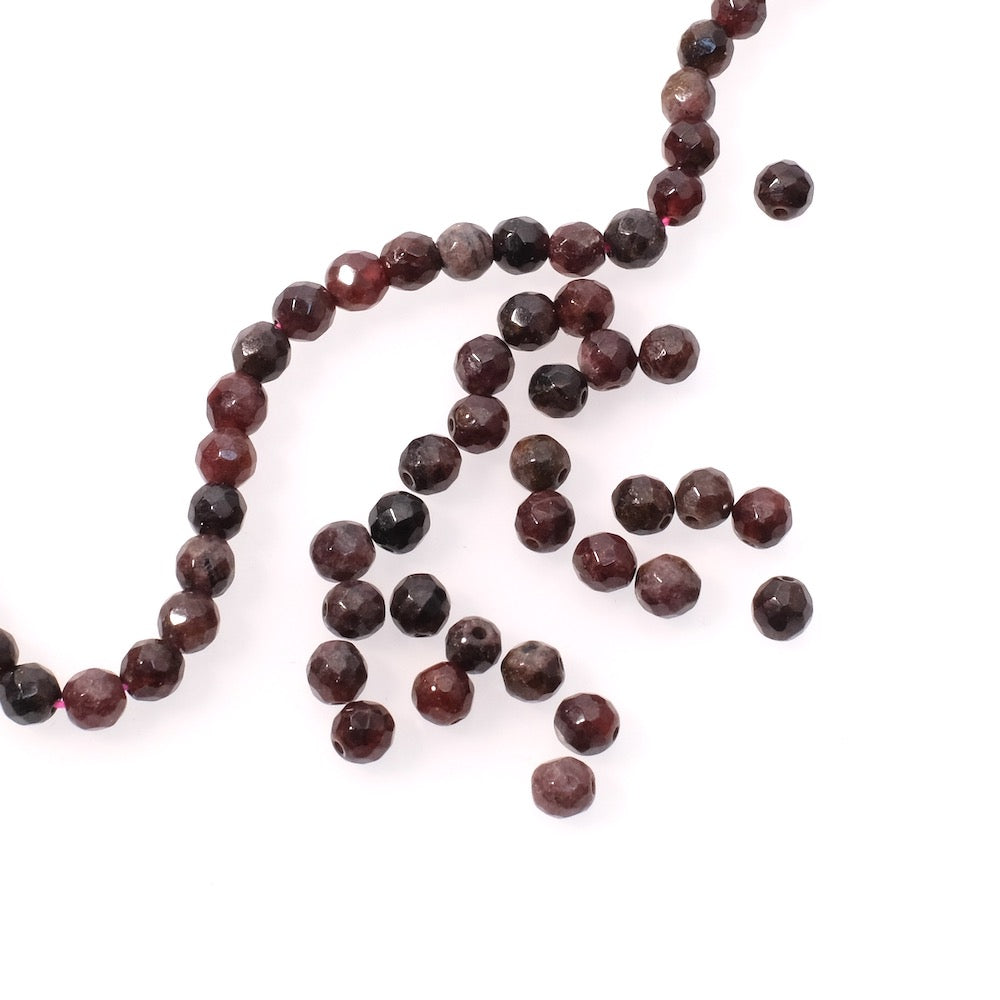
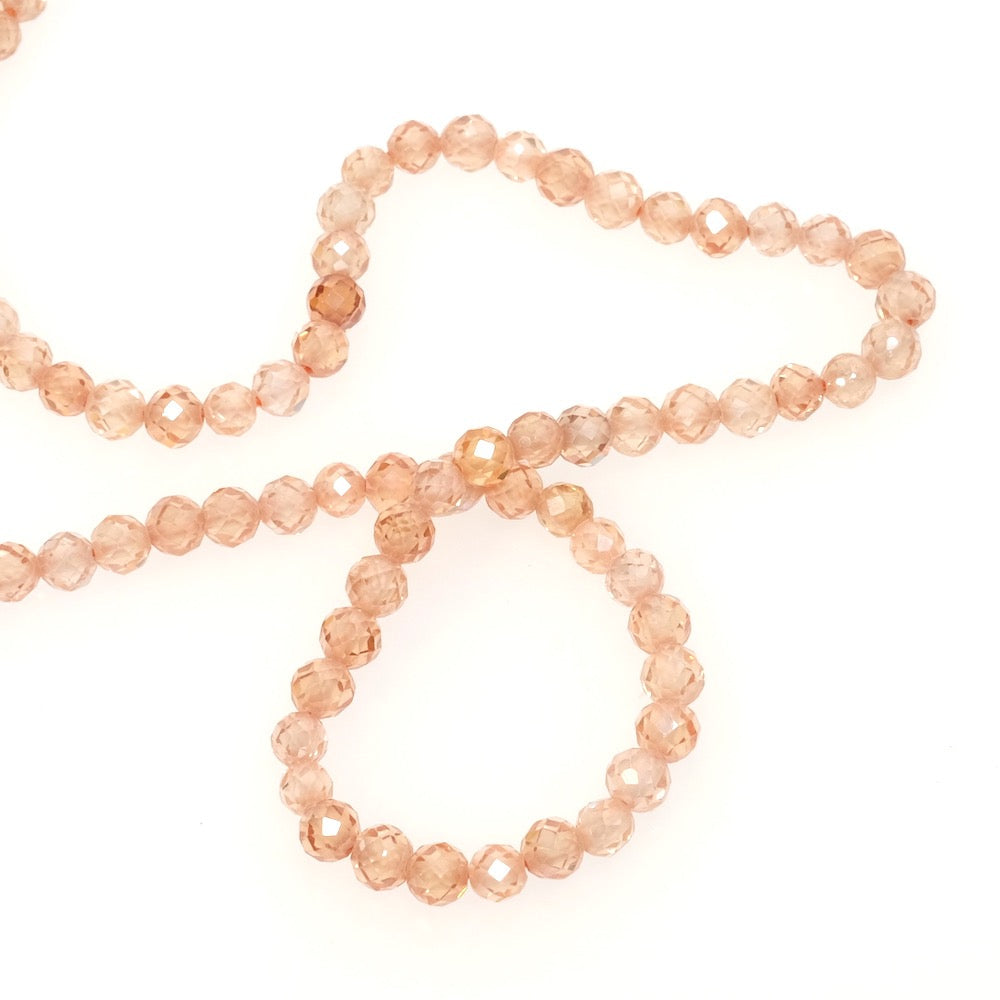
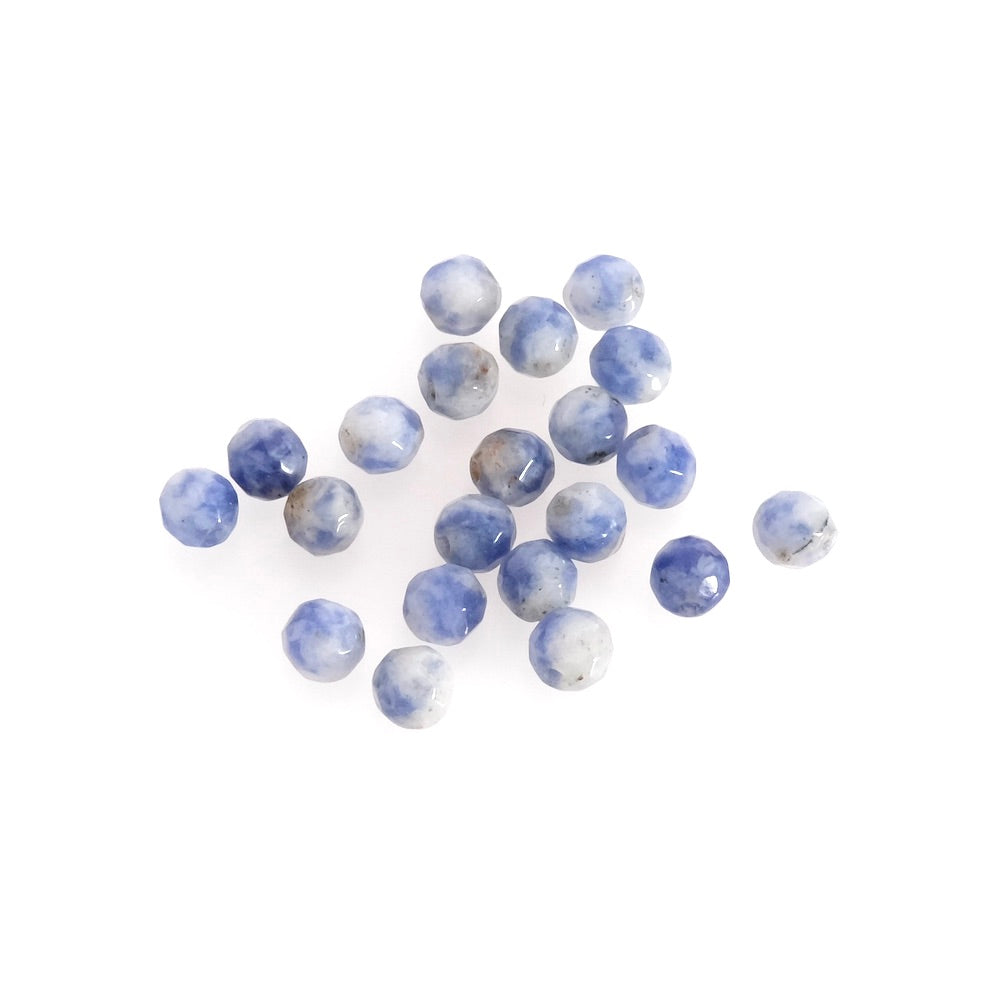
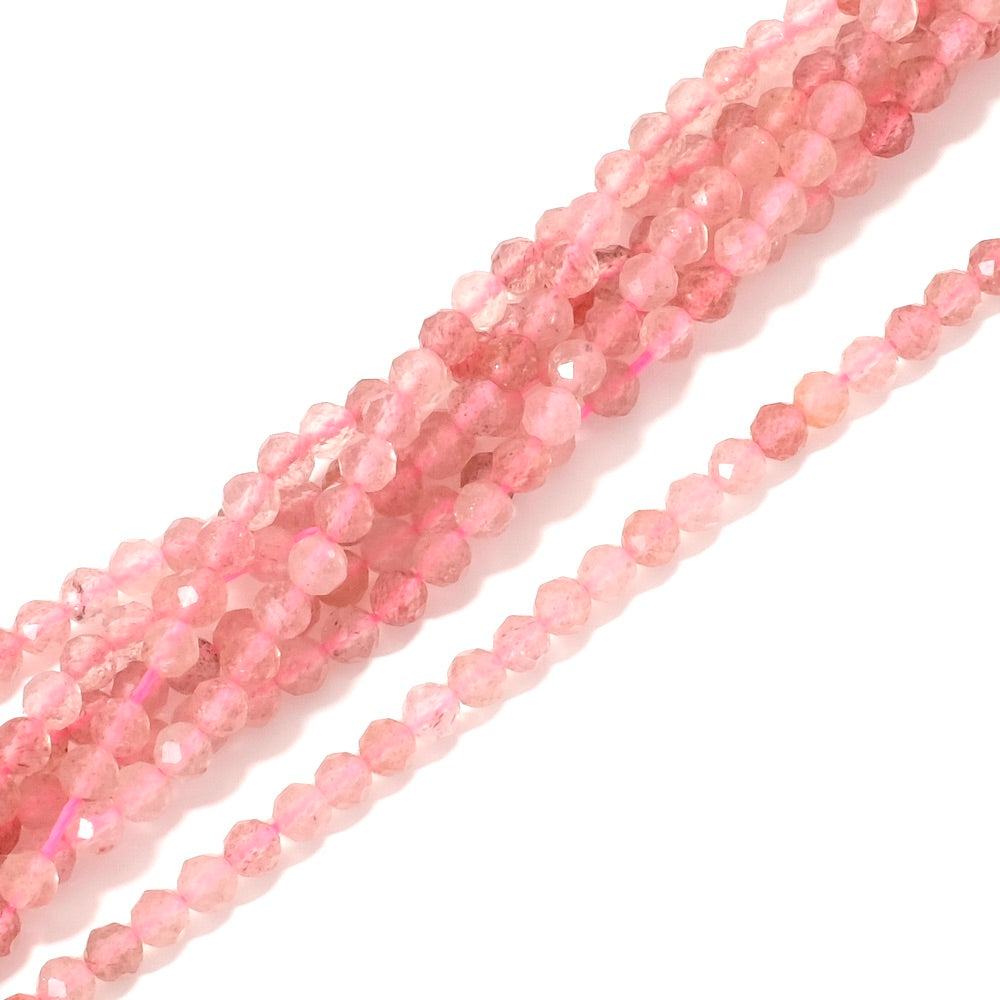
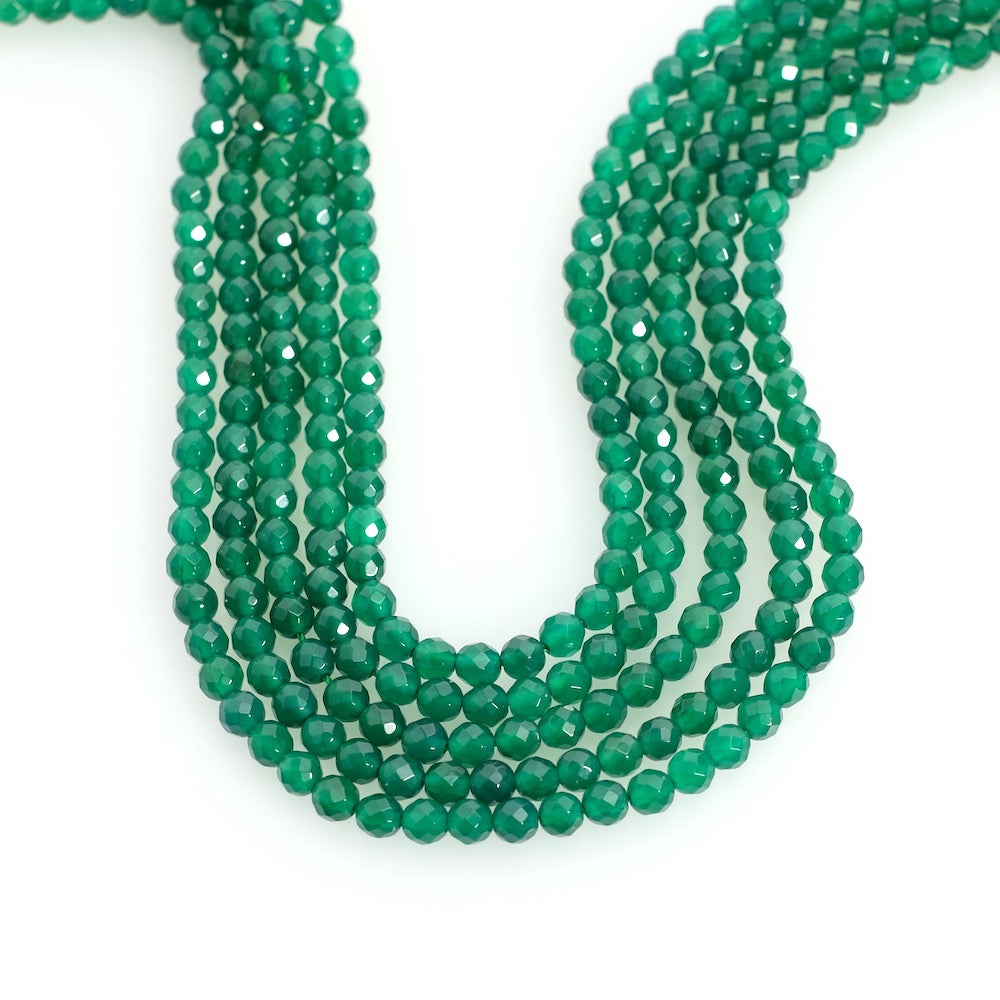
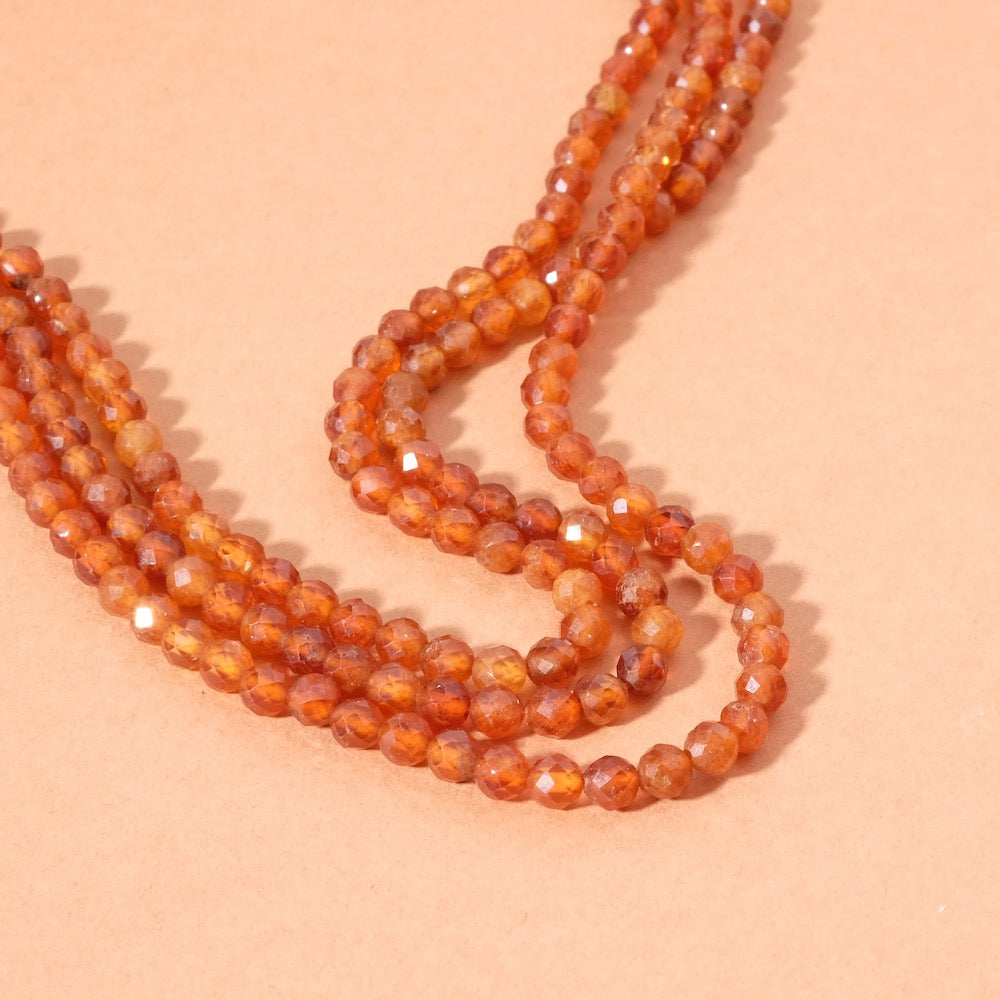
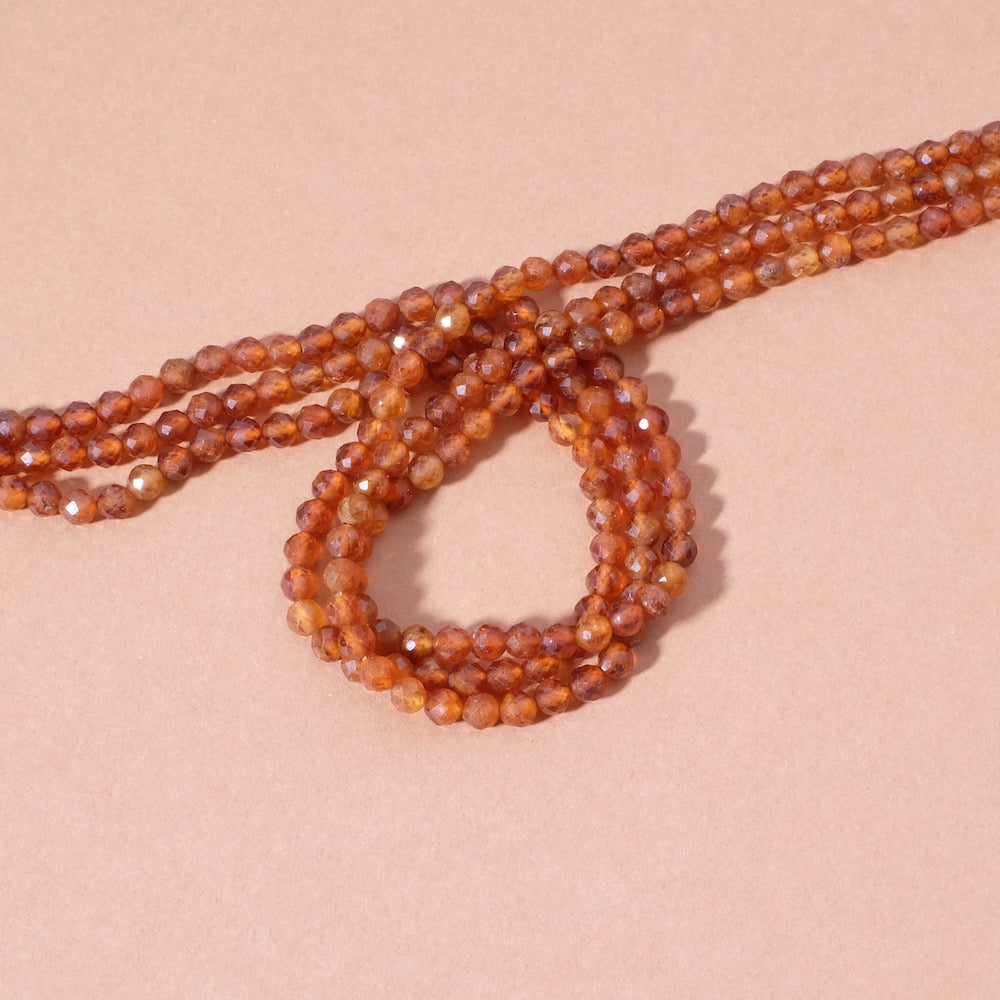
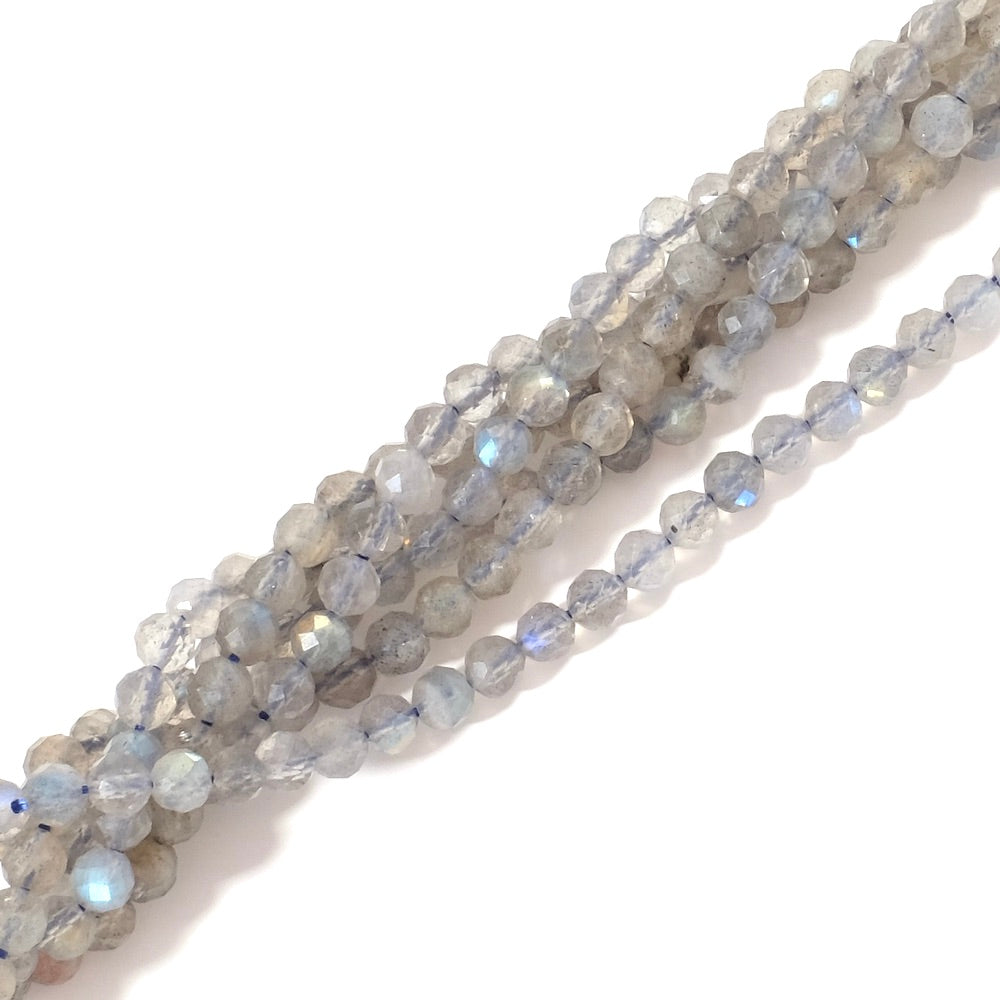
 24 beads in 4mm Zirconium Oxide
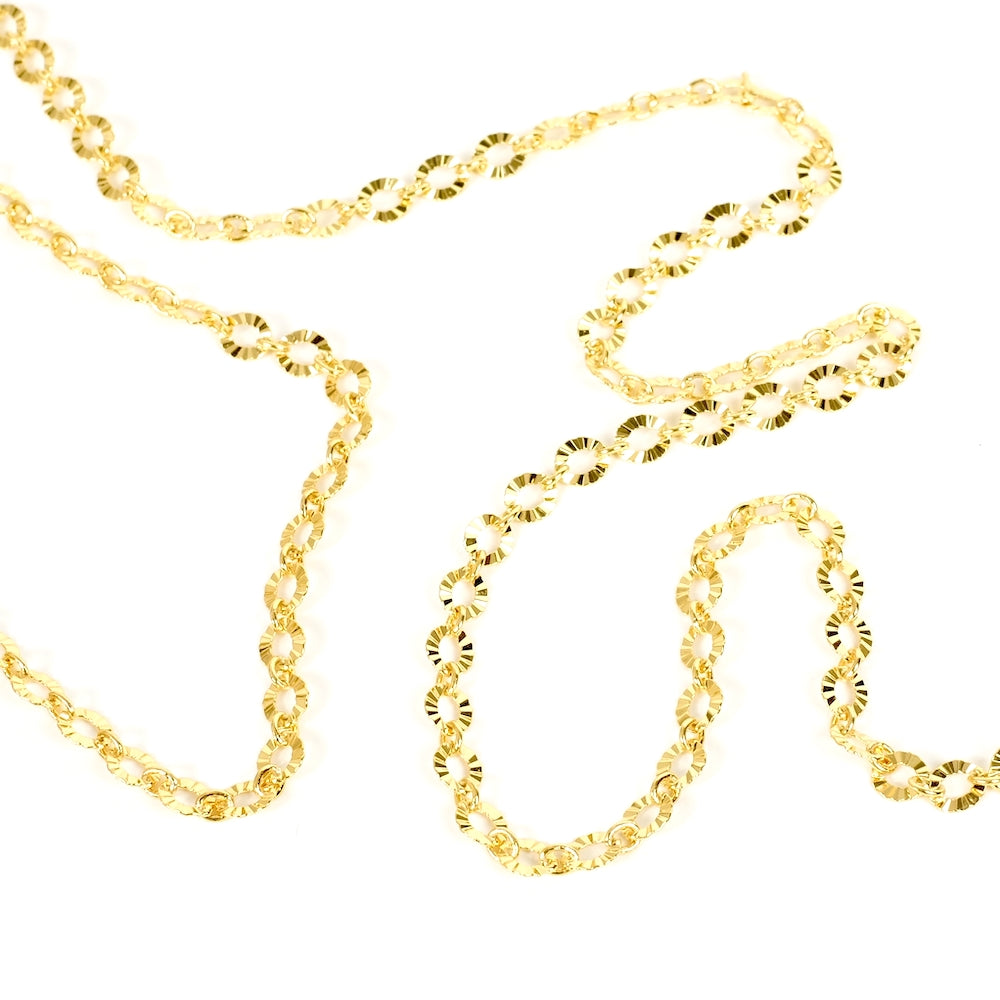
 20cm faceted link chain 24K fine gold plated