|
Timeless Elegance: Create Your Natural Stone Necklace Fall for our new creation, enhanced by beads in natural stones, golden beads, and a graphic pendant, as refined as it is contemporary. Perfect for brightening up year-end evenings or adding an elegant touch to your daily life, this piece of jewelry will also make an invaluable gift for someone special. Follow our step-by-step guide below and feel free to customize thiscreation with the stones of your choice. Beautiful creation!
|
||||
|---|---|---|---|---|
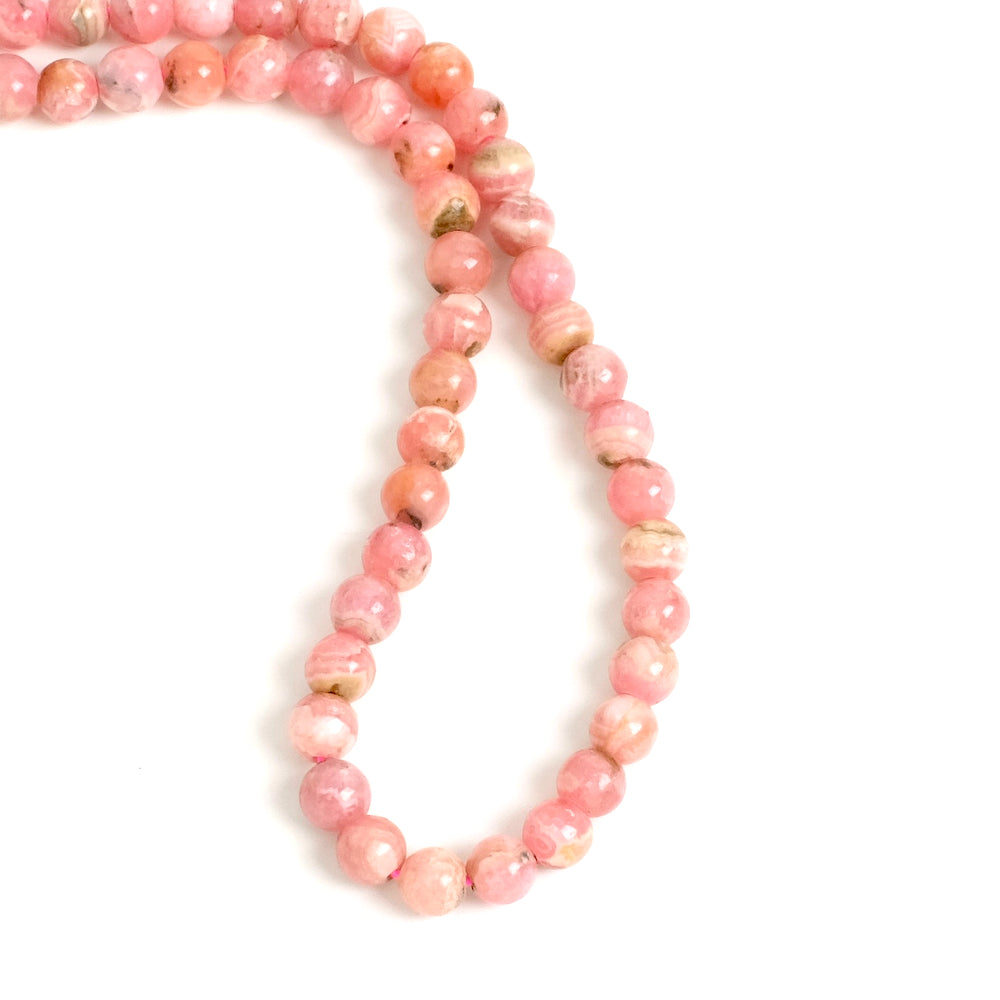
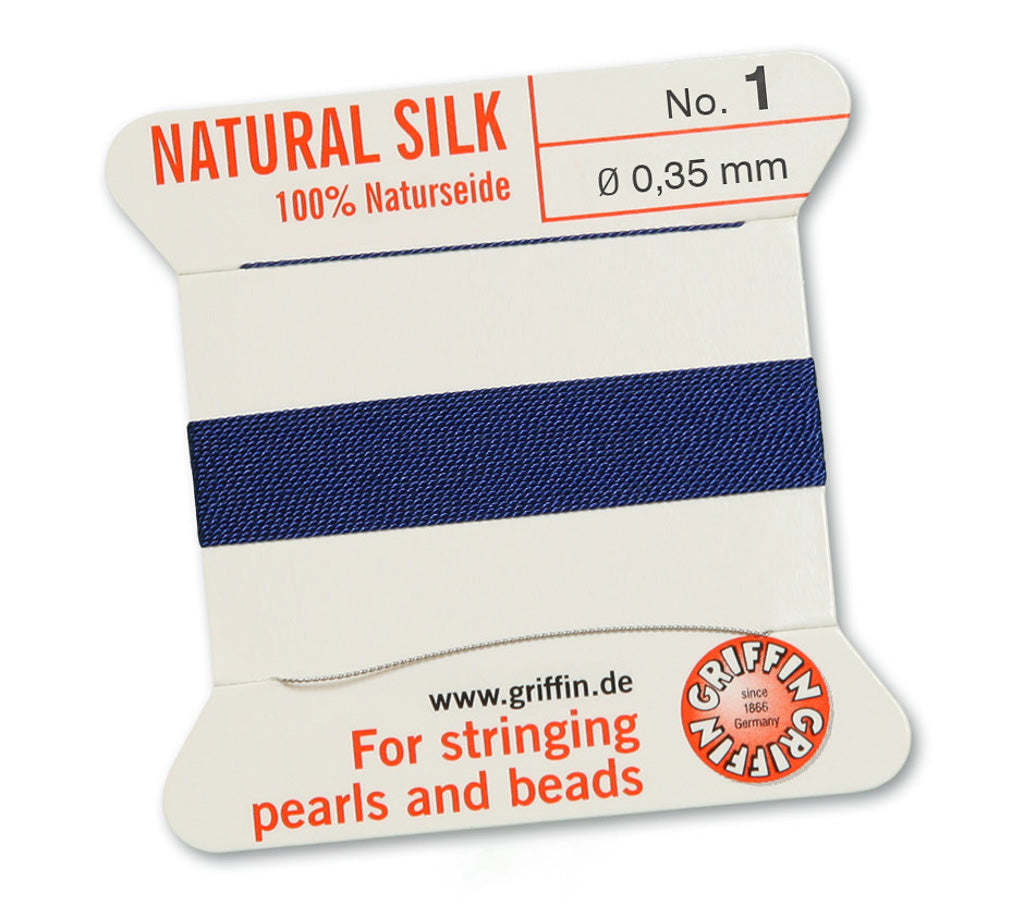
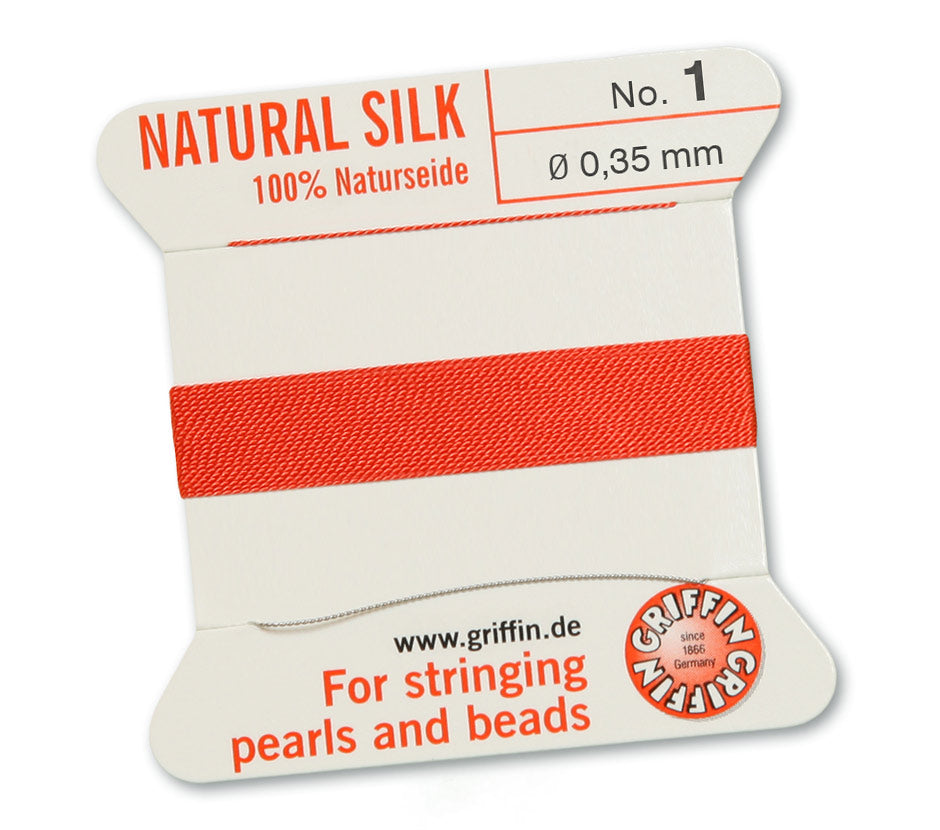
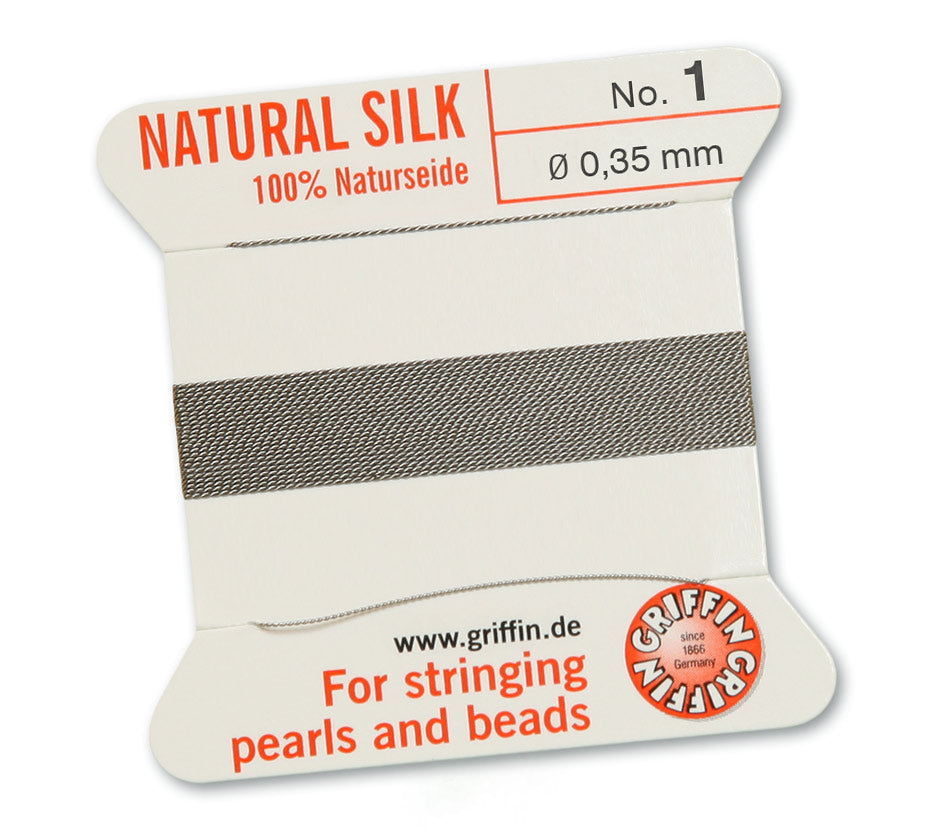
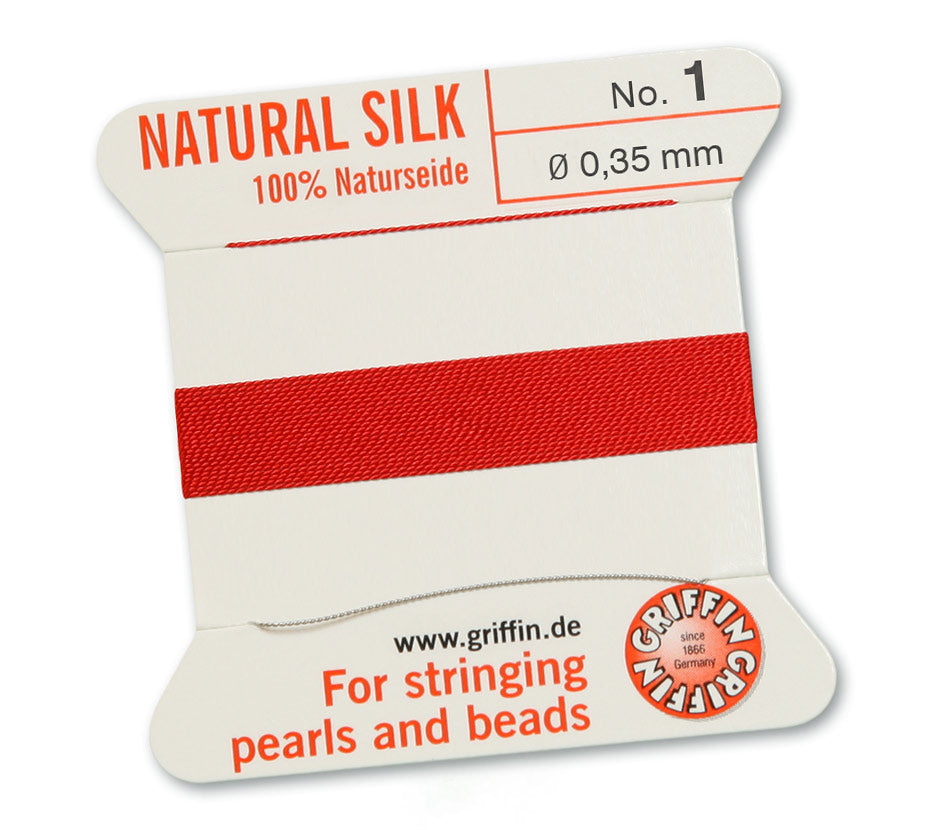
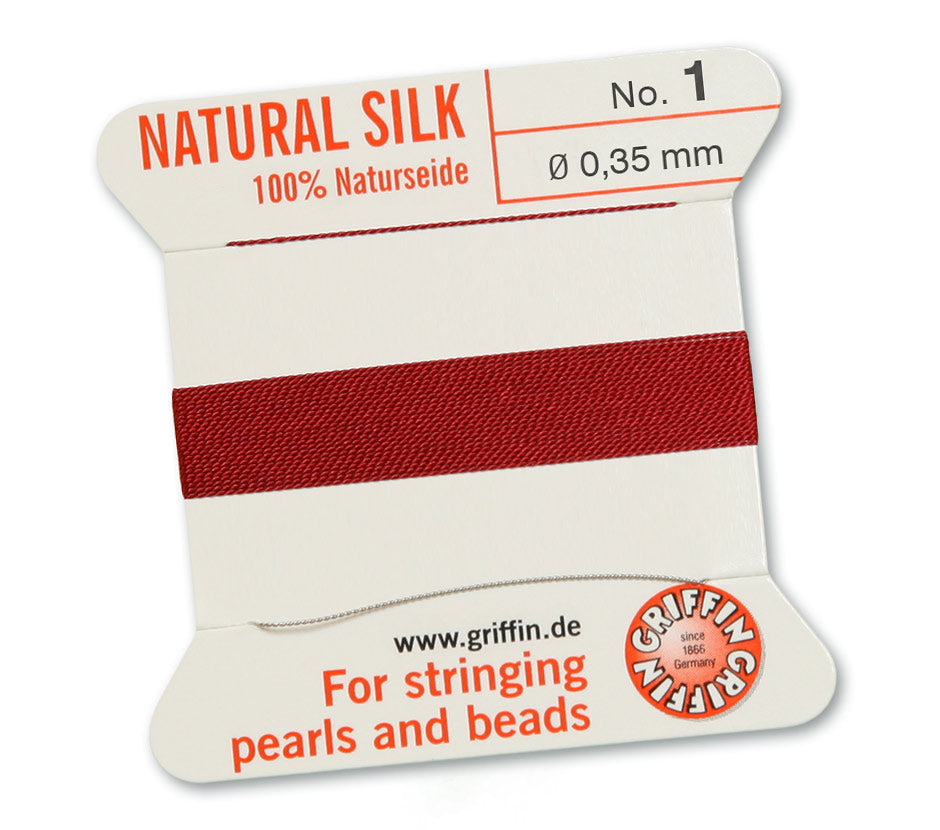
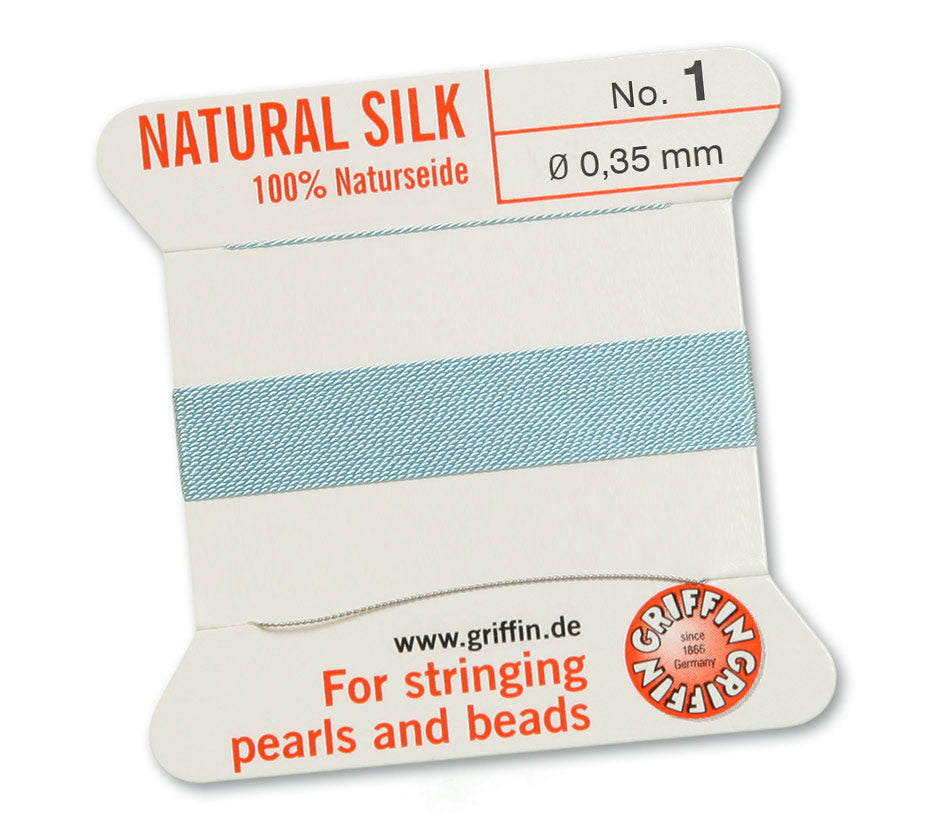
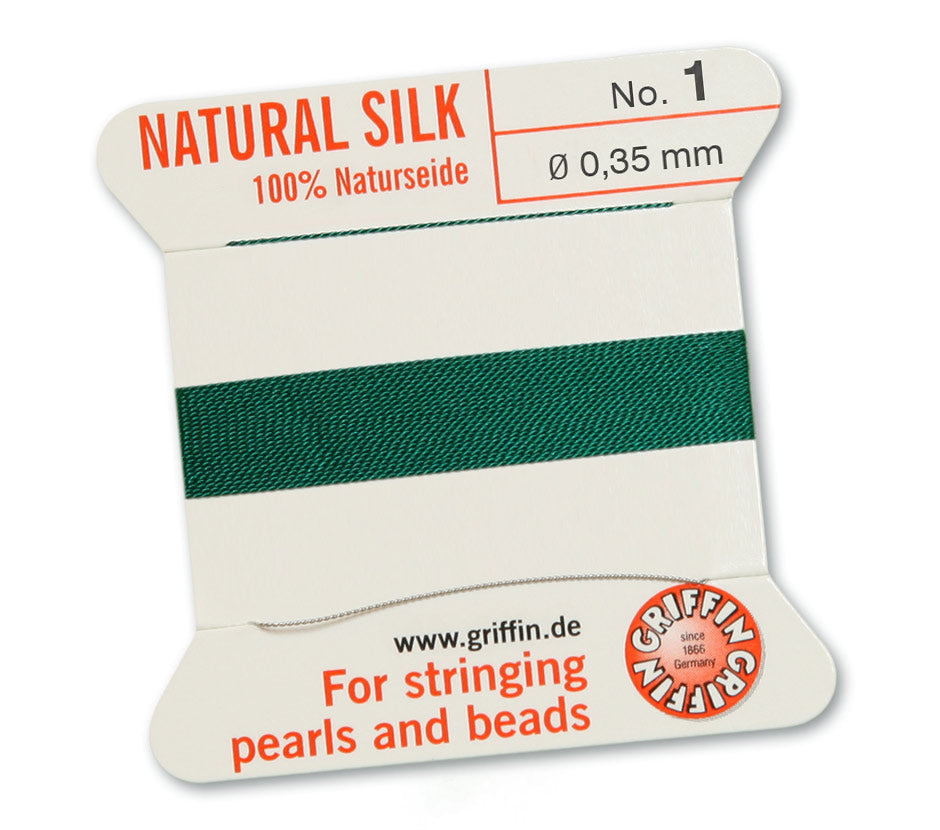
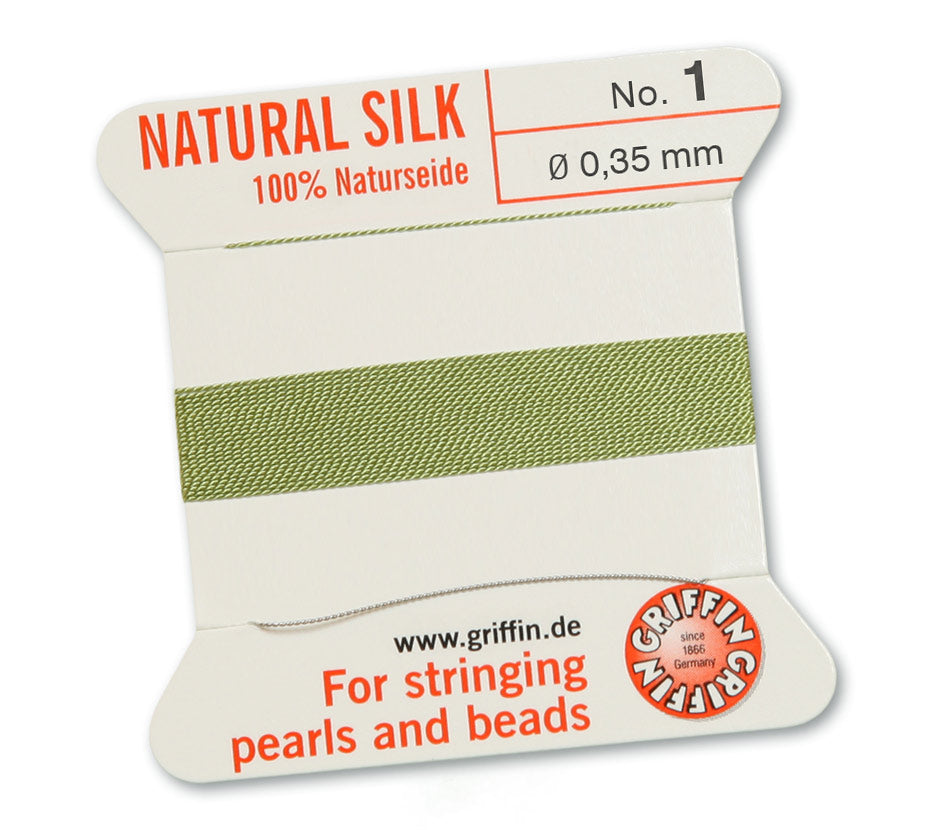
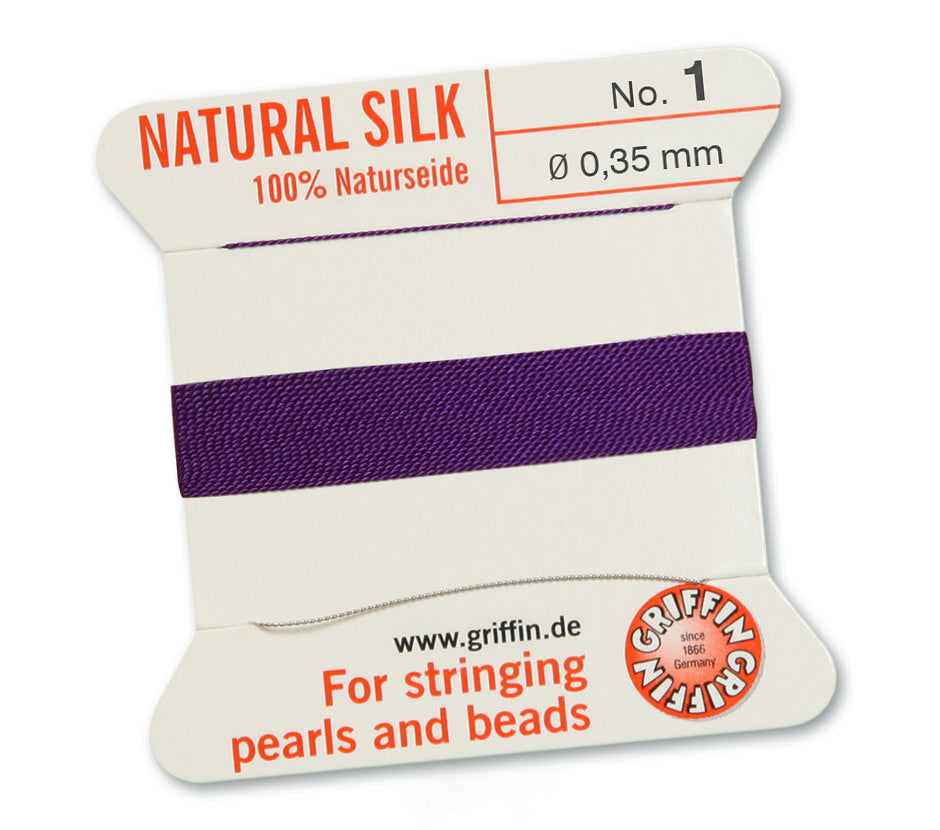
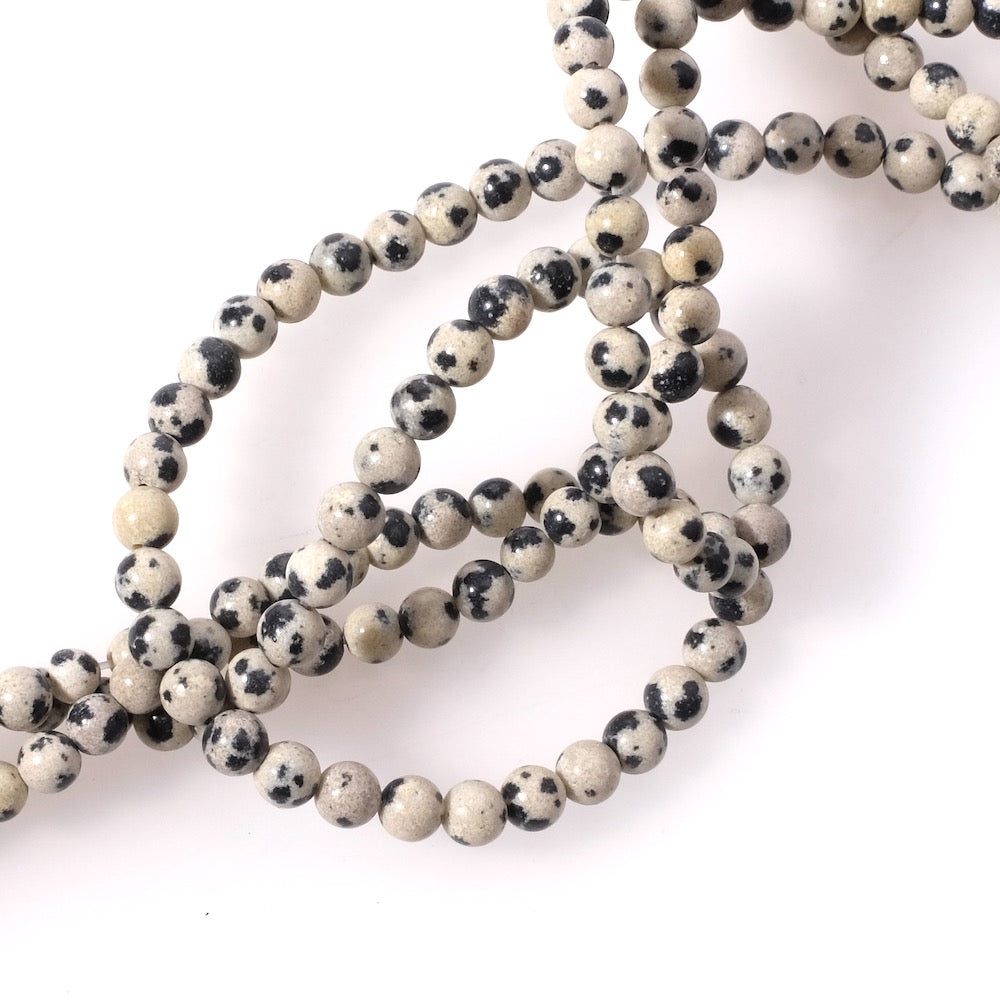
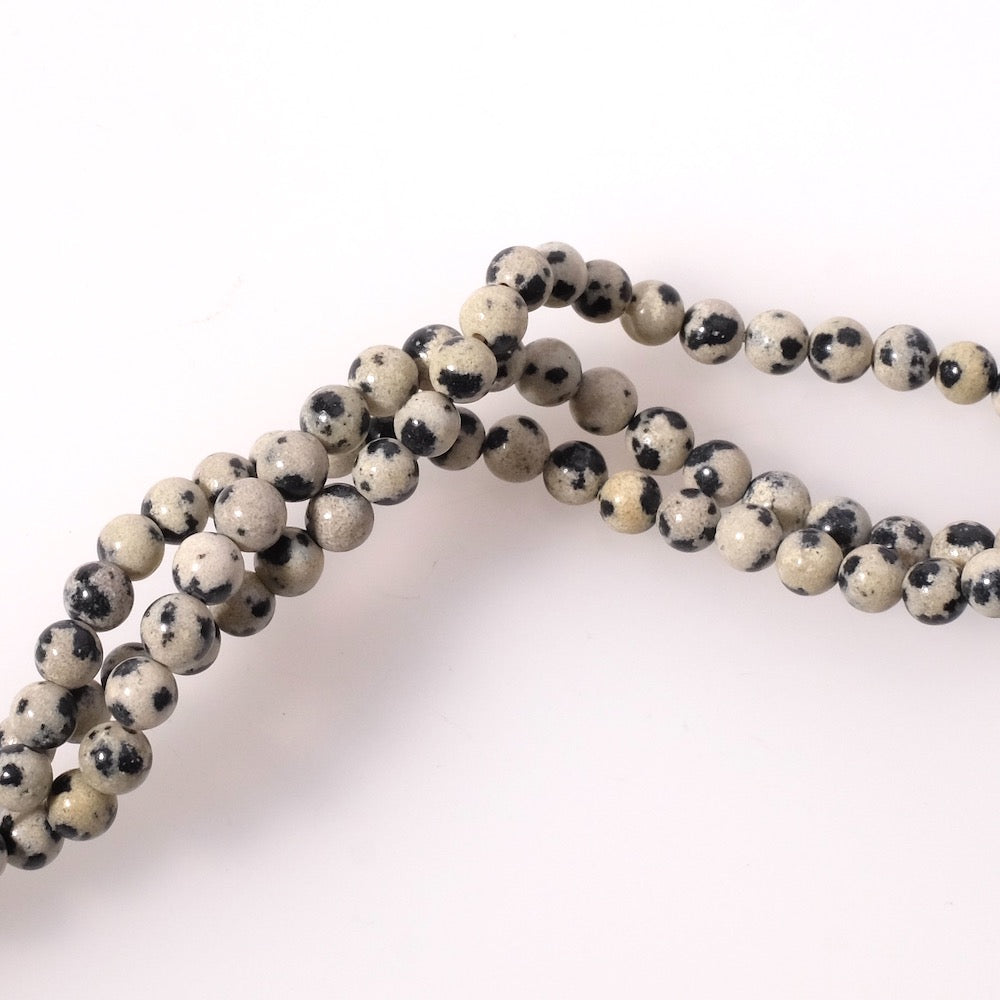
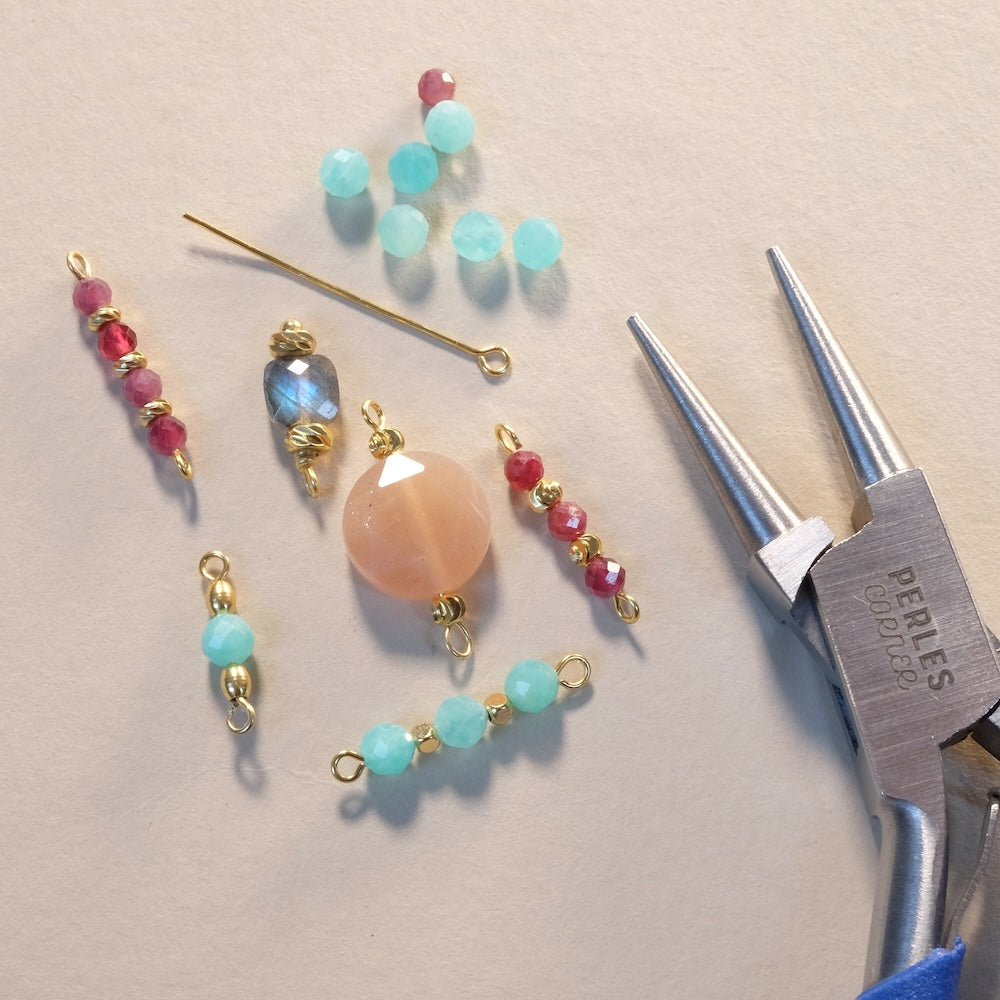
| For this project you will need: | ||||
|
|
||||
| The assembly: | ||||
|
|
To start, unroll the silk thread from its card then tie a knot on one of the rings of the pendant at the end of the thread. Make sure to tie a tight knot. Do not cut the thread at the edge of the knot, we will pass it through the first beads. Then string an 8mm bead. Also insert the small end of the thread.
Continue stringing the beads alternating with metal rondelle beads. Tip: Do not undo the 2mm bead thread! Remove the beads little by little in groups of 4/5 while holding them firmly between two fingers. It will then be easier to thread the needle through the holes of the beads. They will be well aligned on the same axis between your fingers.
Continue stringing the small 2mm faceted beads until the right length. Here we wanted to make a 40cm choker necklace. So we measured from the center of the pendant to a total stringing of 20cm.
Now we will make the knot for attaching the clasp. This step is quite delicate because you must not tighten the stringing too much so that it remains flexible while making sure not to leave too much space. For that, we have a trick! How to make a well-positioned knot on a pearl necklace? Make a first simple knot on the clasp then pull on the thread to bring the clasp to the edge of the beads. Insert a needle into the thread, between the clasp and the beads, then make the 2nd knot. Tighten the knot well then remove the needle. Tighten the knot again.
Then repeat all the previous steps symmetrically for the other side of the necklace. At the end of the stringing, you will place a 5cm piece of extension chain. Before cutting all the excess threads, place a small drop of glue on all the knots. This will help secure the knots. Once the glue is completely dry, you can now cut the threads at the edge of the knots.
And there you go! Beautiful creation!
|
|||


To be reserved alone or with friends!

Inspirations, tutorials, and new arrivals: receive the best of handmade in your inbox.


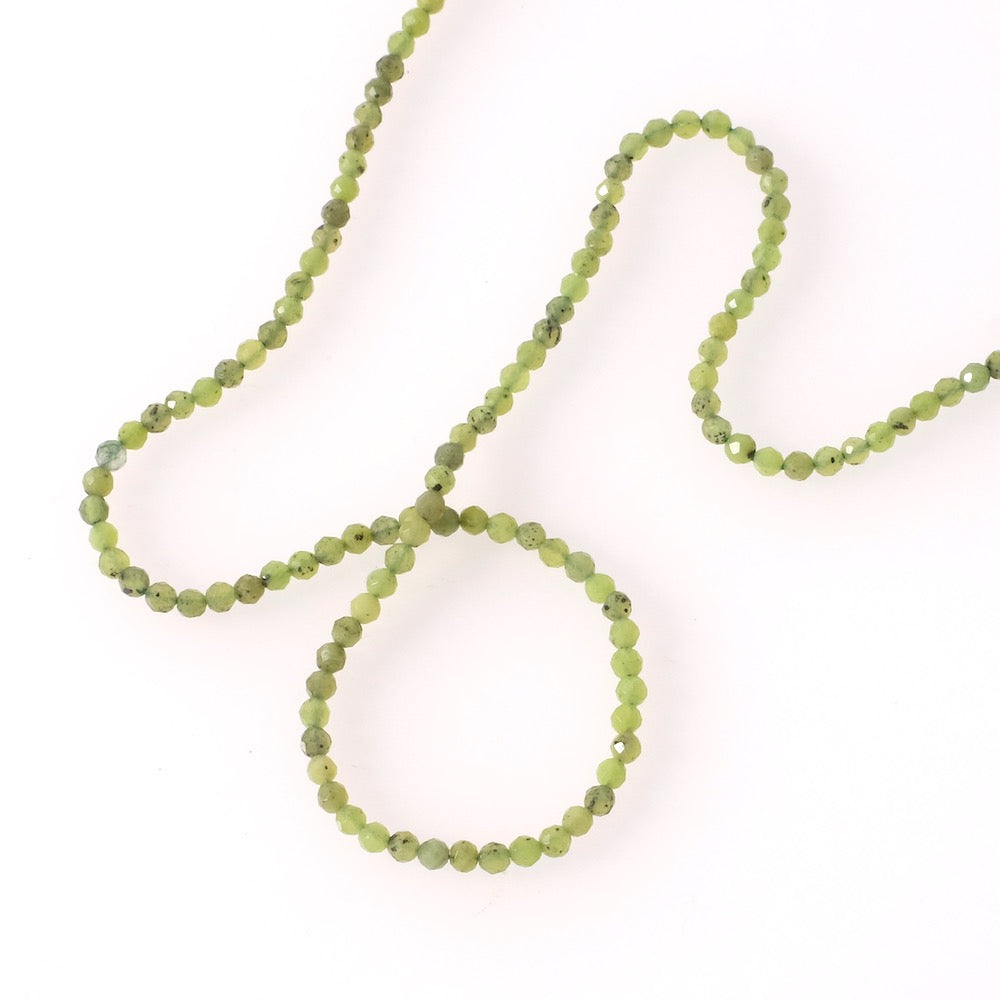
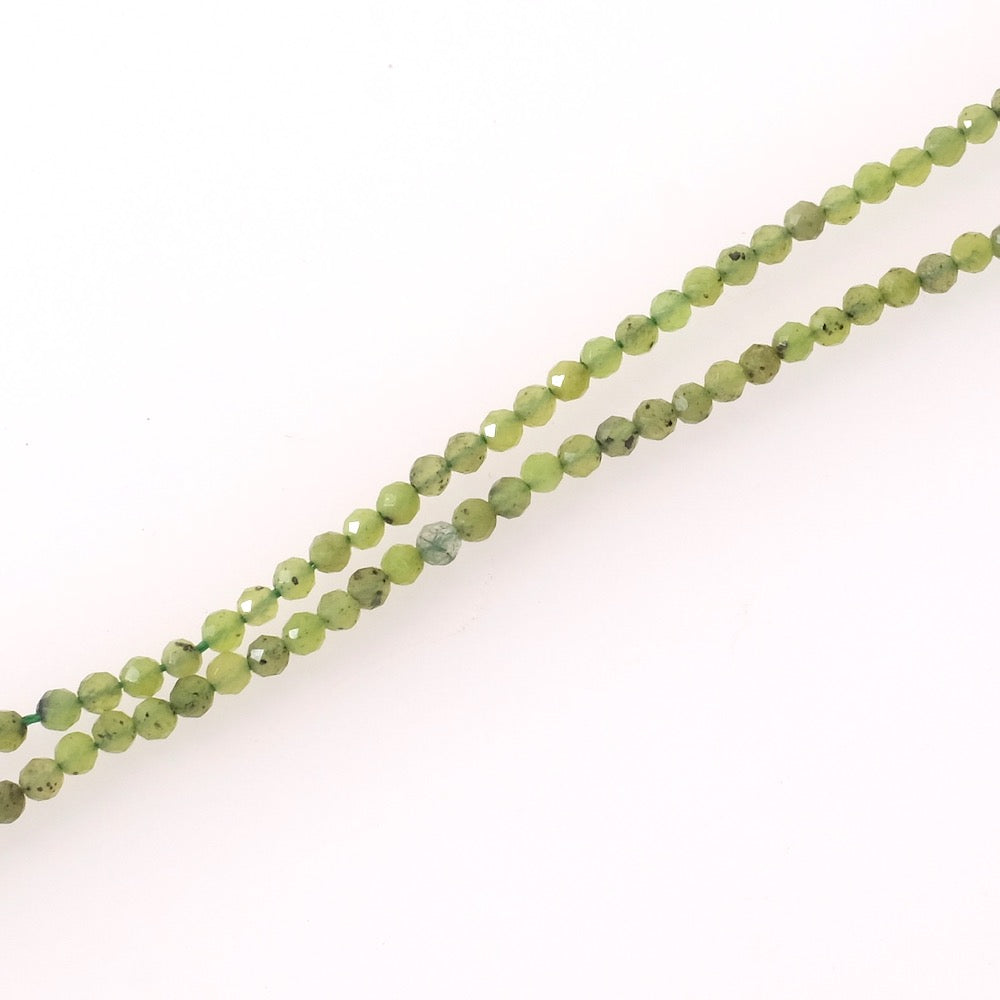
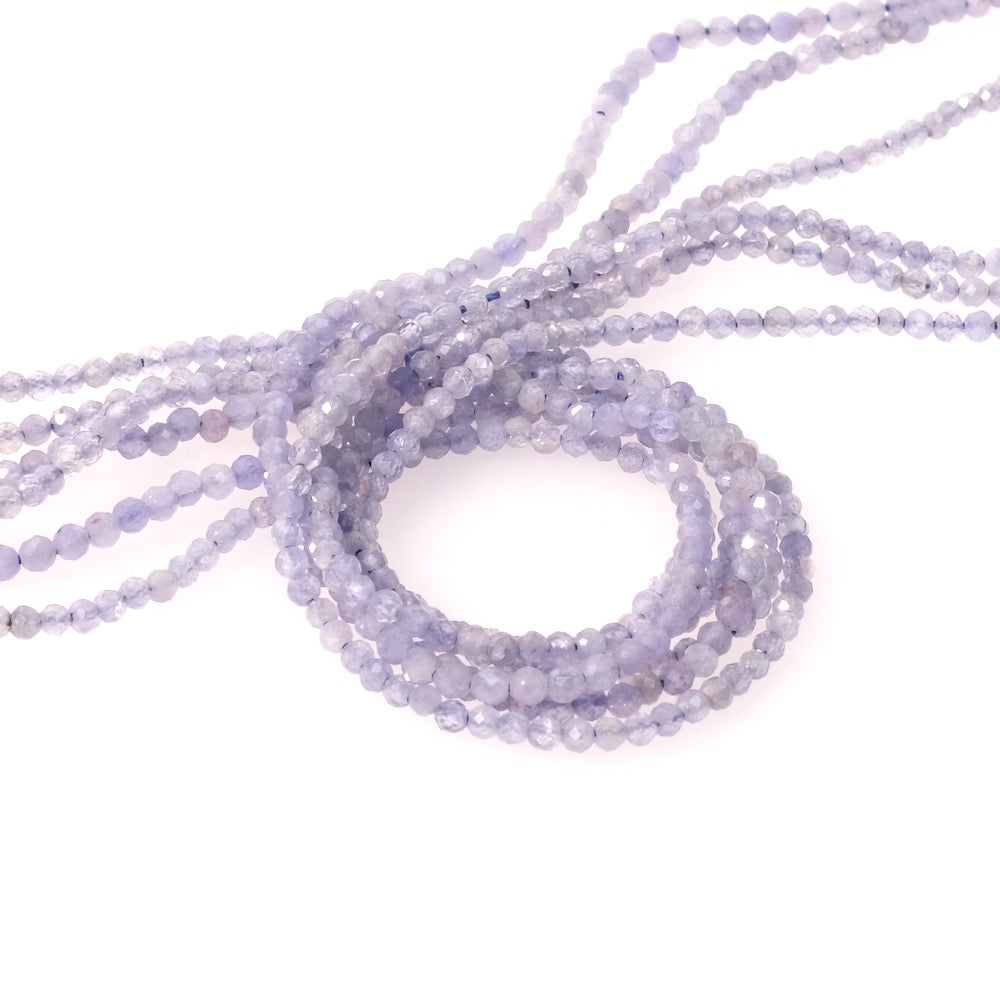
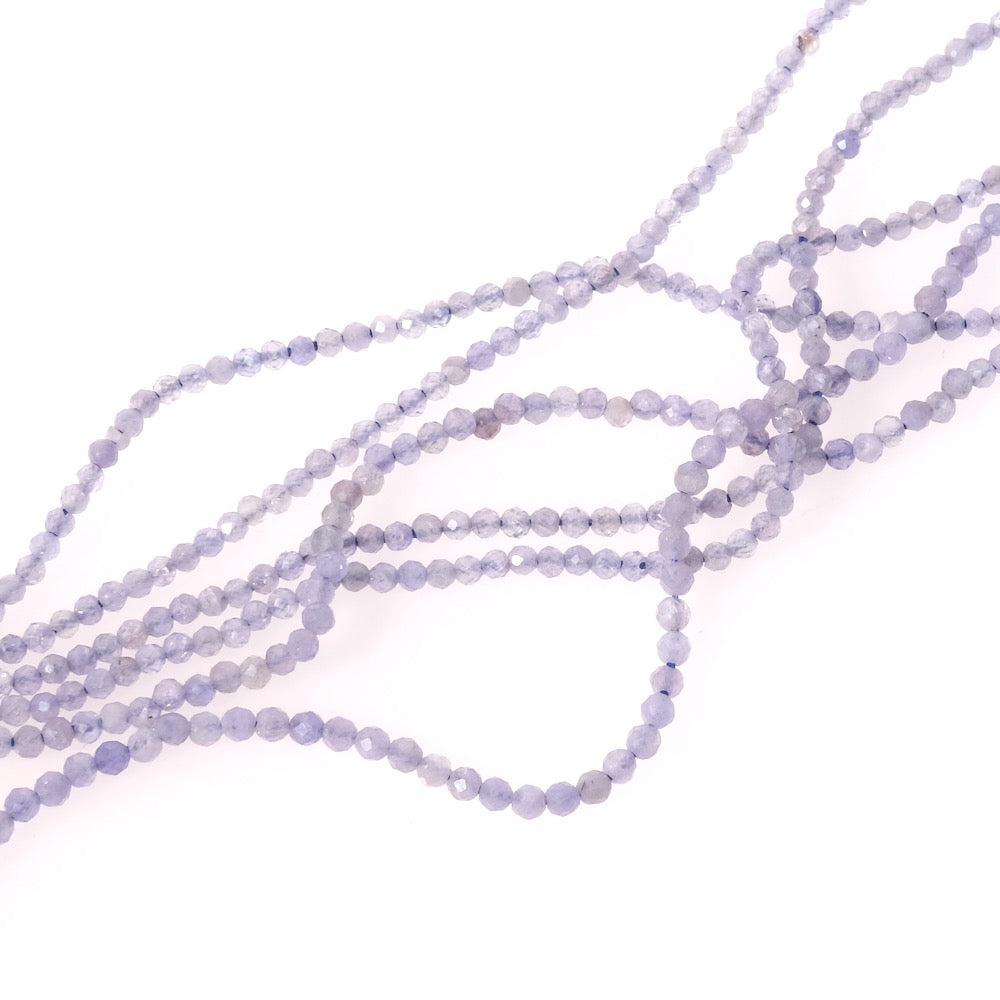
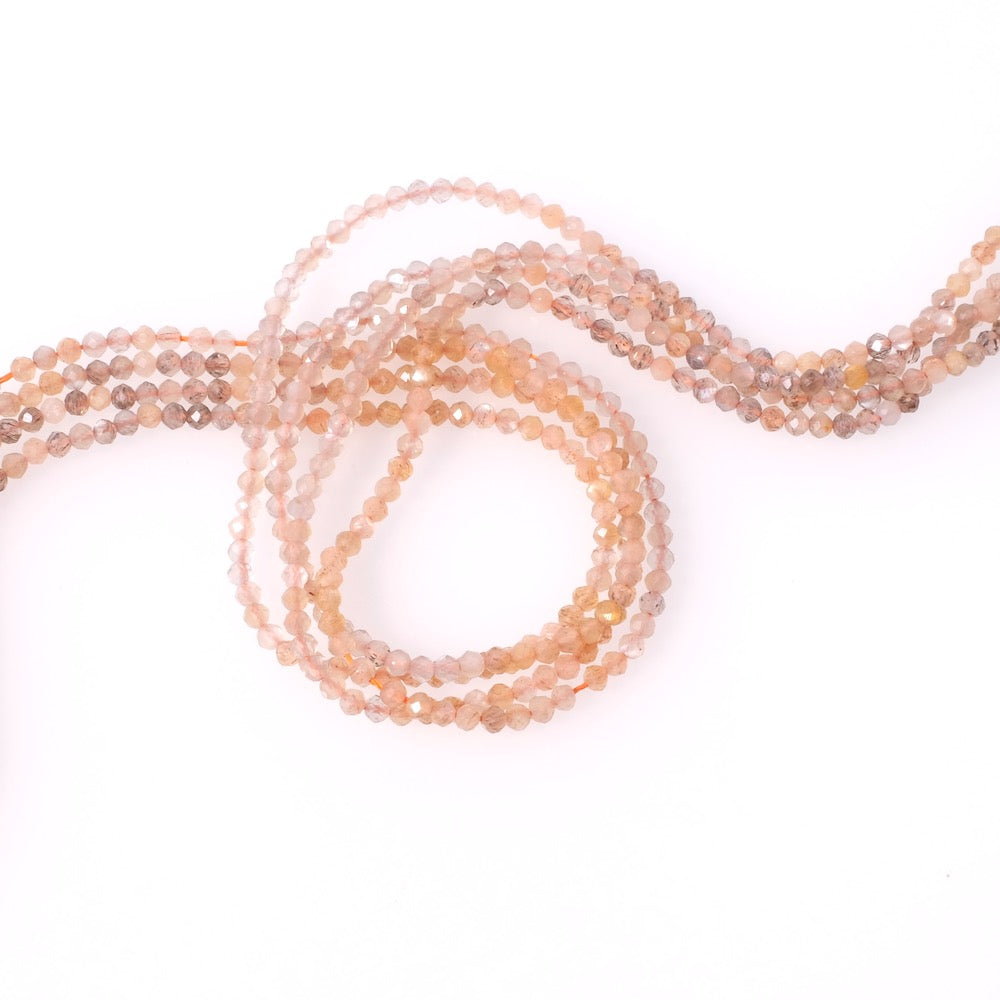
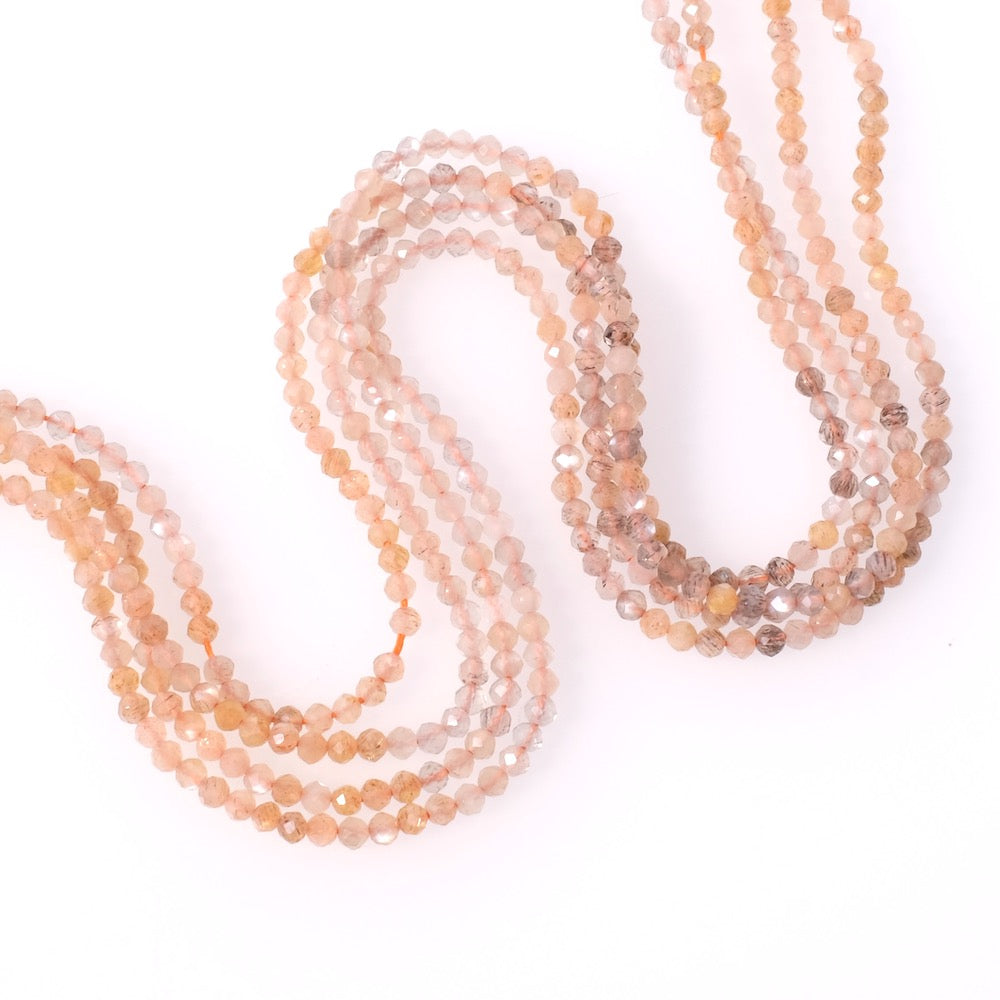
 a strand of 2mm faceted natural stone beads