|
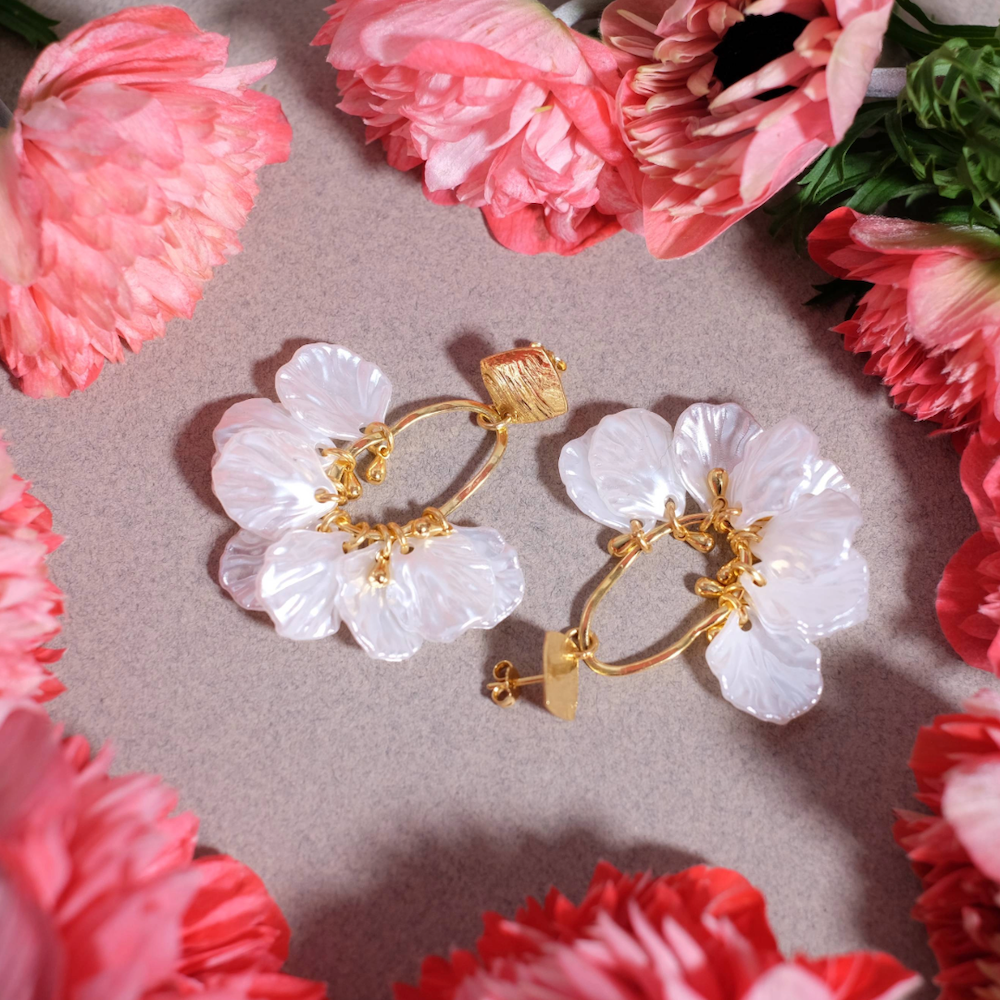
You have in your hands our new jewelry Kit to make a beautiful choker necklace composed of beads in natural stones mounted on a 24K gold plated fashion chain. On this page you can follow all the assembly steps to make this model exactly! Our video and detailed advice will guide you step by step. Your Kit includes all the supplies needed to make this jewelry, you will just need pliers which are not included. Beautiful creation!
|
|---|
| For this project you will need: | ||||
|
|
||||
| The tools to use: | ||||
|
|
||||
|
|
||||
|
The assembly: |
||||
|
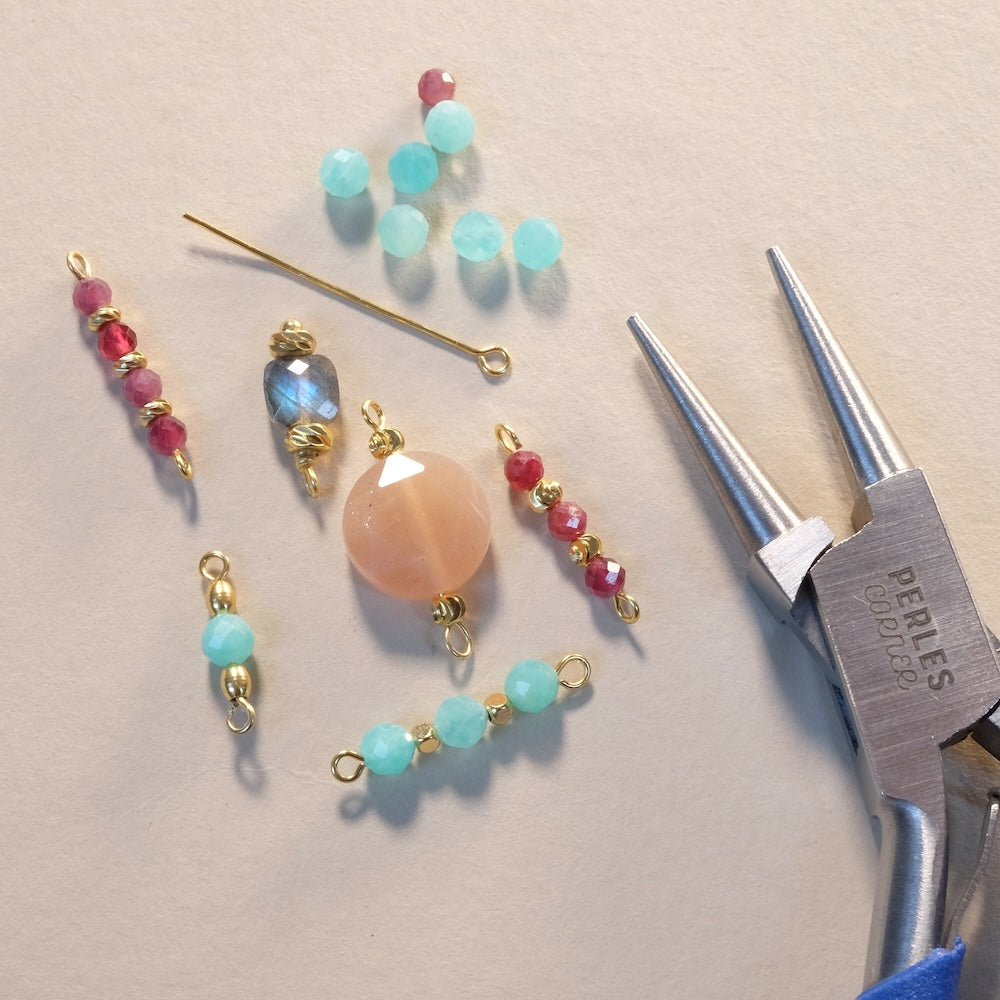
To start, equip yourself with flat pliers, wire cutters, and round-nose pliers. These tools will allow you to make pretty loops at the top of the beads. Thread a bead onto a headpin, bend the headpin 90° right at the edge of the bead. This will allow the loop to be perfectly centered on the bead and also prevent the bead from moving. Cut the headpin leaving about 8mm after the right angle. The length of the wire will influence the size of the loop, be careful not to cut too short or conversely not to leave too much wire, or you will have a loop that is too small or too visible! Now place the round-nose pliers at the end of the wire. Make a movement returning toward the center of the bead with the pliers. This will form the wire into a loop. For a well-made loop, proceed in several movements, repositioning the pliers as needed. Be careful to always handle the pliers gently. If you press too hard, you risk scratching or marking the metal! Continue assembling all the beads and use the video for help. Then, attach the beads to the chain leaving one free link between each bead. Open the loops previously made in a spiral, place the loop on a link, then close the loop in the opposite direction. Be careful to place all the beads in the correct direction on the links. To do this, each time lay the chain flat, without twisting, to see the direction of the ring.  If needed, adjust the length of the chain and therefore the number of beads. Finally, attach the clasp to one end of the chain. Connect the extension chain at the other end with a jump ring. Cut the extension chain if needed and at the end, place the teardrop pendant with a ring. Congratulations, your jewelry is finished! Beautiful creation! |
||||
 |
No product was found in this collection


To be reserved alone or with friends!

Inspirations, tutorials, and new arrivals: receive the best of handmade in your inbox.


 of a 24K gold plated chain
 a clasp and an extension chain 24K gold-filled