|
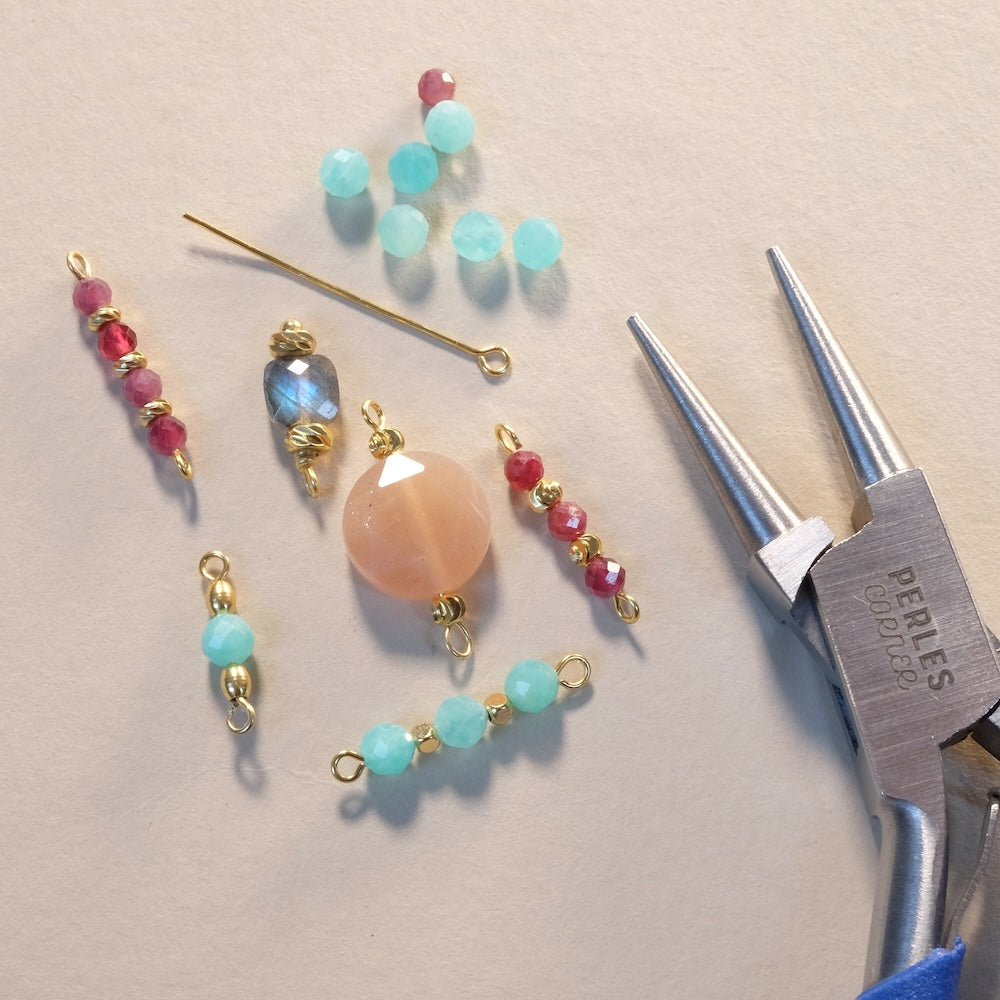
With this tutorial, discover tips to create beautiful loops on top of your beads. An essential technique for perfectly finished jewelry.
|
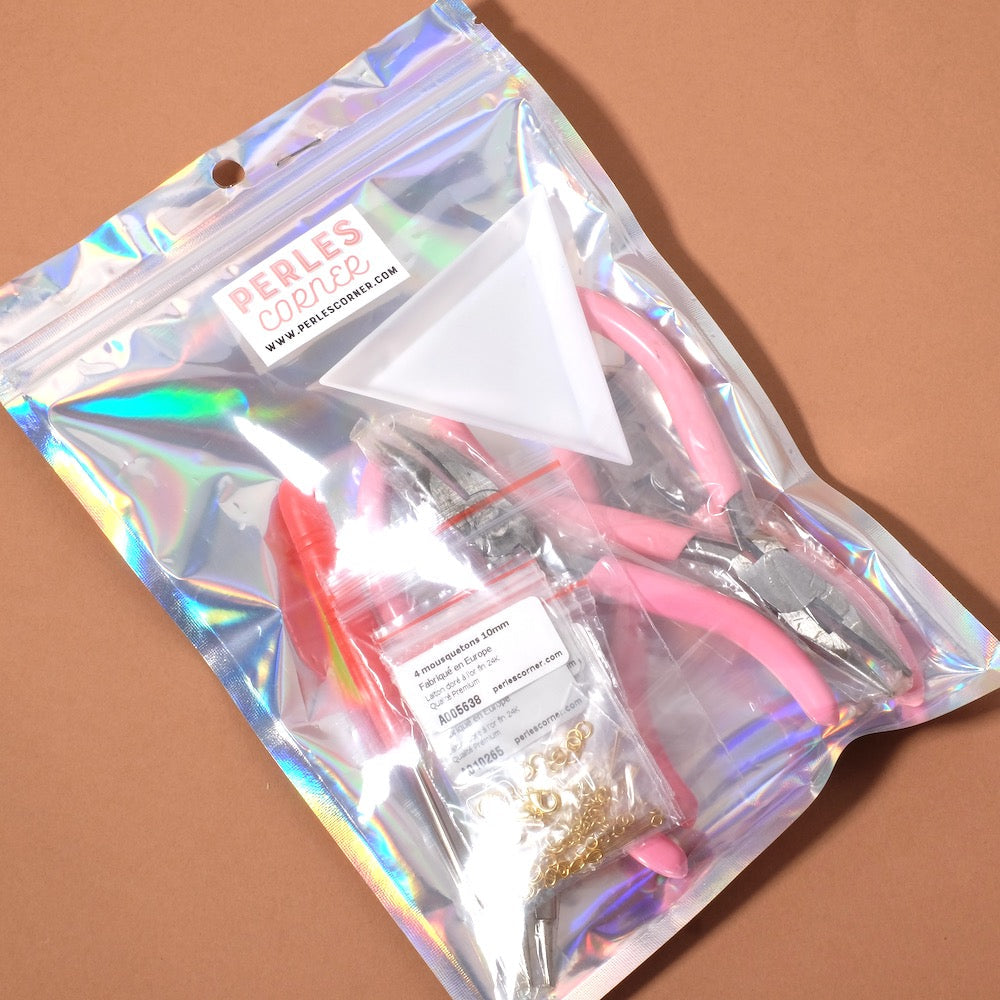
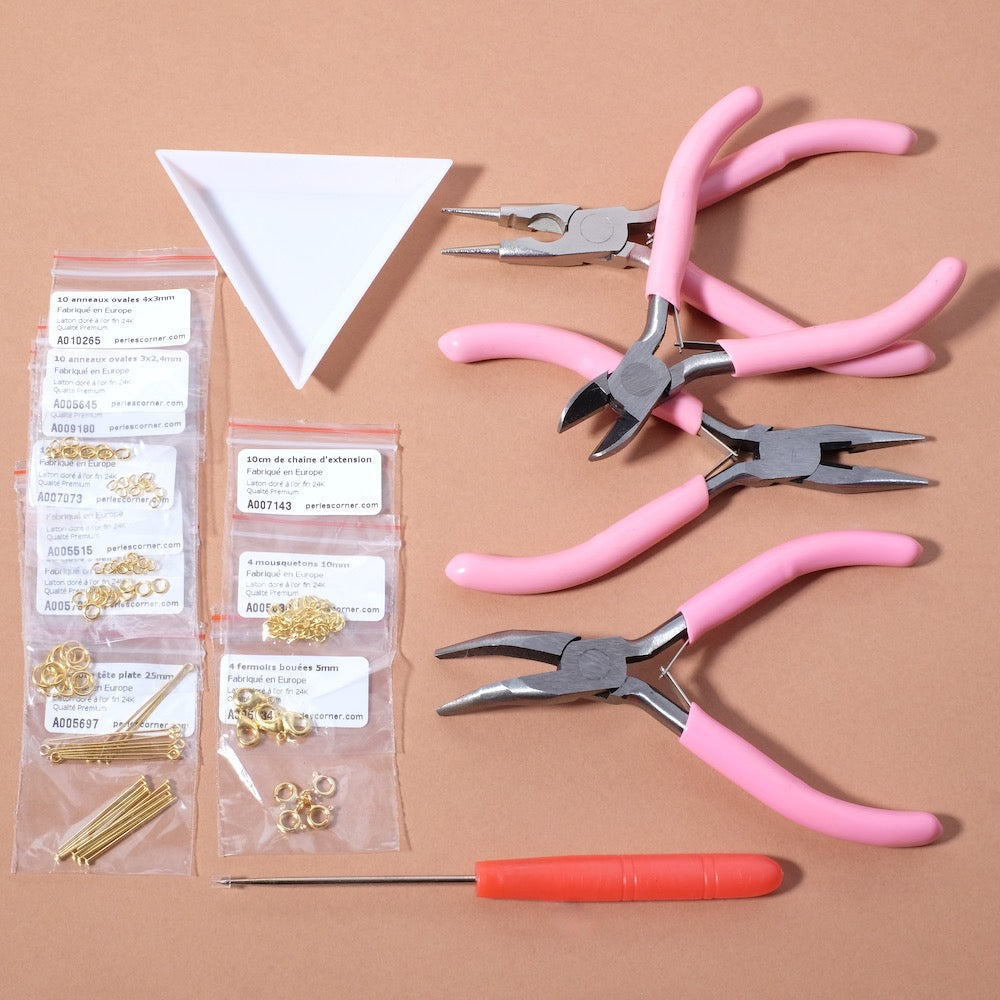
| Tools to use: | ||||
|
|
||||
| Explanations: | ||||
|
|
You can use either flat headpins to mount the bead as a pendant, or eye pins (with a loop at the bottom) which will allow mounting the bead as a connector. To start, thread the bead onto the headpin then form a right angle at the top of the bead. You can initiate the angle with pliers and finish with your finger to press the angle firmly against the bead.
Then cut the headpin at about 1cm. This measurement will depend on the desired loop size. With round-nose pliers, place your hand outward so you are not blocked in the movement. Position the pliers at the edge of the headpin, at the plier spot that matches the size of the headpin. That is, the round-nose pliers are flared, which allows adjusting the loop to the desired size. The plier position on the headpin will affect the final loop size. Then bring the headpin back towards the bead to form the loop.
If needed, balance the loop with flat pliers. To open the loop and thus connect the bead, open the loop upwards, never outwards, as this could deform it. And there you go! |
|||


To be reserved alone or with friends!

Inspirations, tutorials, and new arrivals: receive the best of handmade in your inbox.


 flat pliers