|
VIDEO TUTORIAL I am pleased to present to you a new poetic creation inspired by flowers. In this video tutorial you will learn the technique to weave the beads directly onto the base, assembling the bead petals and creating the colorful border. You can easily customize this creation in the colors of your choice! A simple tutorial to follow, carefully follow the steps in the video to perfectly recreate this model! Beautiful creation!
|
|---|
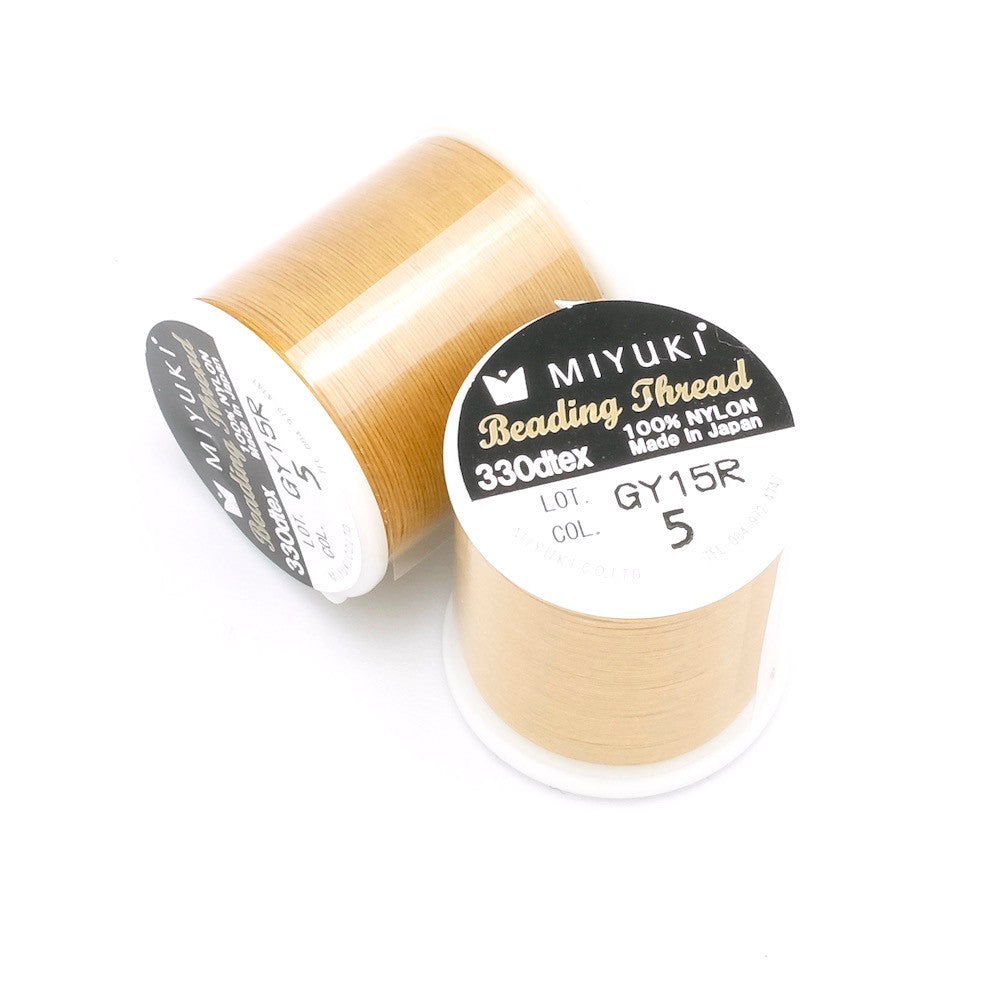
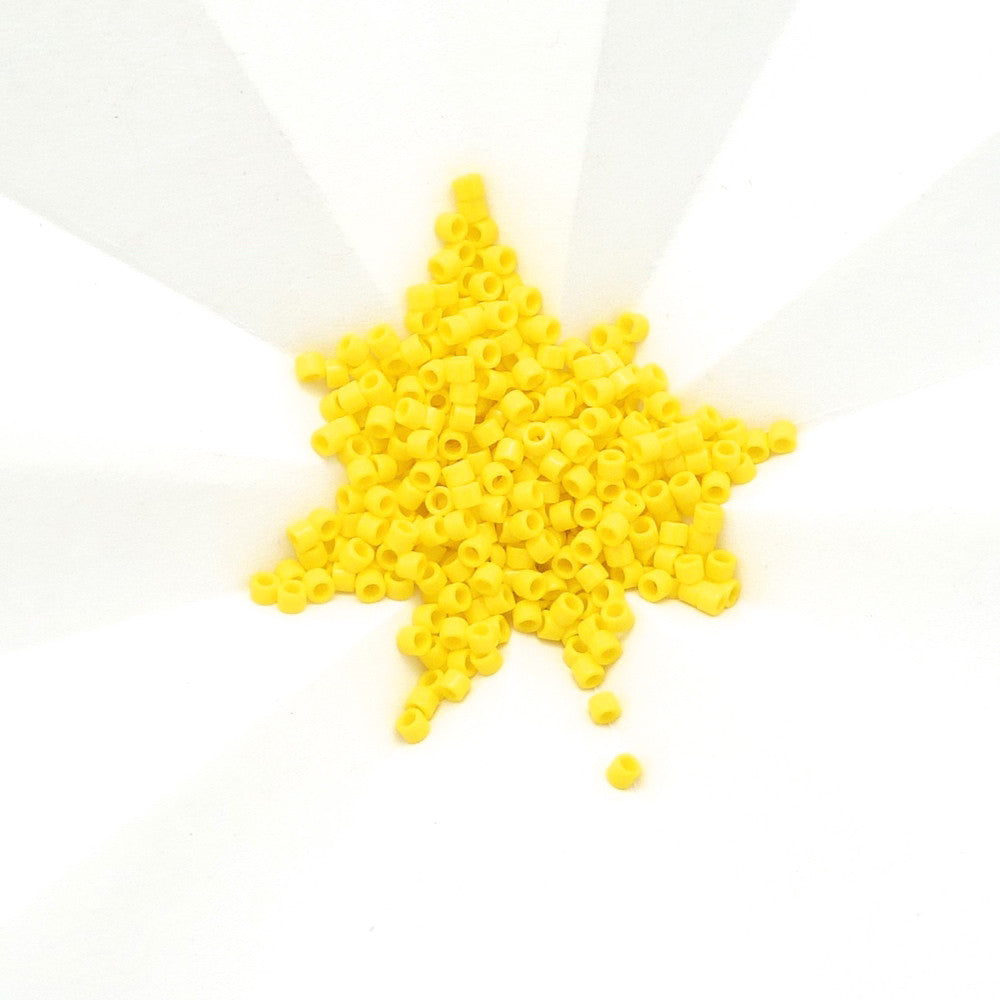
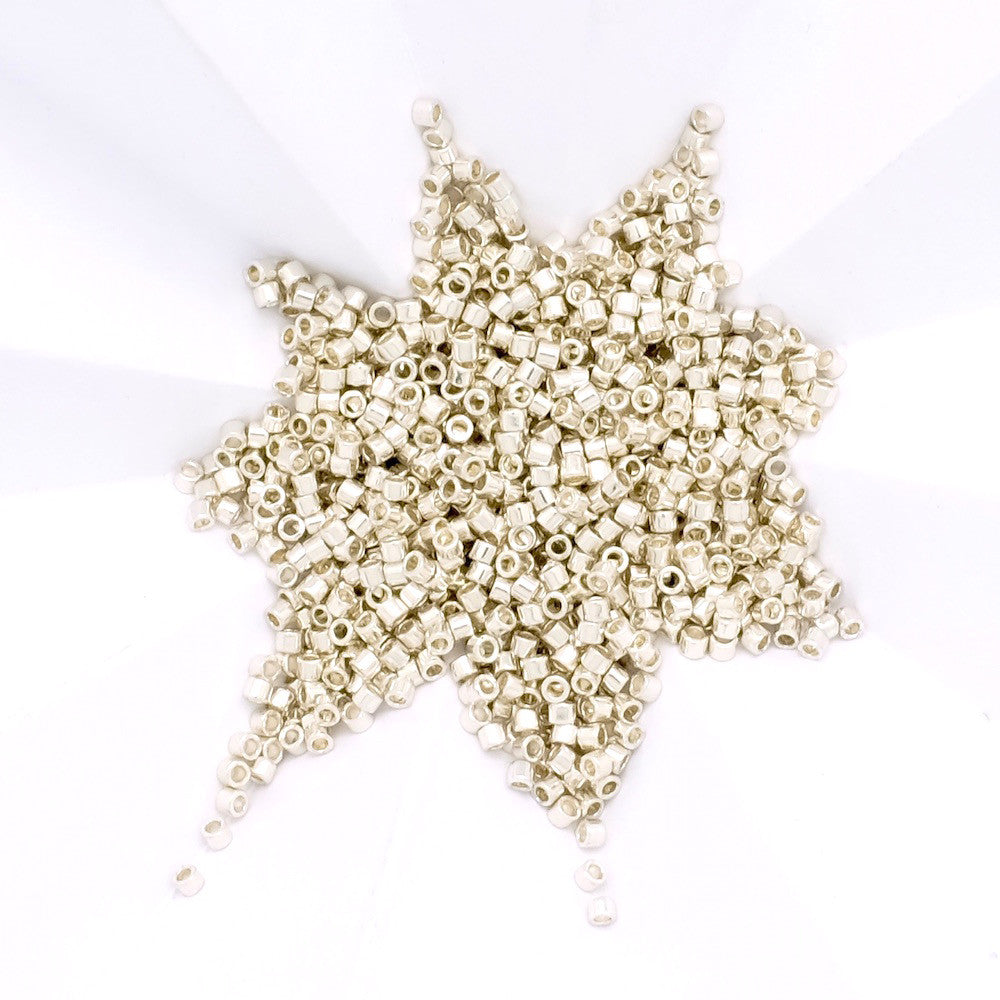
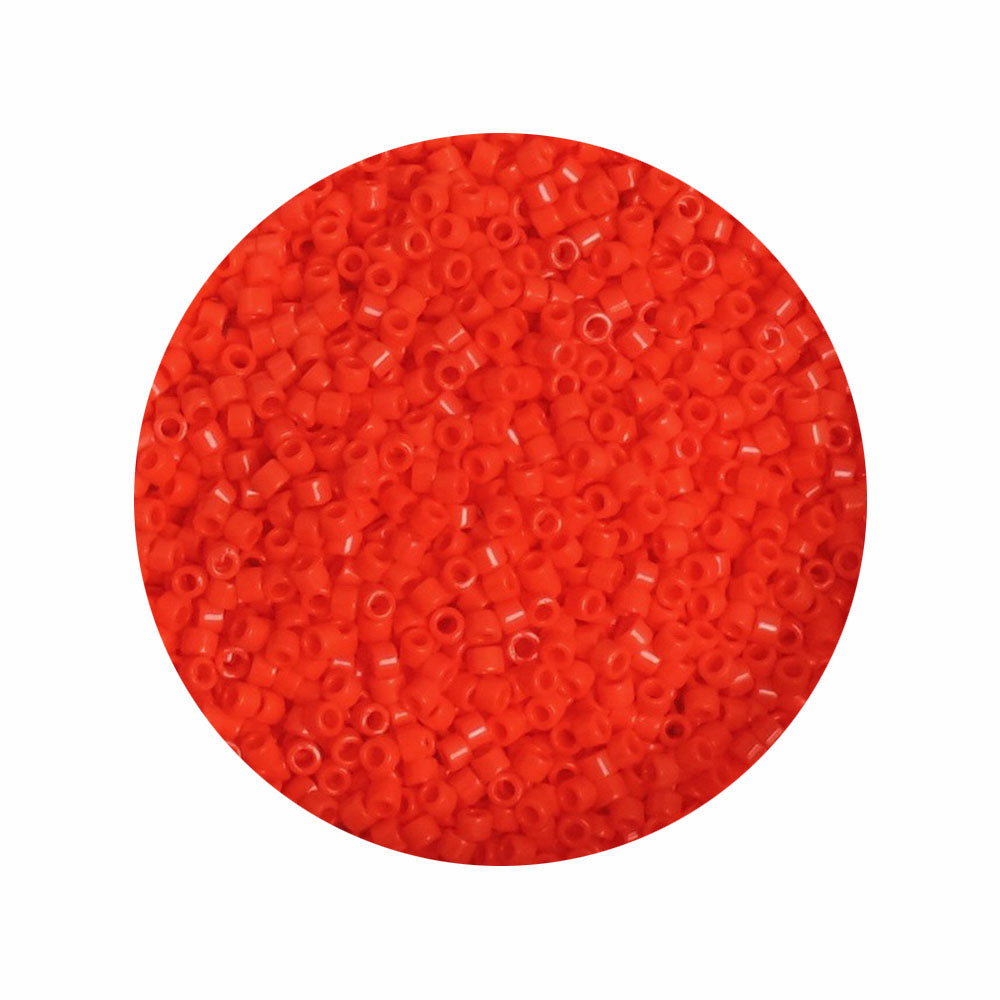
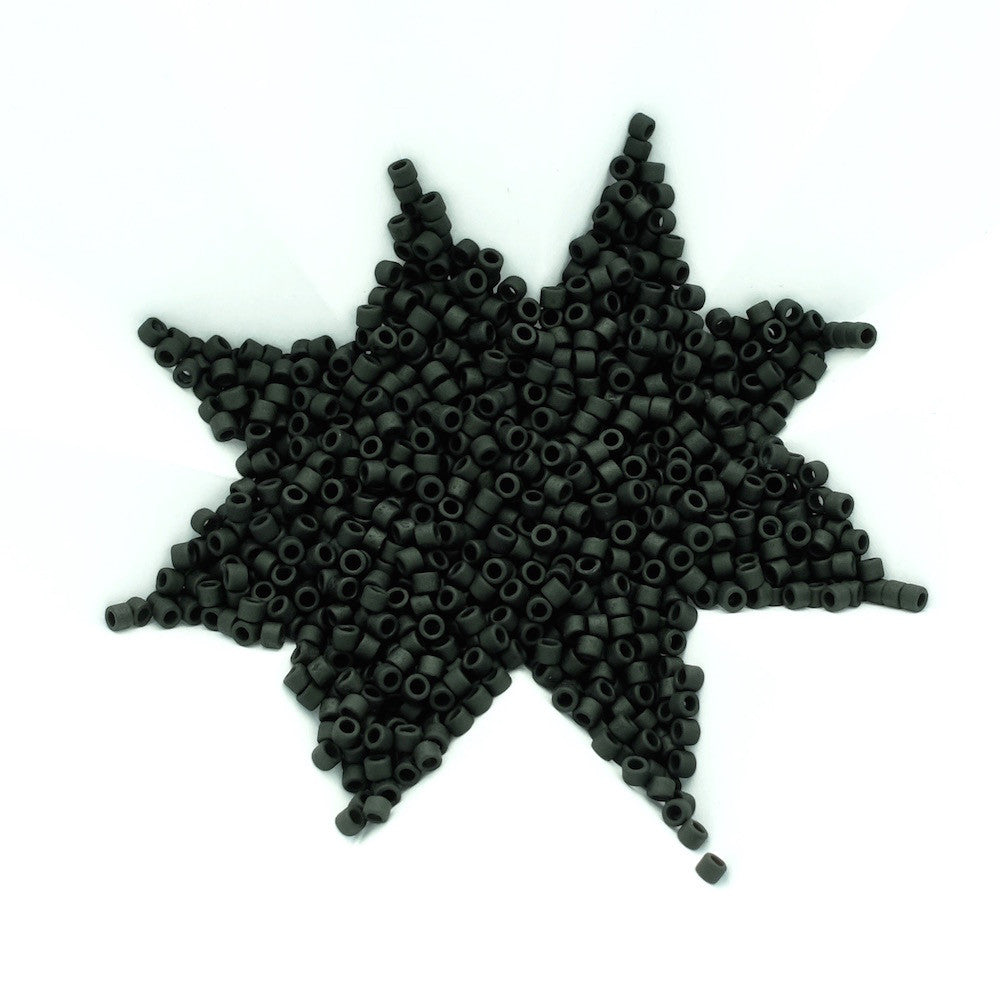
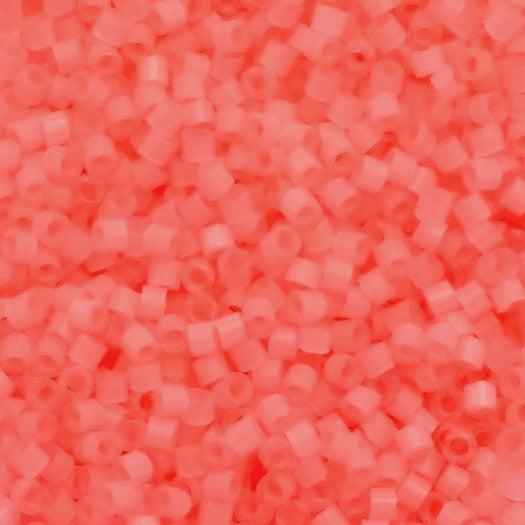
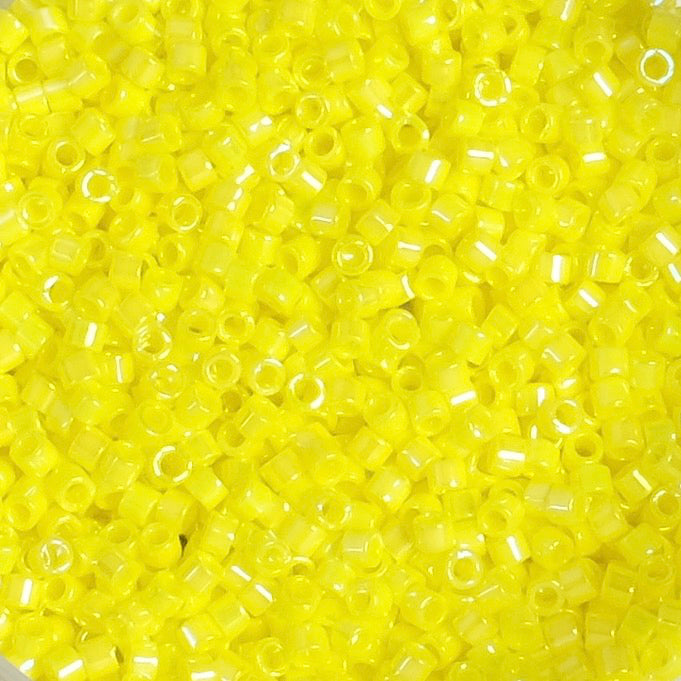
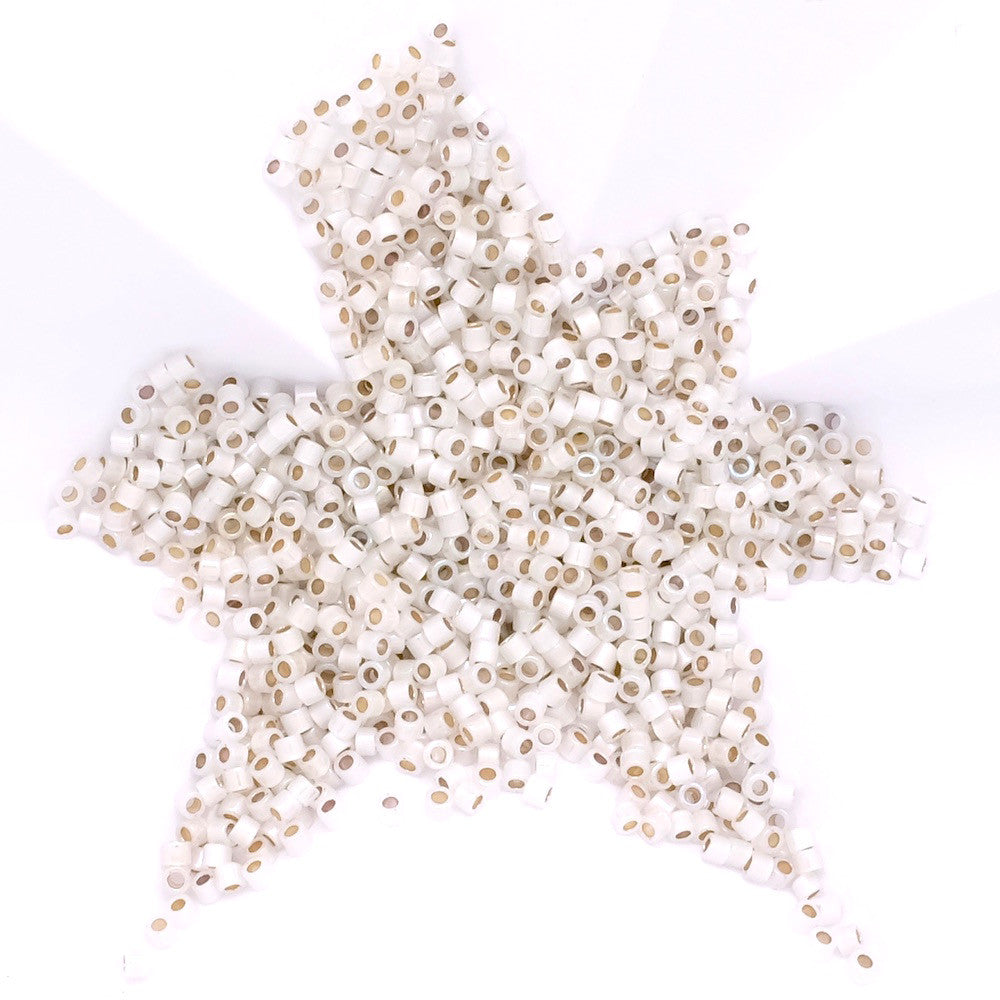
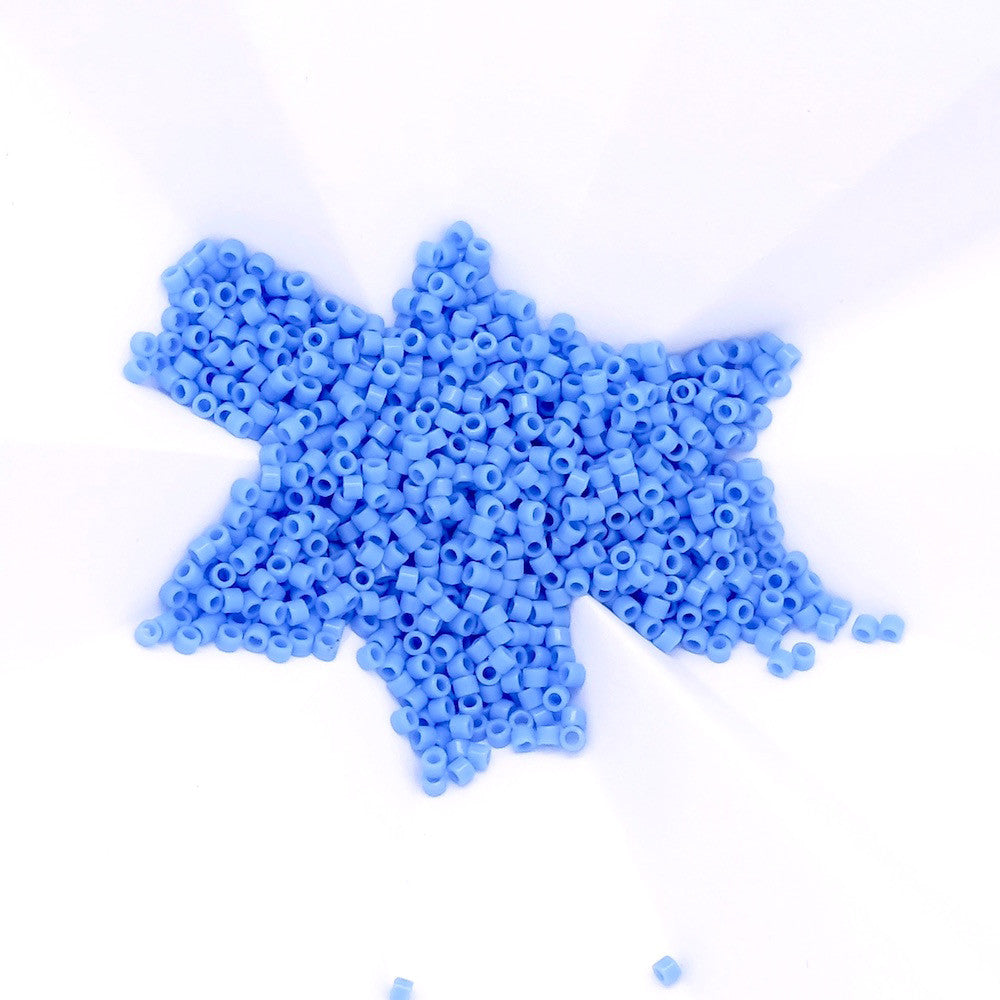
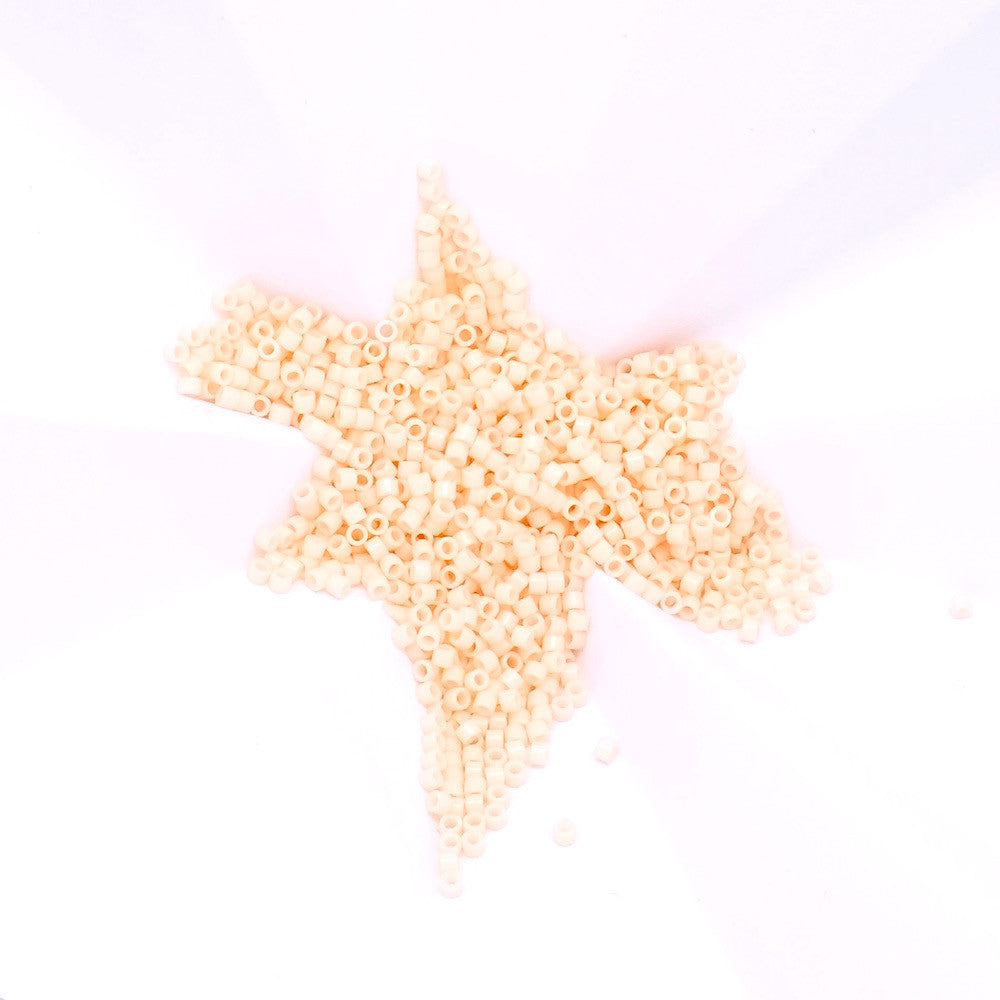
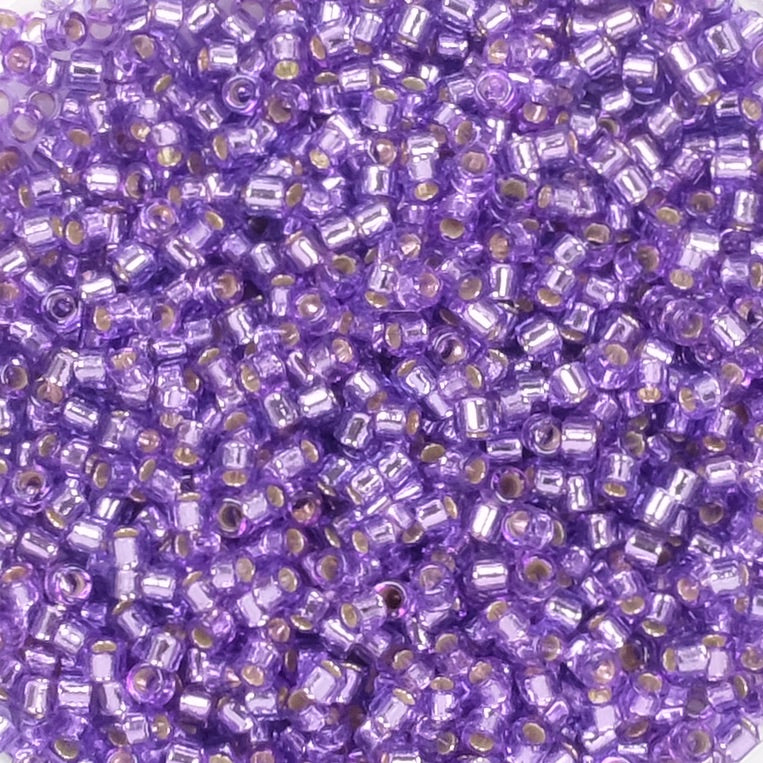
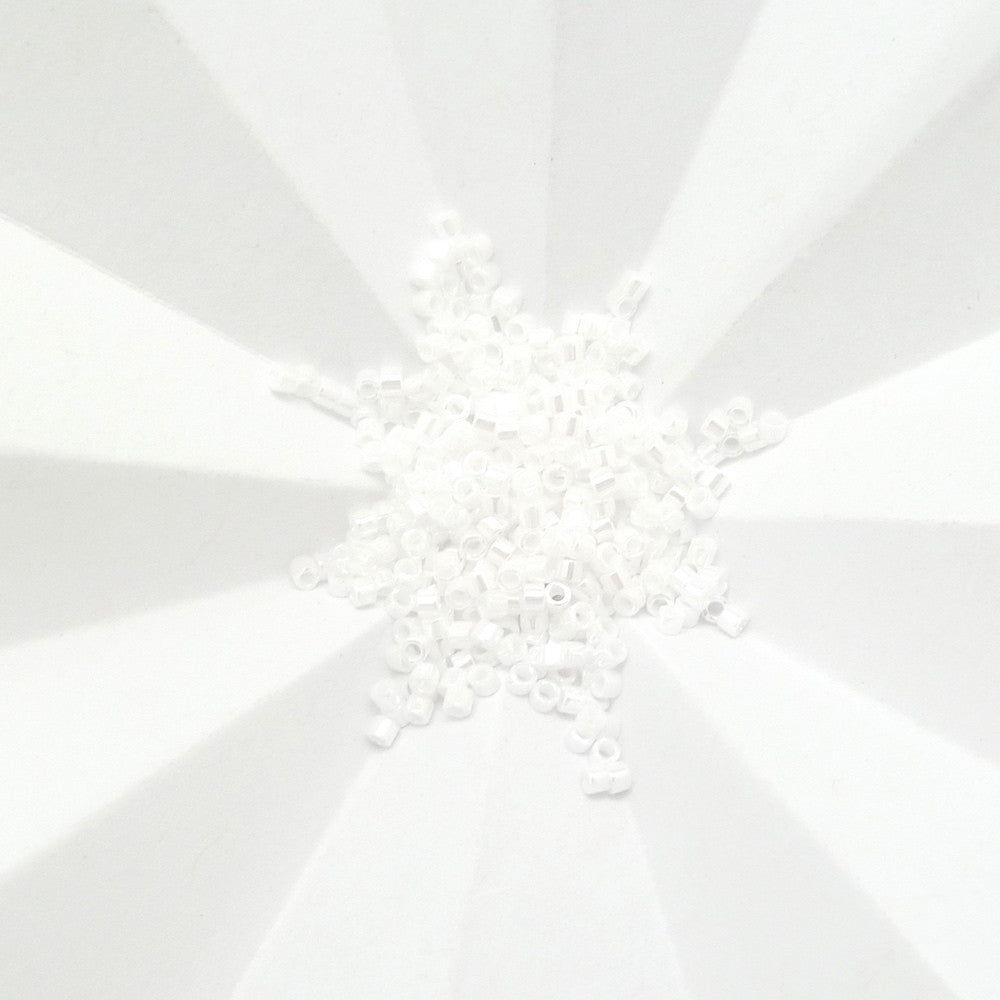
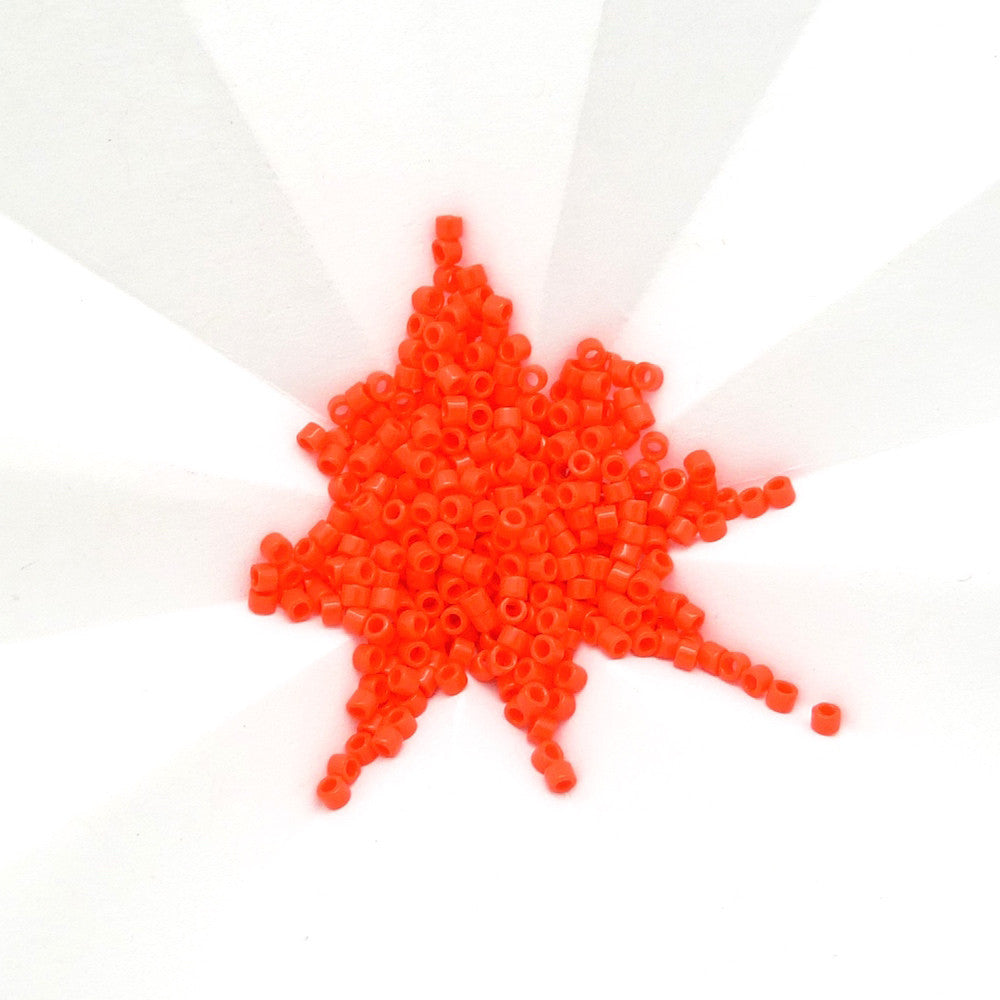
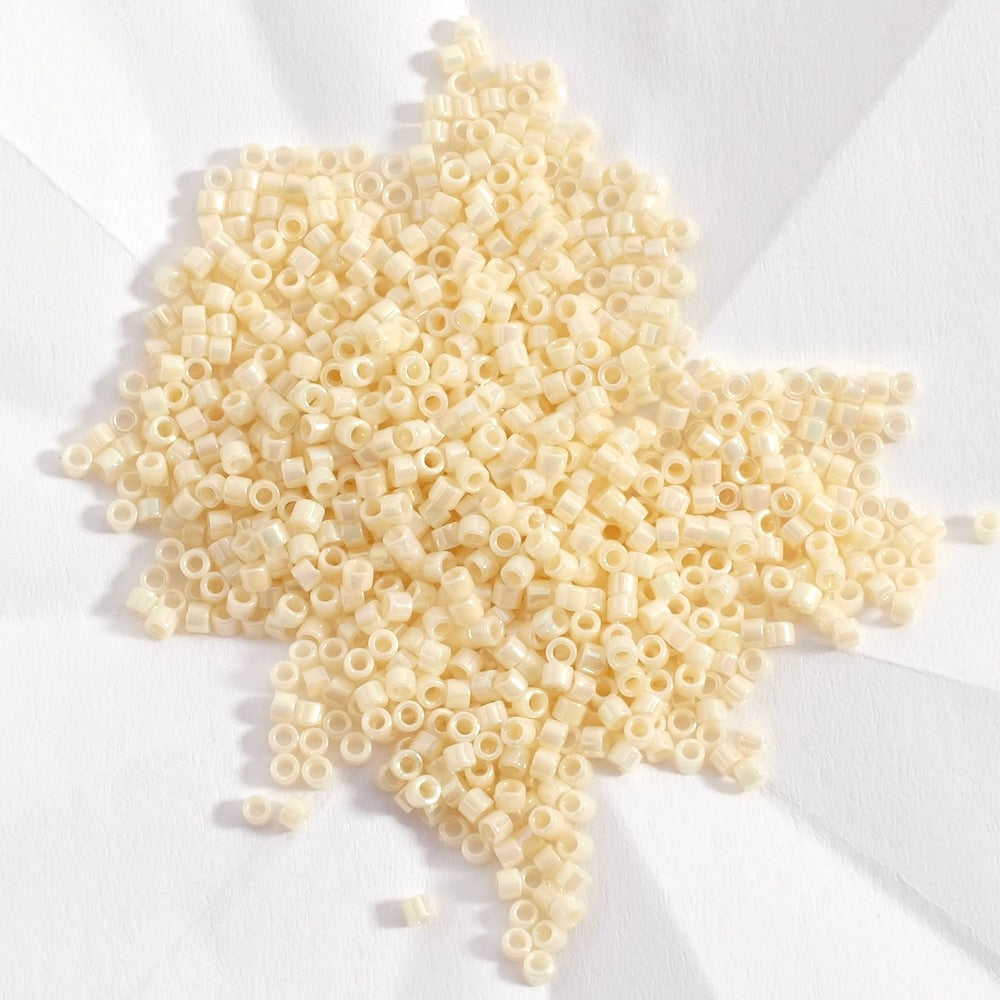
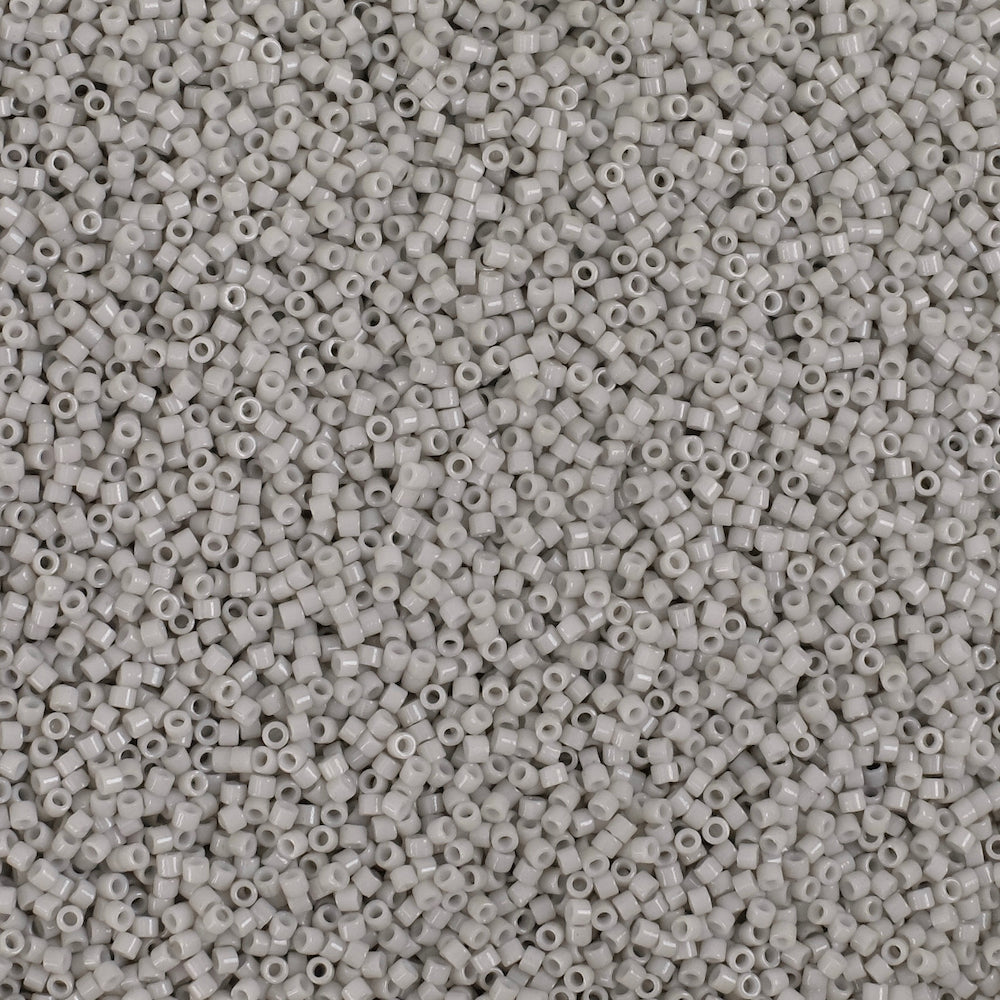
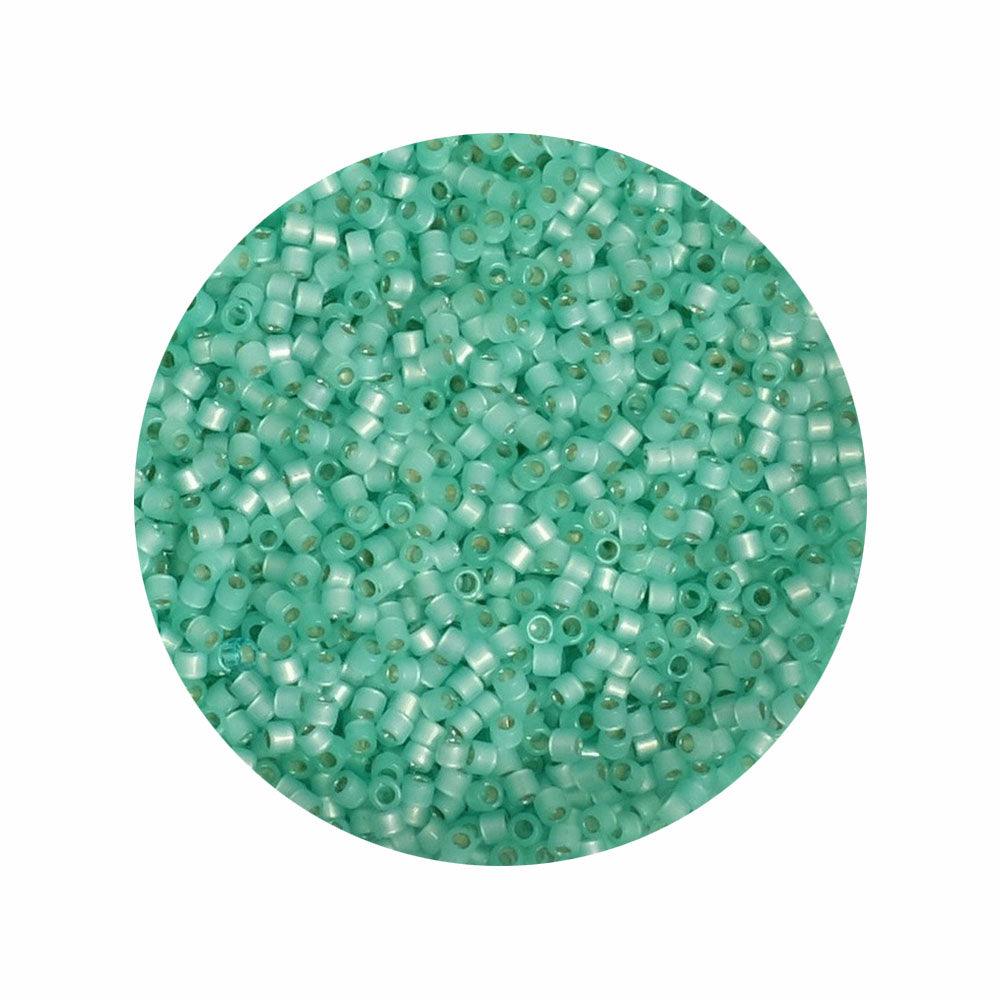
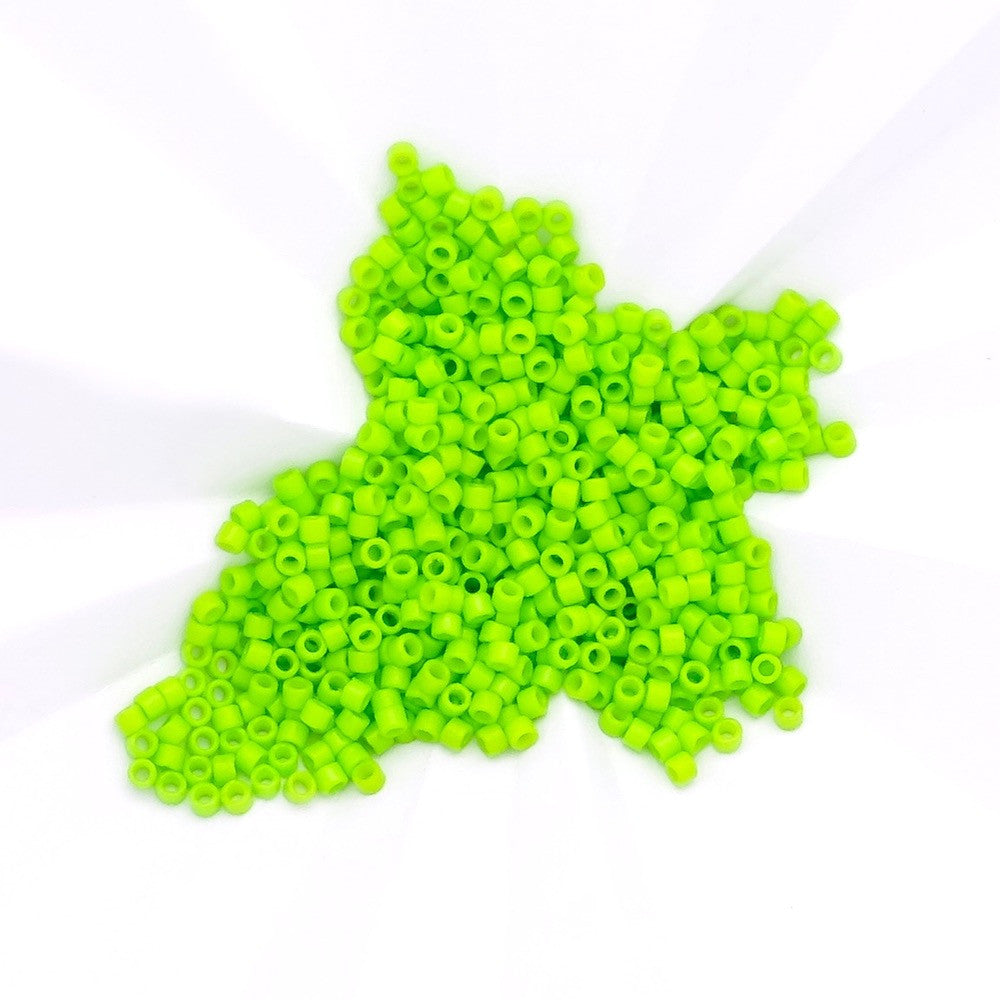
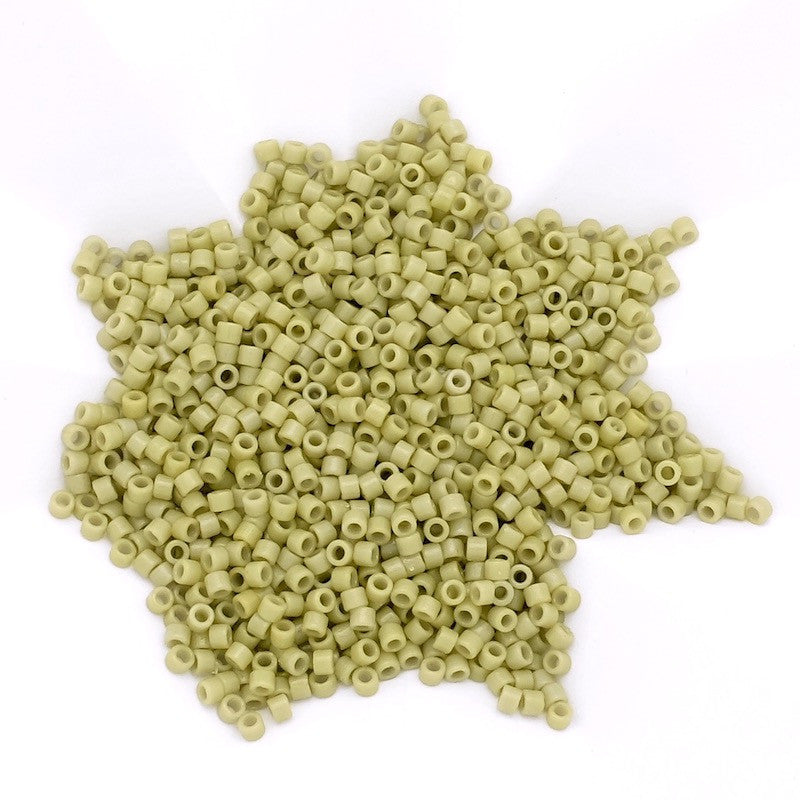
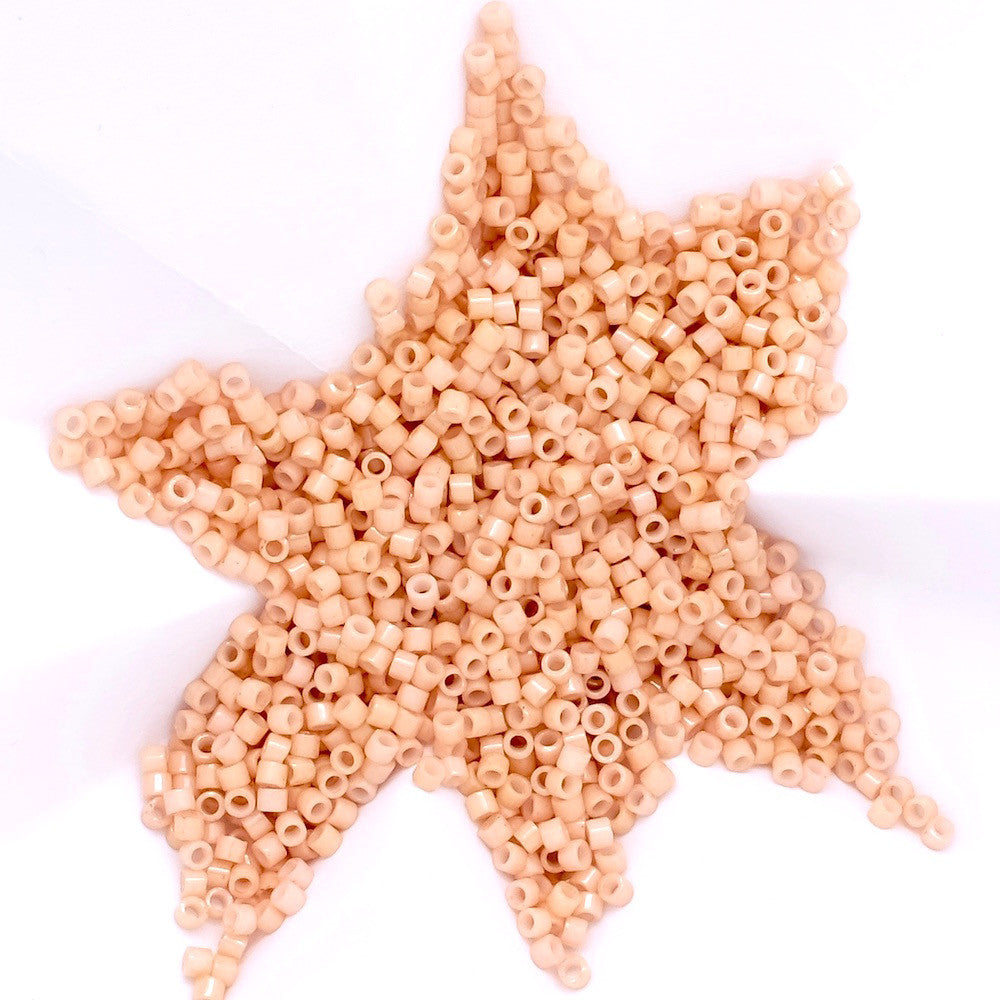
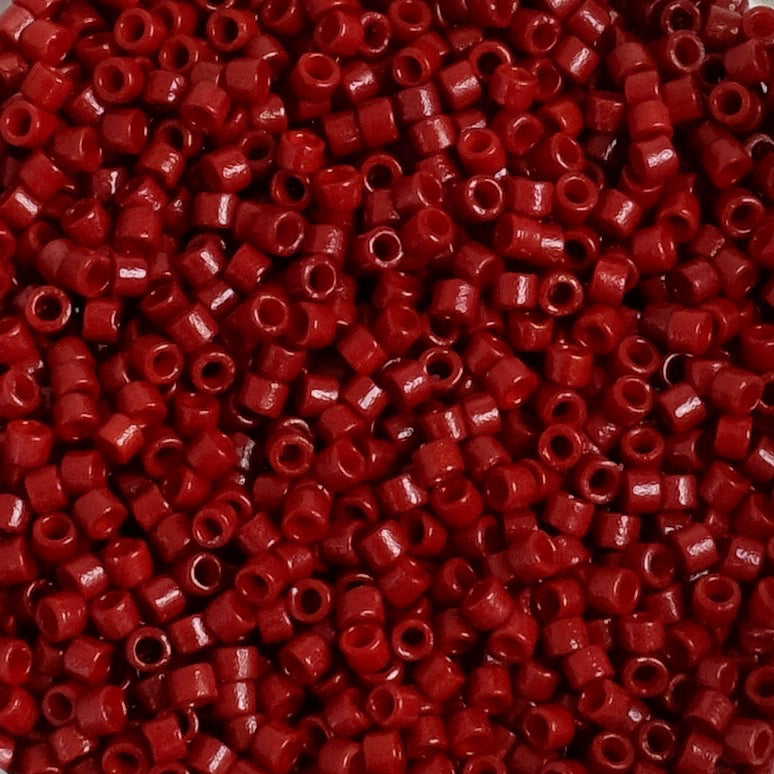
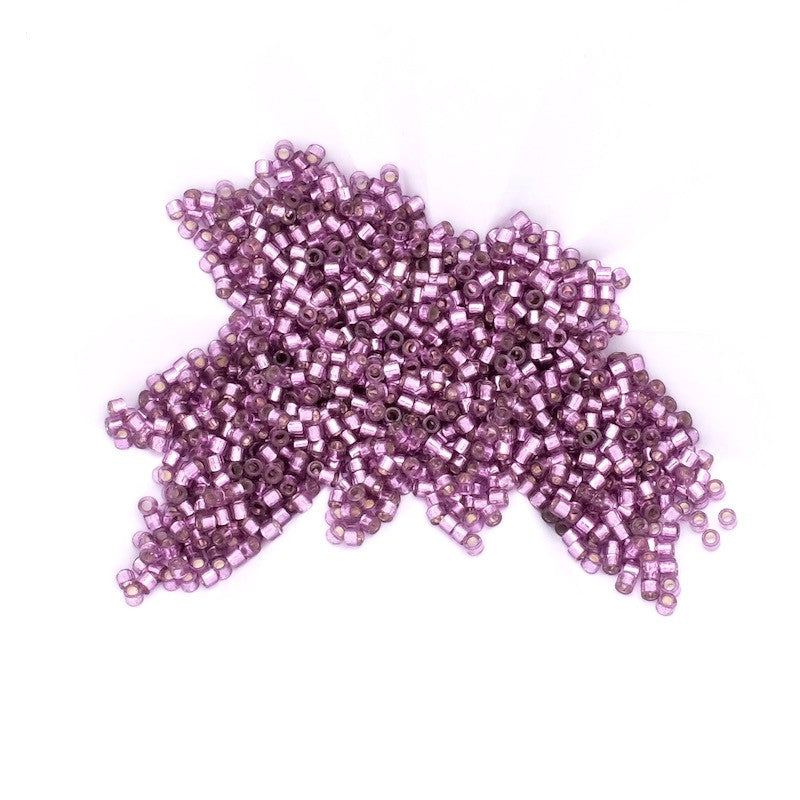
| For this project you will need: | ||||
|
|
||||
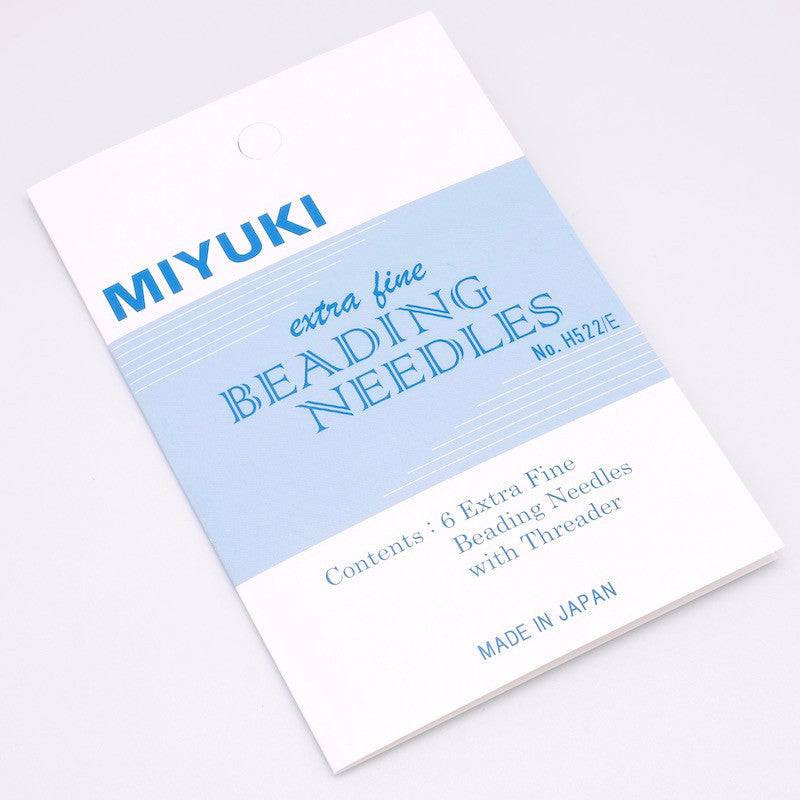
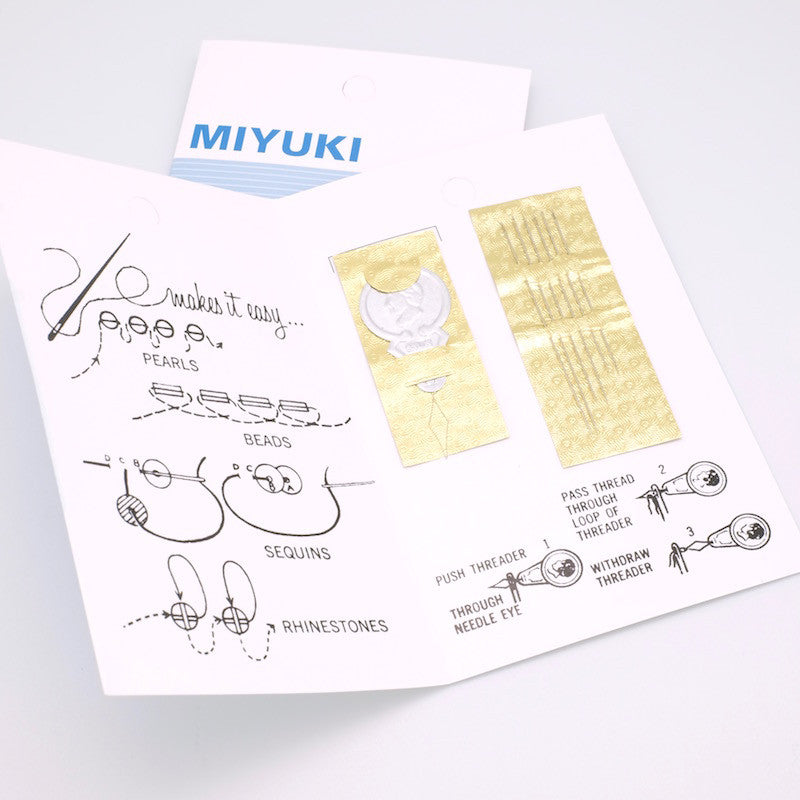
| The tools to use: | ||||
|
|
||||
|
The assembly: |
||||
|
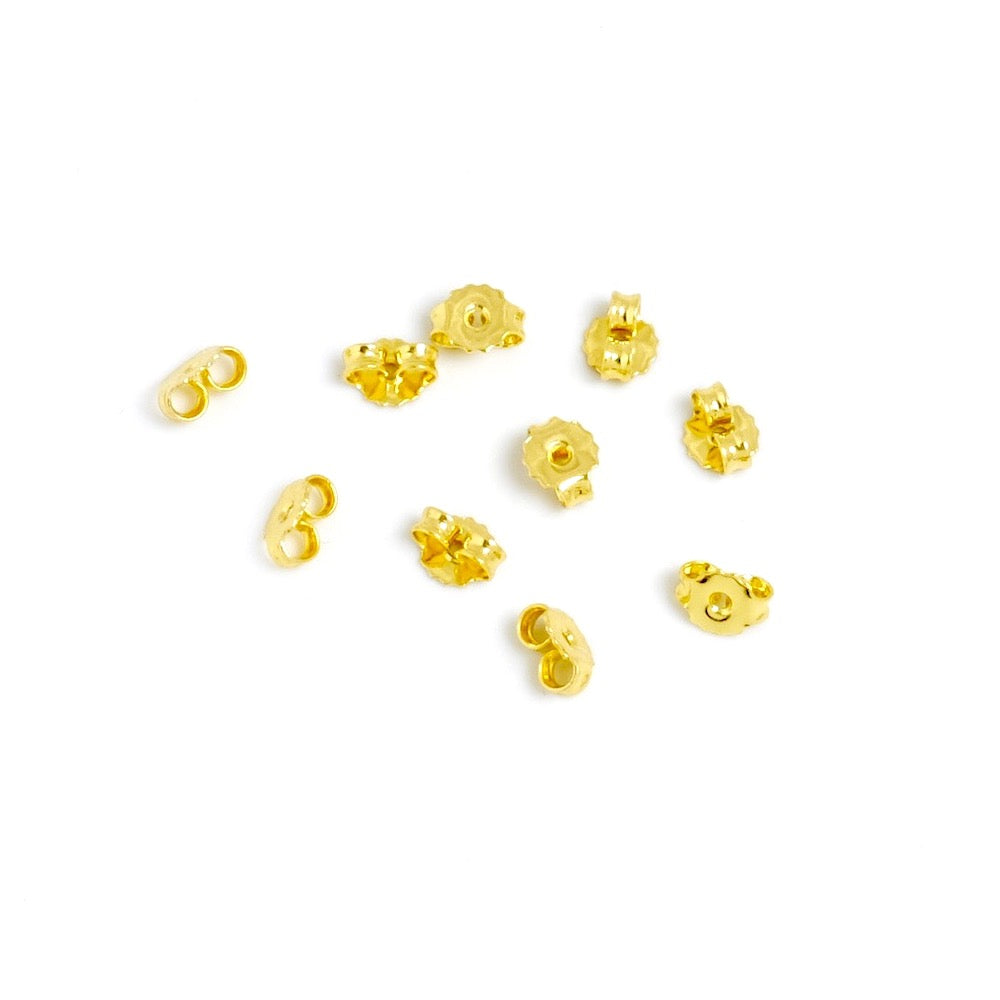
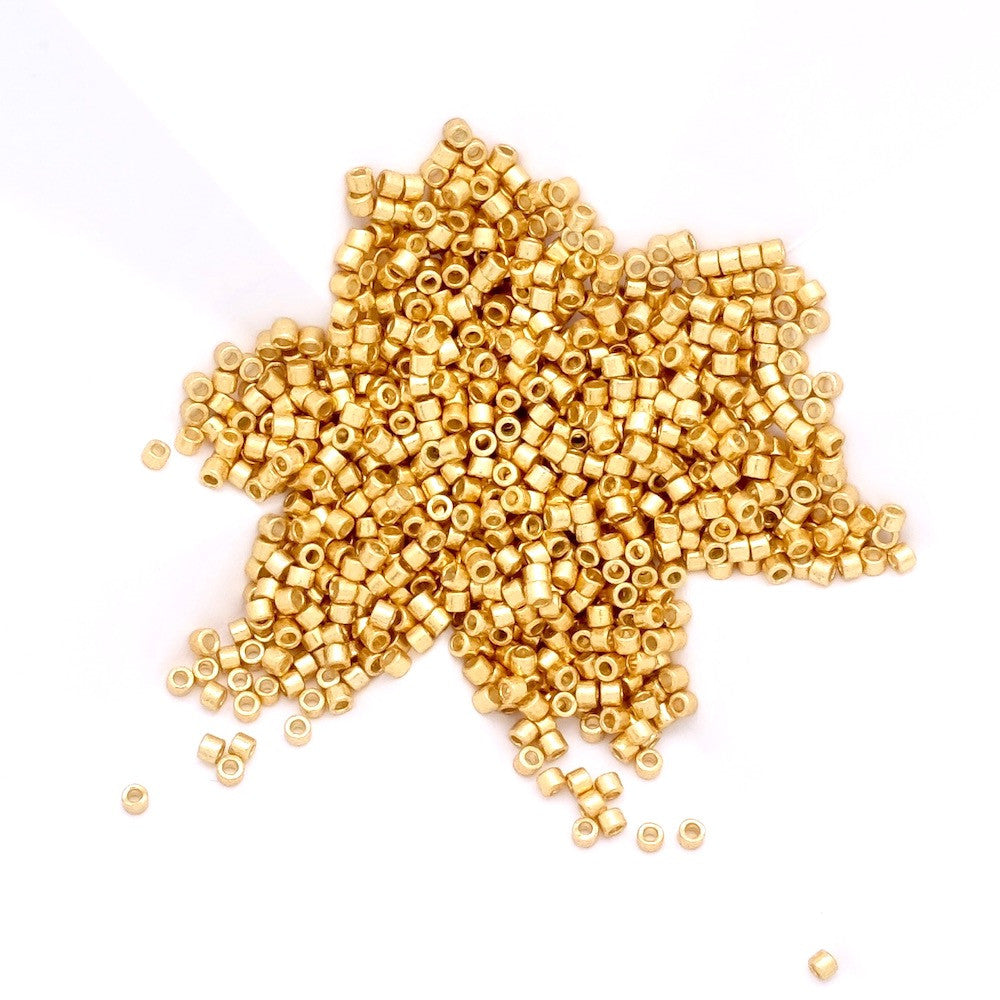
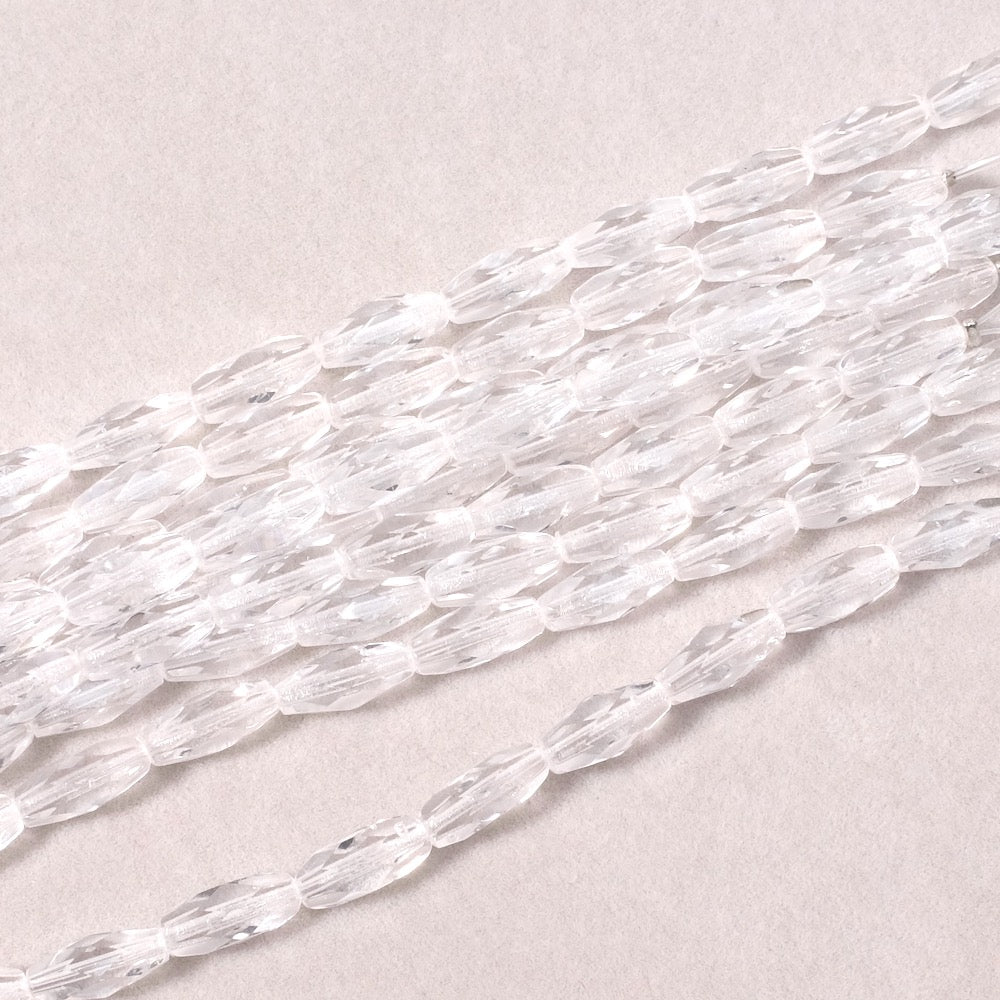
This creation is not very complicated to make, follow the explanations below carefully to faithfully reproduce this model. Our video below shows you the essential steps. Here I resume the Brick Stitch weaving technique on support for the first row of beads. To start, string 26 golden Miyuki Délica beads on the border of the closed ring. Then, close the weaving by passing through the first bead of the row, then the last. Pass again through the first then the second. This will allow the beads to tighten well and your thread to lock to start the next assembly. Now, create the petal beads. For better understanding, I will number the beads of the previously made row, with No. 1 being the bead from which the thread exits. String an olive bohemian bead and a colored Miyuki Délica bead, pass again through the bohemian bead then through bead No. 2. The Miyuki bead thus blocks the bohemian bead. Pull the thread well to tighten the bead on the border. Now pass through bead No. 3. String a bohemian bead and a Miyuki bead, pass again through the bohemian bead then through bead No. 4. Pass through bead No. 5. Continue like this to position the 13 "petal" beads. Create the colored border. To do this, go up into a petal bead and pass again through the Miyuki bead located at the top of the bohemian bead. You are now positioned for the border. String 8 colored Miyuki Délica beads then pass through the bead located at the end of the next bohemian bead. Continue like this until completing the entire border. To reinforce the assembly, pass again through the first beads of the border. To assemble the earring support, pass through the hole of the support then through the bead underneath. Repeat once through to reinforce the assembly. To finish, go back down to the first row of beads and pass through a few beads again.  Your jewelry is finished! Beautiful creation! |
||||
 |


To be reserved alone or with friends!

Inspirations, tutorials, and new arrivals: receive the best of handmade in your inbox.


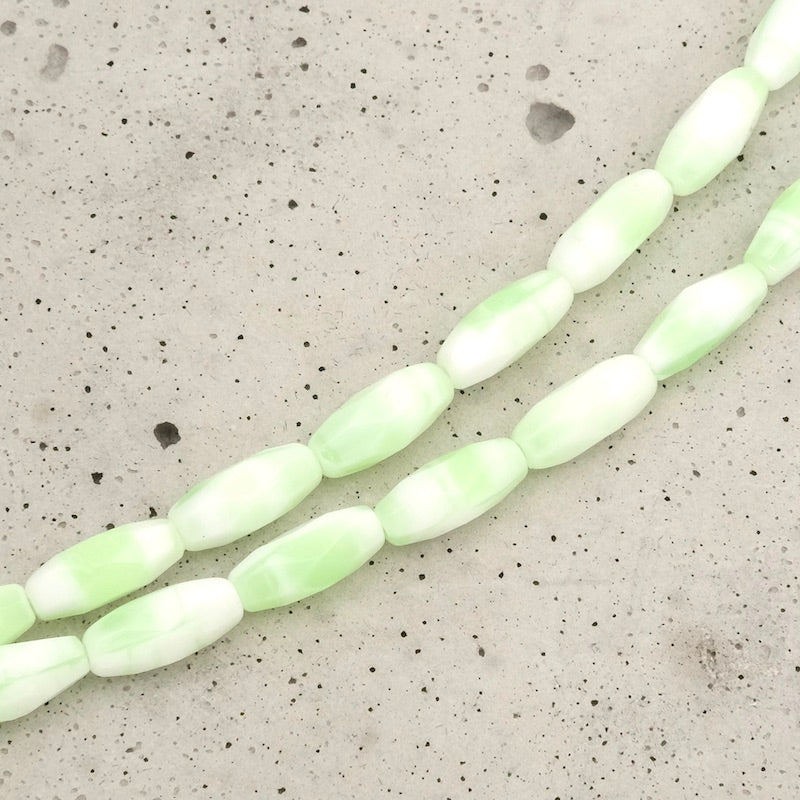
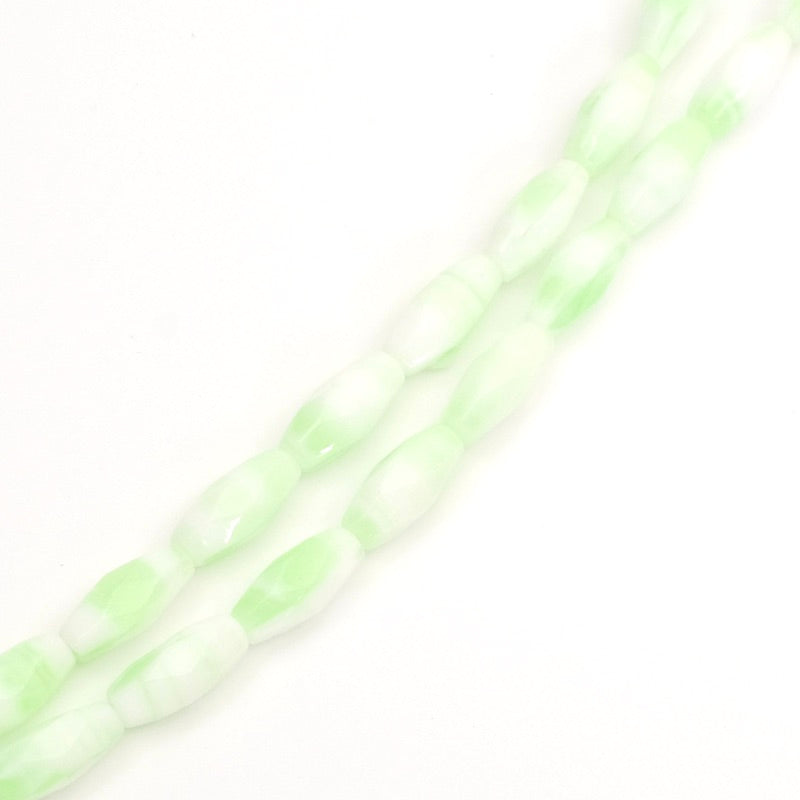
 26 Bohemian olive beads
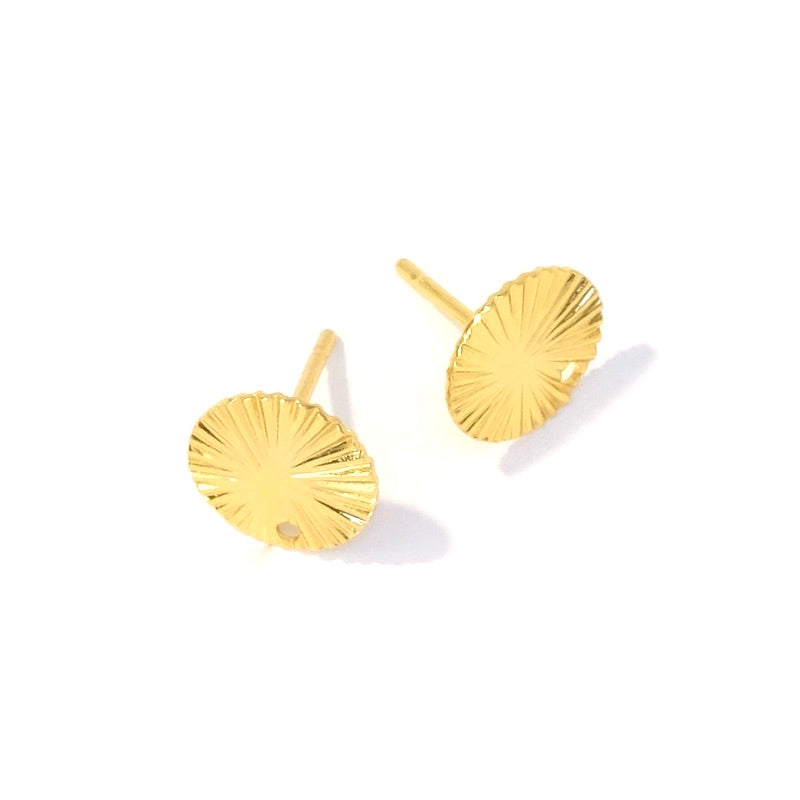
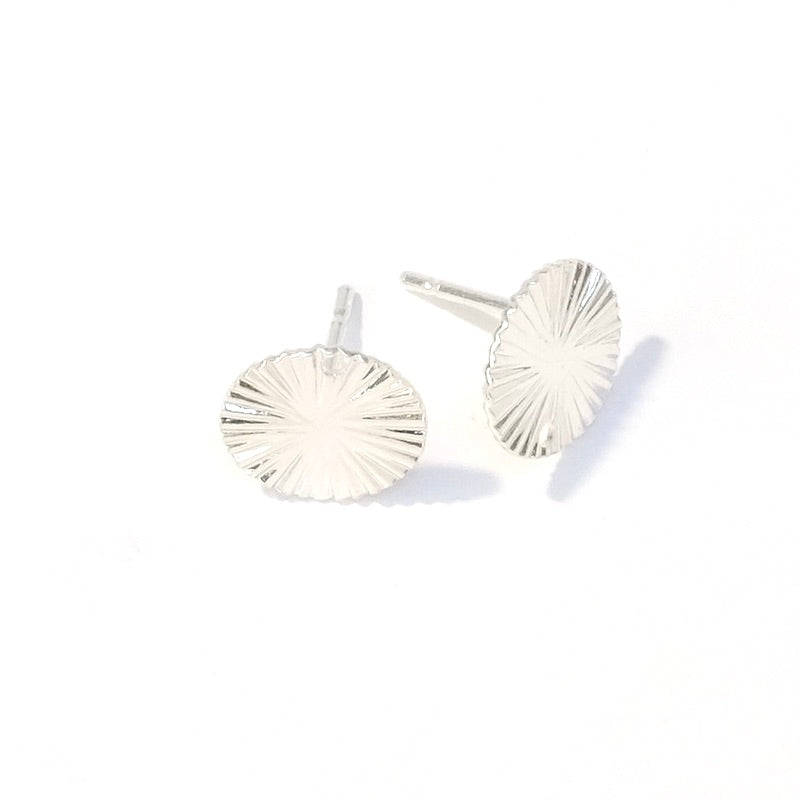
 a pair of earrings 24K Gold Plated