|
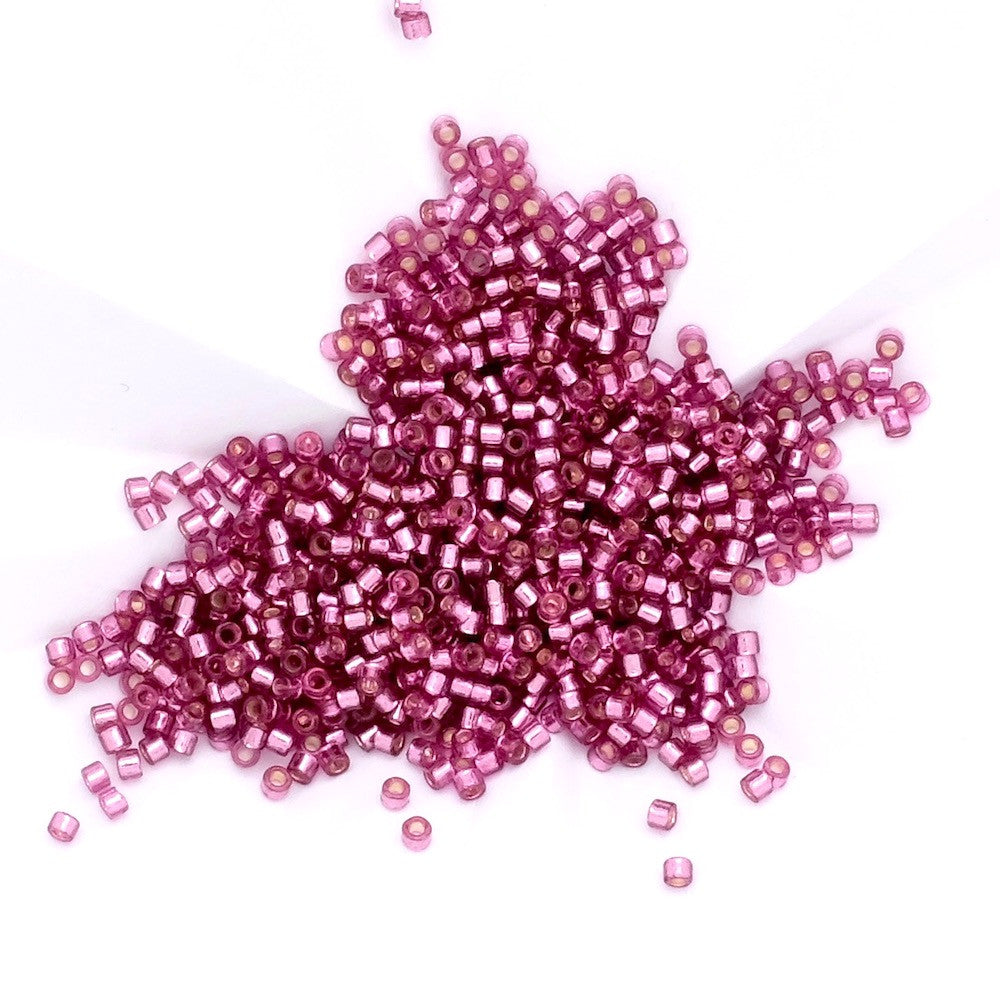
Fall for our new earrings made of Miyuki beads assembled with the double Brickstitch technique and clusters of drop beads. A very easy creation to make that will bring you great satisfaction with its elegance and very impressive result! Find the video below to guide you through the assembly. Beautiful creation!
|
|---|
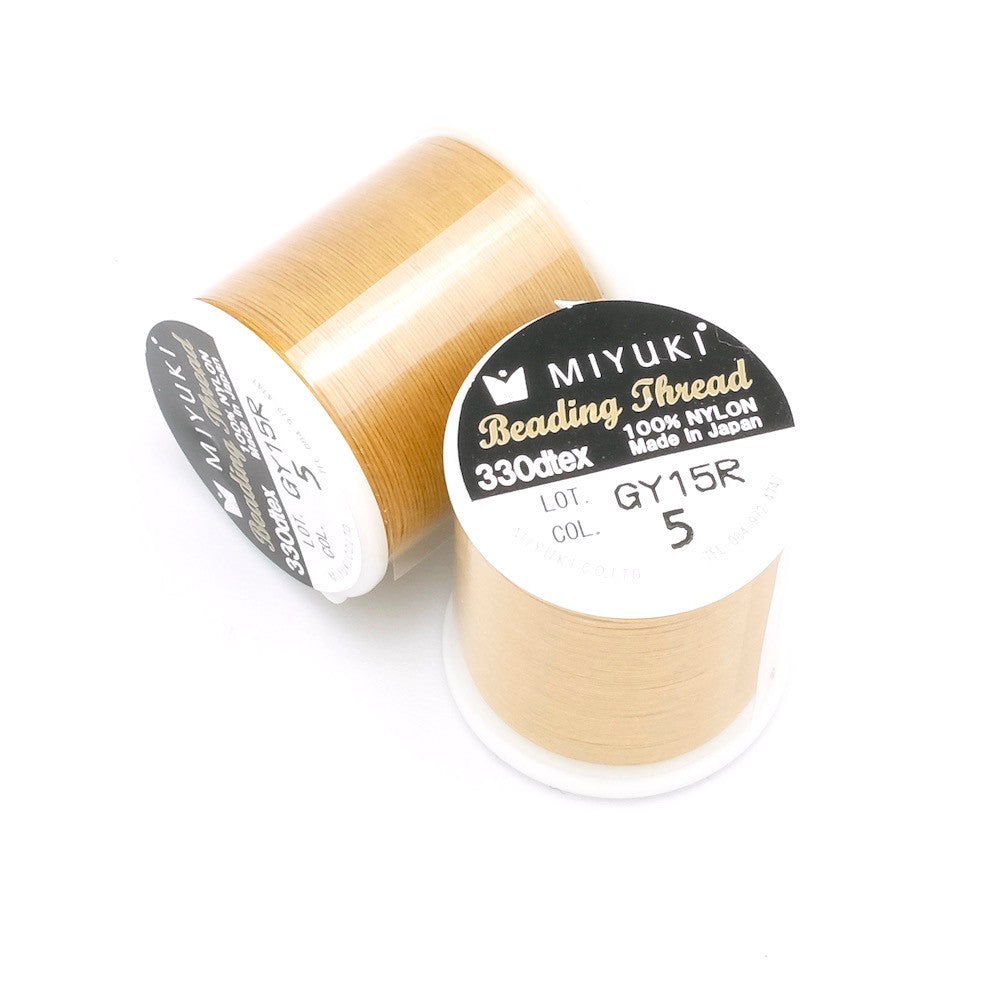
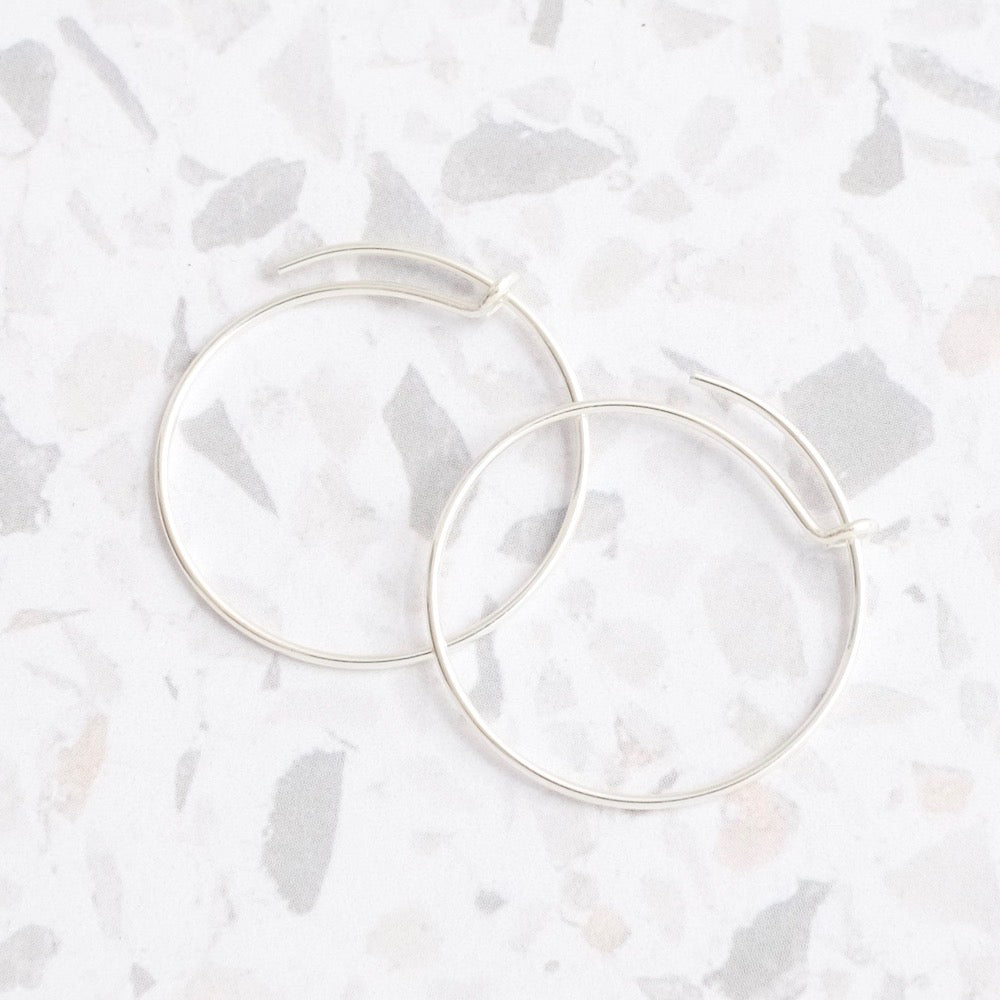
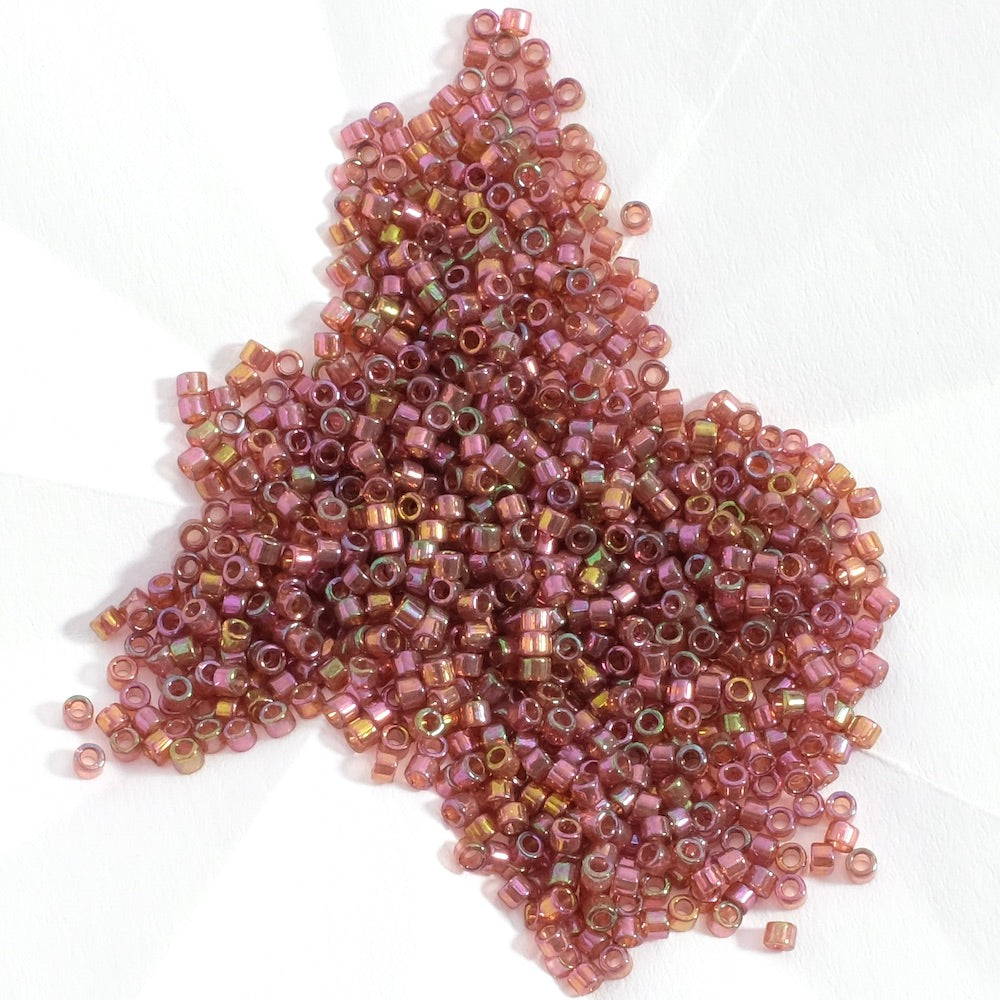
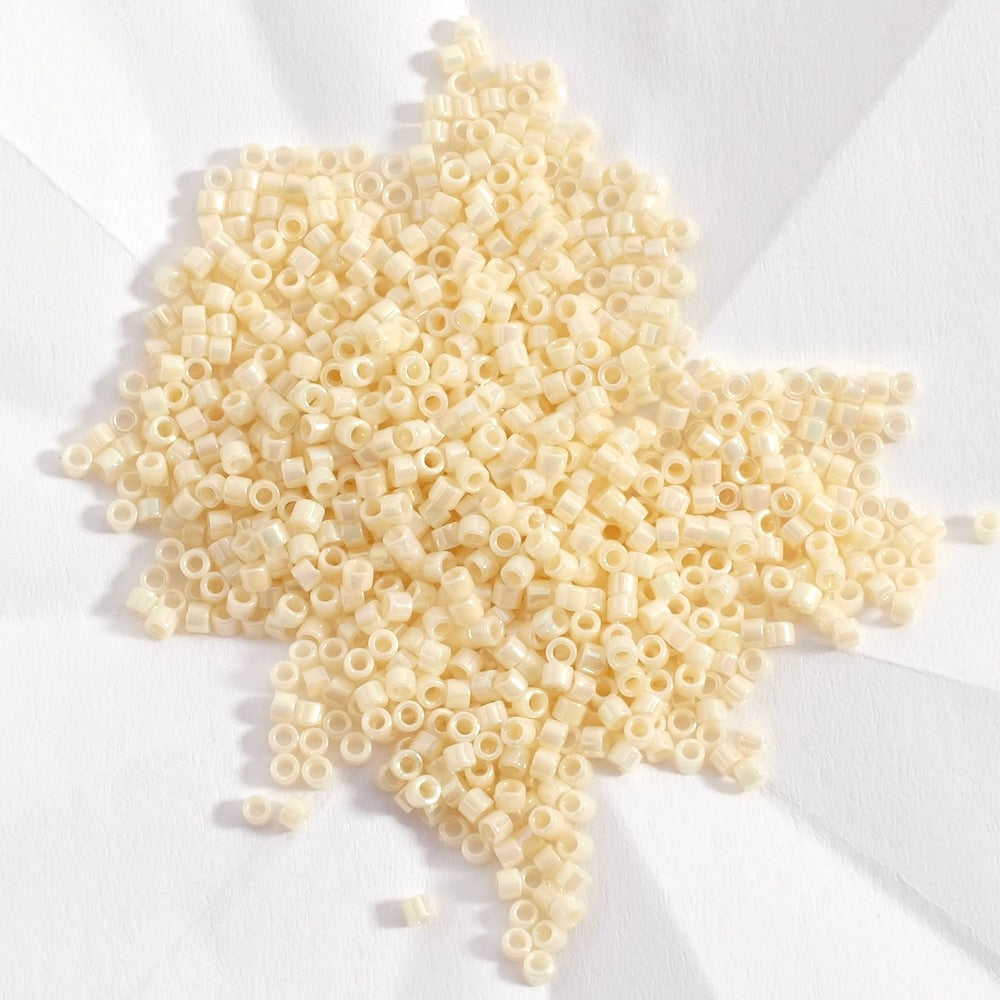
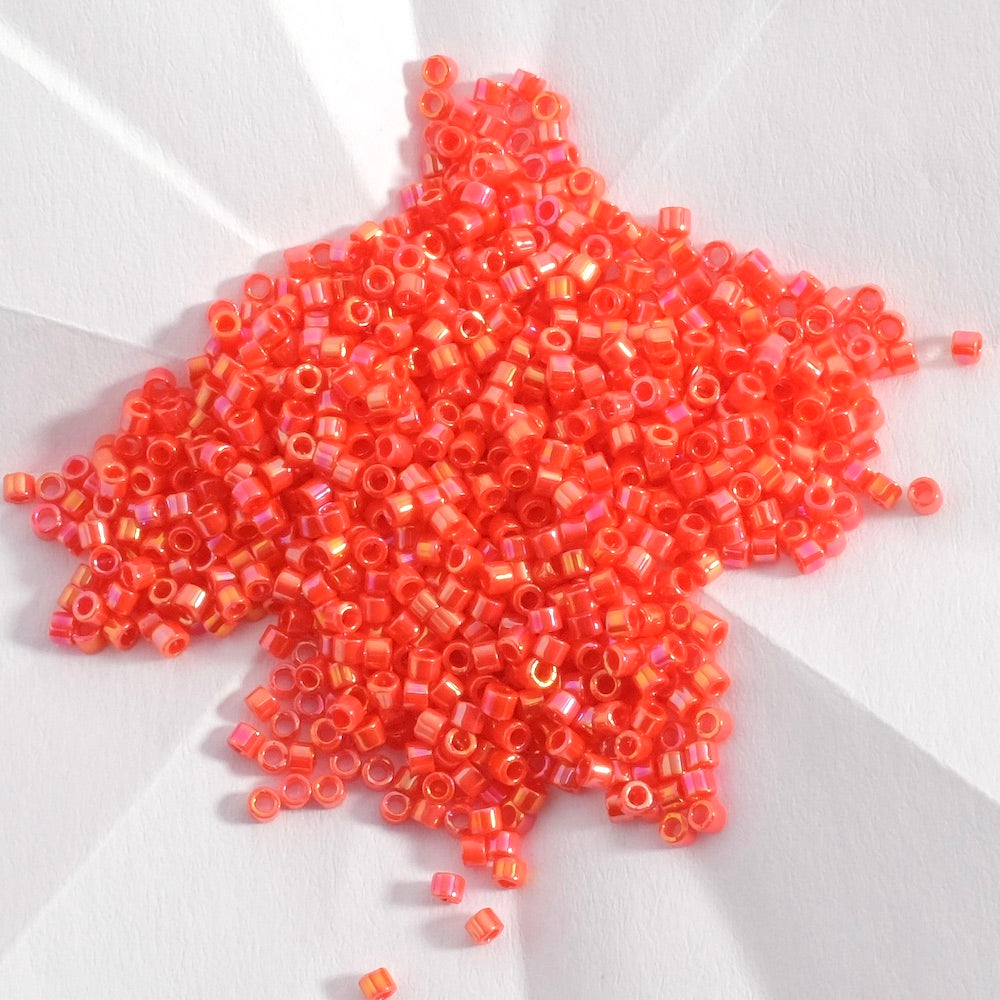
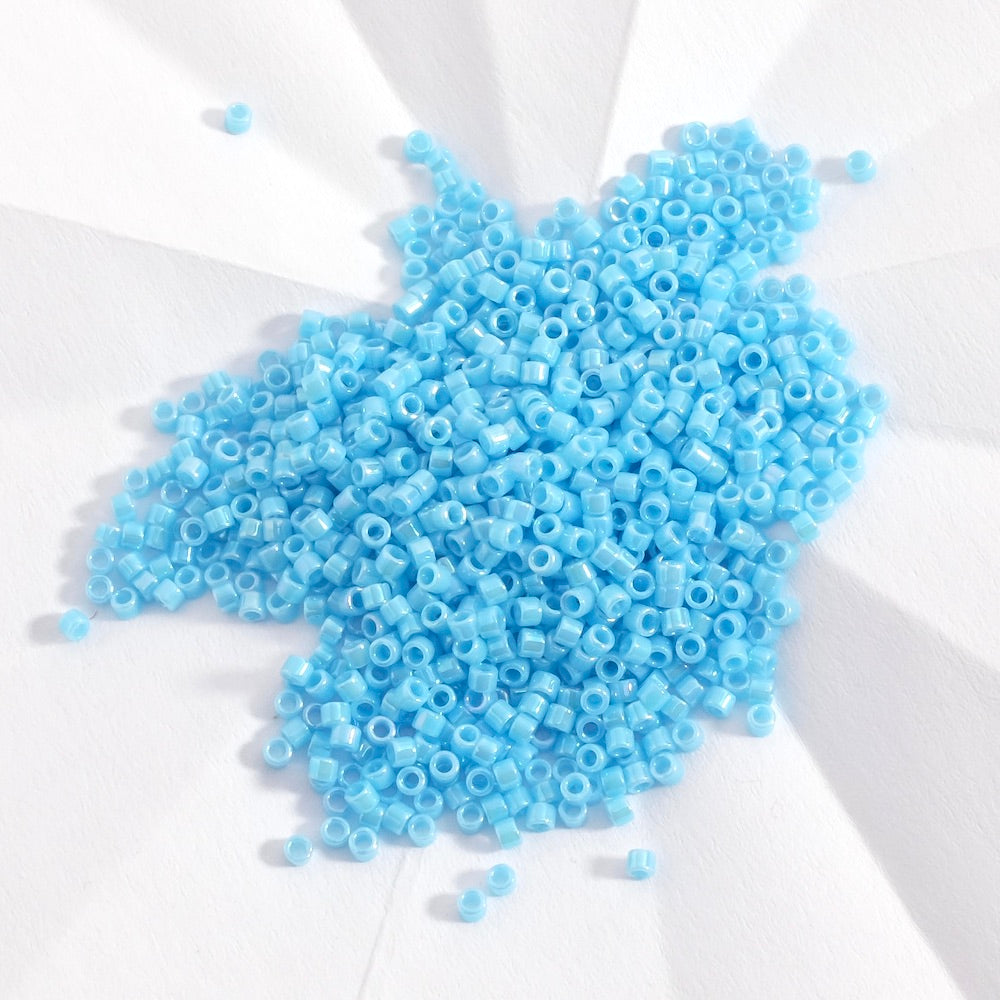
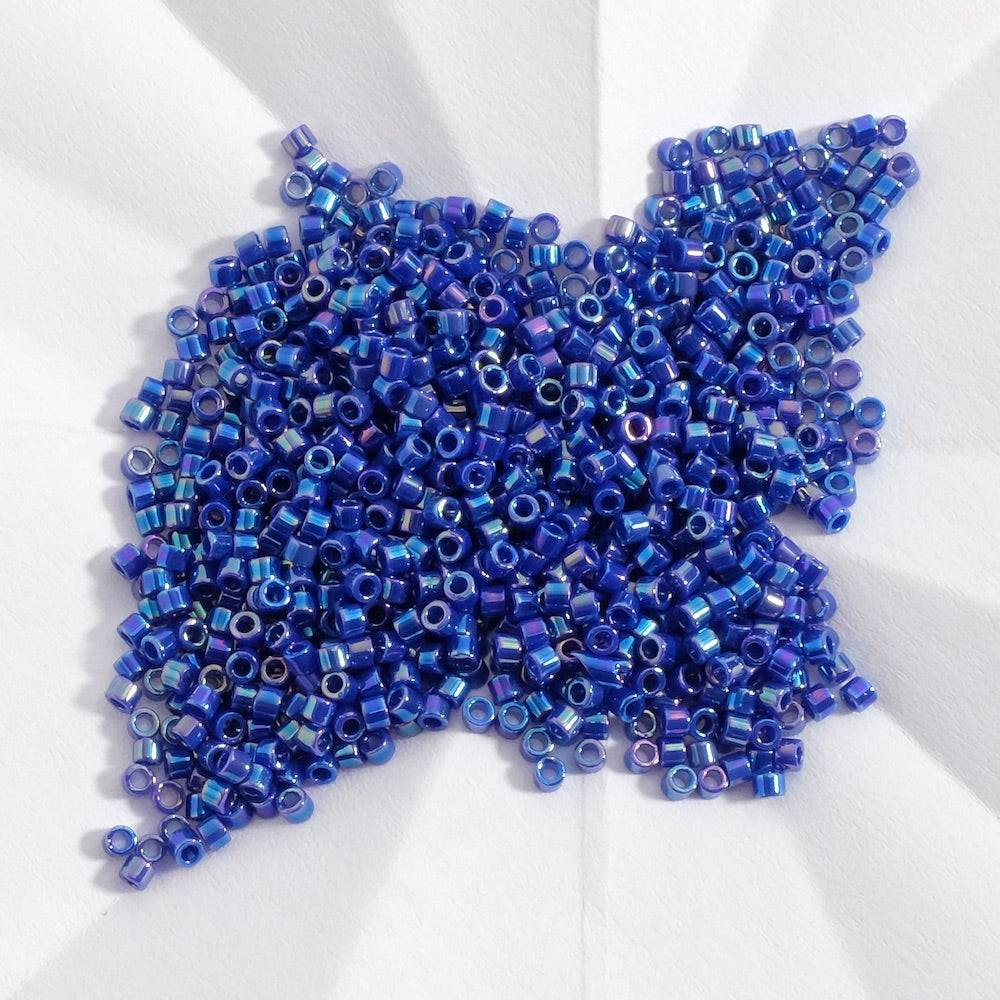
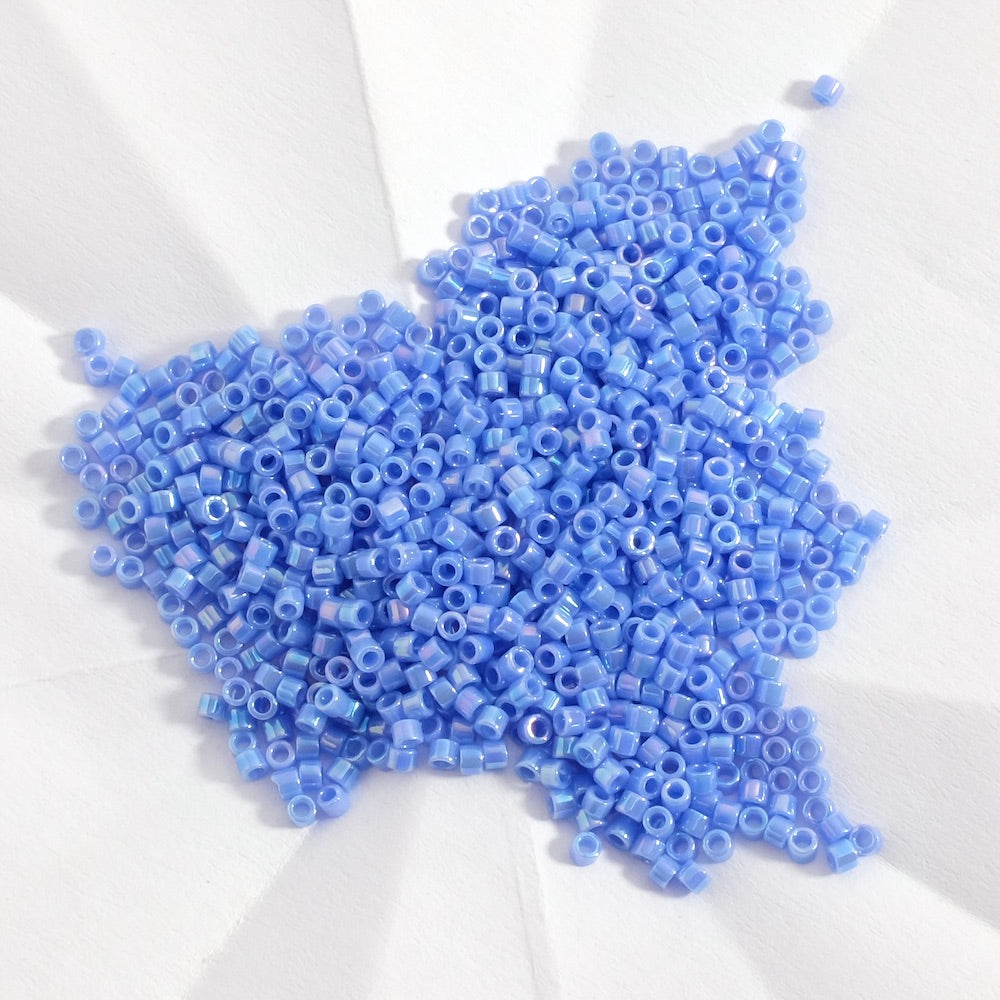
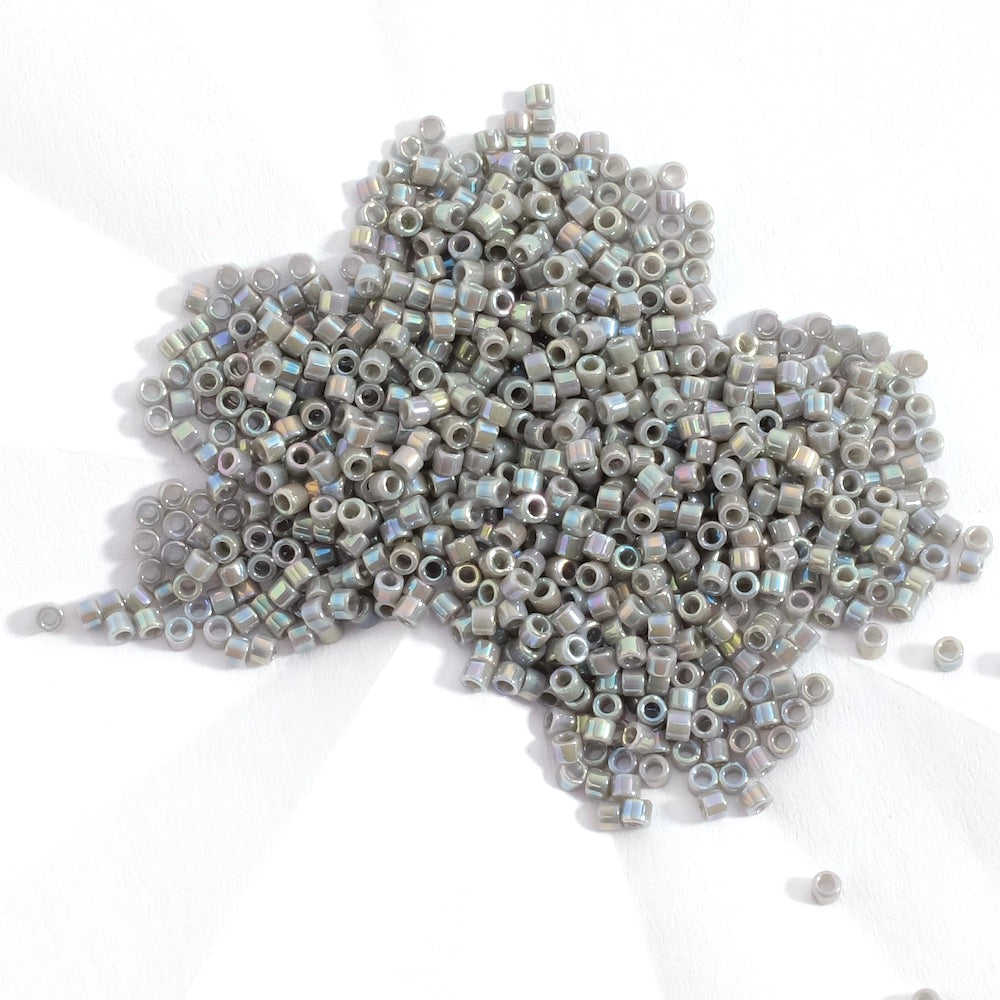
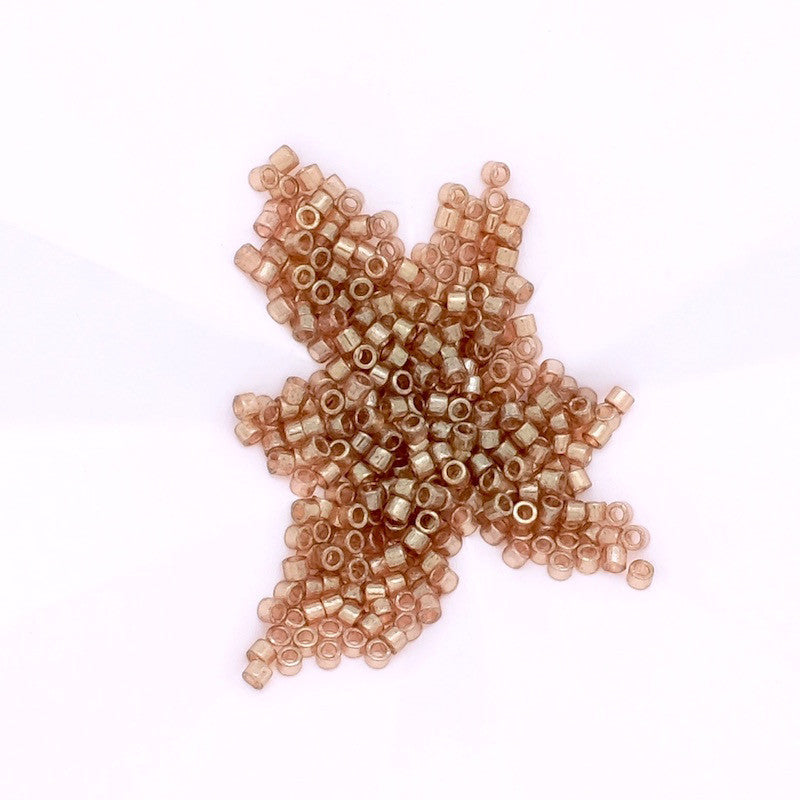
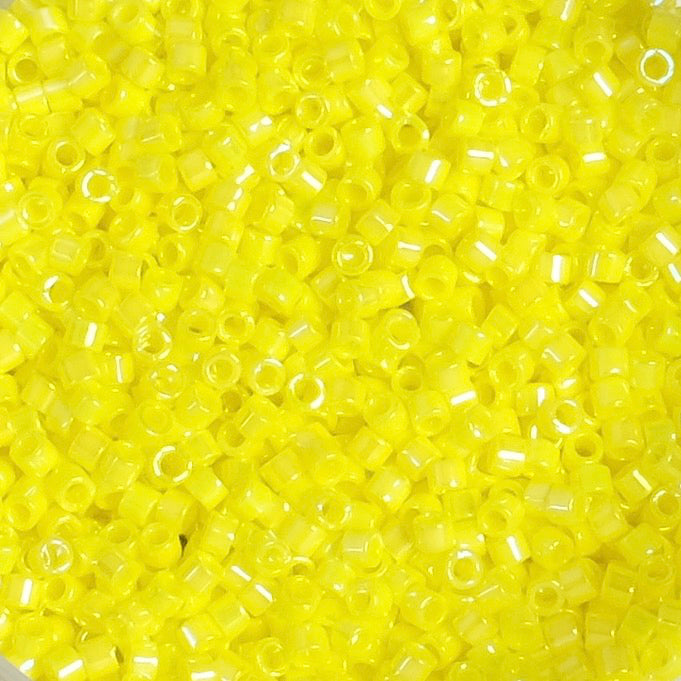
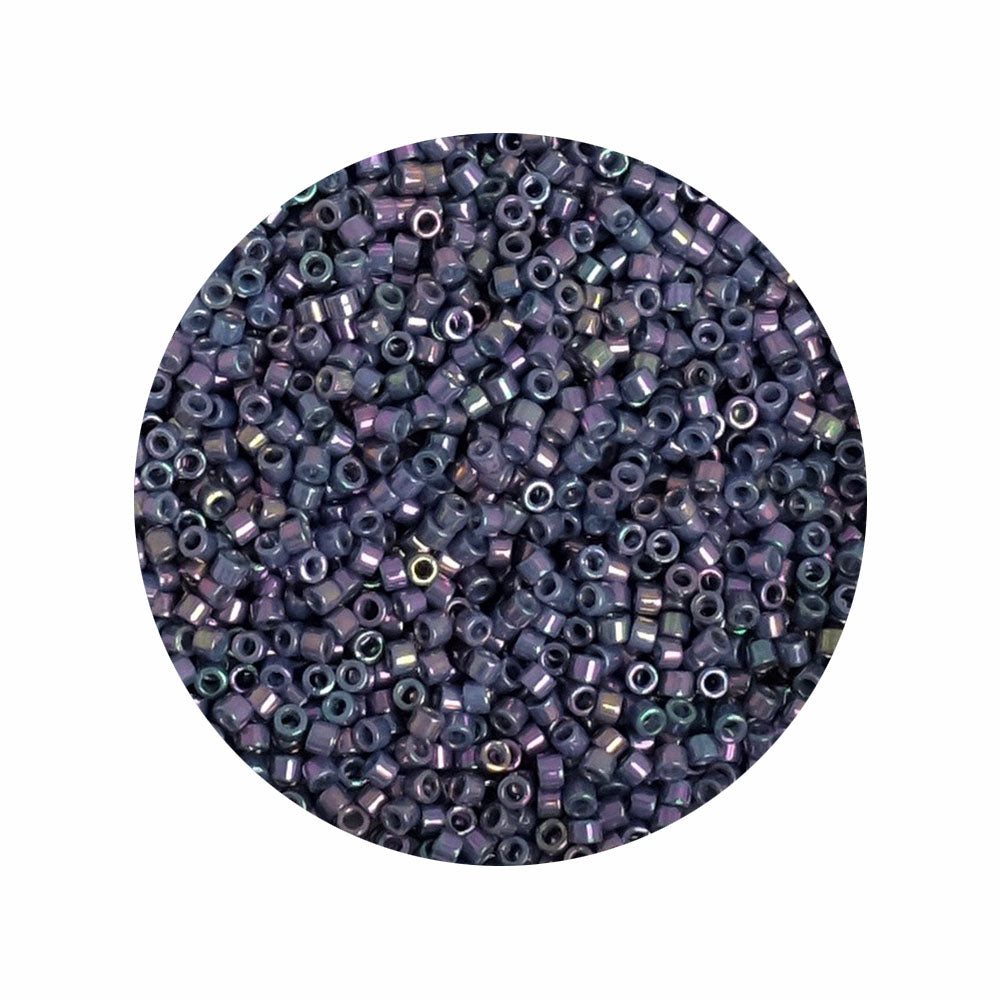
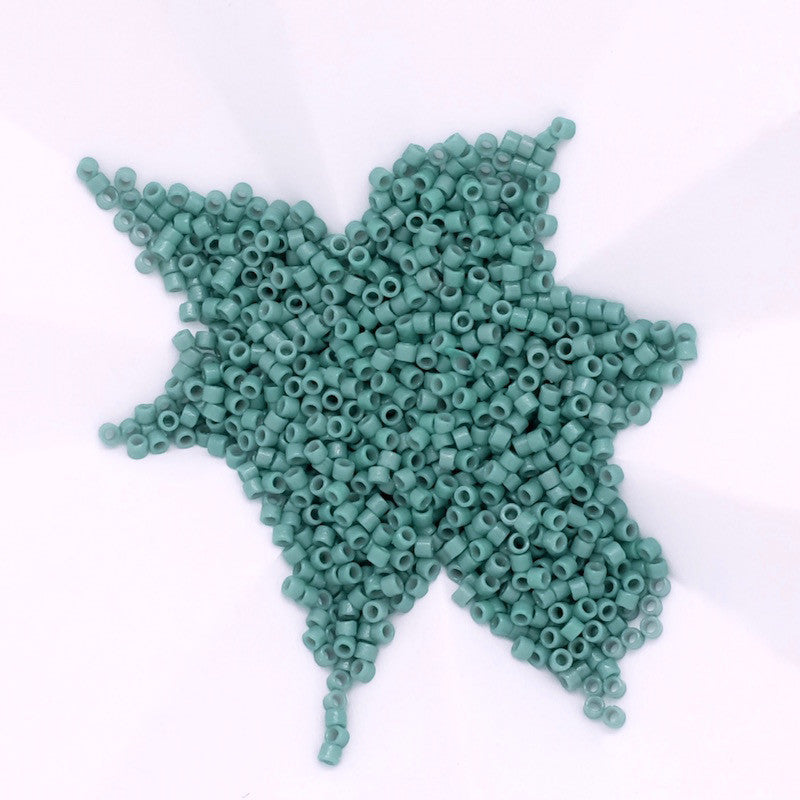
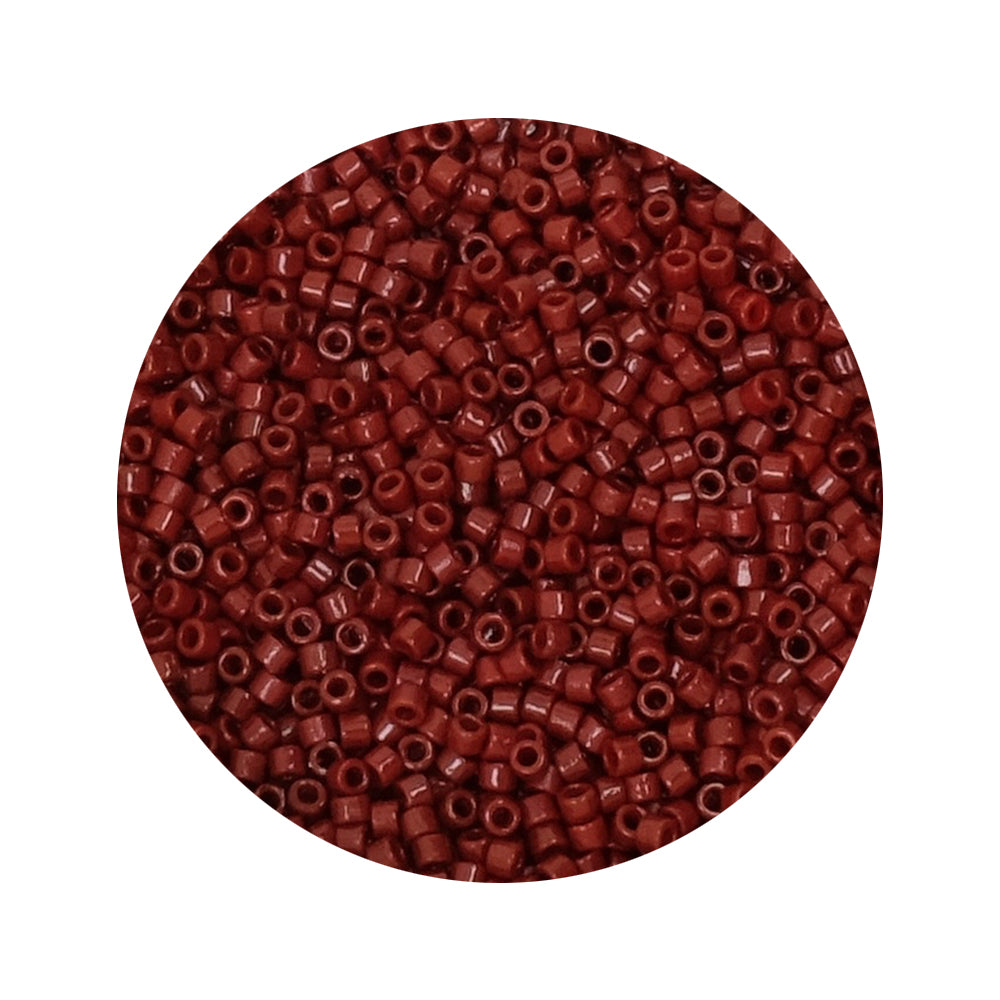
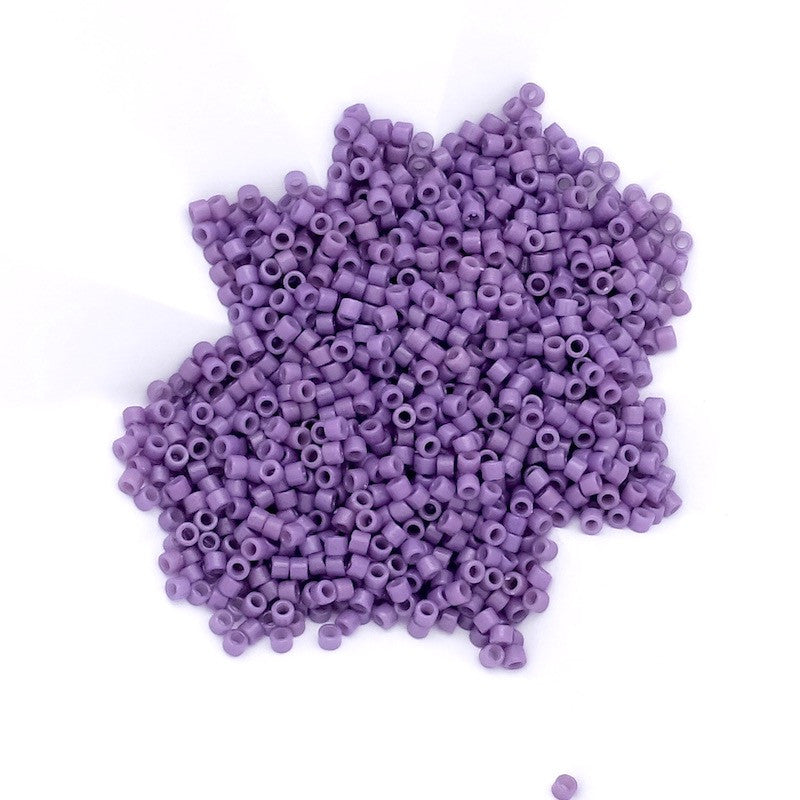
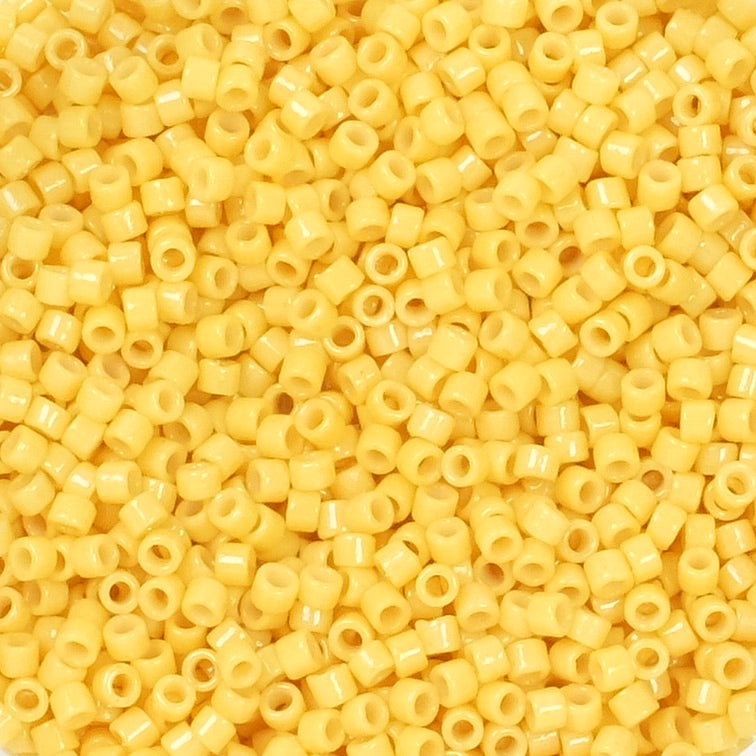
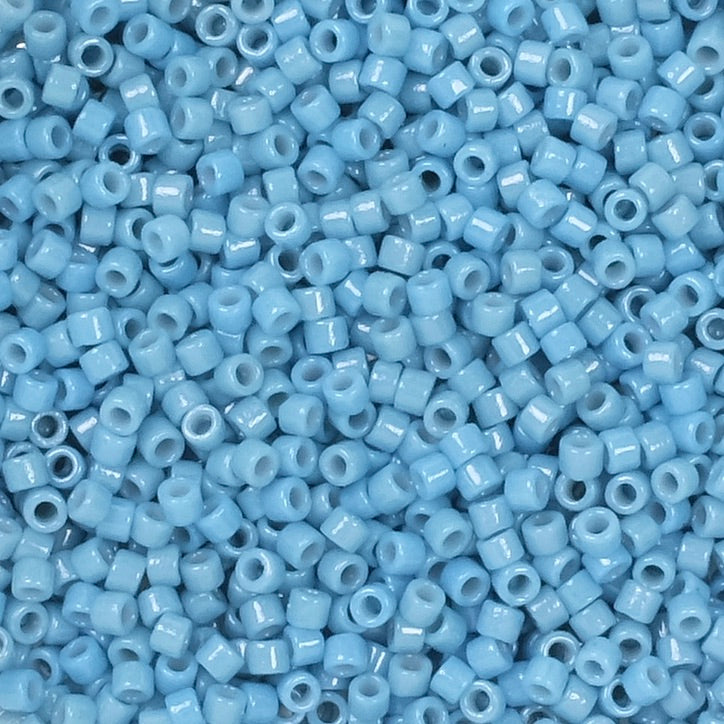
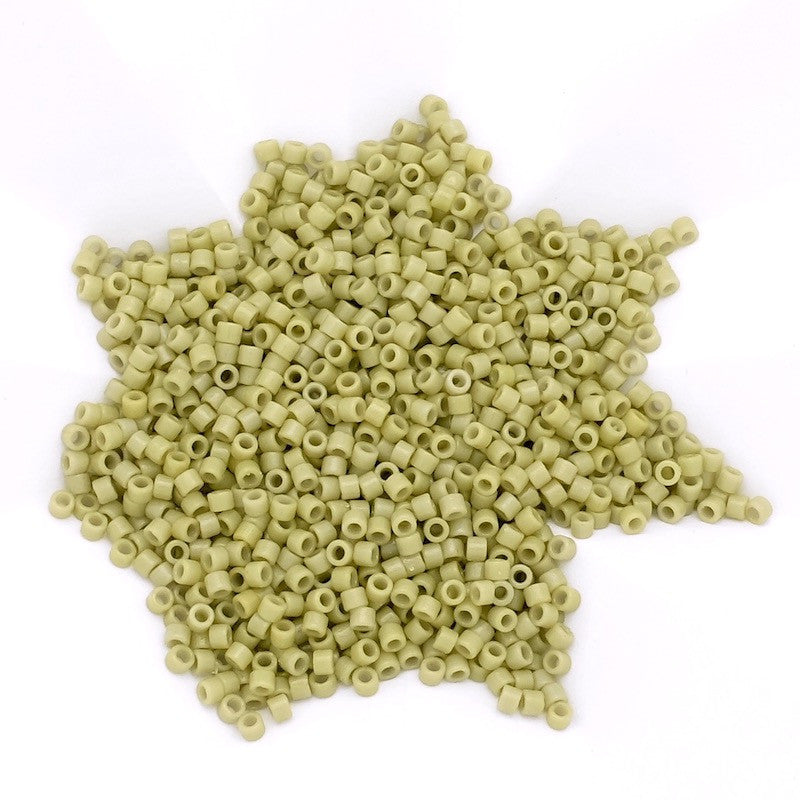
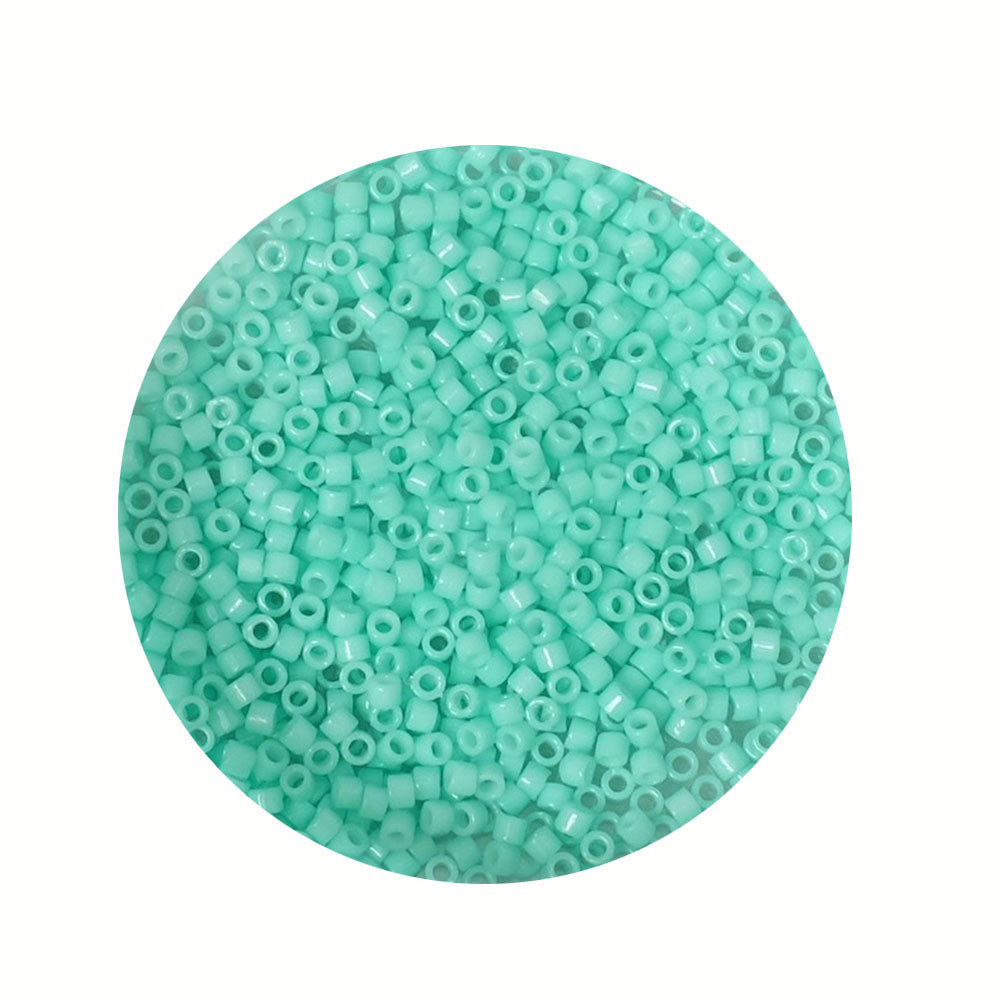
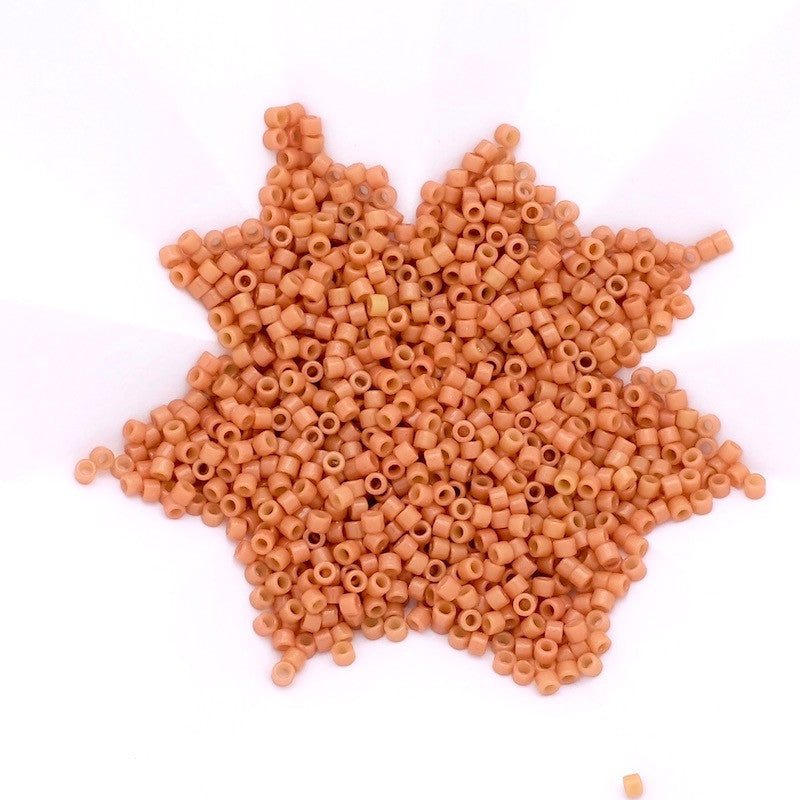
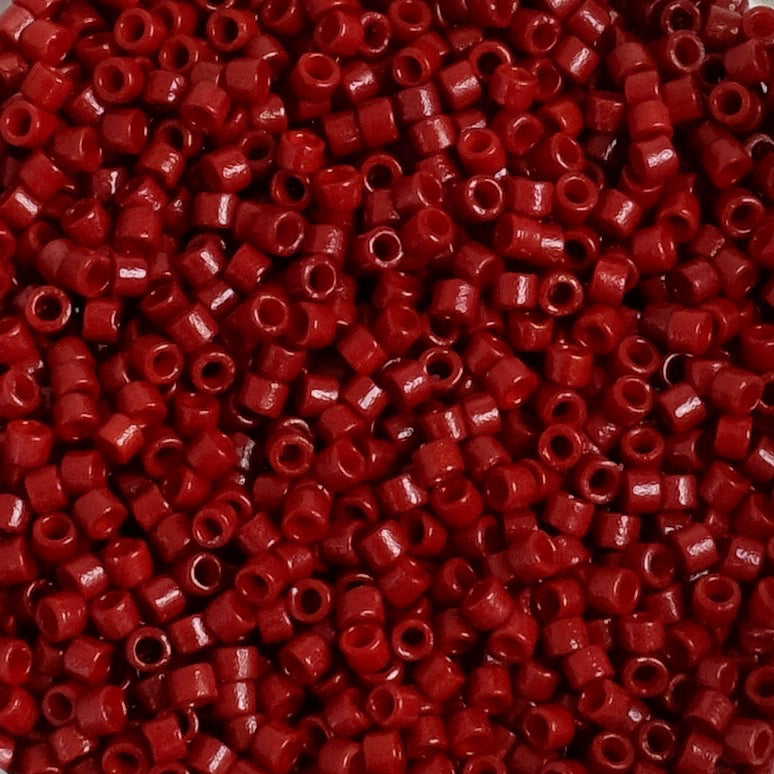
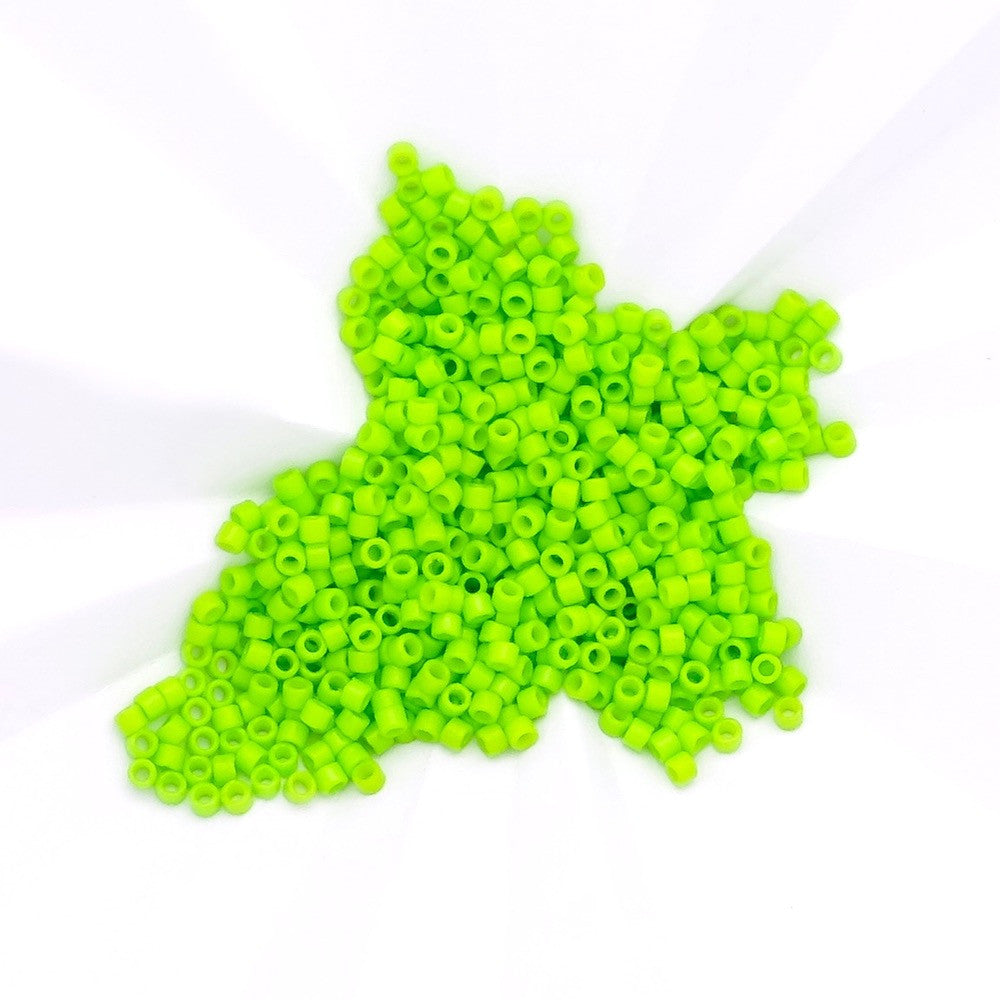
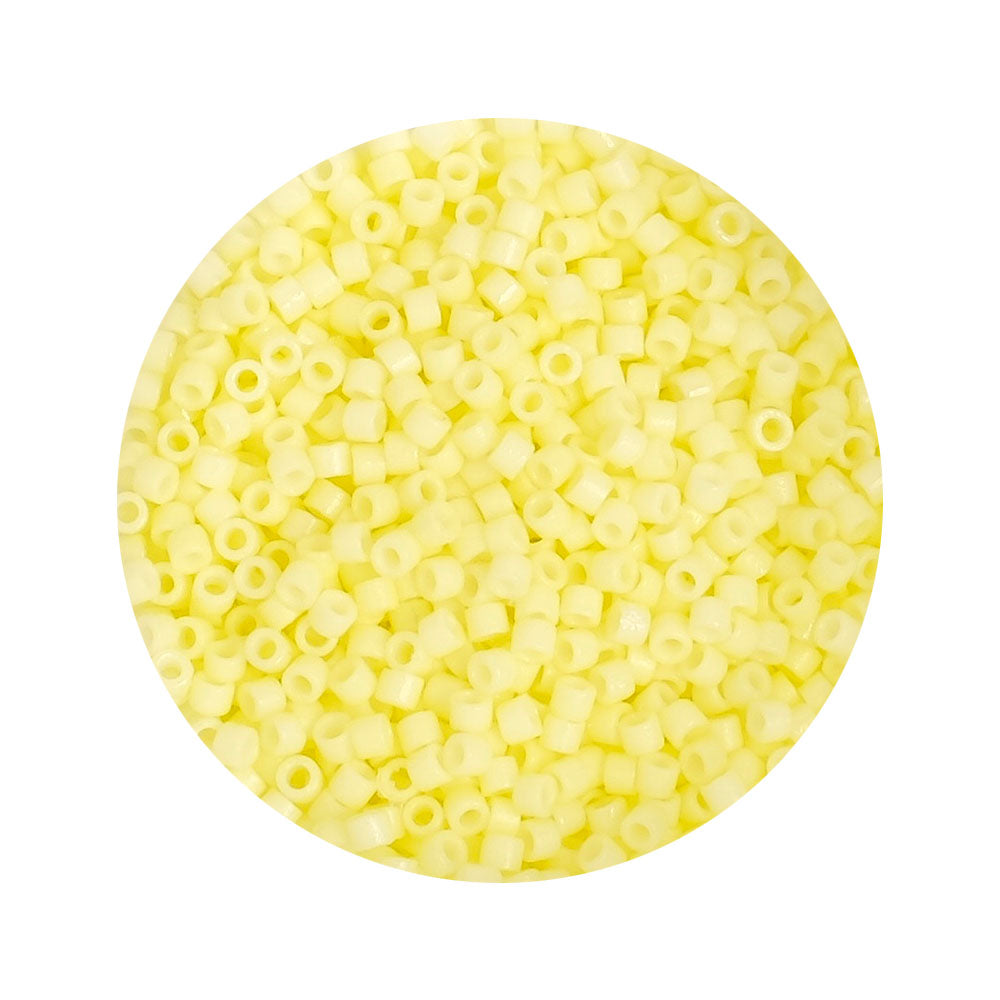
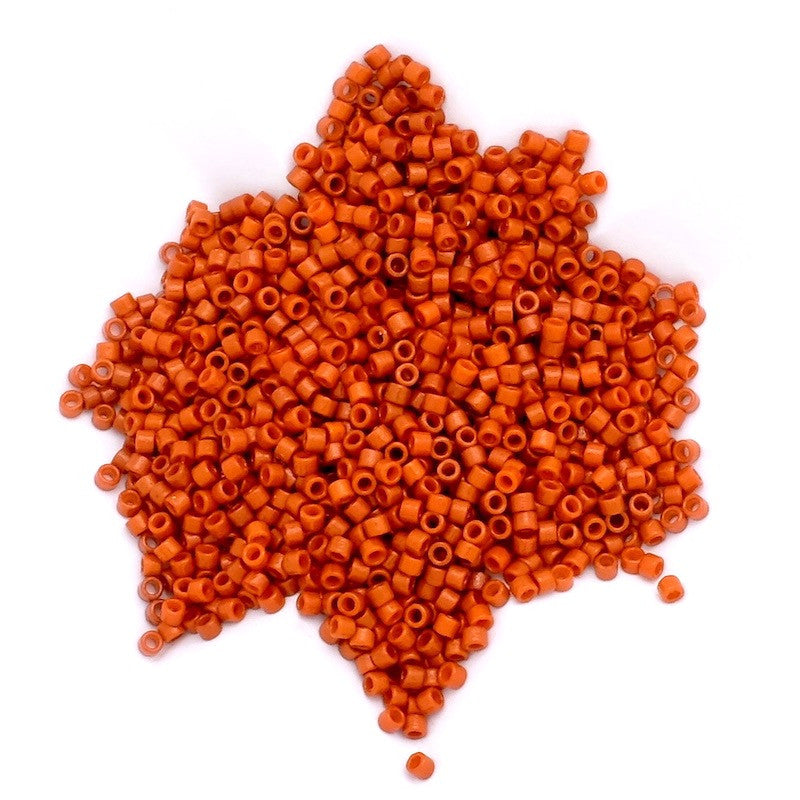
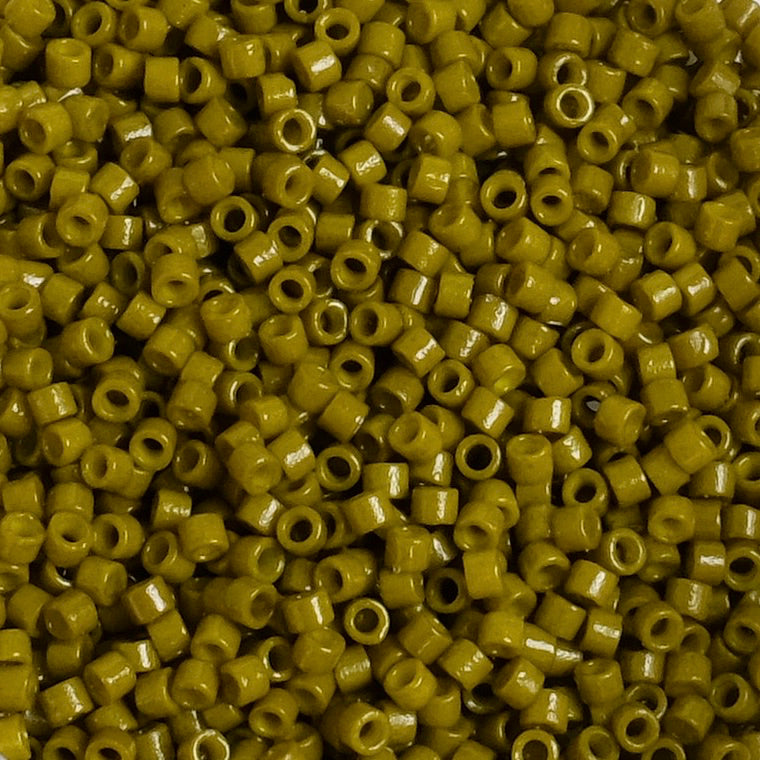
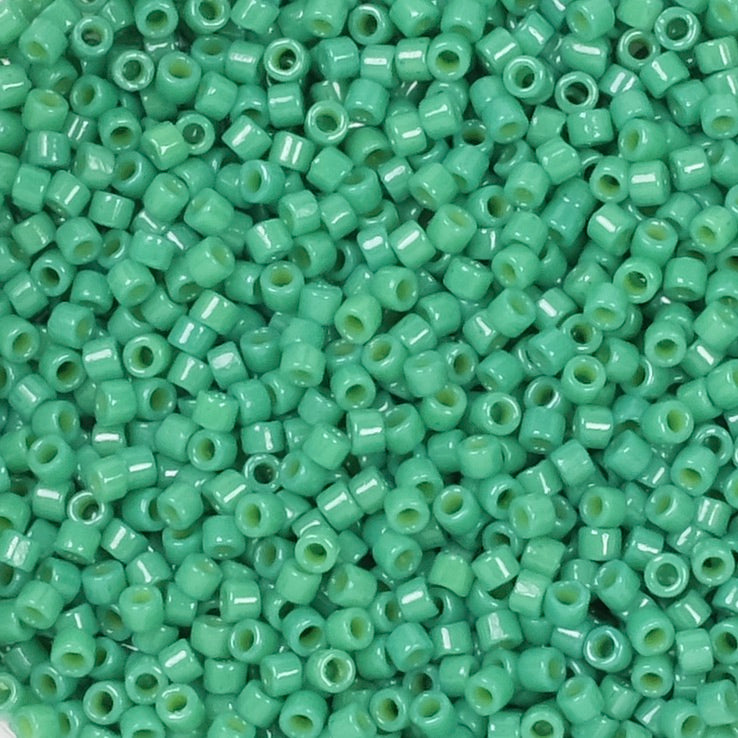
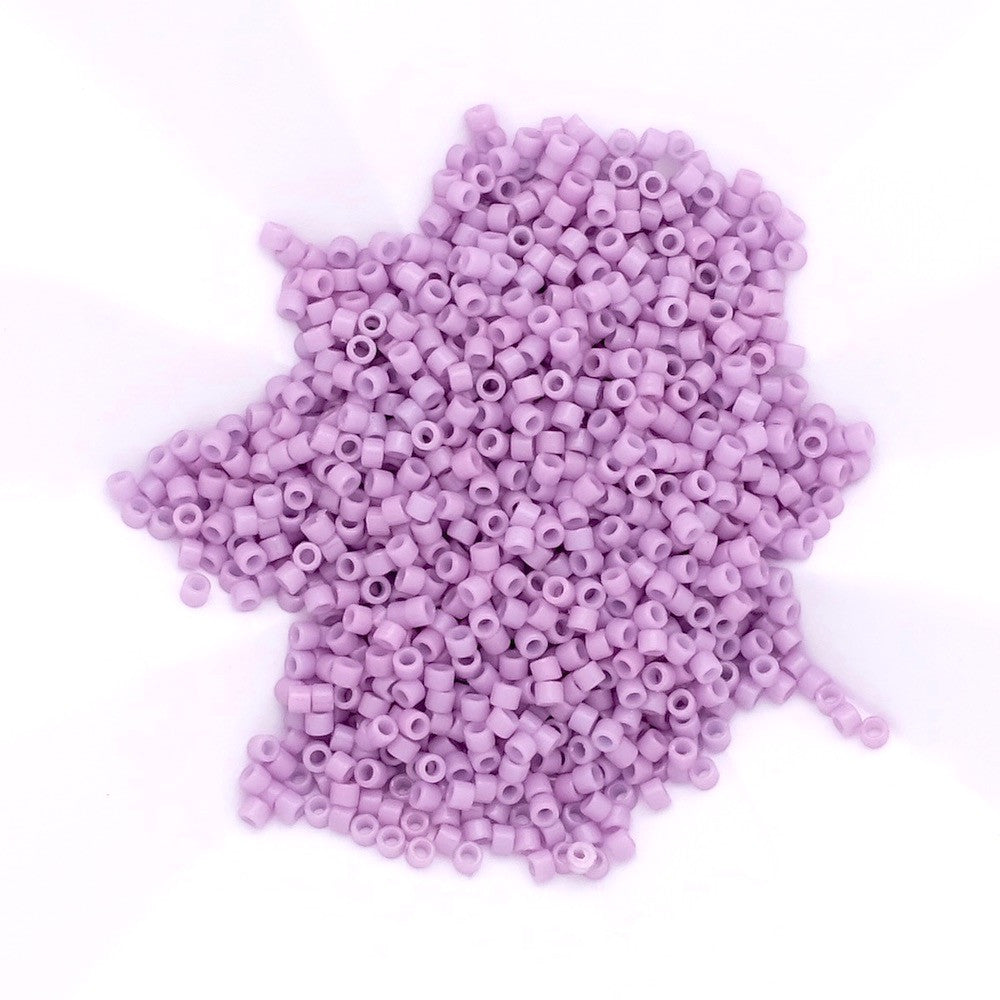
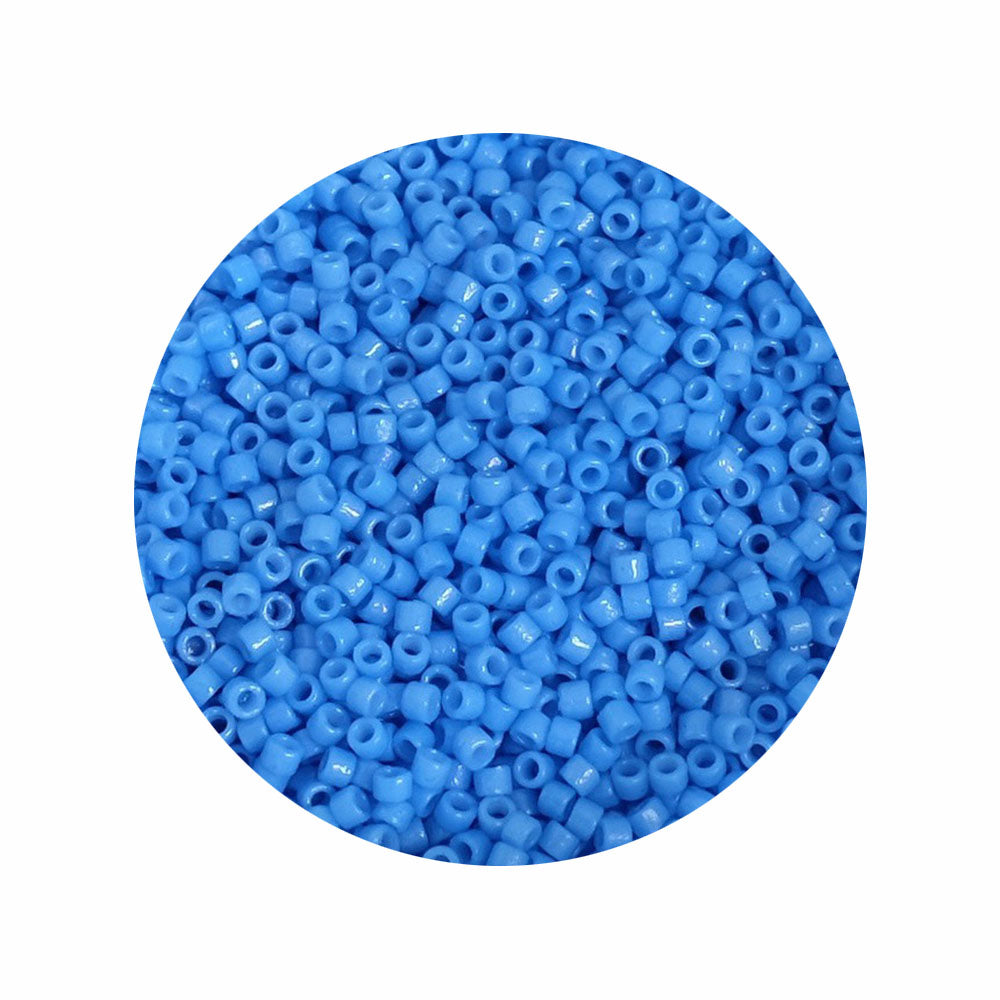
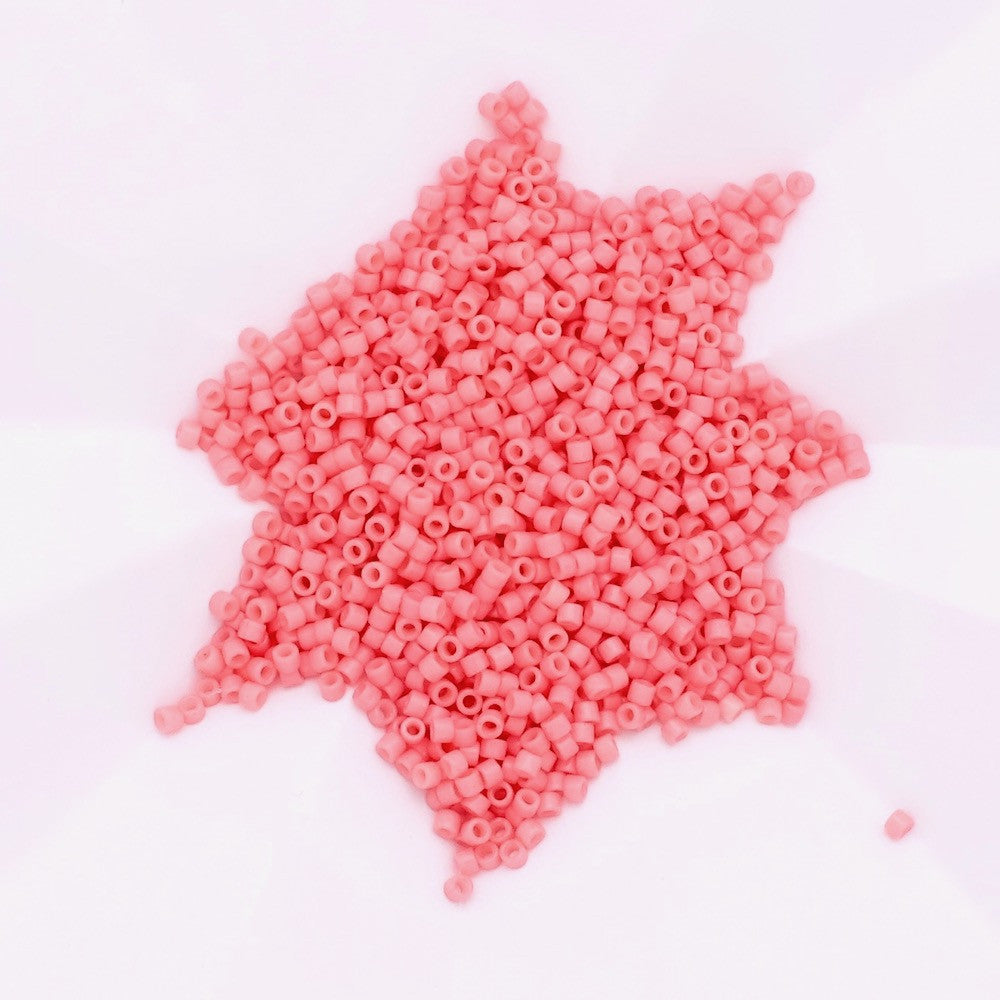
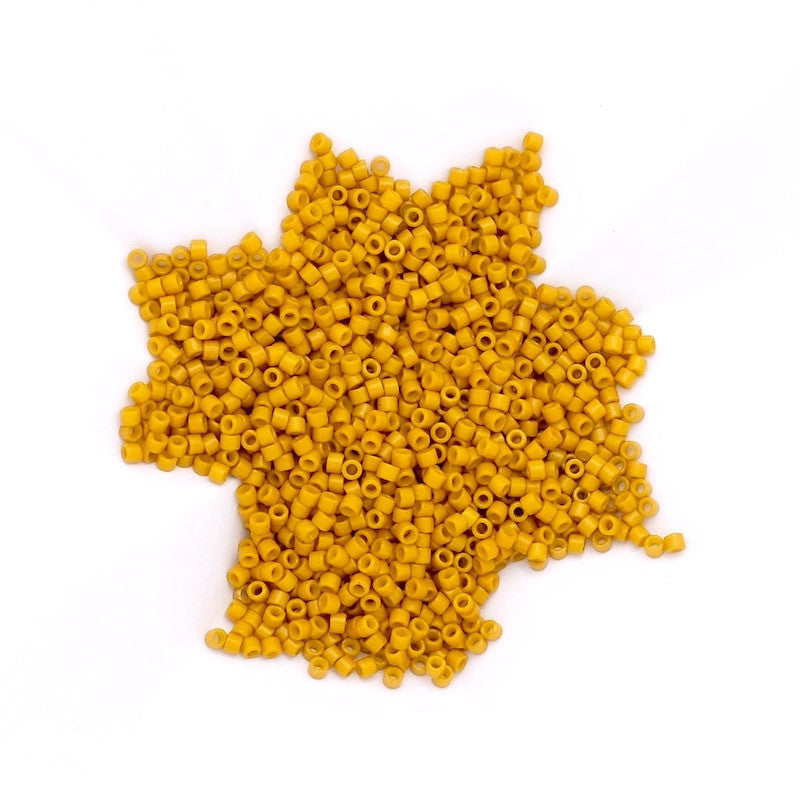
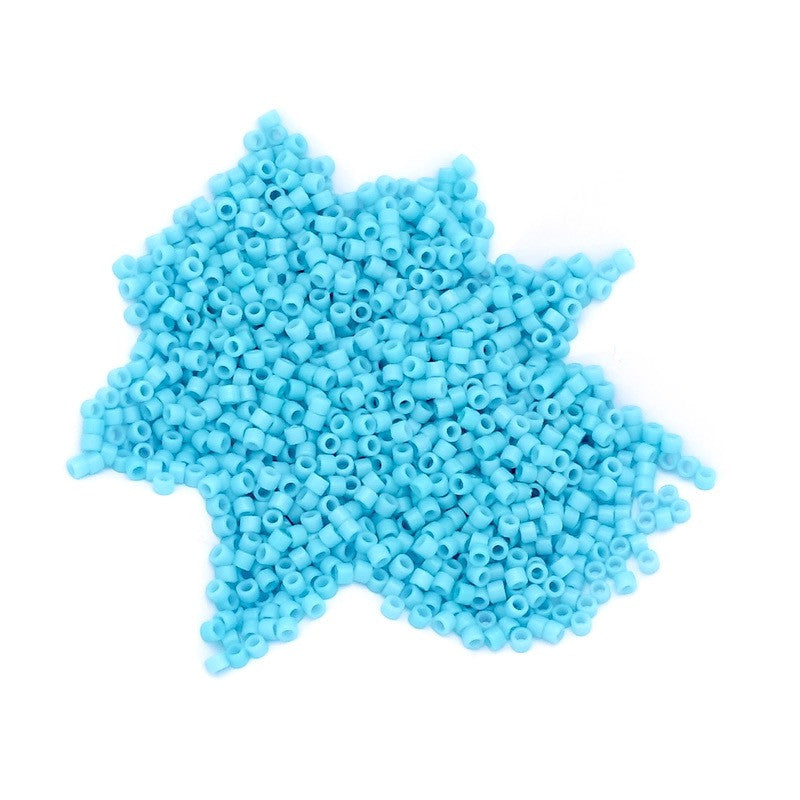
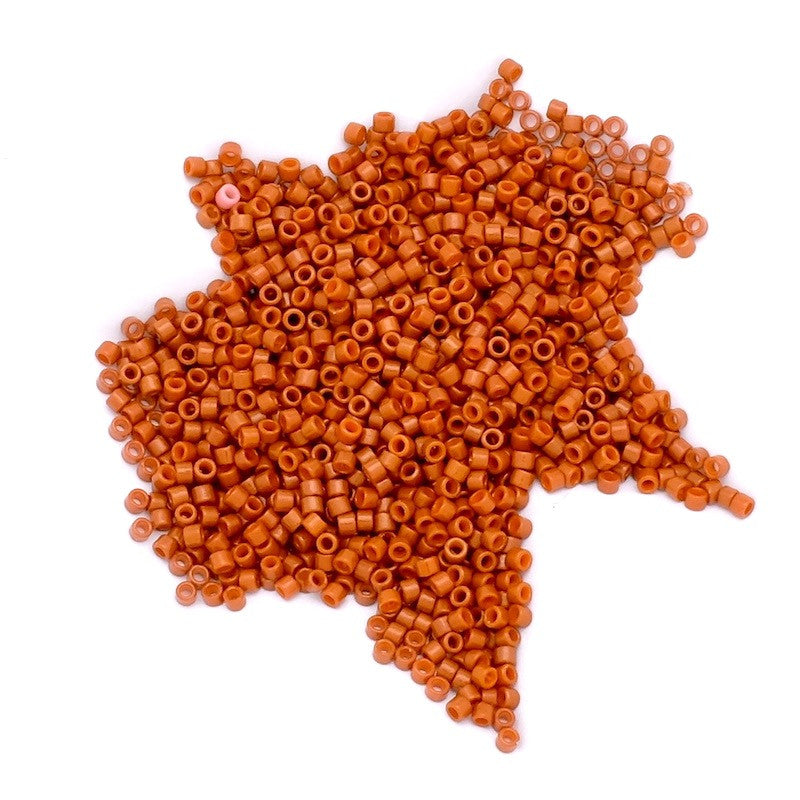
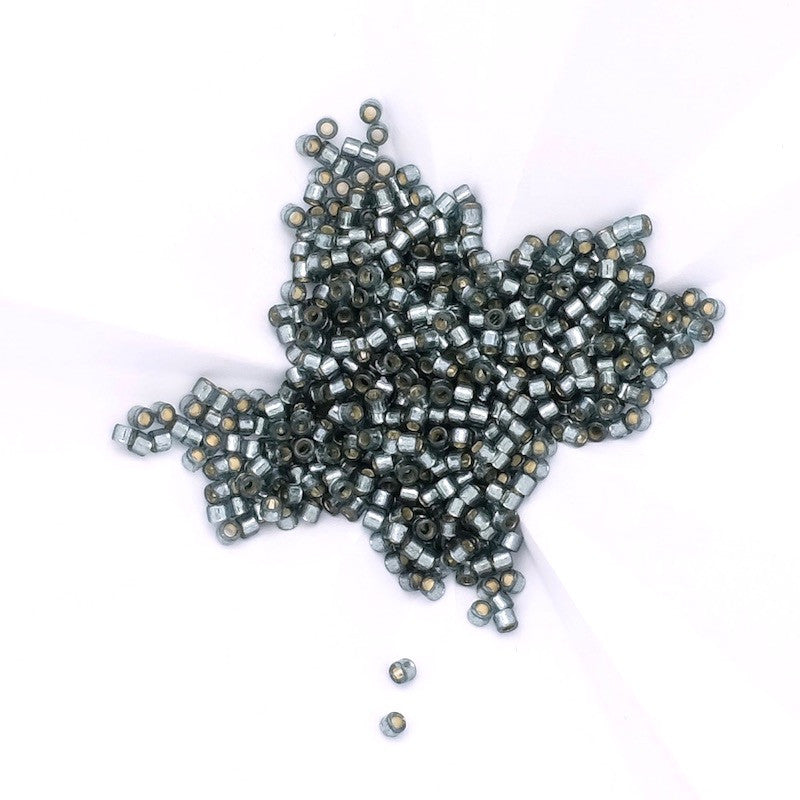
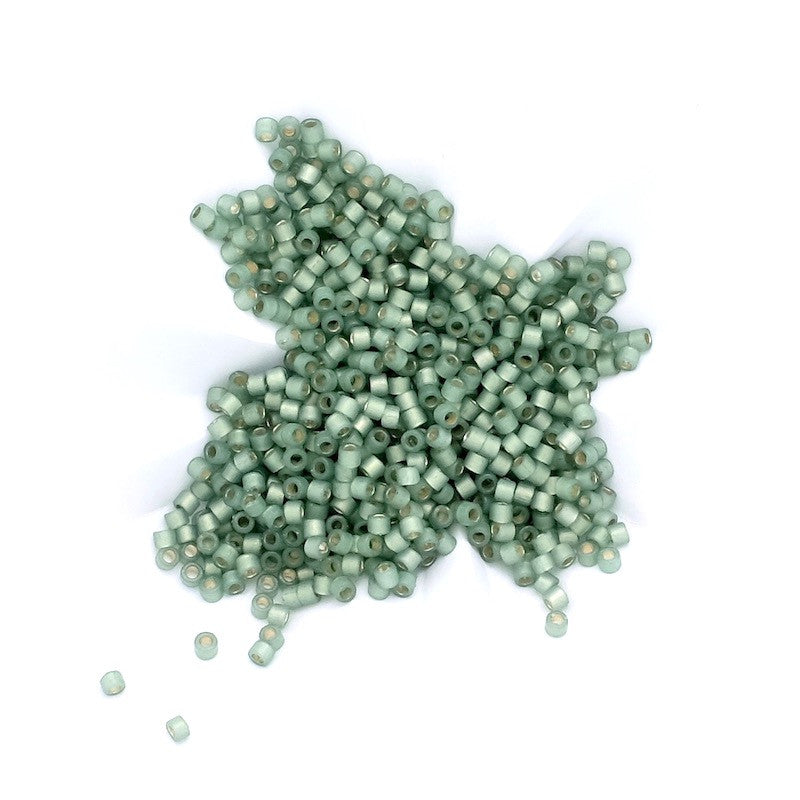
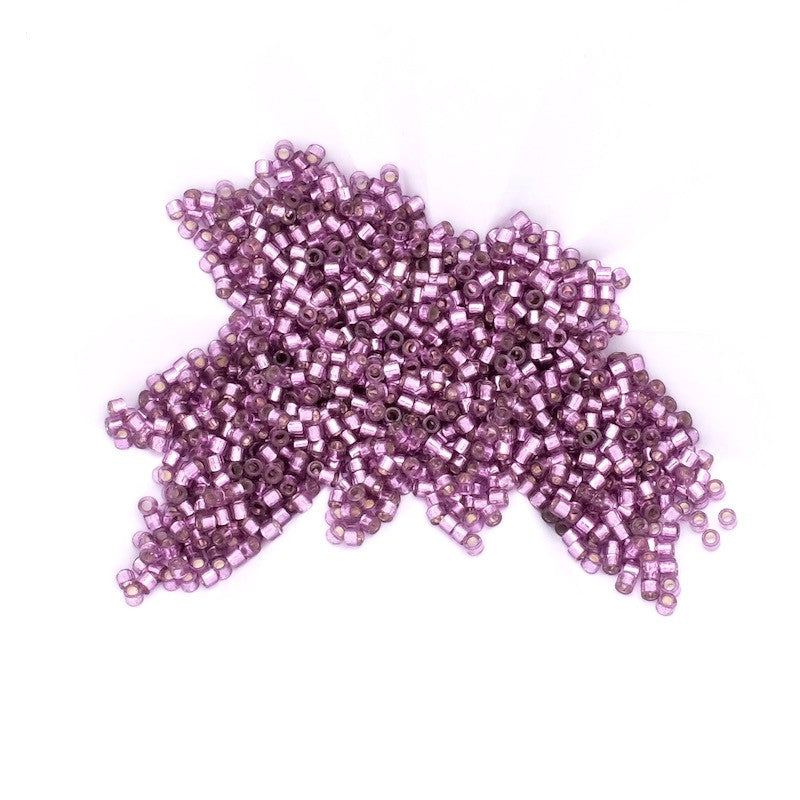
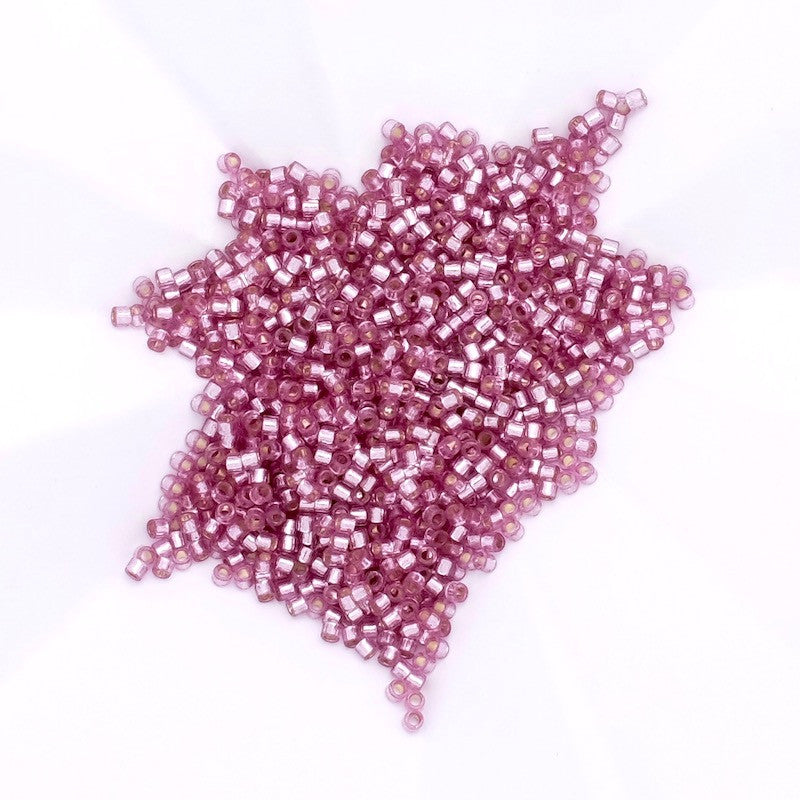
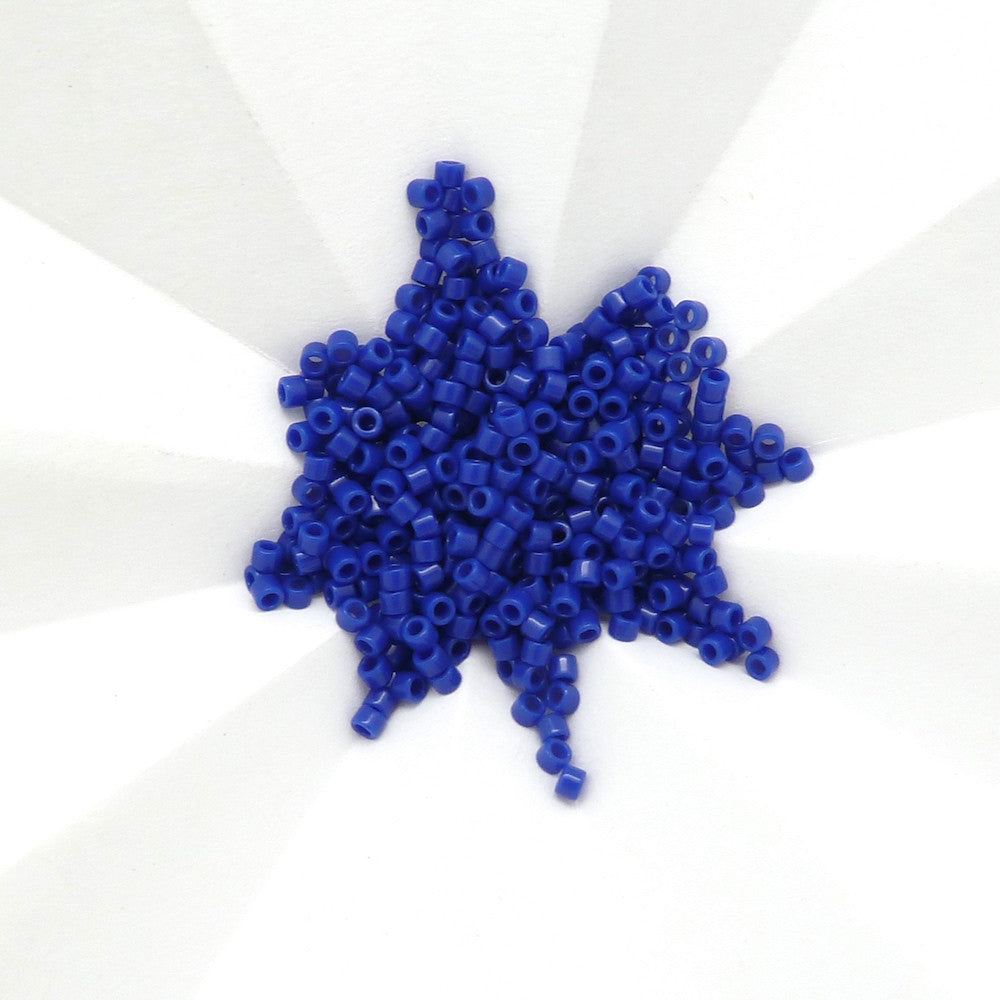
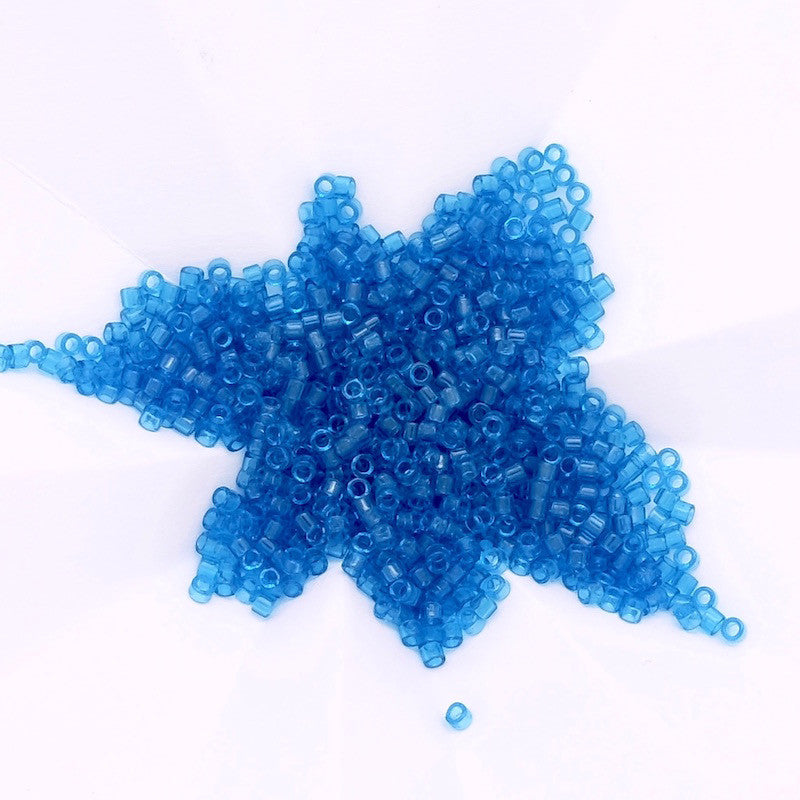
| For this project you will need: | ||||
|
|
||||
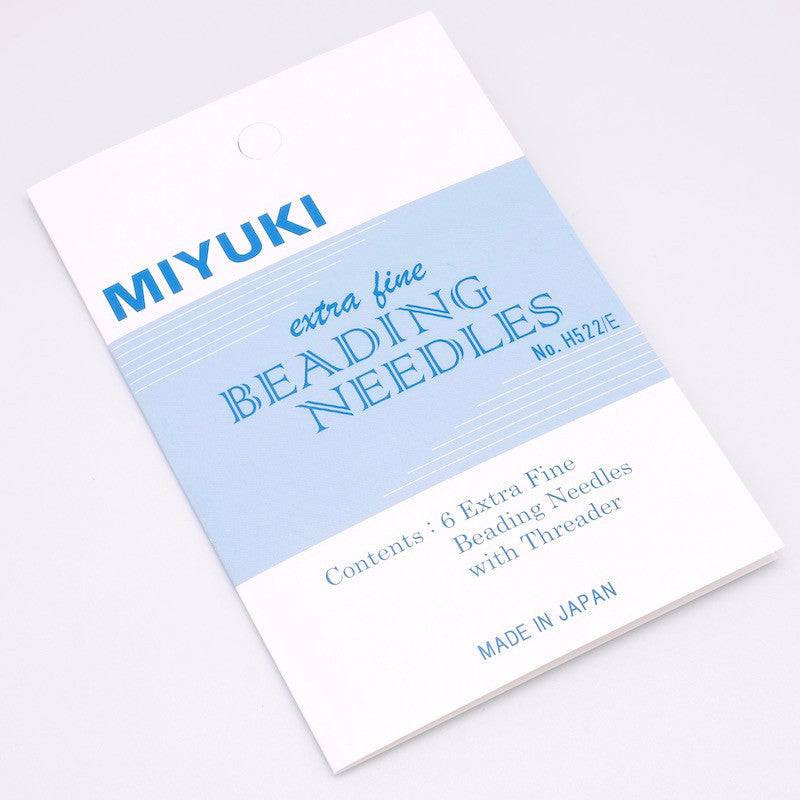
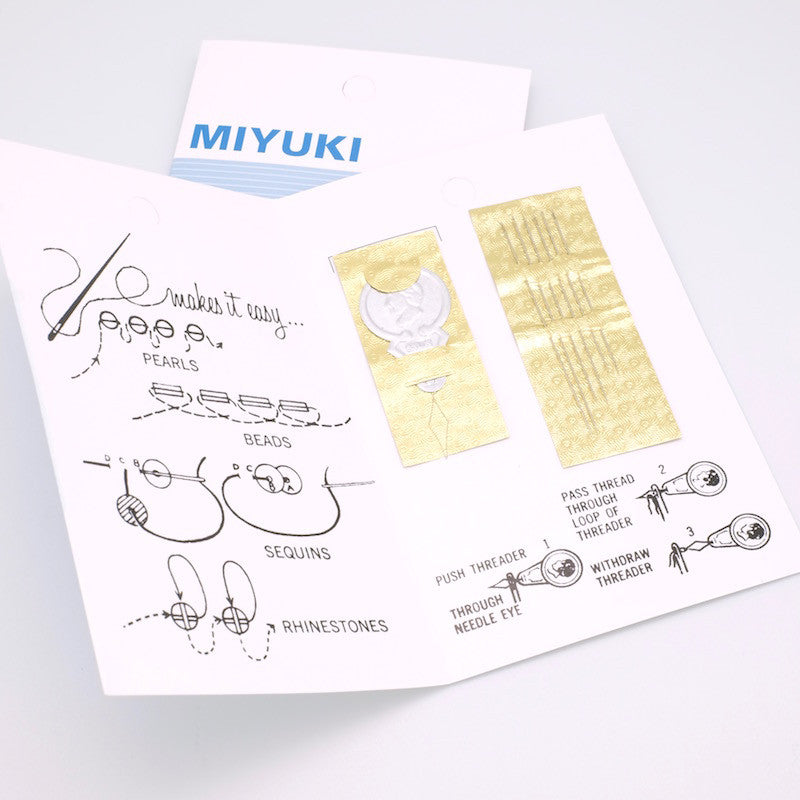
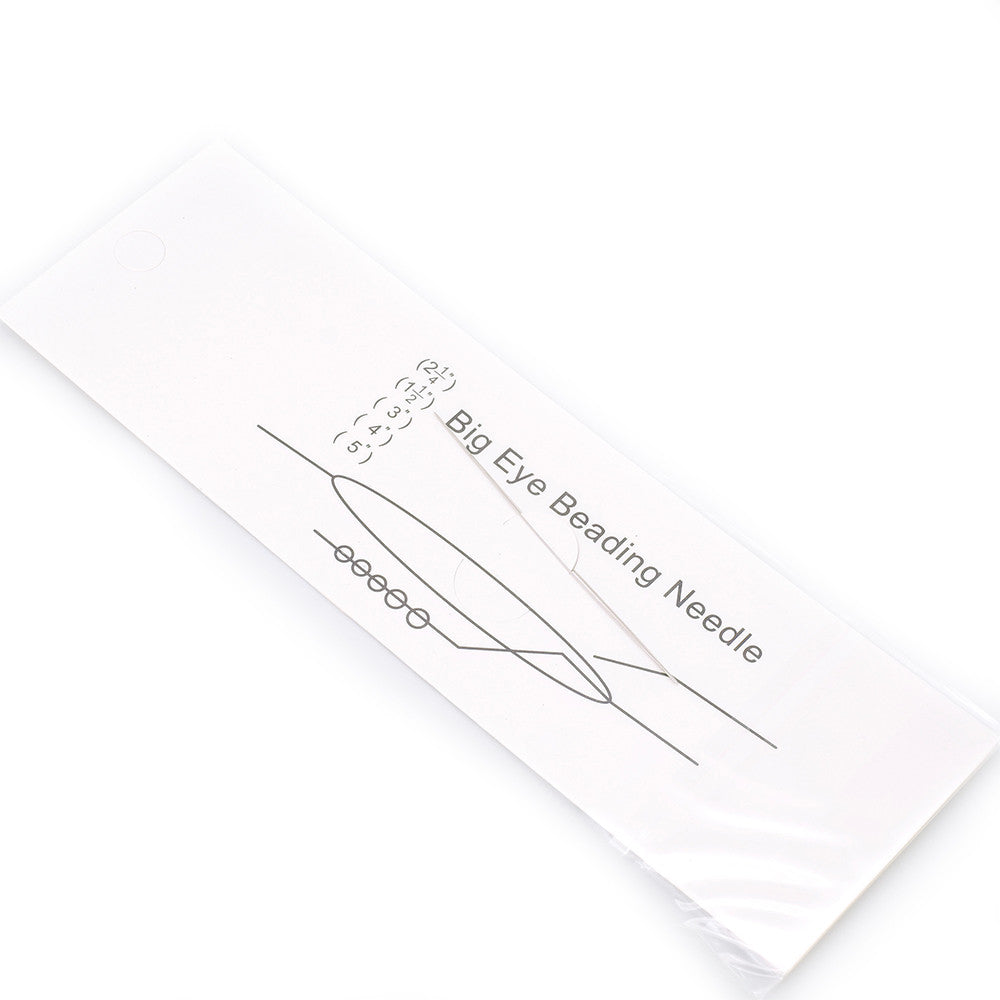
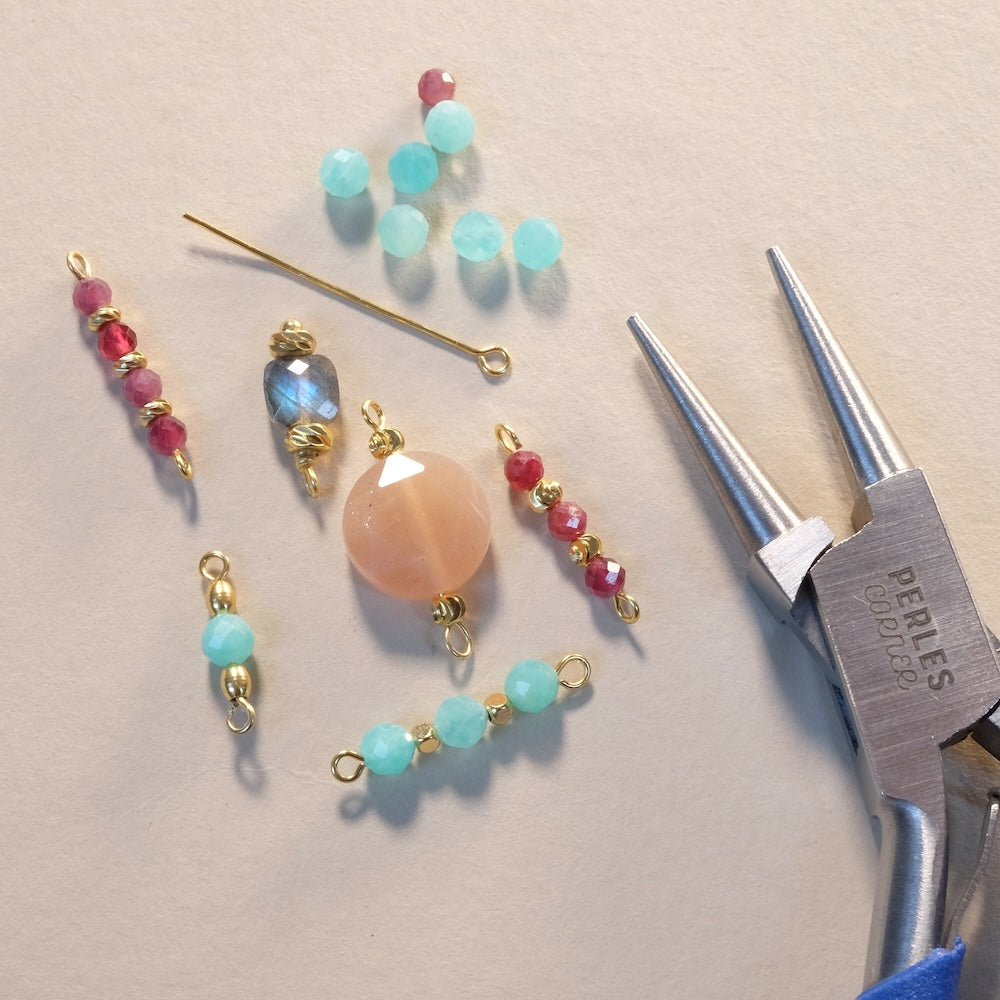
| Tools to use: | ||||
|
|
||||
|
This jewelry is not complicated to make. Follow the assembly video below to properly fix the beads on the edge of the hoop.
|
||||
|
The assembly: |
||||
|
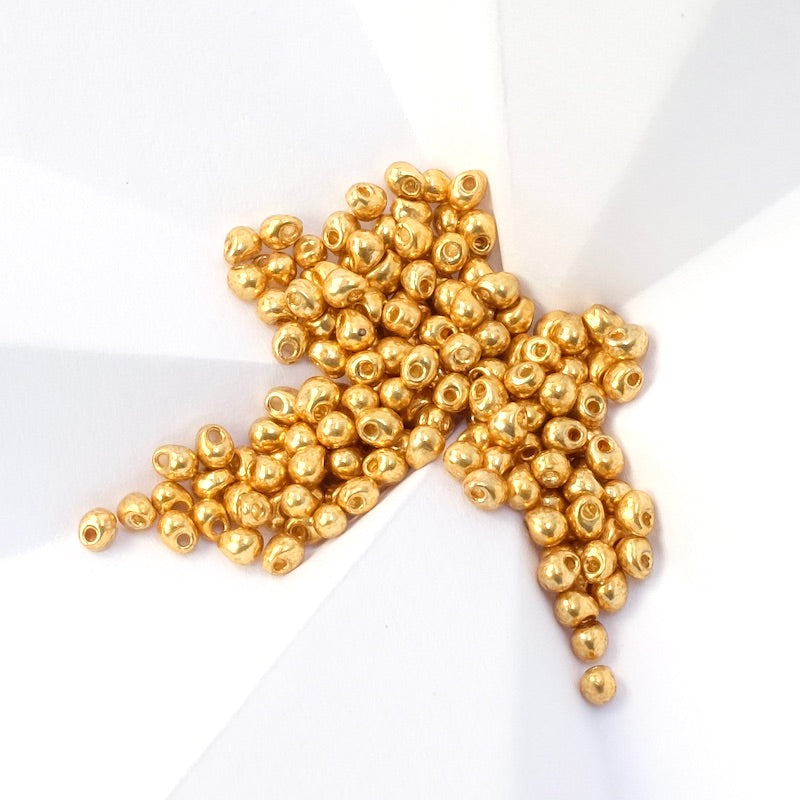
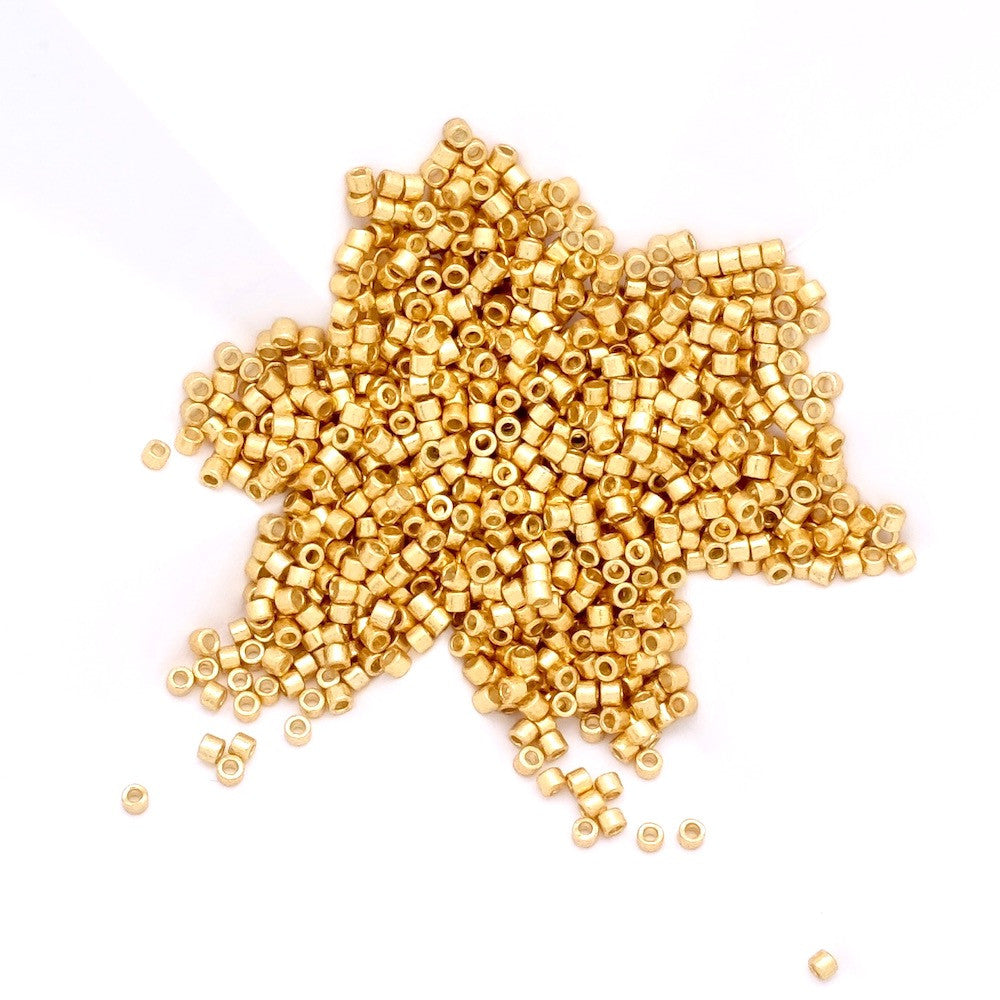
To start, cut a thread about 1 meter long. I prefer to take a little longer for this type of assembly because a join in the middle can be complex and annoying! Thread the thread through the eye of the needle. Now we will start weaving the beads on the edge of the hoop. For this, we will use the double Brickstitch weaving technique because it places 2 beads by 2 beads. String 2 beads, then pass the needle through the hoop earring before sewing back through the beads. Naturally, the beads position themselves on the edge of the hoop, the thread makes a loop around the hoop. Keep about 15cm of thread at the start. Continue with this technique until you have strung 4 series of bead pairs, then thread a needle on the starting thread and sew back in zigzag through the beads on the 4 pairs of beads. Cut the thread flush. Continue always with this method until placing a total of 19 pairs of beads on the edge.  Once your beads are strung, sew back and forth in a zigzag through the previous beads to secure the beads well, then come out through the last 2 beads. Now we can start assembling the fringes with the drop beads. String 9 drop beads, then sew back through the 2 beads on the edge. Then move to the next one, pierce the needle through the 2 adjacent beads, string 9 drop beads, then sew back through the 2 beads. Continue like this until all the beads on the edge are filled with fringes. For a nice result, do not tighten the fringes too much; they should remain flexible.  Once all the fringes are made, sew back and forth in a zigzag through the beads on the edge over about 4 beads, then make a discreet knot. Cut the thread flush with the beads. Proceed the same way for the other earring. Your jewelry is finished! Beautiful creation! Find all the supplies for making this jewelry at the bottom of the page. |
||||
 |


To be reserved alone or with friends!

Inspirations, tutorials, and new arrivals: receive the best of handmade in your inbox.


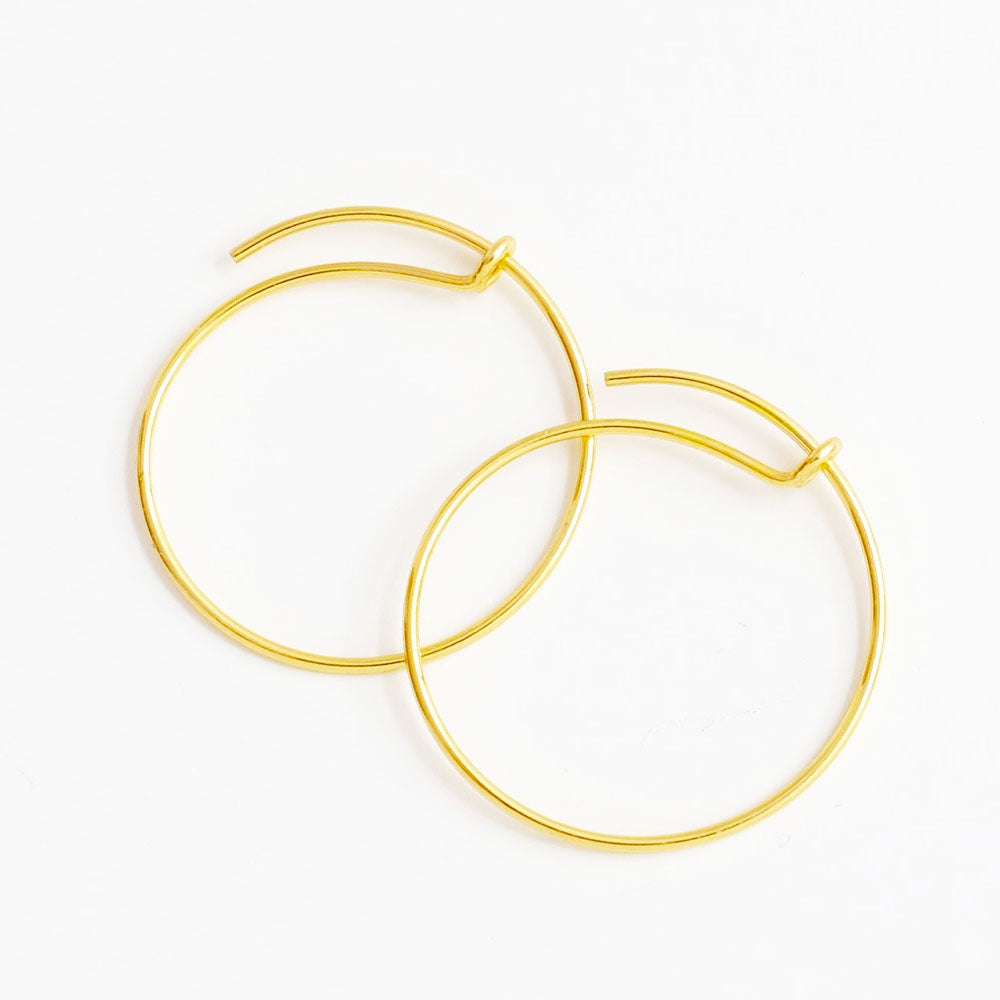
 2 20mm hoop earring findings