Free delivery to pickup points from €59
Free delivery to pickup points from €59
Discover our many creations to make yourself...
The Various Pearls
Add color to your creations!
Threads for jewelry
|
Discover how to weave Miyuki beads on a loom.
|
|---|
| You will need : | ||||
|
|
||||
| Weaving techniques : | ||||
|
Find out more about this technique in another tutorial. |
||||
| Step 1: | ||||
|
|
To begin, choose the thread colour. Choose your design and make a grid/diagram to guide you through the assembly. Tie a knot in one of the pivots.
|
|||
|
While holding the spool in your hand, place the wire between the spring and the spring opposite. Wrap the thread around the pivot for several turns and return to the first pivot.
|
 |
|
|
Continue in this way until you reach the desired number of rows. To find out the required width and therefore the number of rows of wire :
Then tie a knot, returning to the first pivot. For an odd number of beads, finish on the first.
|
| Step 2: | ||||
|
Cut a new thread about 1m50 long (depending on the design)
Tie a double knot in the outer thread on the right.
|
 |
|||
| Step 3: | ||||
 |
Then place the needle on the thread. Depending on the clasp you are using, you can weave the threads alternately under and over each other. Make 3 or 4 round trips. Use this technique with tube clasps but not for a clean finish (e.g. cuff). Then string the beads from the first row following the grid. |
|||
|
Pass the beads under the loom then, using one finger, position the beads between the threads and pass the needle back through the row of beads. The thread first runs under the vertical threads and then over them. The beads slide over the threads.
|
 |
|
|
Continue in this way until you reach the desired number of rows. If you need a thread connection, make sure the knot is hidden in a bead. |
|
|
| Etape 4: | ||||
|
When you have finished weaving, cut the threads at the pivots. Be very careful as the beads will slide over the threads.
|
 |
|||
|
|
For a supple bracelet, you will have woven the threads at the beginning and at the end. Then tie the threads in knots. The first with the second, the second with the third ... to block the beads. You can use a tube clasp to insert the first row of pearls plus the threads or a magnetic clasp...
|
|
For a clean finish or for gluing the weave to a structure, for example, And that's it! |
 |
No products were found in this collection
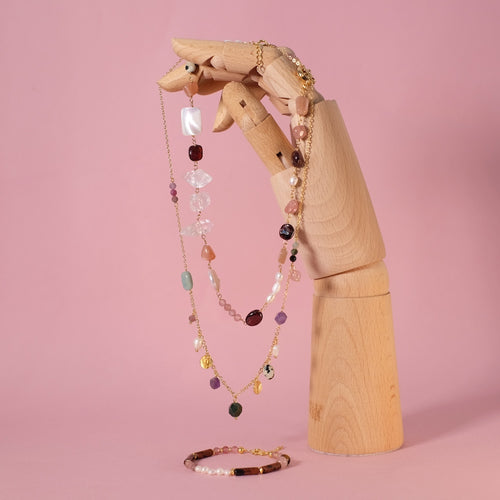
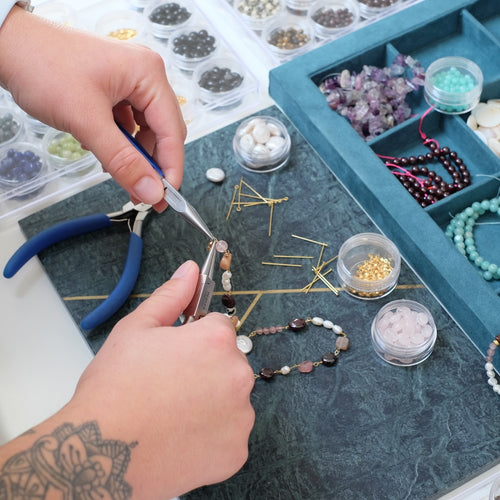
Create a unique piece of jewelry by selecting gemstones and 24K fine gold plated findings (Europe). You will learn the basics of assembly, color harmonies, and clean finishes—then leave with your creation, made in a friendly atmosphere in Paris 11th district.
Book alone or with friends!
Join Perles Corner to discover our new arrivals, exclusive Tutorials and many other surprises... and receive your voucher by email!

