|
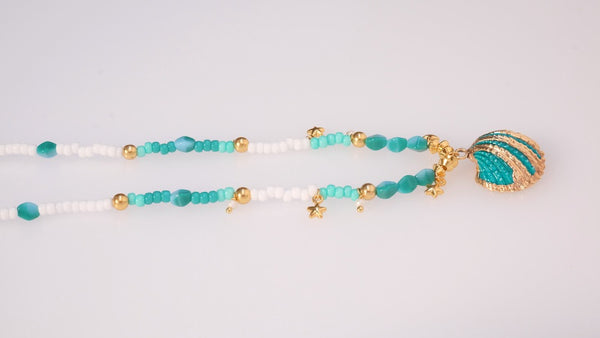
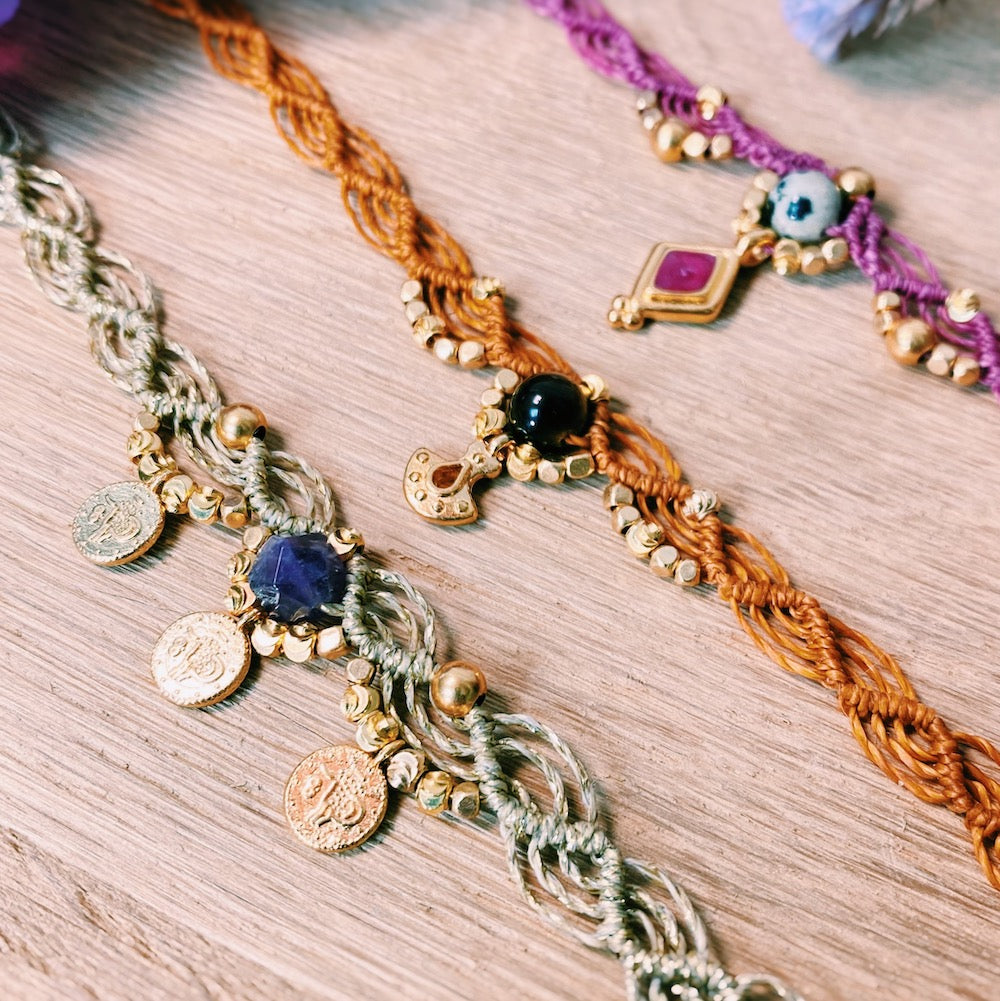
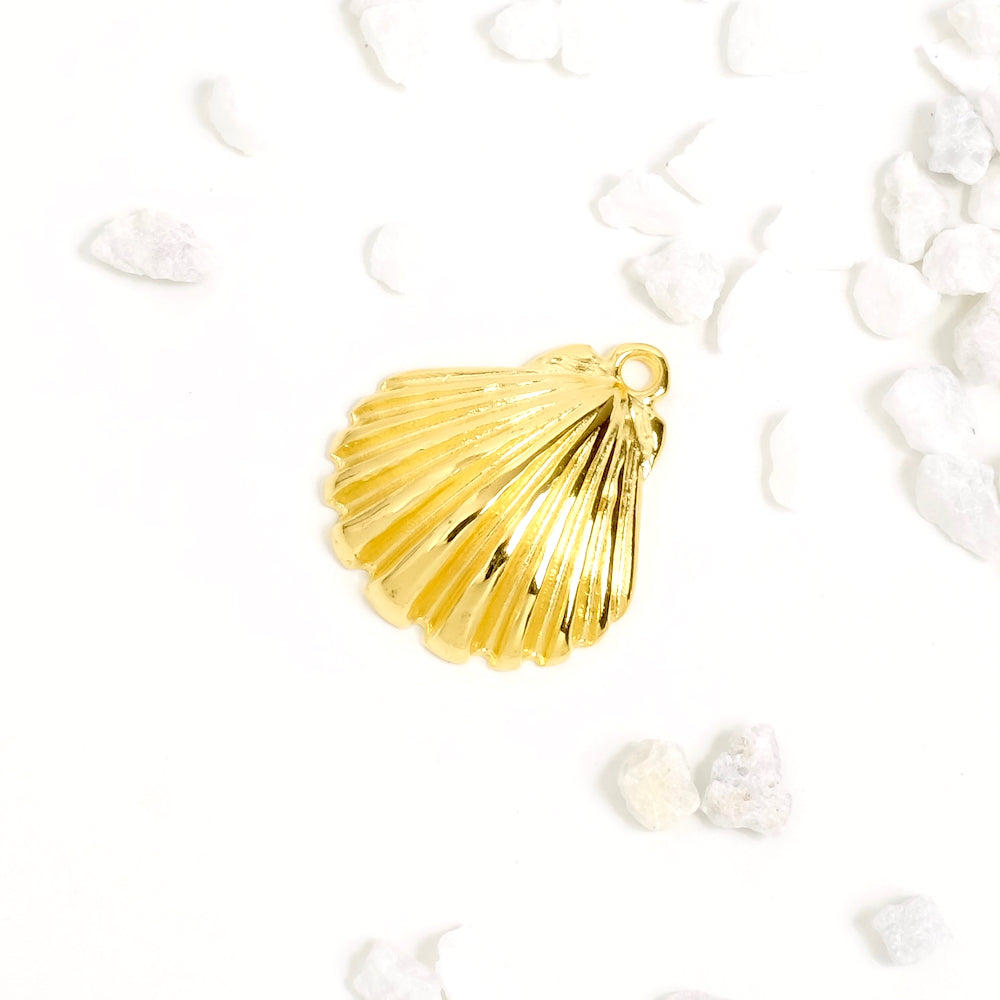
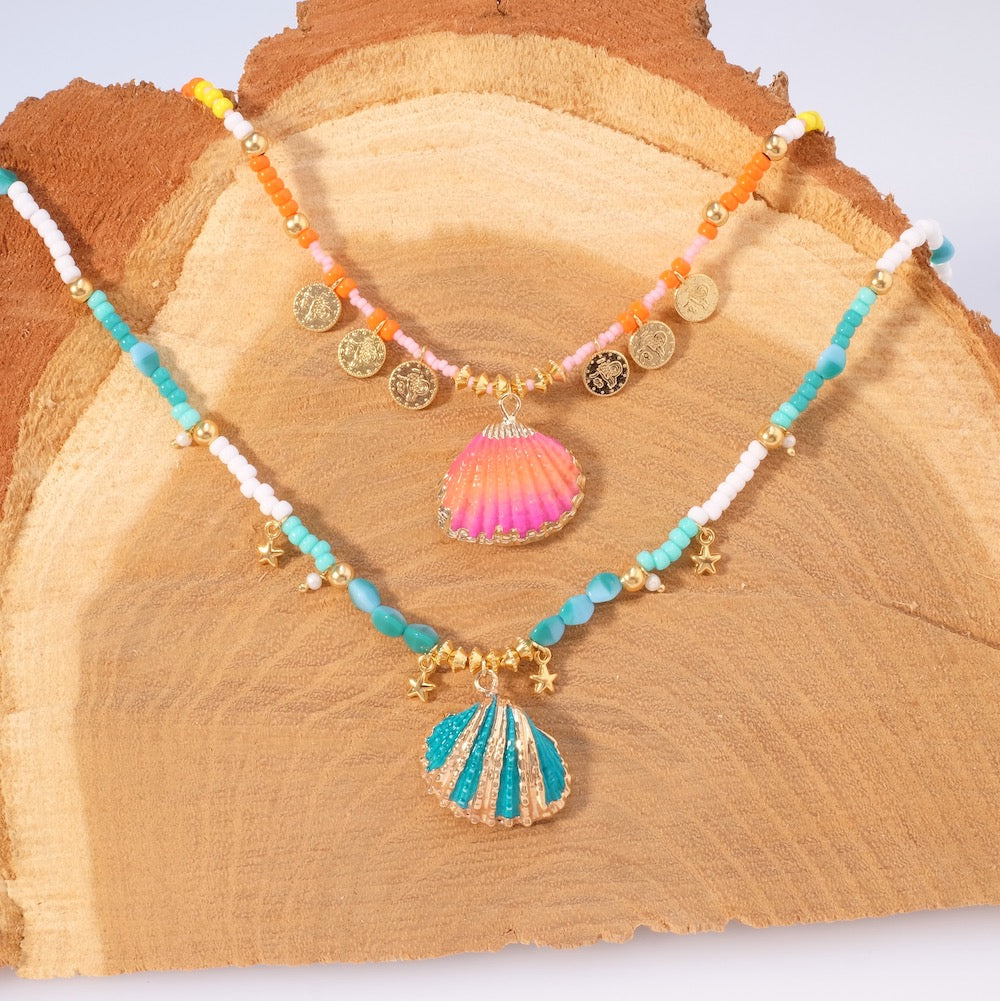
With a beautiful mix of colorful beads, these choker necklaces perfectly match our shell pendants. Get your pliers ready! |
||||
|---|---|---|---|---|
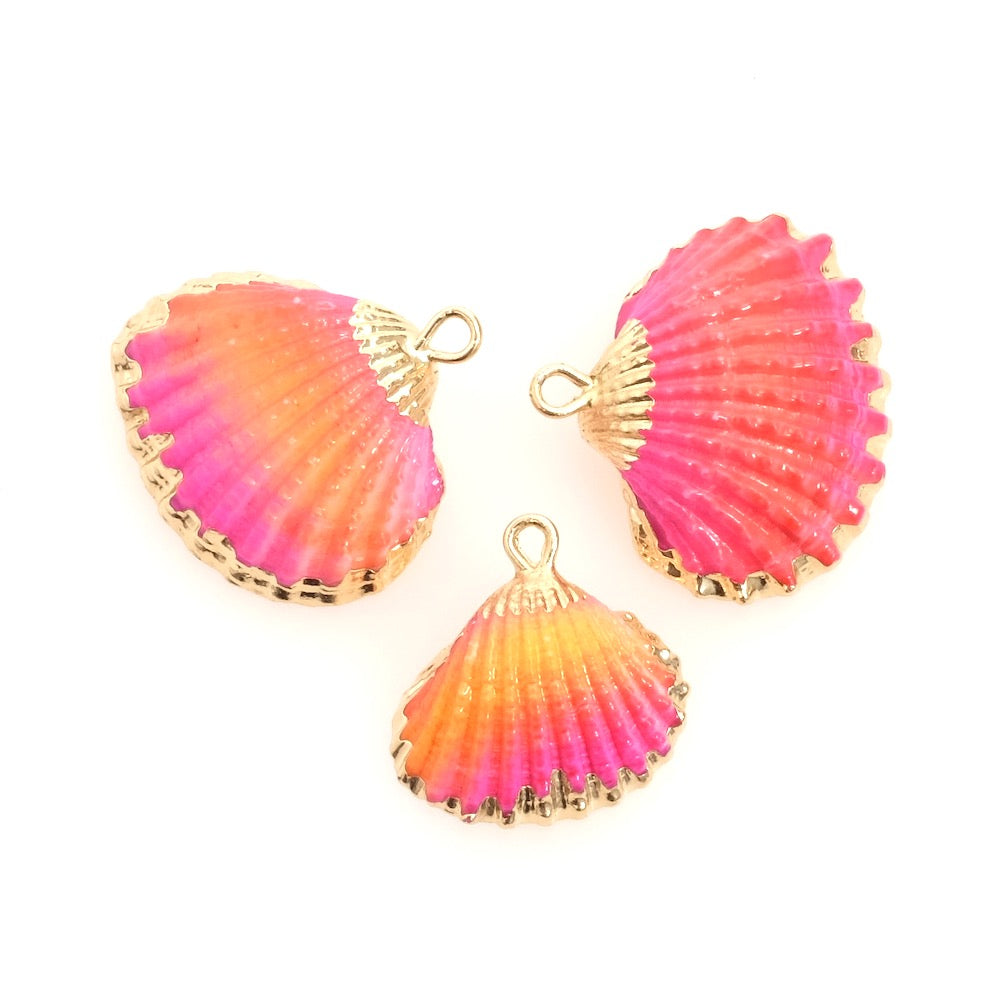
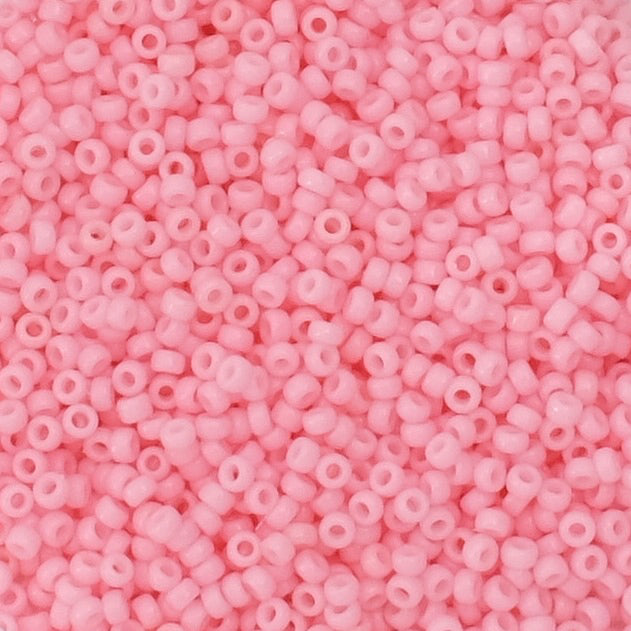
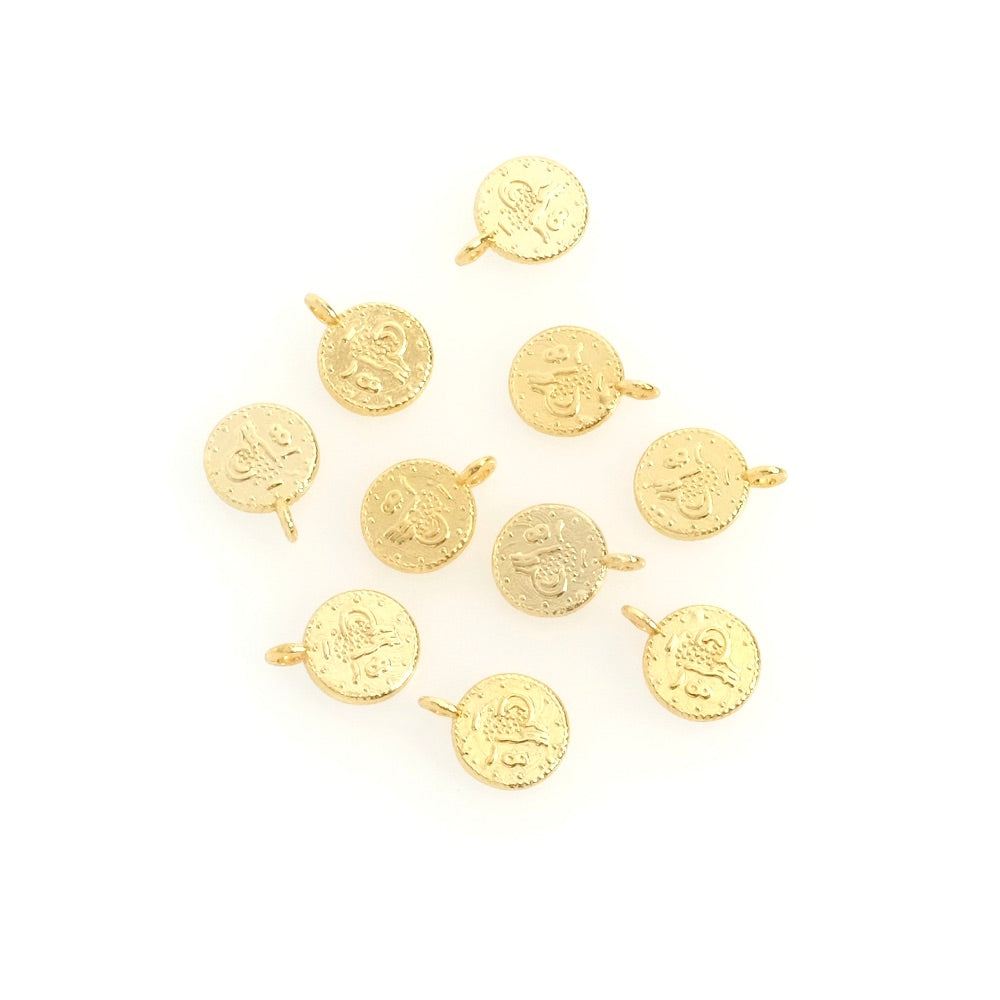
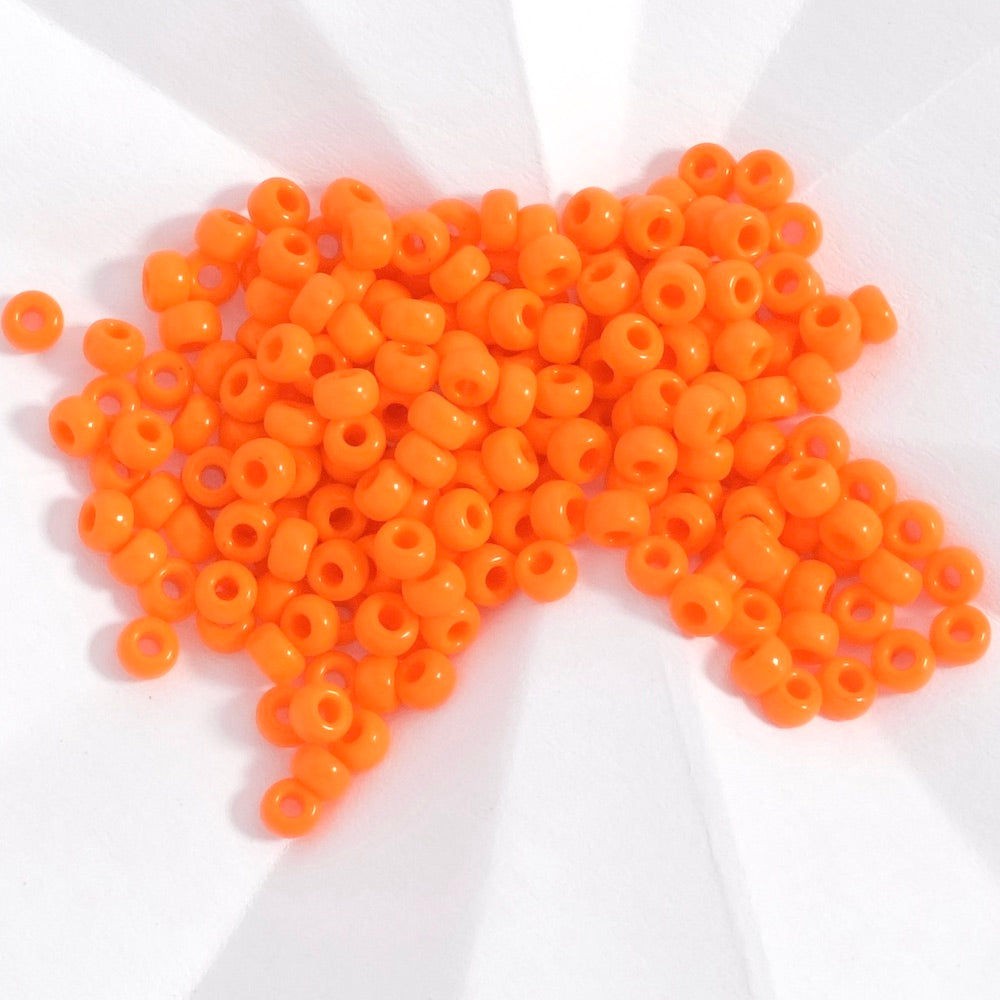
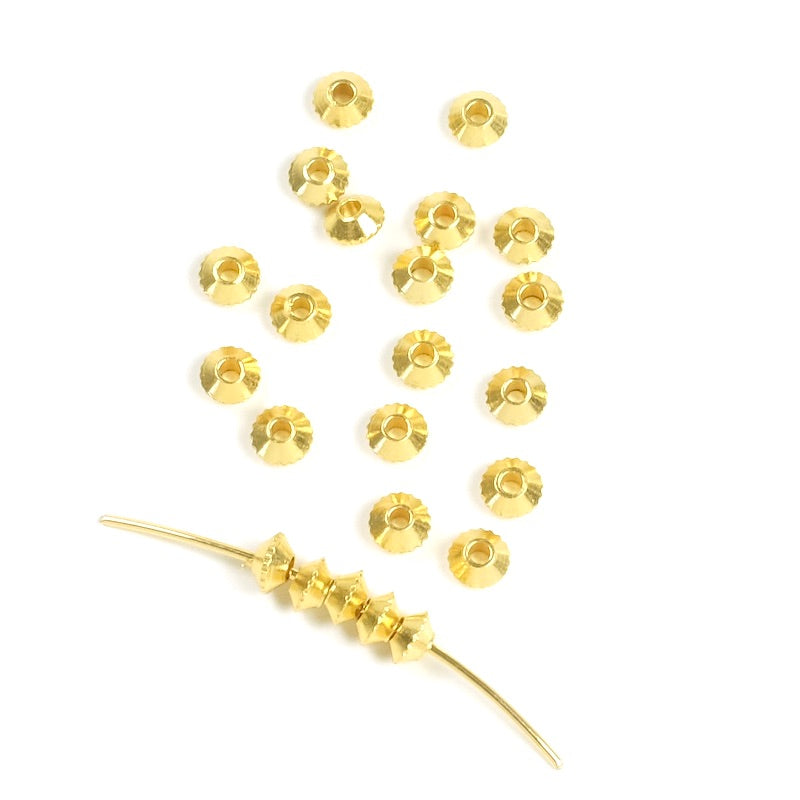
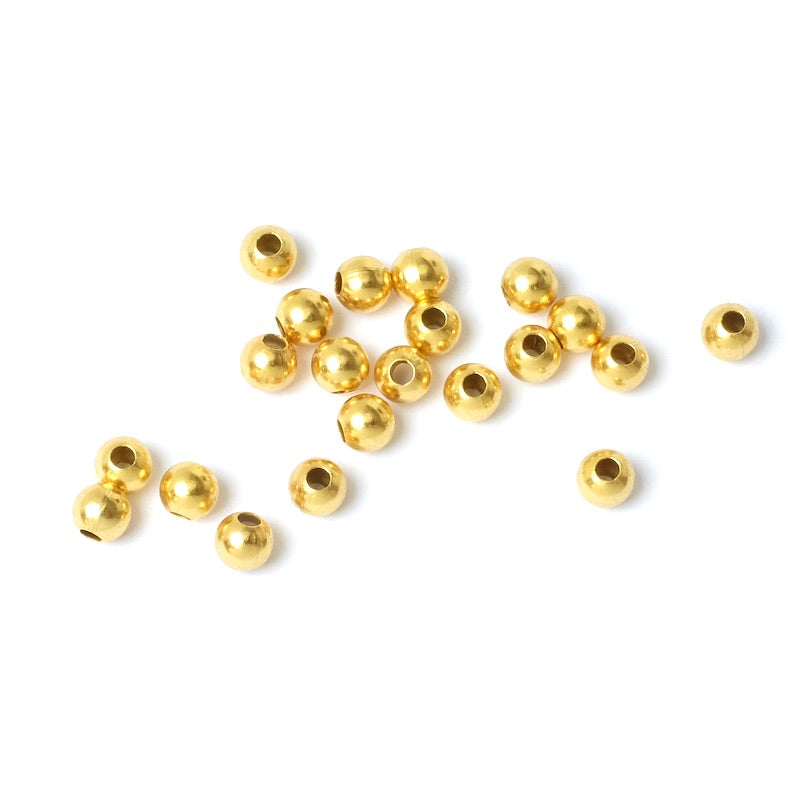
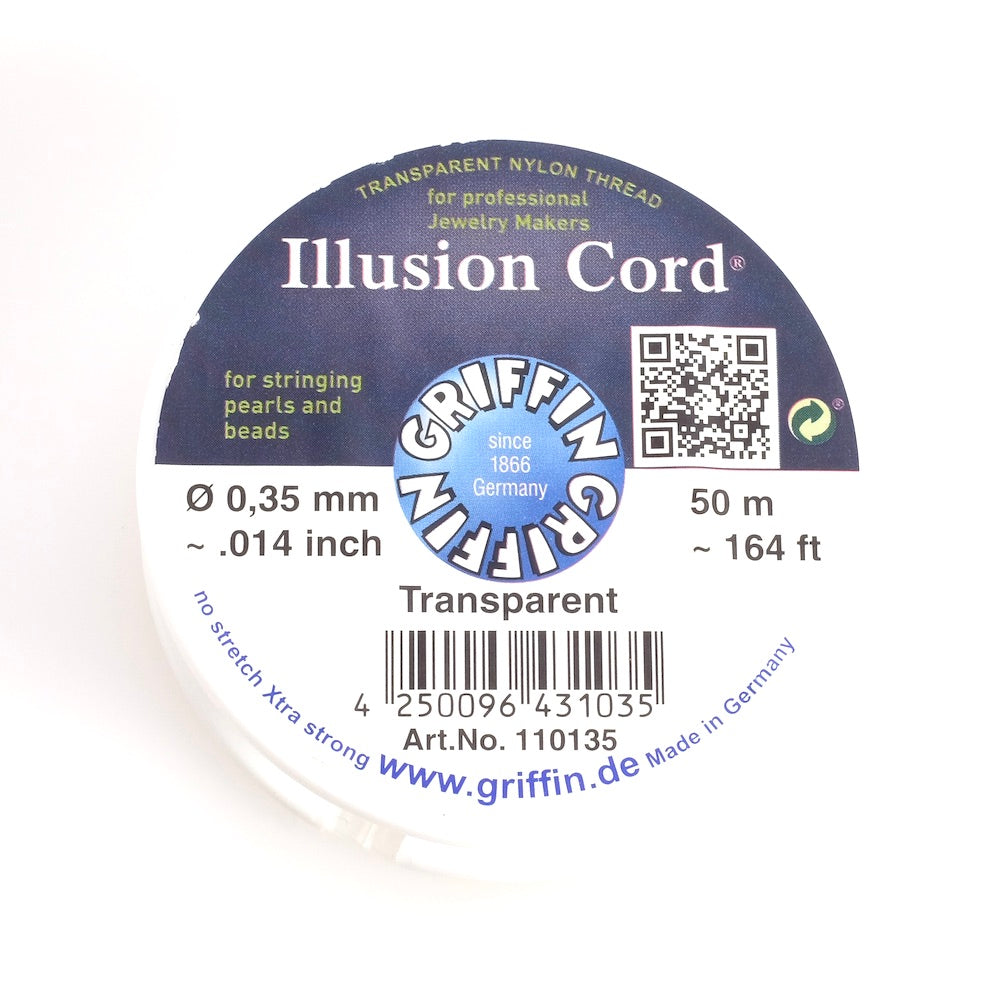
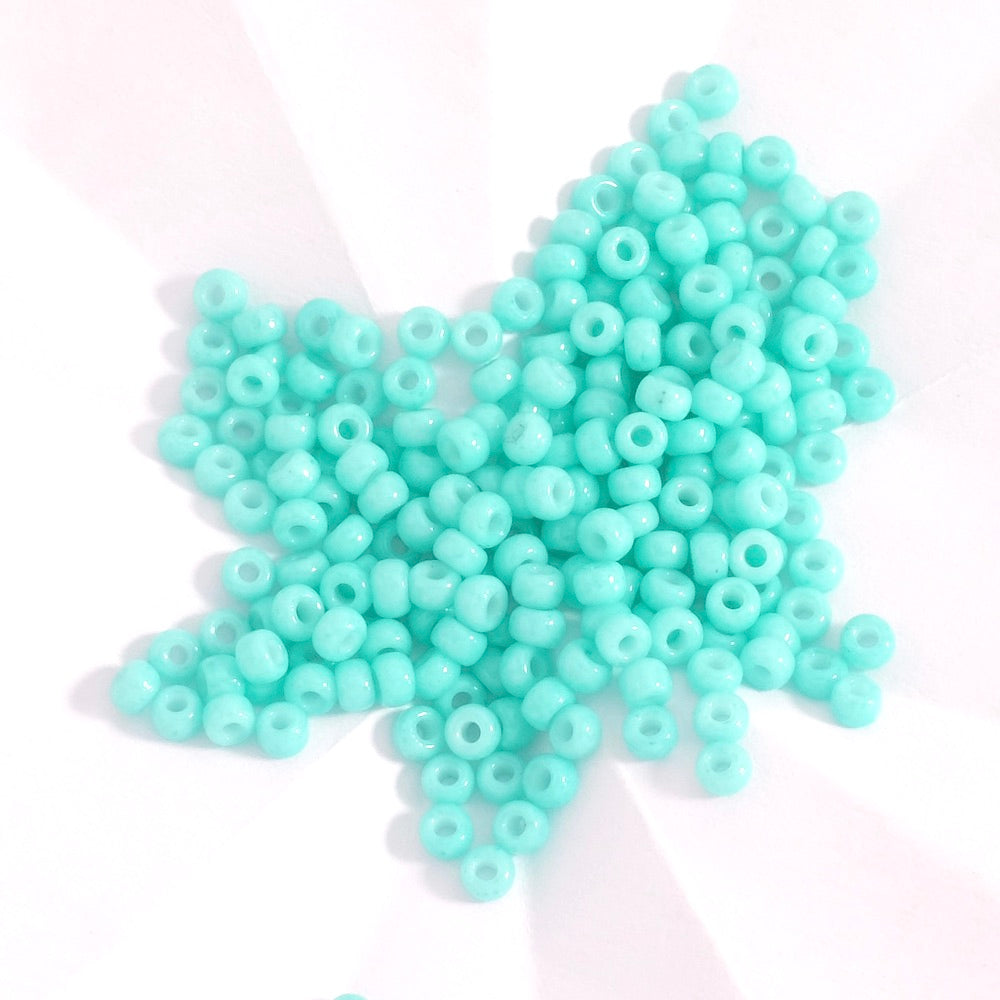
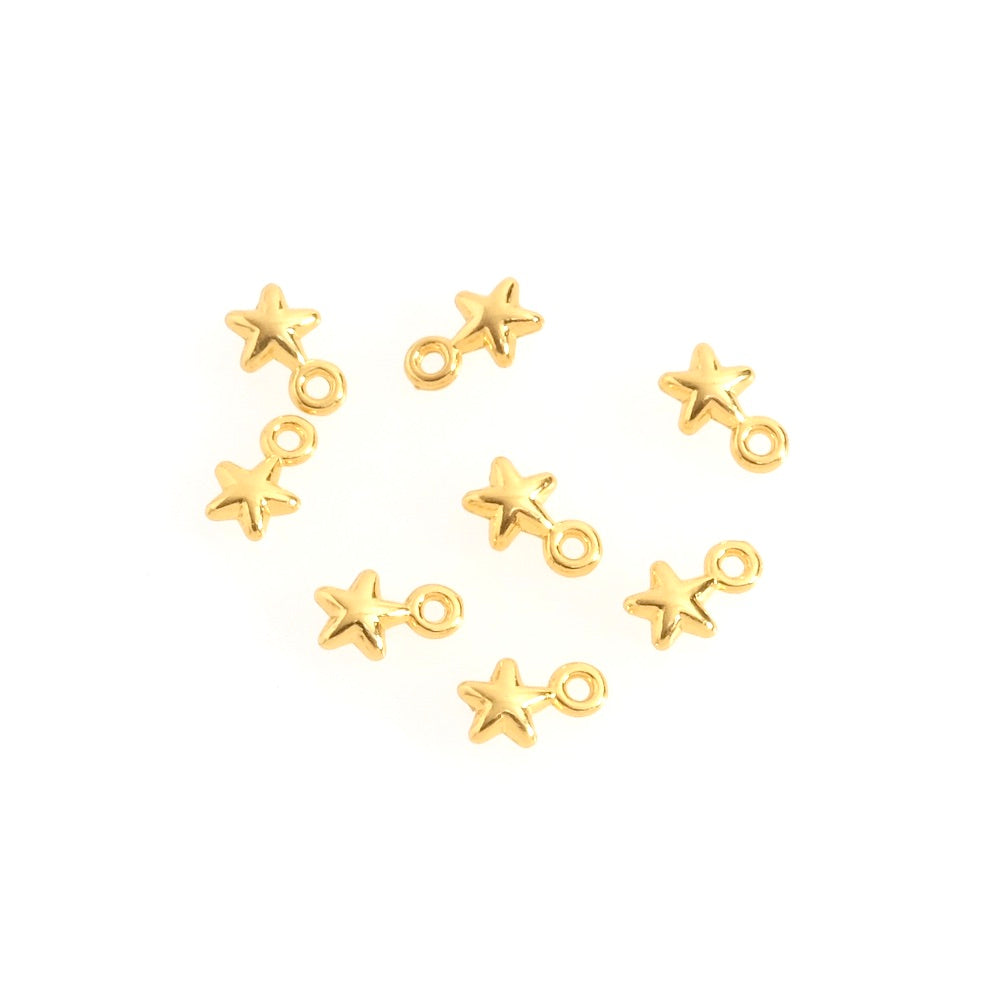
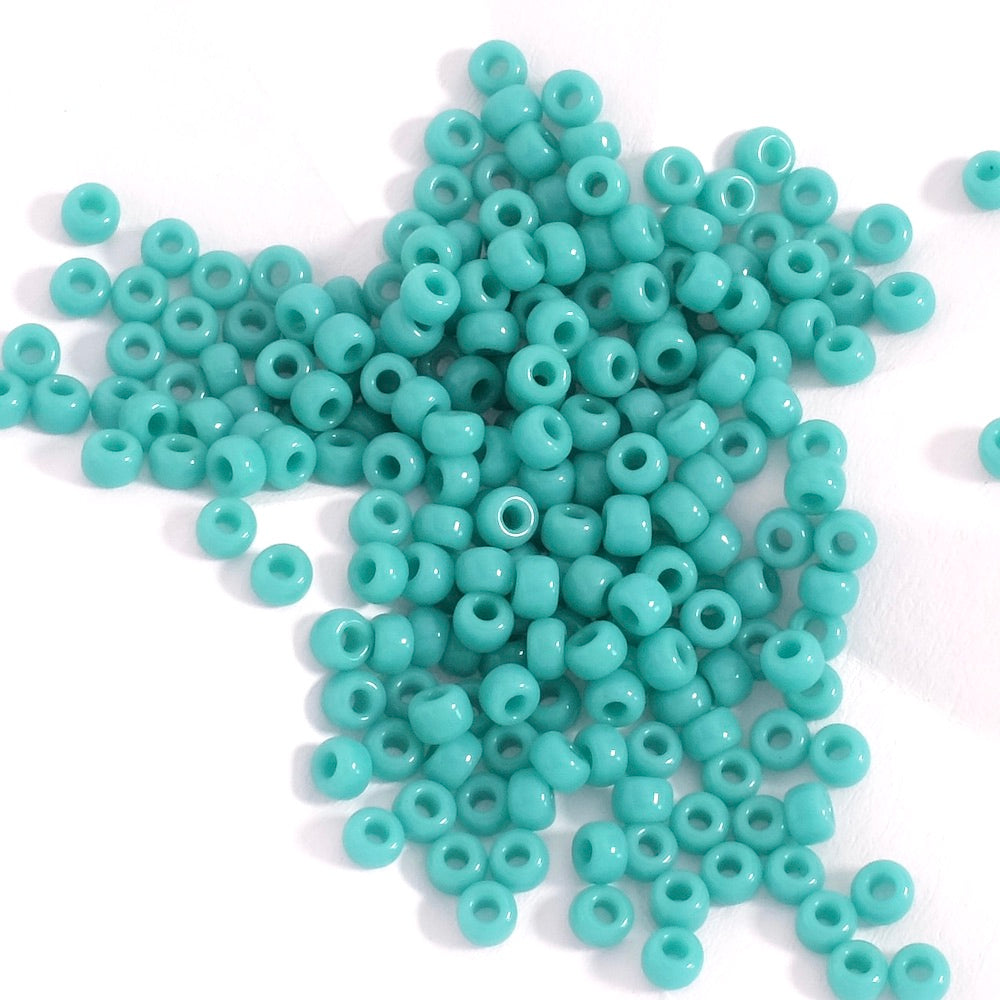
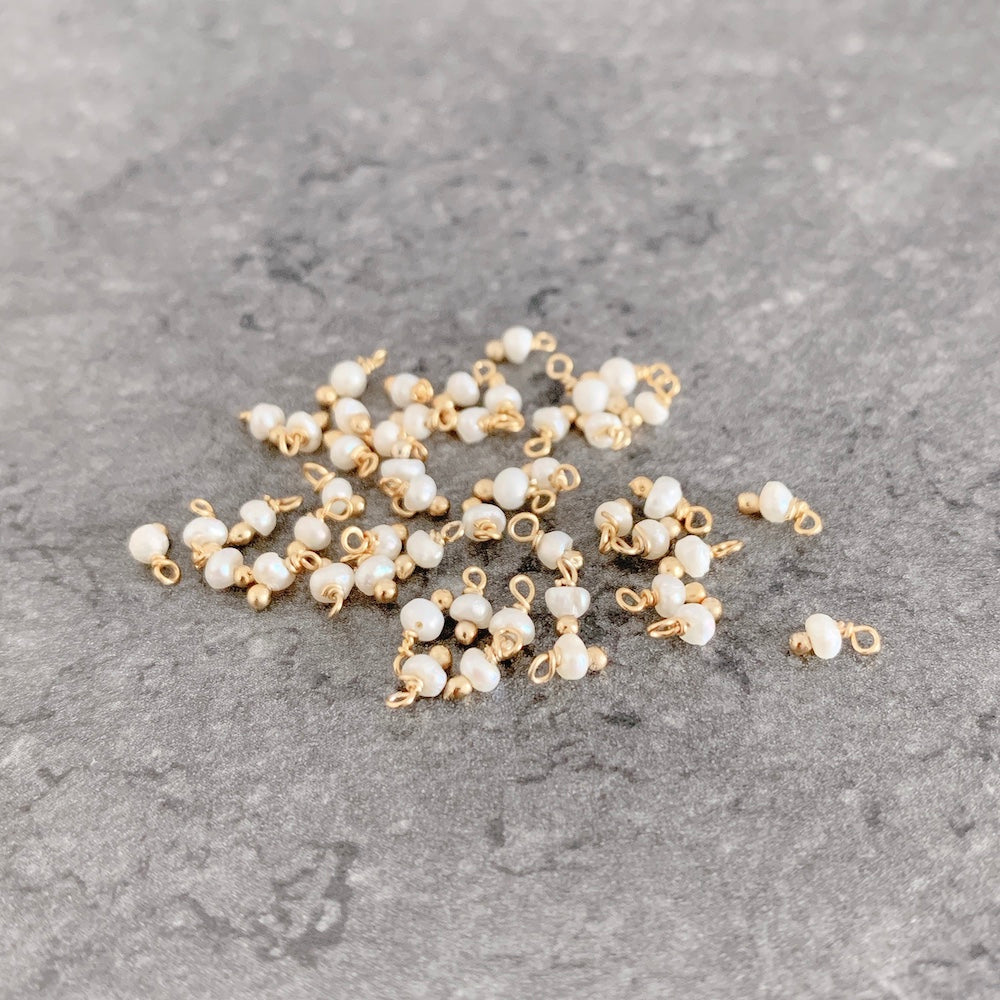
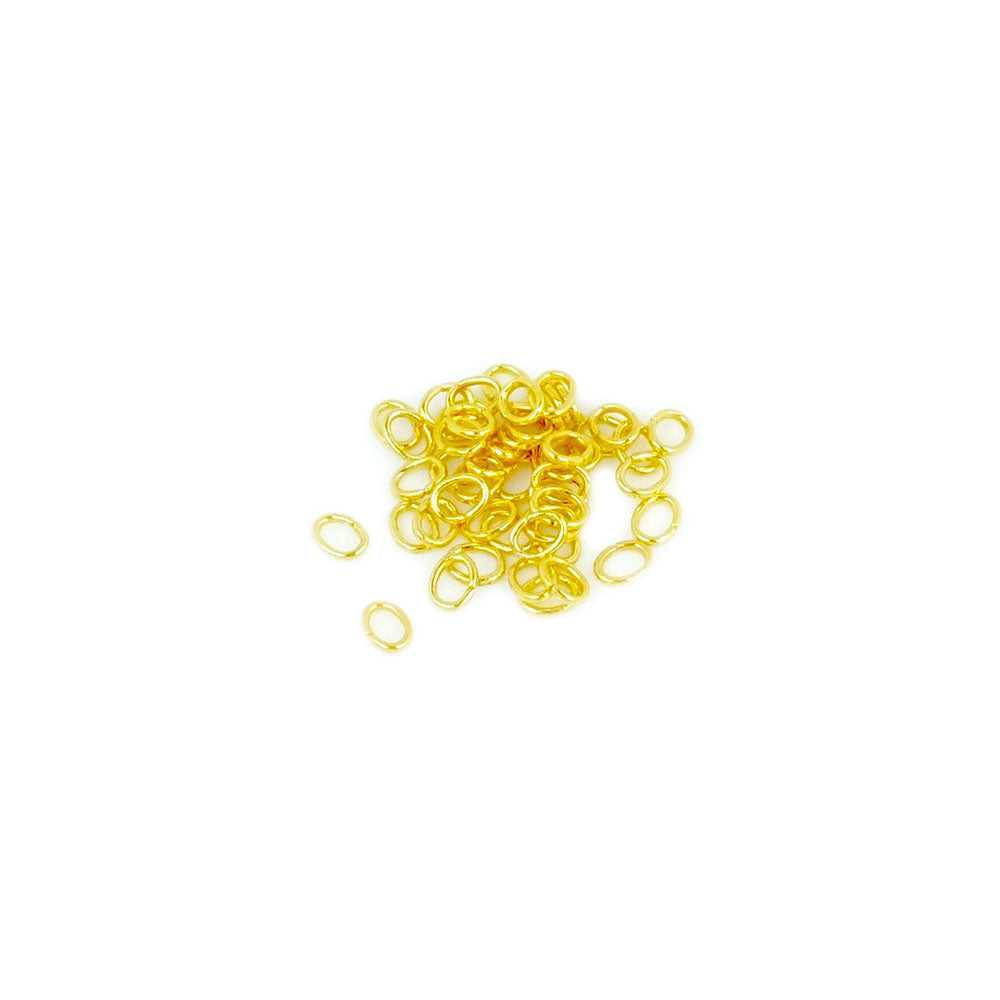
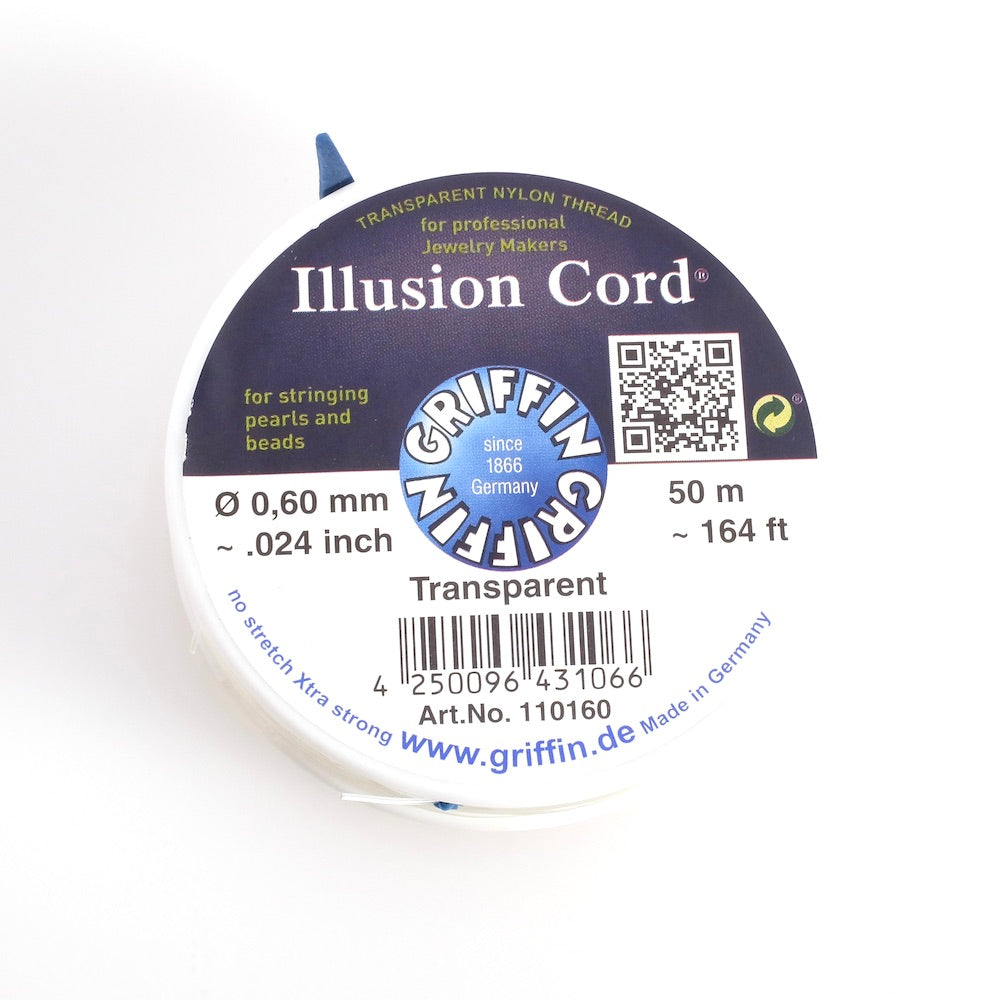
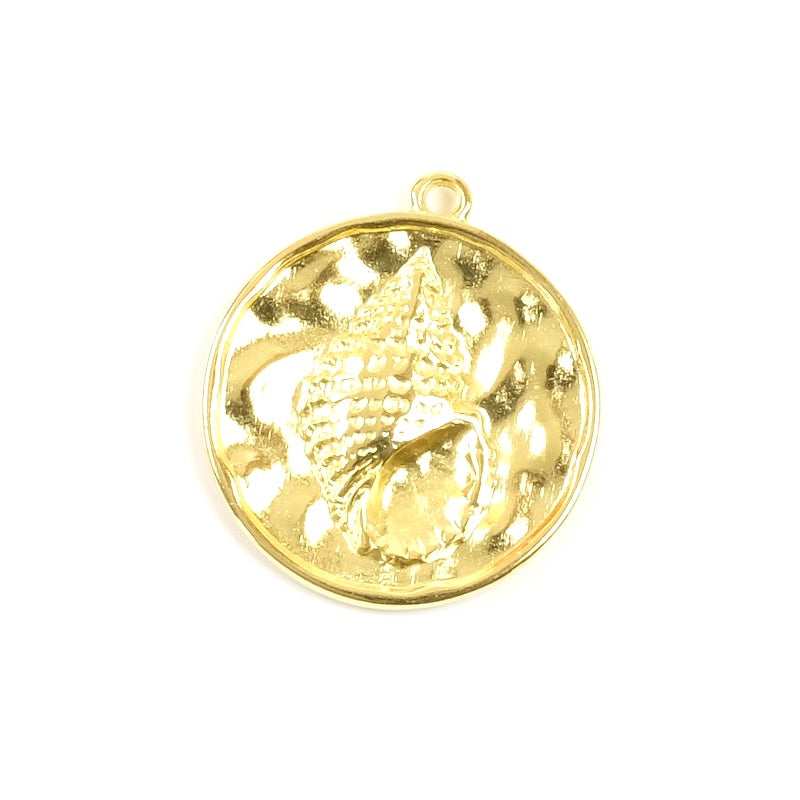
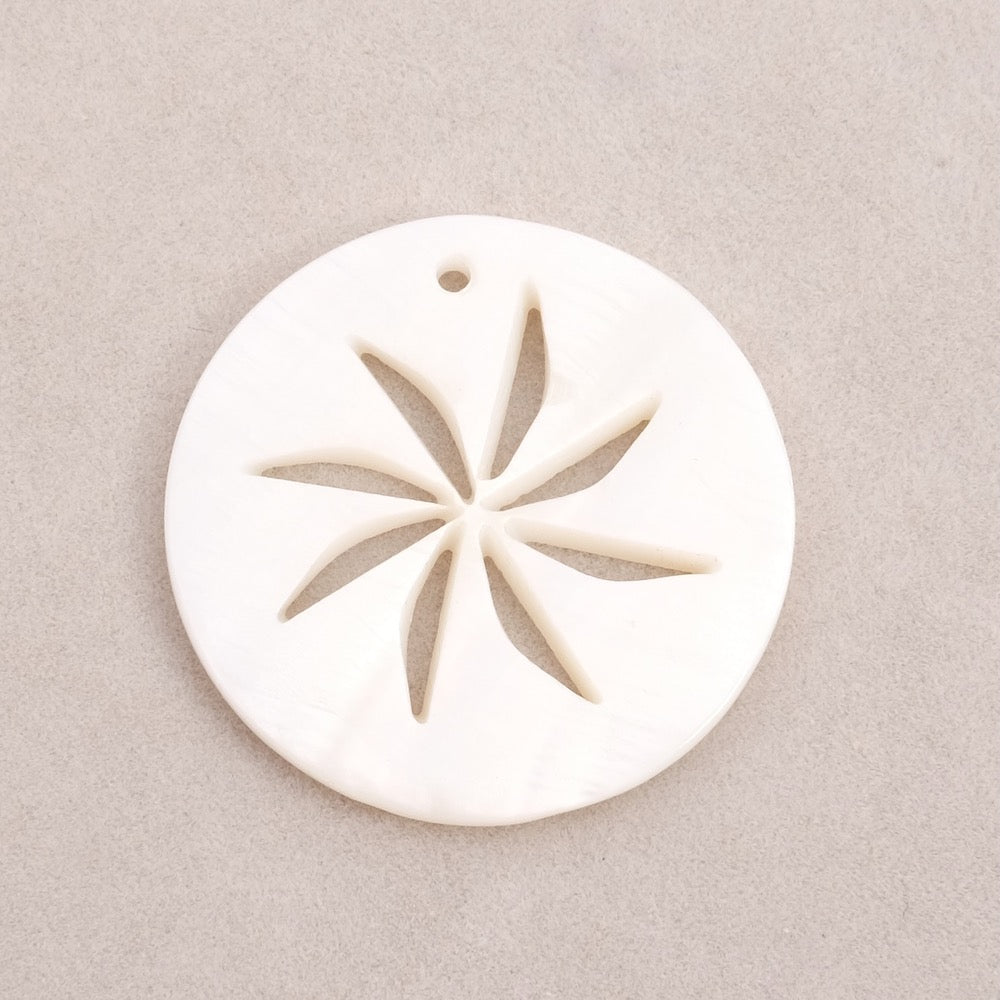
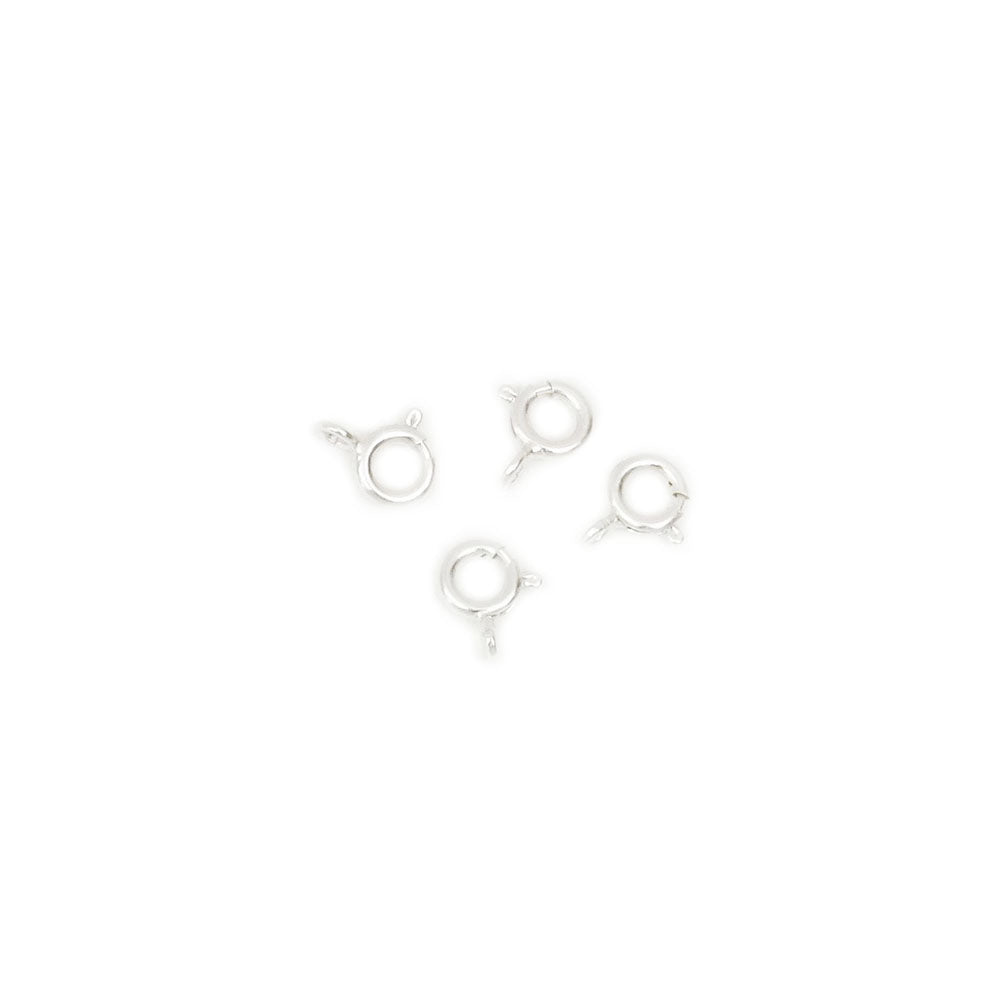
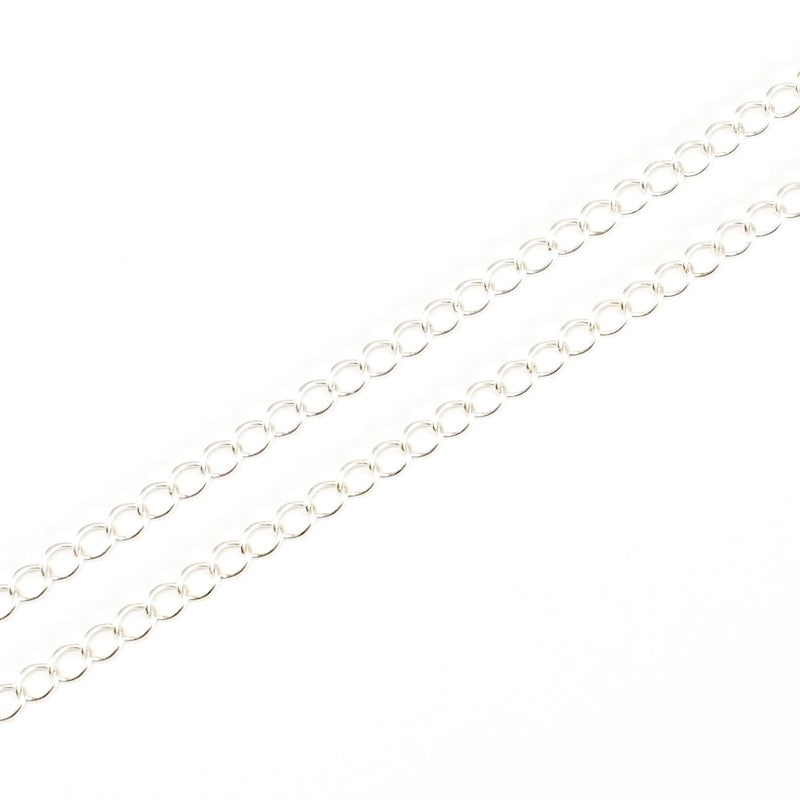
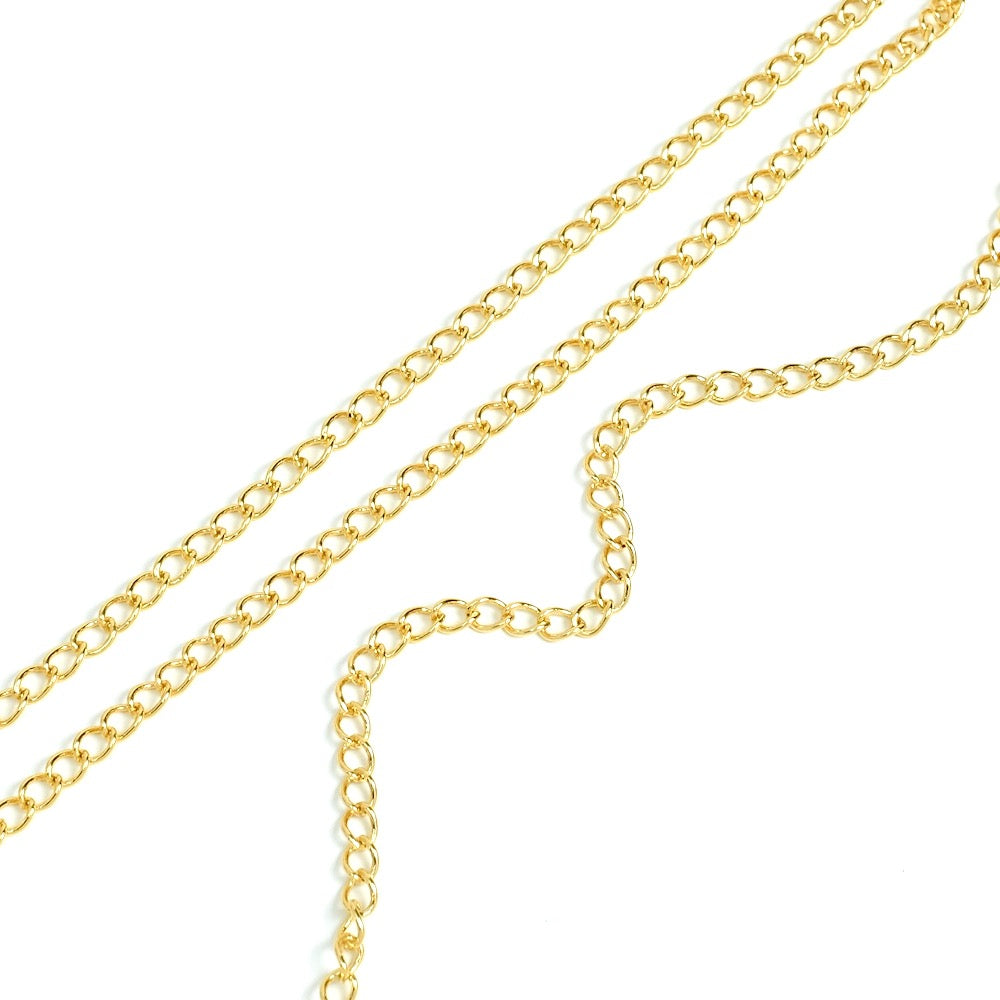
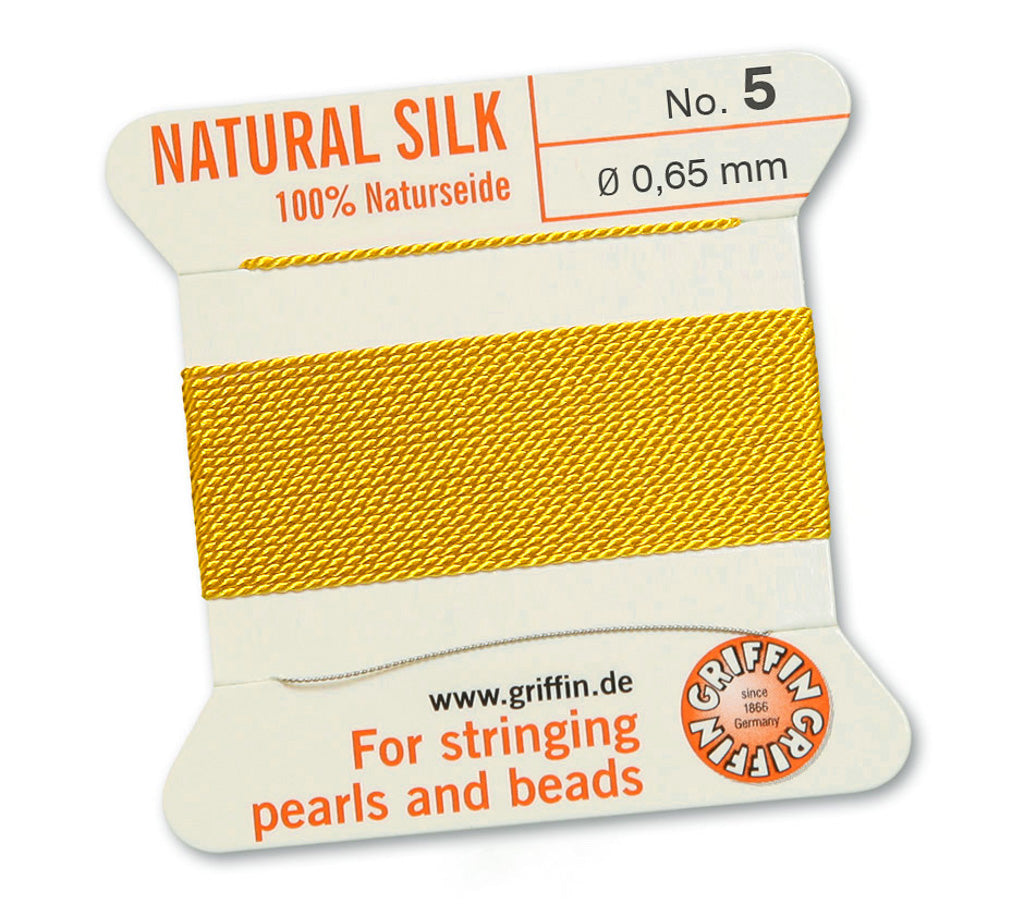
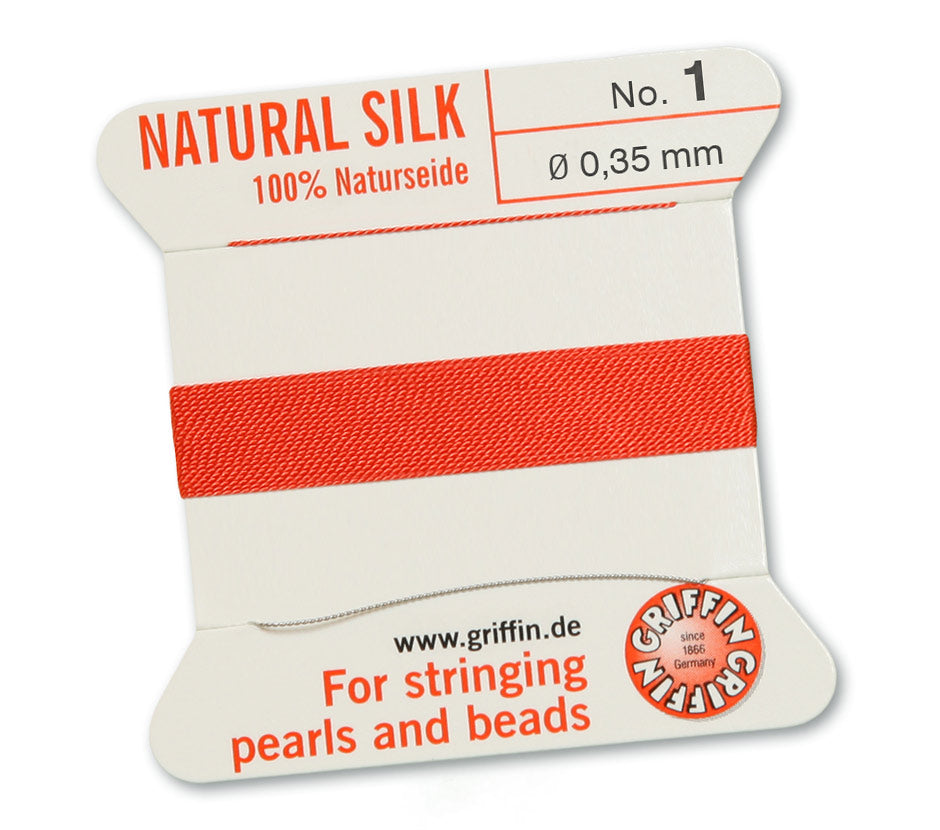
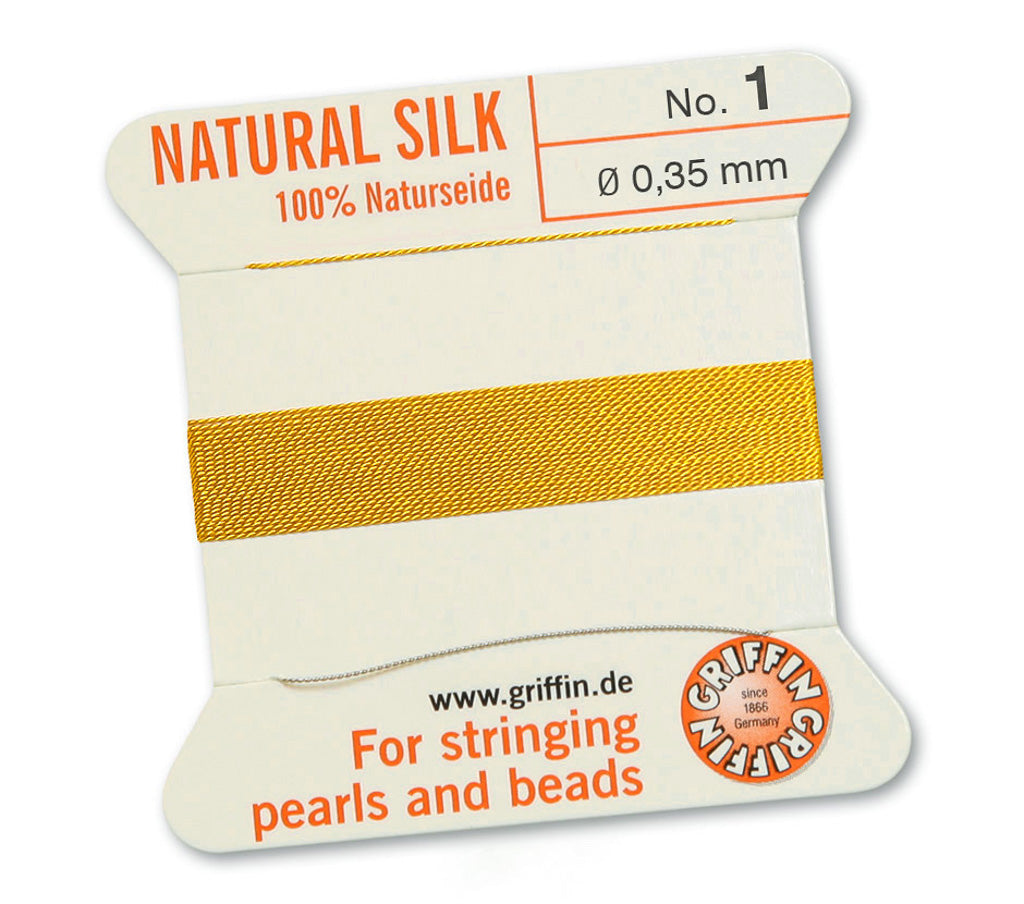
| For this project you will need: | ||||
|
|
||||
| Some explanations: | ||||
|
|
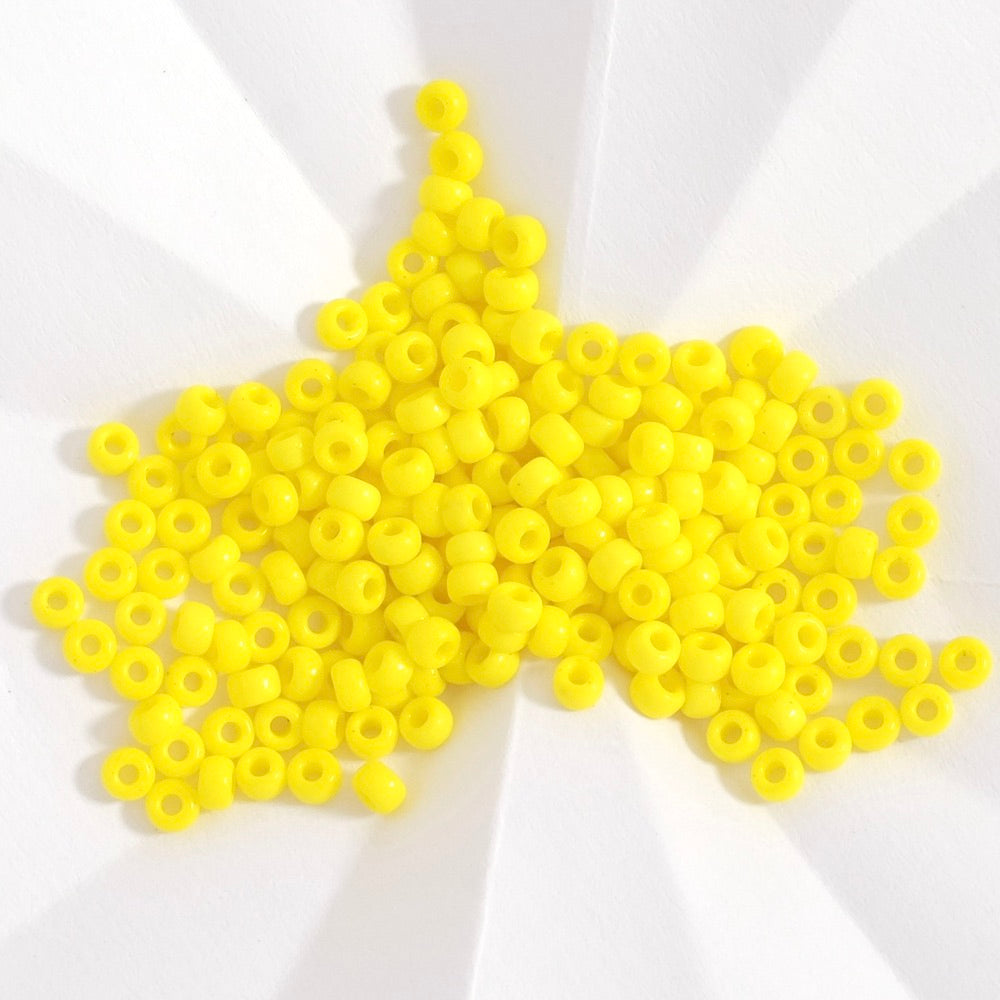
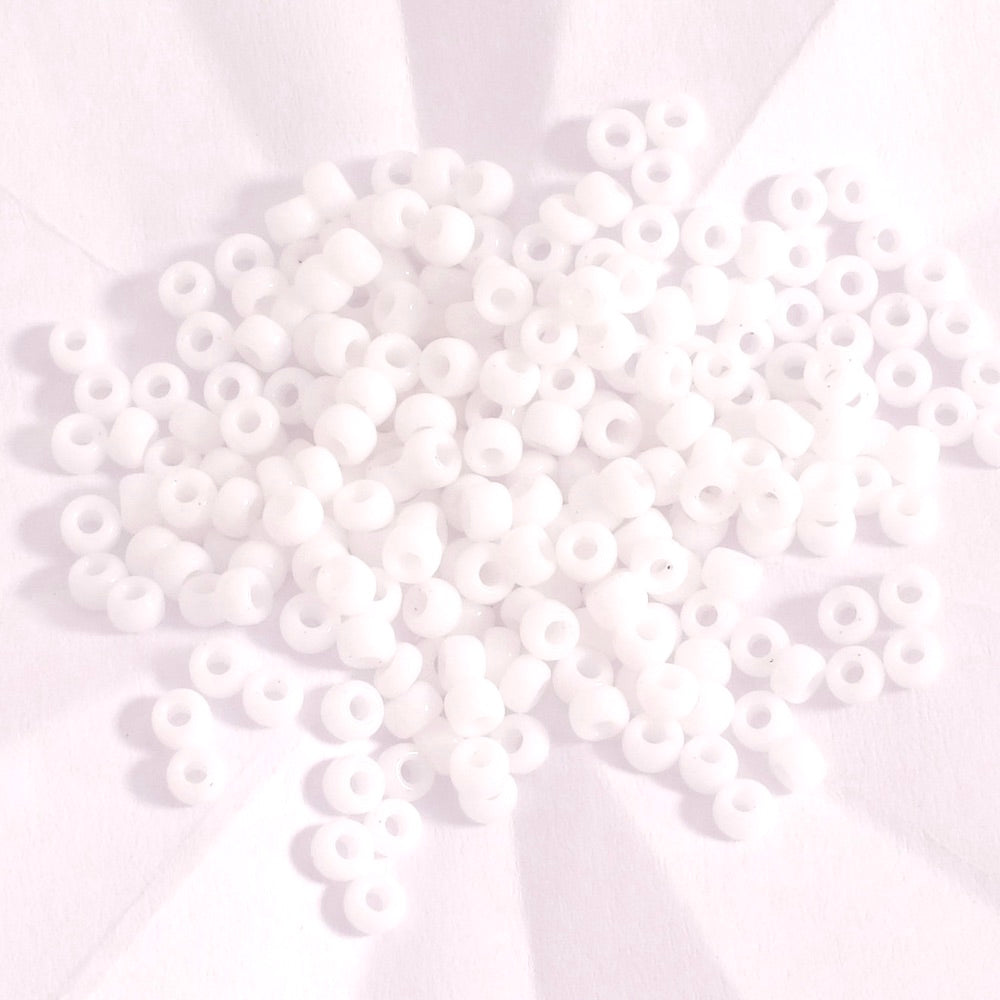
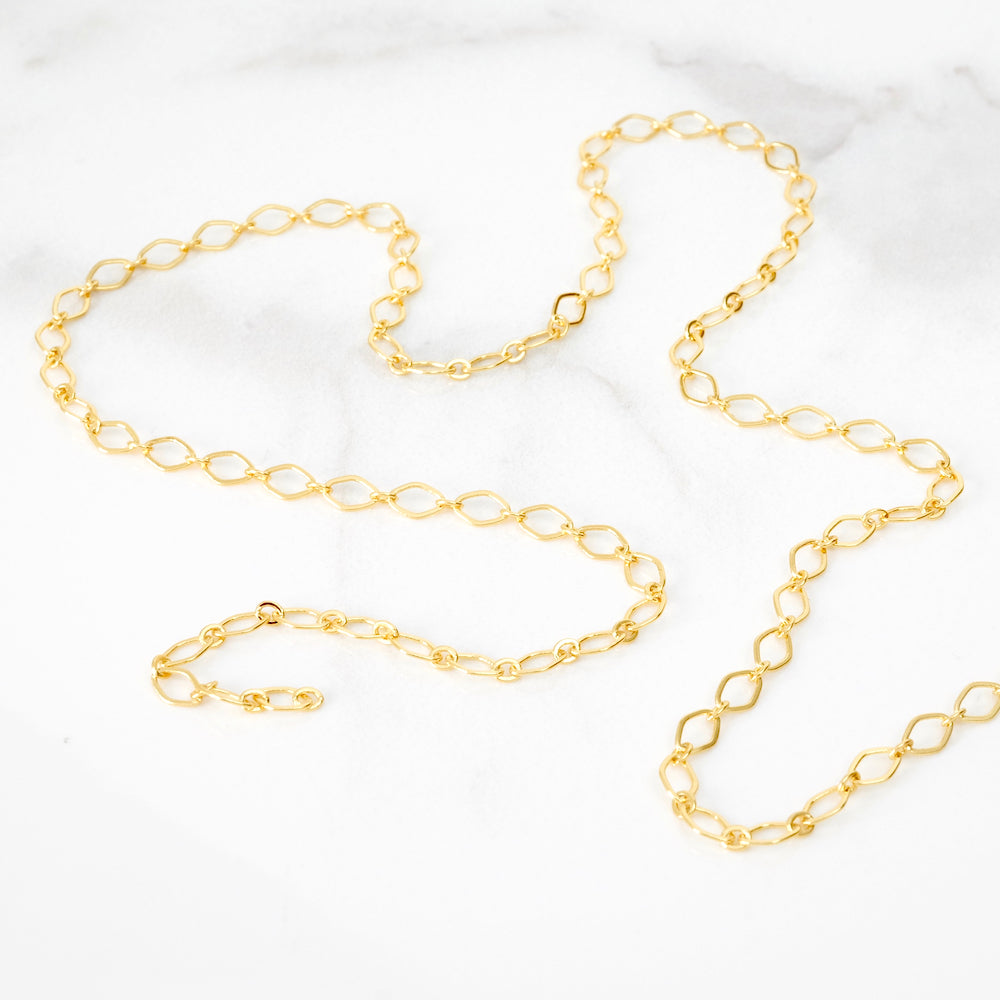
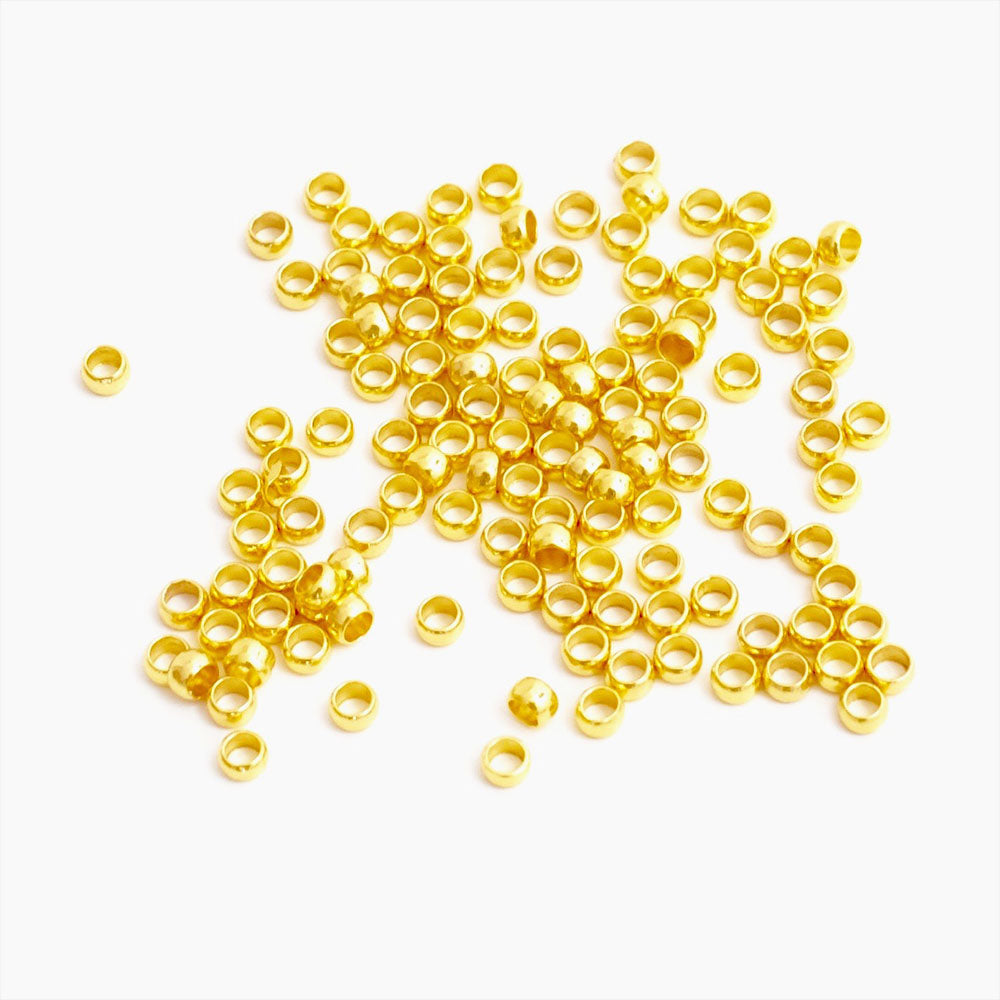
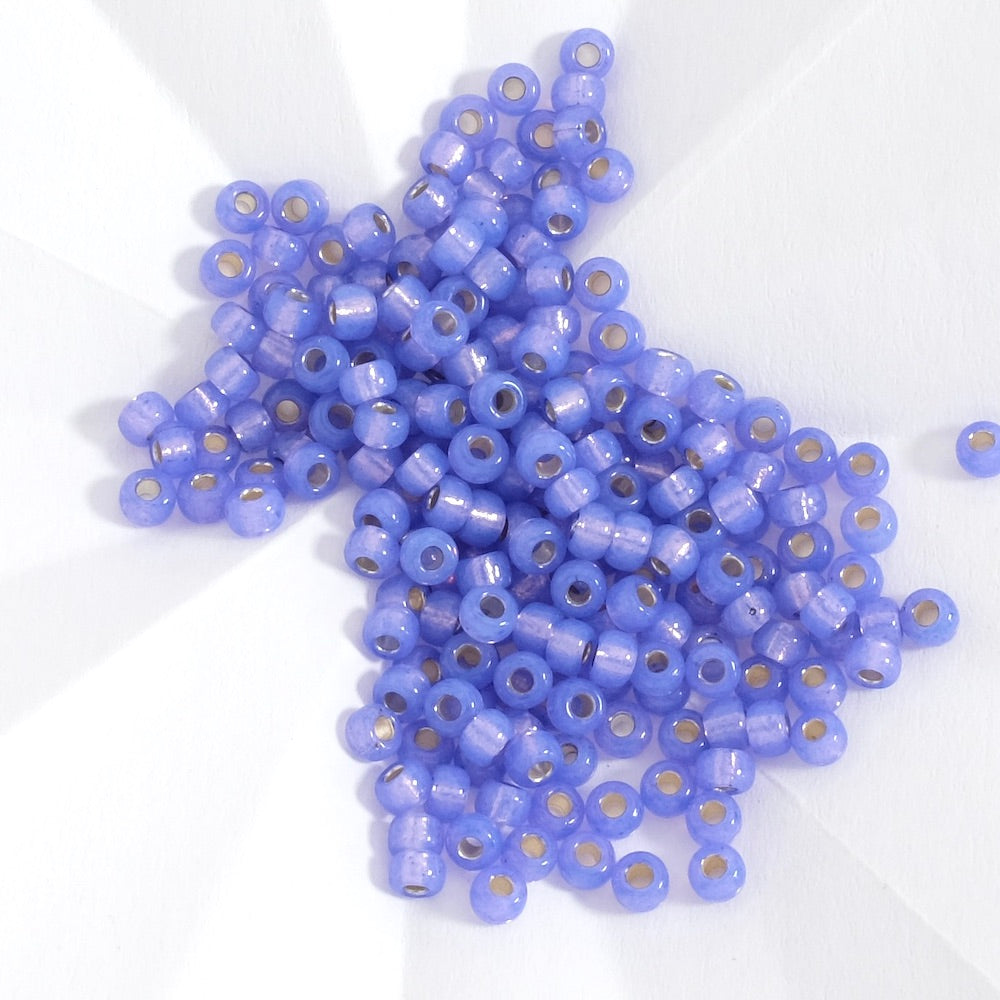
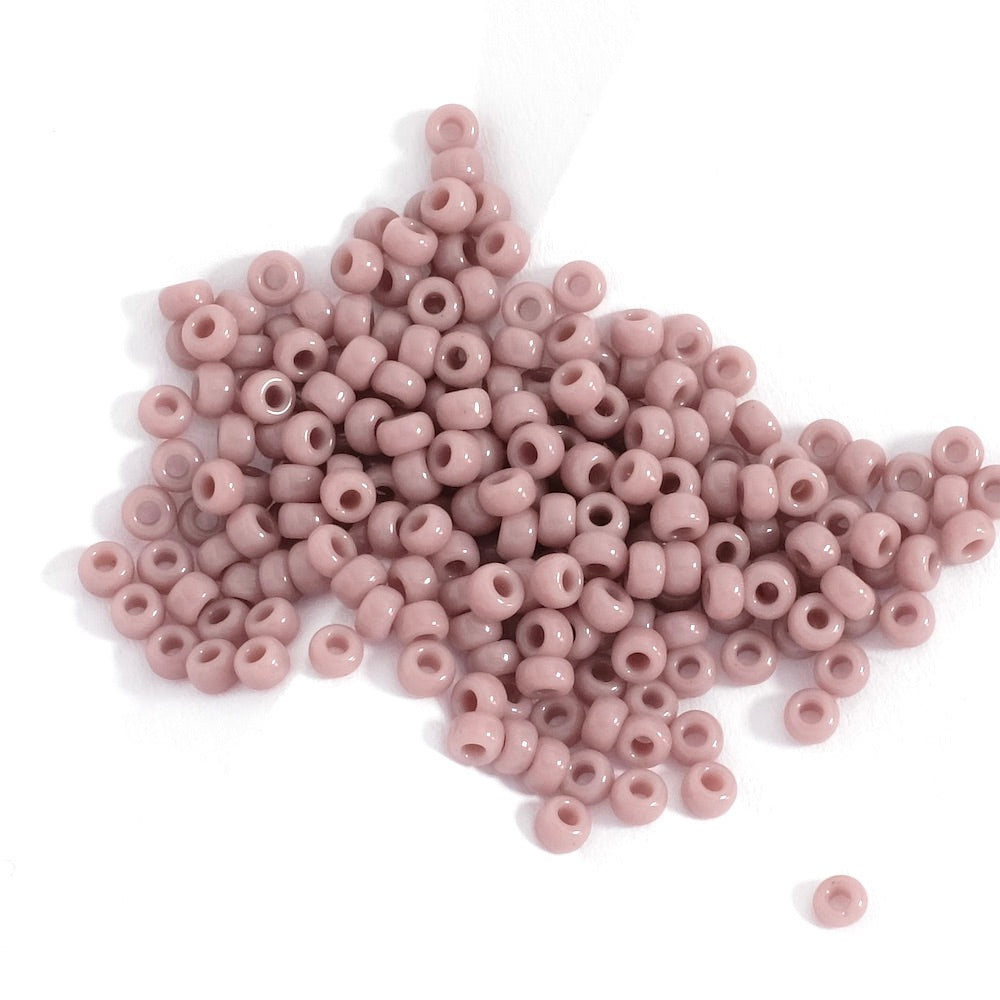
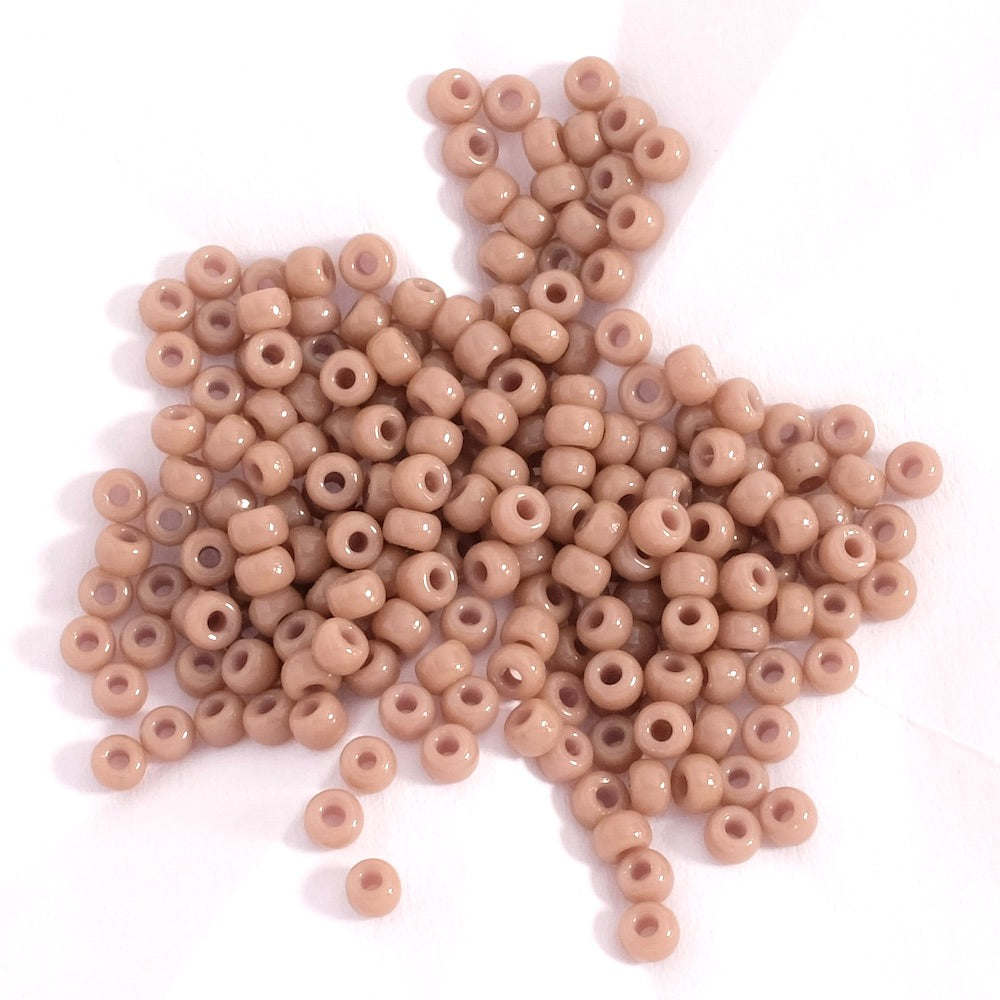
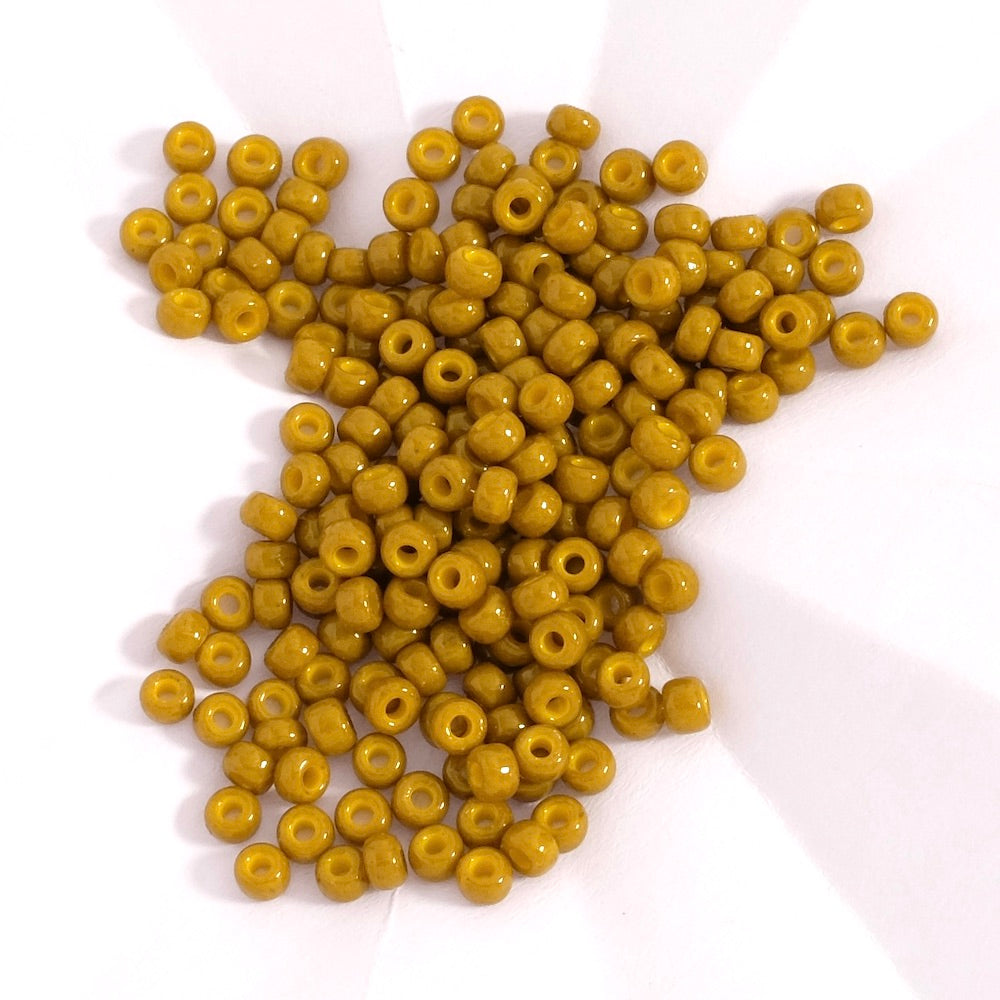
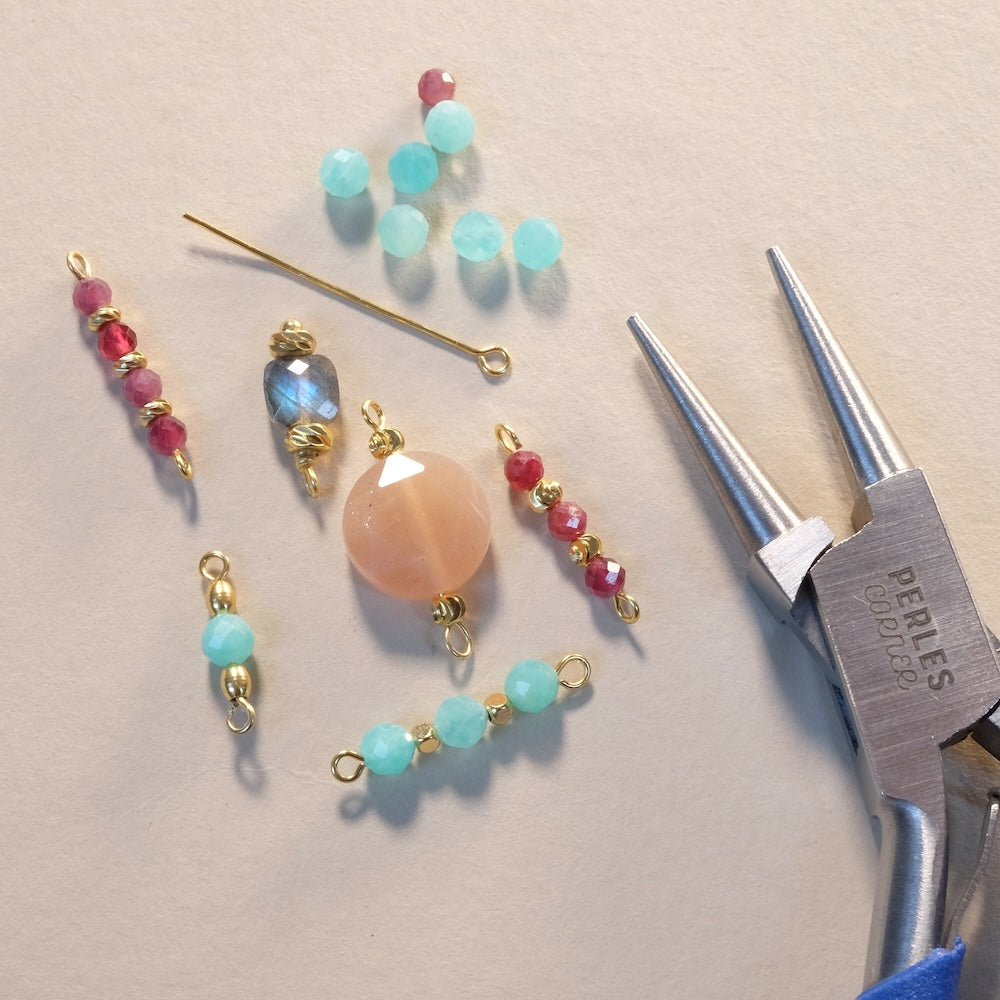
This jewelry is very simple to make; to do so, start by choosing your bead colors in harmony with the chosen pendant. If you place a gold pendant, you can play with colors of your choice and let your imagination run free! Then mount all the pendants on oval rings. Be careful, some pendants already have the ring in the correct orientation, ready to be threaded onto the thread. In that case, no additional rings are needed. Cut a nylon or silk thread about 50cm long. Here we made a 40cm choker necklace with a 5cm extension. Adjust the size to your preference. Tip: Start stringing from the center of the necklace, so you can easily reproduce symmetry as you go. You will directly visualize the result without having to dismantle everything if a bead combination doesn't please you. It's also simpler because you don't have to recount all the beads! First thread the shell pendant placed in the center. Then start playing with bead combinations. To add rhythm and contrast, you can alternate seed beads with metal beads, pendants, and slightly larger Bohemian beads. On the pink necklace, we even alternated very small 15/0 seed beads with larger 8/0 seed beads. This gives a real contrast and texture to the stringing. We love the play of repeating colors that creates a pattern. Feel free to play with color gradients or strong contrasts! Once the desired length is reached, clamp the thread at the ends with pliers to prevent everything from slipping out!!! Thread a crimp bead onto one end of the thread, then the ring of the lifebuoy clasp, then pass back through the crimp bead. Pull the thread to bring the clasp to the edge of the beads. Then gently flatten the crimp bead. Tip: Don't press the crimp bead too firmly as you might break the nylon thread. A light pressure is enough. Test the hold to ensure solidity. To prevent the end of the thread from scratching you, tuck the remaining thread back about 3cm into the beads. For the other side, do the same operation but this time with an extension chain. But before flattening the bead, position the necklace in its final shape while keeping some flexibility between the beads. Your necklace must remain fluid to avoid creating tension that would be unpleasant and unsightly.
And there you go! Beautiful work! |
|||


To be reserved alone or with friends!

Inspirations, tutorials, and new arrivals: receive the best of handmade in your inbox.


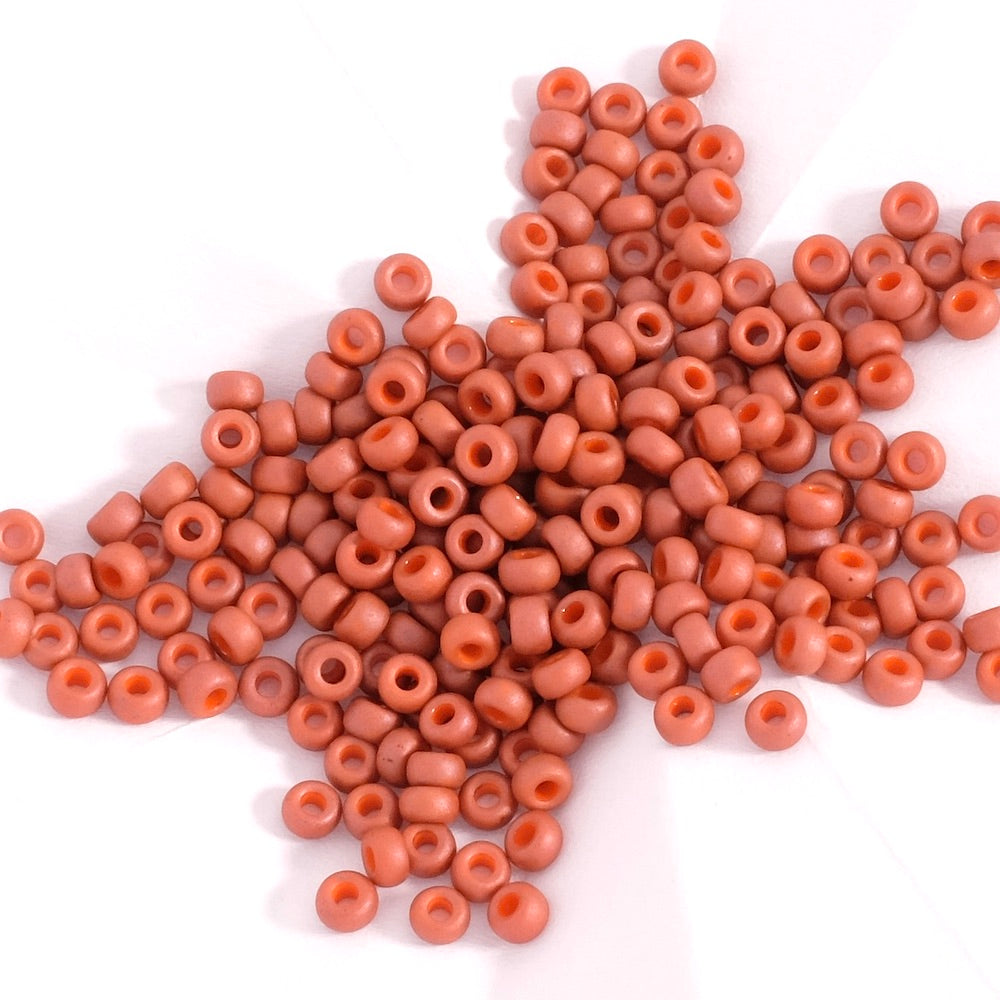
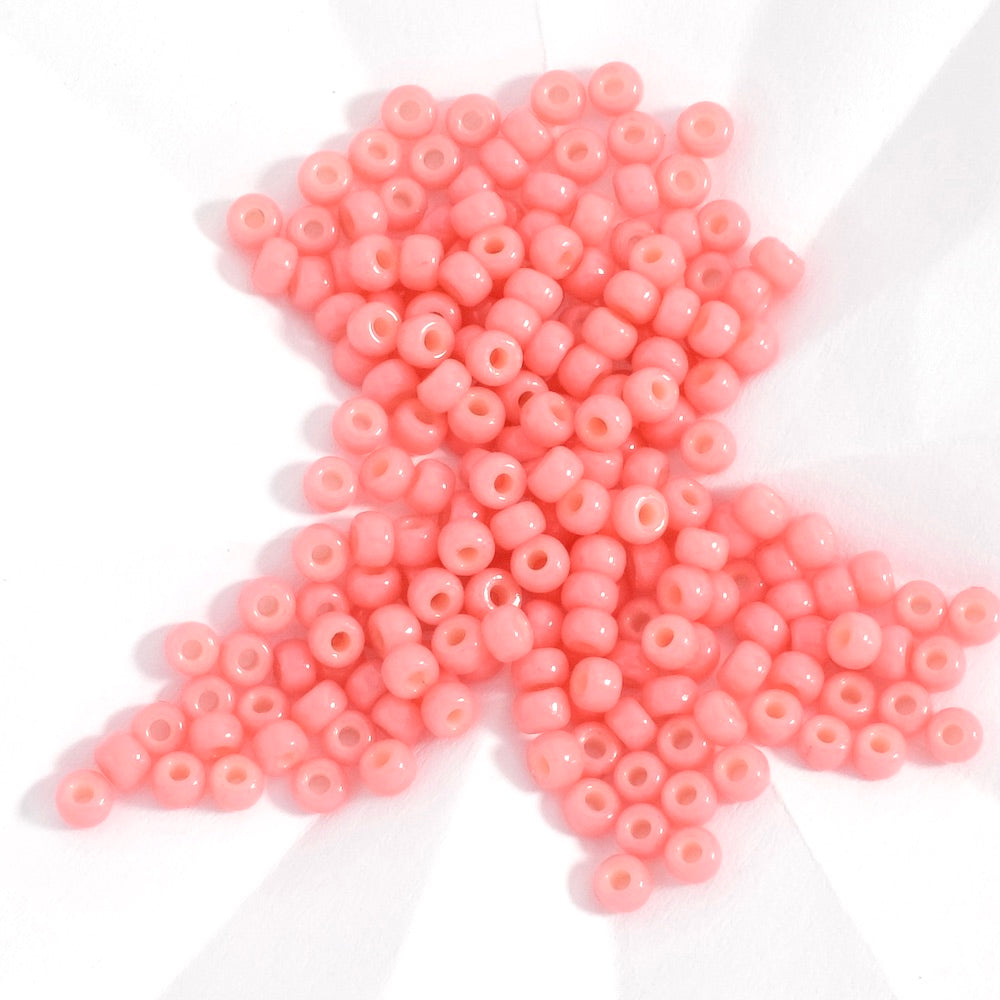
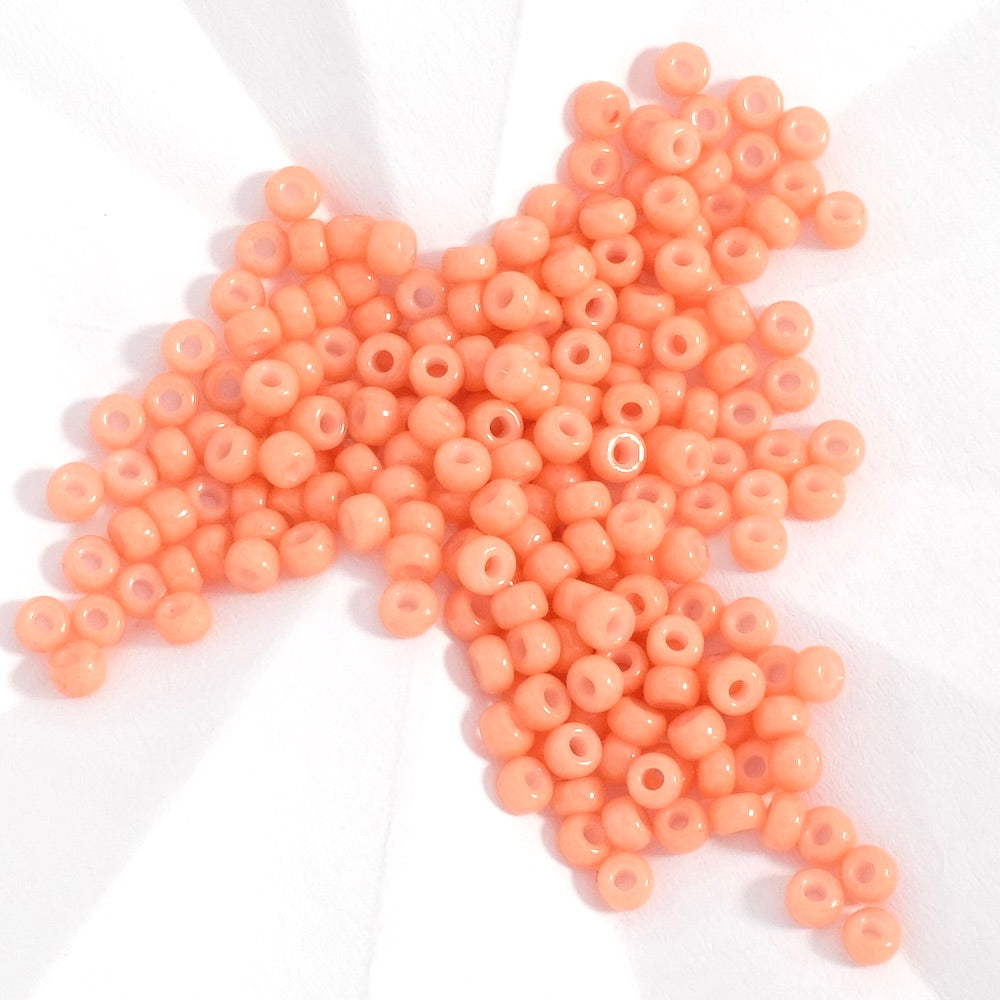
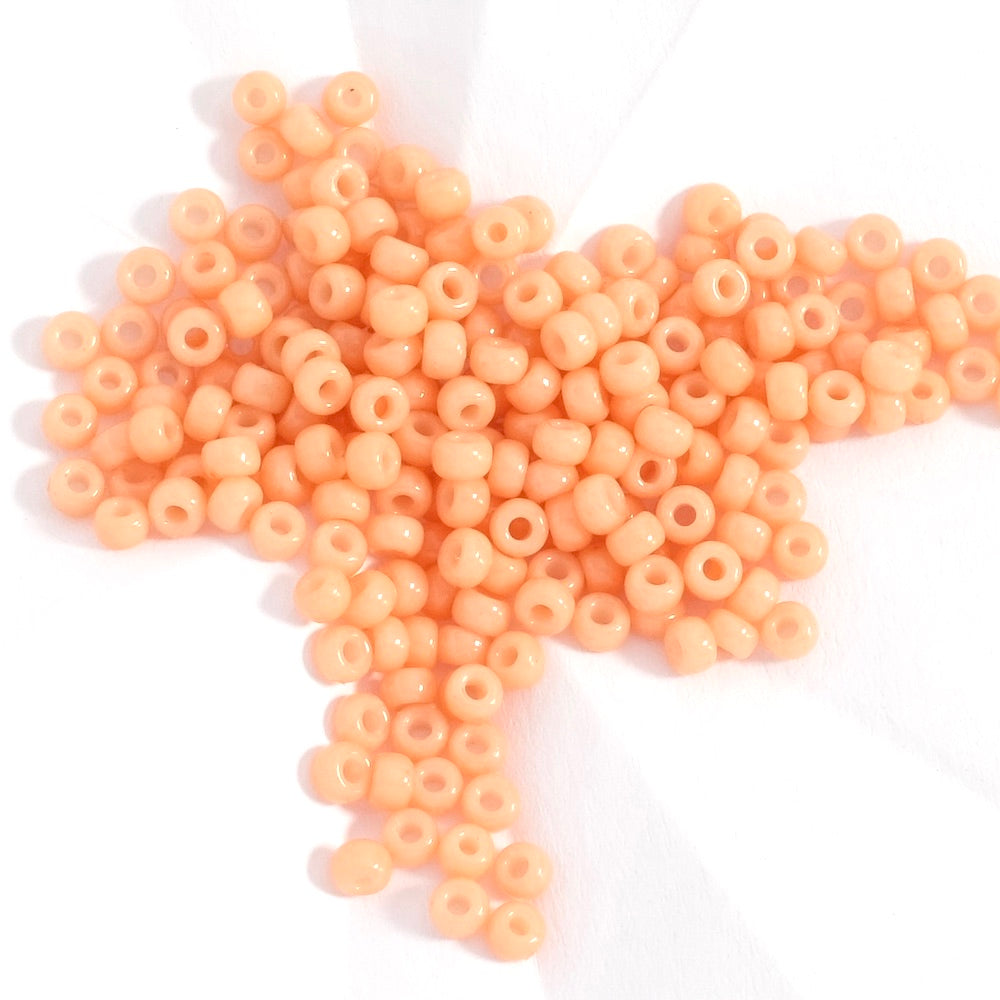
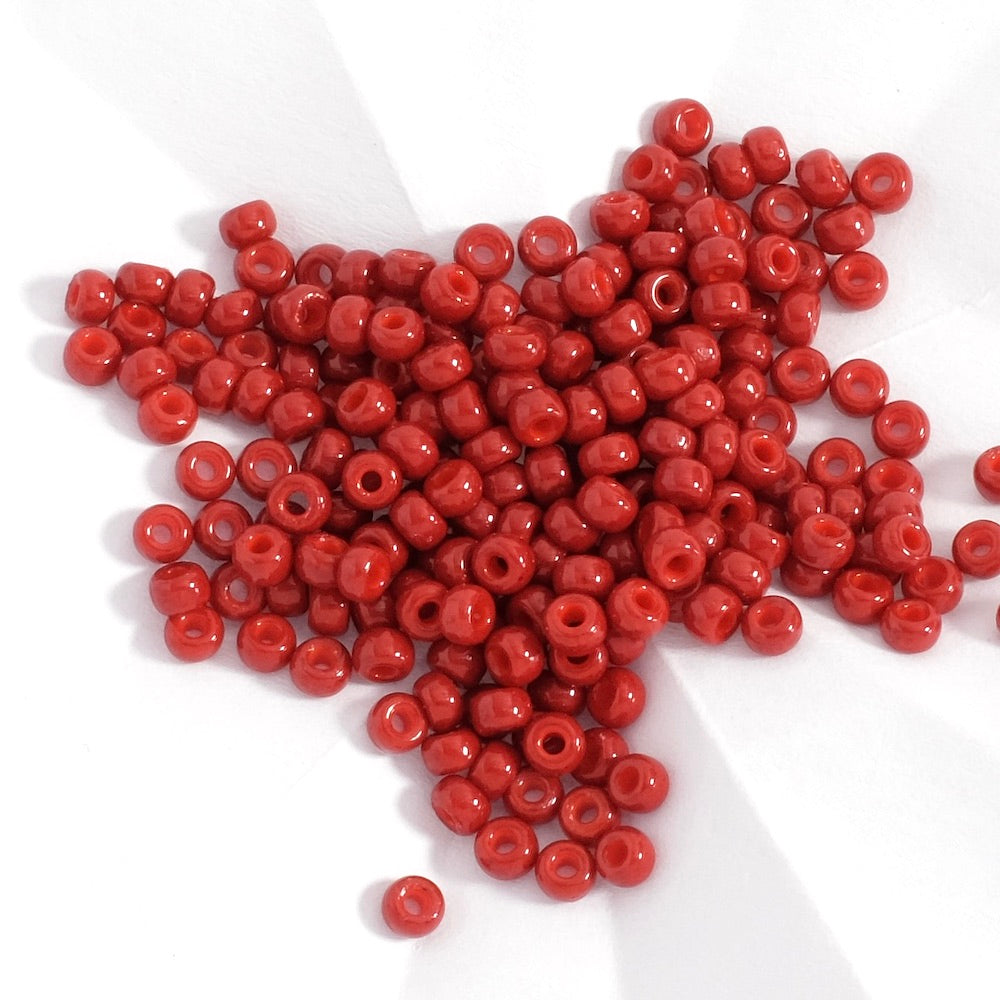
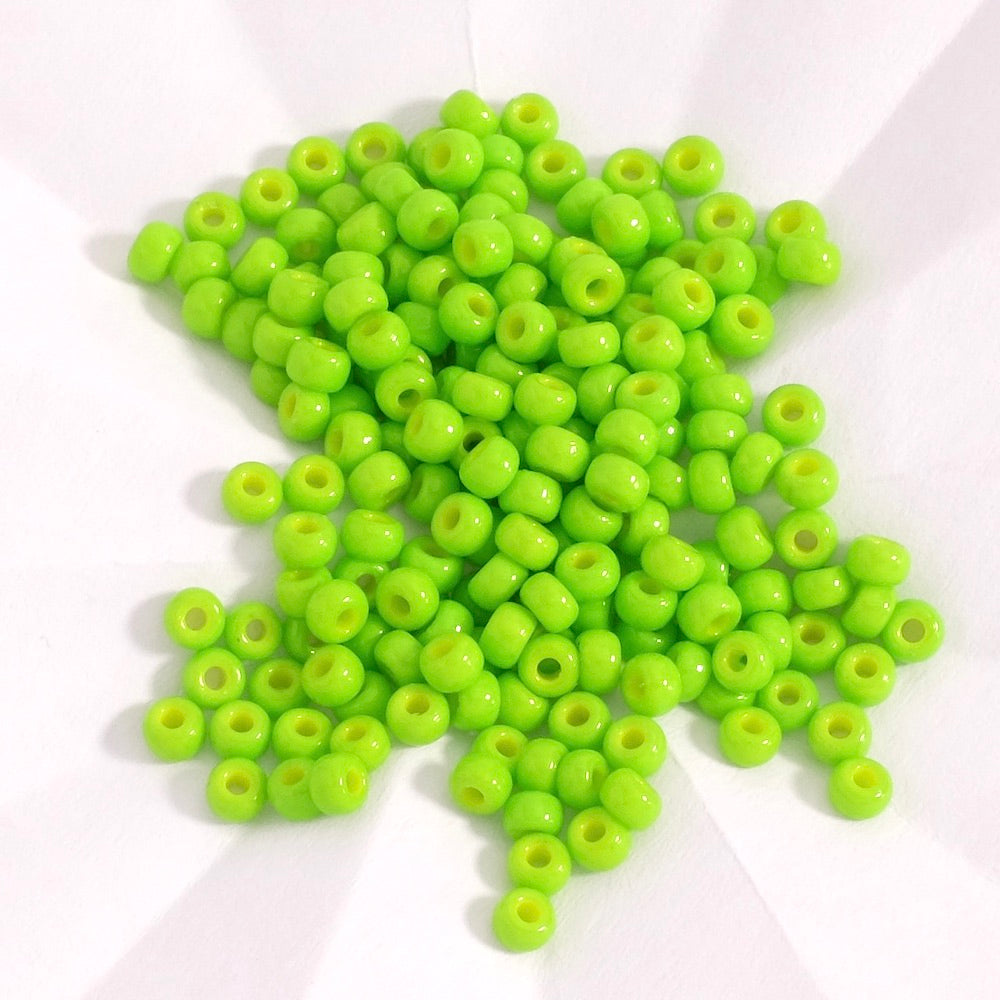
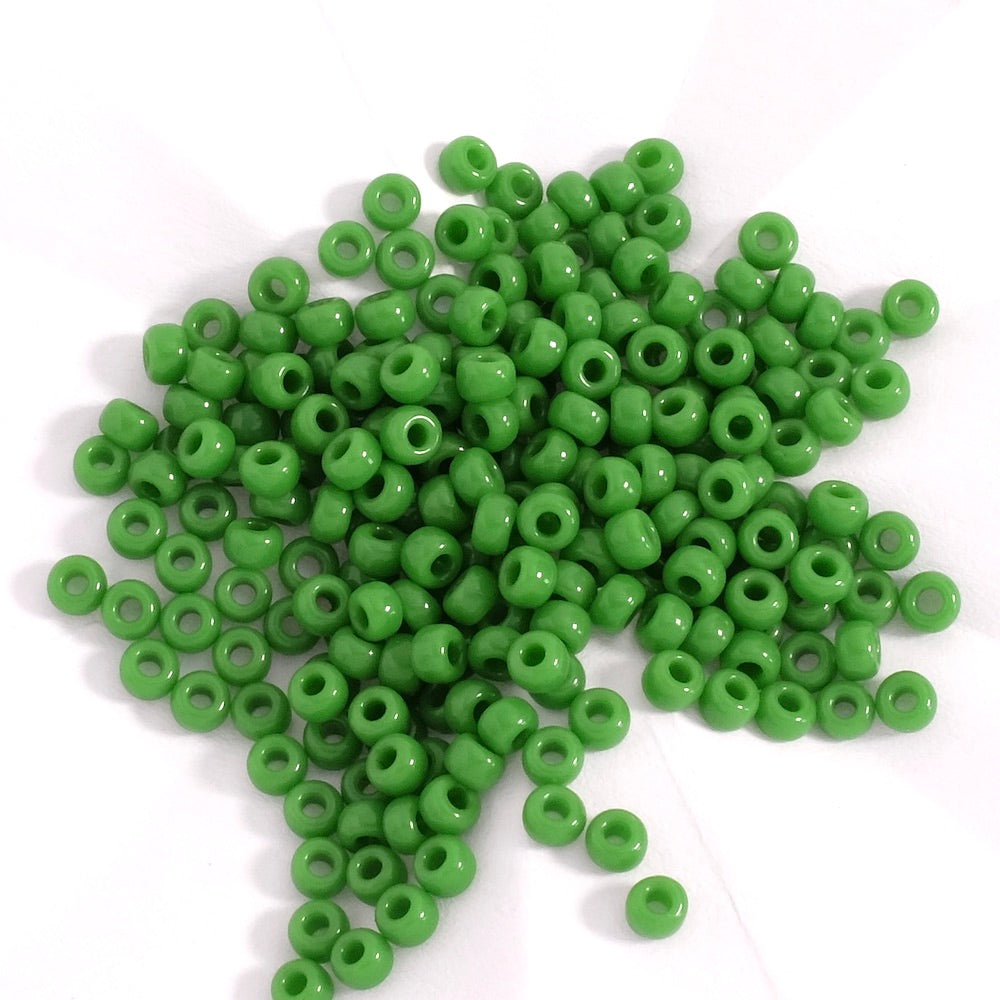
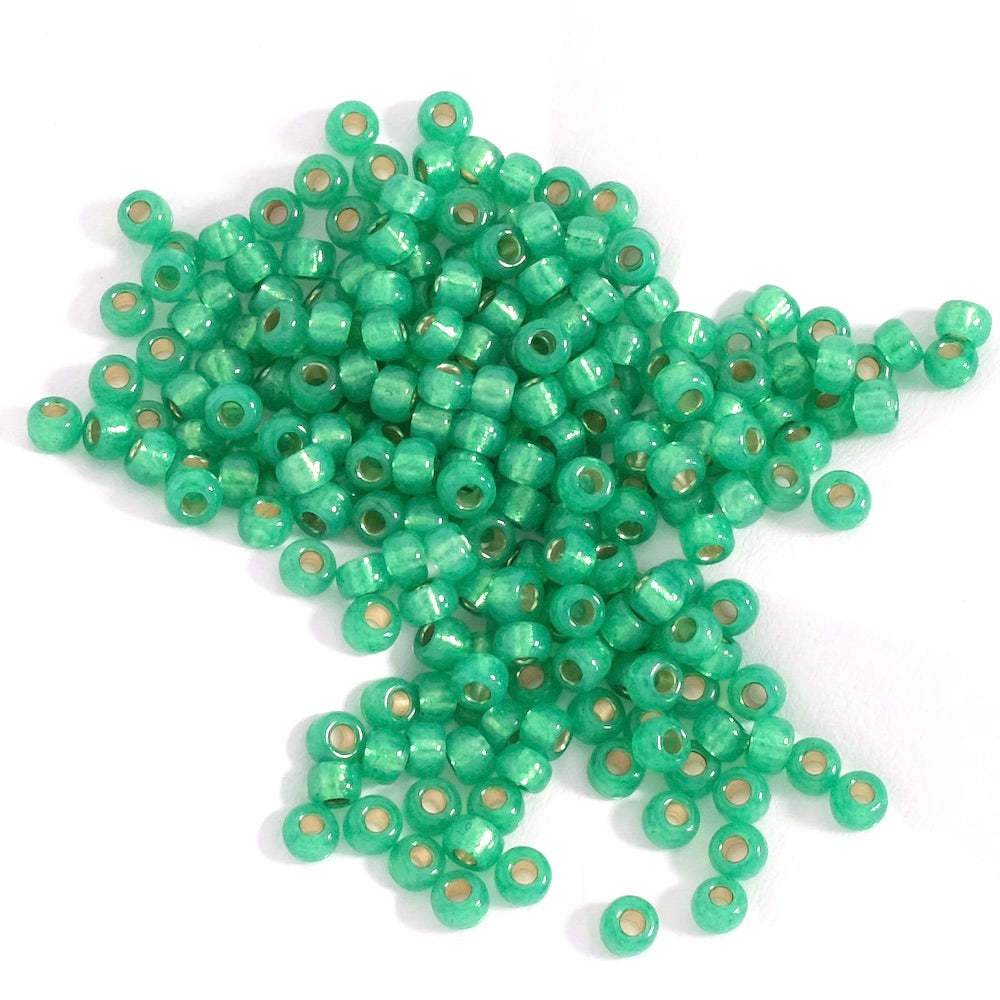
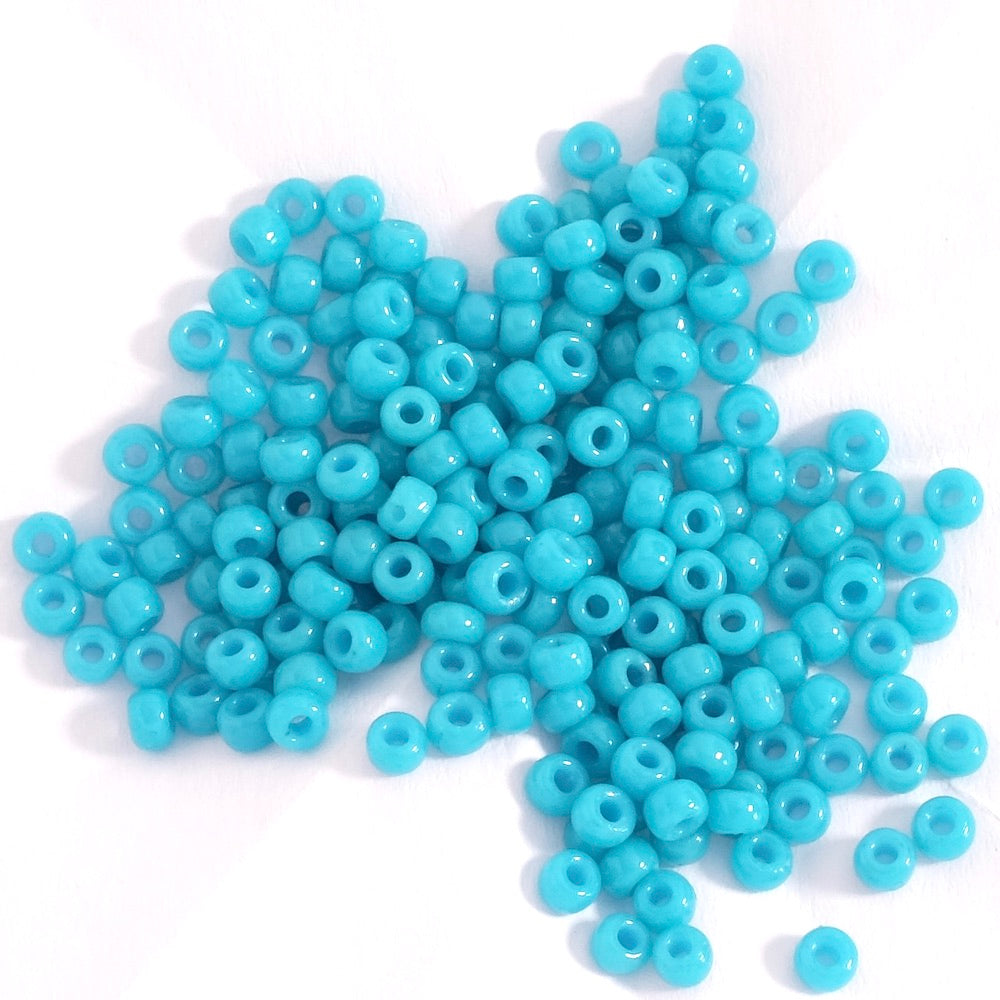
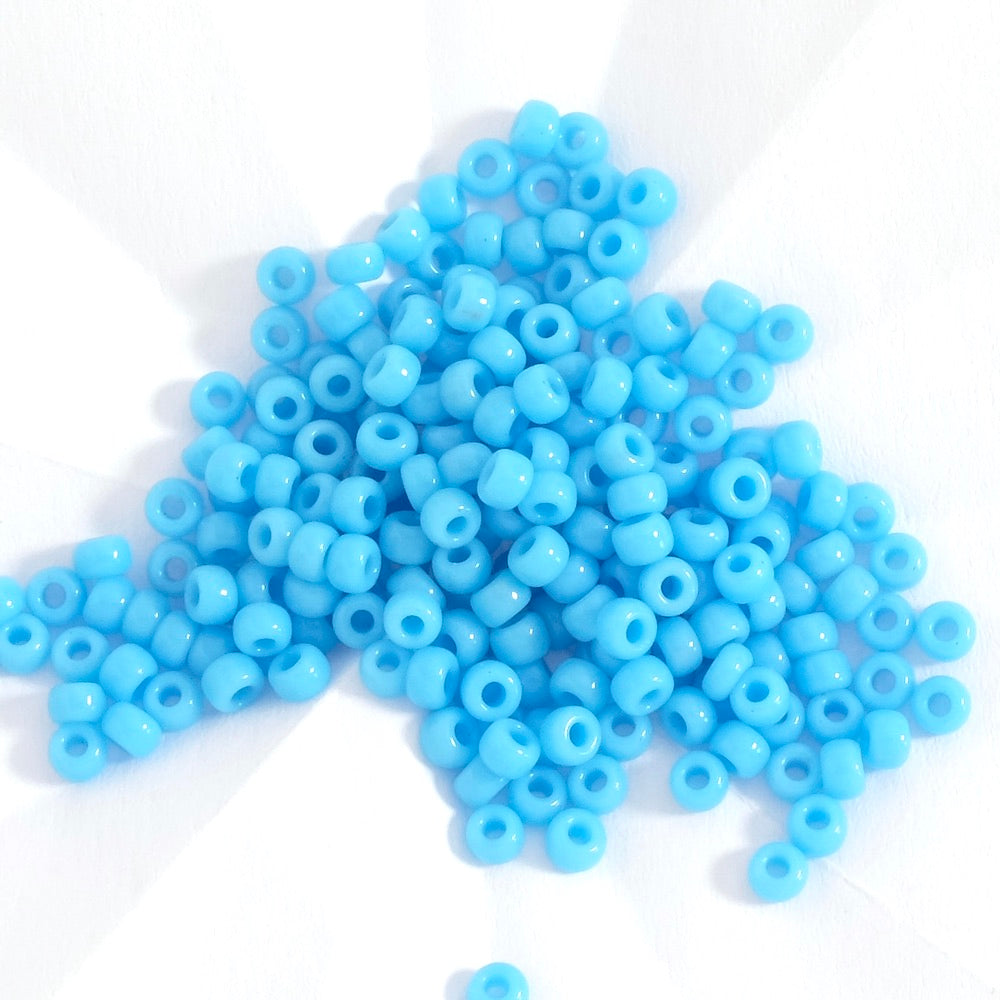
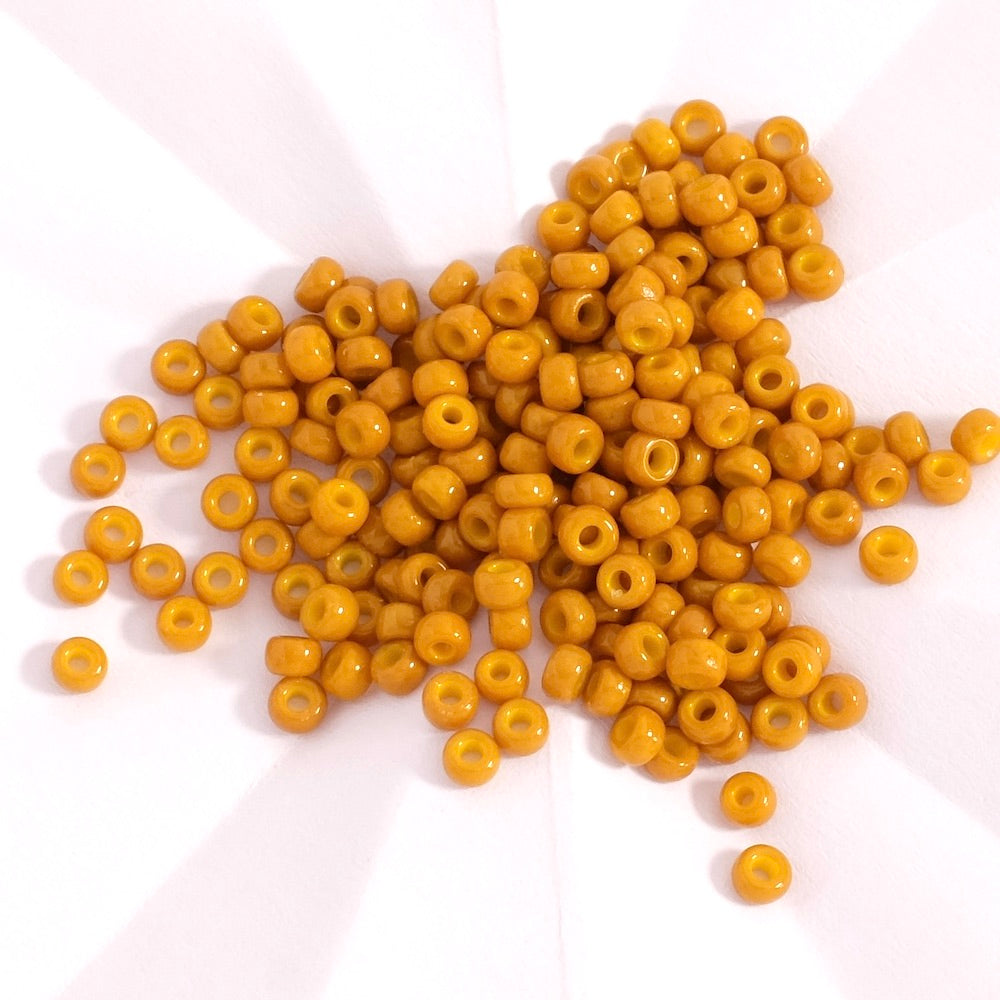
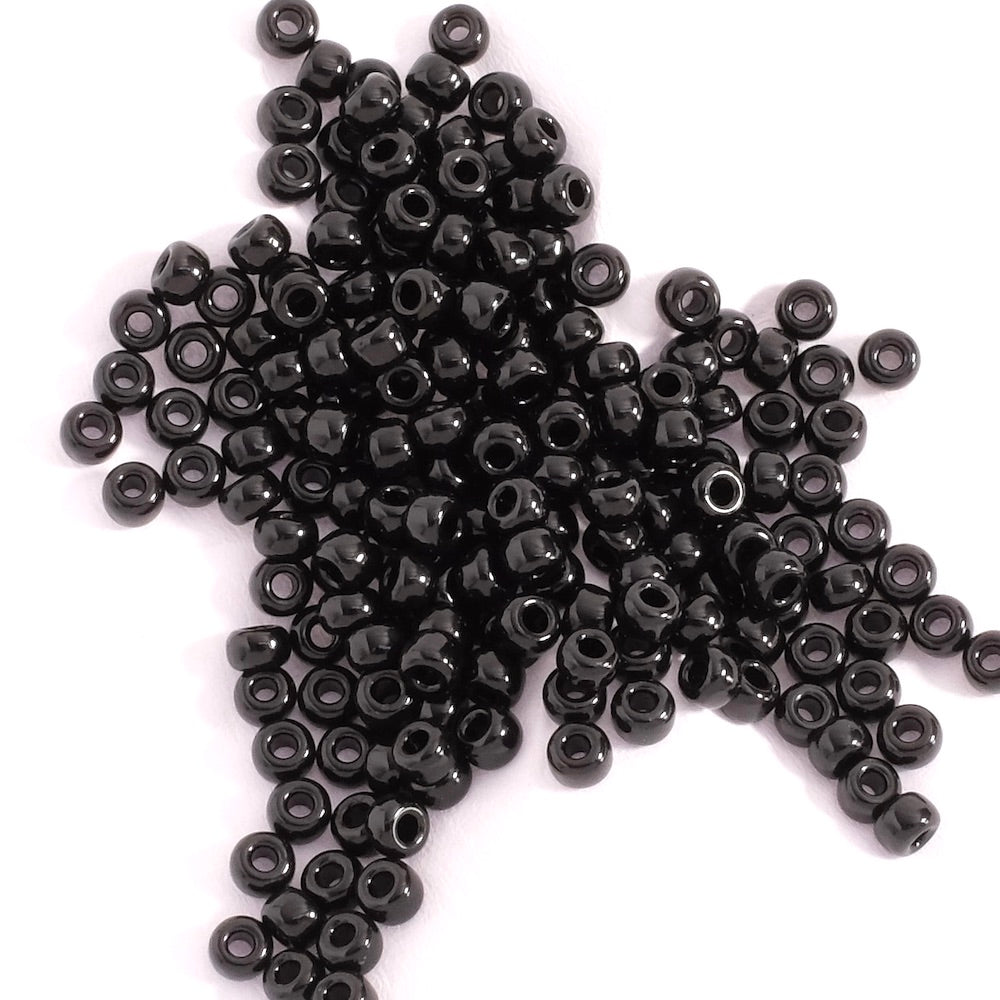
 8/0 seed beads
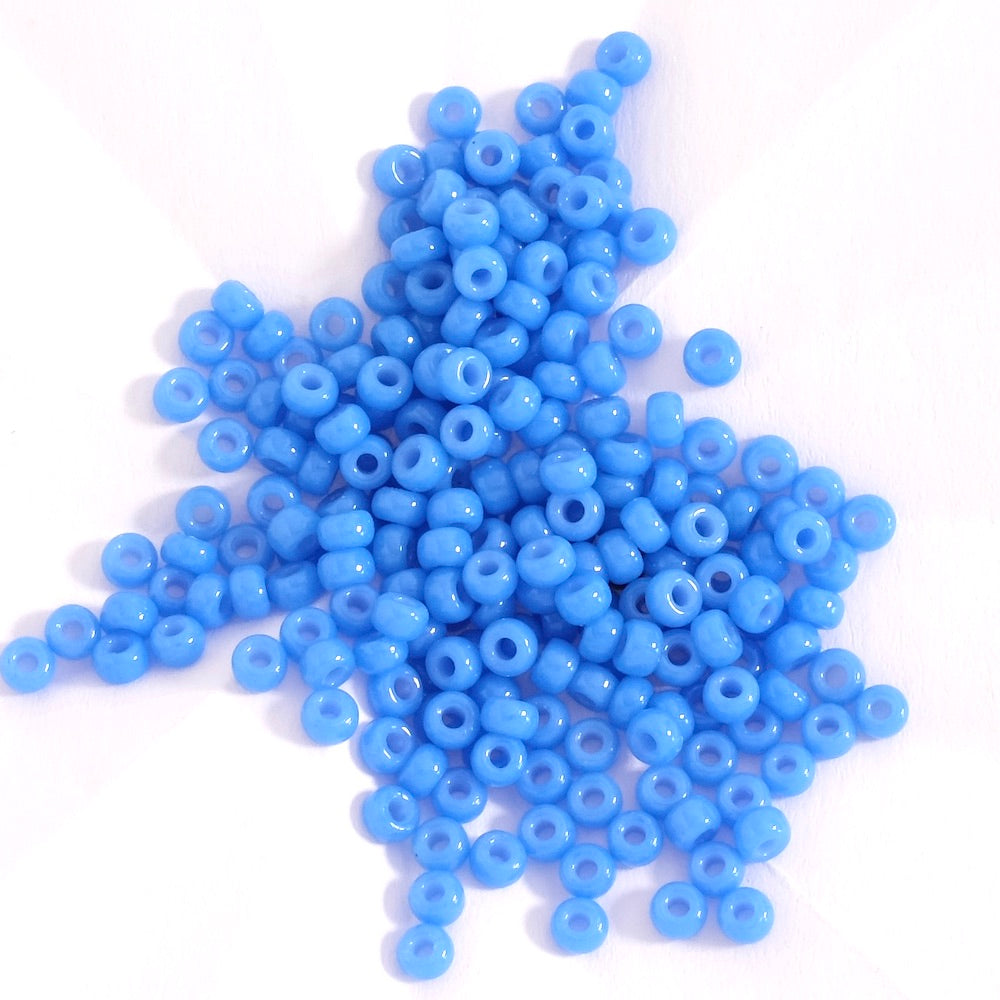
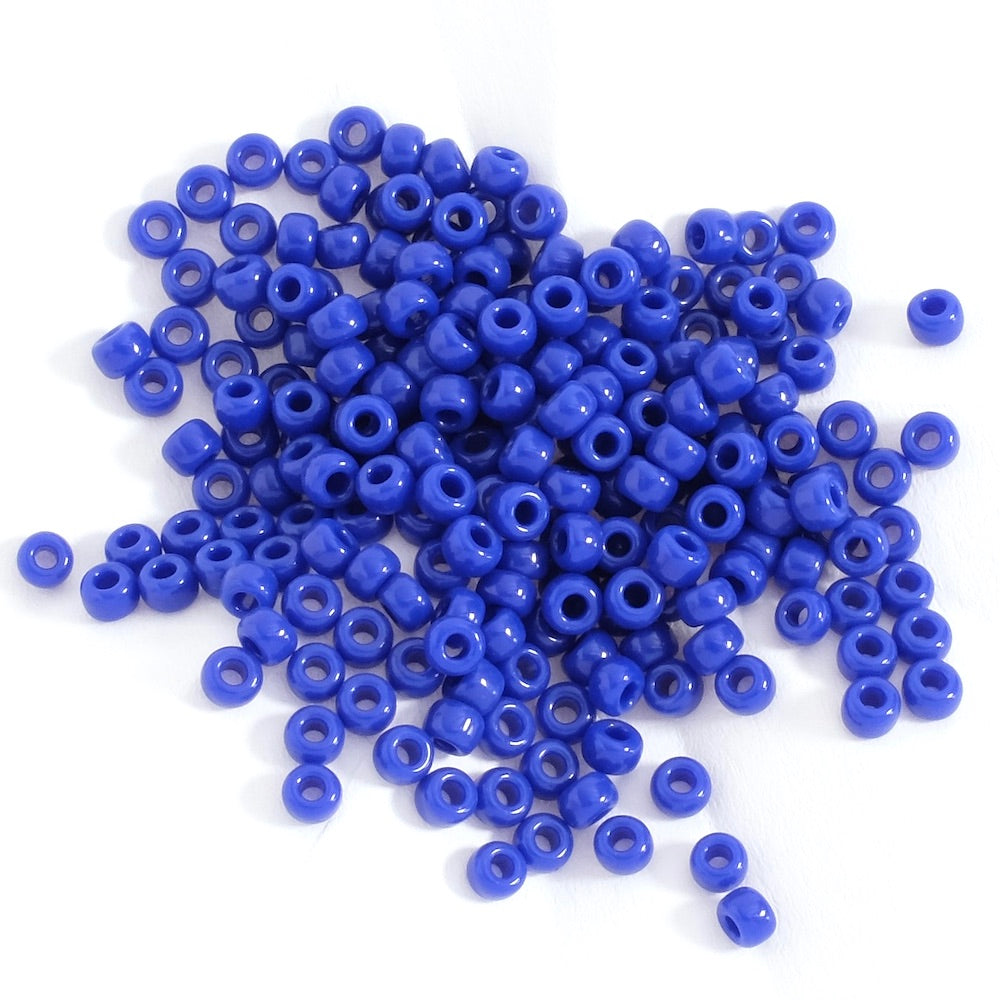