|
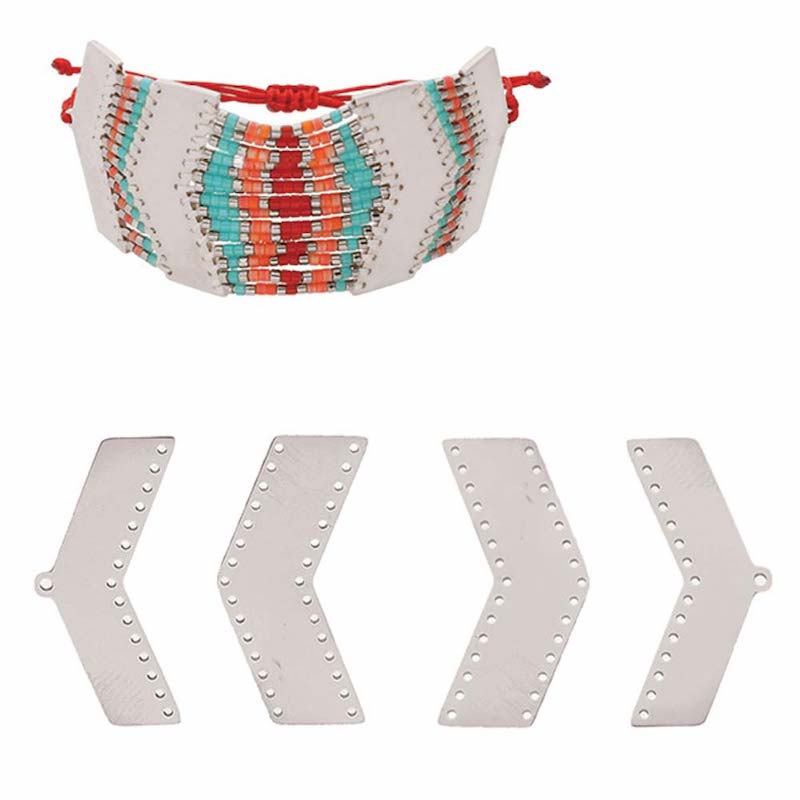
Fall for the bohemian spirit of this Miyuki bead bracelet! An ultra-simple weaving that is done directly on the base. The possibilities are endless, so you can let your creativity run wild!
|
|---|
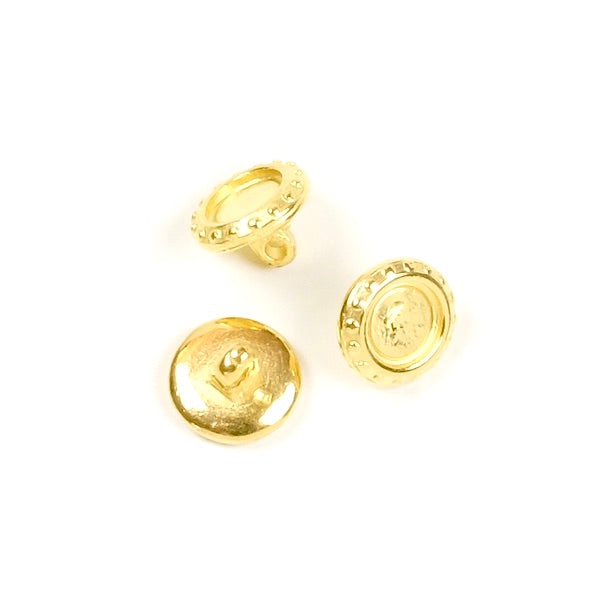
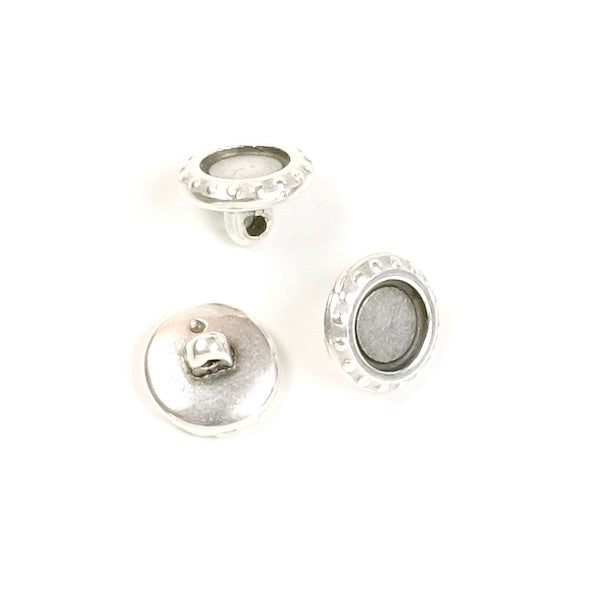
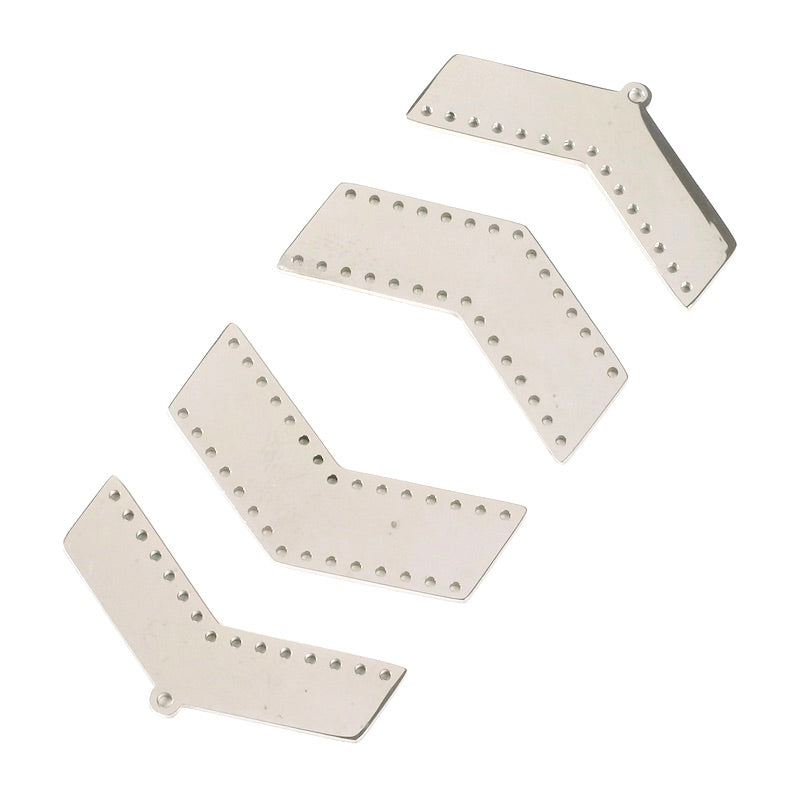
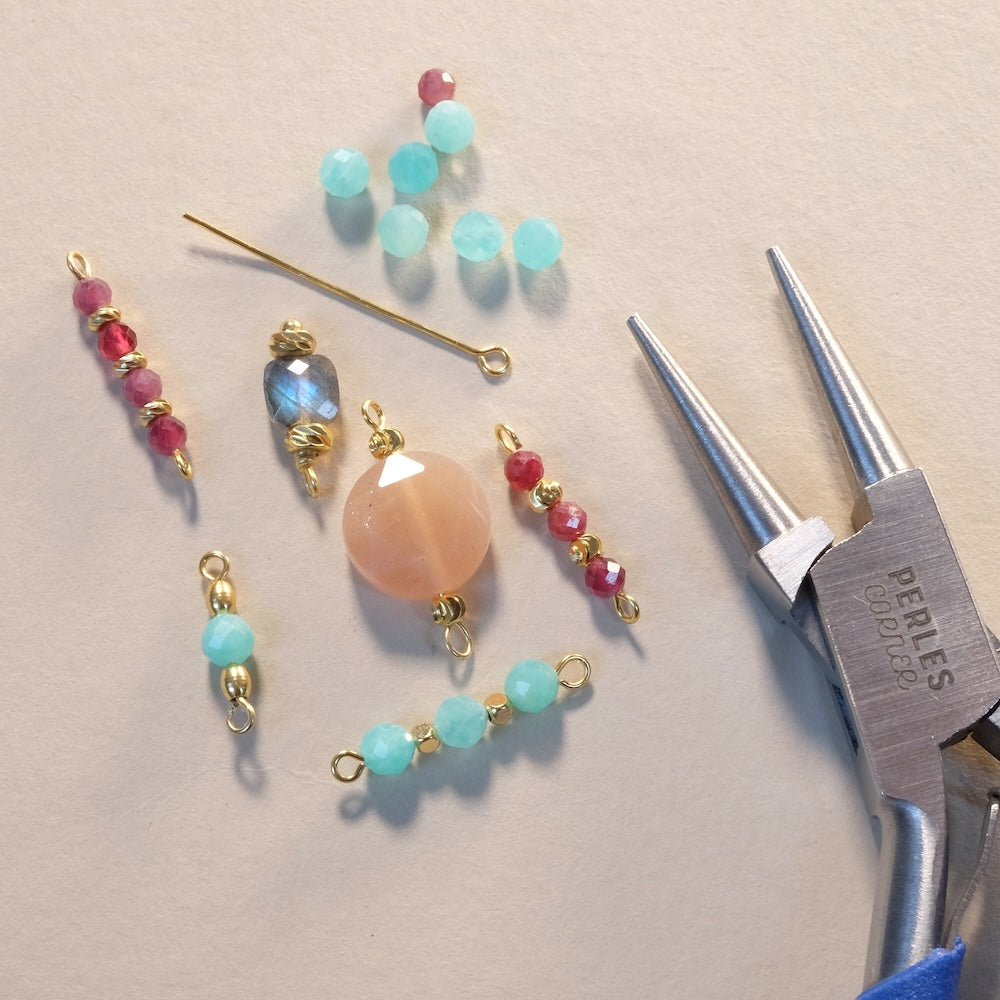
| For this project you will need: | ||||
|
|
||||
|
Overview: |
||||
|
|

|
|||
| Some explanations: | ||||
|
|
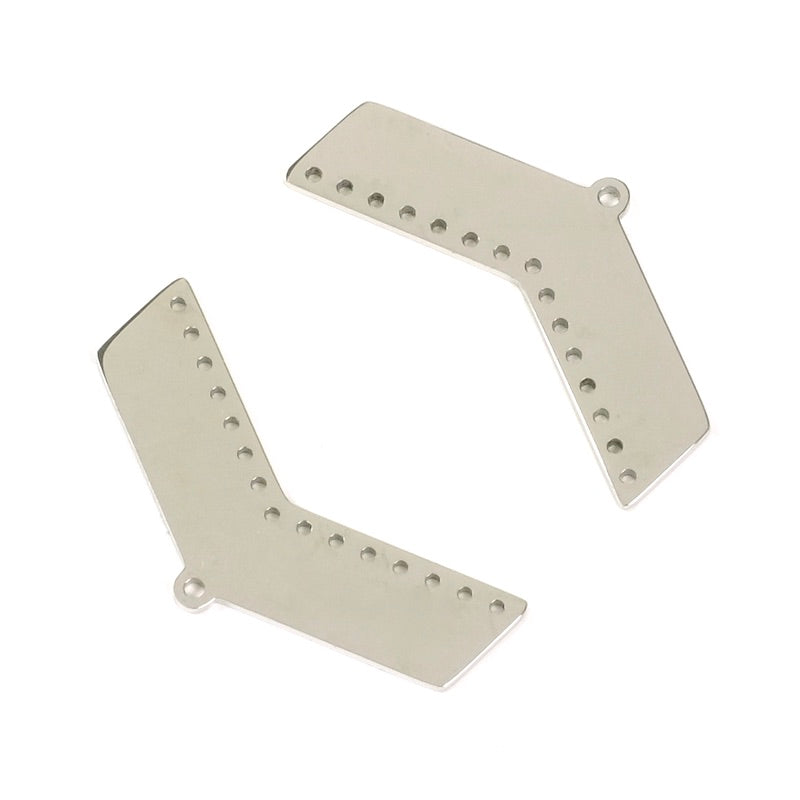
Begin the weaving by the central part. To start, cut a thread about arm's length then thread the needle. This weaving is quite simple; it resembles the Wrap technique except that in this model we will pass through the chevron holes to fix each row. Pierce the needle from the bottom into the bottom hole of the left chevron, then string your beads (the number you want) and pierce from underneath into the hole of the right chevron. Keep a thread of about 10cm at the start to make the knot afterwards. Pass the needle back through the bead row then pierce into the chevron hole (the first one) from the top. You will come out underneath where the starting thread begins. Go to the second hole then repeat the previous operation. String the beads (the number of the previous row +1), pierce into the 2nd hole of the right chevron from the bottom, then pass back through the beads. Pierce into the hole of the left chevron from the top to come out on the back. After the 2nd row, make a double knot with the starting thread on the back to secure it, then cut flush. Continue like this with the following rows. For the central row, place the Cymbal bead replacing the center bead. Once the bracelet is completely finished, you can glue the cabochon on it. Be careful, on the central part, each row will have one more Miyuki bead than the previous one up to the central row. Then you will decrease by one bead until the last row. Continue assembling the bracelet using the same method. On the side rows, the number of beads will be the same for all rows. Finally, measure the length of the bracelet and cut 4 pieces of chain to complete the length. Connect the chains with 3mm rings, then attach the clasp and the extension chain. Tip: Always make sure to jump between the different holes to go from one row to another on the back of the bracelet. And there you go! Beautiful work! |
|||


To be reserved alone or with friends!

Inspirations, tutorials, and new arrivals: receive the best of handmade in your inbox.


 Miyuki delica 11/0 beads