|
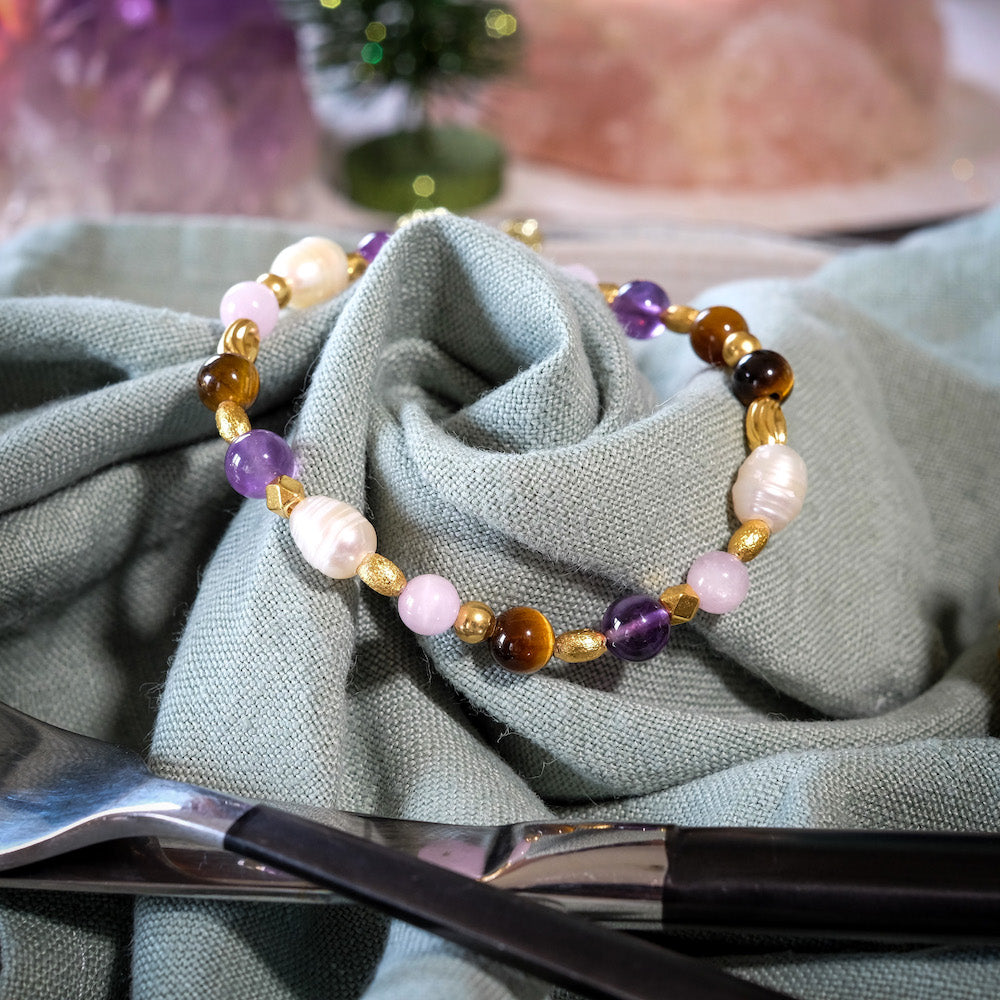
VIDEO TUTORIAL I am pleased to present to you a new creation to learn how to make a 3D bead ball, to be mounted on a necklace chain. You can easily adapt this creation with the beads of your choice, here we have chosen natural stone beads for an elegant and delicate piece of jewelry. A simple tutorial to follow, carefully follow the steps in the video to reproduce this model perfectly! Beautiful creation!
|
|---|
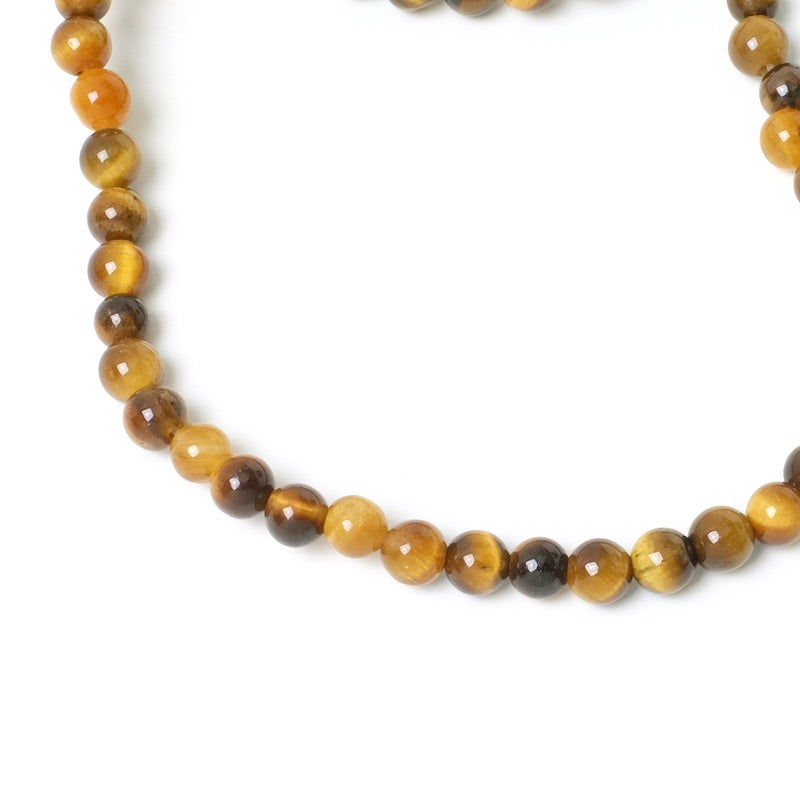
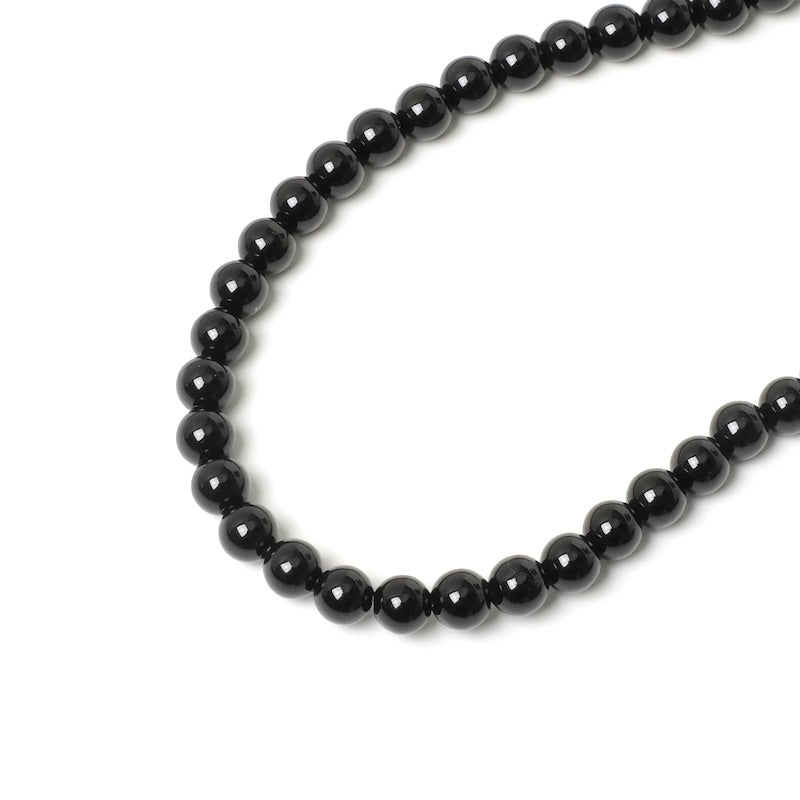
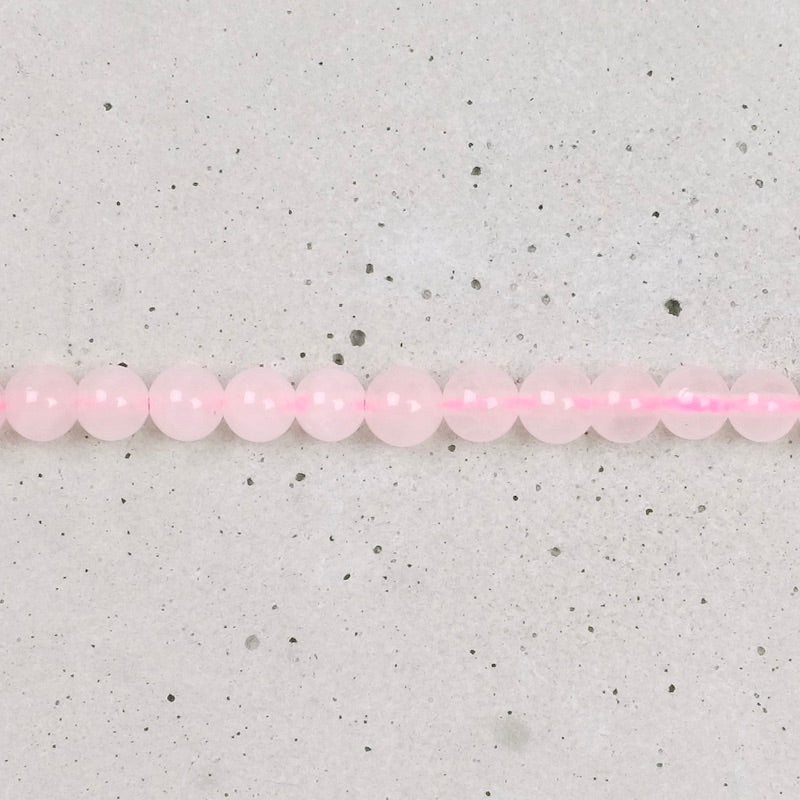
| For this project you will need: | ||||
|
|
||||
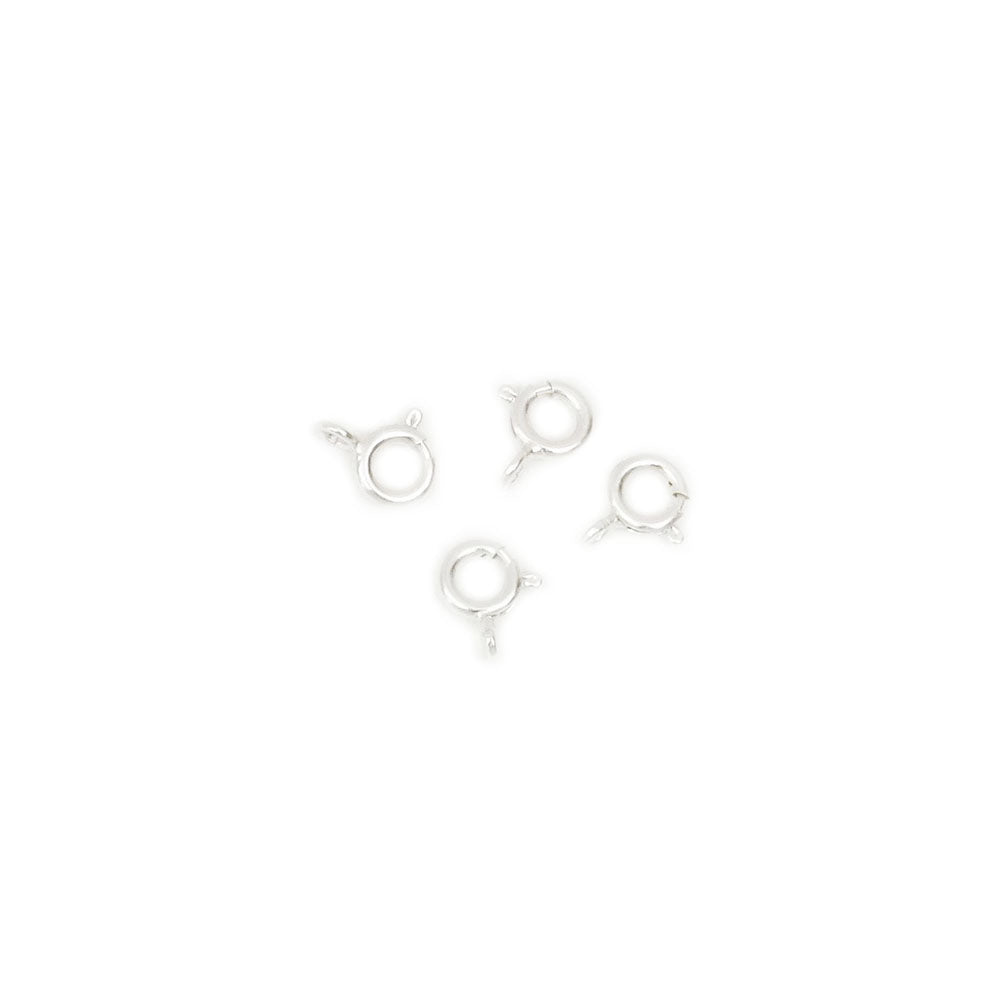
| The tools to use: | ||||
|
|
||||
|
The assembly: |
||||
|
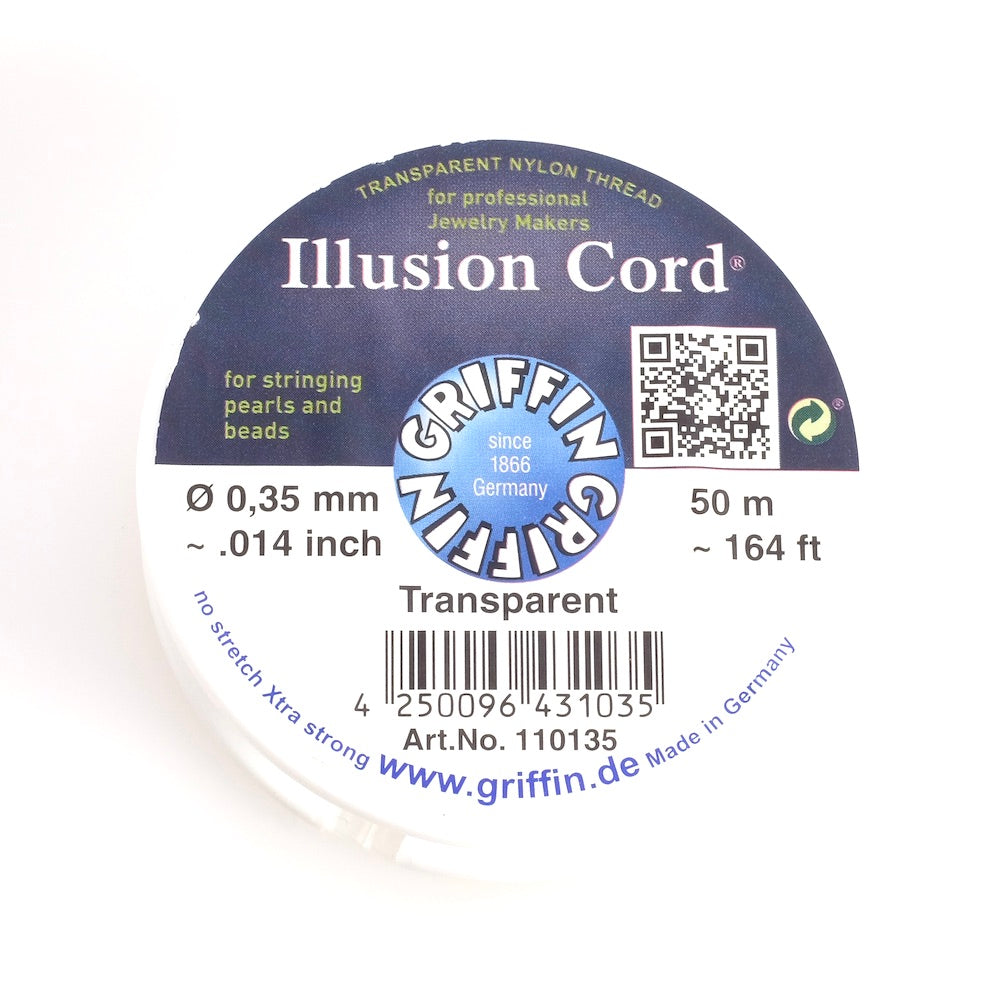
This creation is not very complicated to make, just follow the explanations below to faithfully reproduce this model. Our video below shows you the essential assembly steps on a larger ball for better understanding. The number of beads used remains the same. Feel free to adapt this model with beads of your choice! Change the sizes for a smaller or larger ball. Play with styles! Use natural beads for a more jewelry-like finish. In this model, we used Griffin wire in 0.35mm compatible with 4mm natural beads. If you use smaller beads, you will need to use 0.15mm wire. Here we have used a module of 5 beads that repeats throughout the assembly. To start, cut a nylon wire about 80cm long. Be careful not to take a wire that is too short, as you risk running out during assembly. You won't be able to make connections! Thread 5 beads, center them on the wire, and then pass one of the wires through the last threaded bead. This gives you the first module of 5 beads. Now thread 4 beads onto the right wire. Pass the left wire through the last bead. You have just assembled the 2nd module of 5 beads. Pass the right wire through the next bead of the 1st module. We will go around the first module to complete it with the other bead modules. Thread 3 beads (your wire is already through 2 beads, we are threading 3 new ones to create the module of 5 beads). Then pass through the last bead. Continue like this to complete the circle. After this step, you will have a half sphere. We will now create the other part to close the ball. Pass the wire through the next bead, so your wire goes through 2 edge beads. Thread 3 beads and then pass through the last bead. Now pass the wire through the next 3 beads and then thread 2 beads... You will naturally form the other part of the ball. For the last module that will close the ball, pass the wire through the next 4 beads and thread a bead. Pass through the bead to close the sphere. Pass the wire through the beads of the last module and come out next to the other wire. Make a double knot. For use as a Christmas ornament, you can thread beads onto the wire, pass through the first bead, and then make a double knot at the base. This will give you a beaded suspension loop! And there you go! Your creation is complete! I hope you enjoyed this tutorial and that it inspires you to make variations.  Beautiful creation! |
||||
 |


To be reserved alone or with friends!

Join Perles Corner to discover our new products, exclusive tutorials, and many other surprises... and receive your voucher by email!


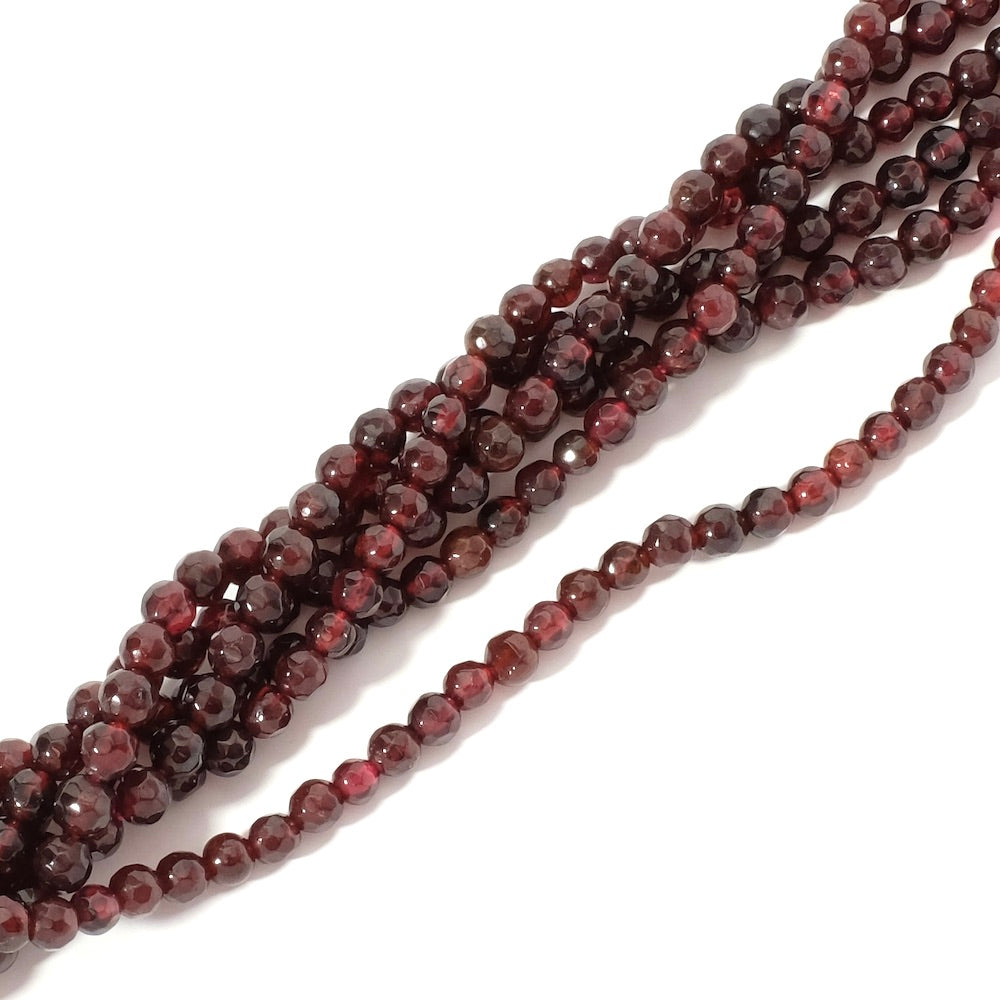
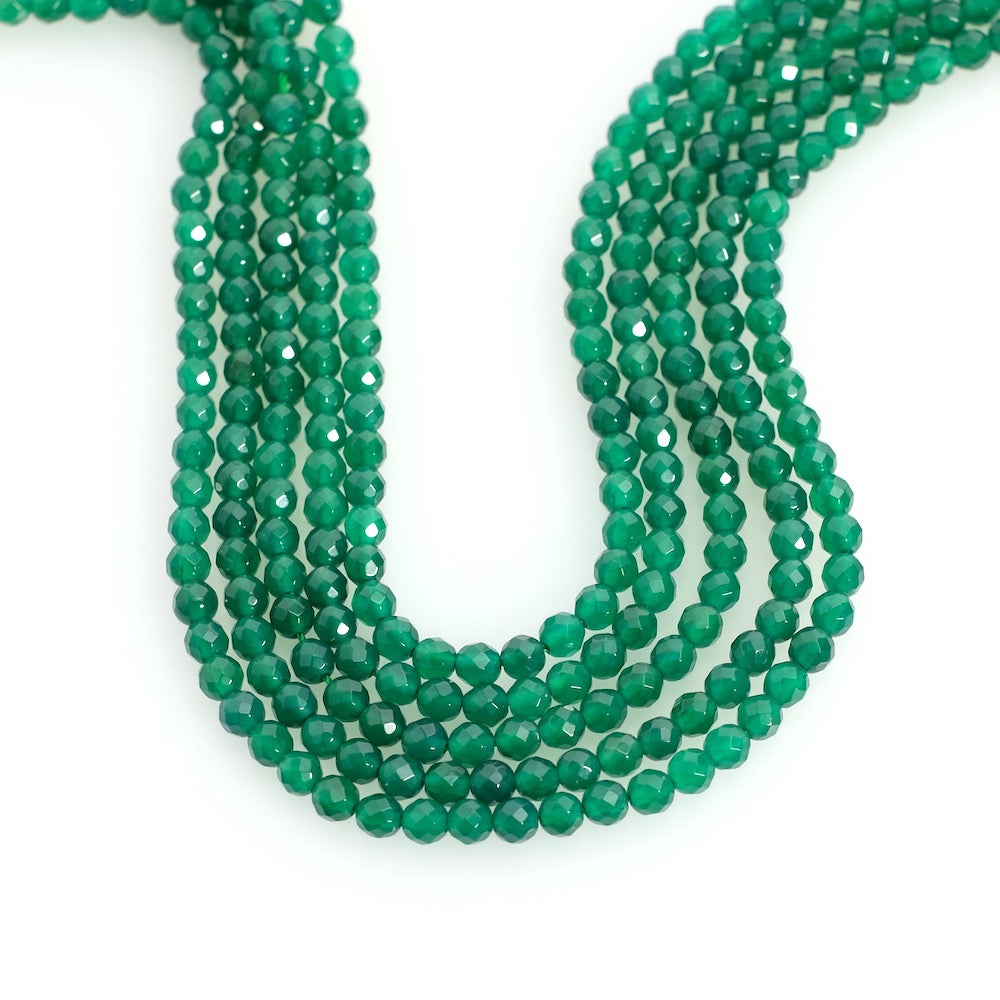
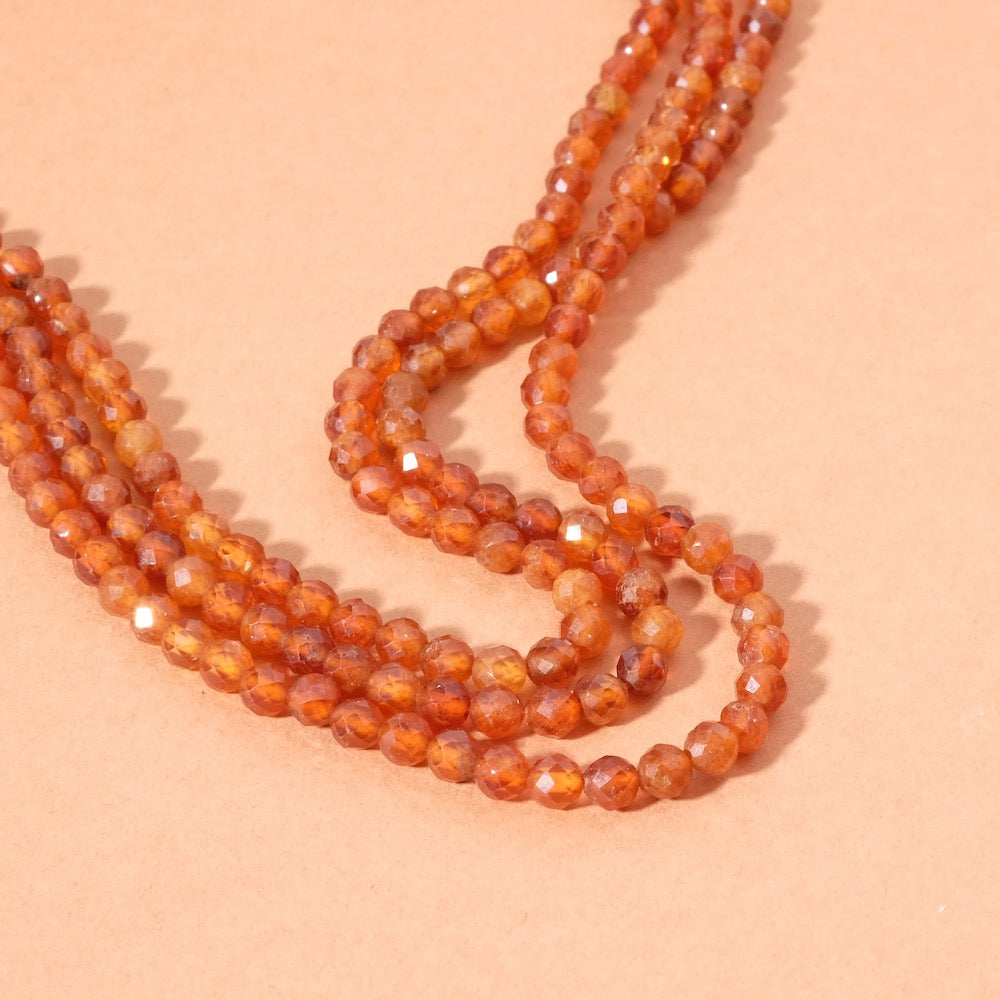
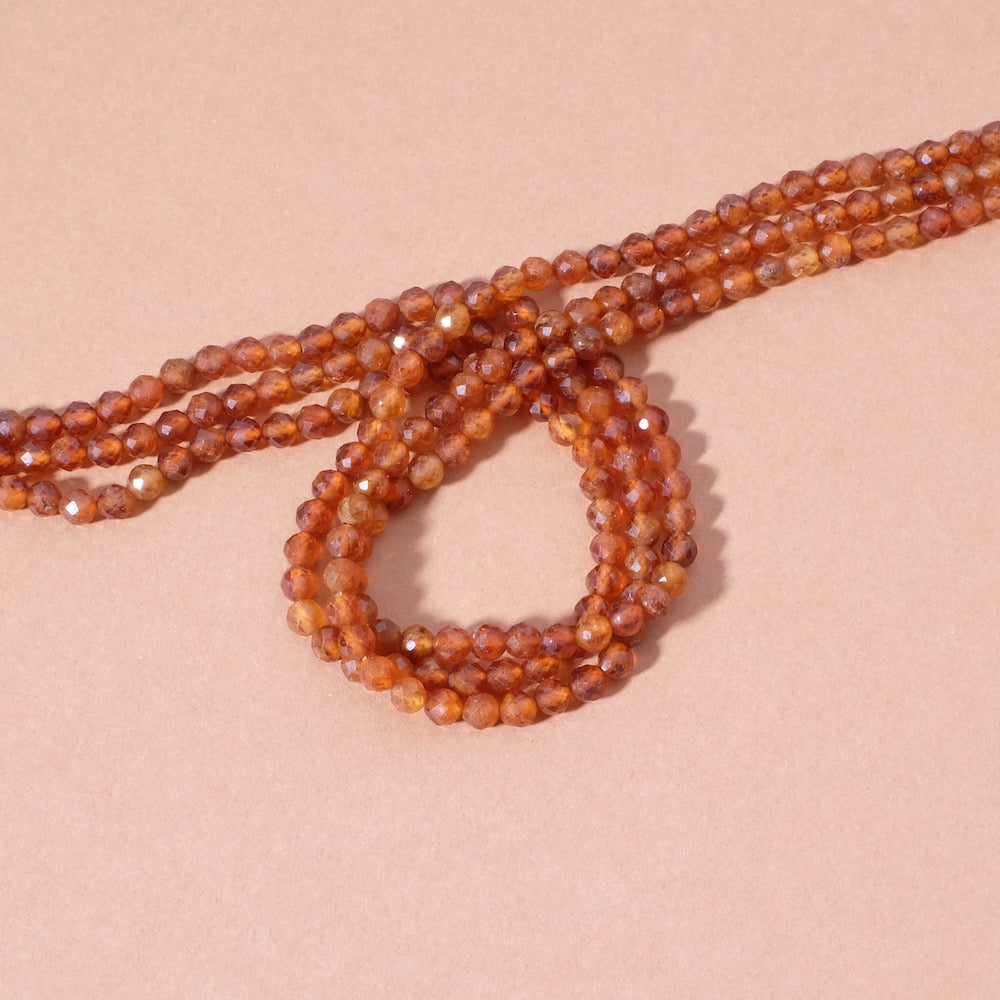
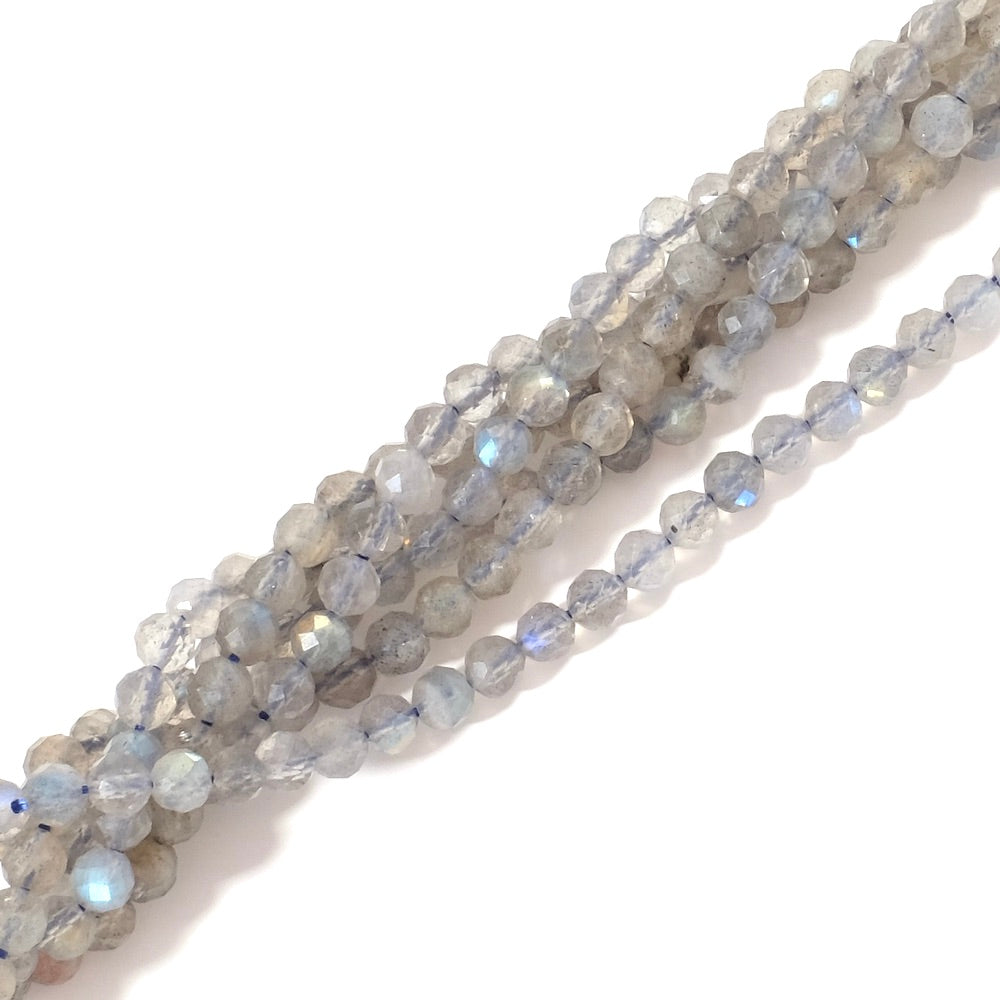
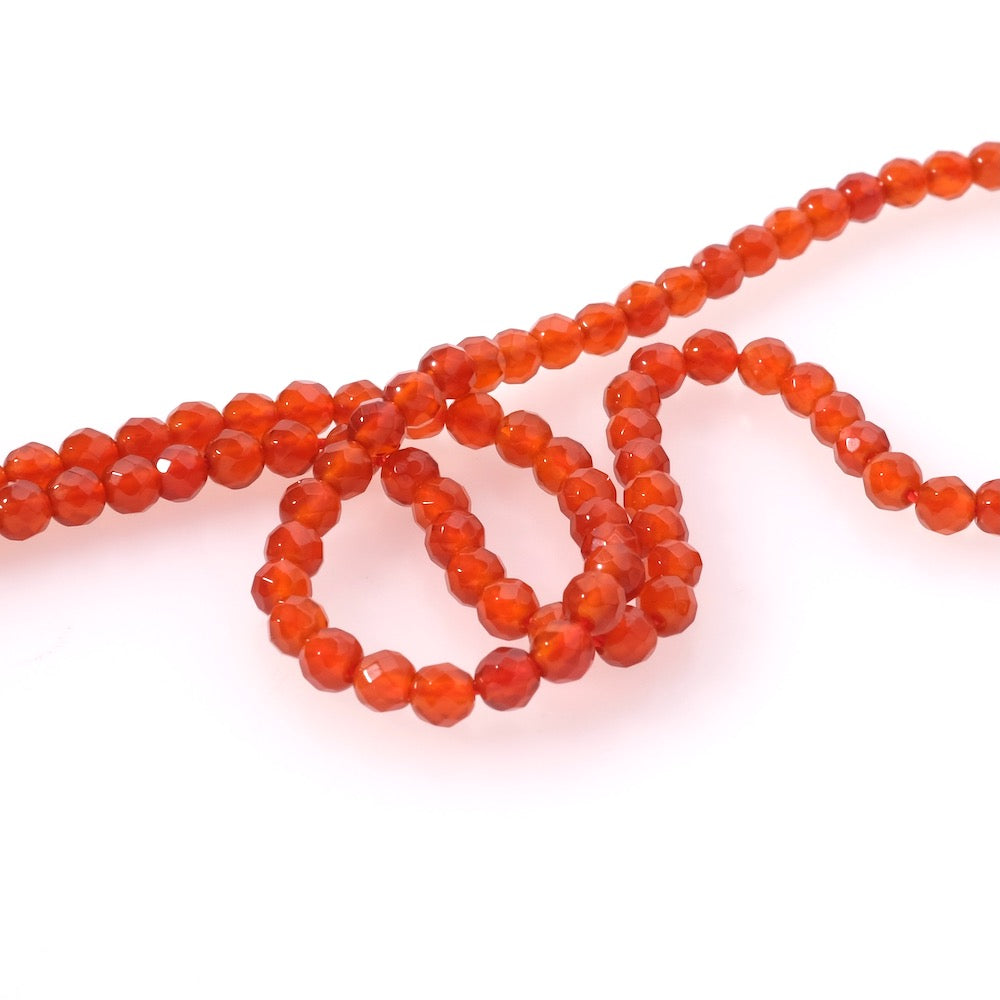
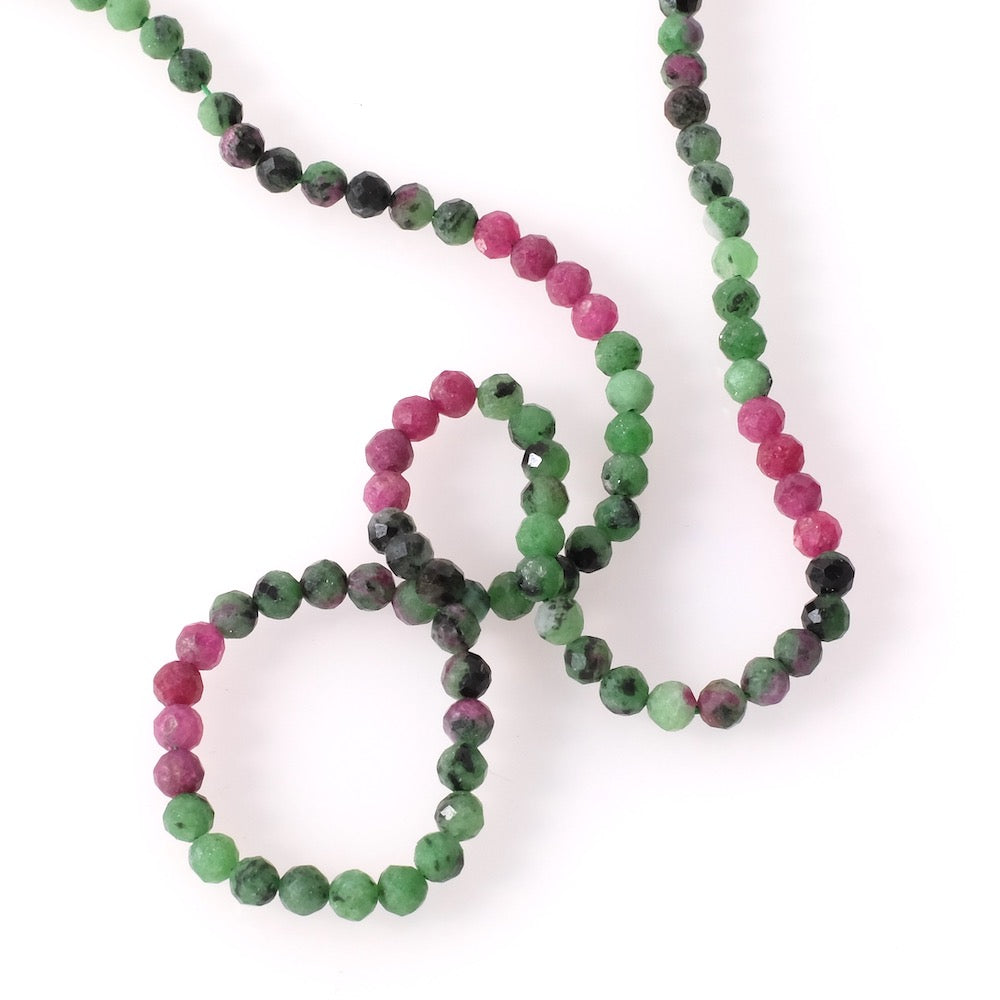
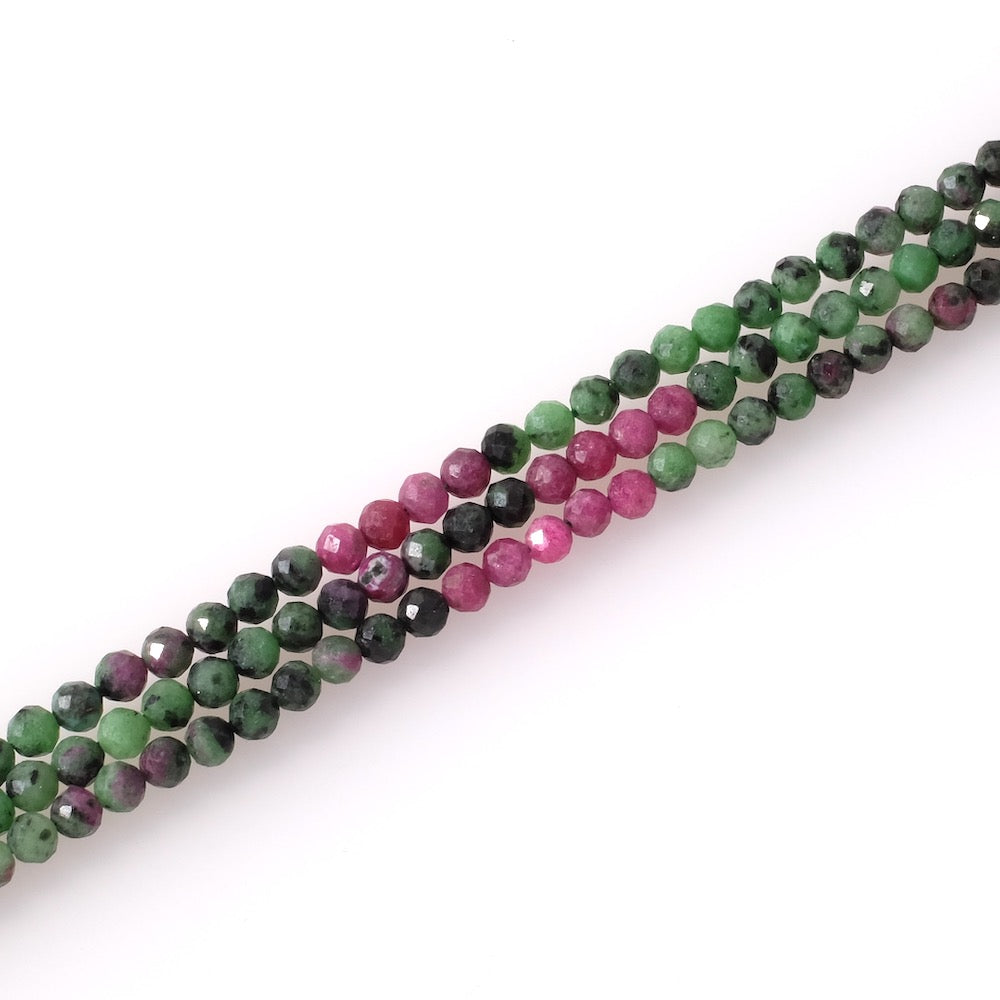
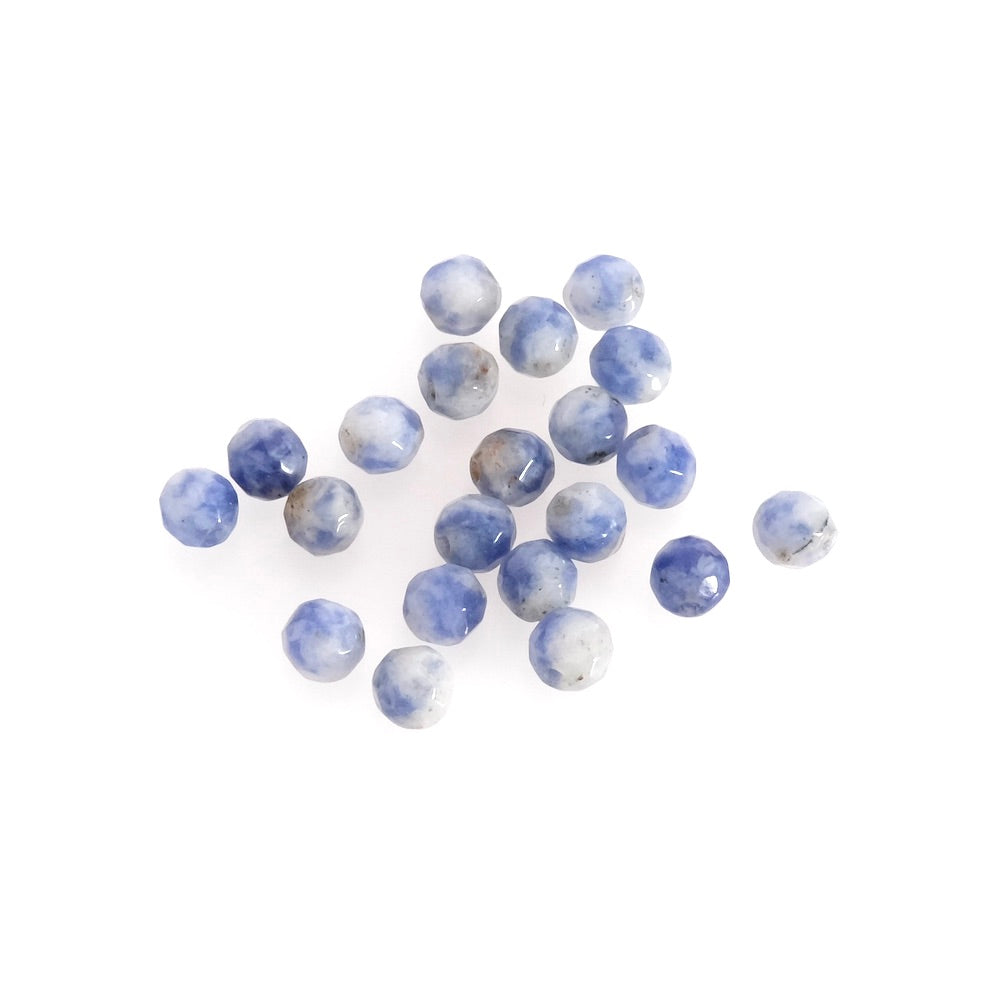
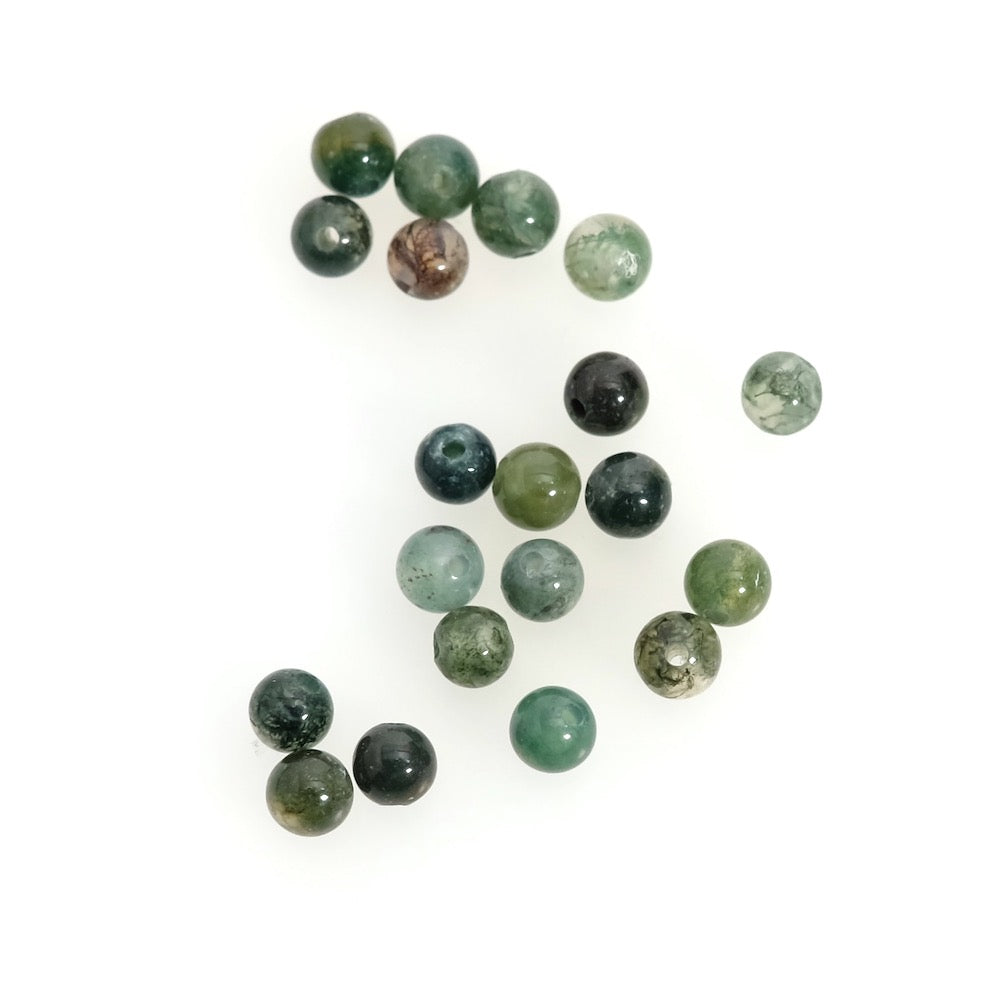
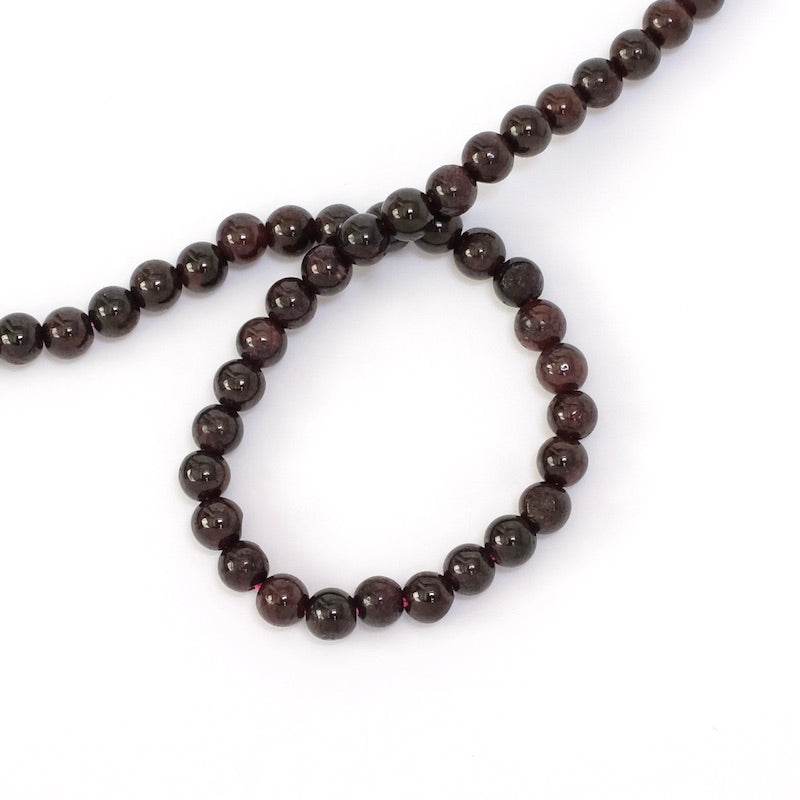
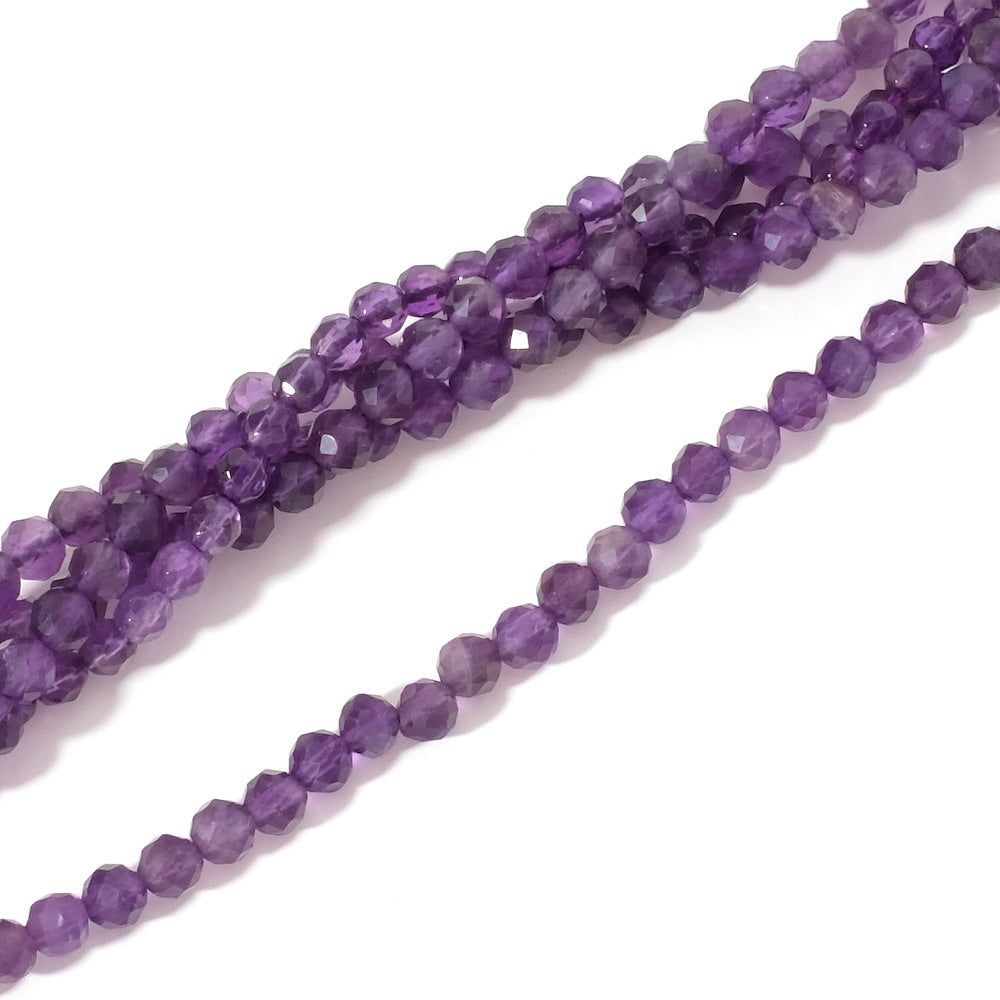
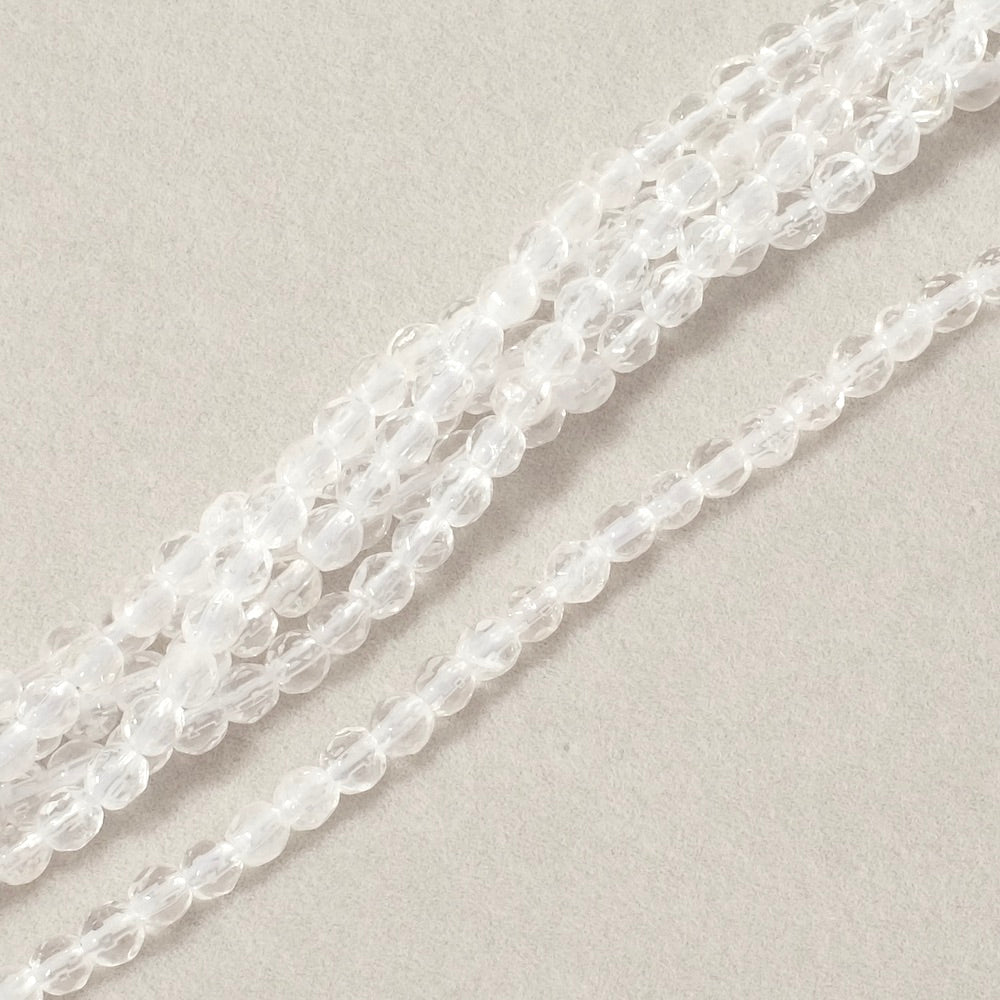
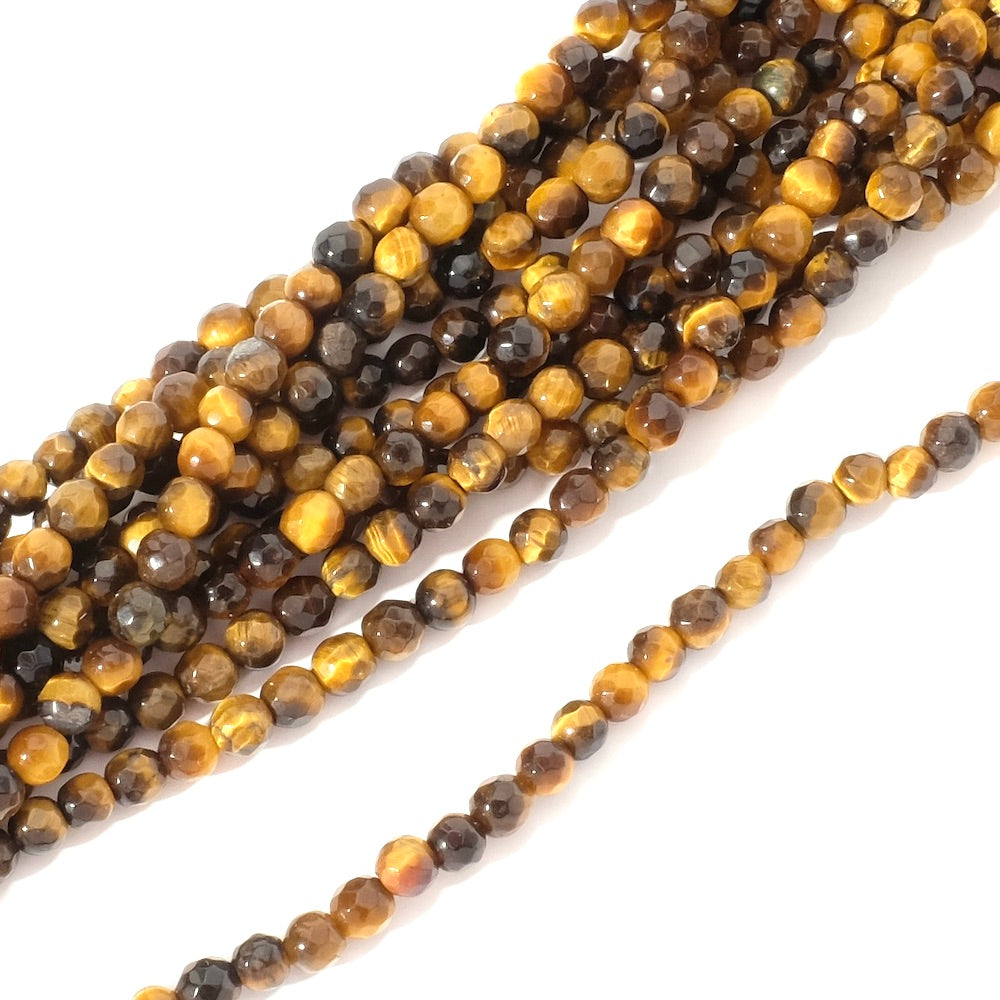
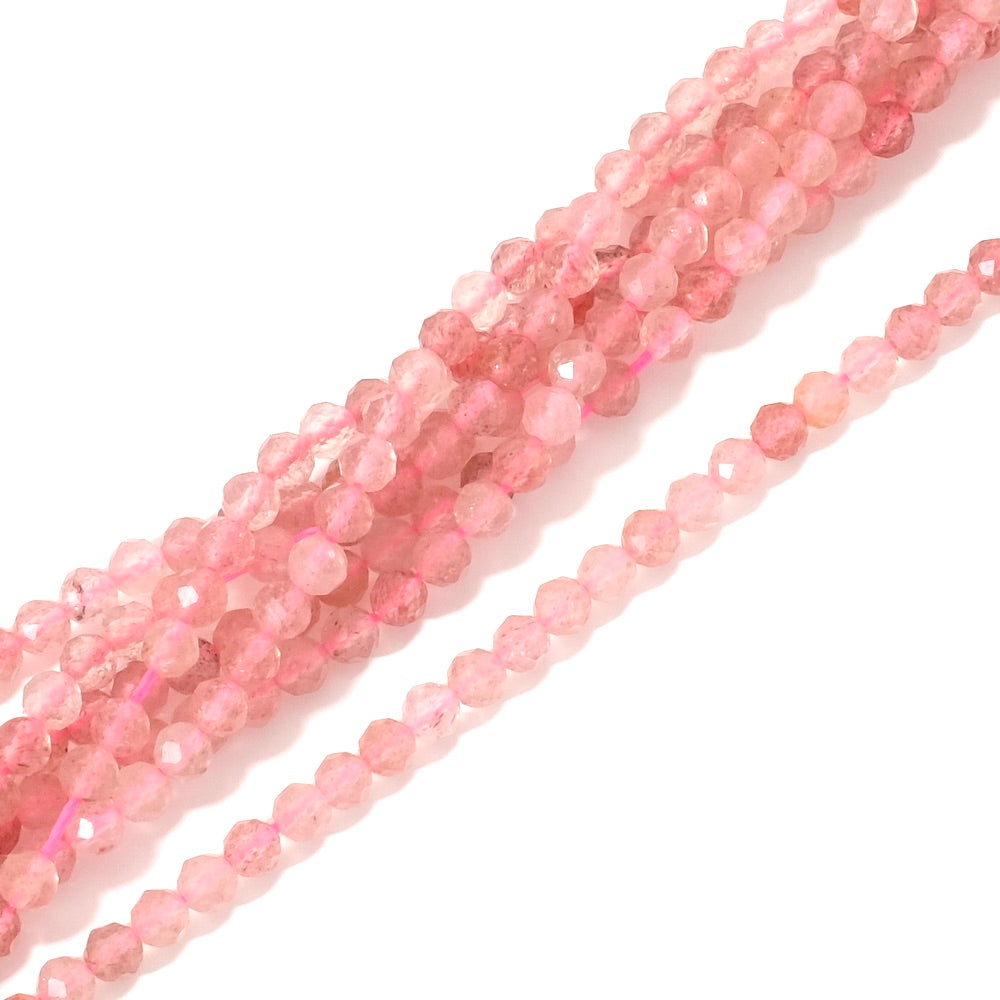
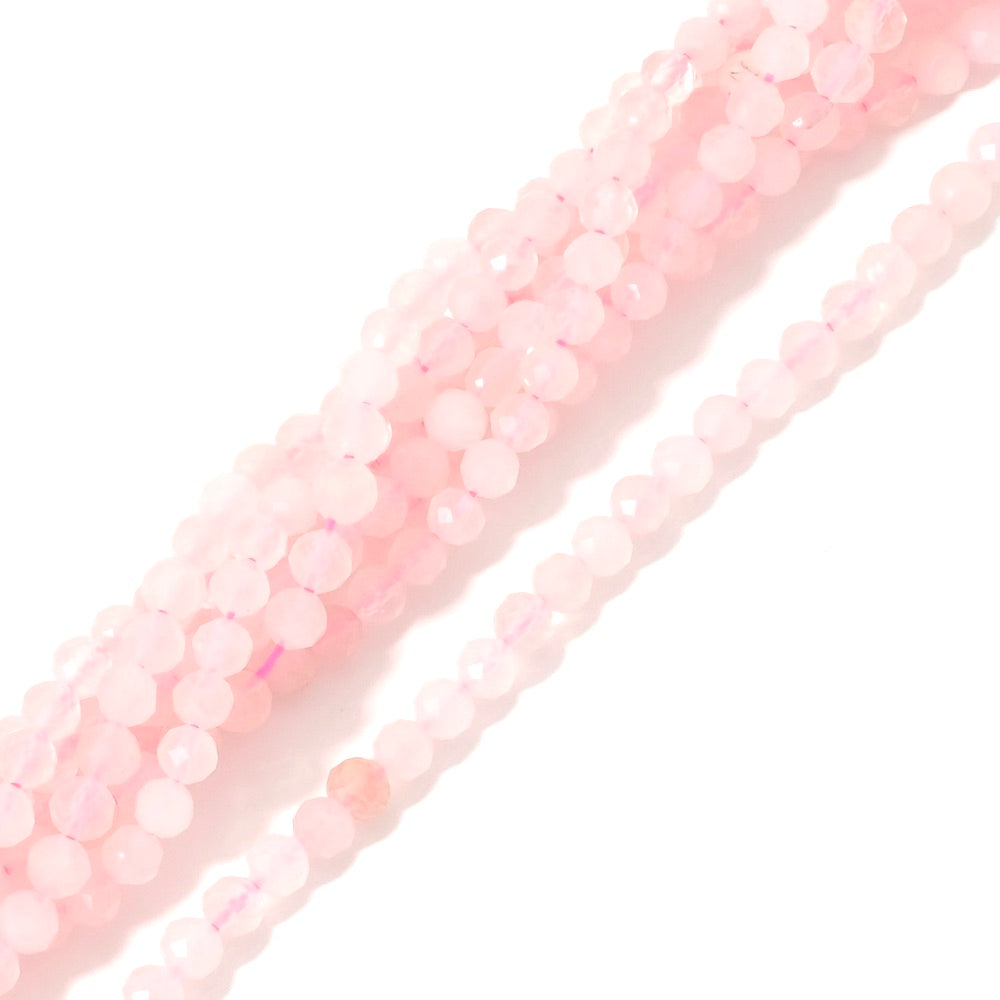
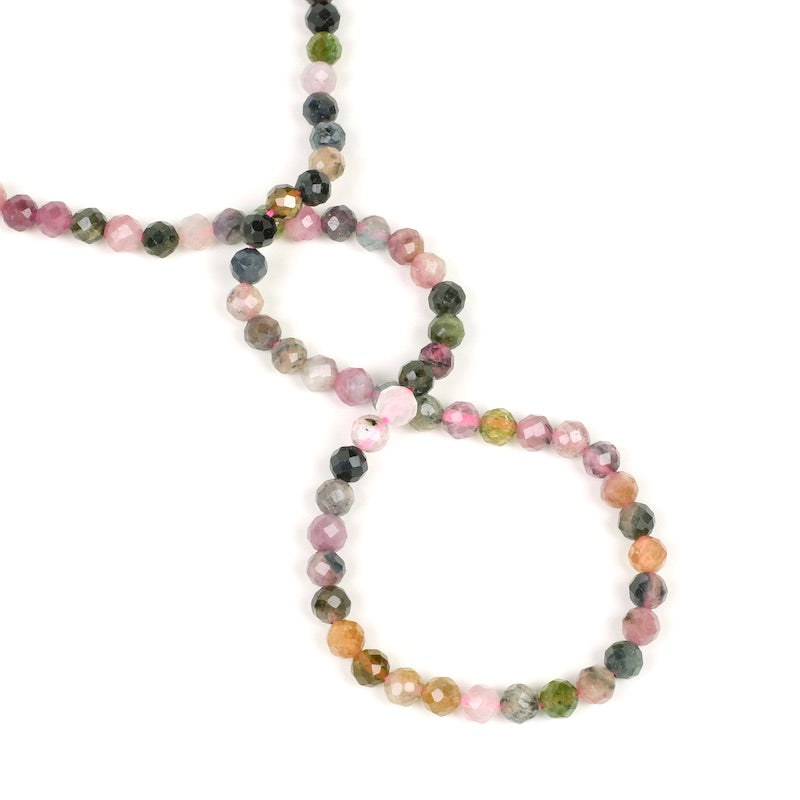
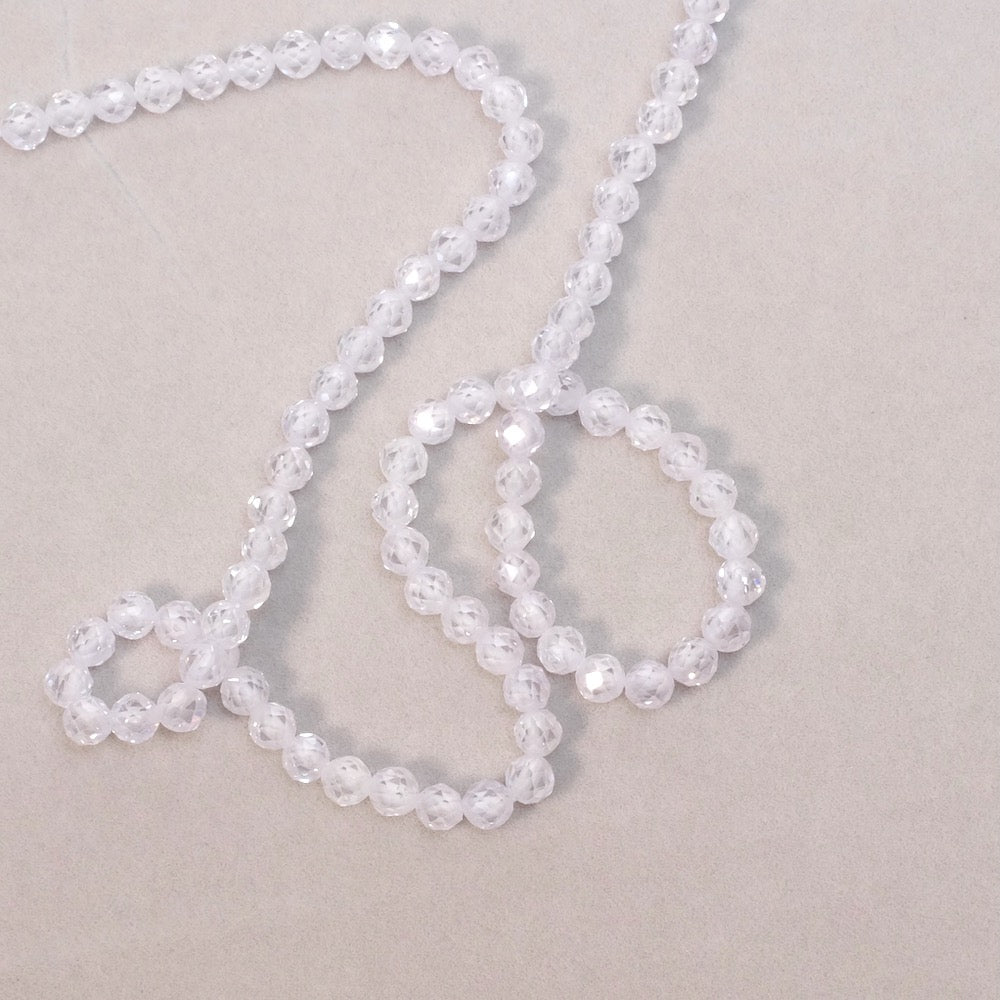
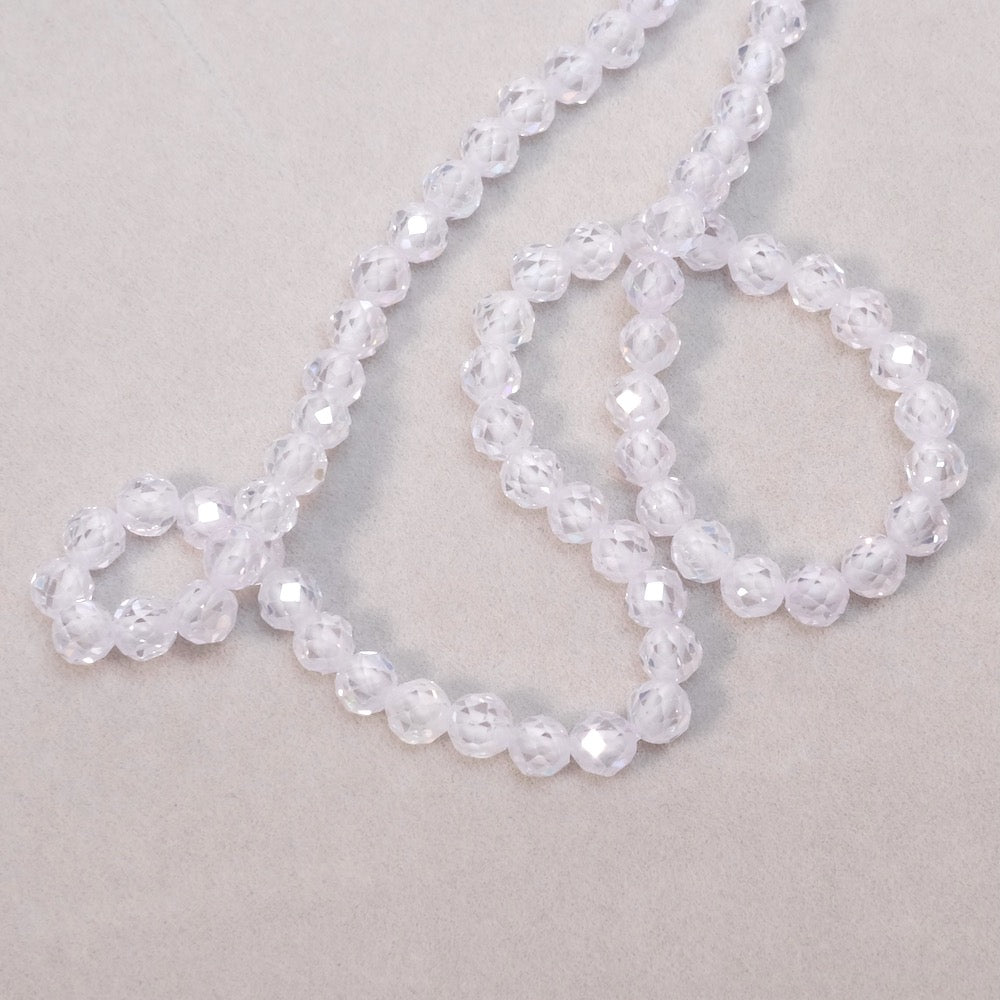
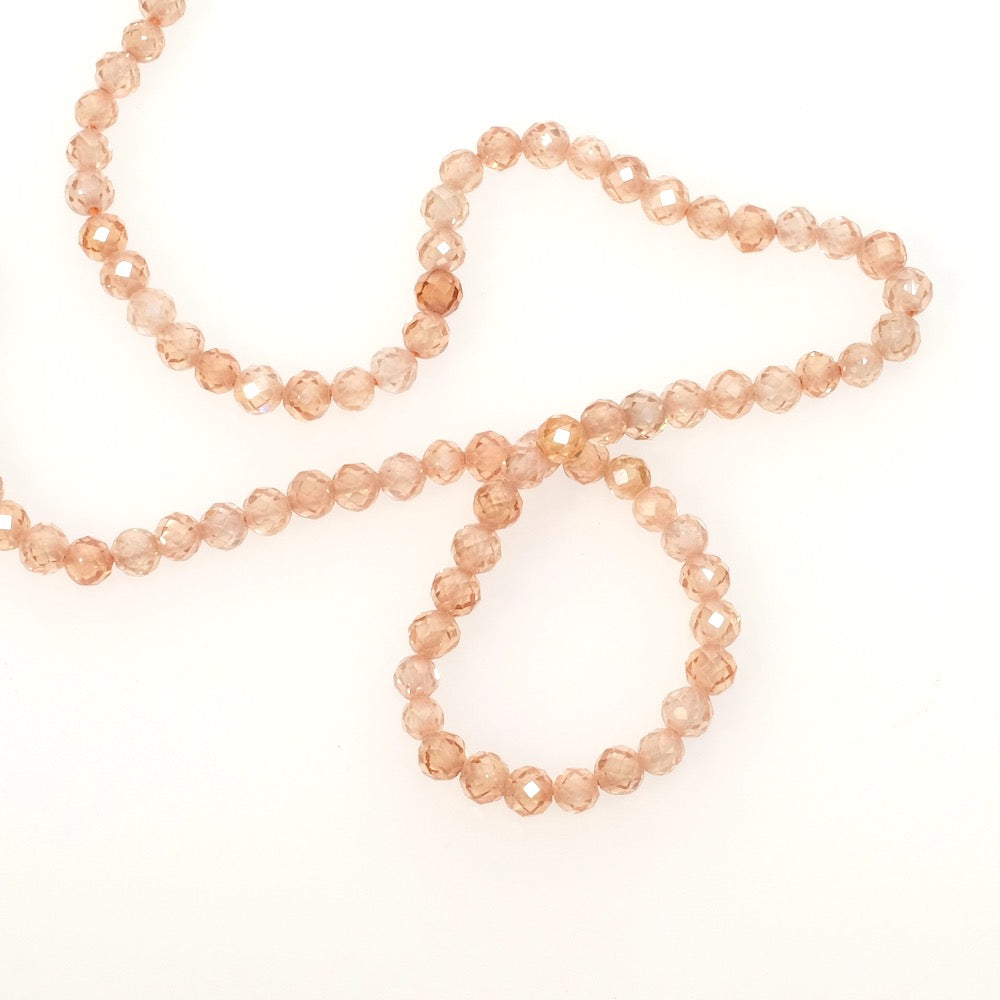
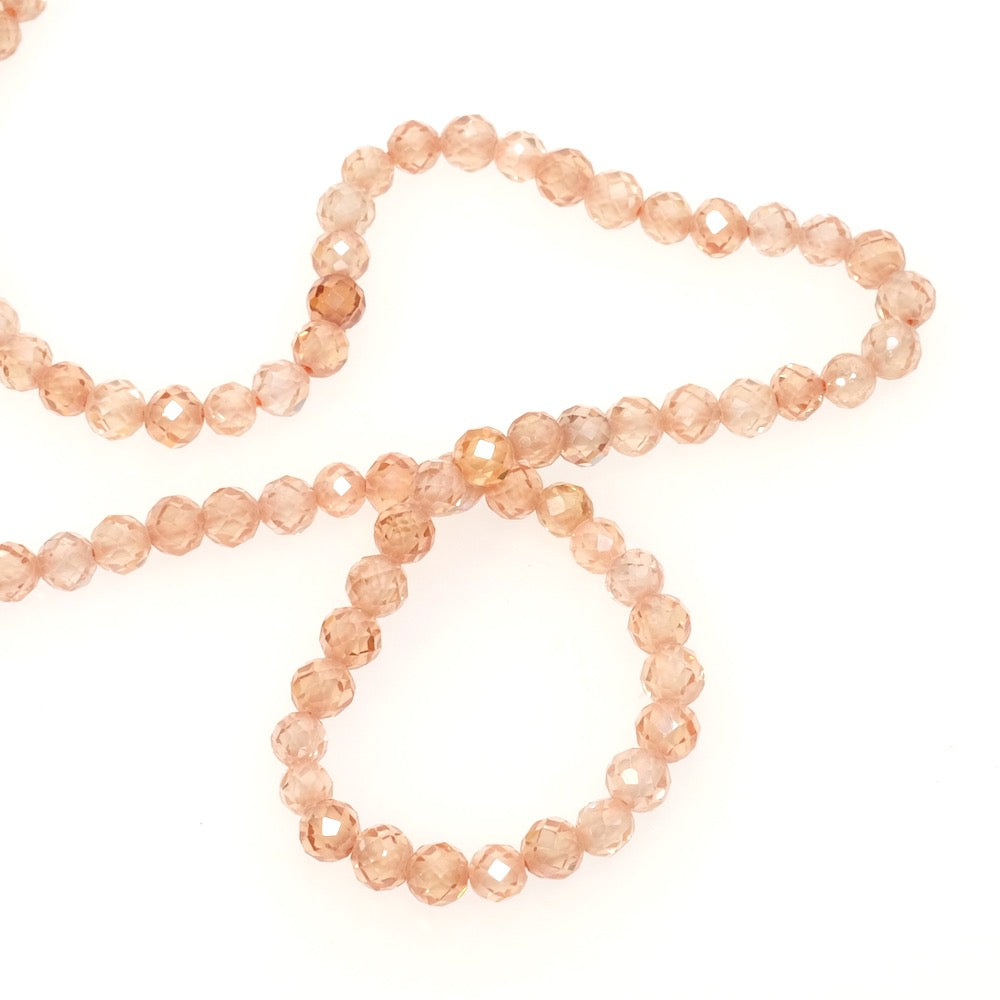
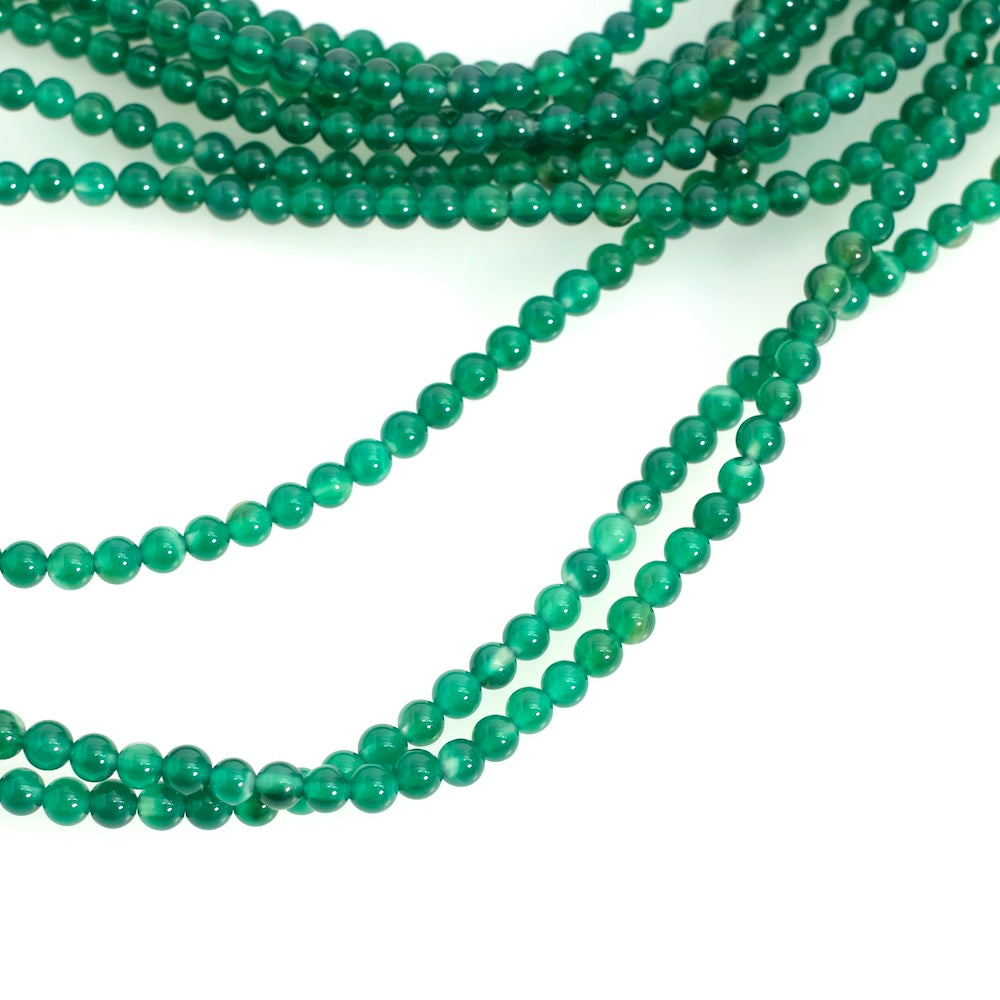
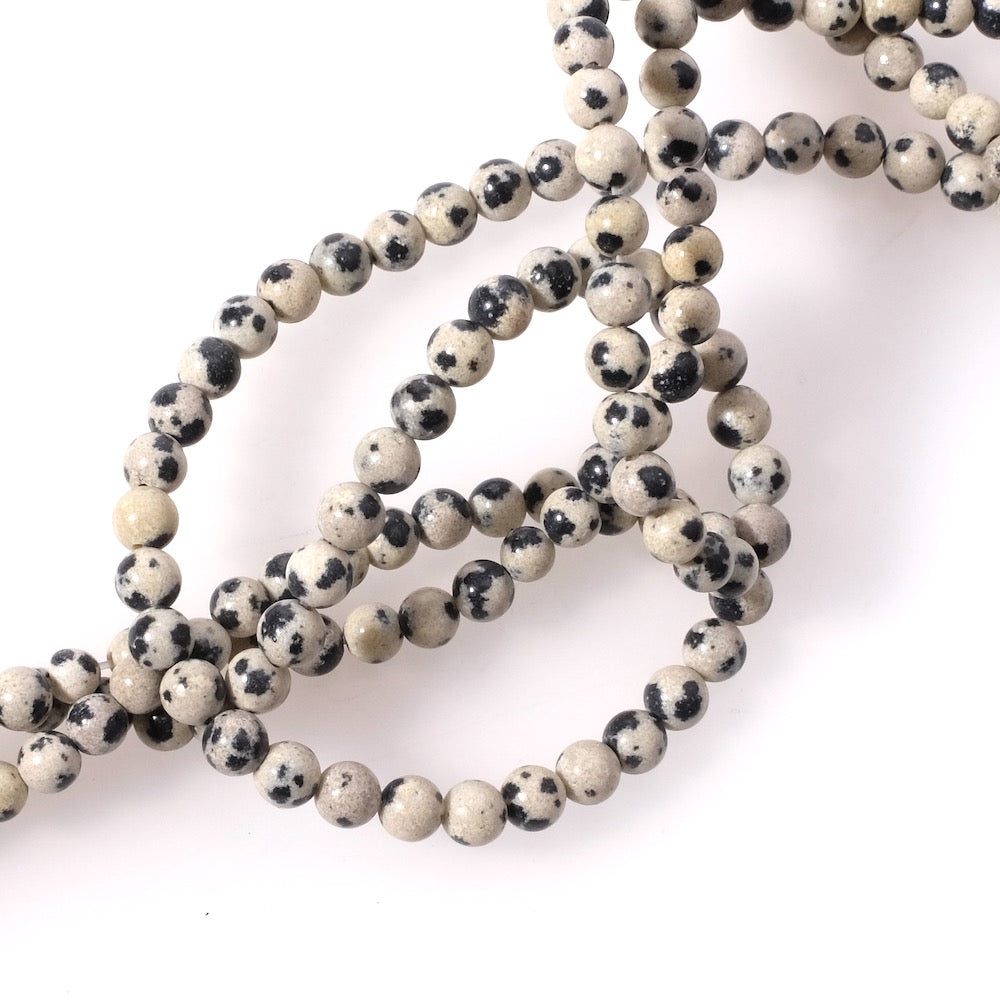
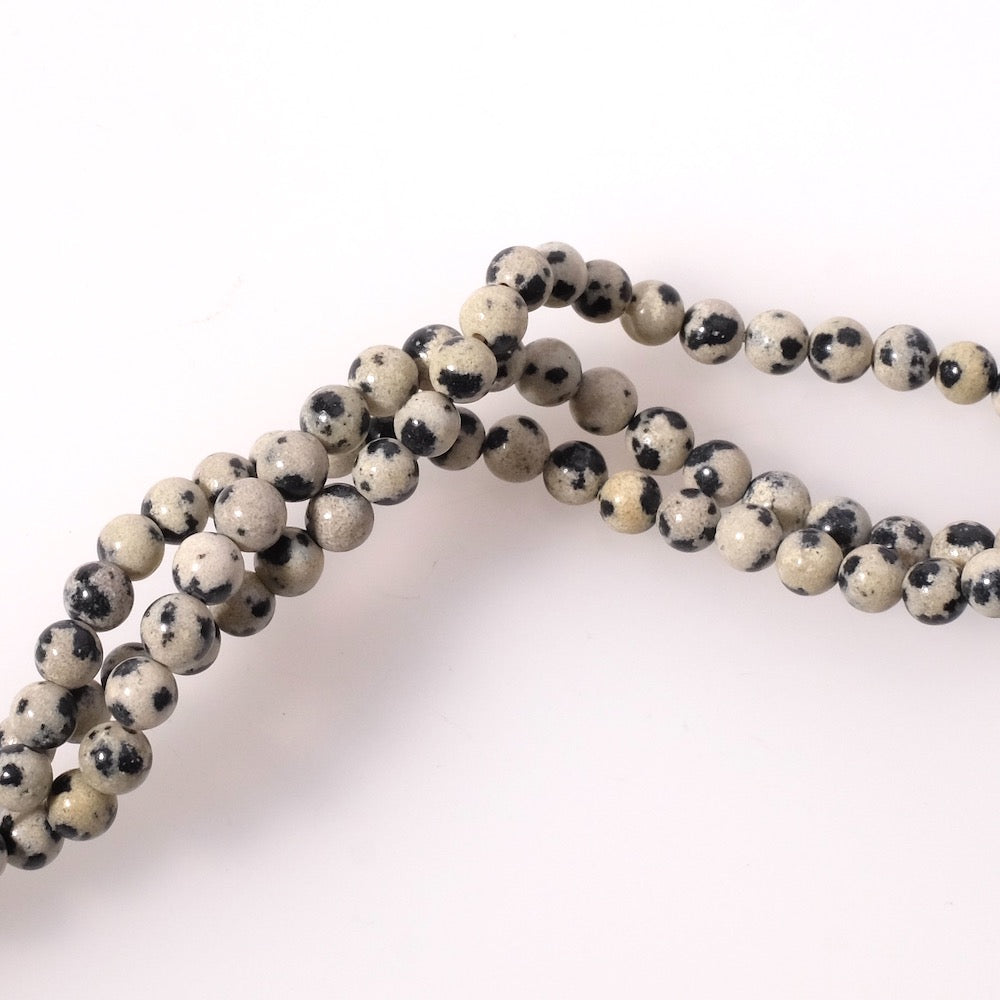
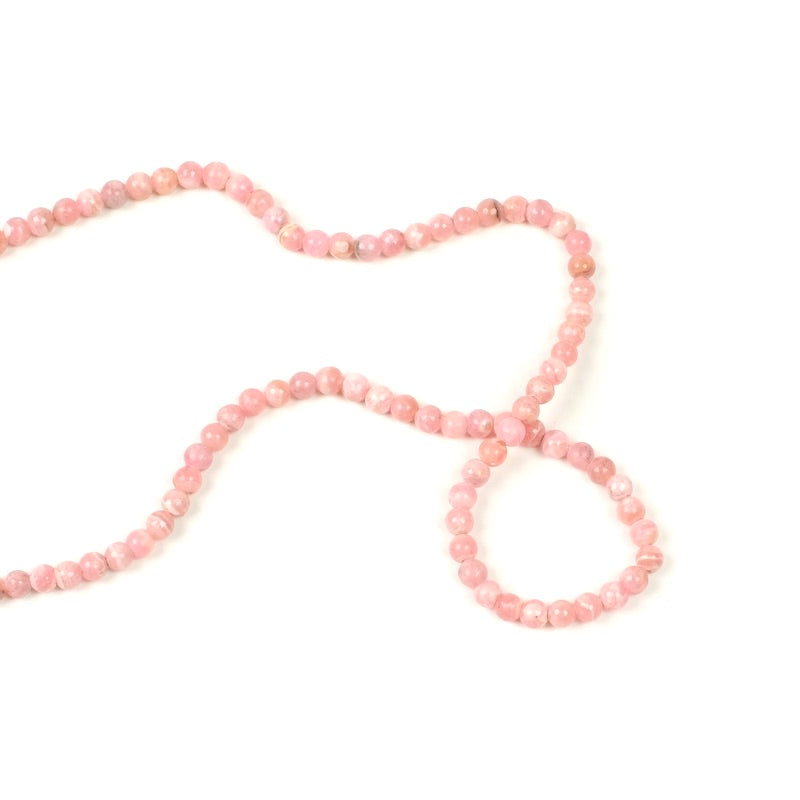
 natural stone beads 4mm (or other sizes of your choice)
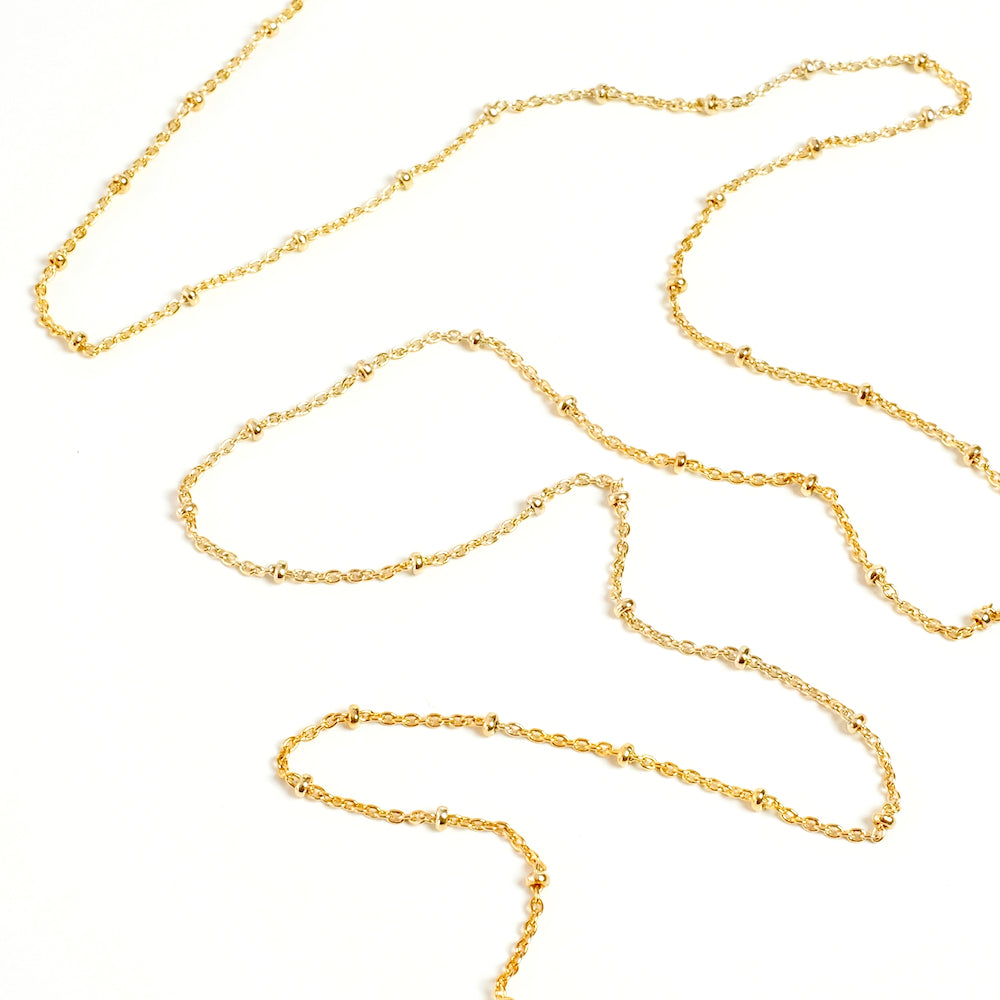
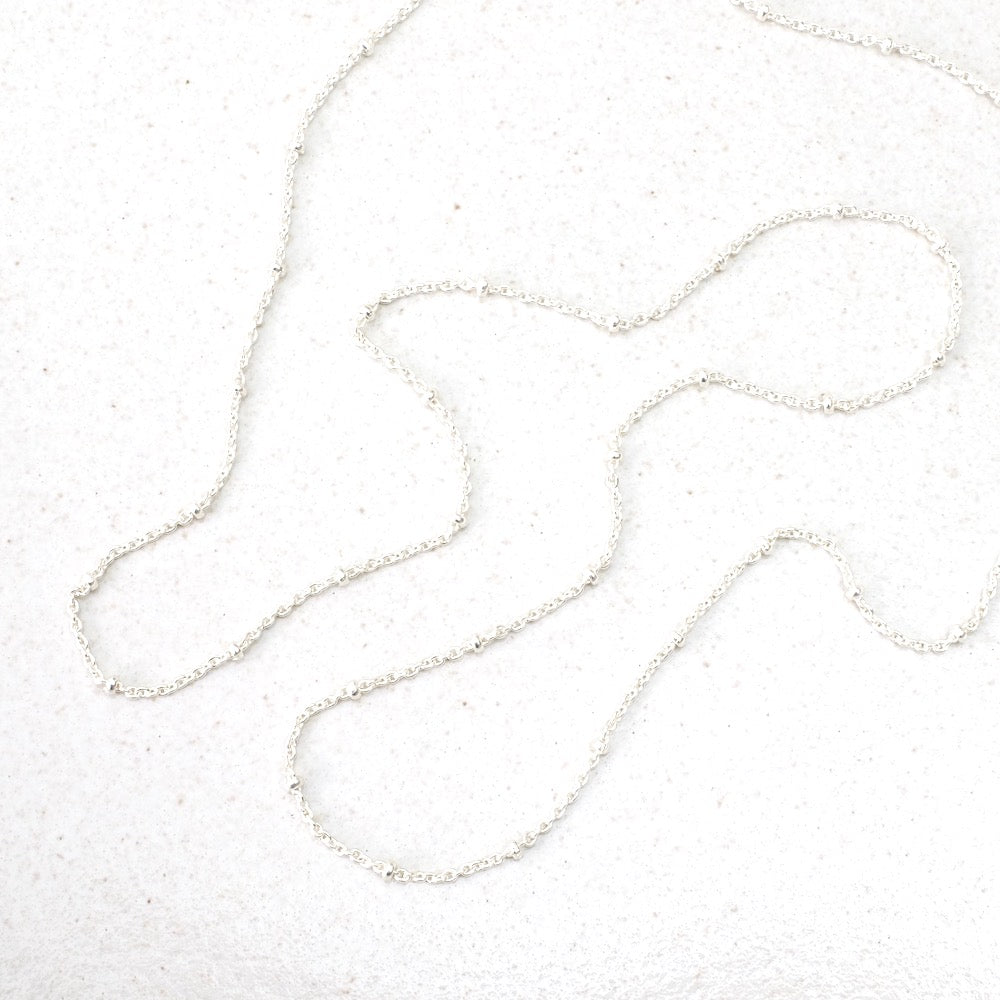
 of the chain Gilded with 24K gold for use in a necklace