|
With its sunny shade that recalls the beautiful days, this new tutorial is an invitation to take your time and enjoy the summer! Here we havereinterpreted the fan shape, which has fascinated us for many years, featured each season in various tutorials. This season raffia brings that subtle touch of nature, sun-yellowed grass, wheat fields... a simple material that enhances the golden shine of the beads and pendants. A very simple tutorial to make that will require taking your time and enjoying this gradual and very satisfying assembly. Follow our step-by-step guide and let our video lead you. Beautiful creation!
|
||||
|---|---|---|---|---|
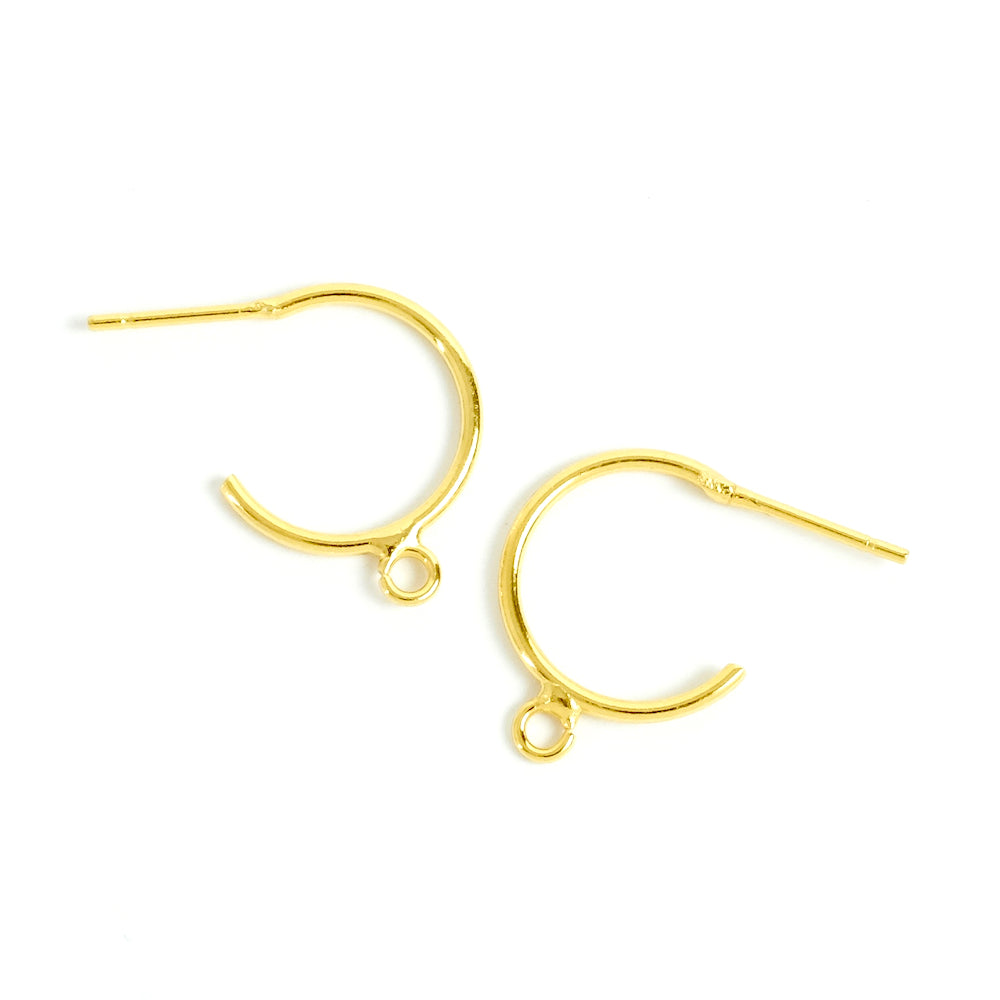
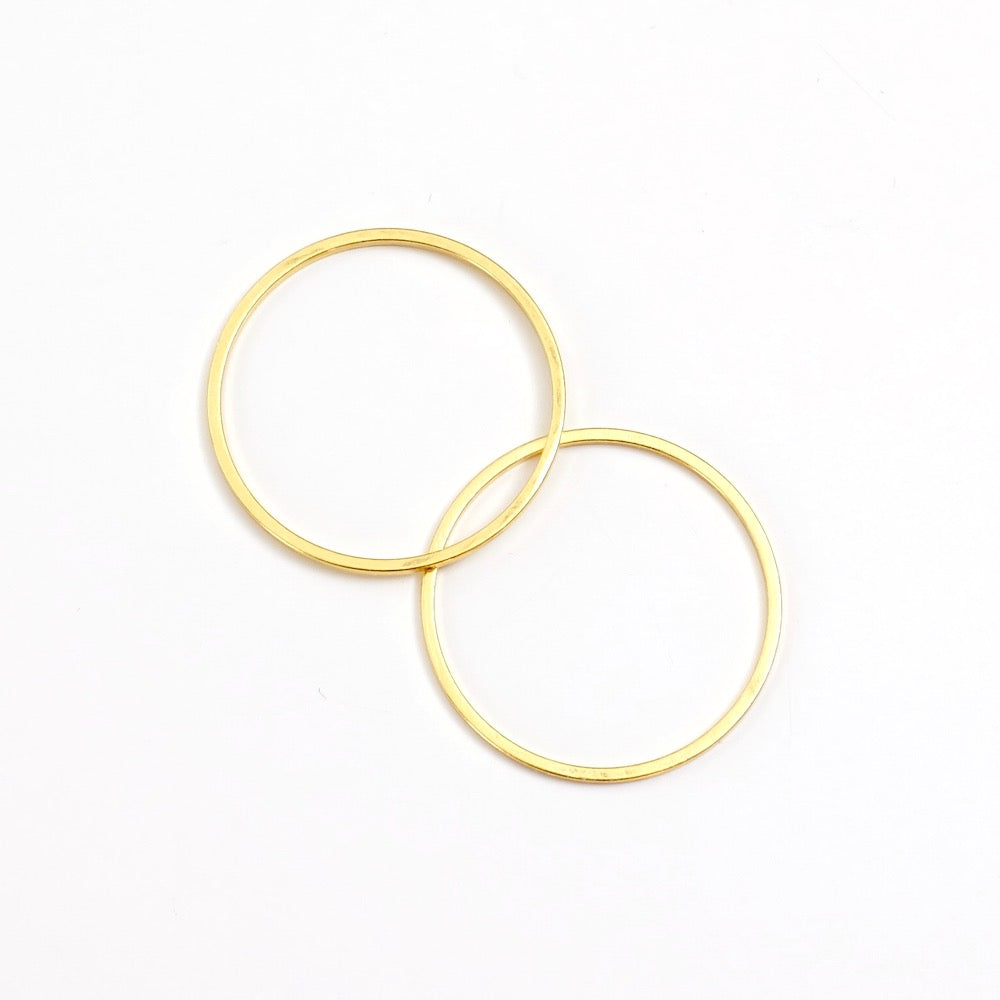
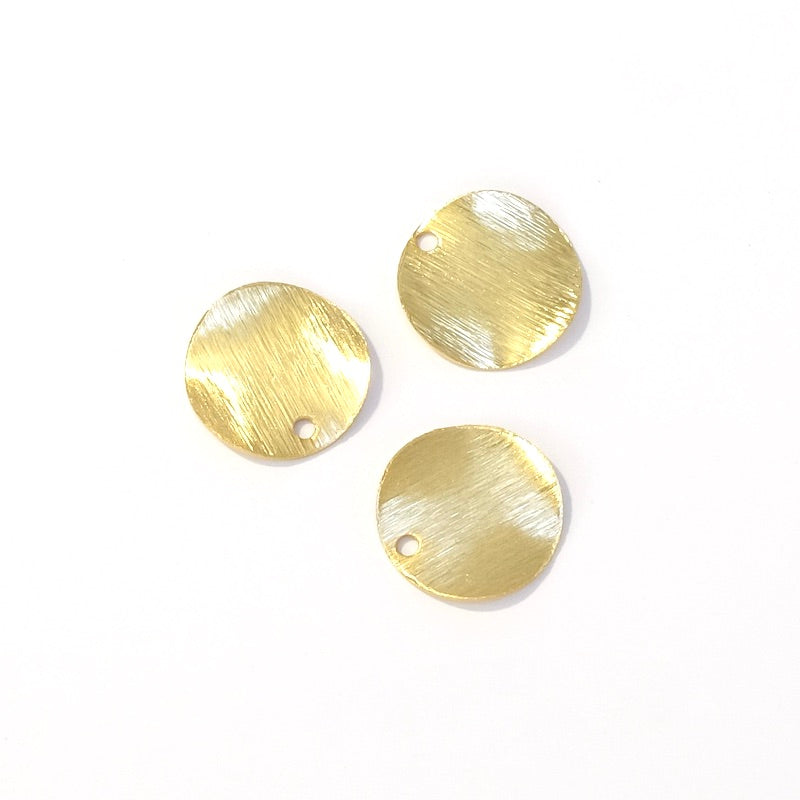
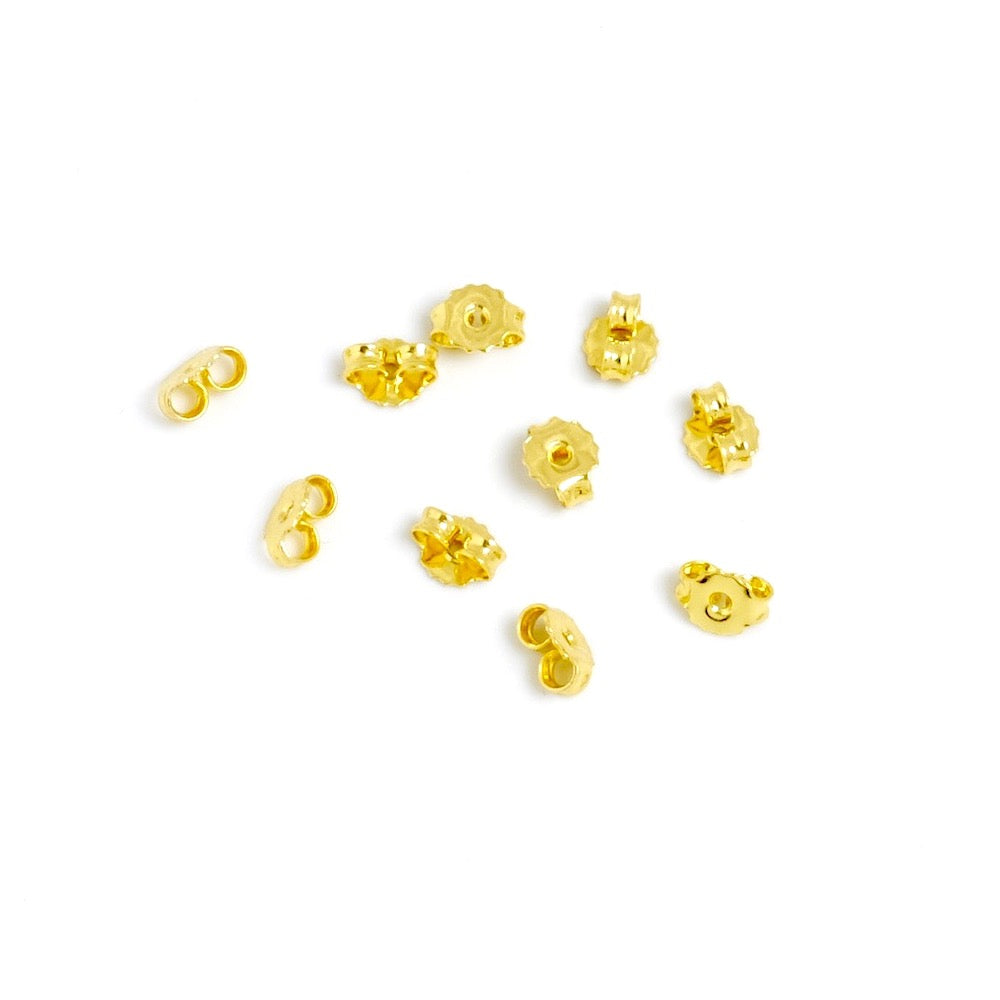
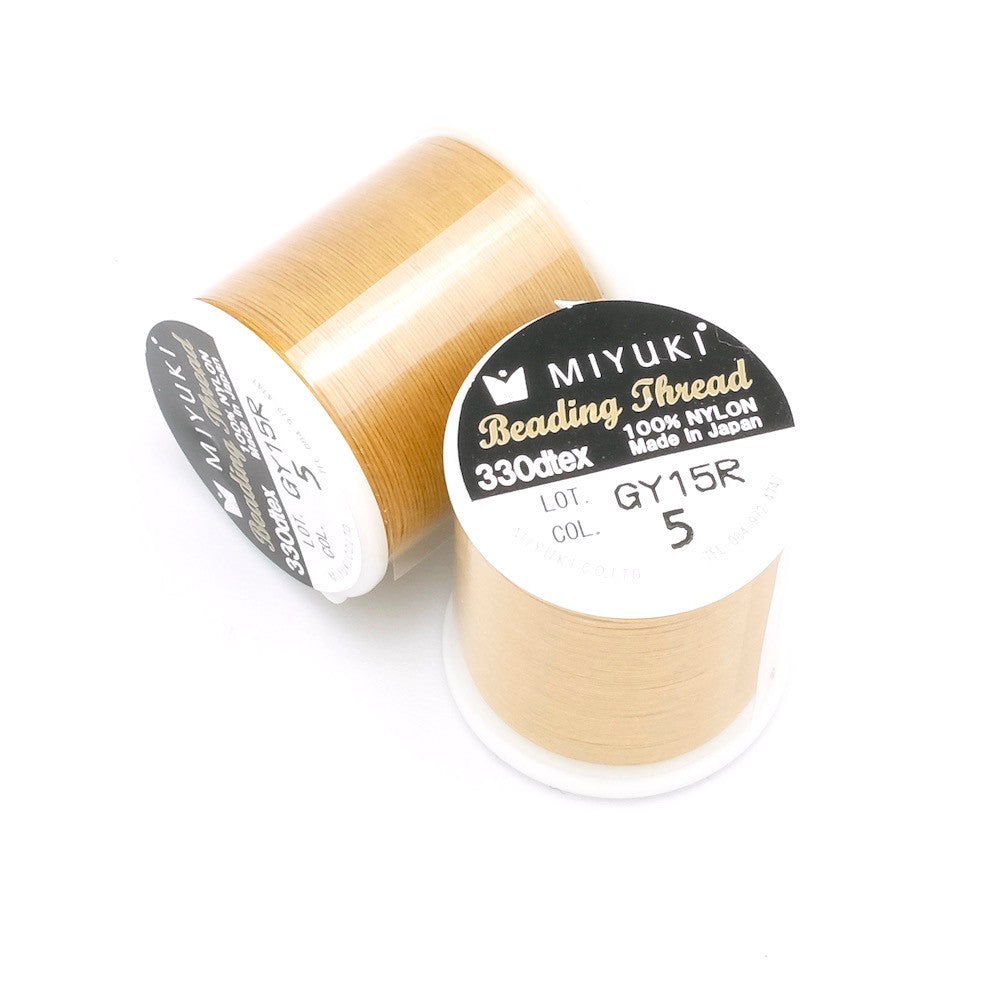
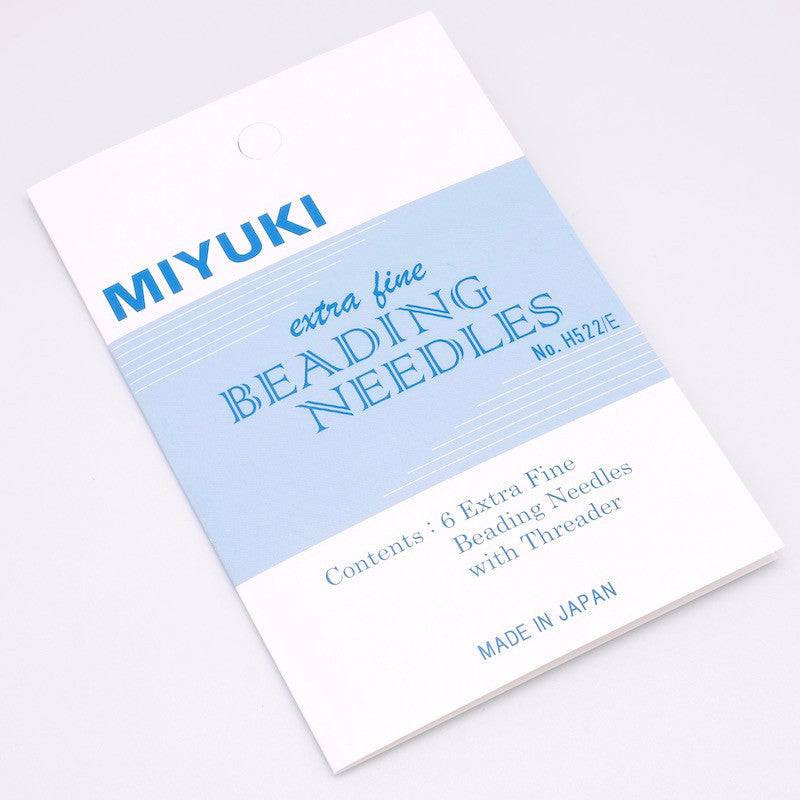
| For this project you will need: | ||||
|
|
||||
| Some explanations: | ||||
|
|
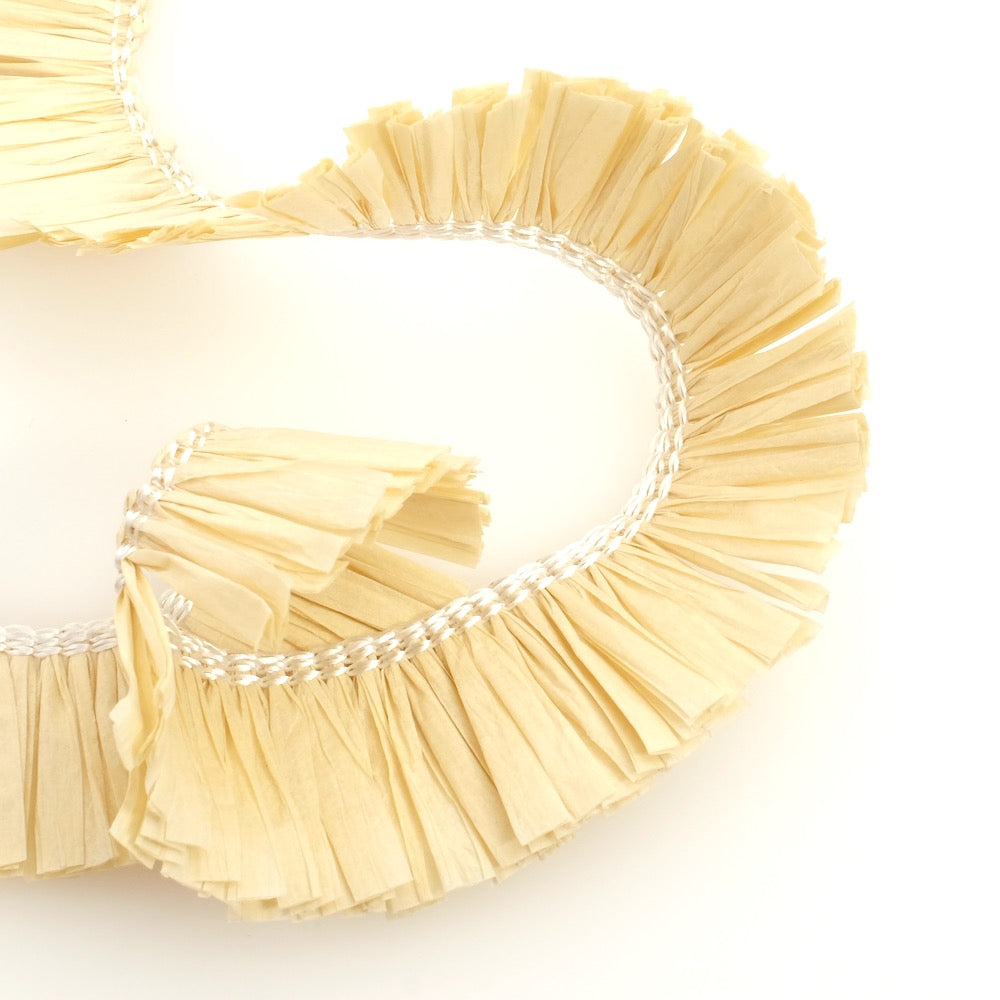
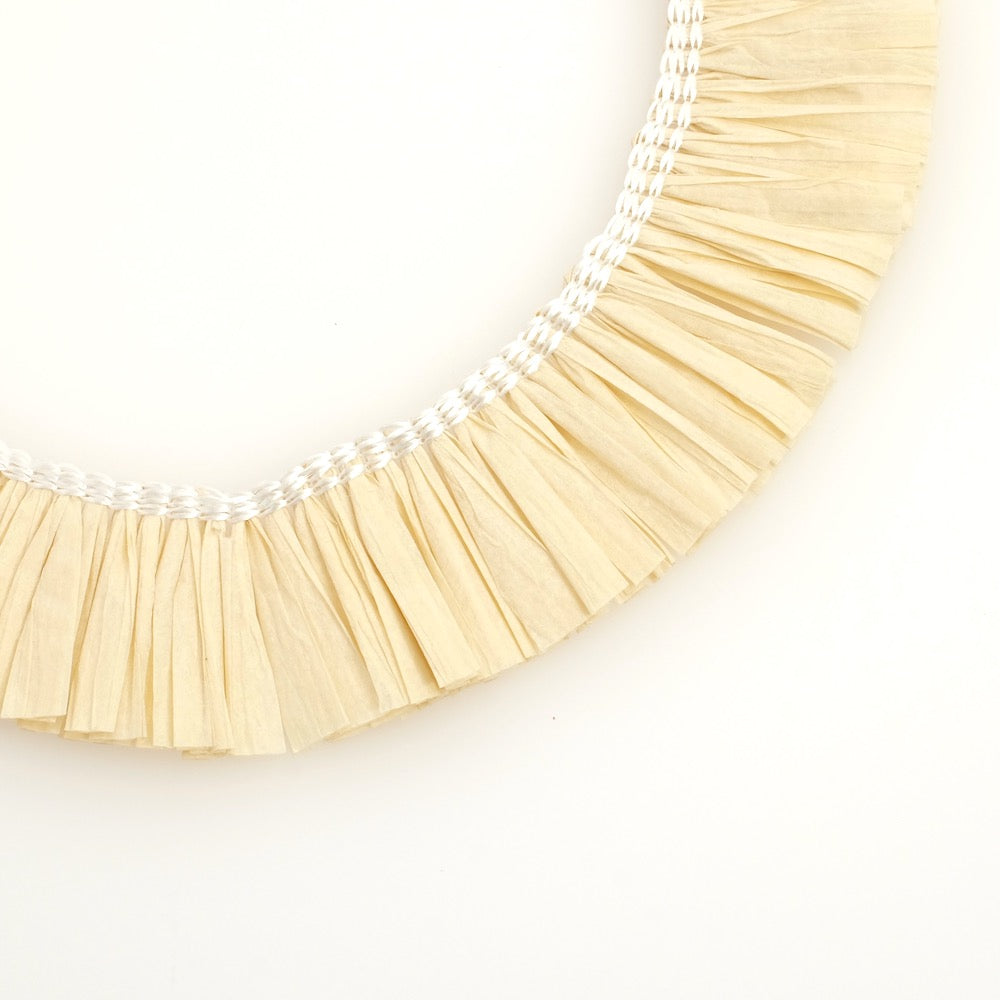
This jewelry is very simple to make, to do this start by cutting a piece of raffia braid 12cm long. Warning: once cut the braid is fragile because it can fray. You will need to handle it carefully before sewing it. Once sewn it will no longer move! Now, sew the 2 edges of the braid together. This will prevent it from fraying and also double the braid. You will thus get a nicer material effect with thickness. Fold the braid and place the seam in the center and at the back so that it is hidden. Sew the braid onto the closed ring. To do this, tie a knot at the end of the nylon thread. Pierce into the braid at the end of the braid taking care to catch both layers. Then pass the needle through the closed ring. Pierce again into the braid just next to the first seam then pass back through the ring. You will see that naturally the braid will position itself at the edge of the ring. The fan will form gradually as you sew. Tip: Tighten your seams well so that the fringe is well placed and does not move. With our 12cm measurement (6cm once folded in half) you will get a good size ratio and a well-proportioned fan. Then once the braid is fully sewn, thread 3 beads then pierce the needle into the seam at the edge of the braid going up towards the ring. The beads will thus position themselves on the braid seam to hide it. Continue like this to cover the entire edge but be careful so that the beads are placed correctly, do not tighten your thread too much. Don't try to get perfectly well-aligned beads; a slightly disorderly placement will add a more organic side to your creation. It will be livelier and reminiscent of ethnic jewelry. Once all the beads are positioned and the seams hidden, tie a knot then cut the thread. To finish, open the ring located at the bottom of the earring and thread the pendant and the fringe ring. Close the ring. Repeat the operation to make the other earring loop. Beautiful creation!
And there you have it! Beautiful accomplishment! |
|||


To be reserved alone or with friends!

Inspirations, tutorials, and new arrivals: receive the best of handmade in your inbox.


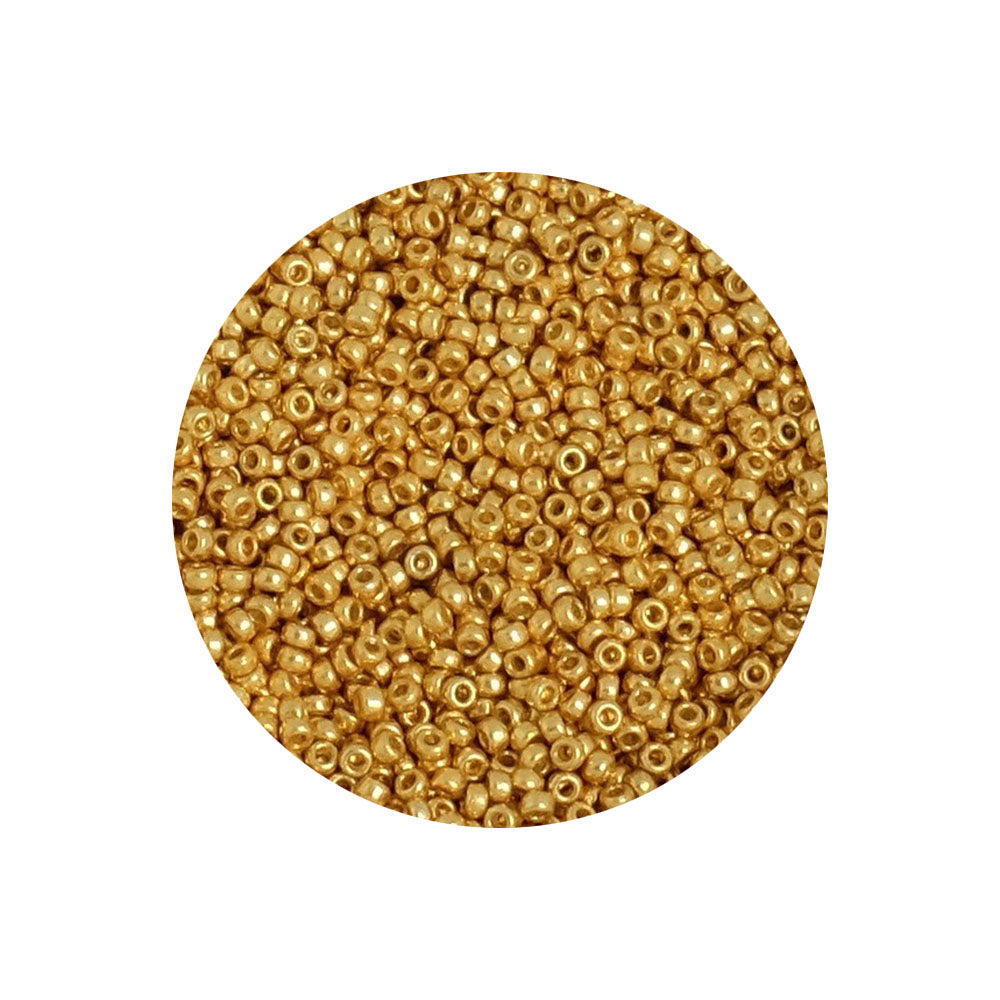
 11/0 seed beads