|
With this tutorial, discover tips for creating beautiful loops on top of your beads. Essential technique for perfectly finished jewelry.
|
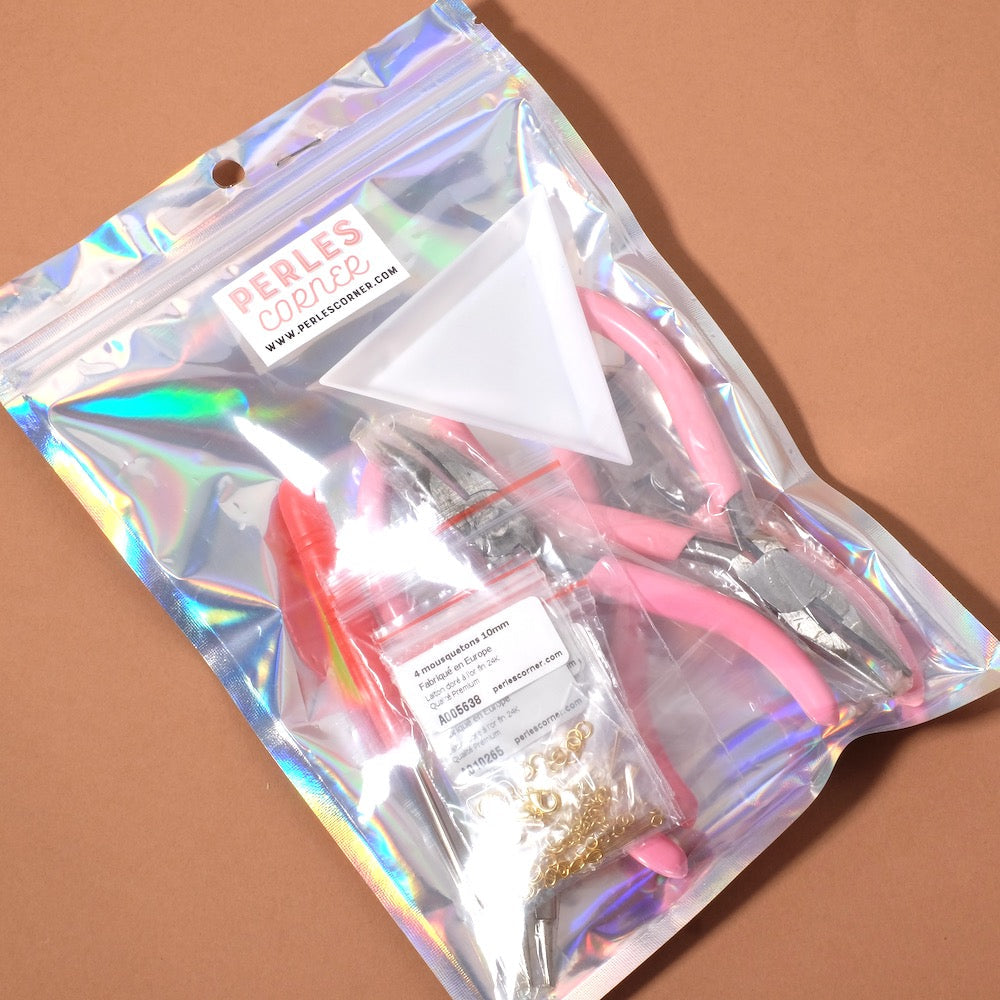
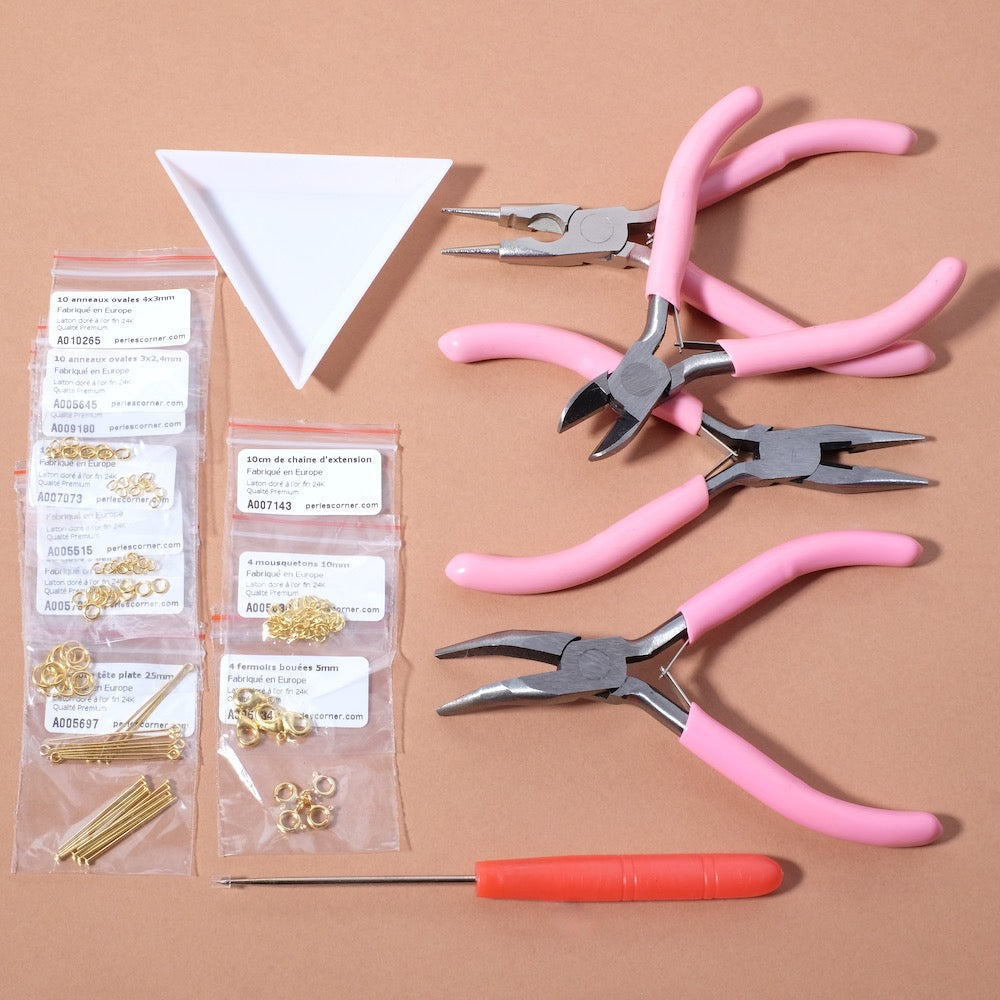
| The tools to use: | ||||
|
|
||||
| Explanations: | ||||
|
|
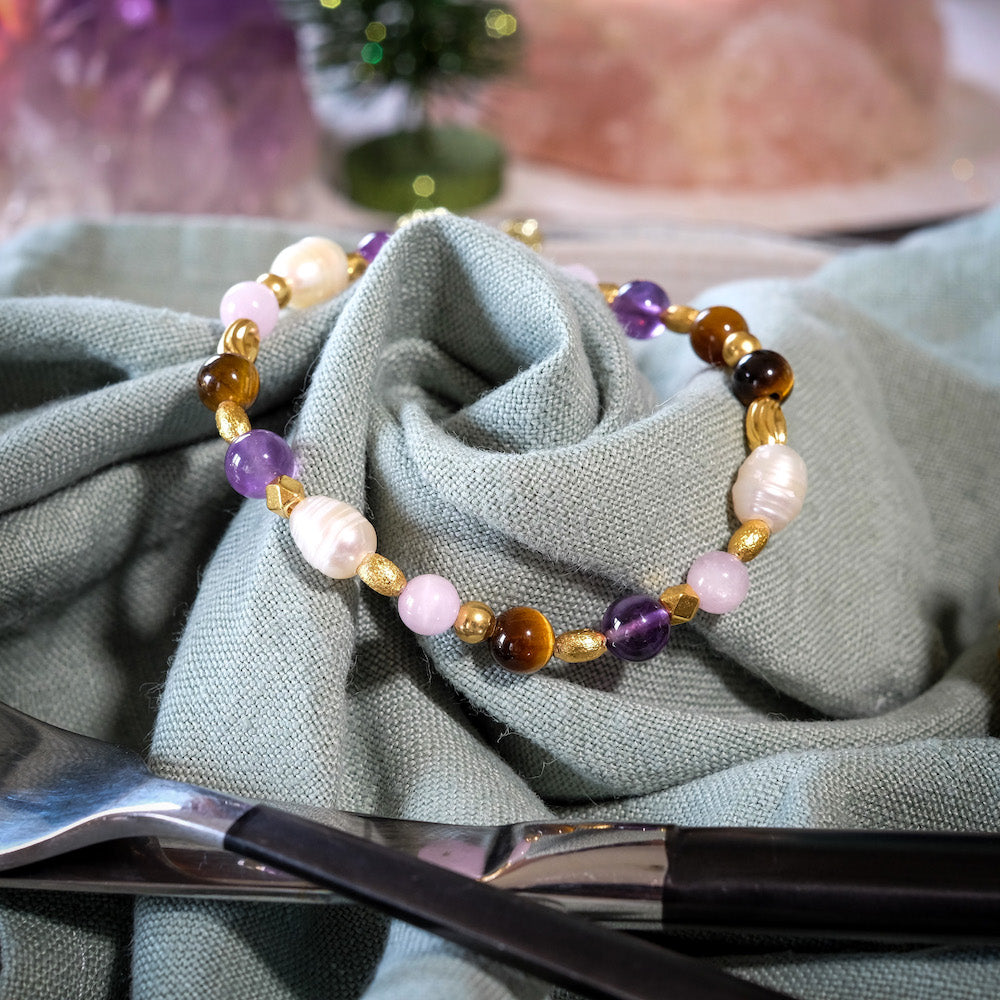
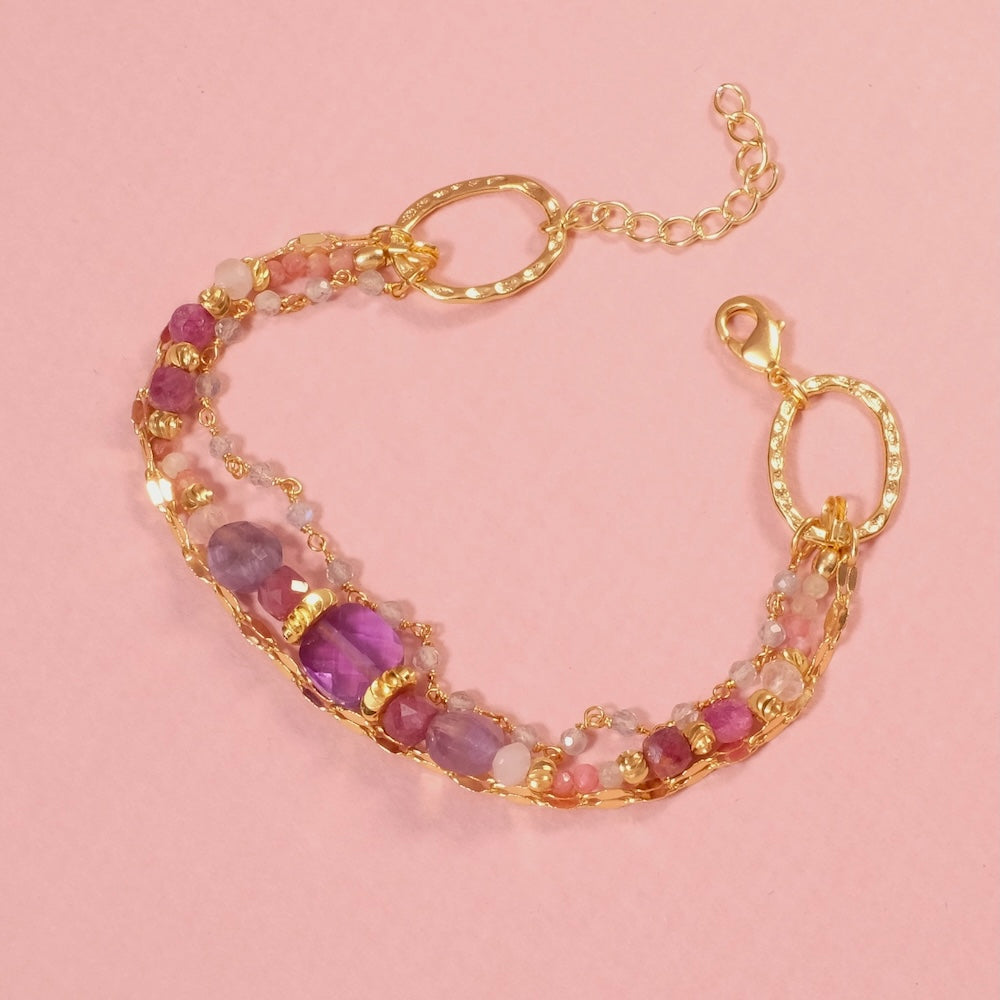
You can use either flat-headed nails to mount the bead as a pendant, or eye pins (with a loop at the bottom) which will allow you to mount the bead as a connector. To start, thread the bead onto the nail and then form a right angle at the top of the bead. You can initiate the angle with pliers and finish with your finger to press the angle firmly against the bead.
Then cut the nail to about 1cm. This measurement will depend on the desired loop size. With round-nosed pliers, position your hand outward so as not to be blocked in the movement. Position the pliers at the edge of the nail, at the location of the pliers that corresponds to the size of the nail. That is to say, the round-nosed pliers are flared, which allows you to adjust the loop to the desired size. The position of the pliers on the nail will affect the size of the final loop. Then bring the nail back towards the bead to form the loop.
If necessary, balance the loop with flat pliers. To open the loop and thus connect the bead, open the loop upwards, never outwards, as this could deform it. And there you go! |
|||


To be reserved alone or with friends!

Join Perles Corner to discover our new products, exclusive tutorials, and many other surprises... and receive your voucher by email!


 flat pliers