|
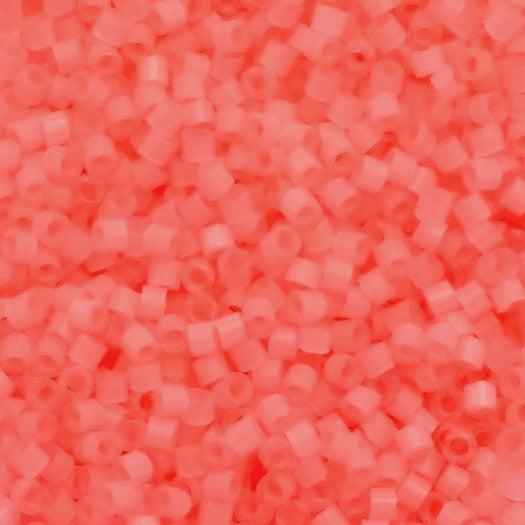
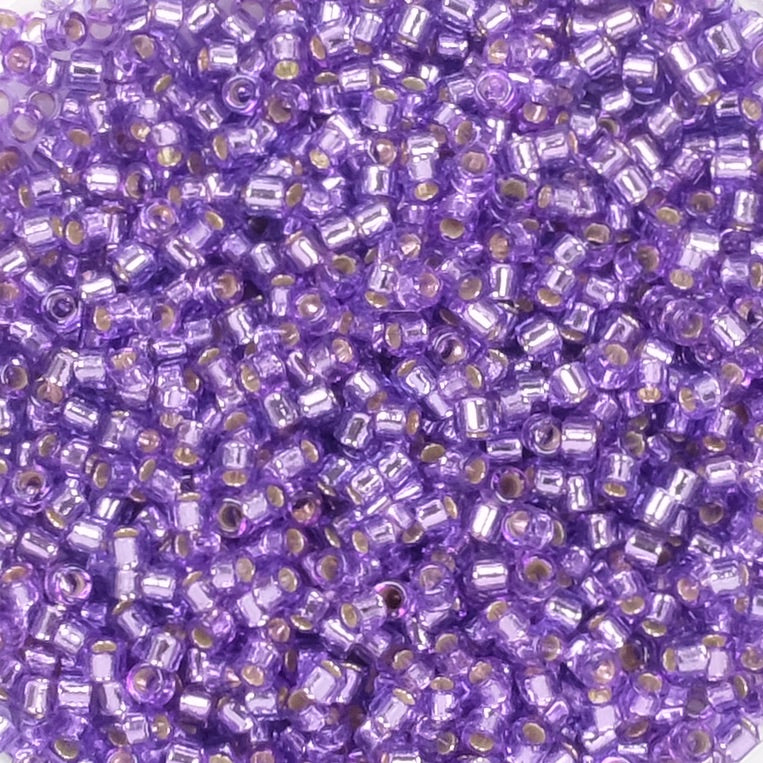
Fall for our new colorful and tangy earrings, made of Miyuki beads mounted with the Brick stitch technique. A meticulous creation that will allow you to understand decreases and increases. Then you will be able to shape the weaving to create this superb bead berlingot! Beautiful creation!
|
|---|
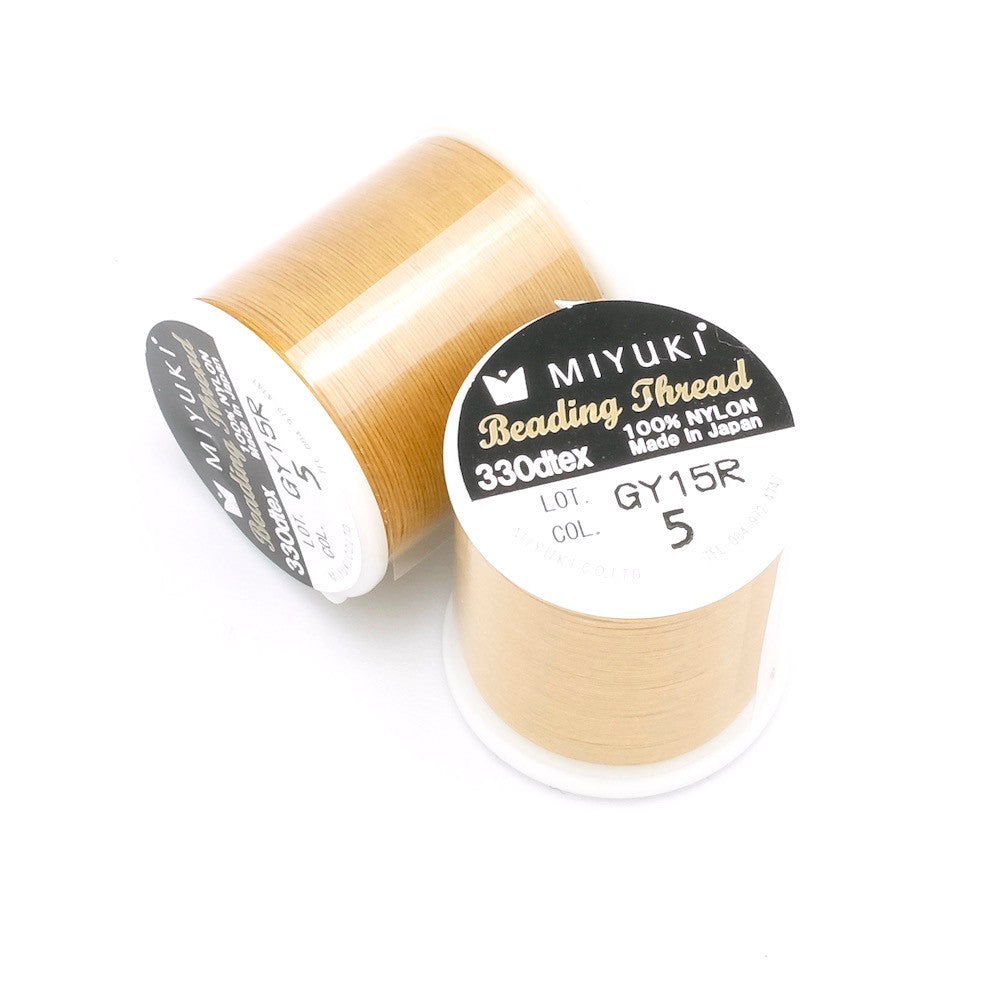
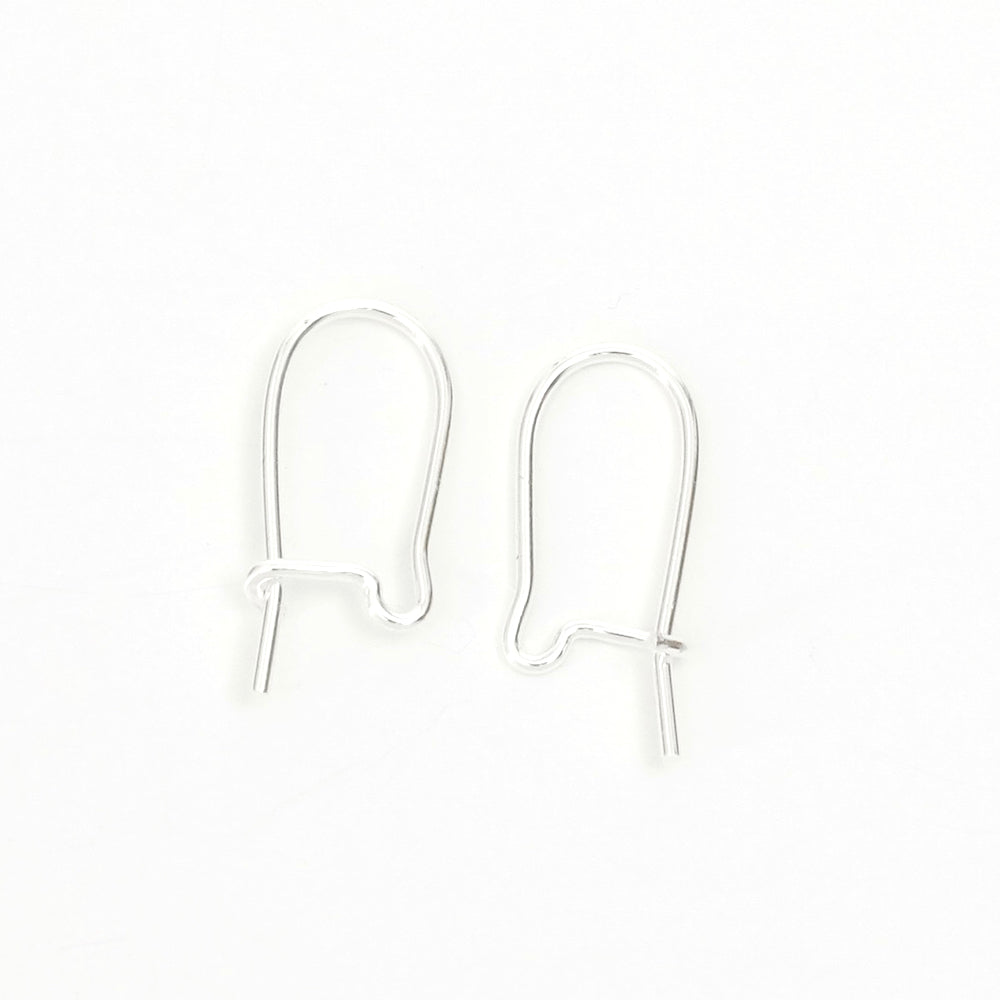
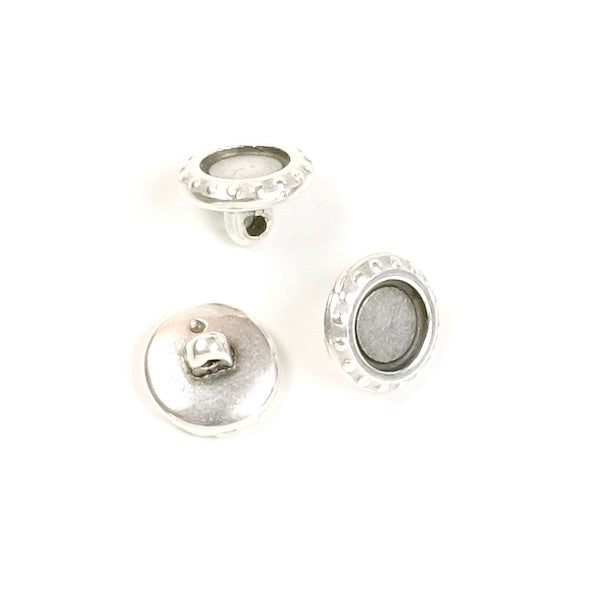
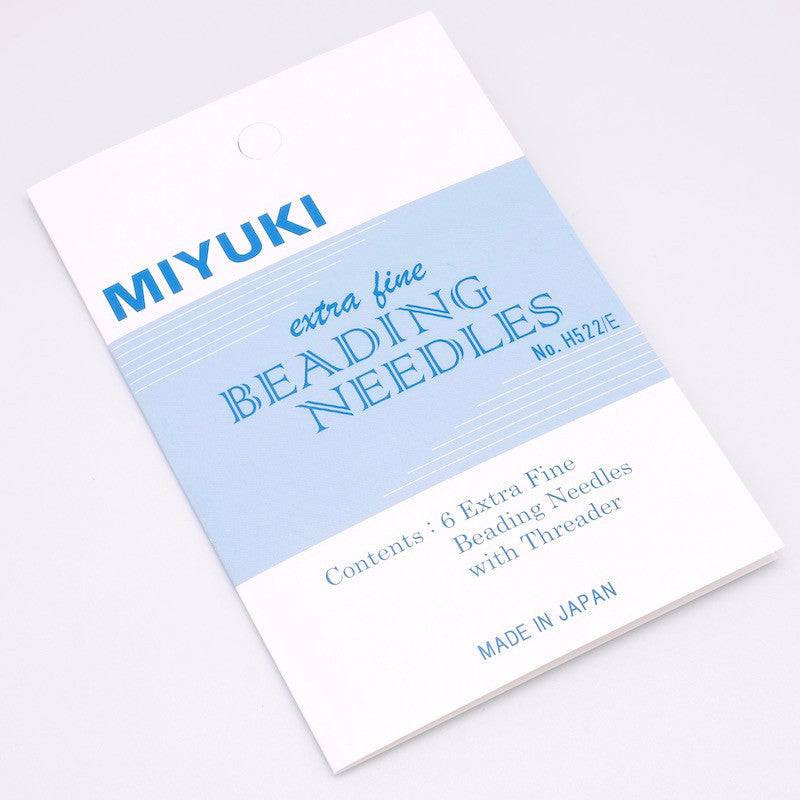
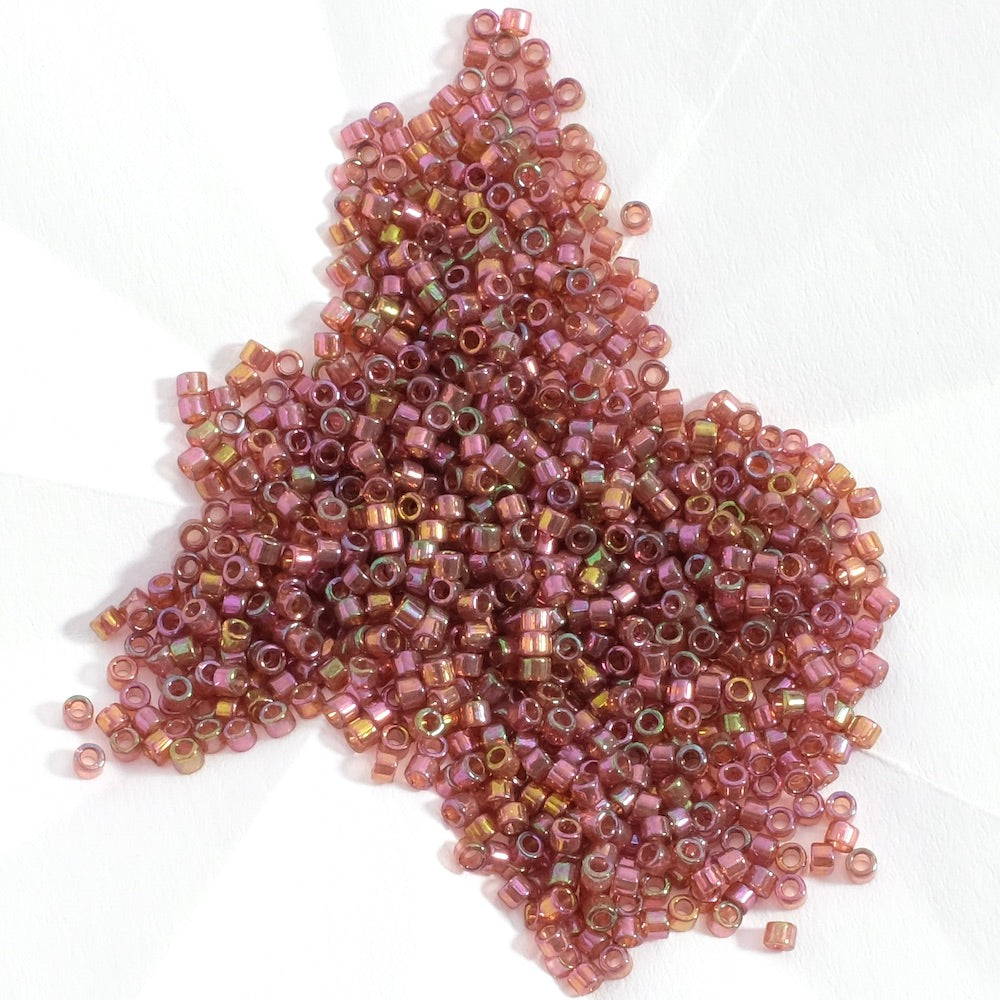
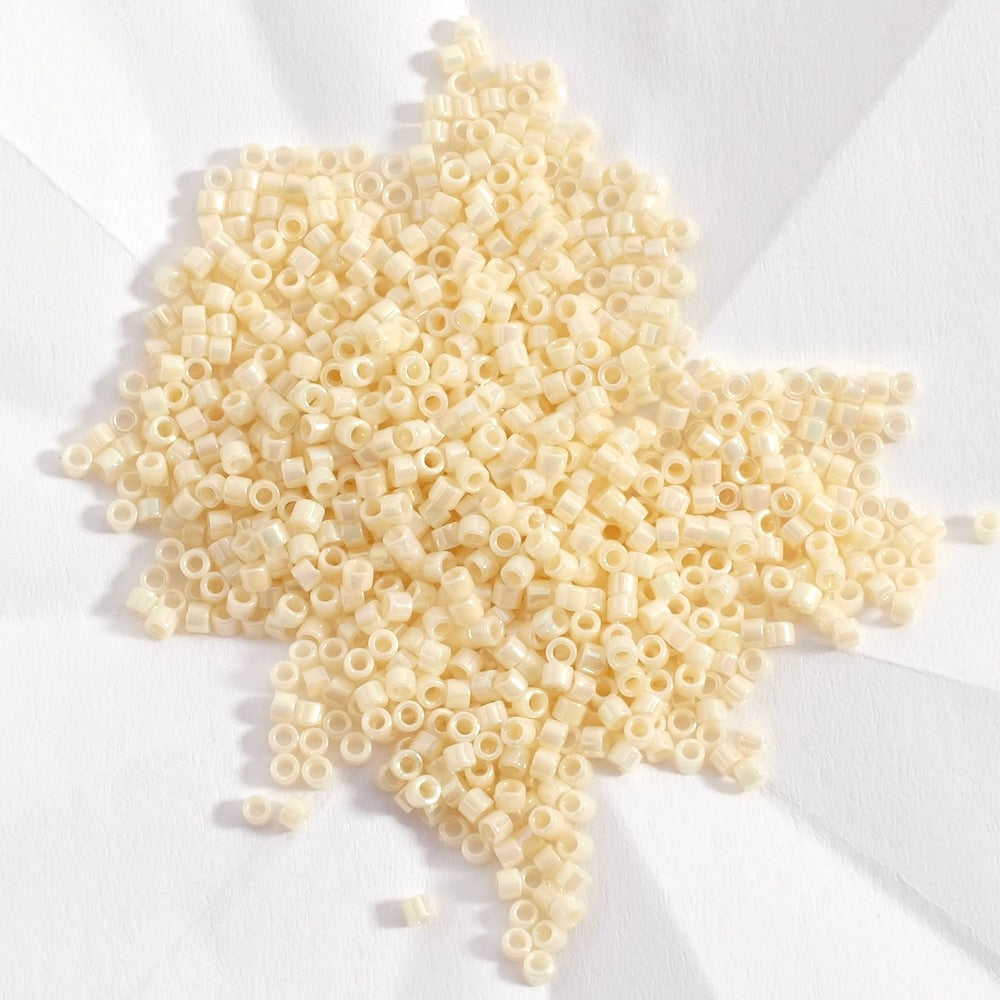
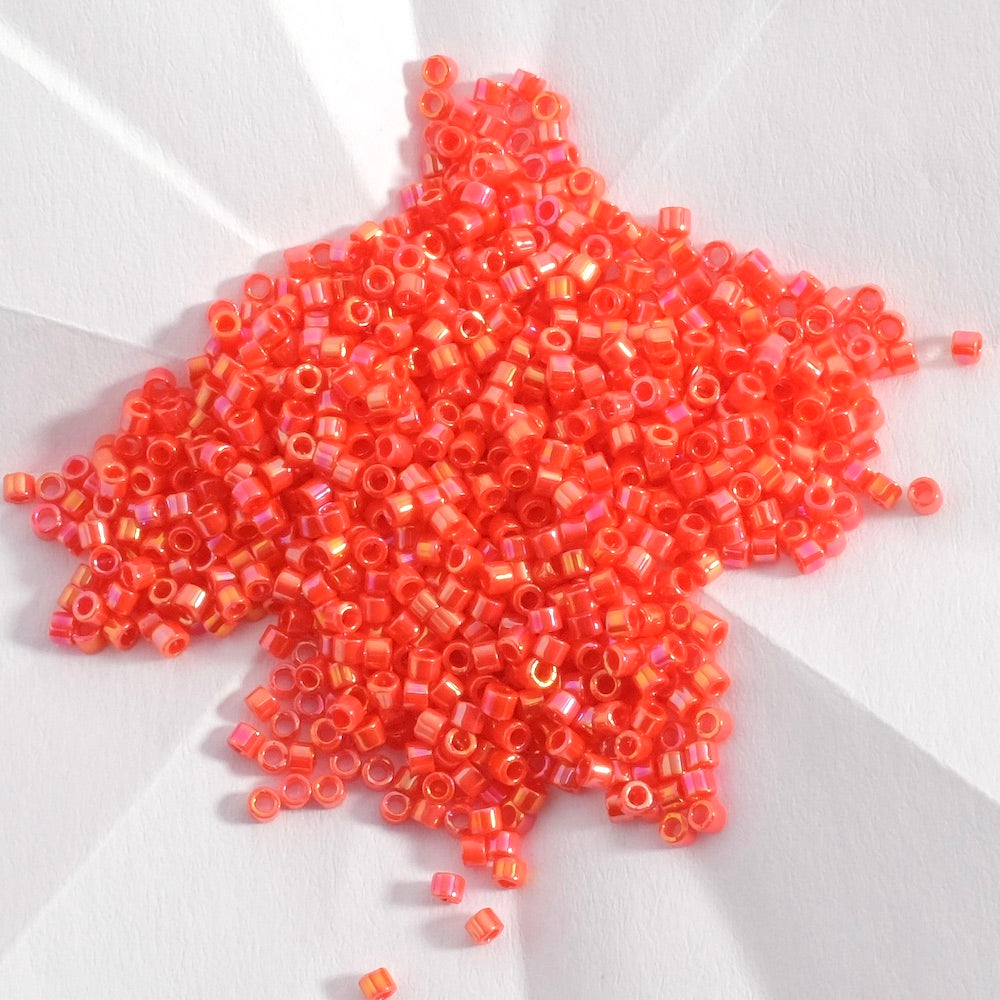
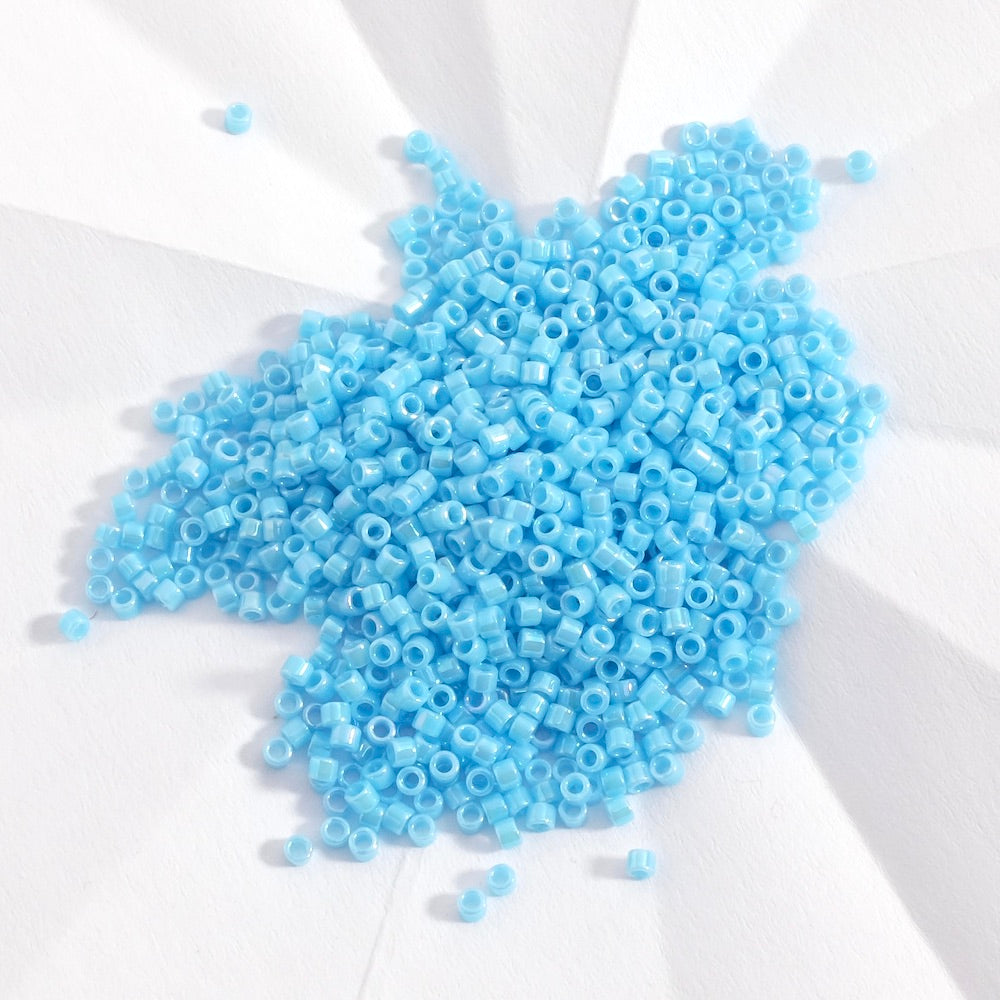
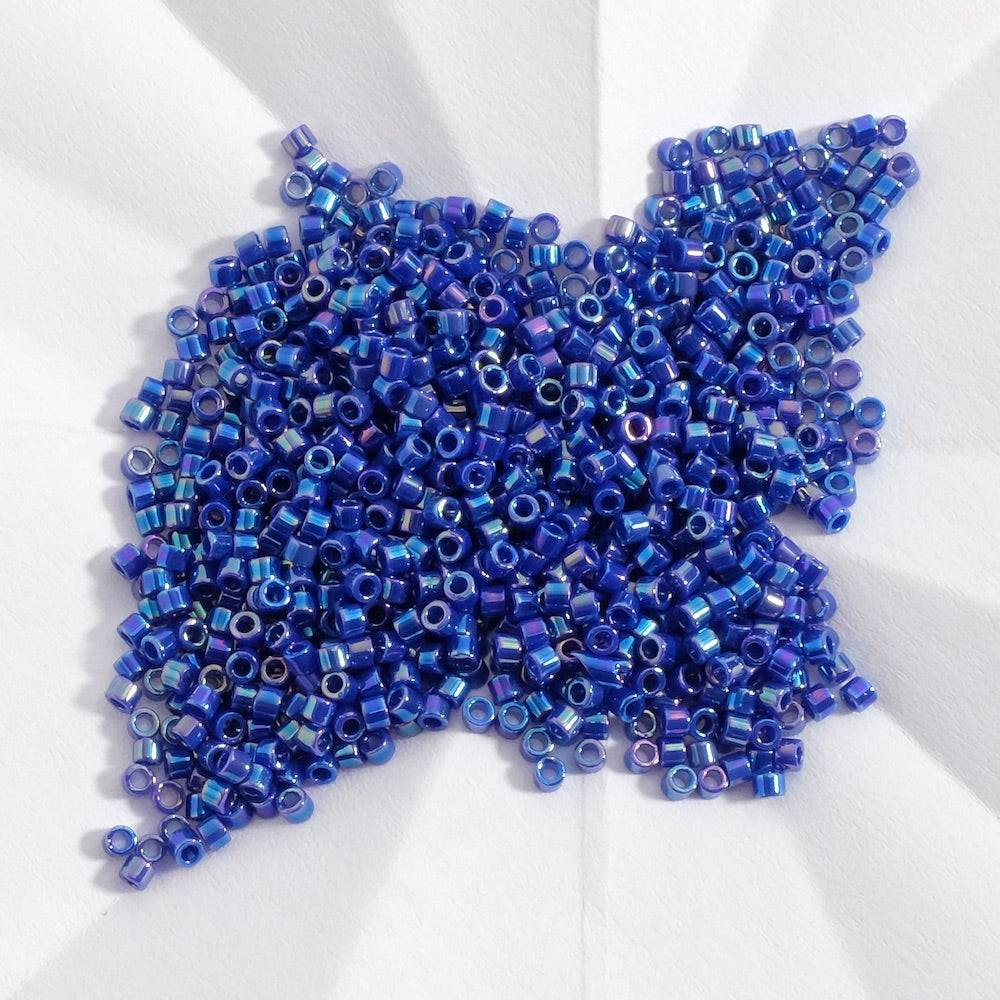
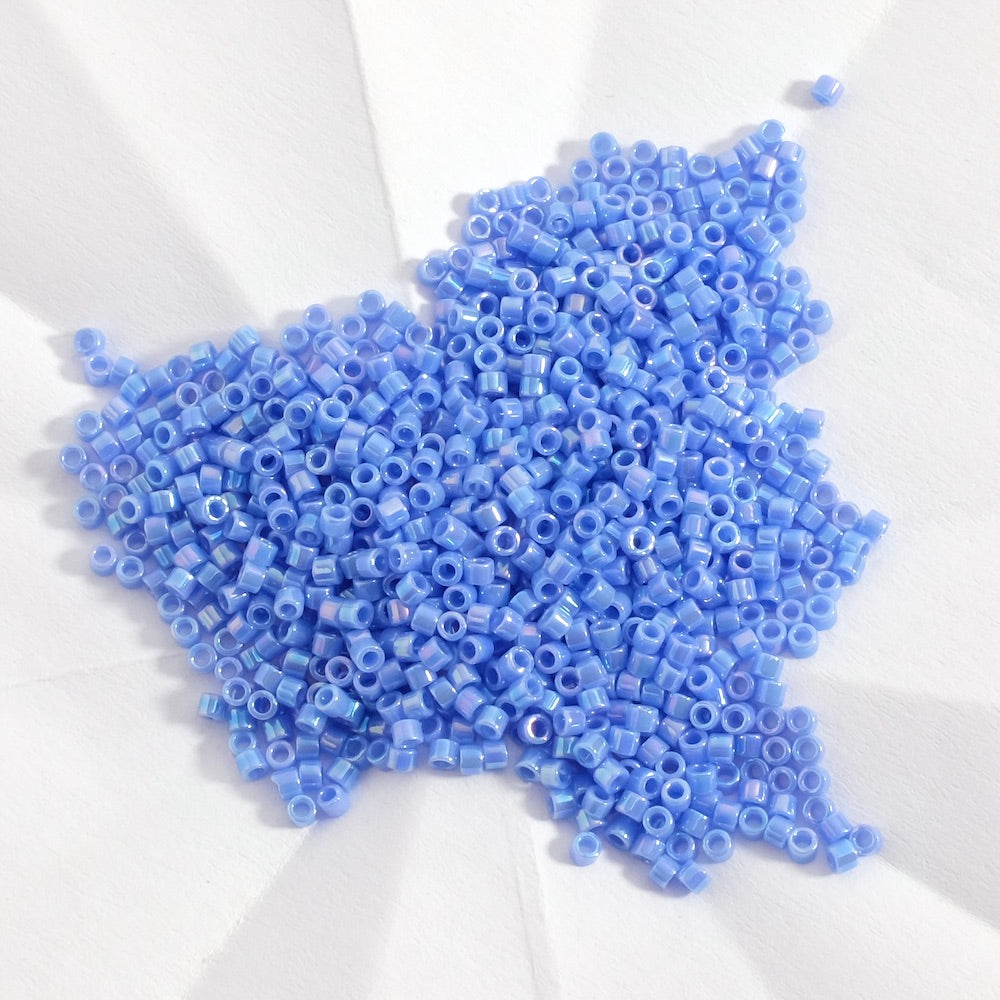
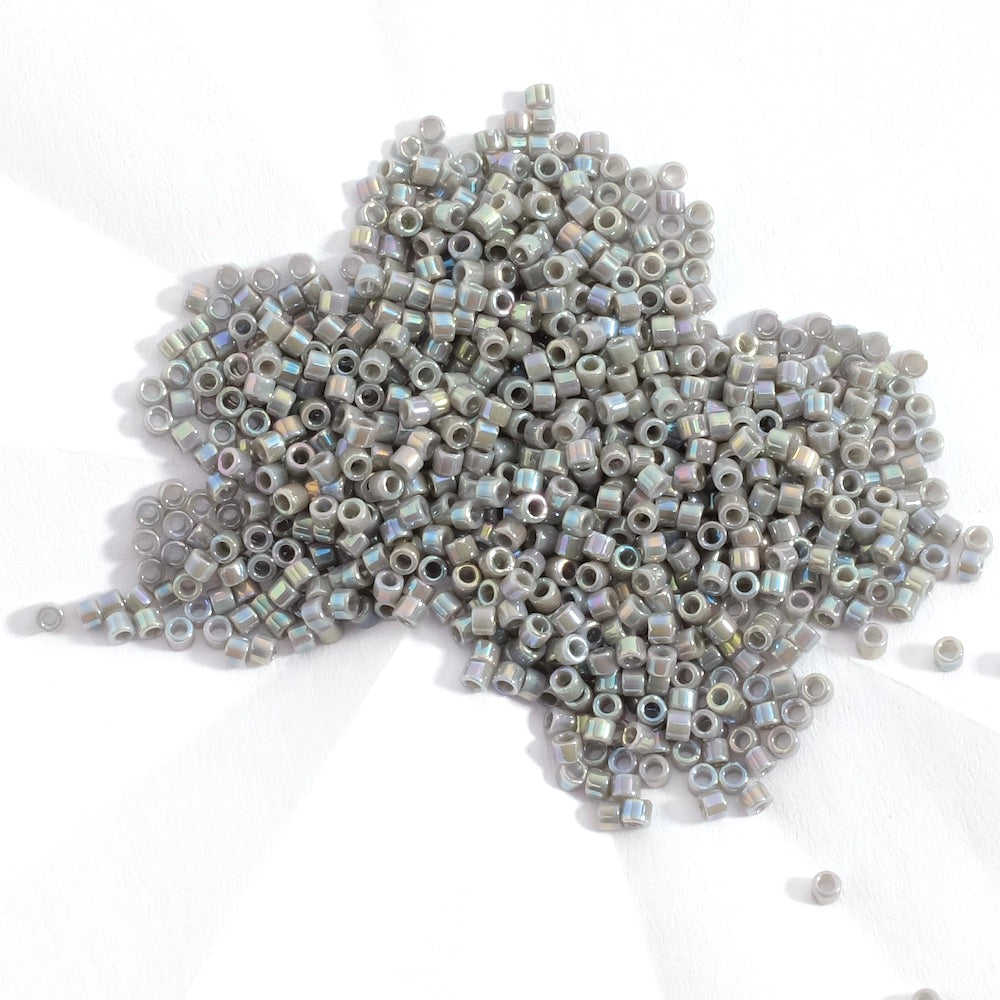
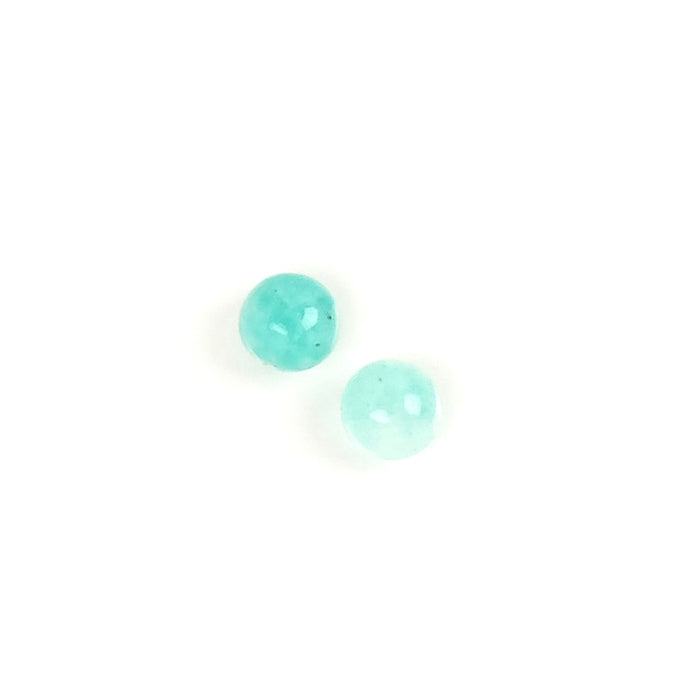
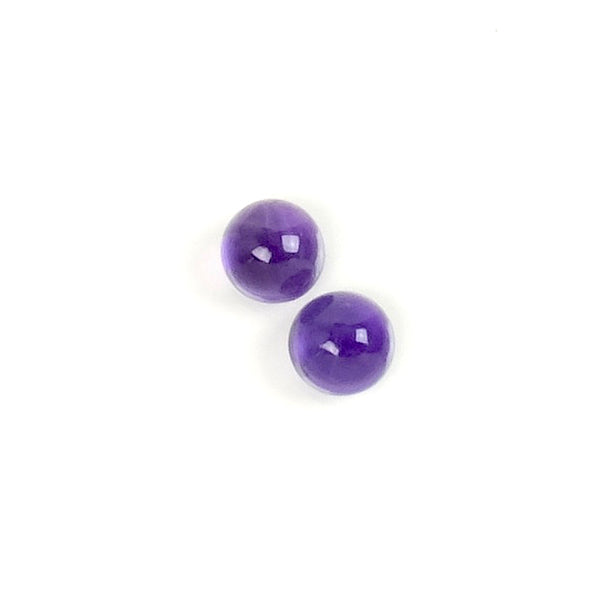
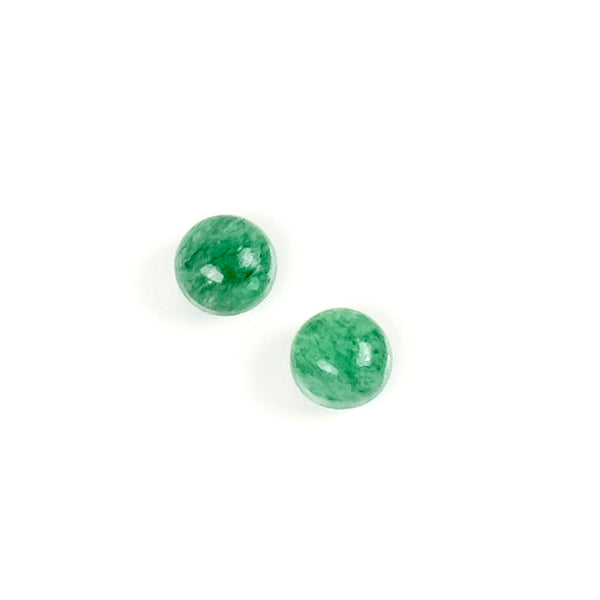
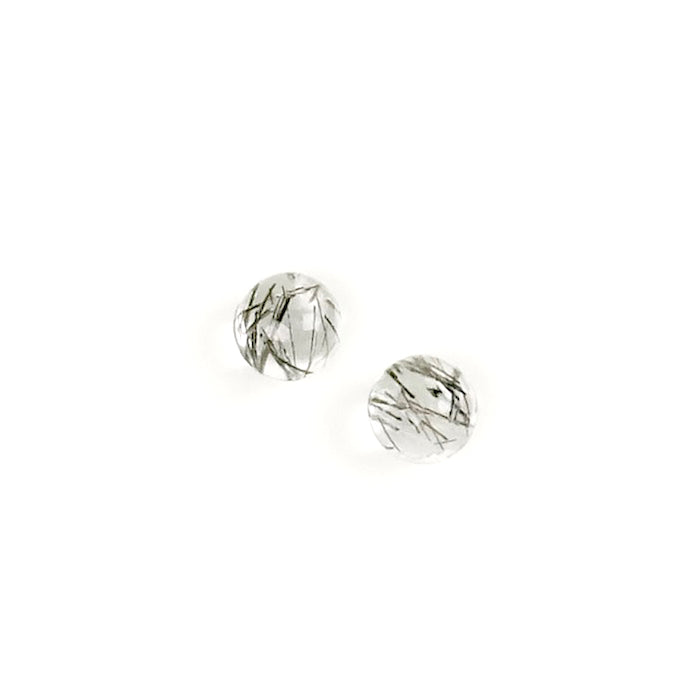
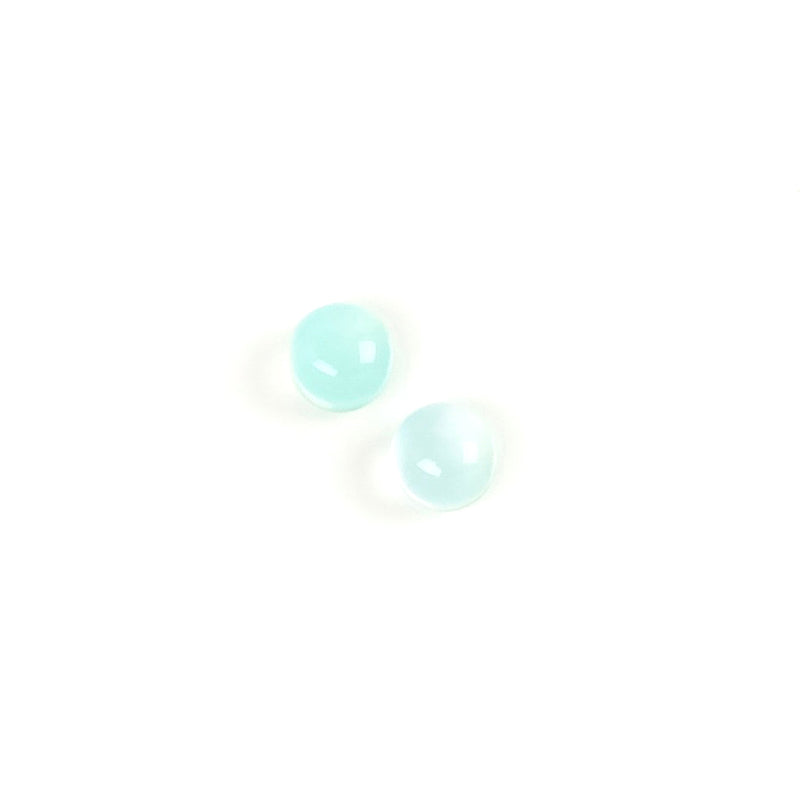
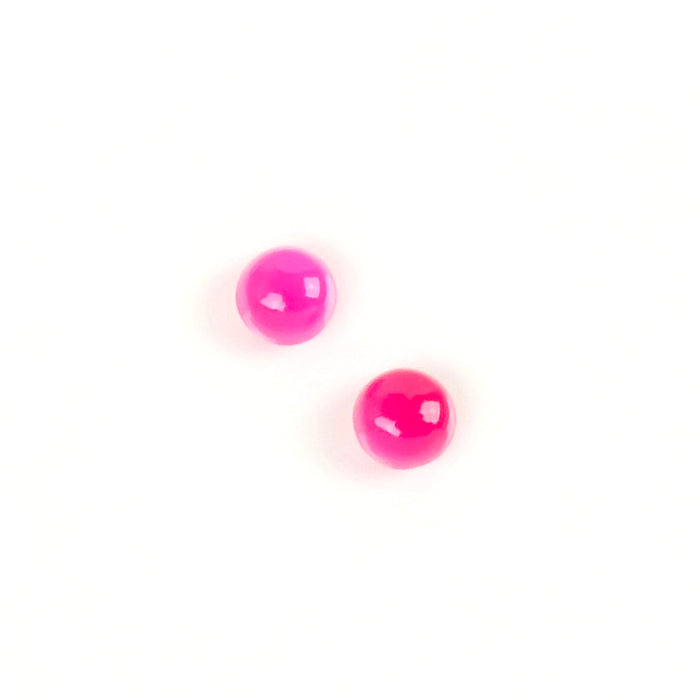
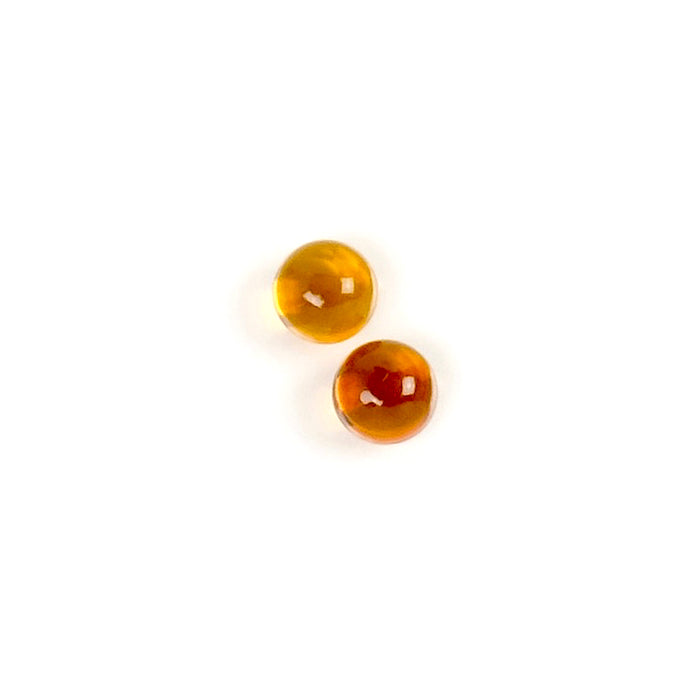
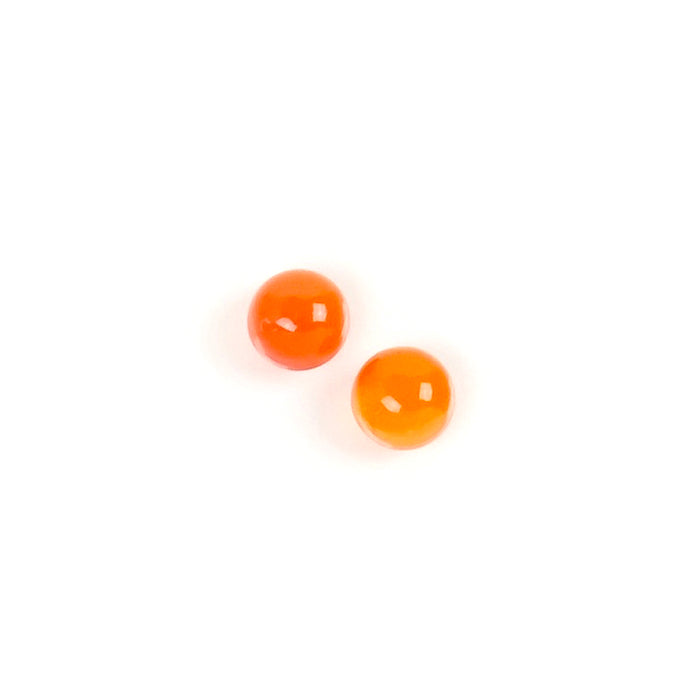
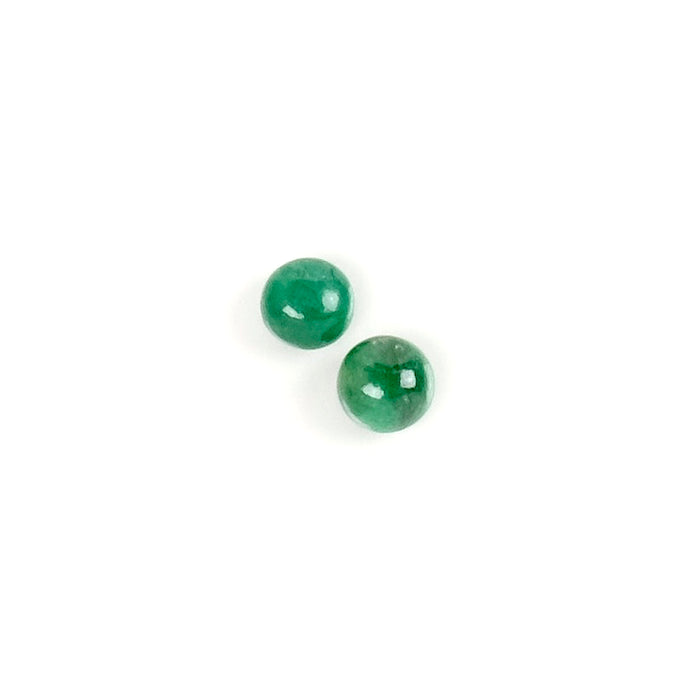
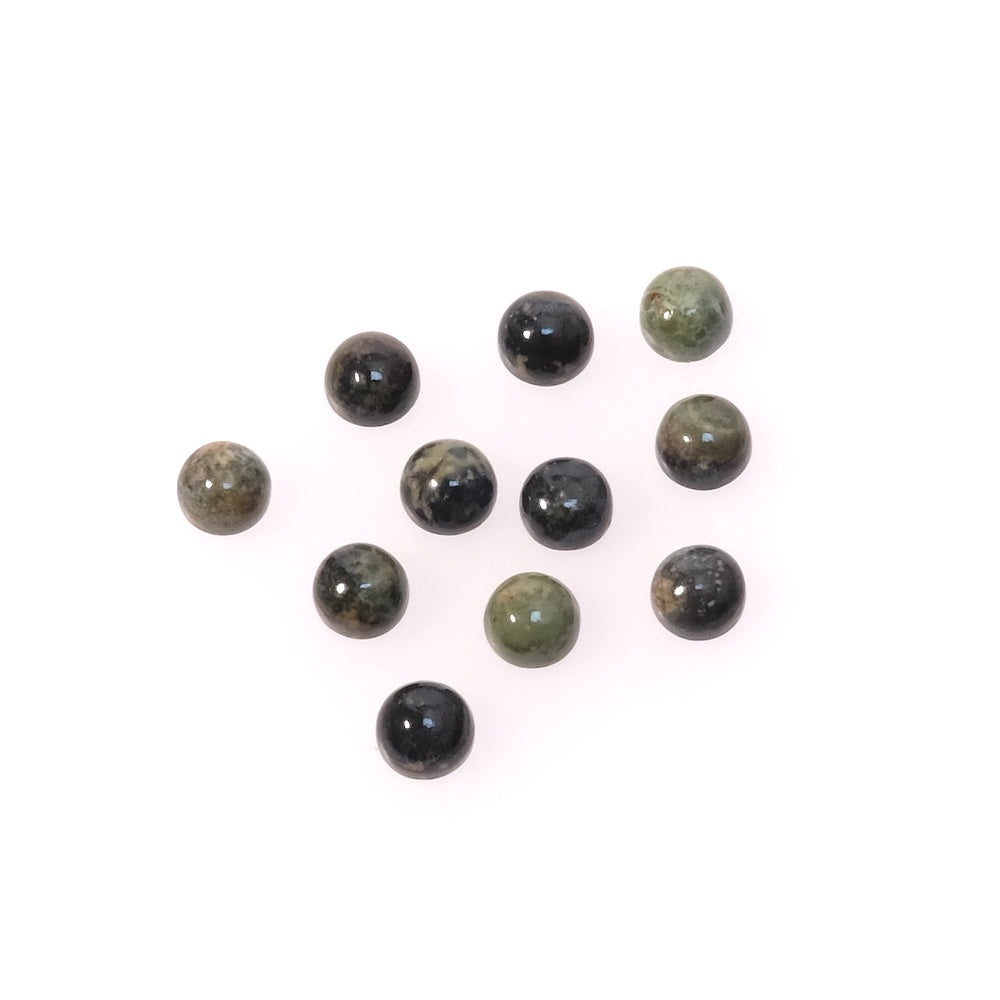
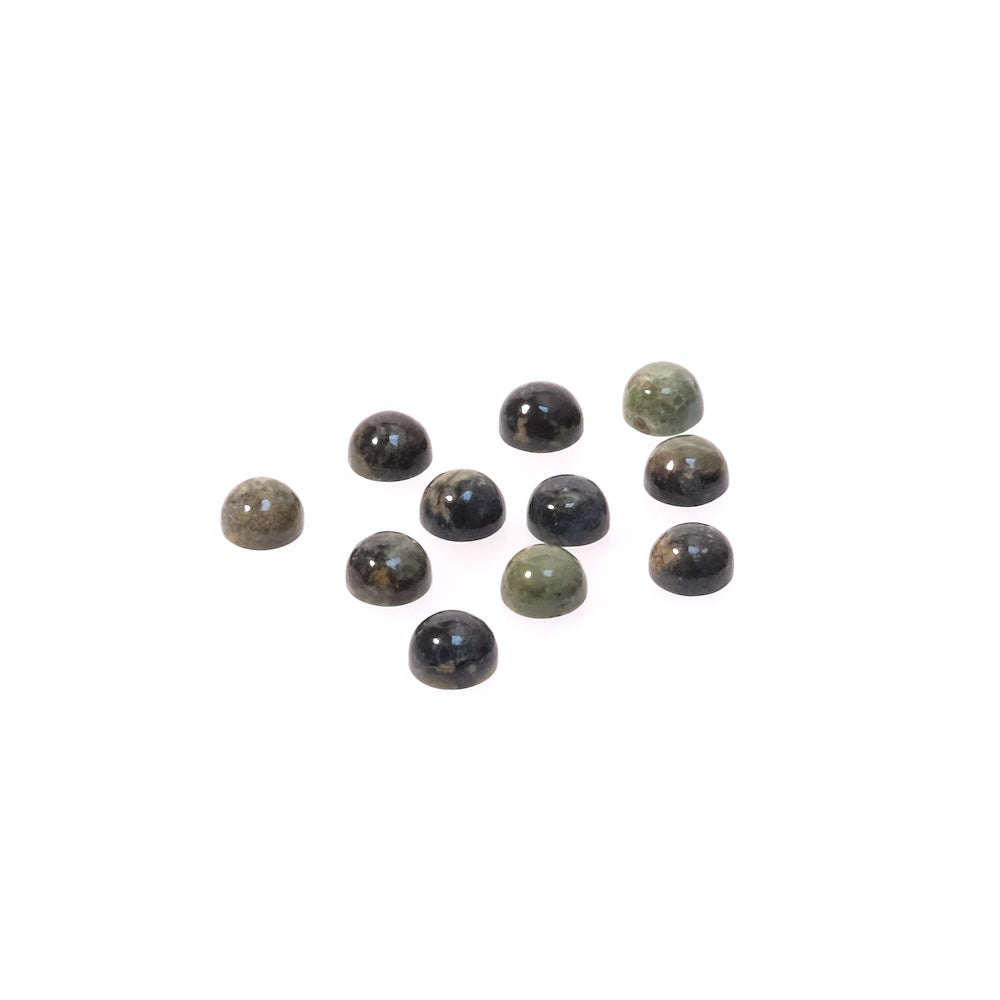
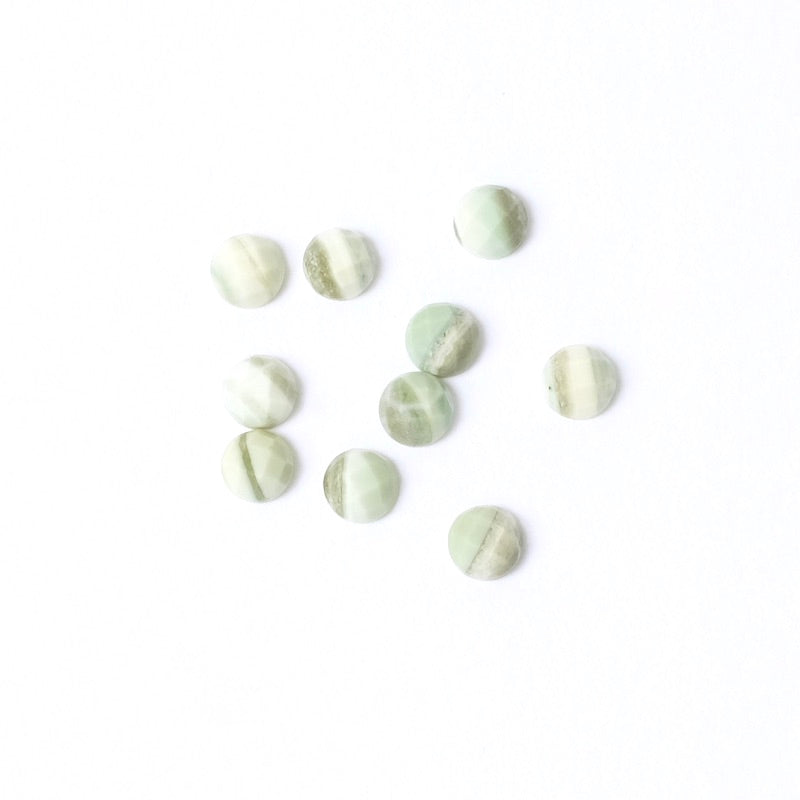
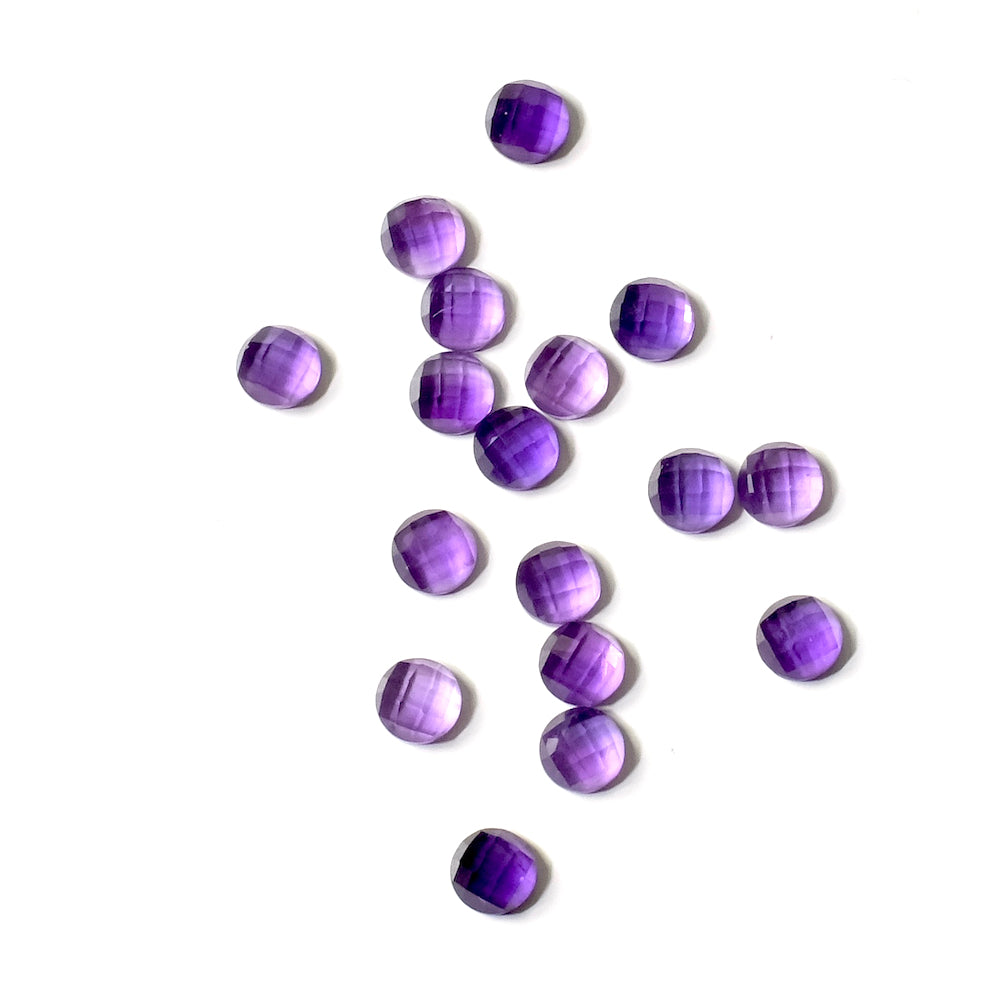
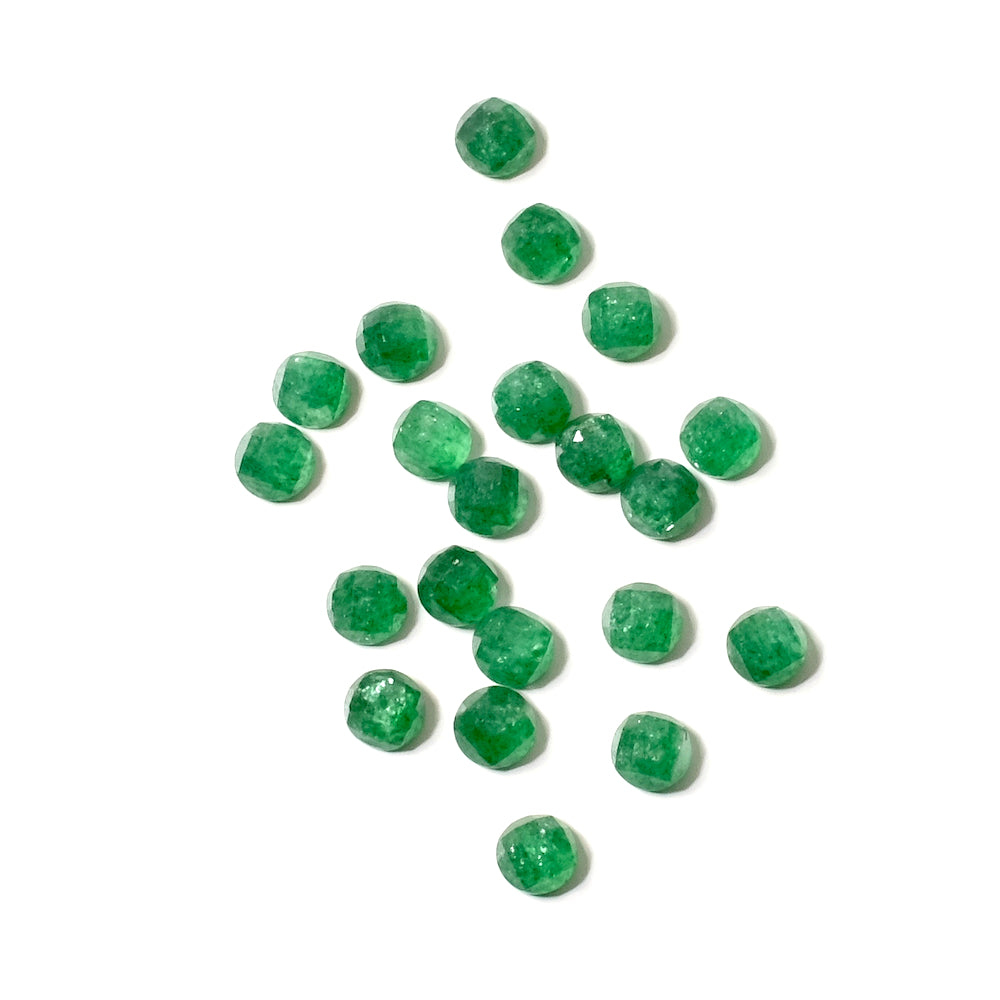
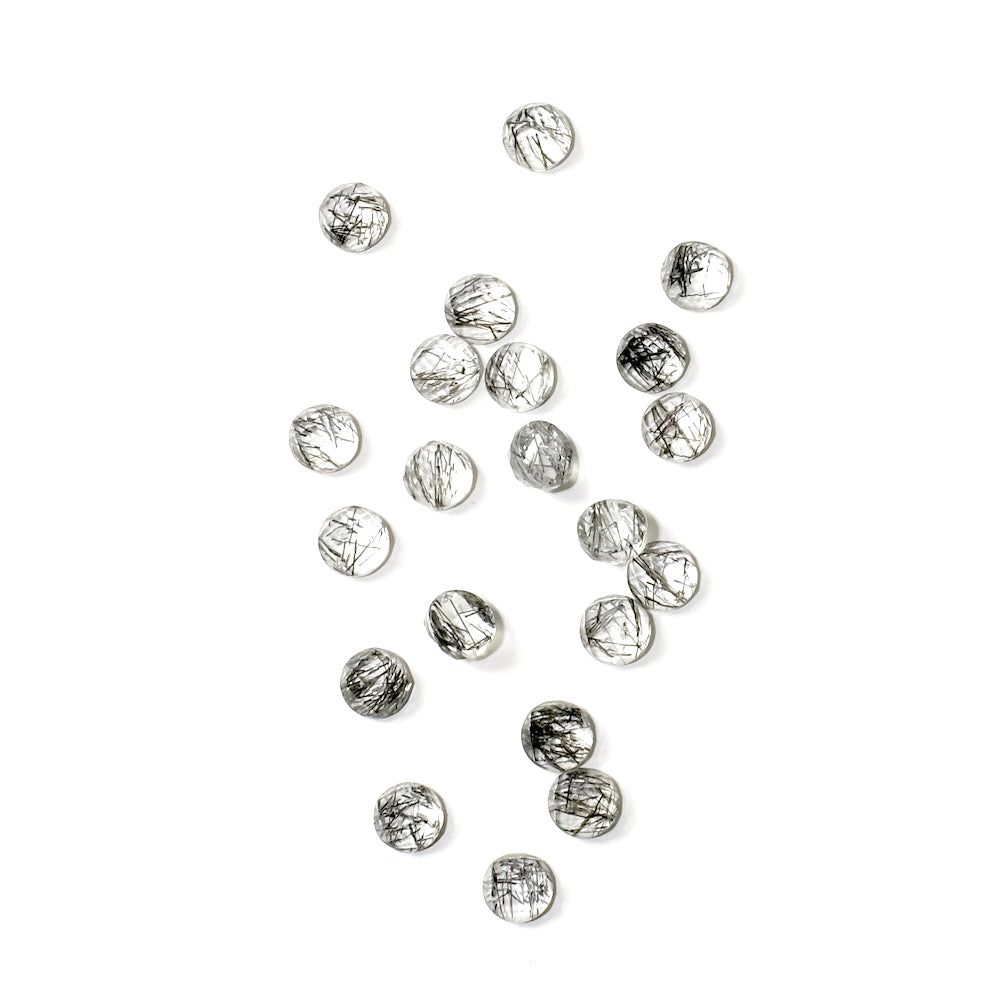
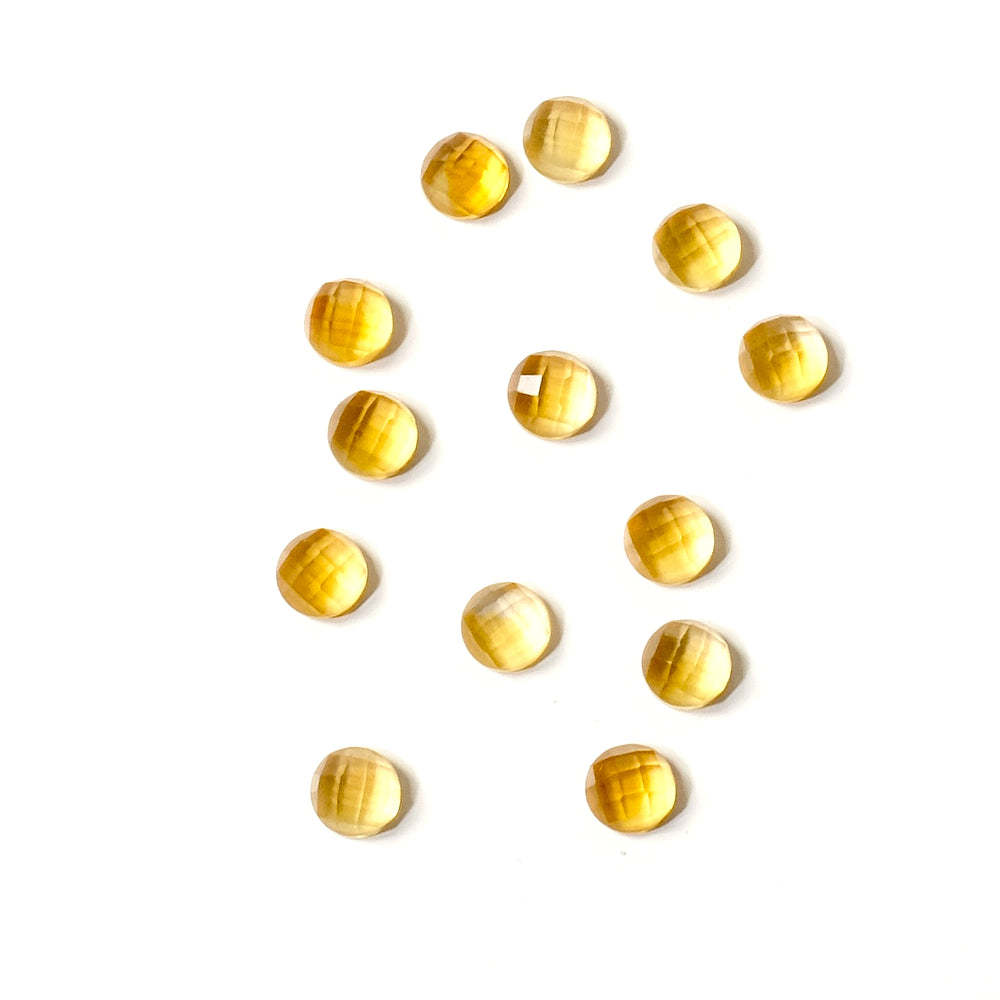
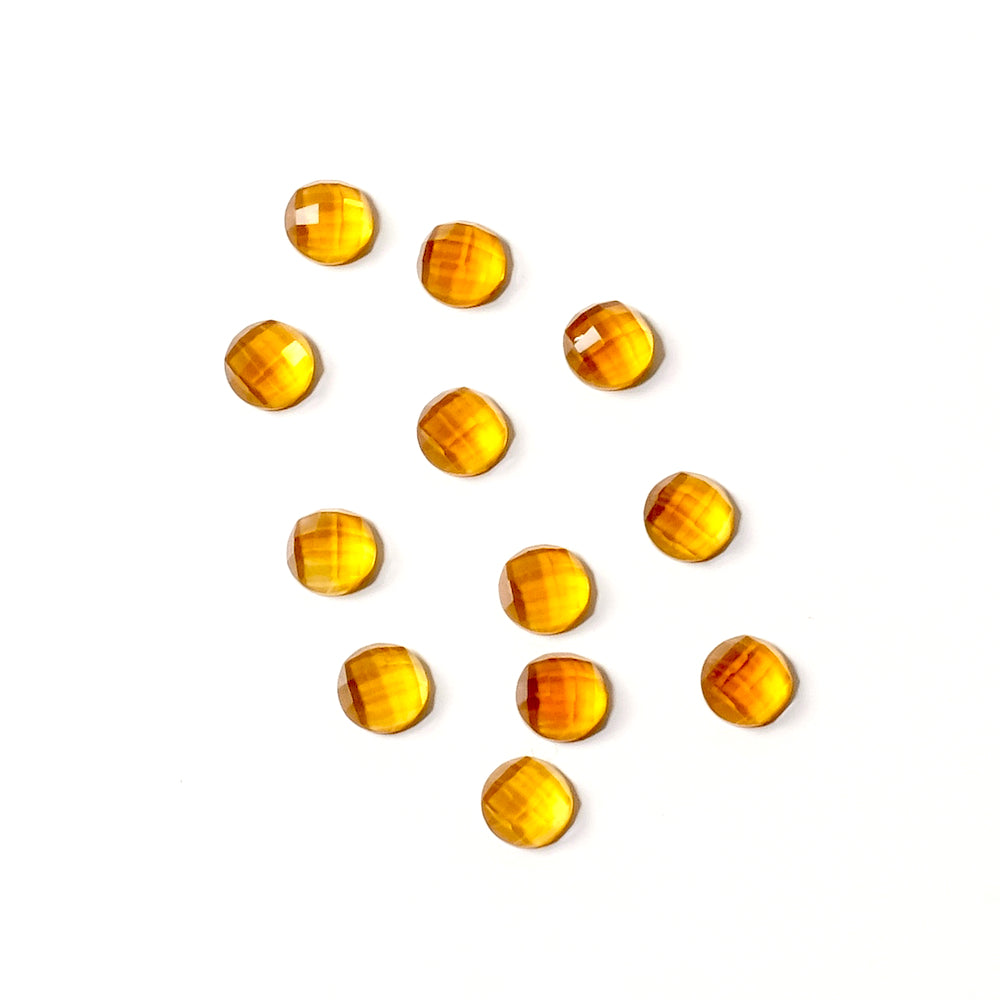
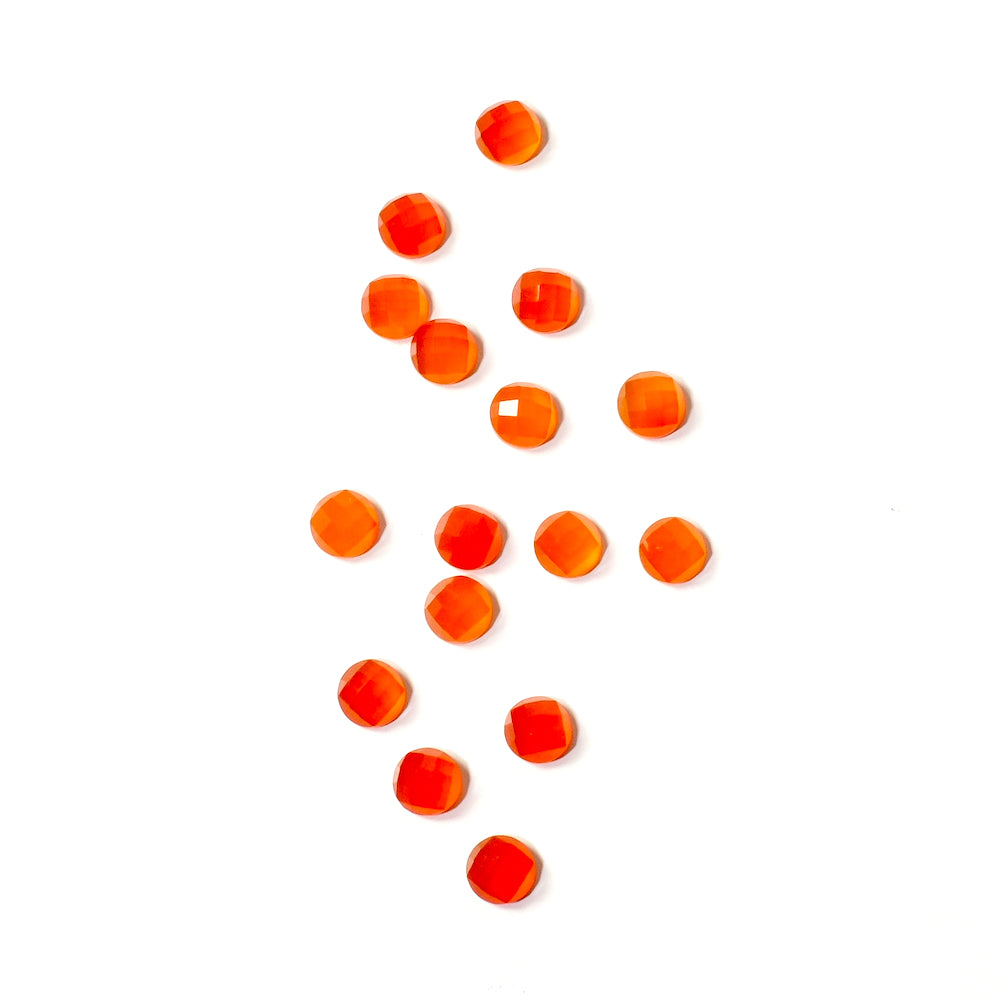
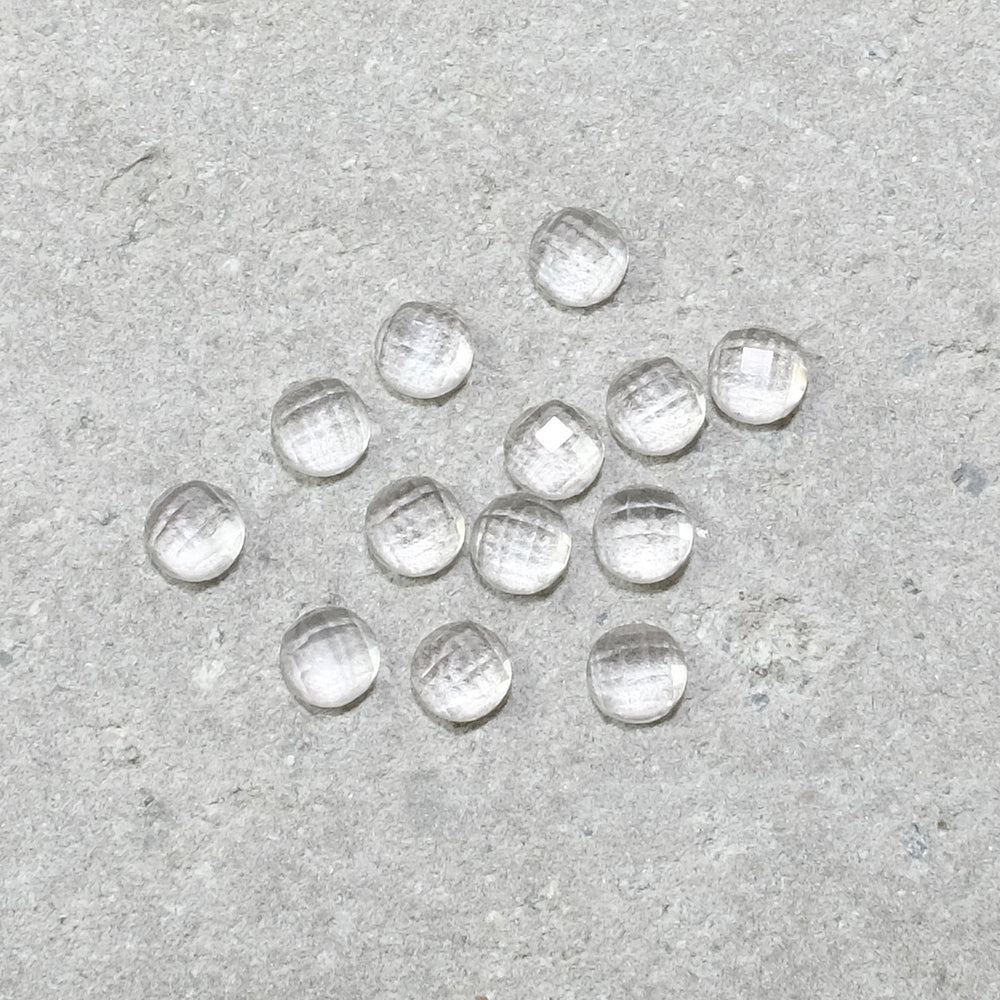
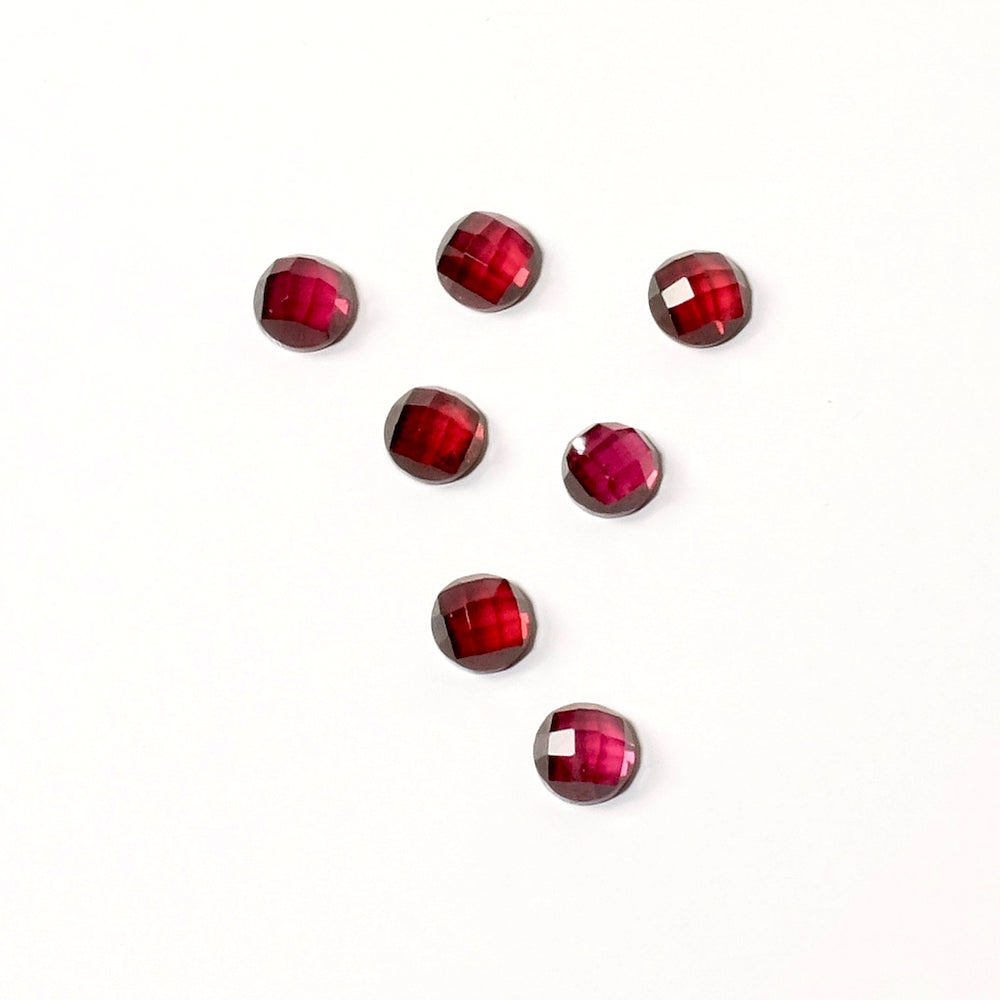
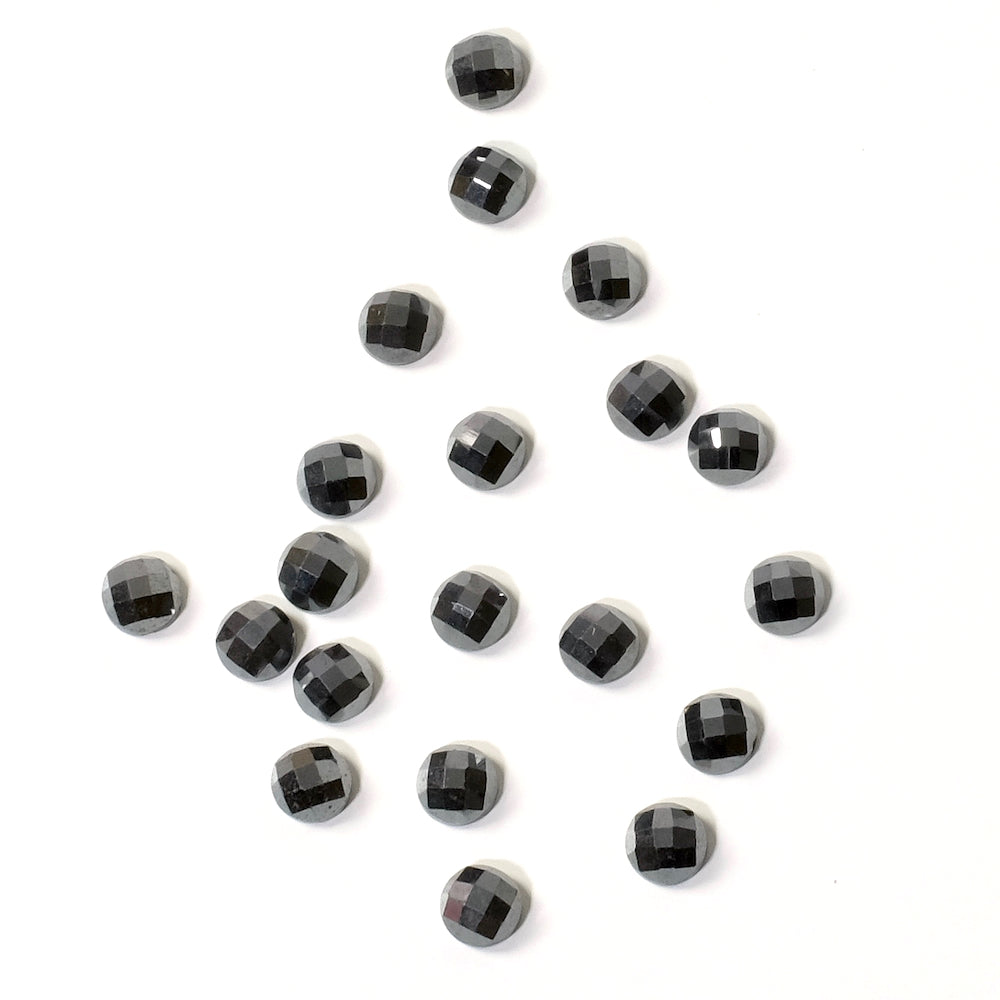
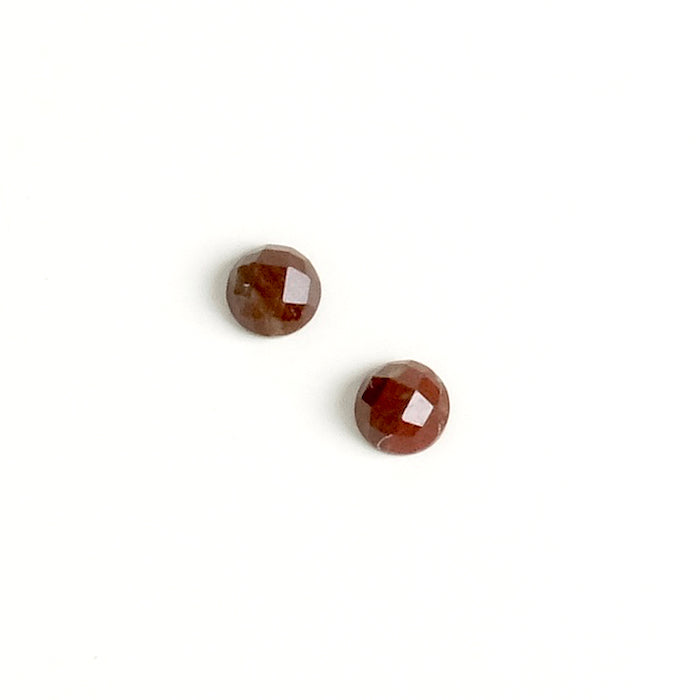
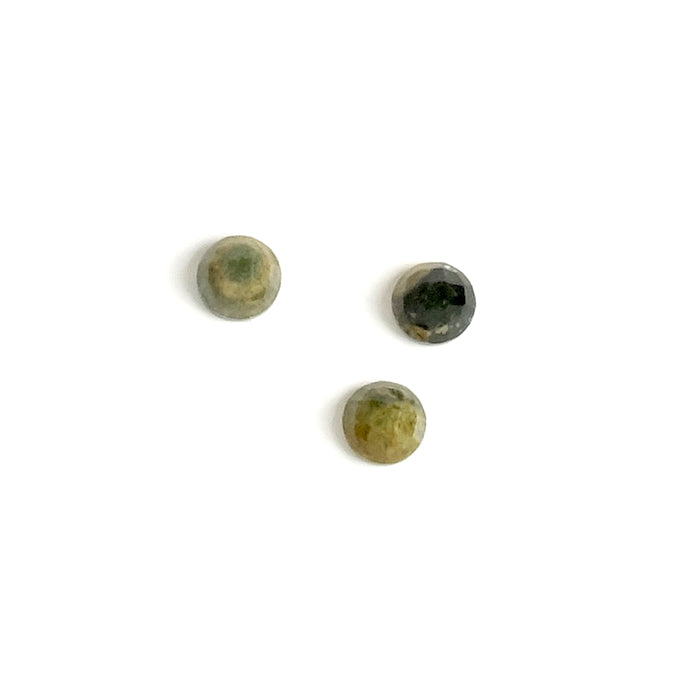
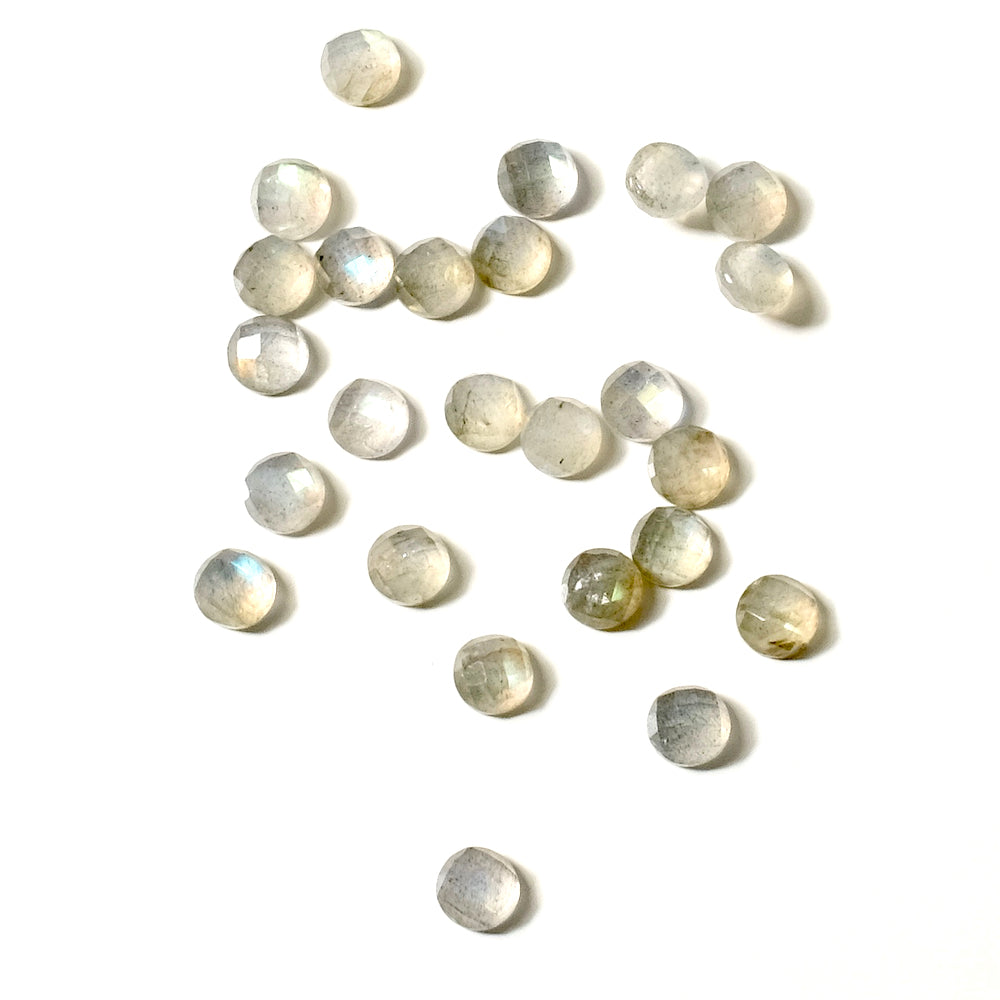
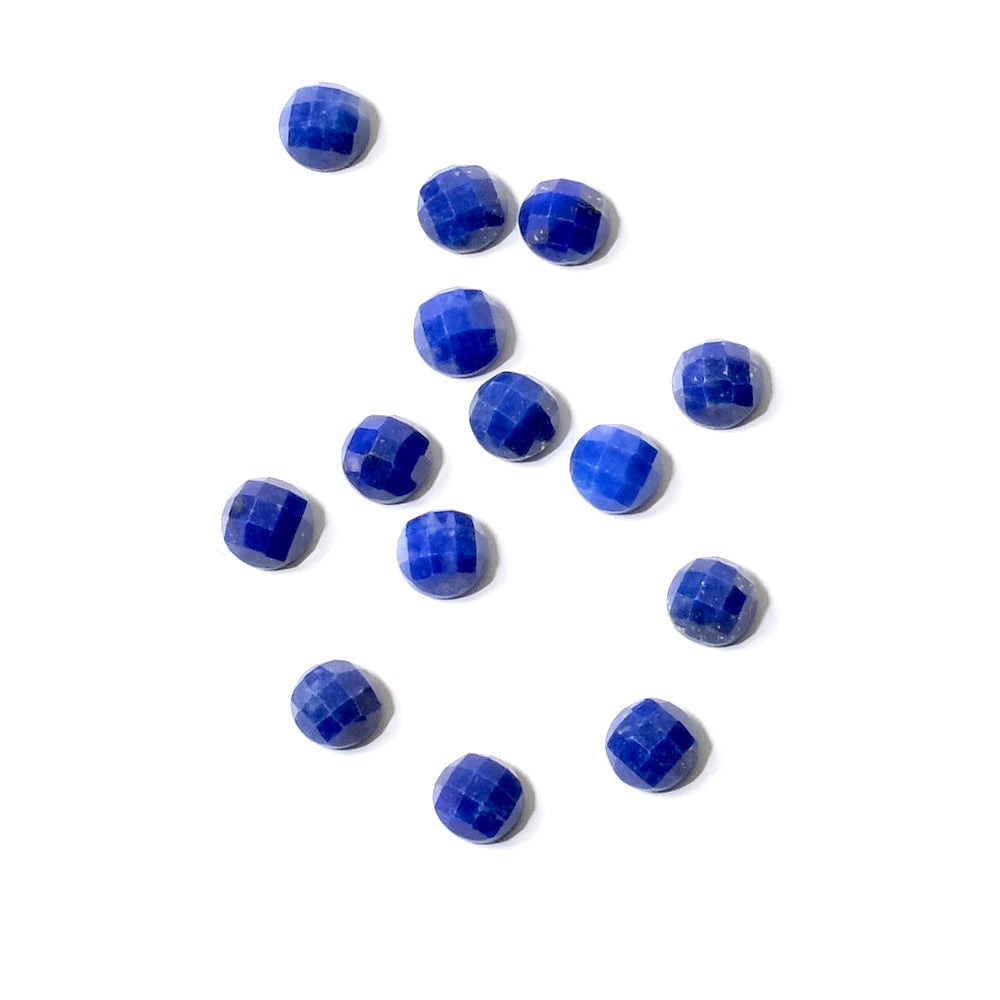
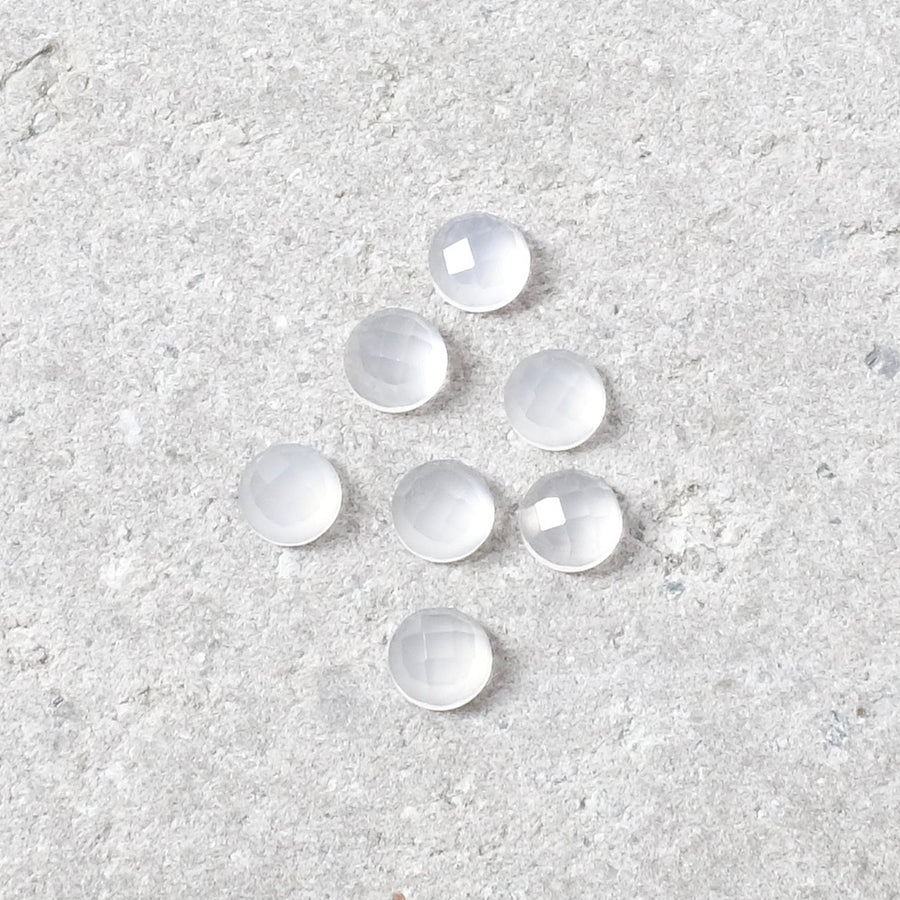
| For this project you will need: | ||||
|
|
||||
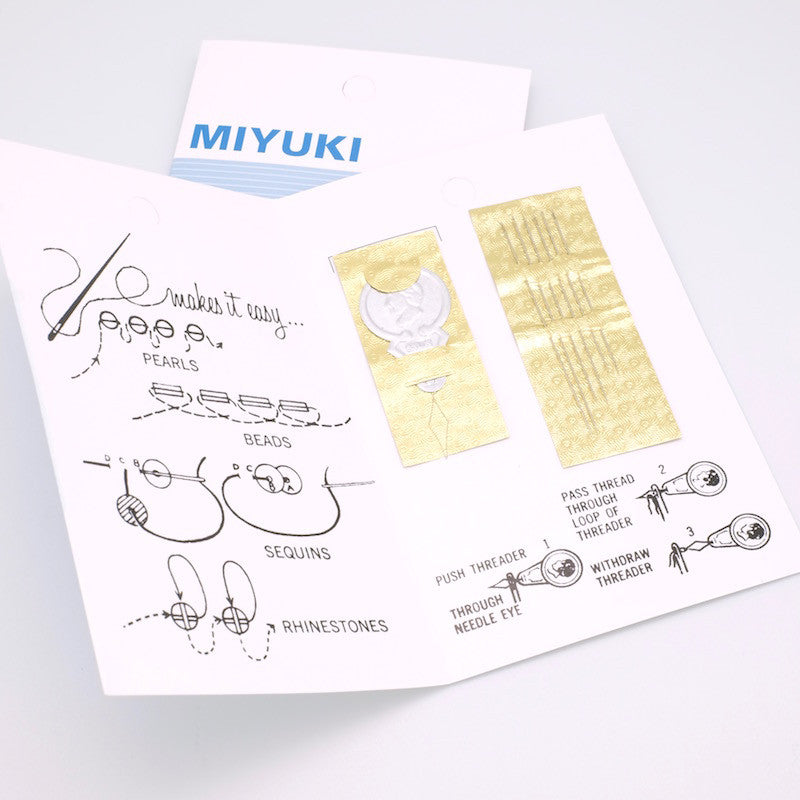
| The tools to use: | ||||
|
|
||||
|
This piece of jewelry is not very complicated to make. Follow the explanations below carefully to learn the basic weaving techniques and look closely at the visuals to follow the rows of beads.
|
||||
|
The assembly: |
||||
|
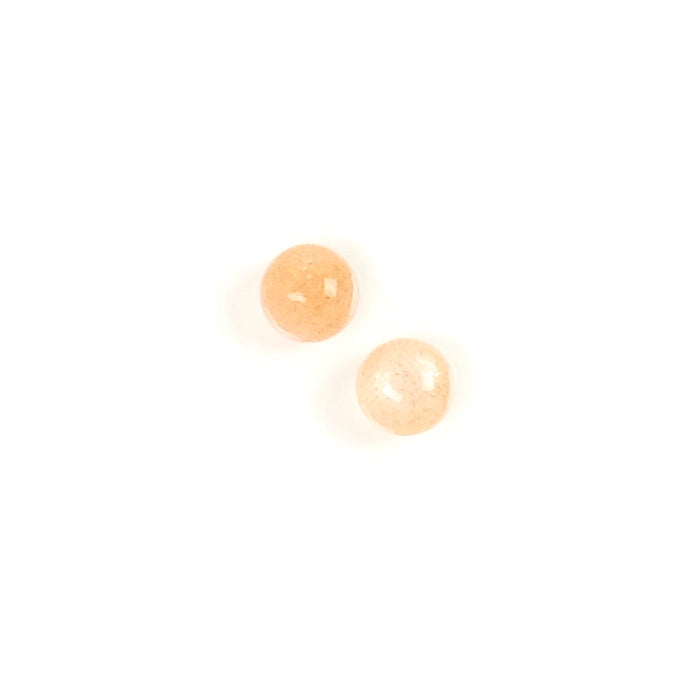
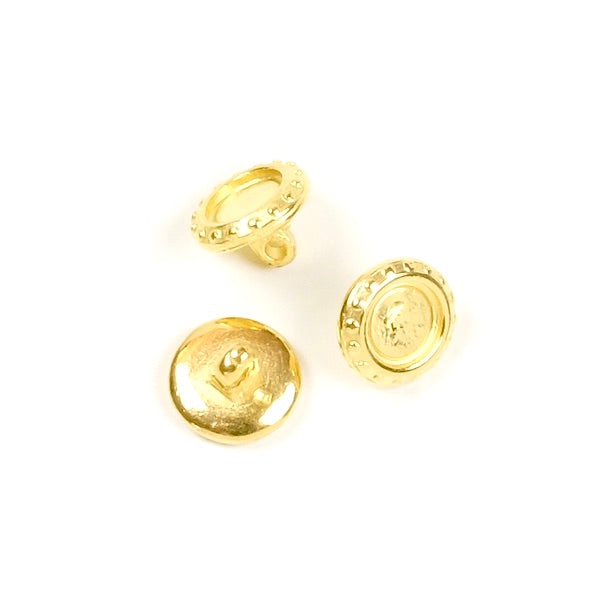
To start, cut a thread of about 1.5 meters. I prefer to take a little longer on this type of assembly because a joint in the middle can be complex and quite tedious! Thread the thread through the eye of the needle. Now we will start weaving with the largest row of the first purple triangle. Find all the Brick stitch weaving techniques on our dedicated page. >>> Learn Brick stitch weaving <<<  Raise a first row of 11 beads while keeping half of the thread to go back to the bottom of the weaving afterwards. Continue the 2nd row with a start in invisible decrease. Your 2nd row is thus composed of 10 beads. Create the 3rd row of 9 beads always with a decrease and in the center of the row replace one bead with the pendant to weave.  Always continue with this method to create a triangle. Stop with 2 beads for the tip of the triangle.  Now, start again at the bottom of the triangle with the thread set aside at the beginning. Create a row with an invisible decrease, then a row with an increase, one with a decrease, and again one with an increase..  Change the color of the beads. Create a row with a decrease and then one with an increase. Then continue the triangle with an invisible decrease and stop with 2 beads for the tip.  Now connect the 2 tips together by weaving the beads at the edge and remember to place the earring setting when passing the thread. This way, the setting will be directly woven at the edge of the beads. Make 2 passes through the beads and the setting. Then lower the thread through a few beads to secure the weaving. Finally, glue the cabochon into its setting.
Proceed in the same way for the other earring. Your jewelry is finished! Beautiful creation! Find all the supplies to make this jewelry at the bottom of the page. |
||||
 |


To be reserved alone or with friends!

Join Perles Corner to discover our new products, exclusive tutorials, and many other surprises... and receive your voucher by email!


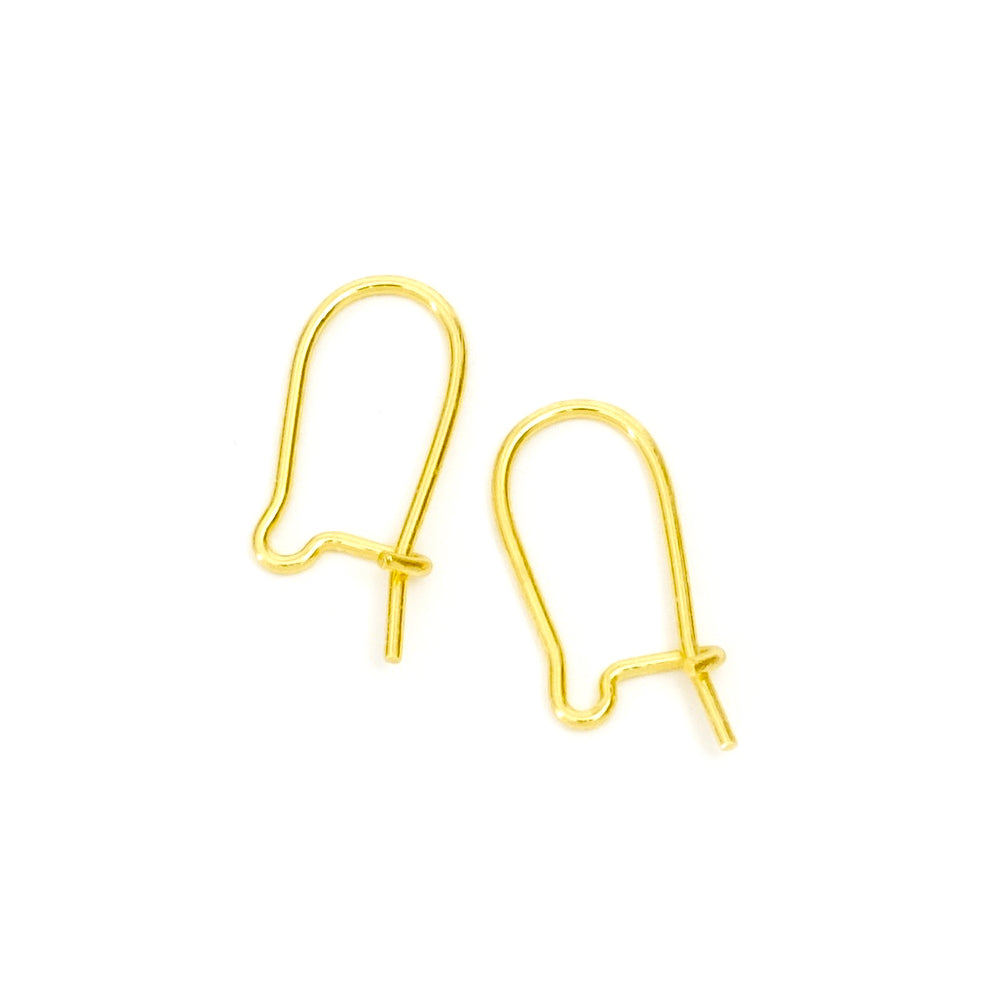
 2 gold-plated 24K sleeper earring supports