|
With this Choker Necklace tutorial, learn a new macramé weaving technique that is very simple to make for a joyful and colorful result! Start by choosing the cord colors, play with different pendants, shades, shapes, then get started to easily create a piece of jewelry that will accompany you all summer! A very easy tutorial suitable for beginner and experienced creators. Beautiful creation!
|
|---|
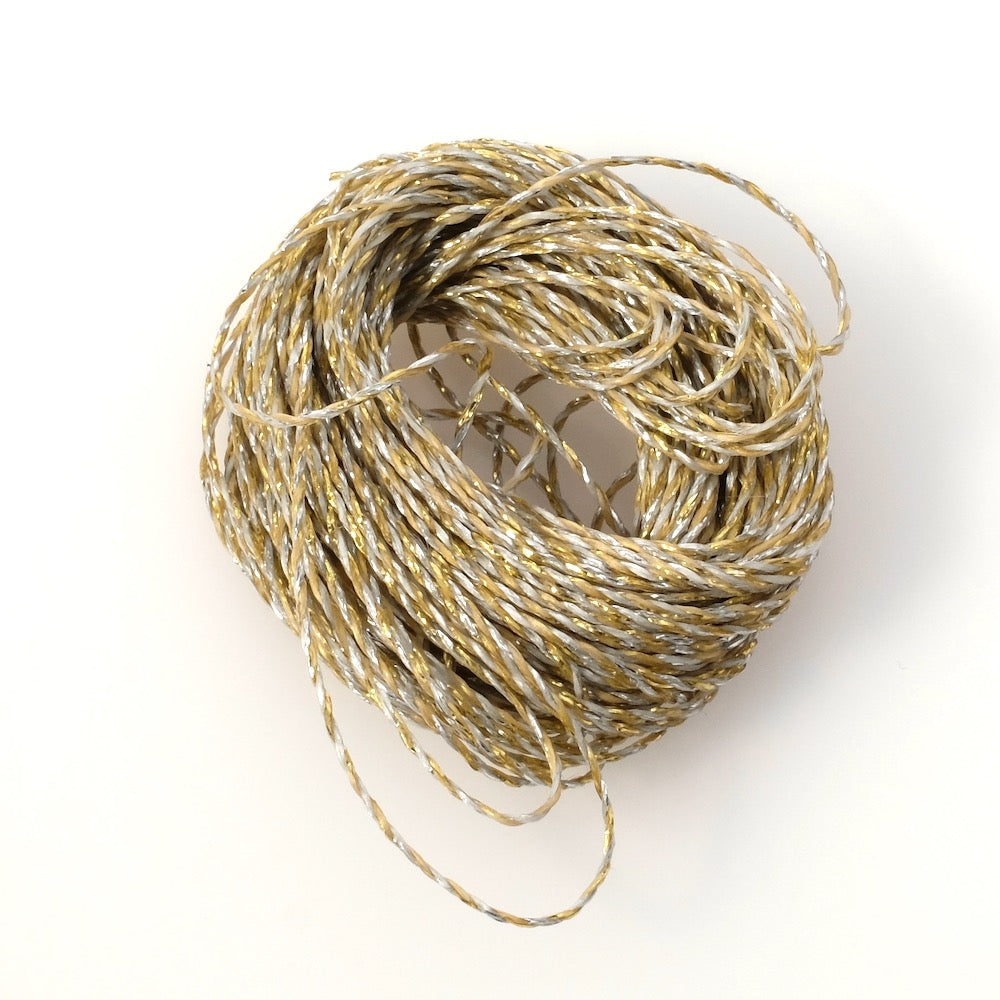
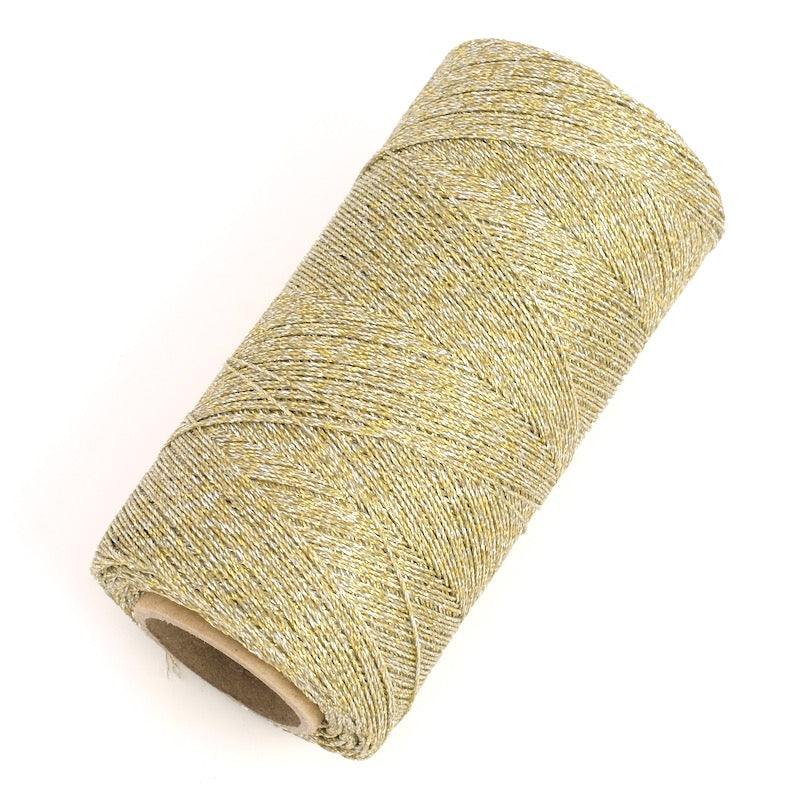
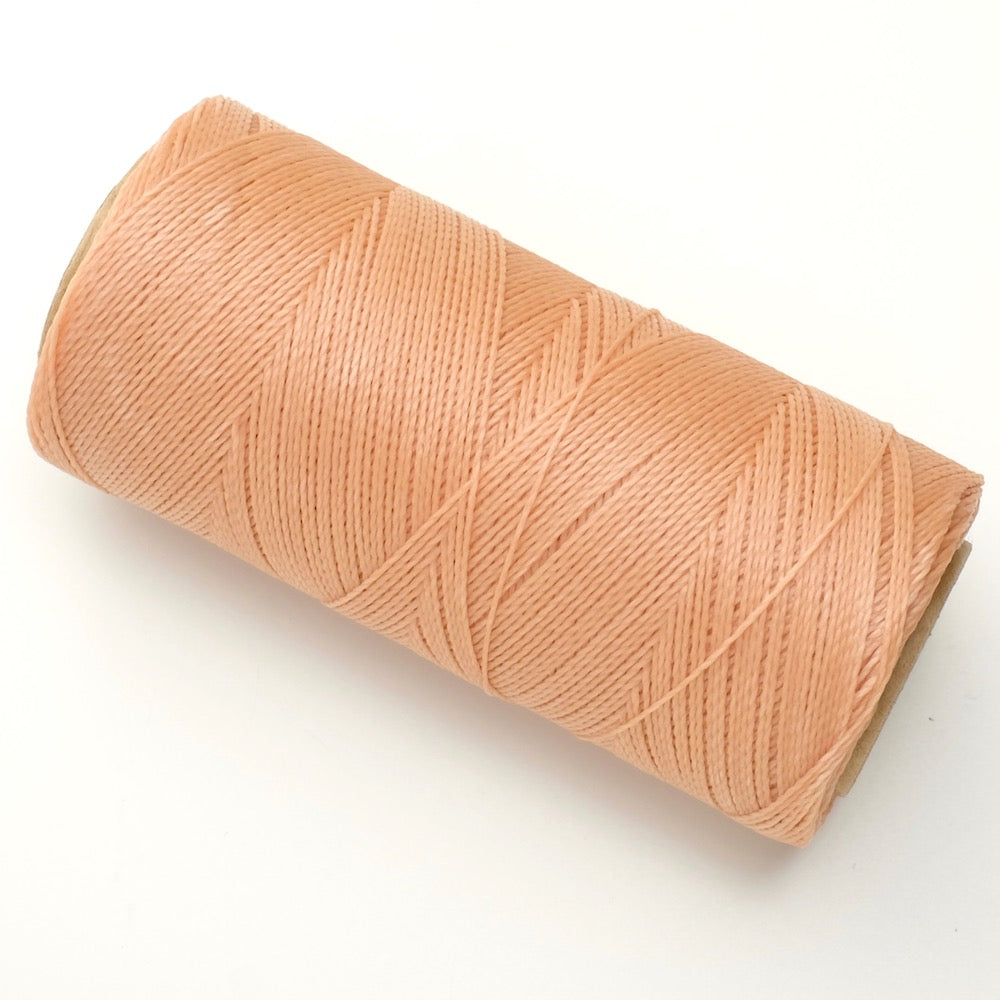
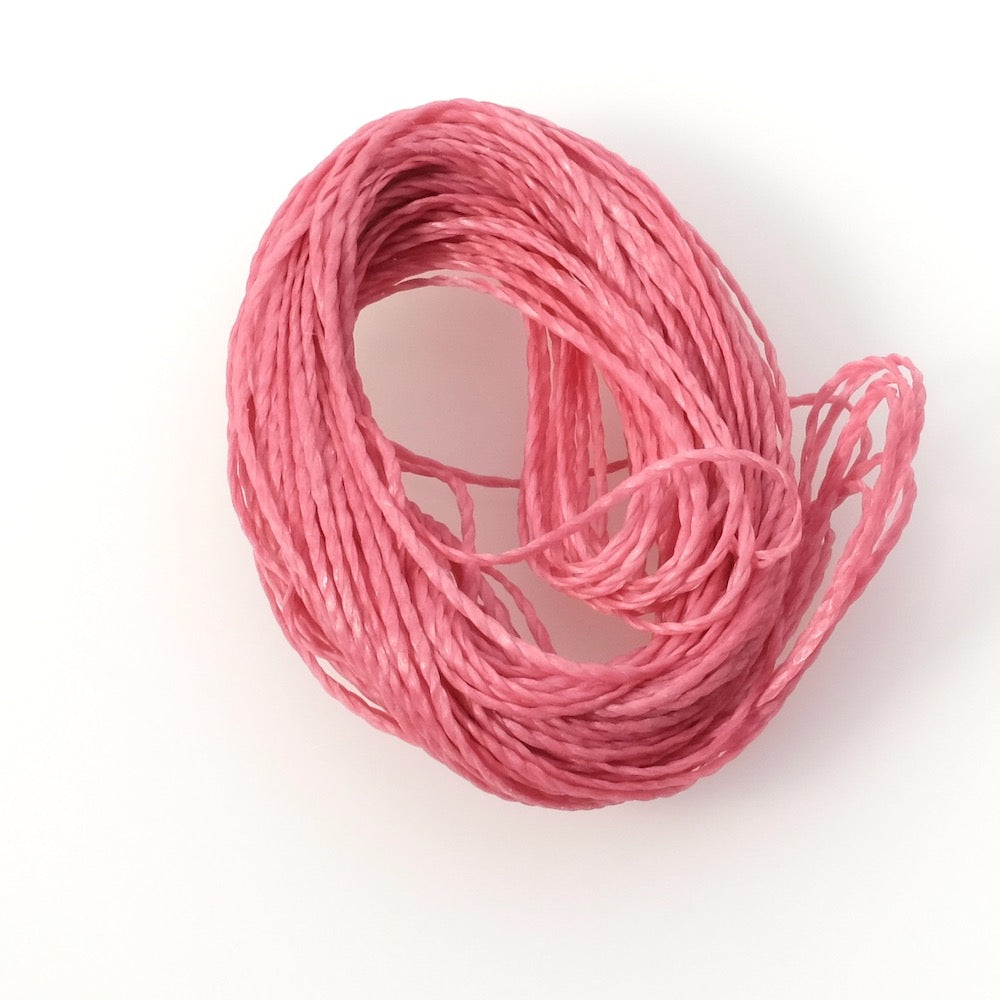
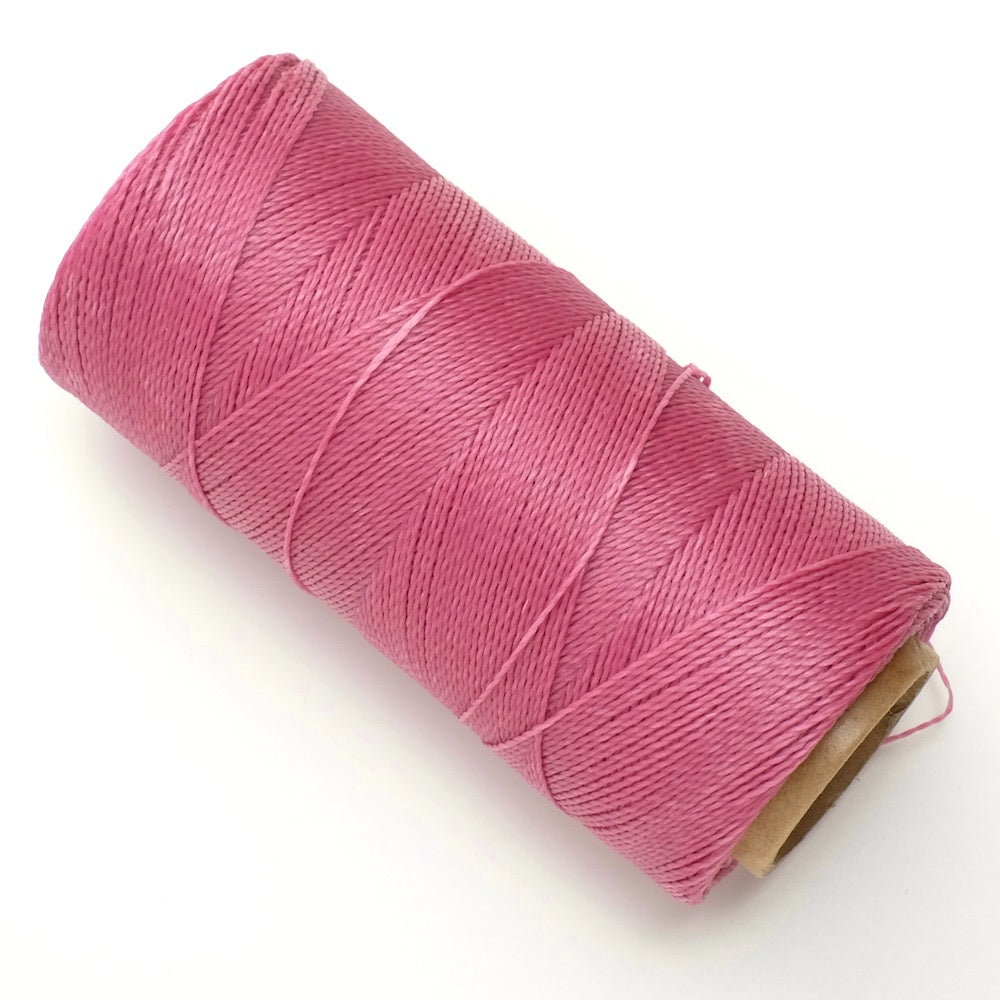
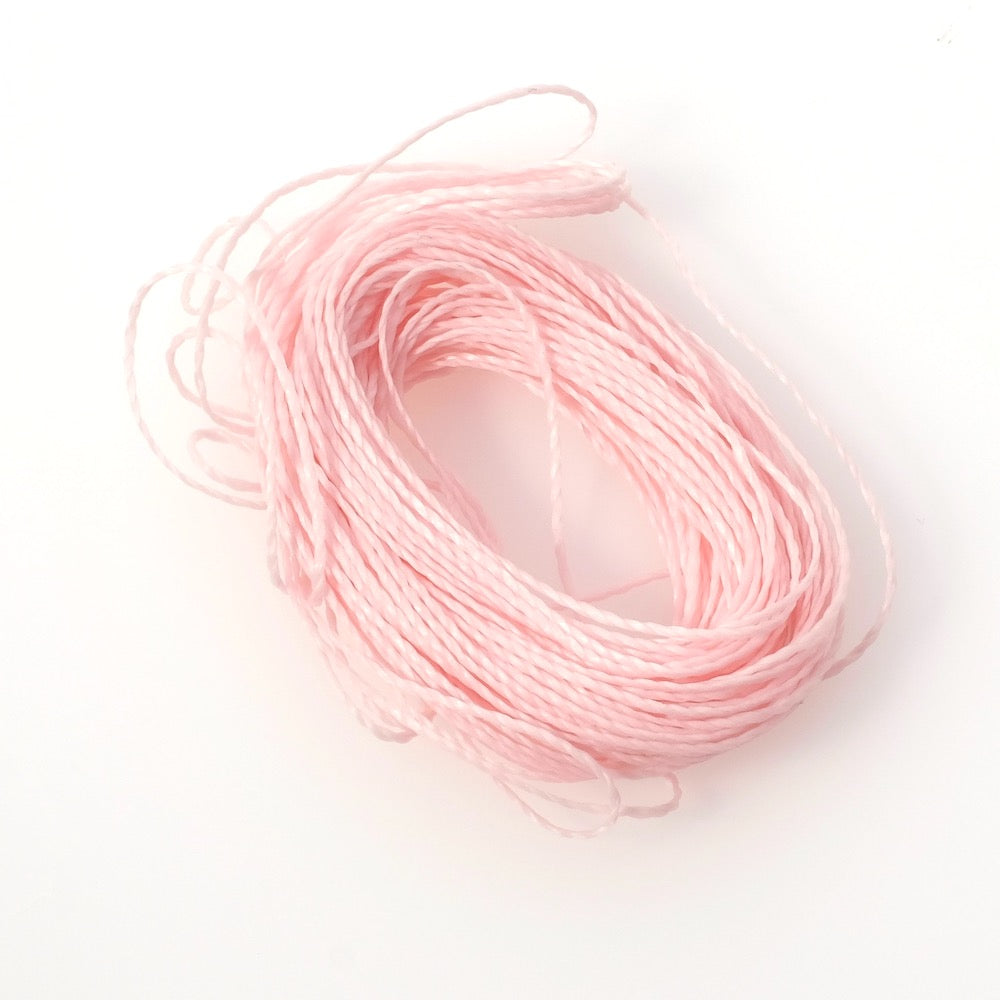
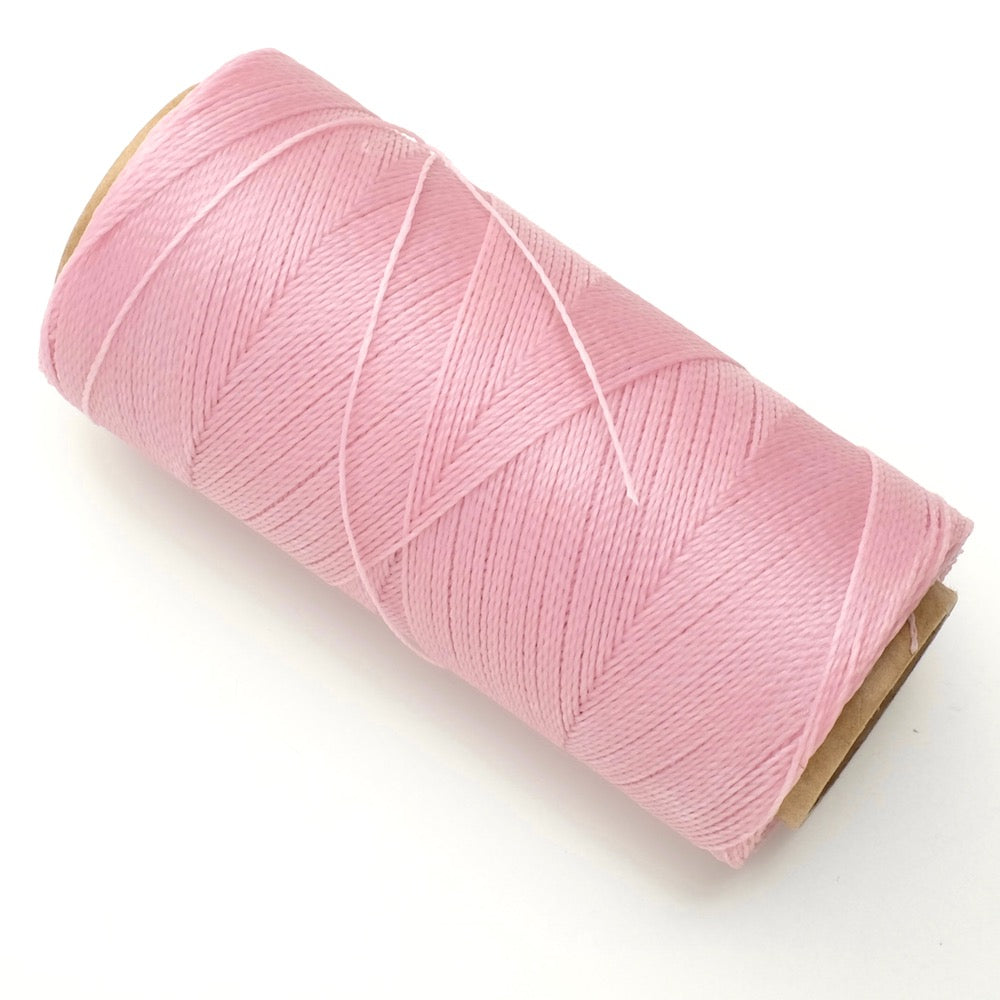
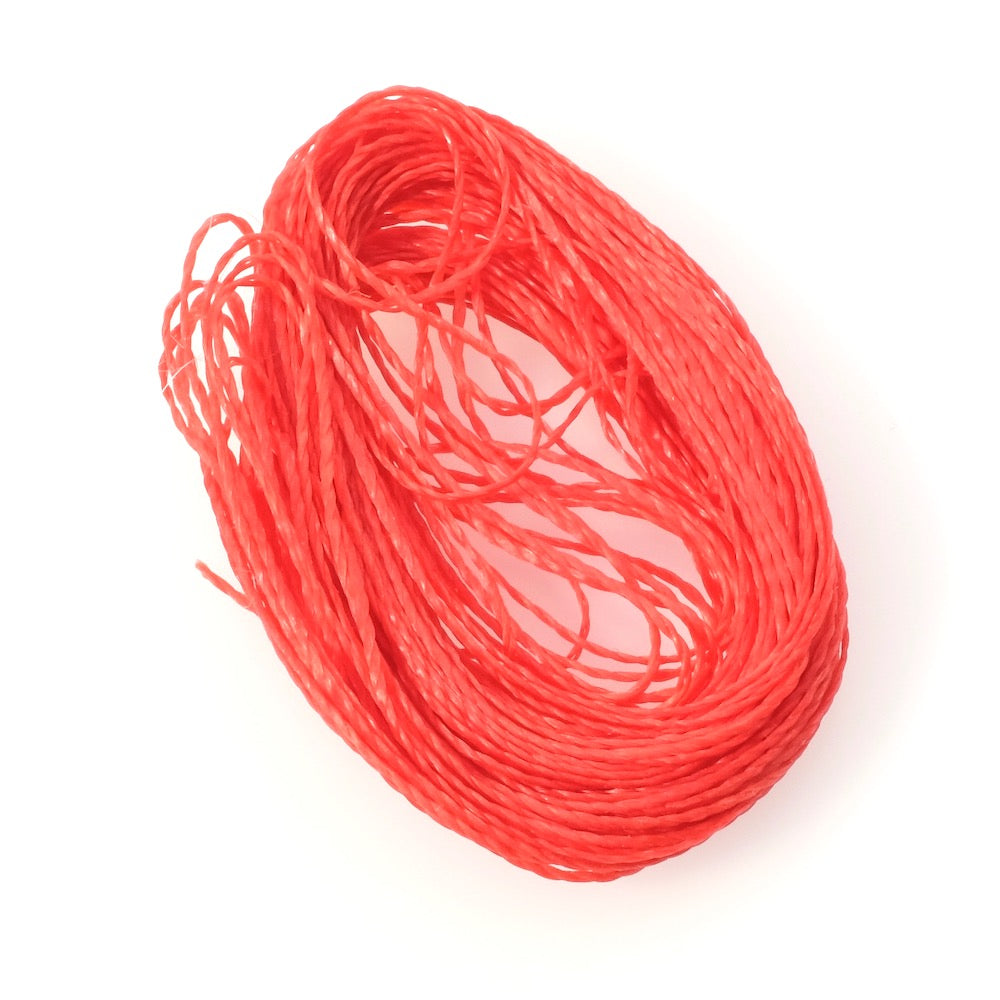
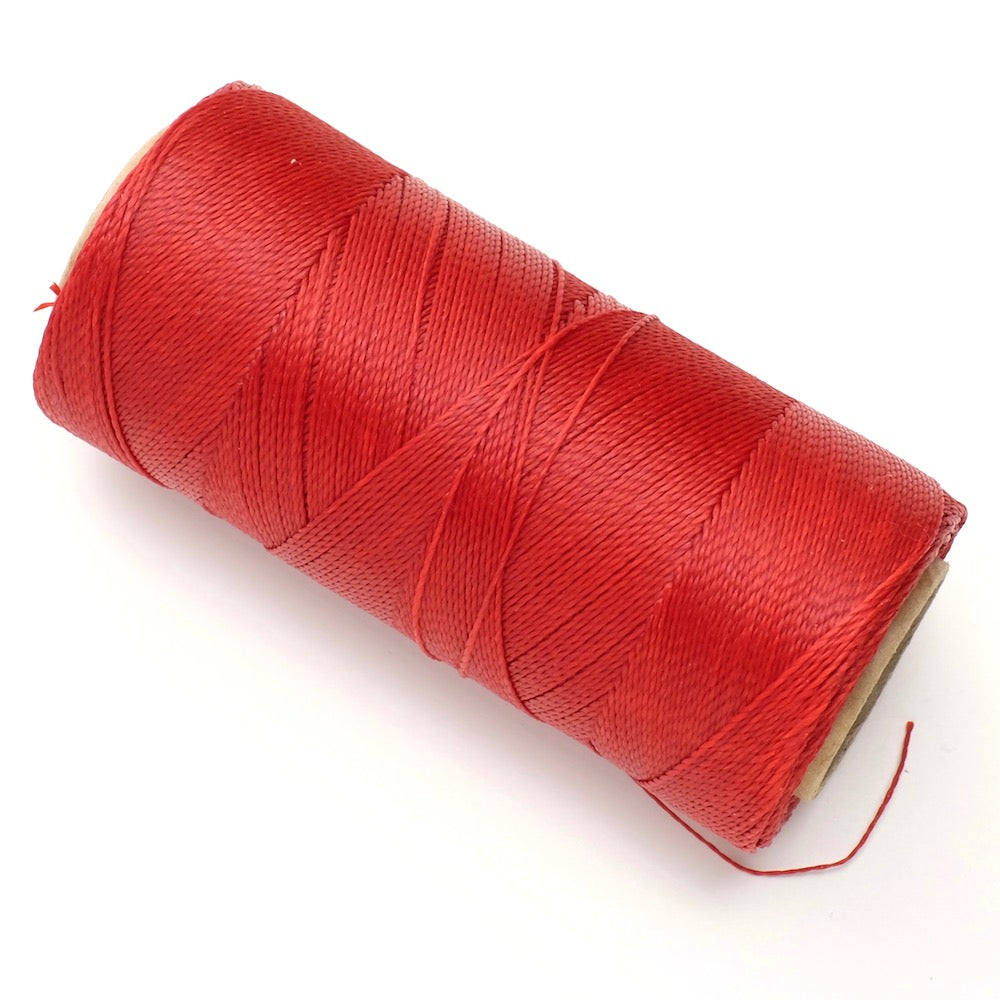
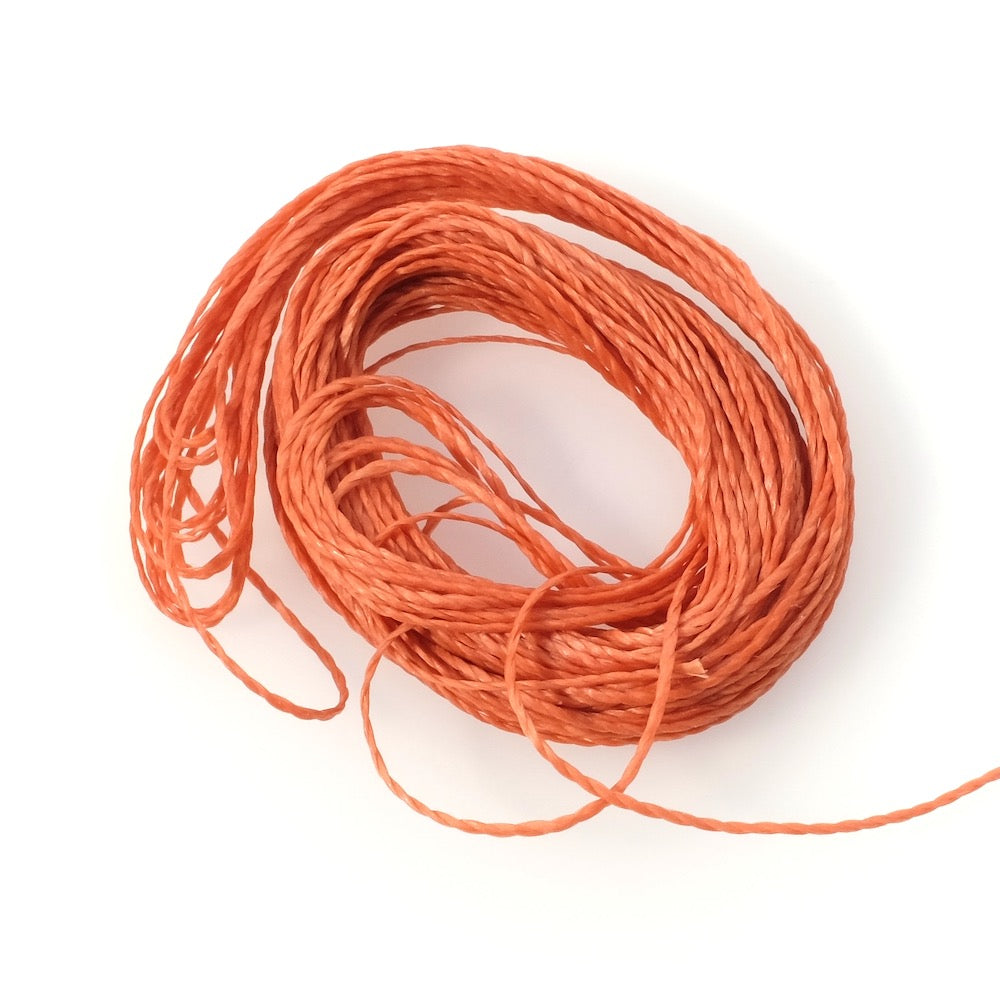
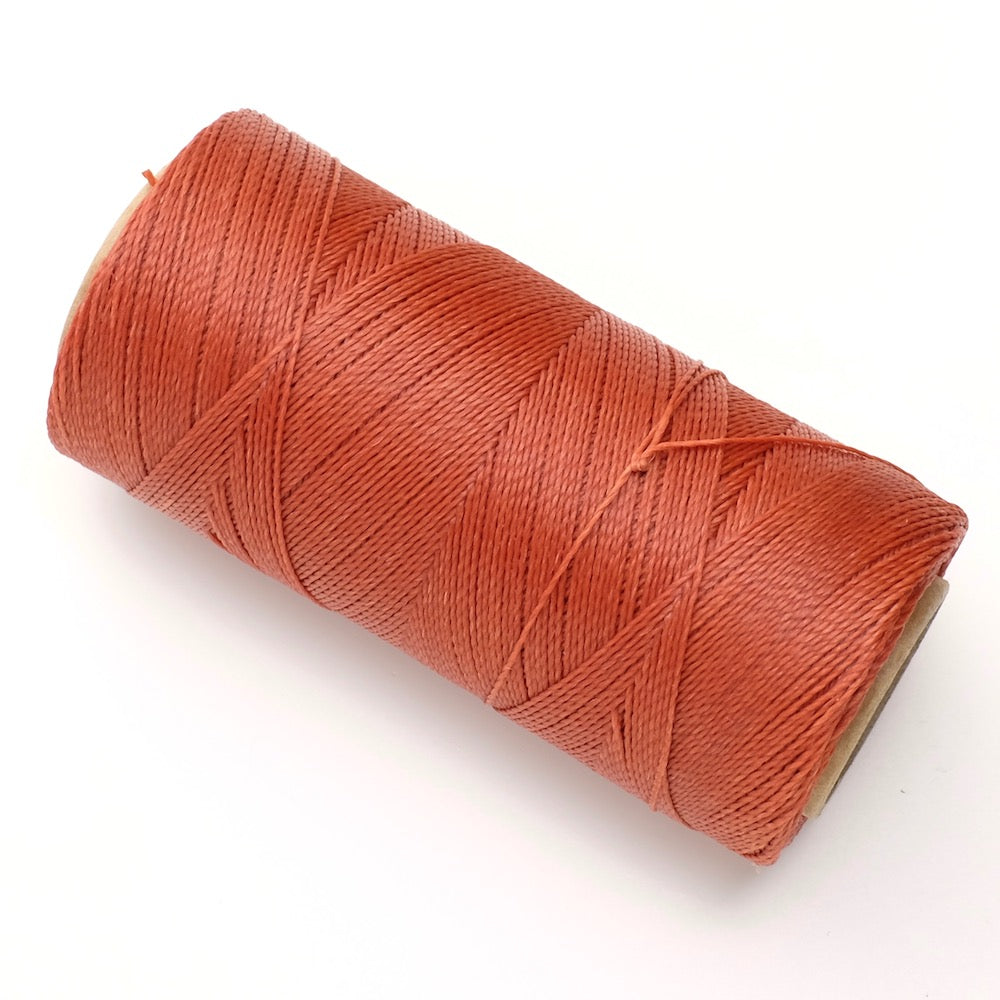
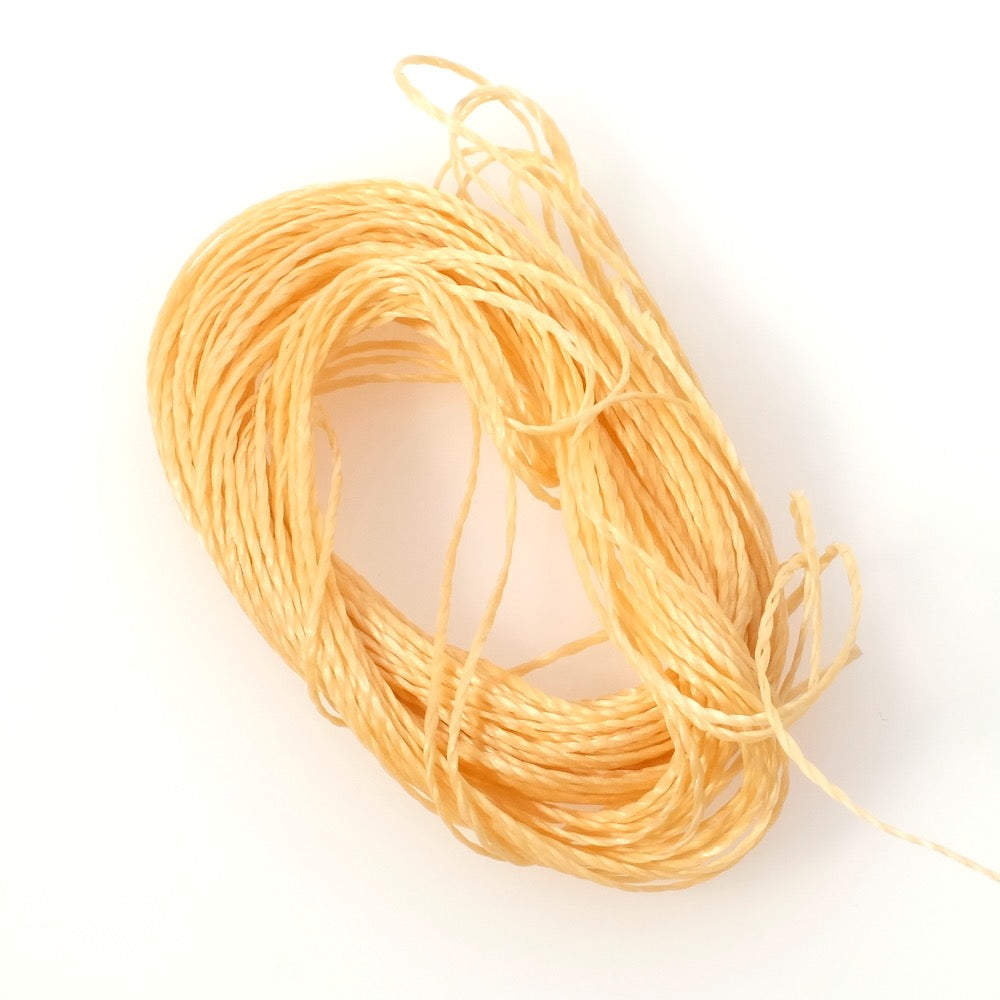
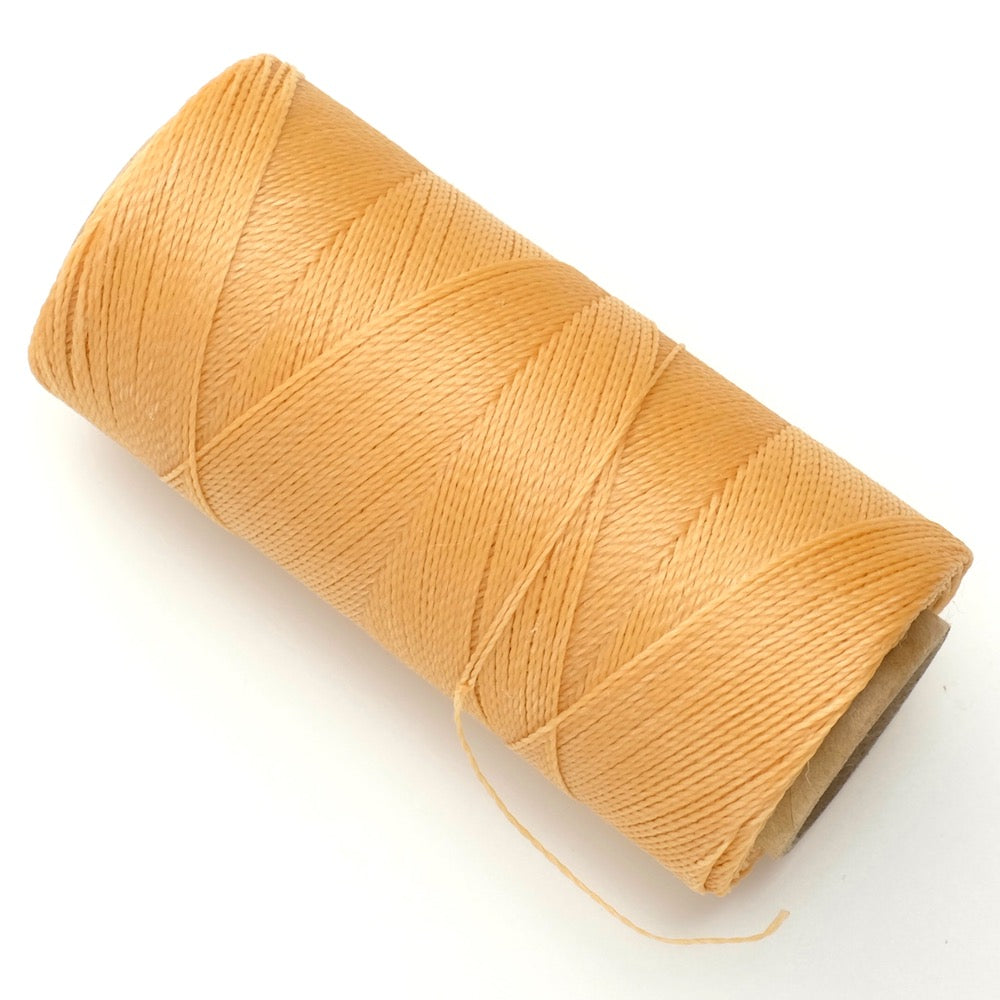
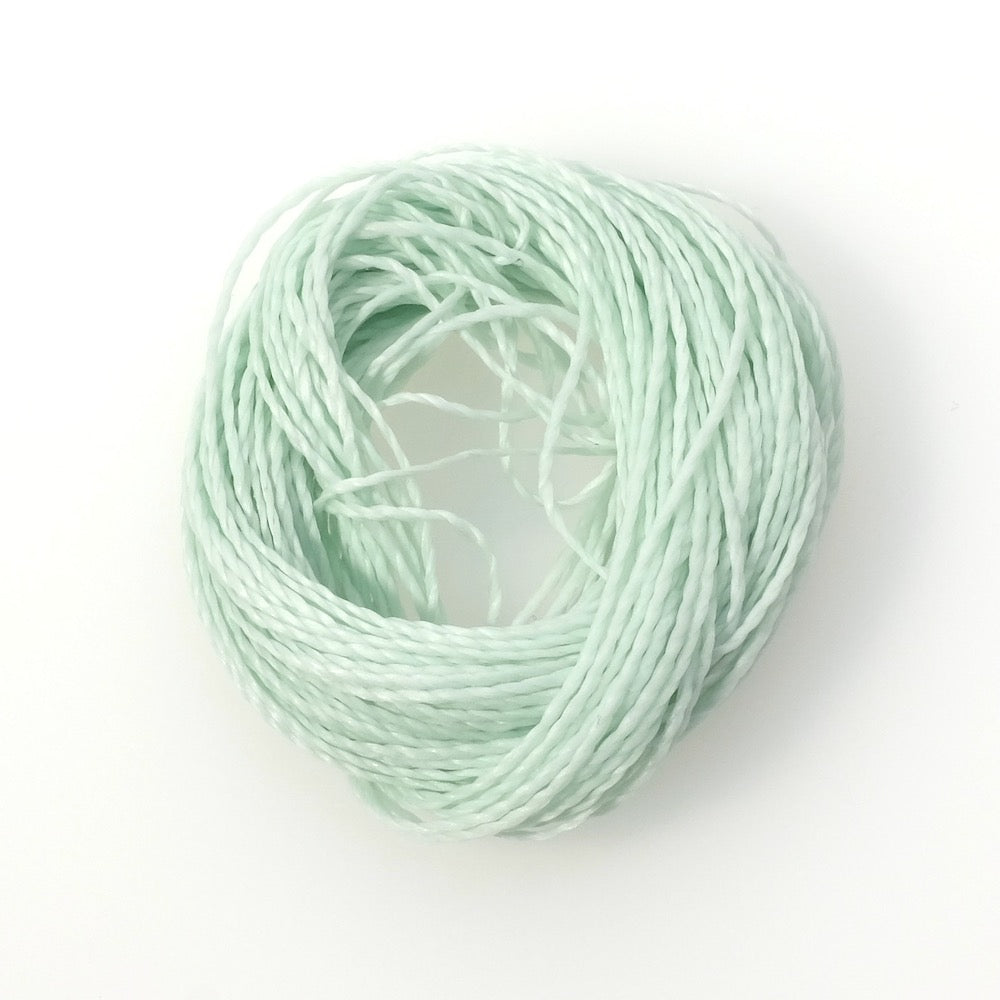
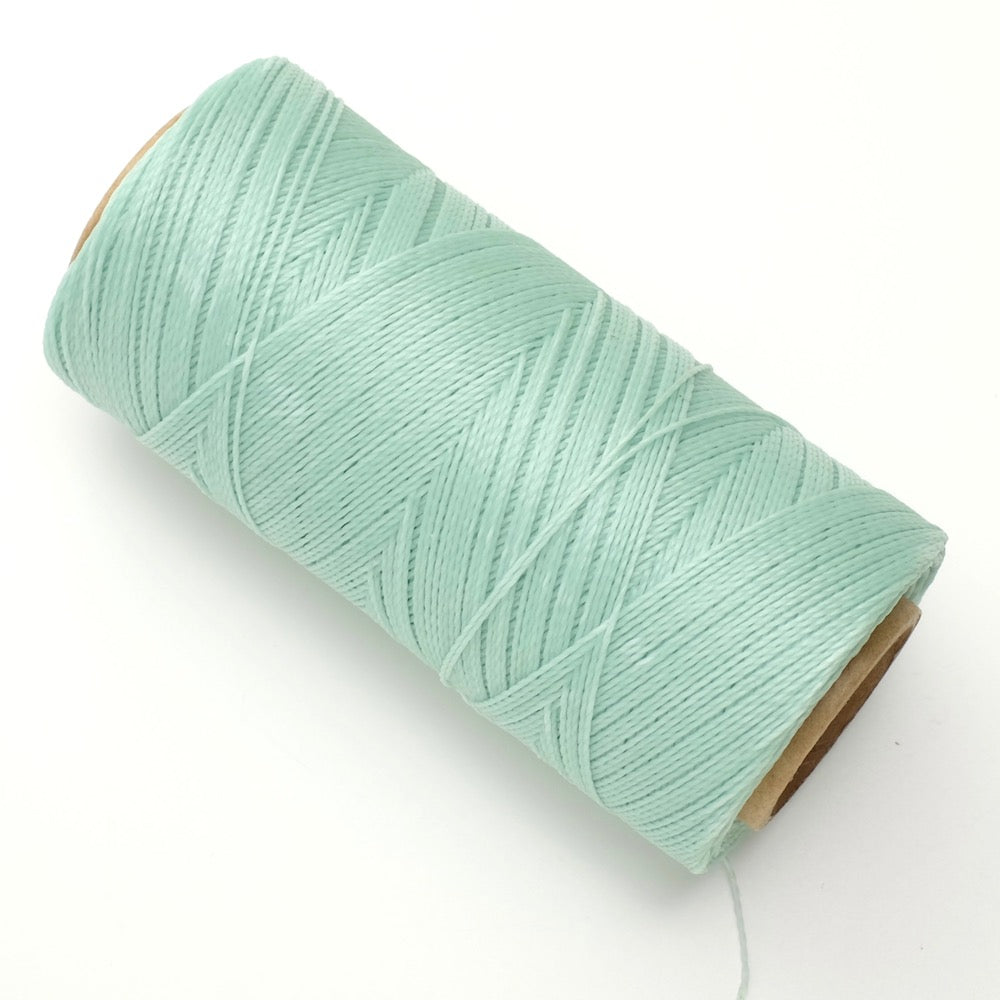
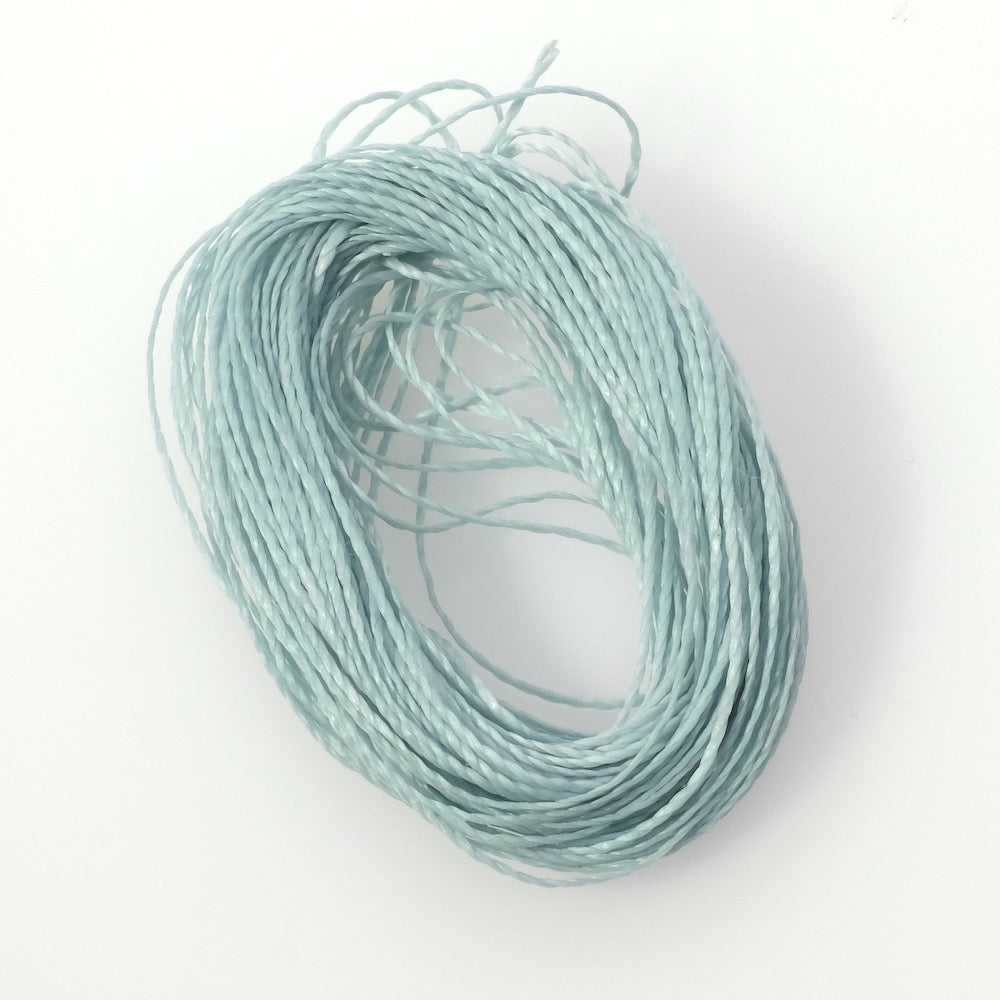
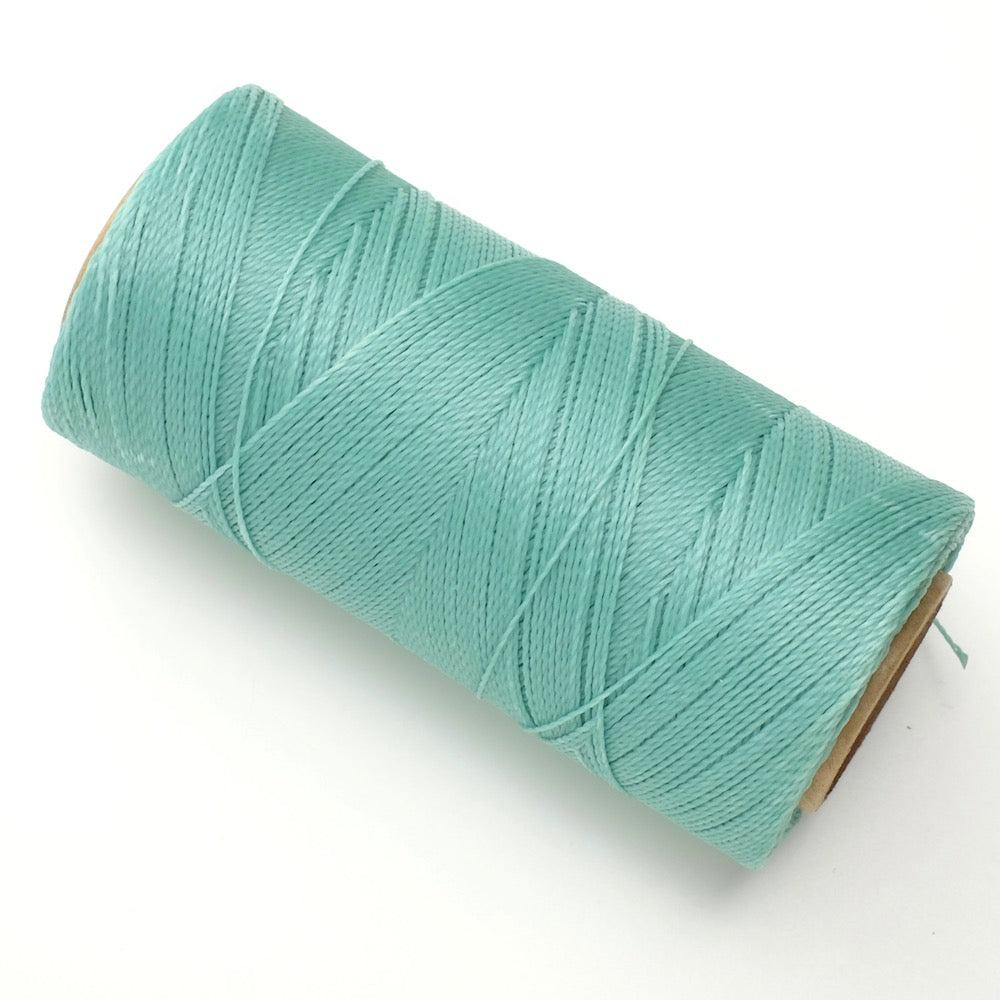
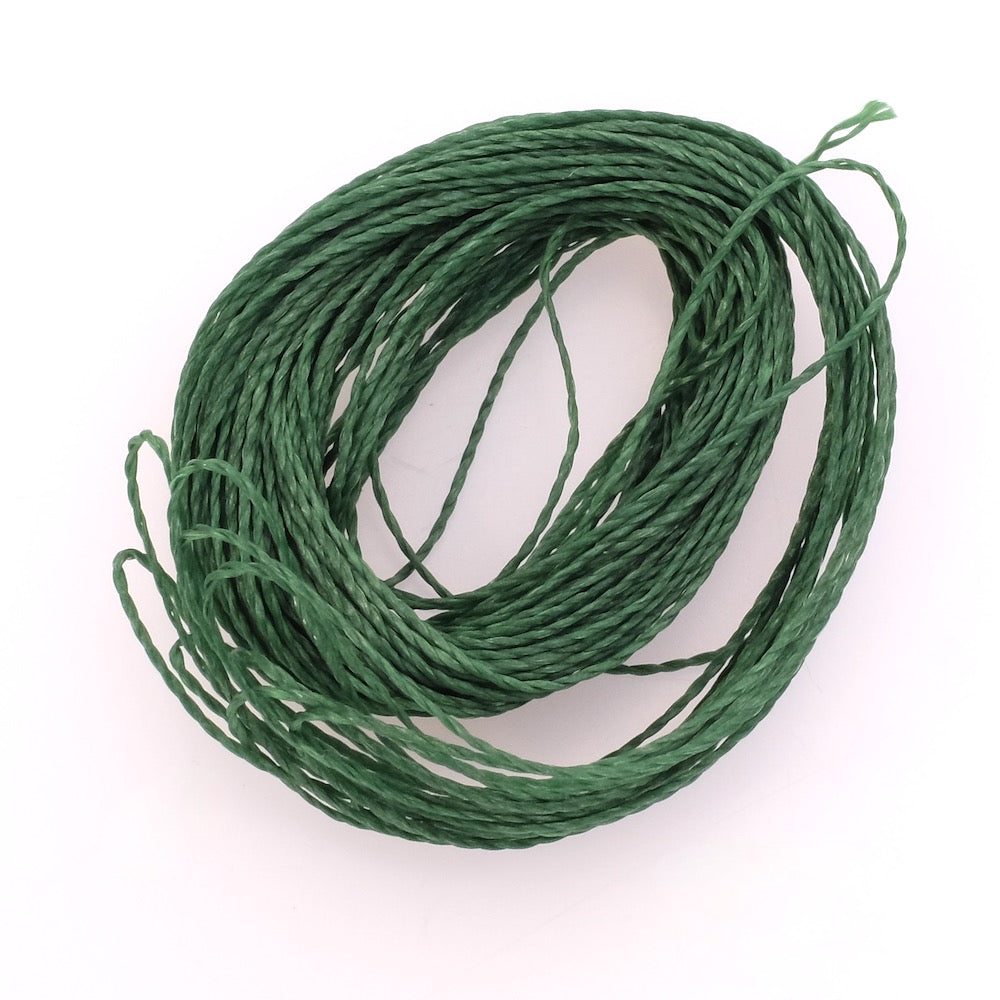
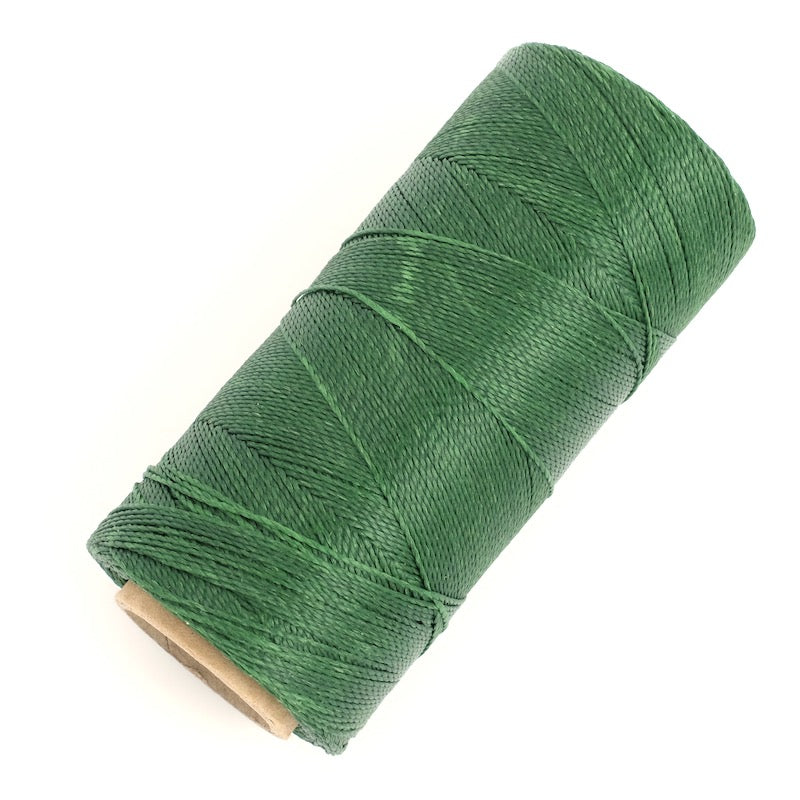
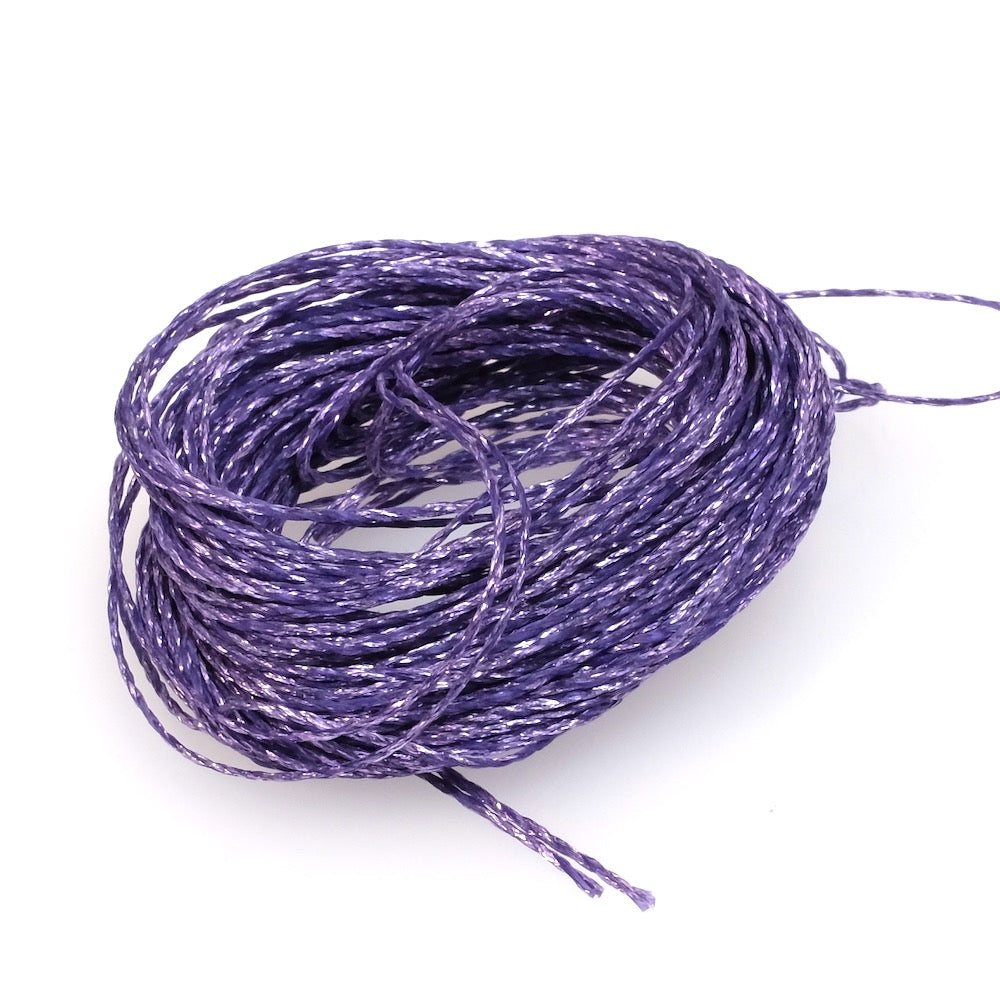
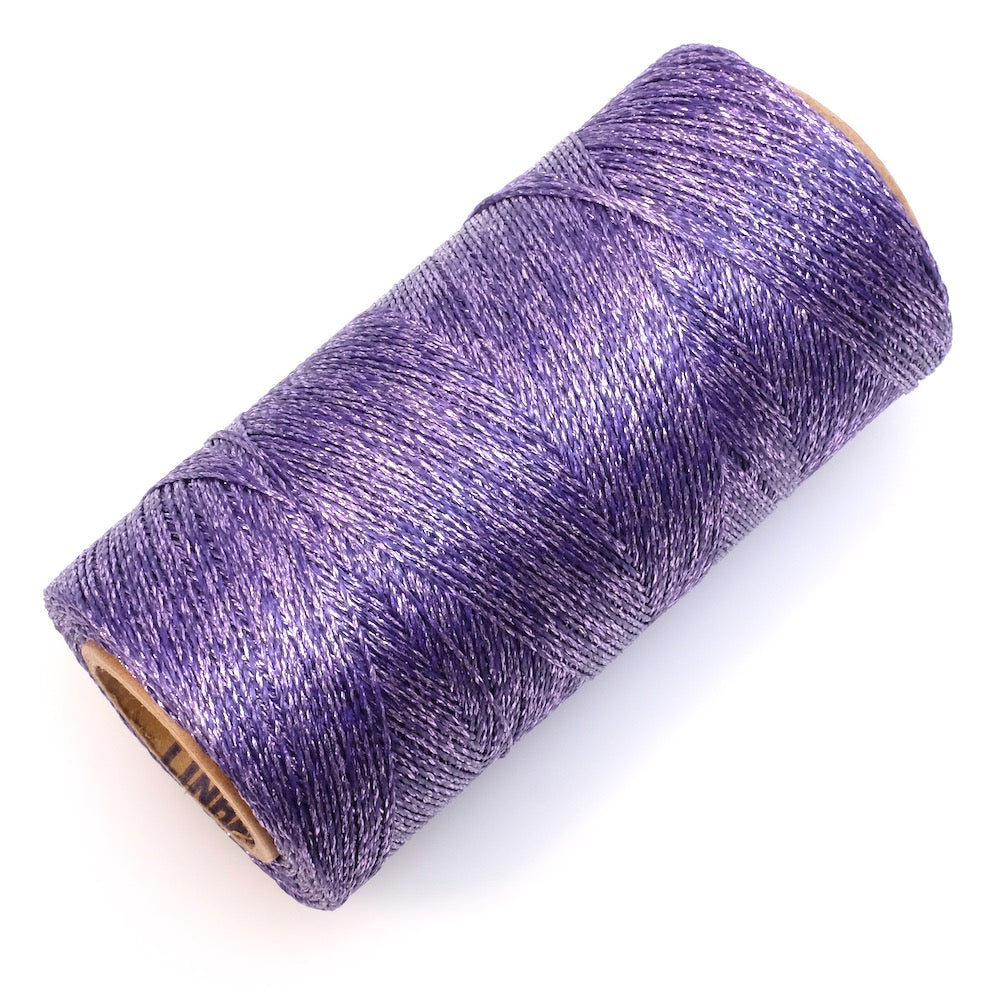
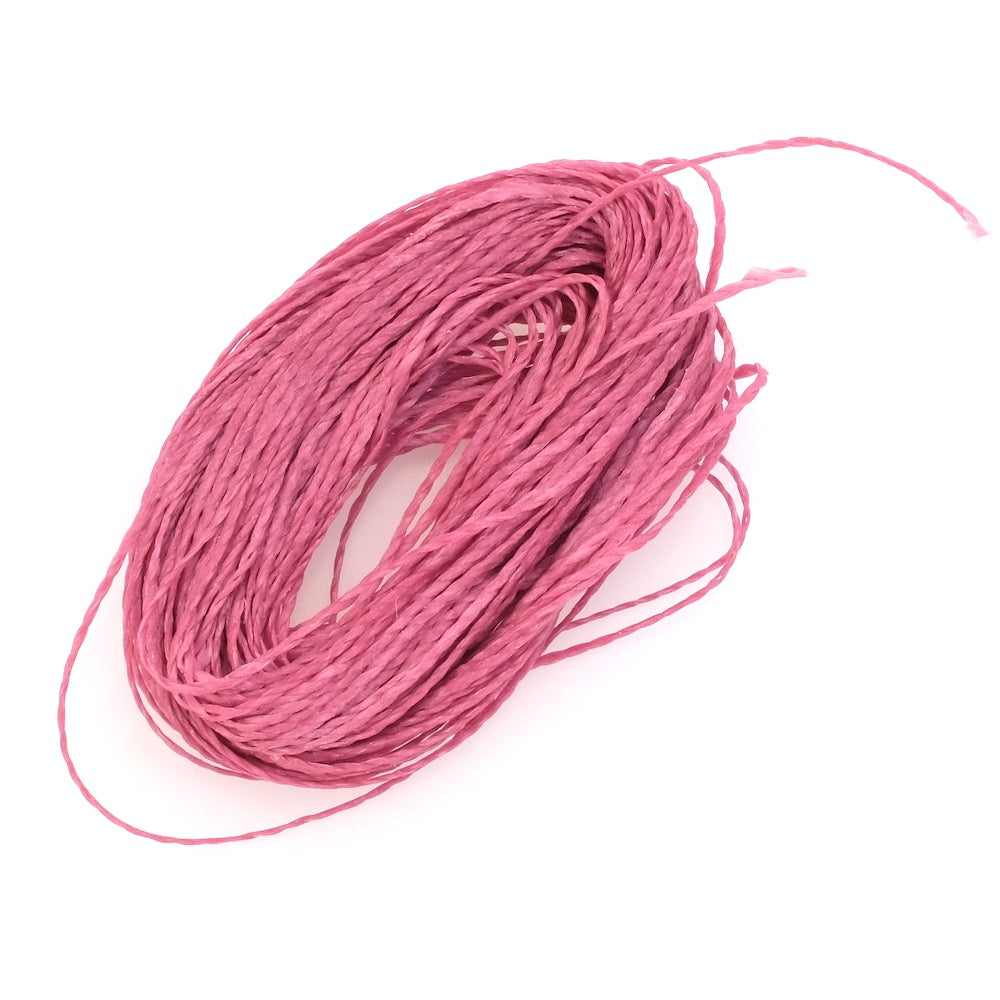
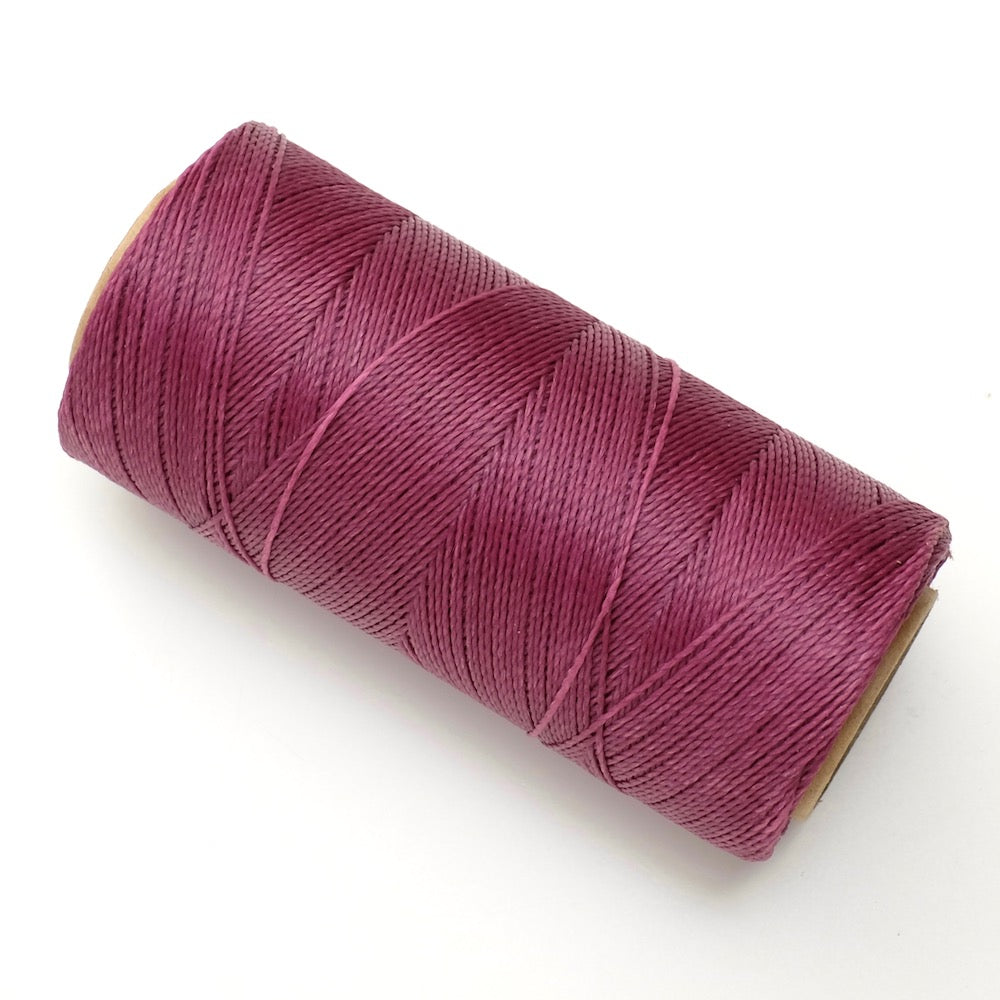
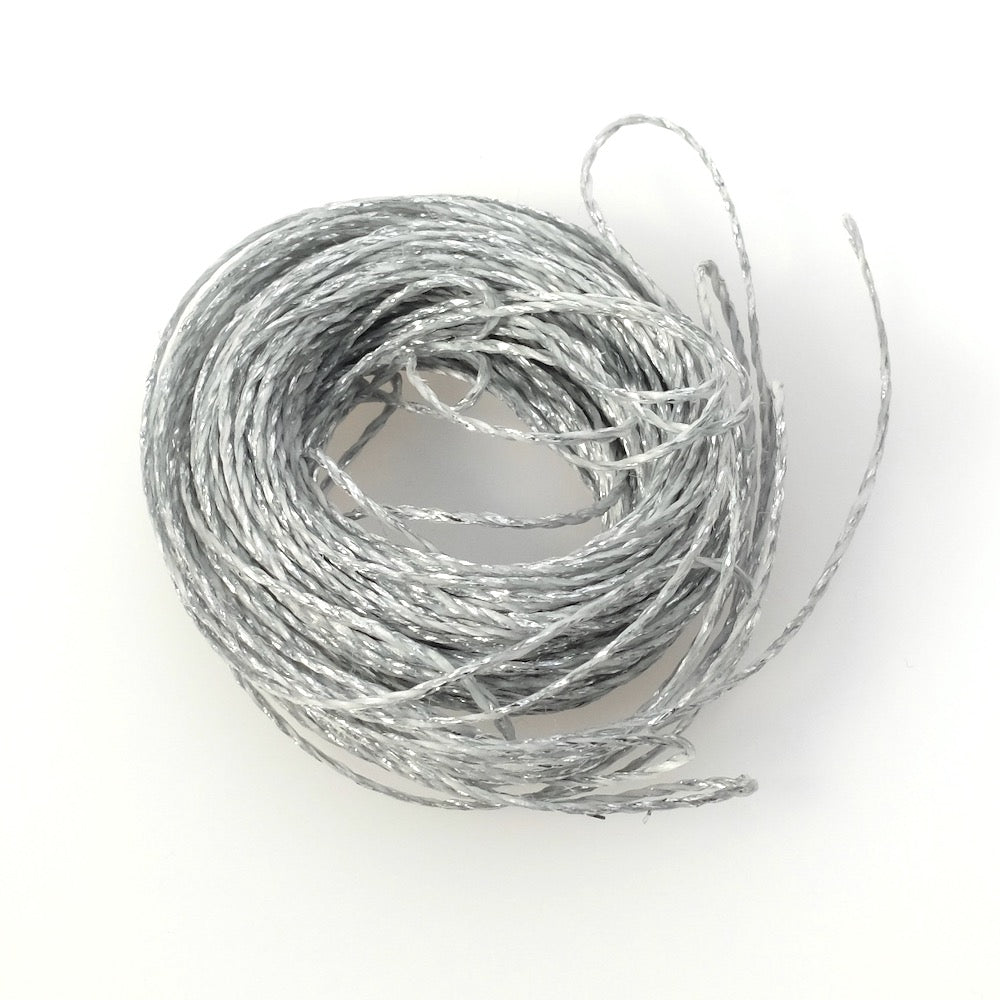
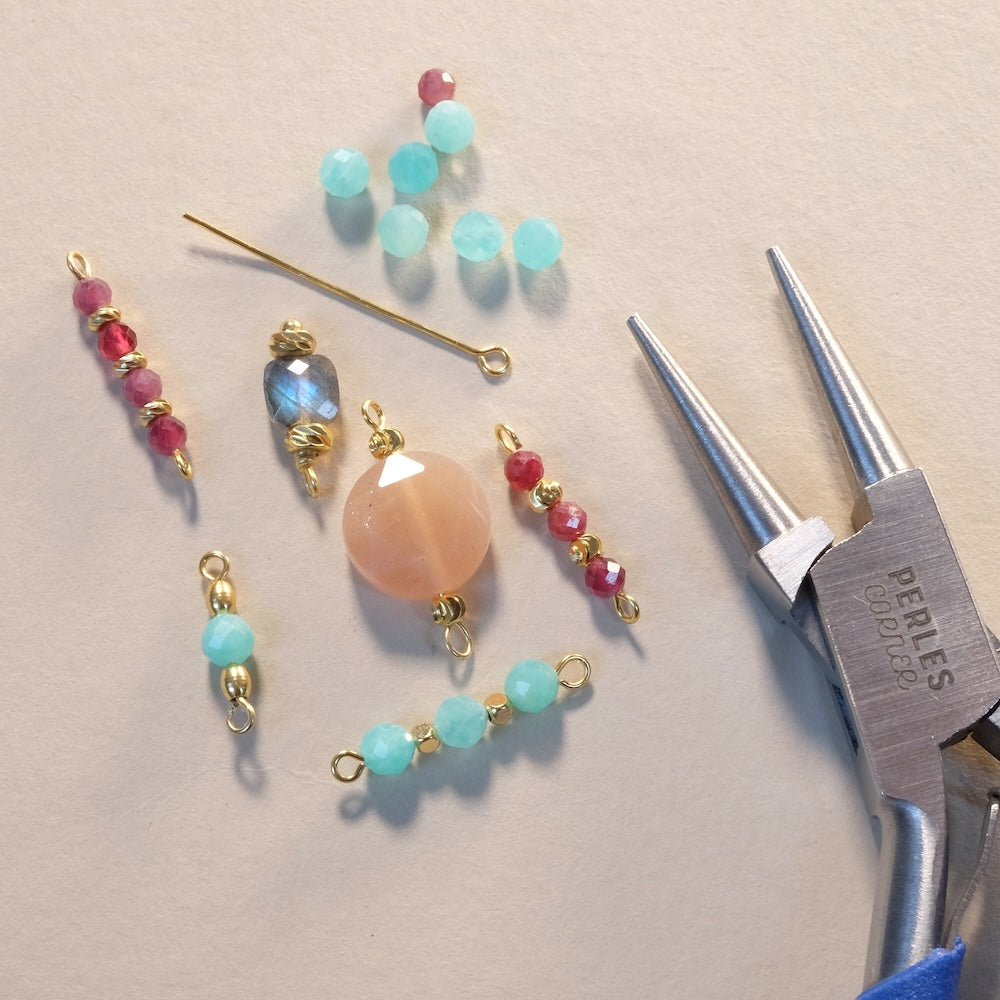
| For this project you need: | ||||
|
|
||||
| Tools to use: | ||||
|
|
||||
|
The assembly: |
||||
|
This creation is very easy to make, for this we will create a colorful cord by mixing different threads. You will see it is a very simple weaving technique that will allow you to change color very easily and thus create a unique and totally personalized cord. Here we will make a 4mm diameter cord, for this take 8 cords of 0.5mm diameter. Play with contrasts or create a beautiful gradient of solid colors. To start, cut 8 threads about 1.5 meters each, then make a simple knot with all the cords at the end. This locks the threads together; this knot will be hidden in the end cap at the end.  Now start weaving. Take a colored thread (here the blue thread is used as an example) then pass it under the other threads. Then pass the blue thread over the others and pass it through the created loop. The blue thread thus traps the other 7 threads. Always with this method, continue the knots in the same direction. This way you get a spiral knot.  When you want to change thread color, bring the previous thread to the center with the other threads, then bring the colored thread outwards. Continue the knots always in the same direction. It's very easy! Be careful to tighten the knots well, especially when changing color!  Continue assembling until the desired length. For a choker necklace, we made a 38cm cord, then the clasp and extension chain will be added to adjust the necklace. Make a simple knot with all the threads at the edge of the last knot. Thread the closed rings onto the cord, then position the different pendants with 5mm rings. This ring size allows you to place the pendants where you want without them moving too much or getting stuck on the cord.  Finally, cut the threads flush with the knots at the ends. Finally, cut the threads flush with the knots at the ends.Place glue in the ends, being careful not to use too much, then thread the ends of the cord.
Make sure the glue is dry before handling the cord.
Now With 4mm rings, place the clasp and the extension chain on the ends.
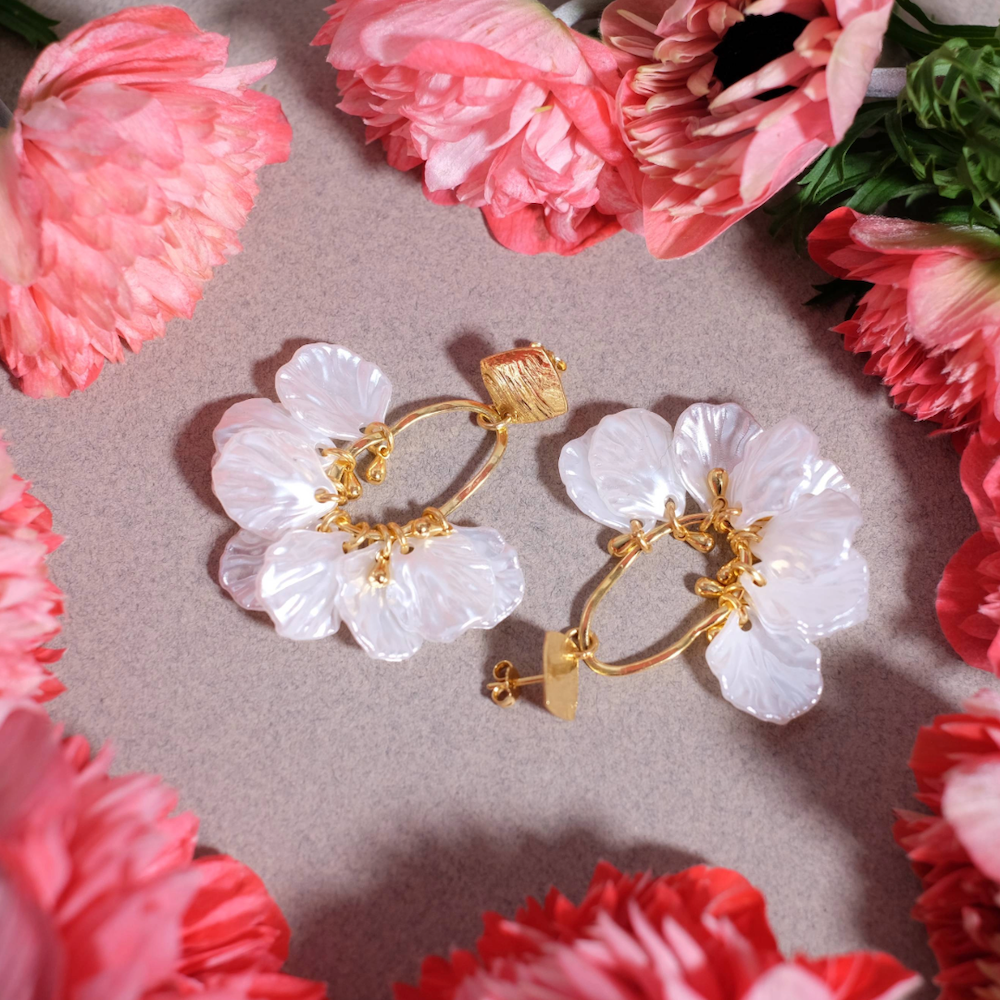
 Your jewelry is finished! Beautiful creation! You can also adjust the length of the cord to wear it as a multi-wrap bracelet! |
||||


To be reserved alone or with friends!

Inspirations, tutorials, and new arrivals: receive the best of handmade in your inbox.


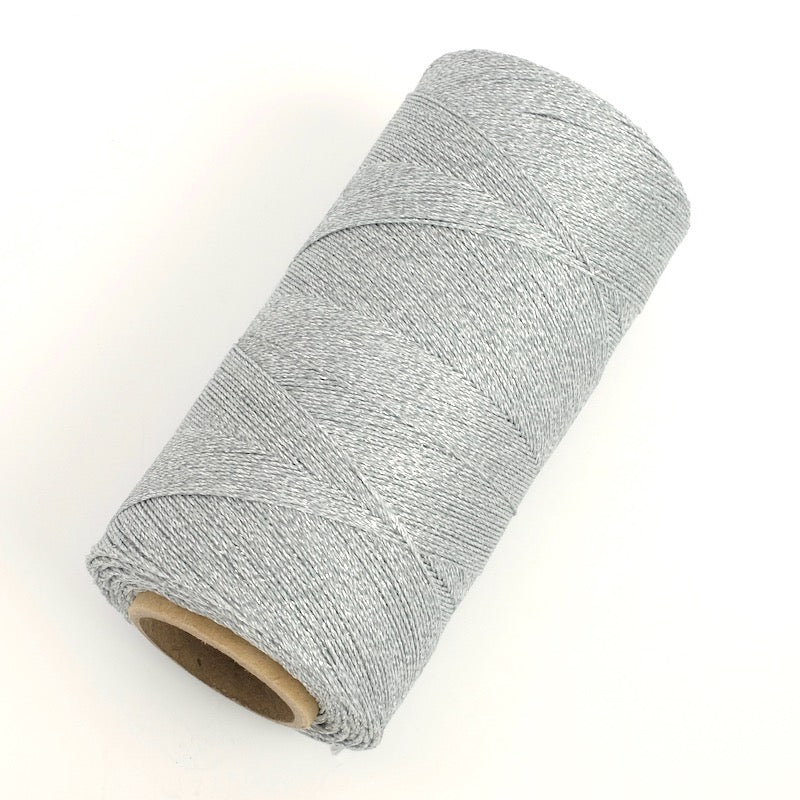
 Linhasita cords 0.5mm (8 colors)
 jewelry making pliers