|
Dive into a finely crafted creative project: this bohemian multi-strand necklace combines a delicate gold chain from which hang clusters of small garnet, a second strand alternating amazonite beads and gold beads on a pearl strand of irregular mother-of-pearl. Result: a colorful, bright, and elegant choker necklace, composed of Gem beads. This tutorial guides you step by step: connections, threading, bead positioning, and finishing tips. Ideal if you’re looking for a DIY jewelry piece that combines refinement, comfort, and harmony of natural shades.
|
|---|
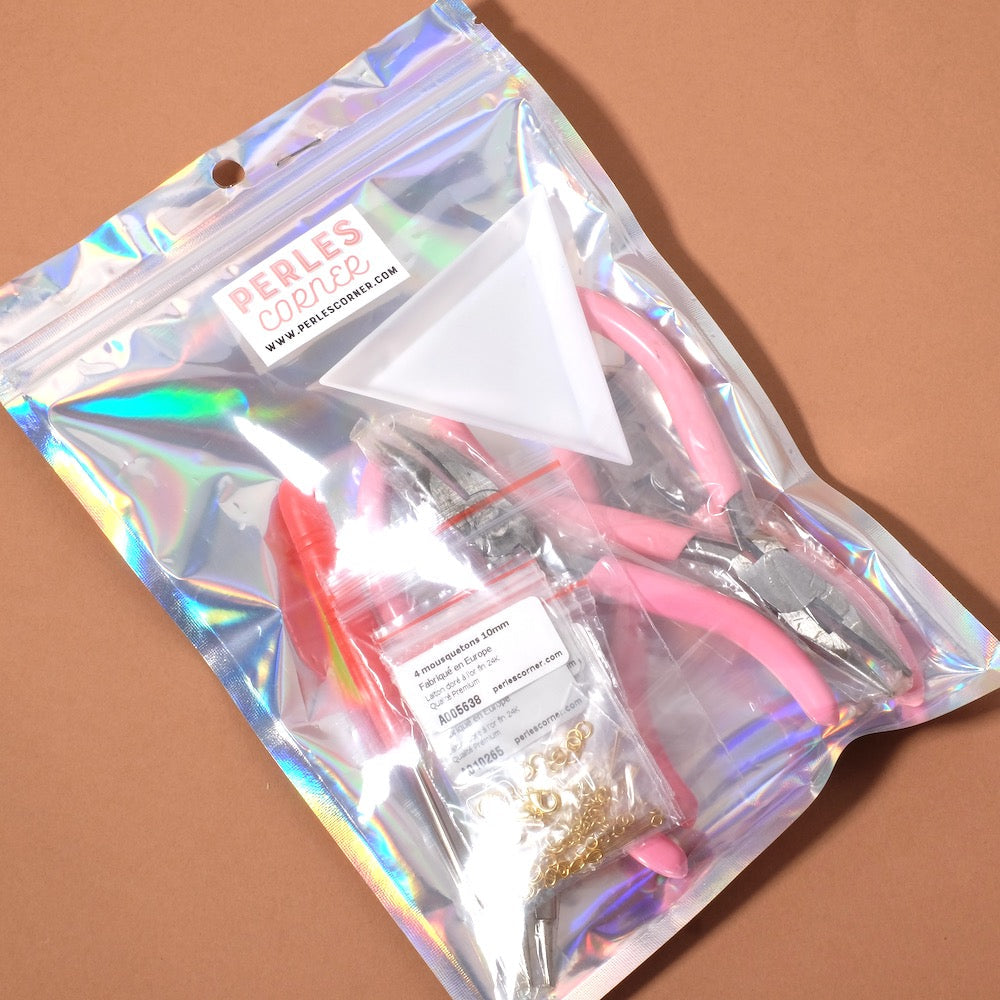
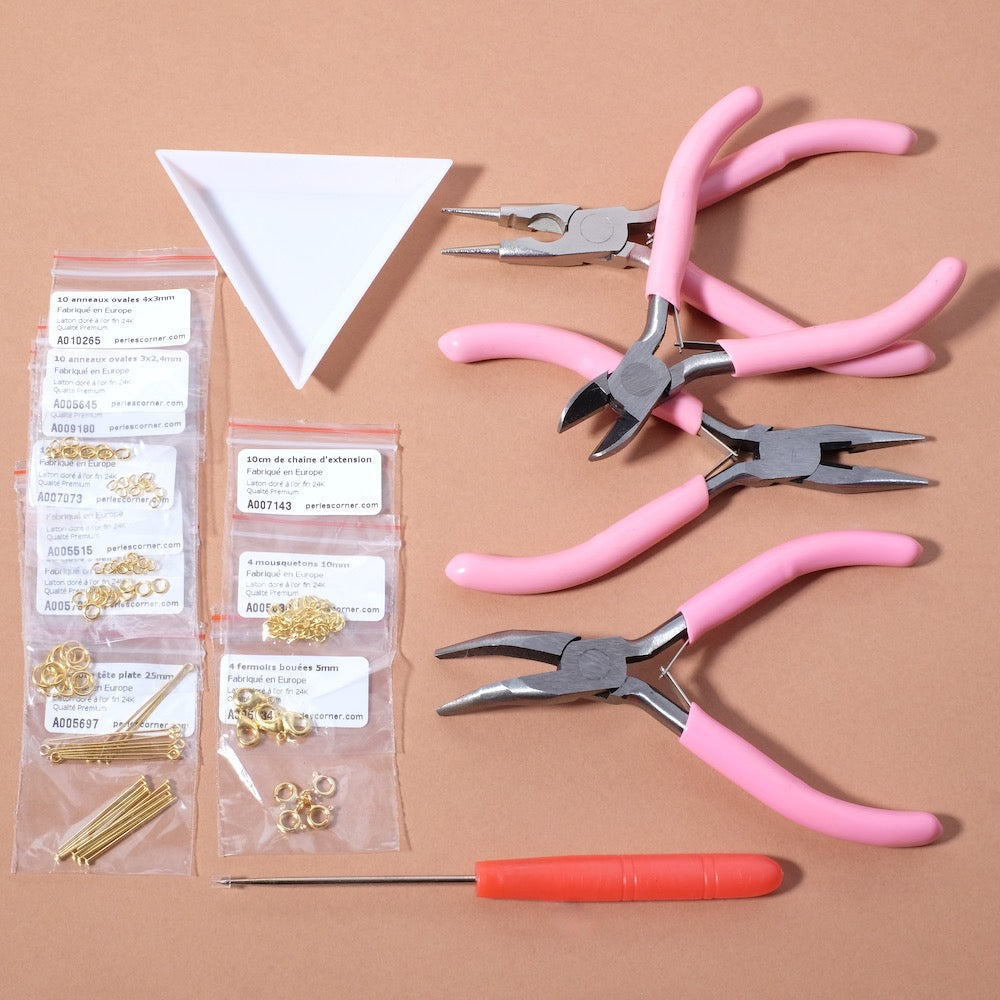
| For this project you need: | ||||
|
|
||||
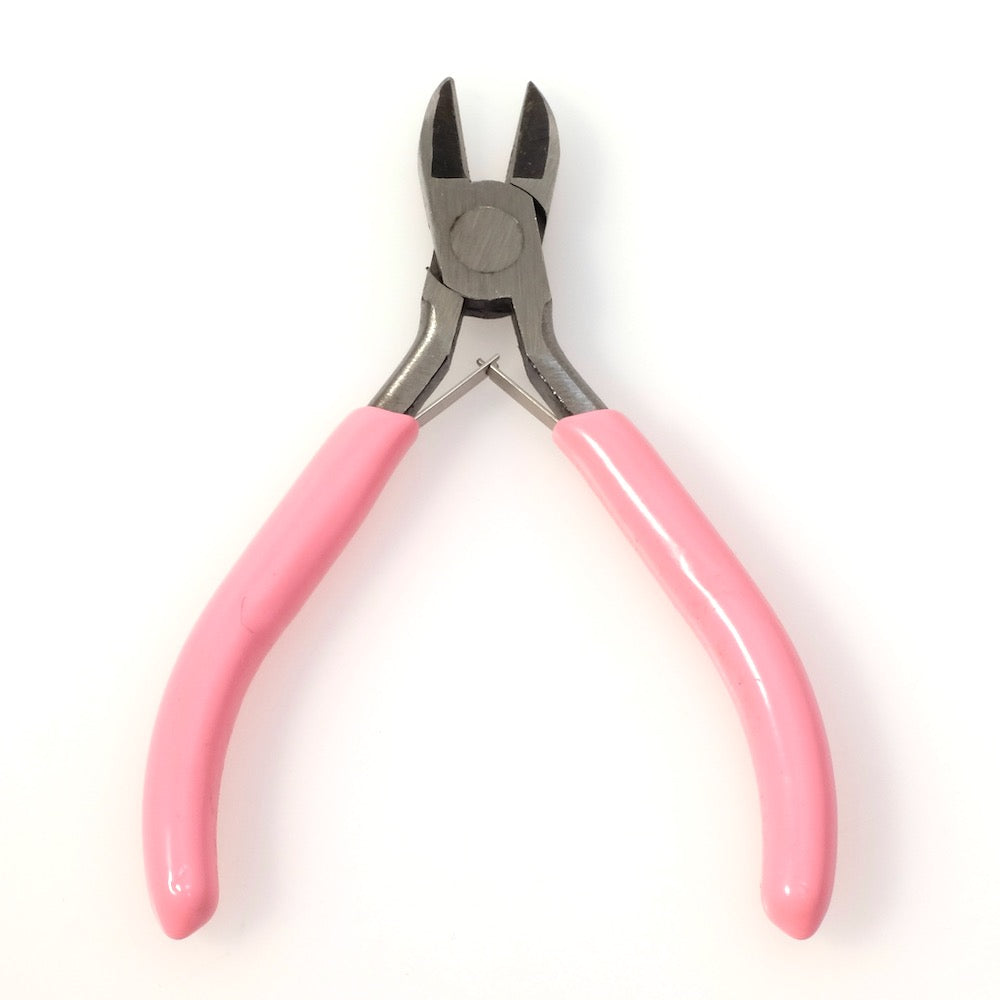
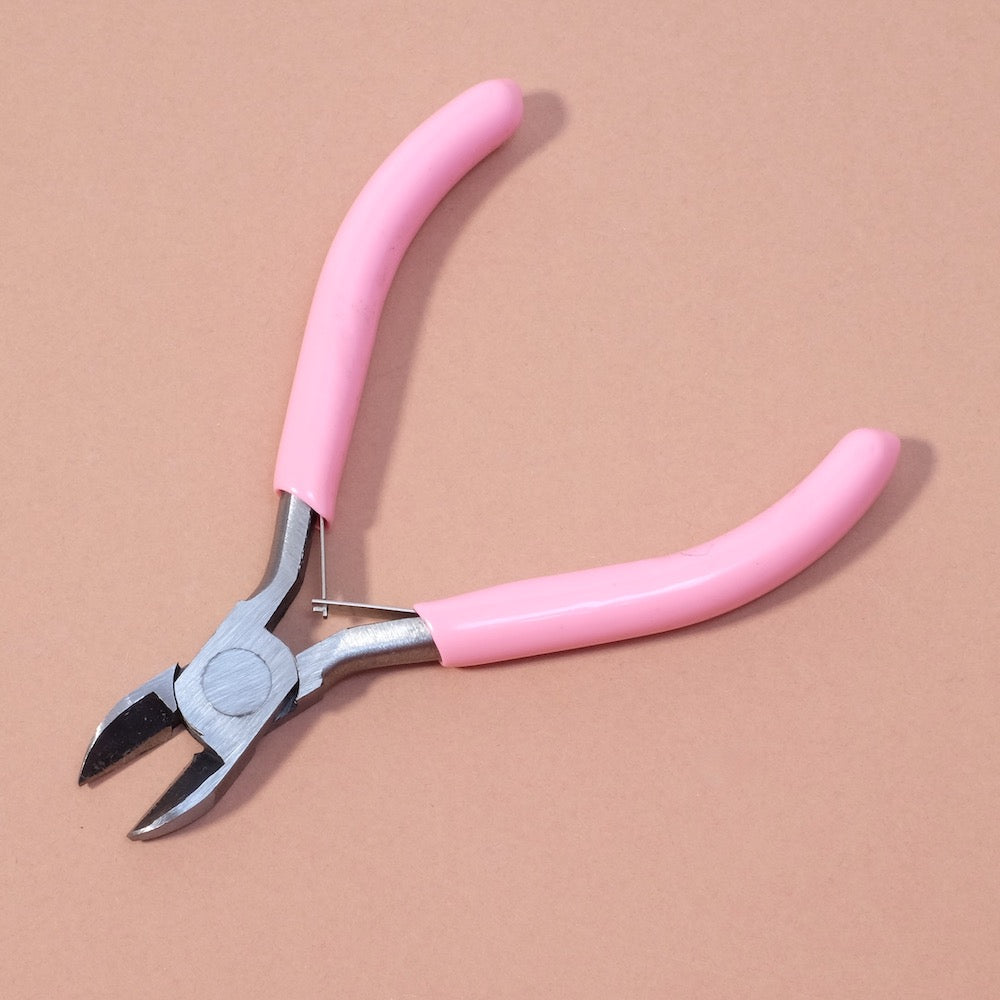
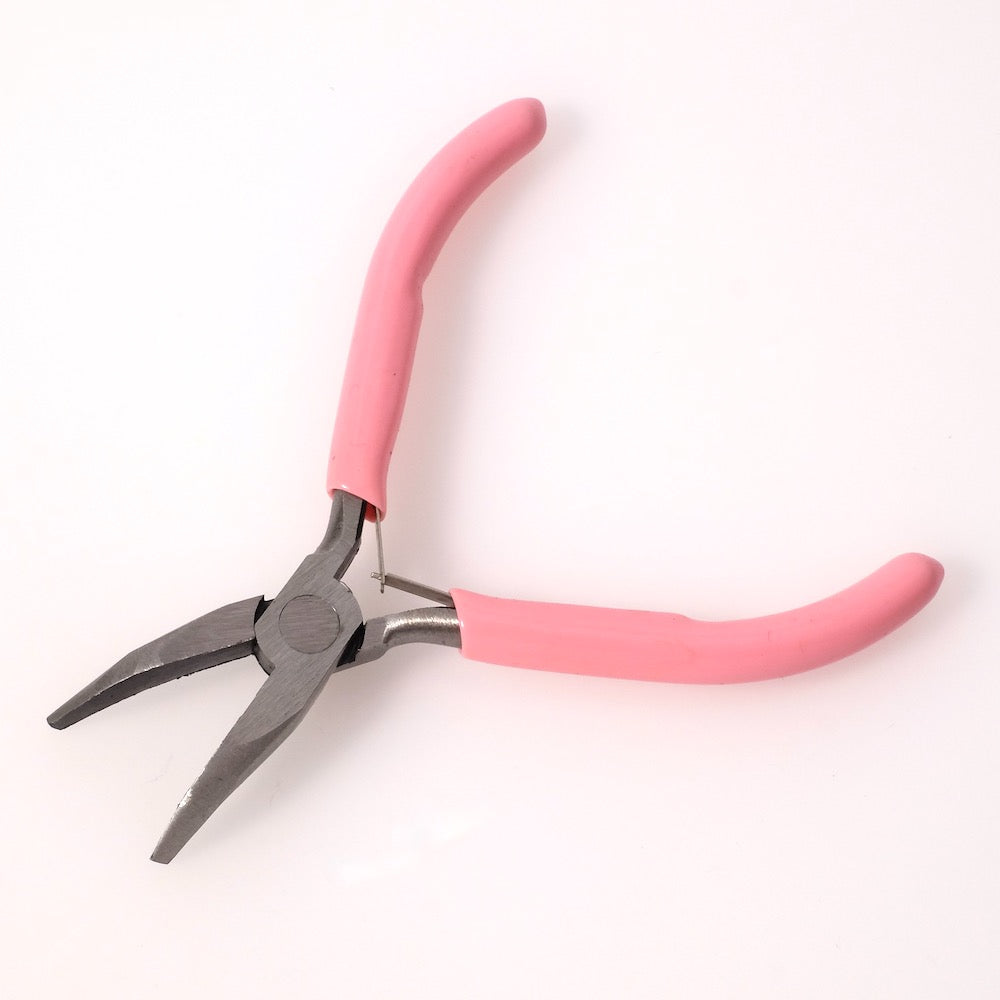
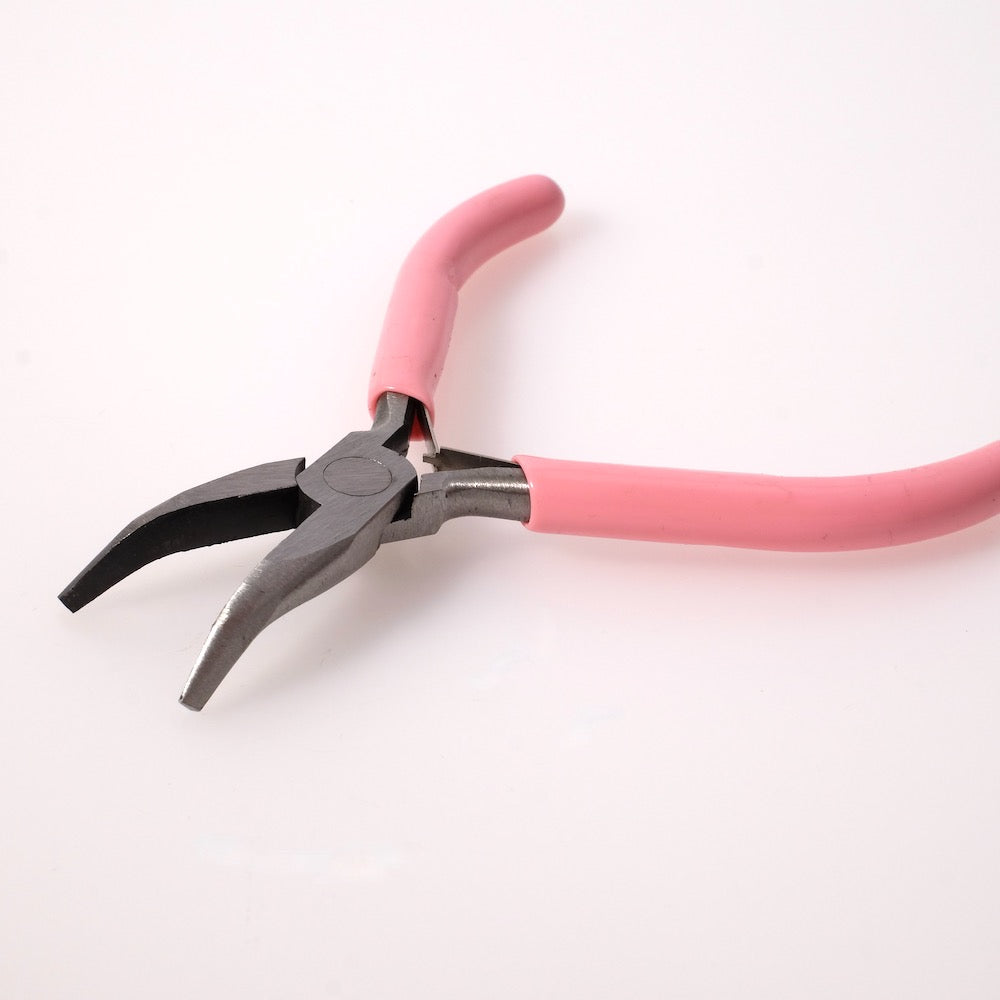
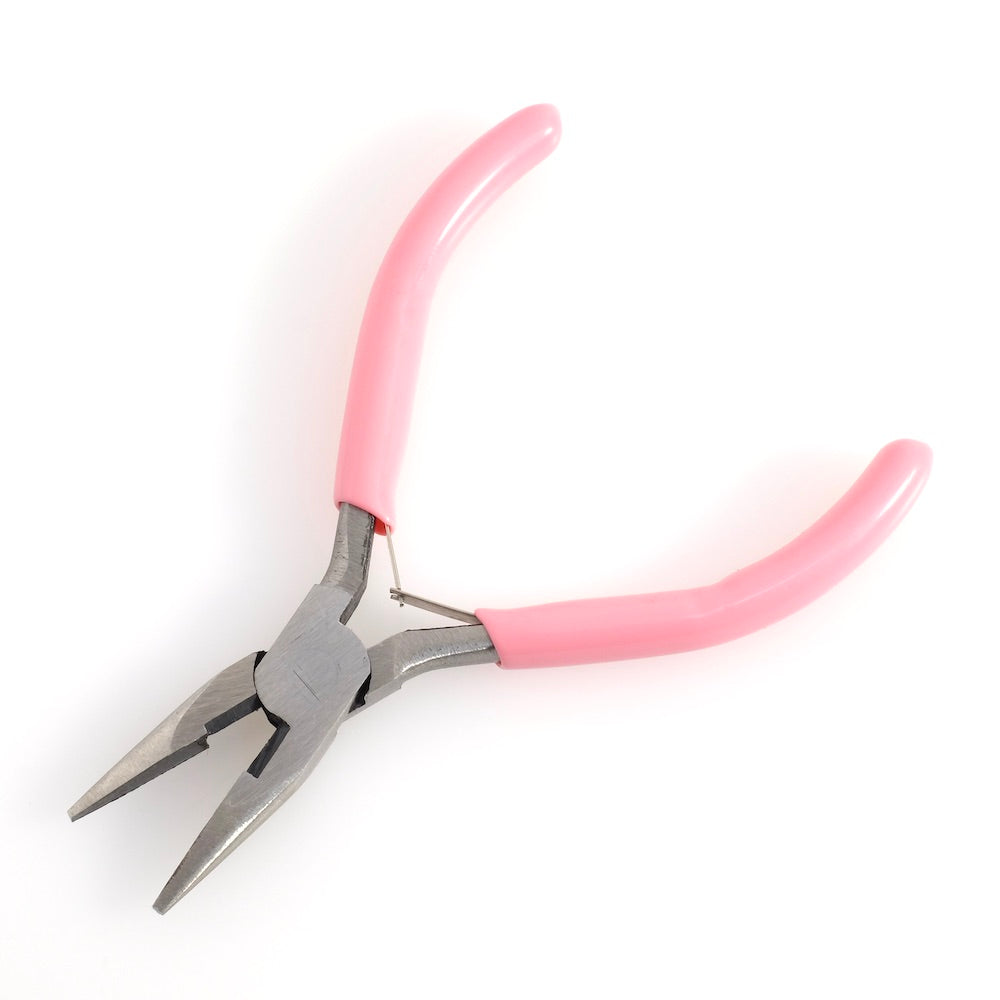
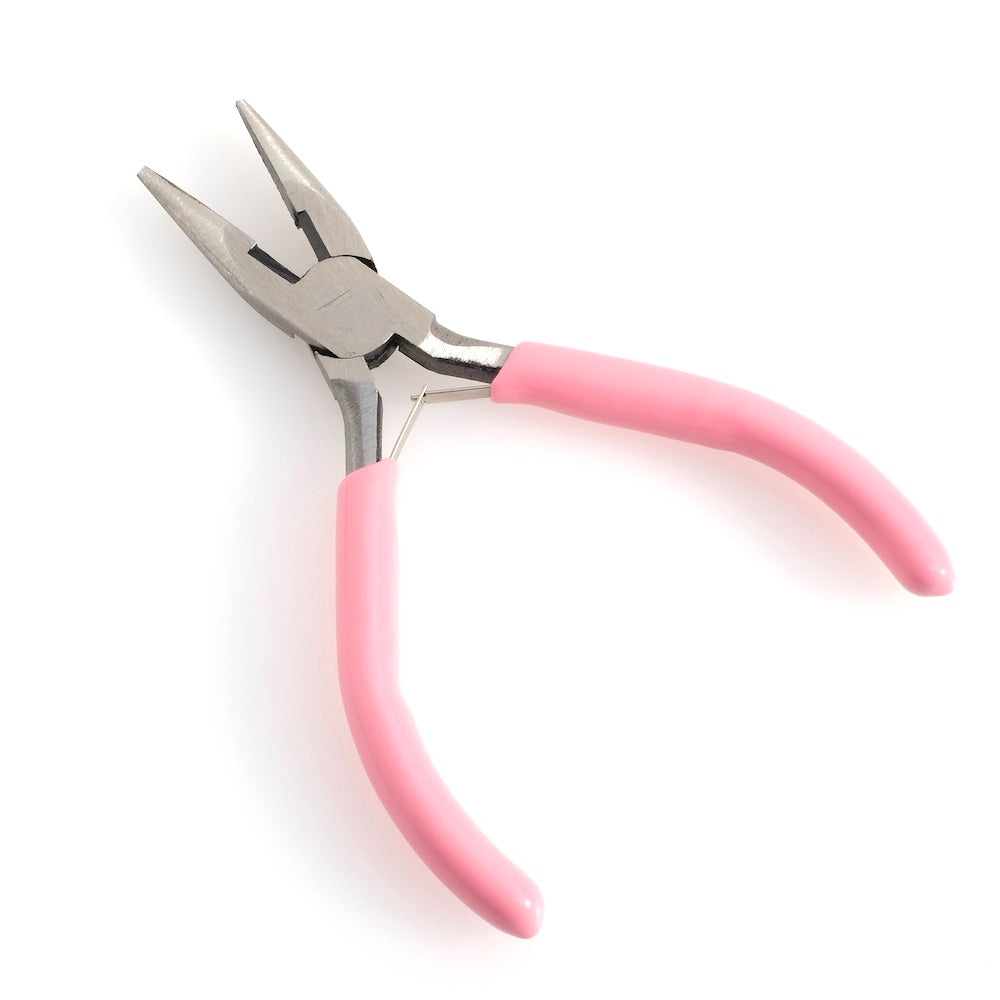
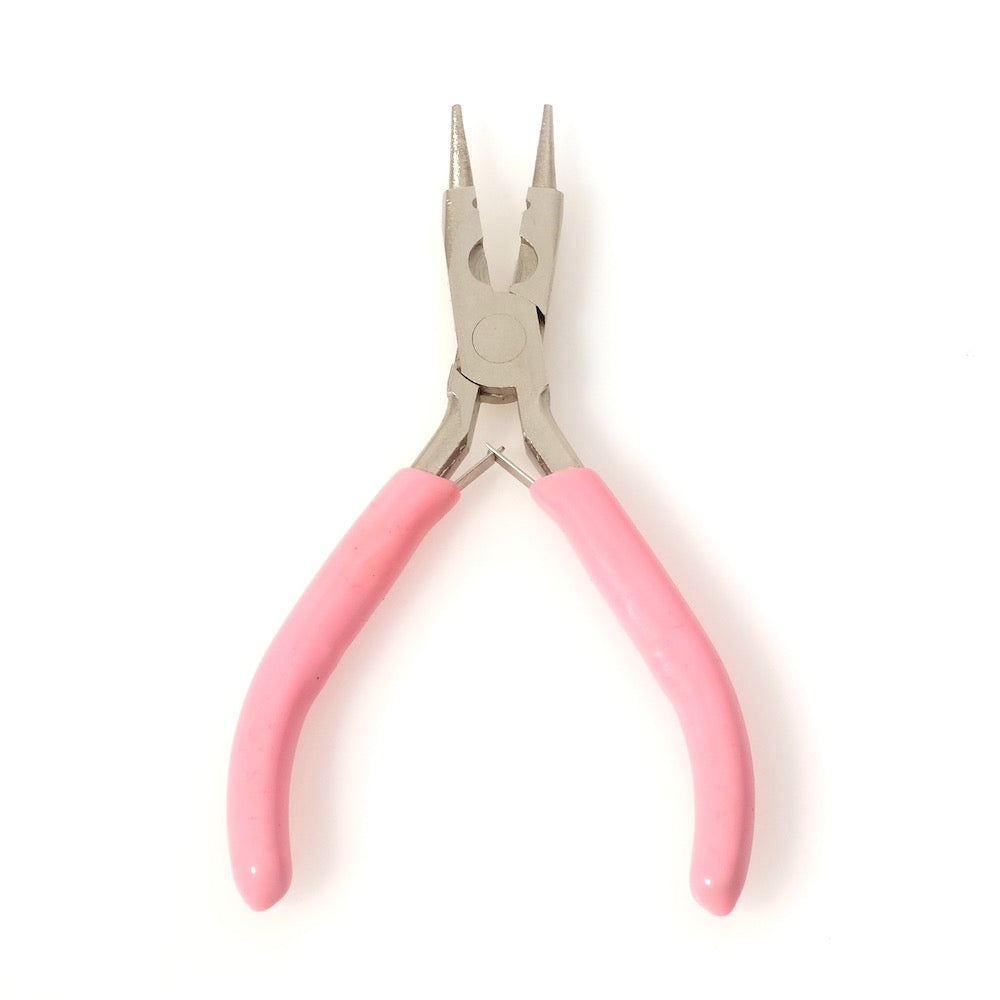
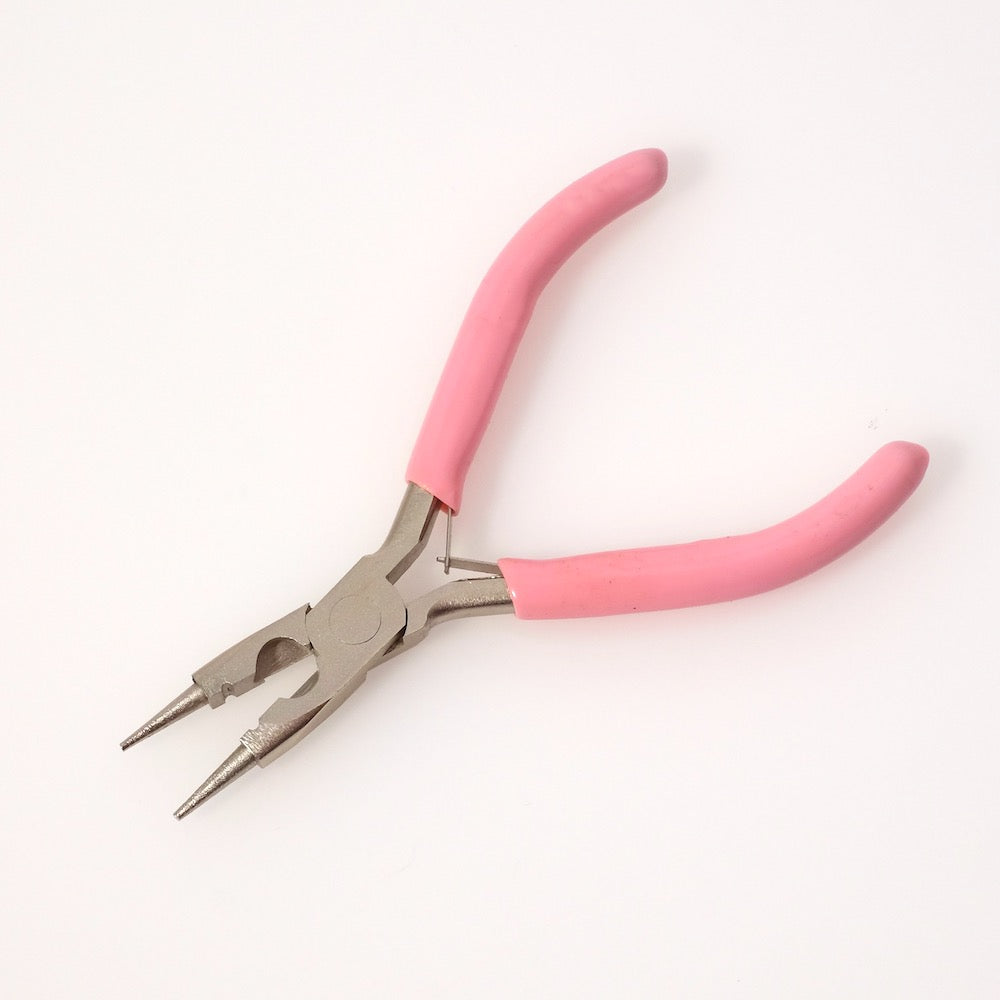
| The tools to use: | ||||
|
|
||||
|
The assembly: |
||||
|
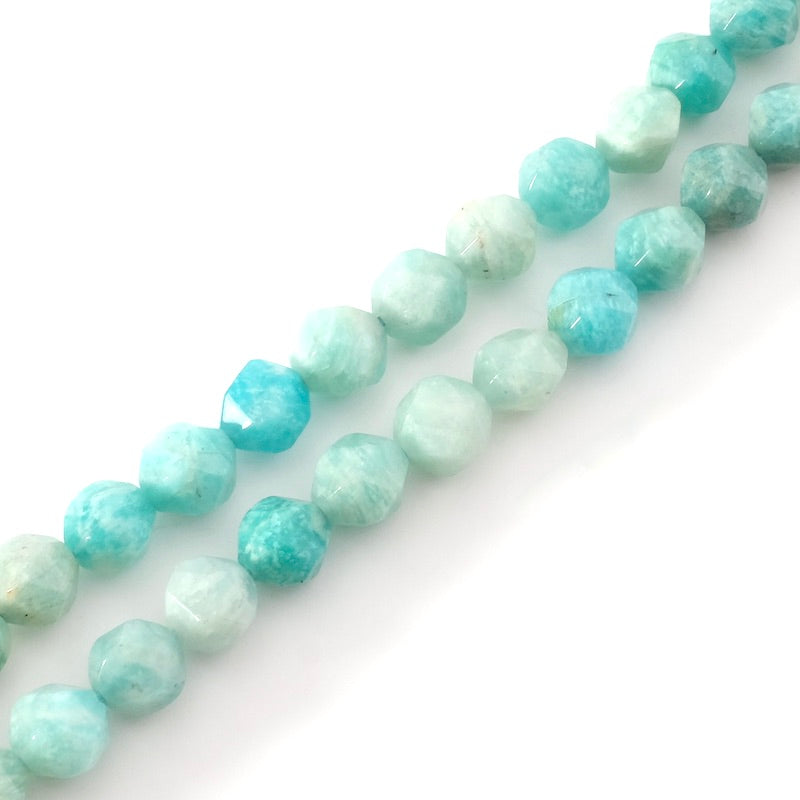
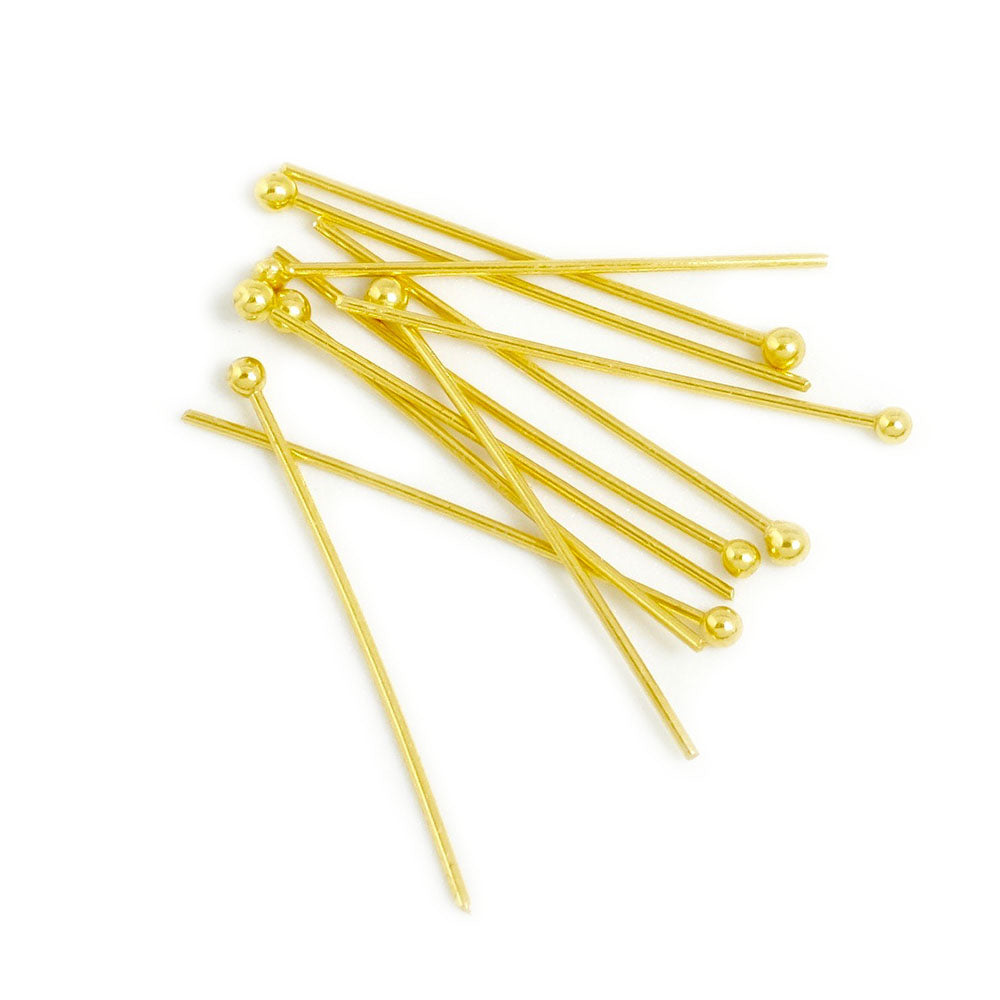
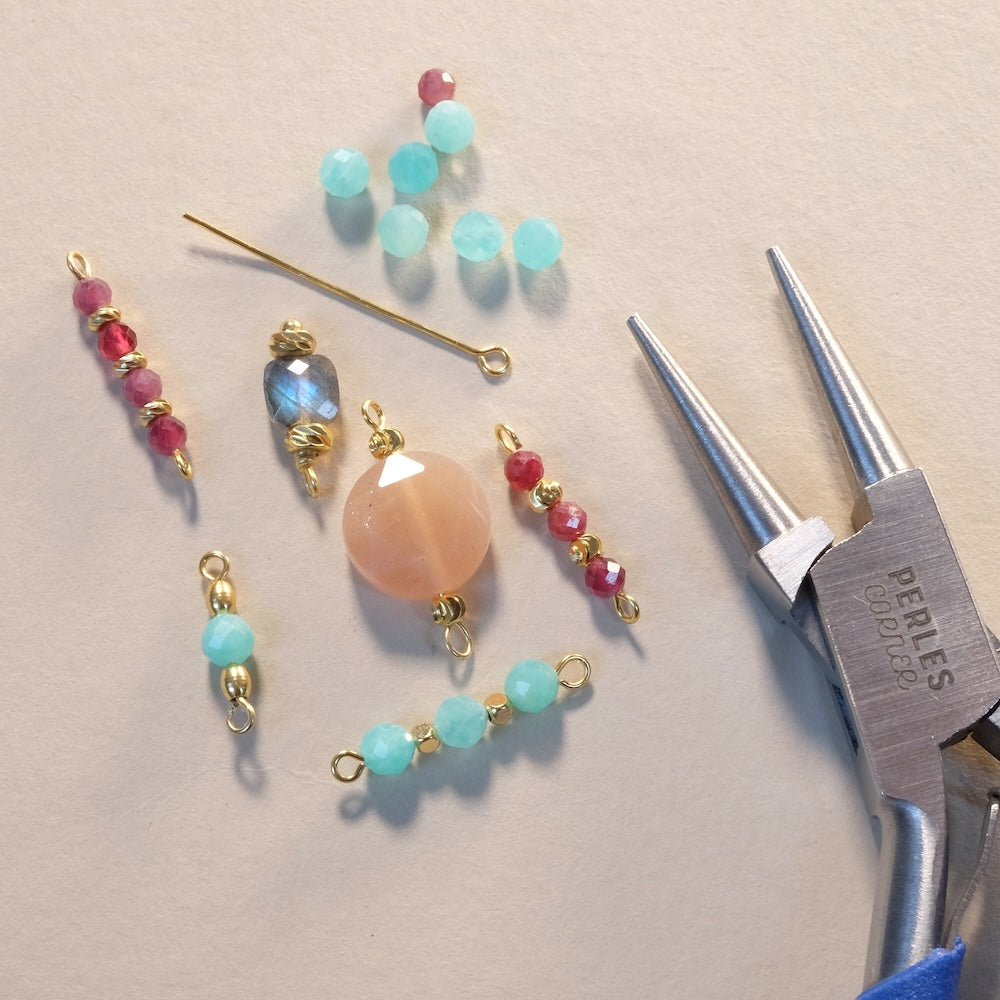
This jewelry is not complicated to make. Follow the steps below carefully to perfectly succeed in this elegant and delicate assembly. To start, assemble the 7 Amazonite beads on ball headpins. Form loops of normal size. Neither too small nor too large. Use round-nose pliers to get nice round and regular loops. Make sure they are well closed.
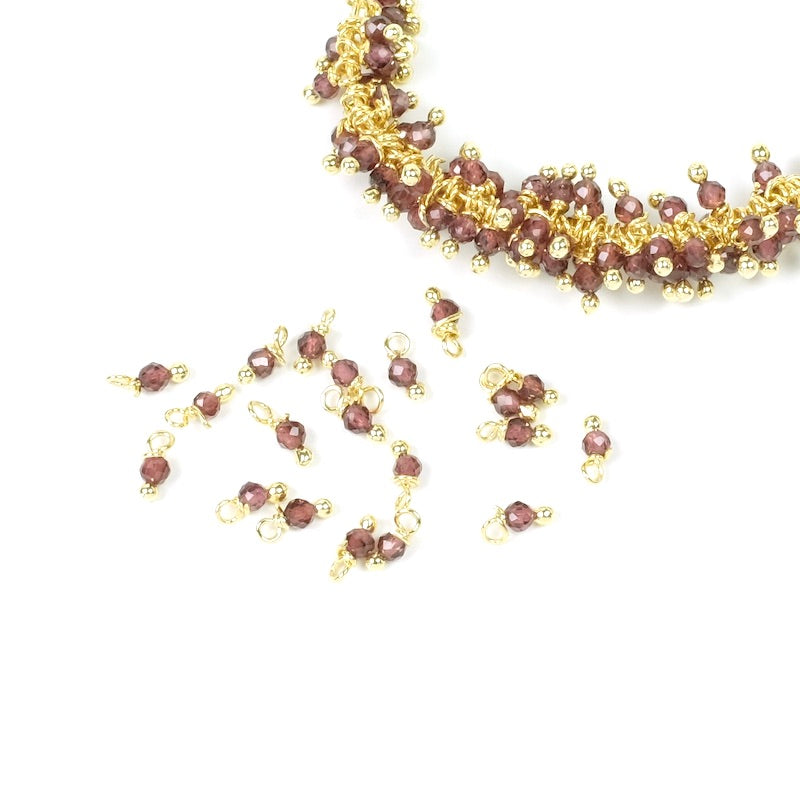
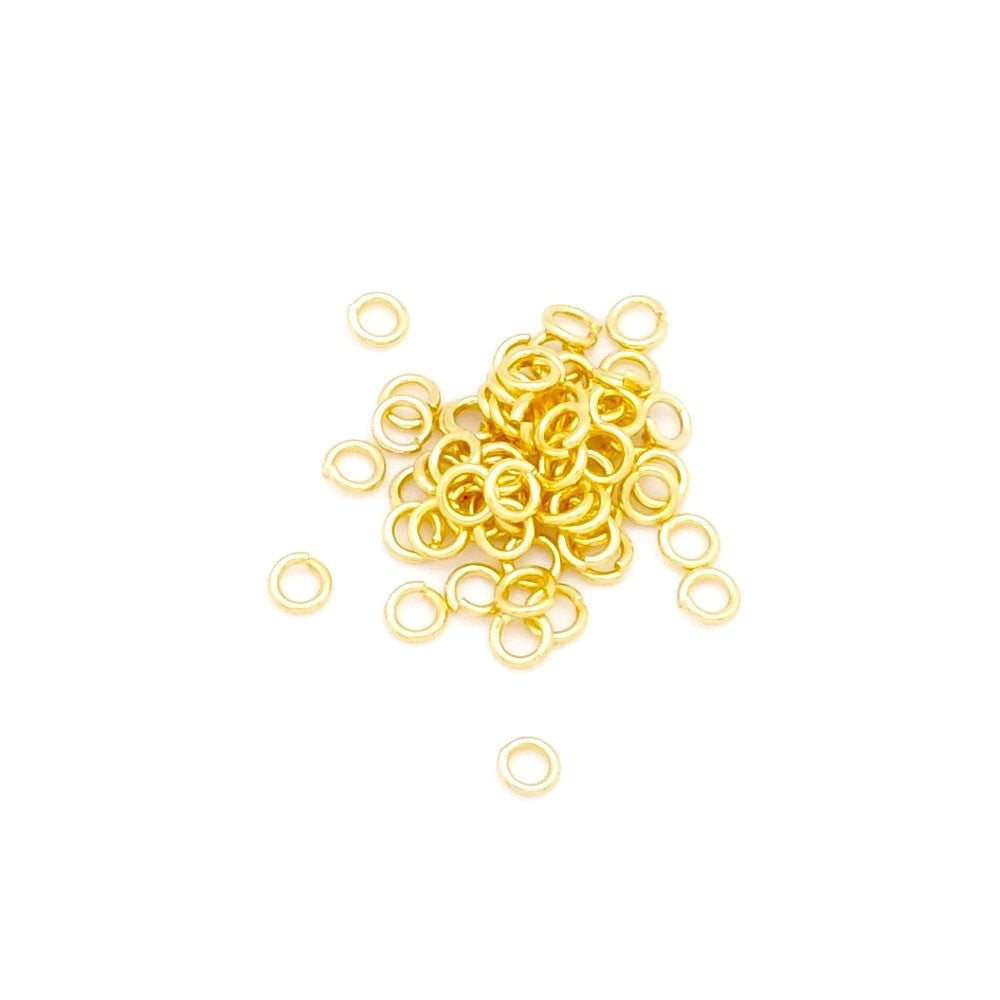
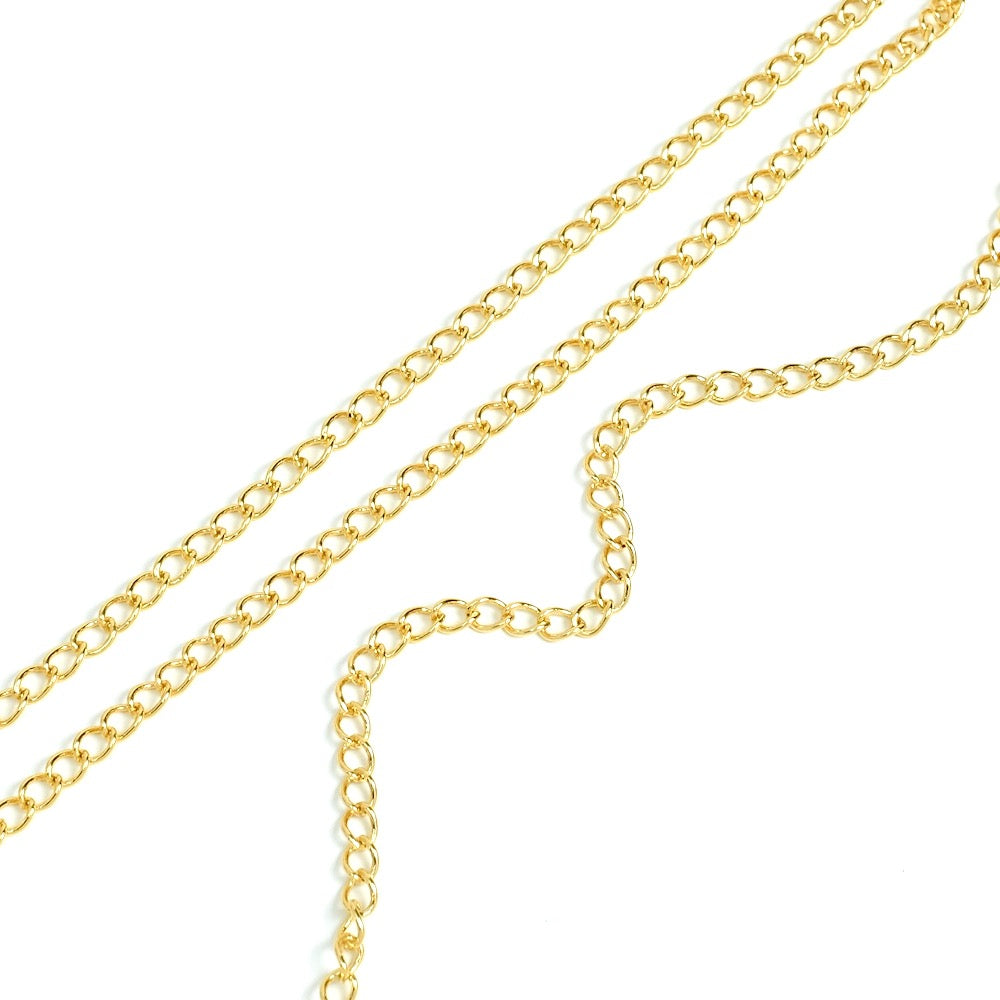
Now cut a nugget chain of about 38cm and fold it in half to visualize the center of the chain which must fall on a ring (which connects the nuggets). On this ring attach 5 mounted Garnet beads with a 4mm ring. On each side, symmetrically, assemble 2 clusters of 5 Garnet beads on 4mm rings, mounted on the chain link rings.
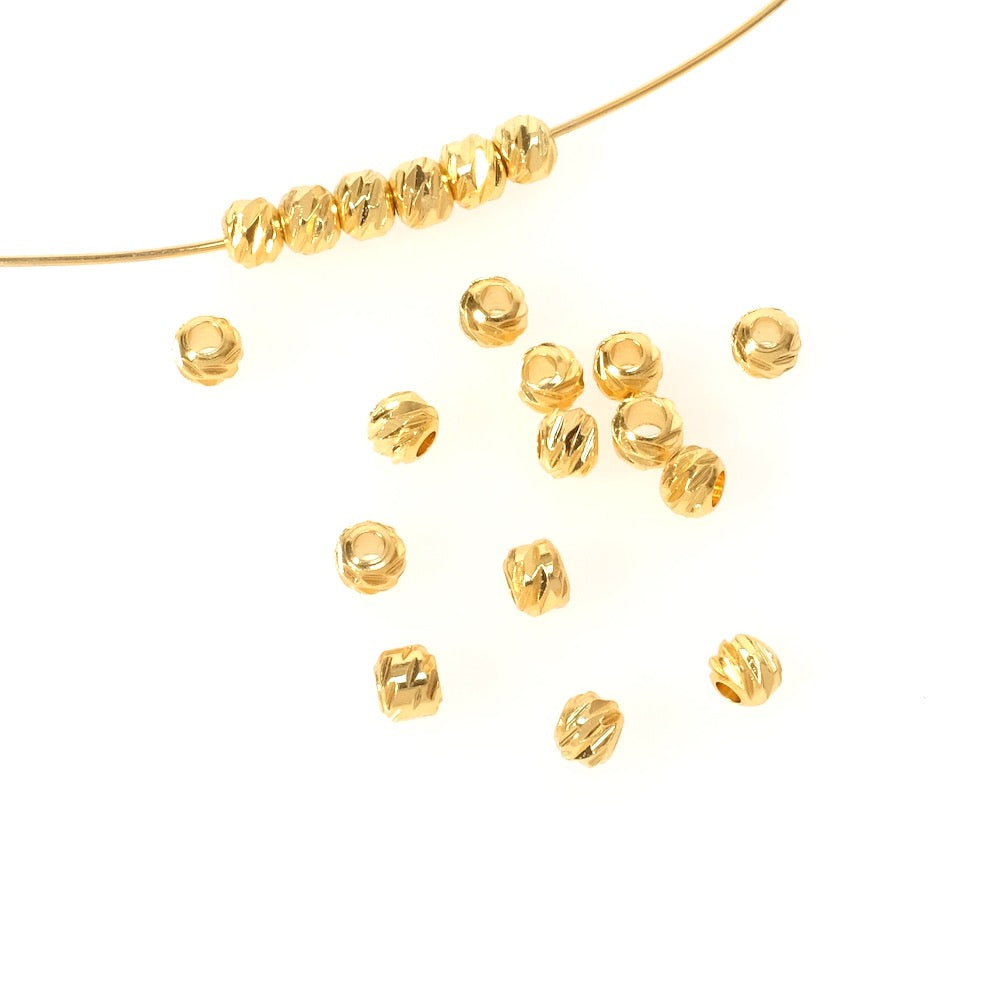
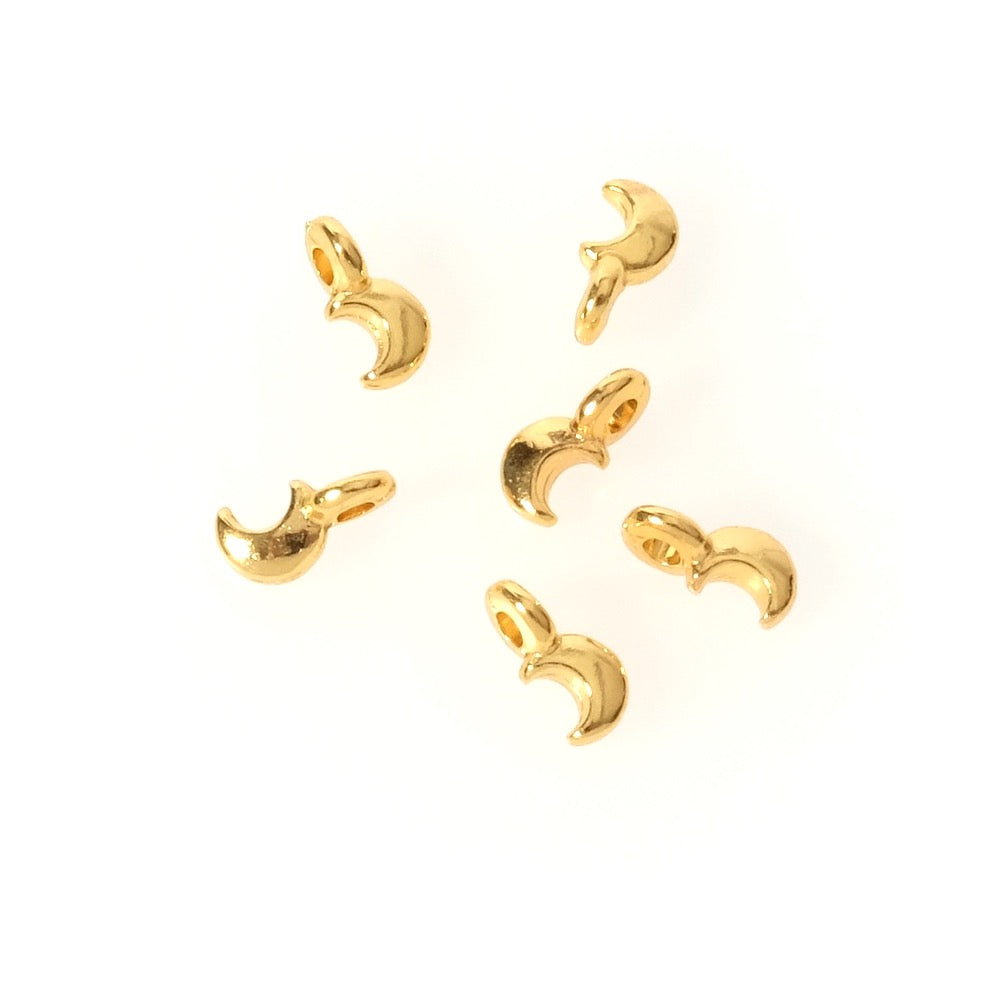
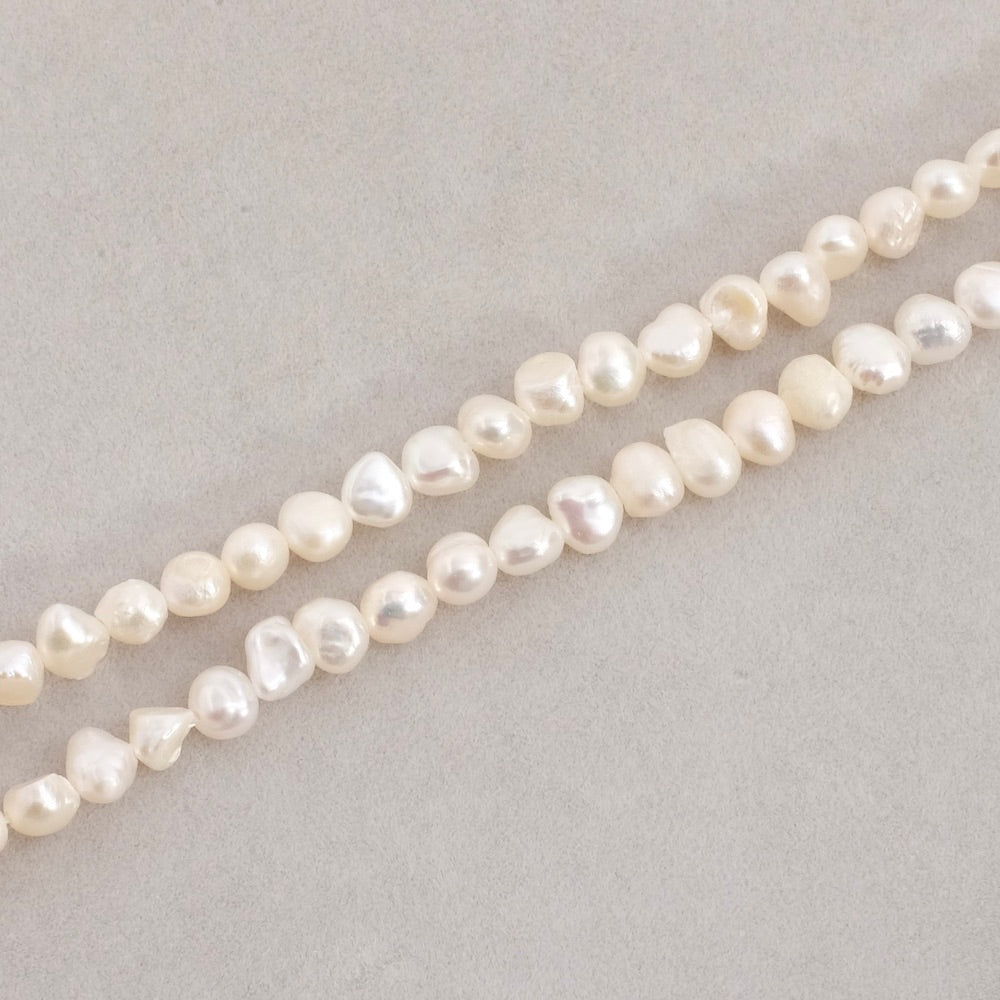
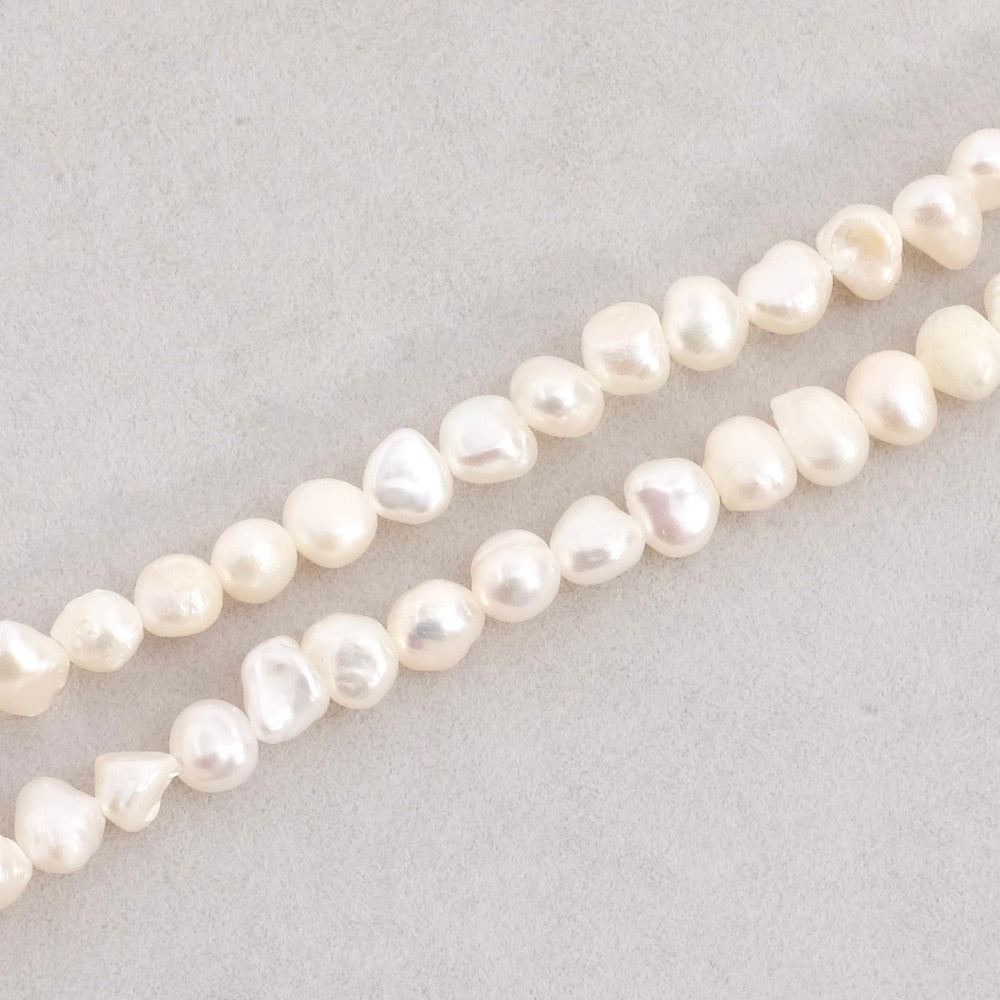
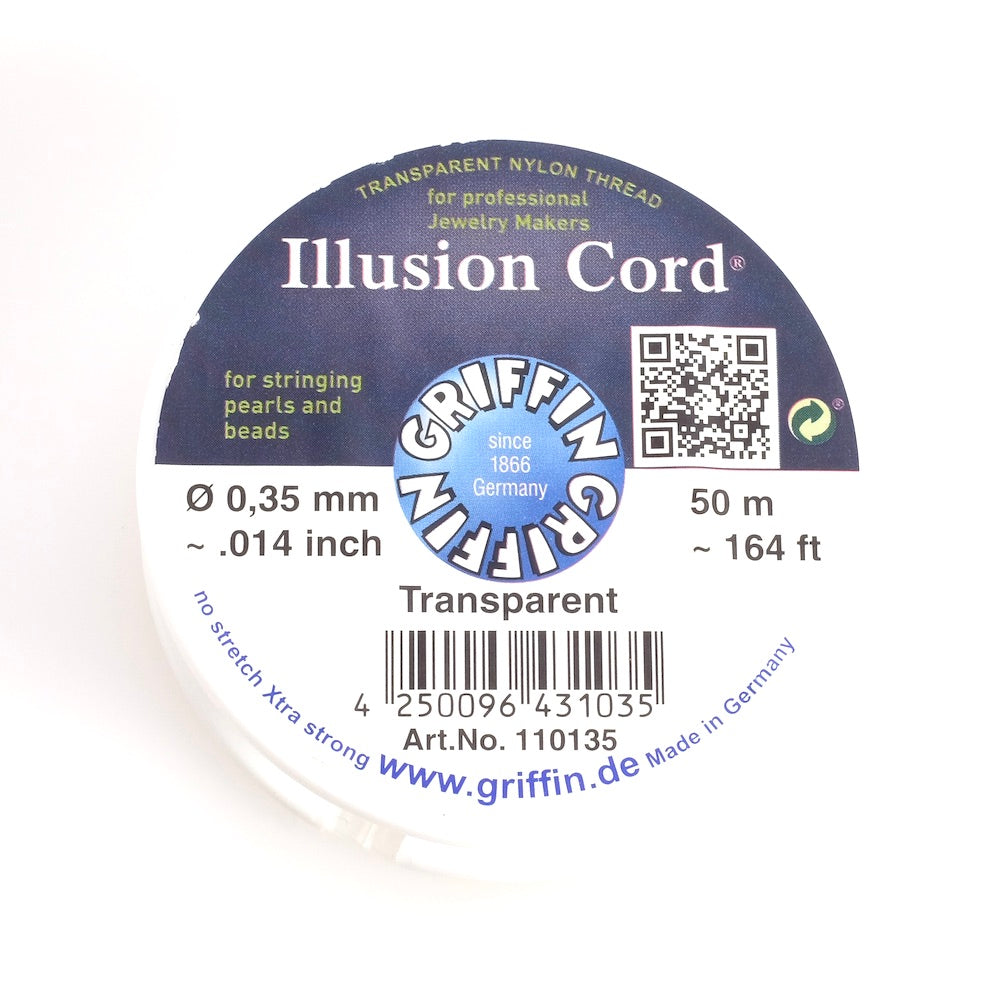
Let's move on to threading nacre beads... Cut a nylon thread of about 50cm. Thread a moon bead, a golden bead, and an Amazonite (headpin) bead. Thread a golden bead then an Amazonite bead. Continue like this to place the 7 Amazonite beads interspersed with golden beads. Finish with a moon bead. This gives you the central assembly of the threading. On each side, place an oval nacre bead then thread the small irregular nacre beads symmetrically. Continue threading until a length of about 40cm.
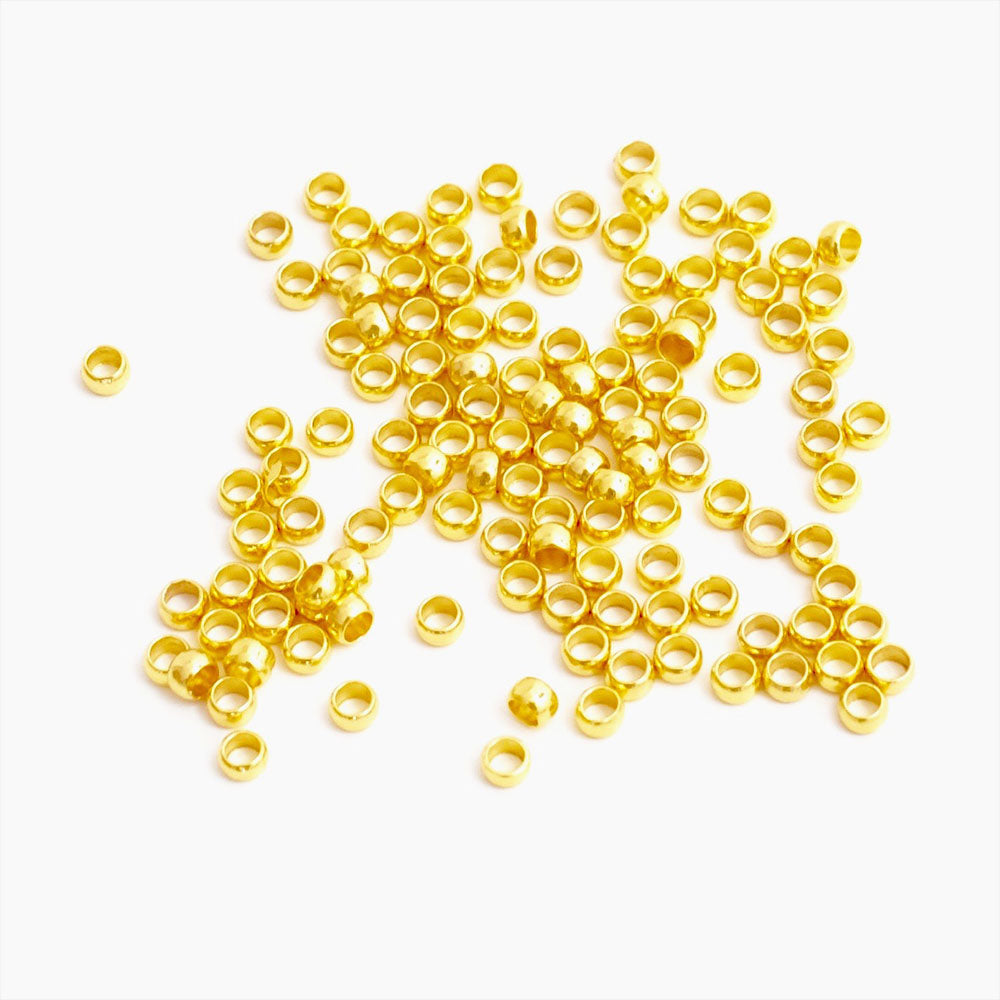
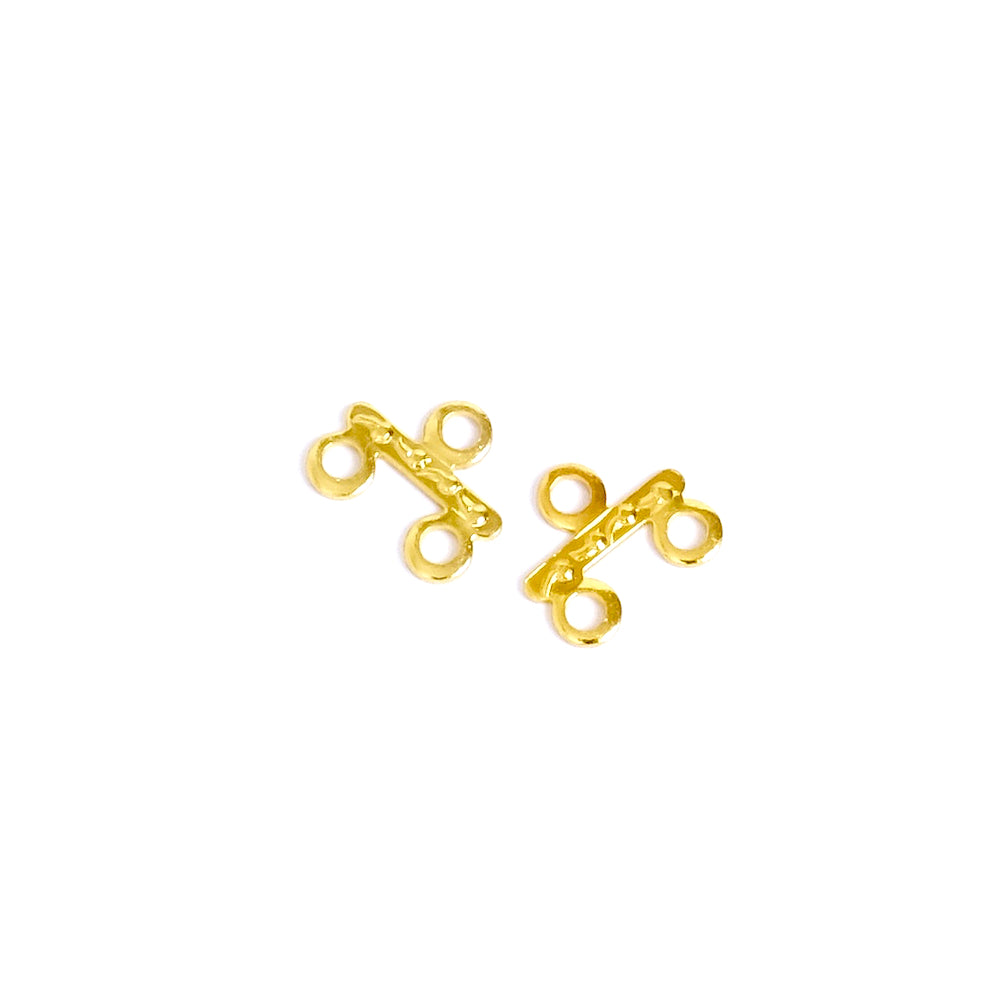
Assembly and clasp installation... Now, take a crimp bead that you will thread onto the nylon thread. Pass the thread through a ring of the multi-strand connector, ensuring the correct direction. The chain will be placed on top and the bead threading below. Pass the thread back through the crimp bead. With flat pliers, bring the crimp bead to the edge of the multi-strand ring then flatten it. Tuck the excess nylon thread into 3 nacre beads then cut the excess flush. This will prevent the thread from scratching the neck! For the other side, thread a crimp bead, pass through the ring symmetrically (in the correct direction) then pass back through the crimp bead and through 3 nacre beads. Position the threading flat and in a curved shape (as it will be worn) this will help keep flexibility between the beads. Pull the thread to gently bring the beads to the edge of the ring. Be careful the threading must remain flexible and not rigid! Flatten the crimp bead then cut the excess thread. Now connect the chain to the multi-strand connectors with 3mm rings.
To finish, attach the clasp on one side and on the other 4cm of extension chain with a 3mm ring. Your jewelry is finished! Beautiful creation! |
||||
|
|


To be reserved alone or with friends!

Inspirations, tutorials, and new arrivals: receive the best of handmade in your inbox.


 7 Amazonite beads