|
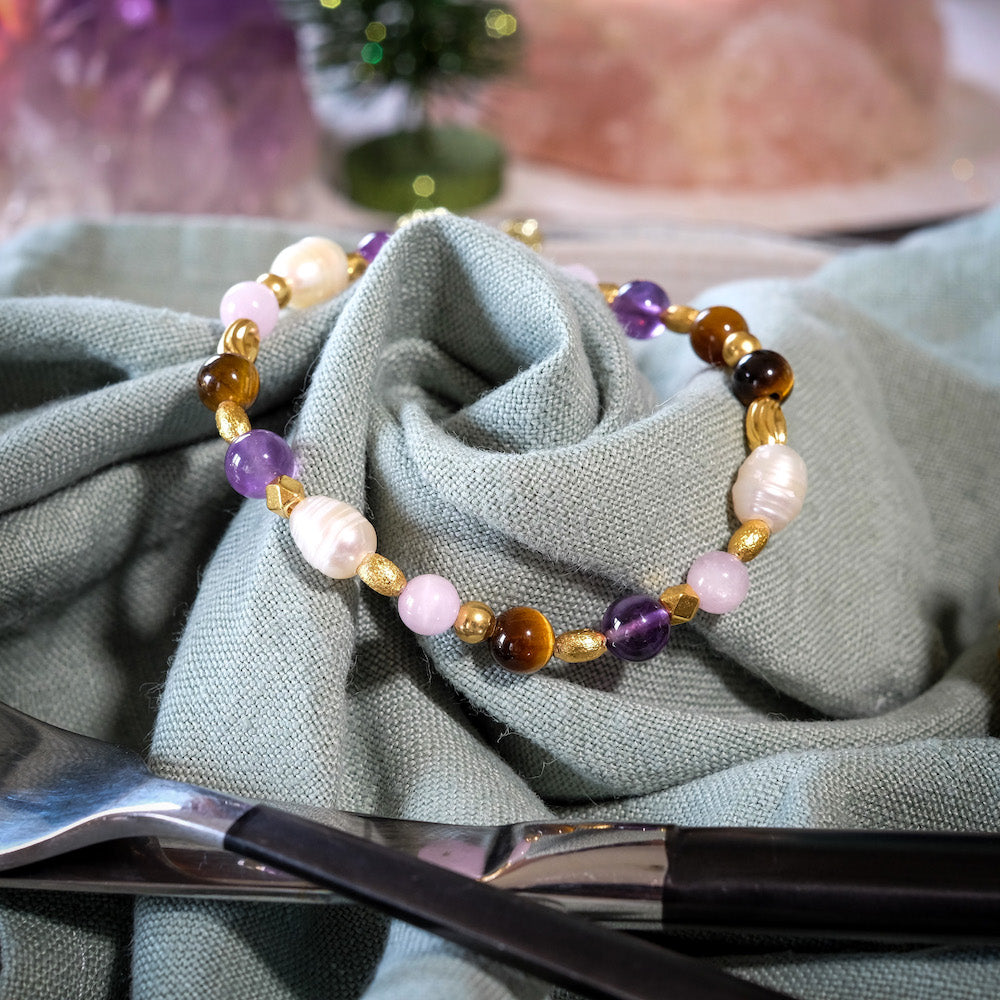
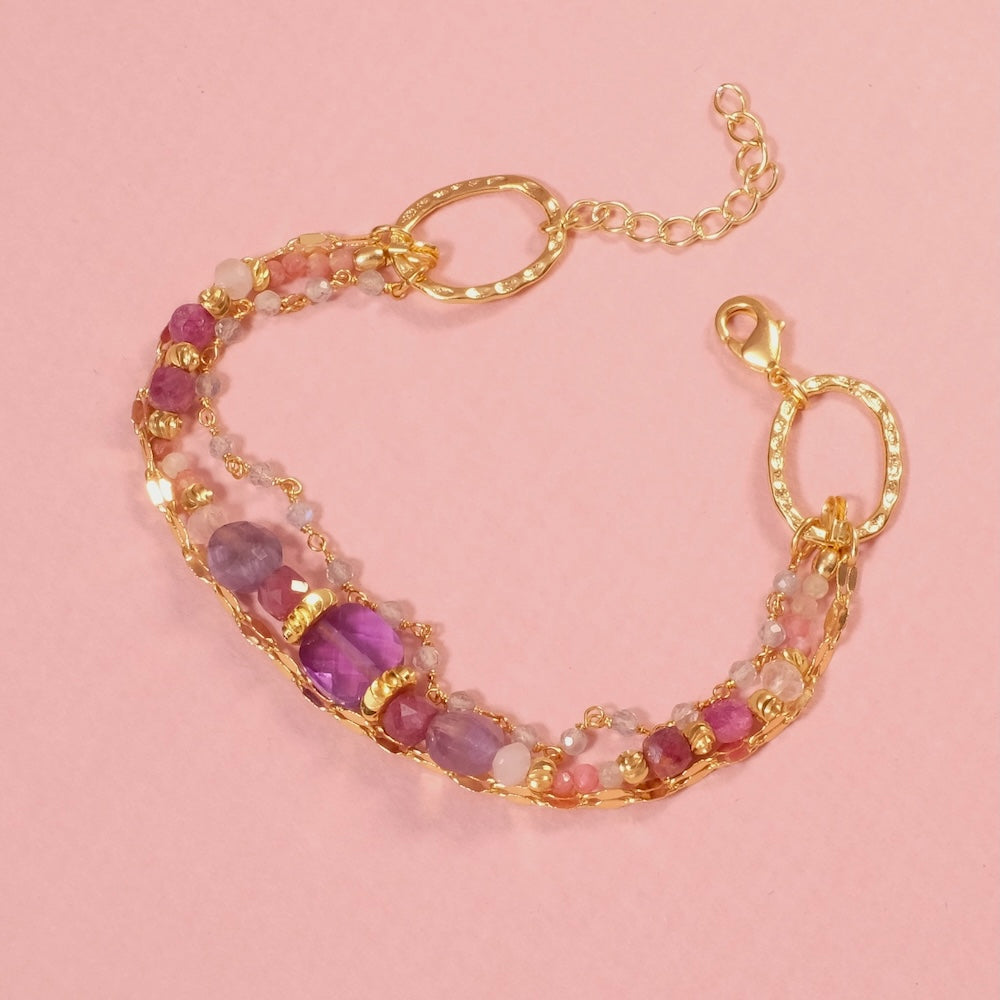
Fall for the bohemian spirit of this braided necklace made of Linhasita threads and adorned with beads and pendants. An ultra-simple weave that will allow you to create your own cords! The possibilities are endless, so you can let your imagination run wild!
|
|---|
| For this project you will need: | ||||
|
|
||||
|
The Kumihimo braid: |
||||
|
|
||||
| The preparation of the support: | ||||
|
|
To start, cut a circle of about 20cm in diameter from a stiff cardboard, then make a hole of about 2cm in the center of it. With a pen, draw 2 perpendicular lines in a cross. Make 2 more perpendicular lines in the intervals. You will thus obtain 8 lines. Make notches at the edge of the circle on the 8 lines. And to facilitate assembly, number the lines from 1 to 8 in the direction of the clock hands. |
|||
| The realization: | ||||
|
|
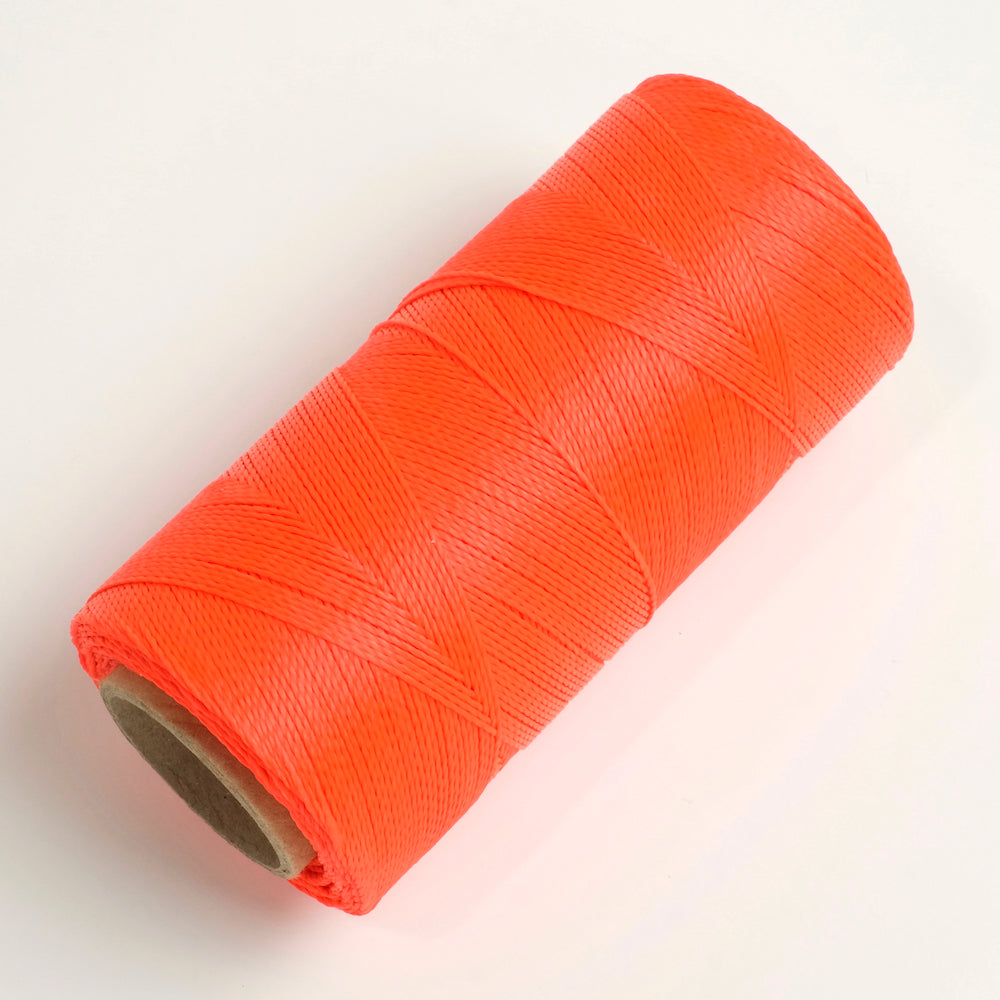
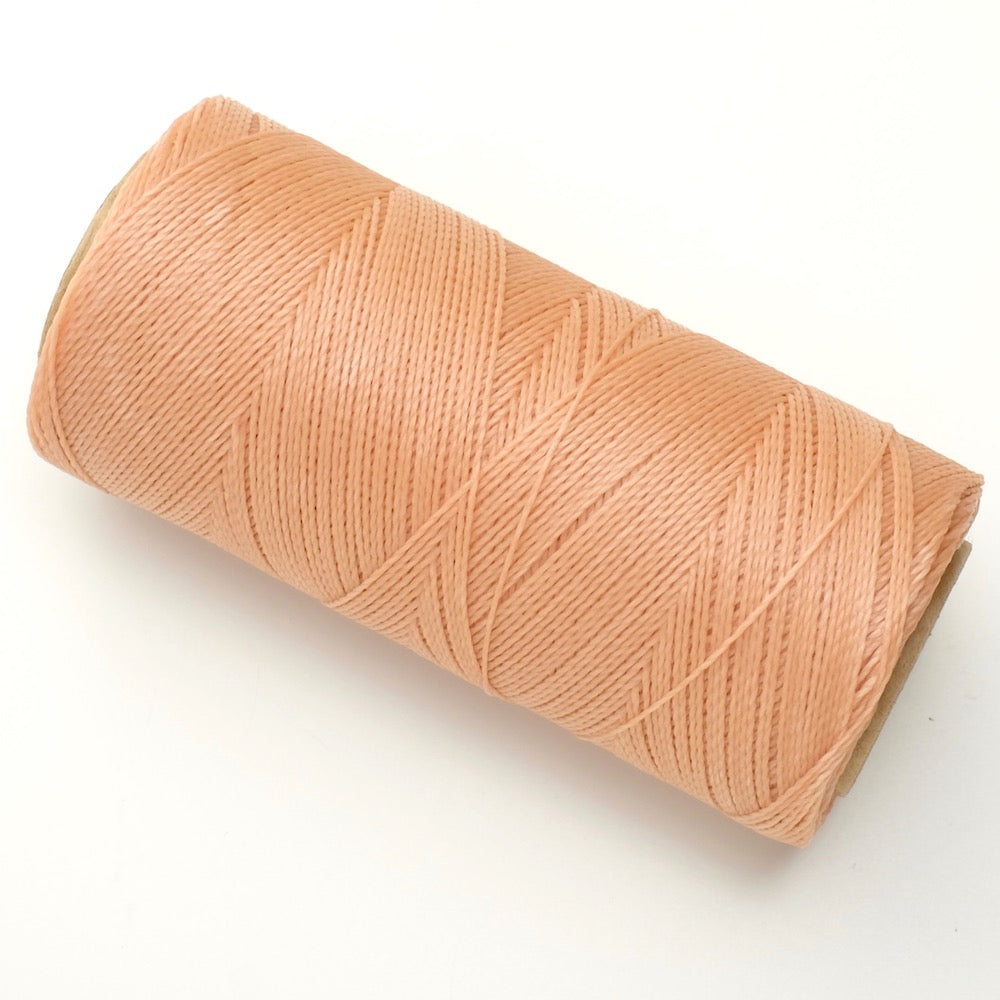
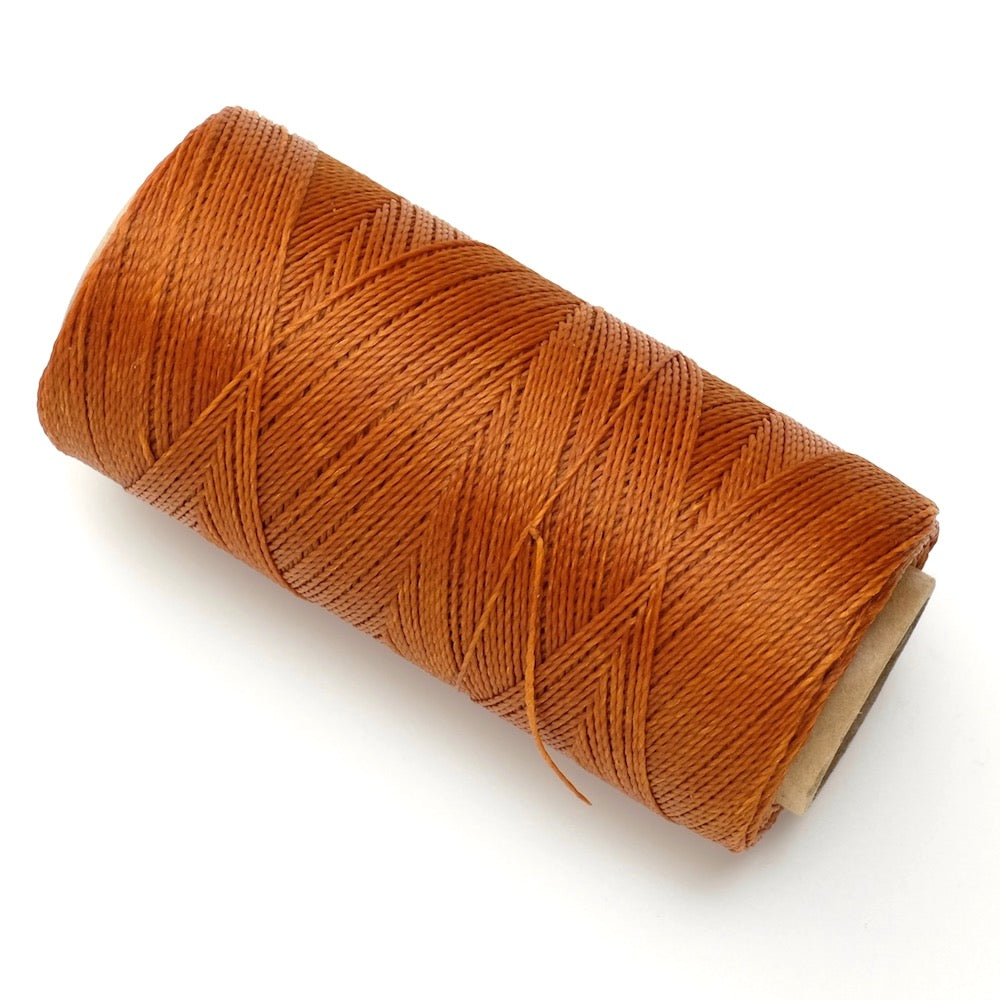
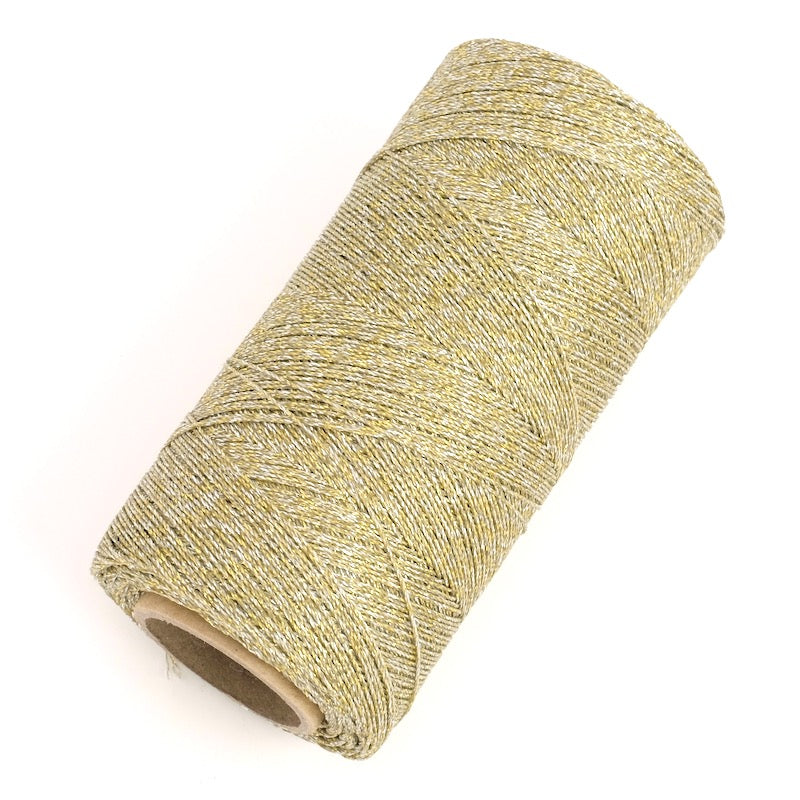
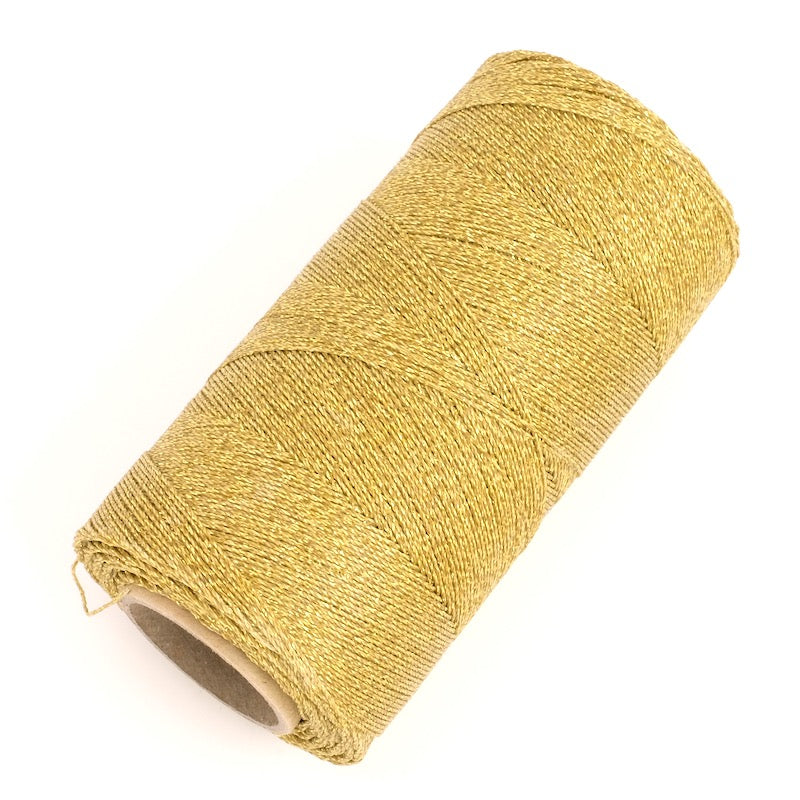
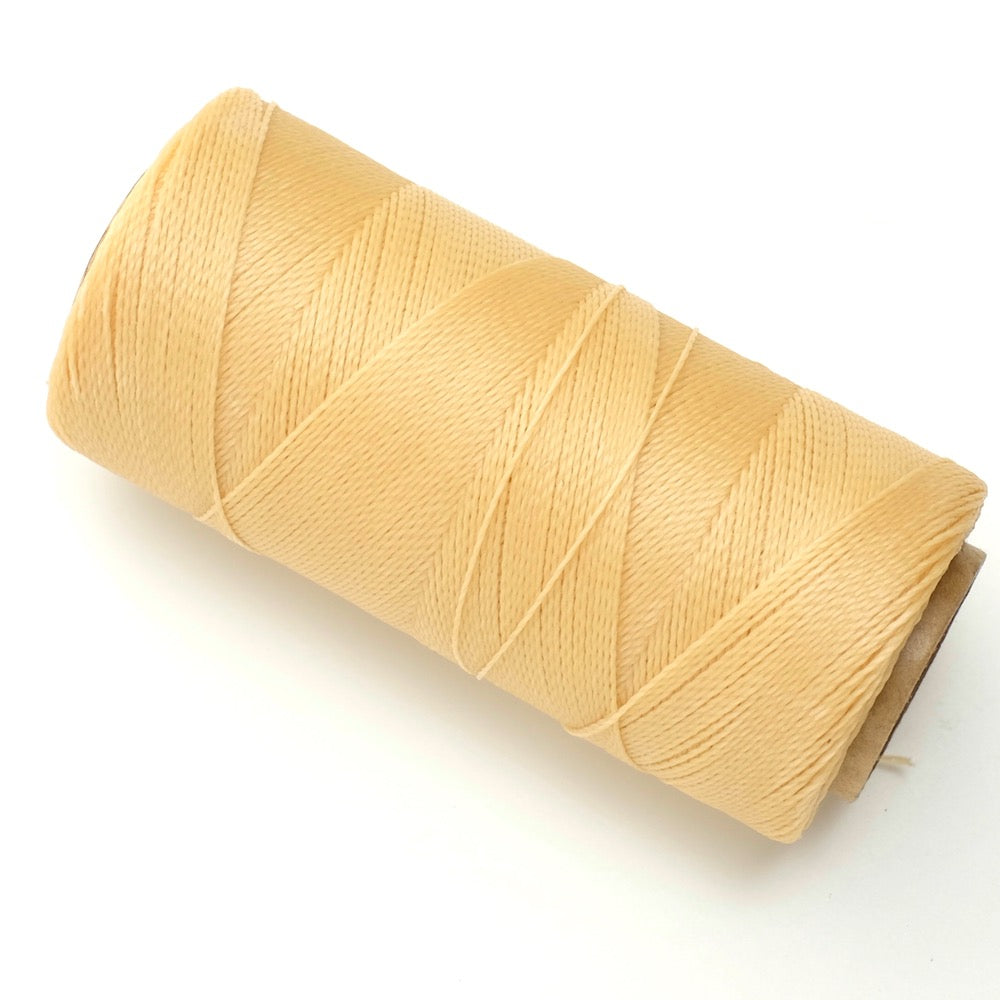
Cut 7 cords of linhasita threads. Here we have cut 6 colored cords in 0.5mm and 1 golden cord in 1mm. This will allow us to obtain a cord with a diameter of 4mm corresponding to our supports. You can also adapt this technique with more threads for a wider cord. To do this, simply make more notches in the support. Make a knot with the cords to join them and then pass the knot through the central hole of the support. Then place the cords in the notches following the numbers. Start braiding... Take cord No. 3 and place it in the empty notch to the left. You will always take the 3rd cord to the right after the empty notch. Continue with the 3rd cord to the right after the empty space, the No. 6 that you take to the left in the empty notch. Then No. 1, No. 4, No. 7... Be sure to keep your threads taut throughout the assembly. You will gradually see the braid forming on the back of the support.
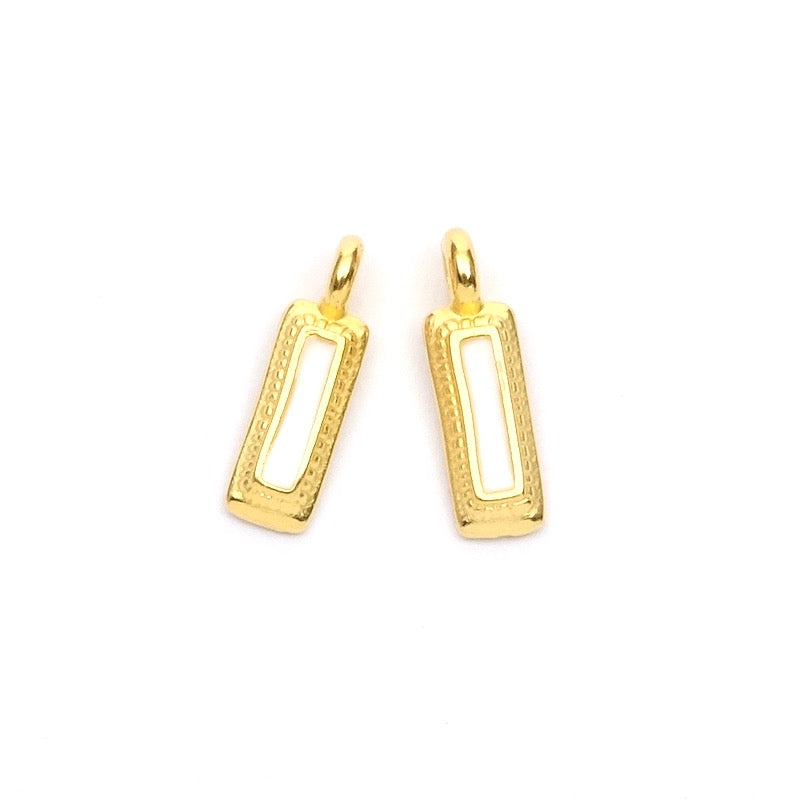
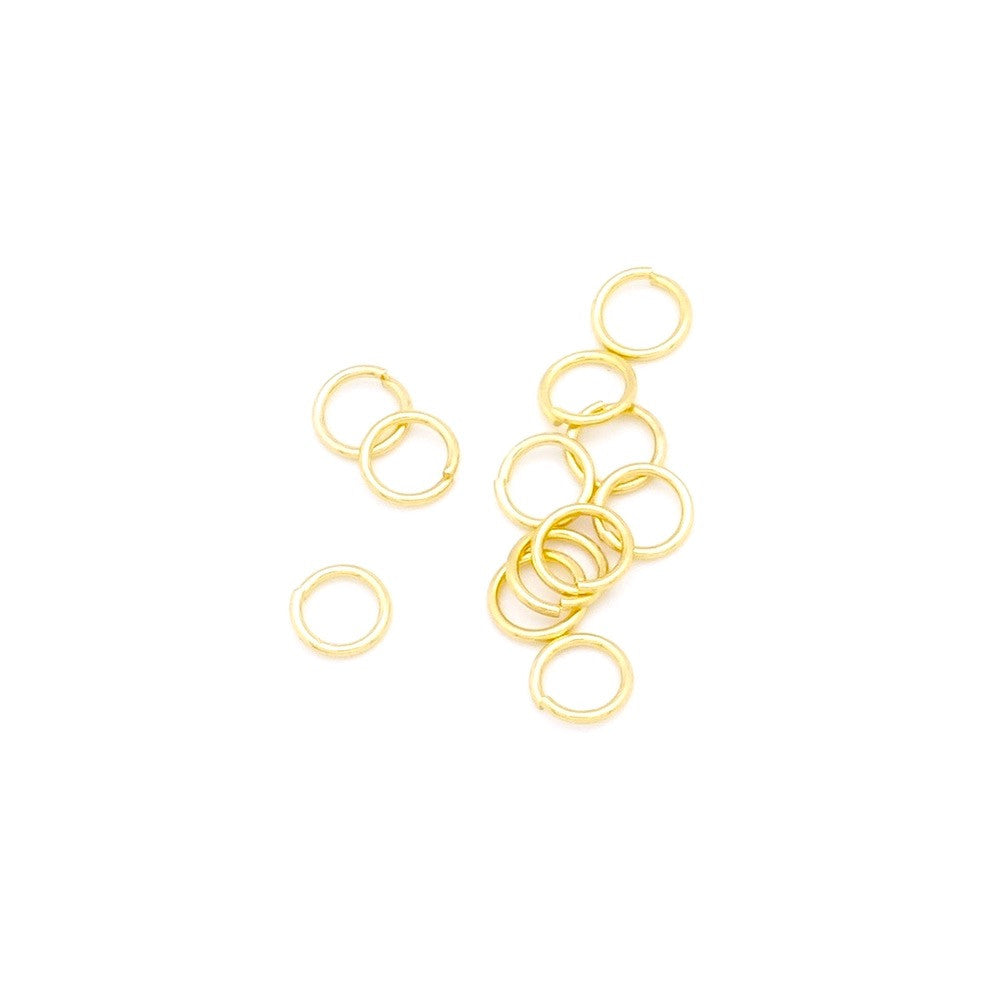
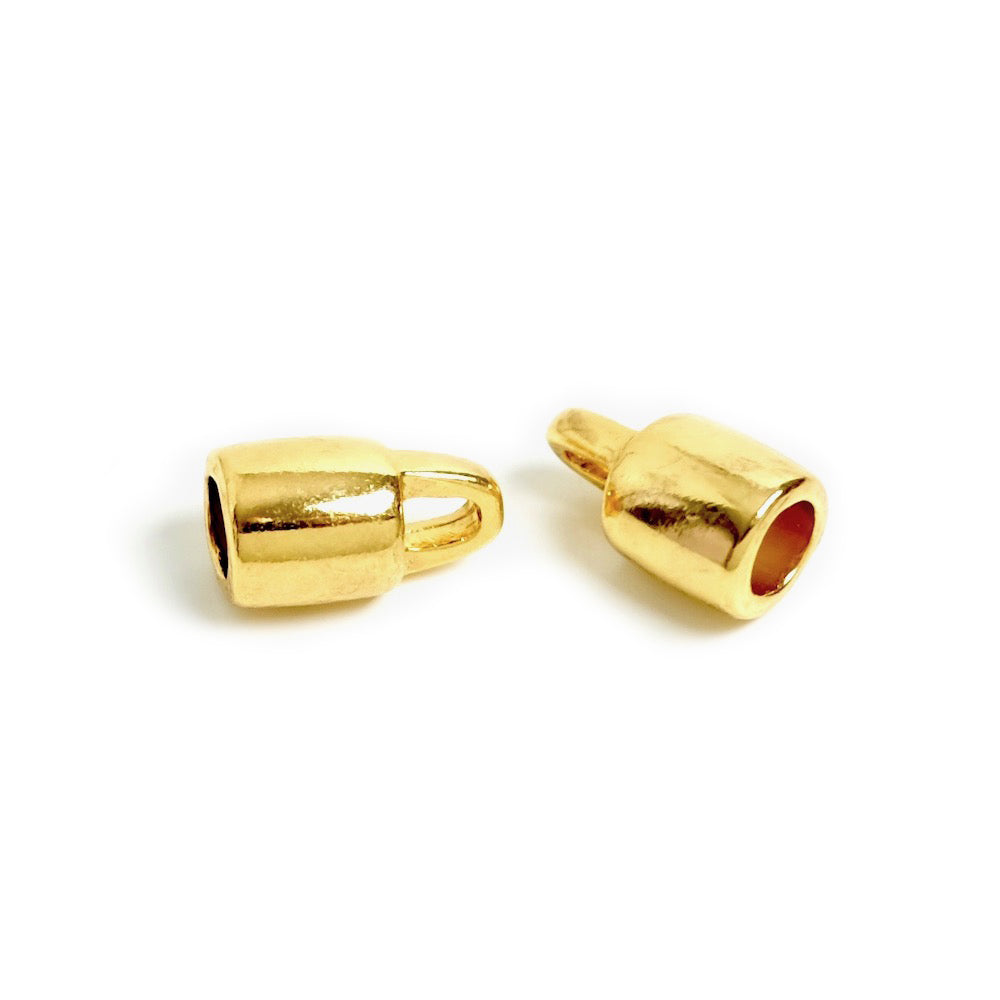
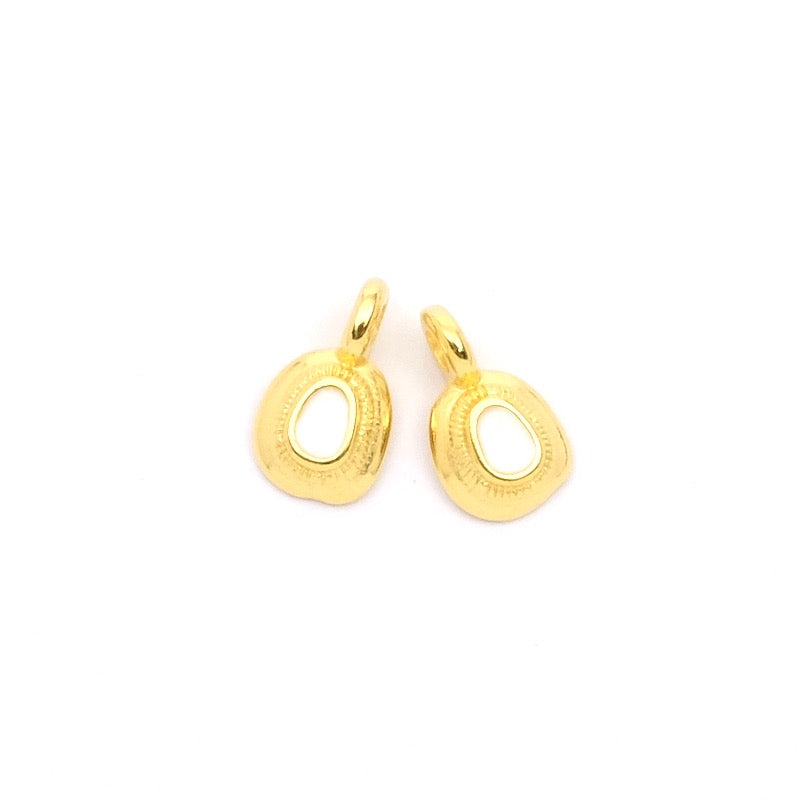
Once the desired length is achieved, remove the braid from the support and then thread the metal beads onto the cord. On the central bead, place the pendant with a ring passed through the hole of the bead. Make a knot with the cords to secure the braid and then cut the threads. Place glue in the ends and then insert the cords.
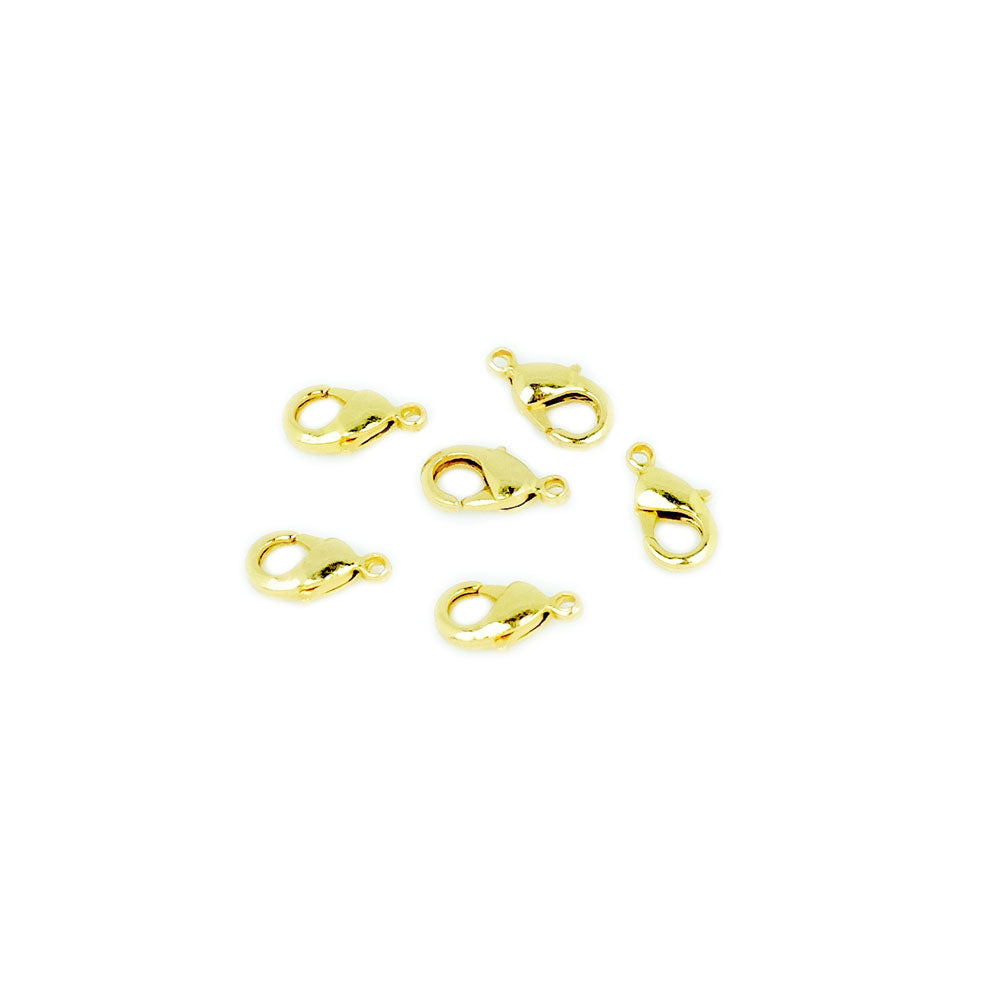
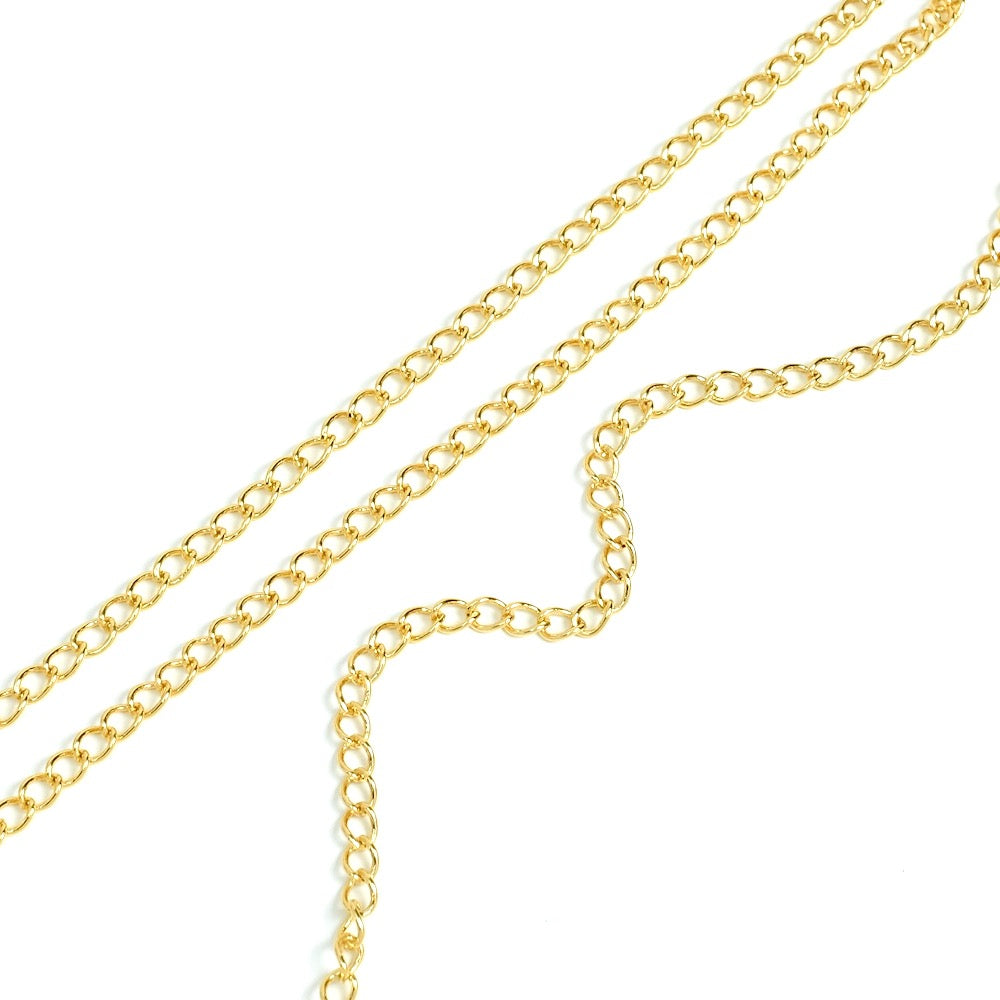
To finish, place the clasp and the extension chain with 4mm rings. And there it is! Beautiful creation! |
|||


To be reserved alone or with friends!

Join Perles Corner to discover our new products, exclusive tutorials, and many other surprises... and receive your voucher by email!


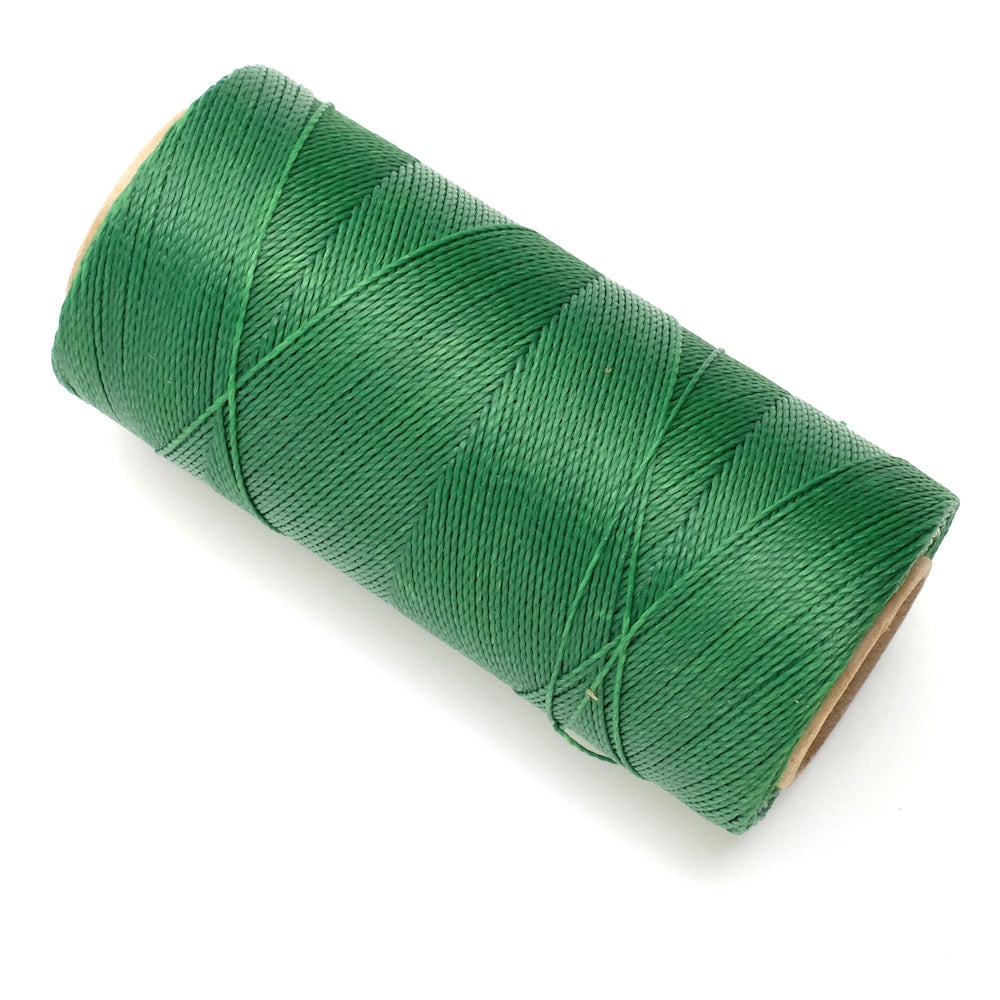
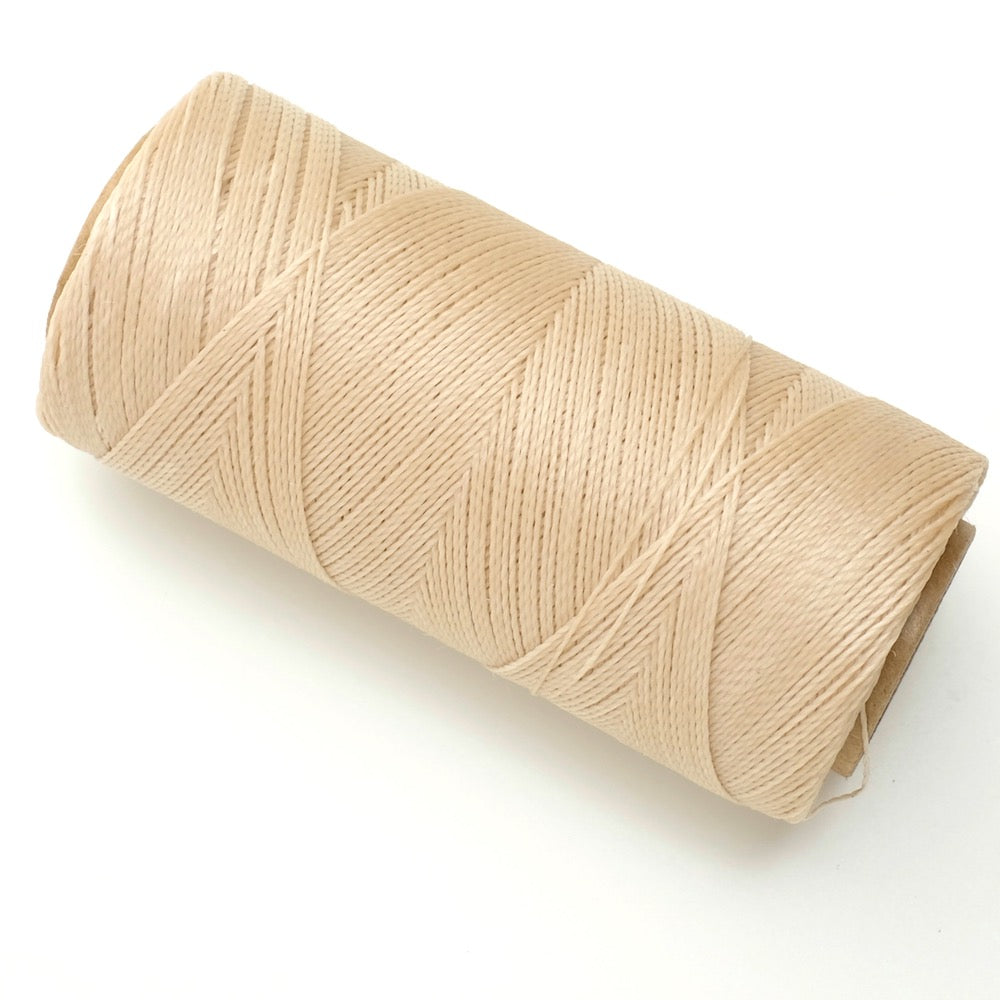
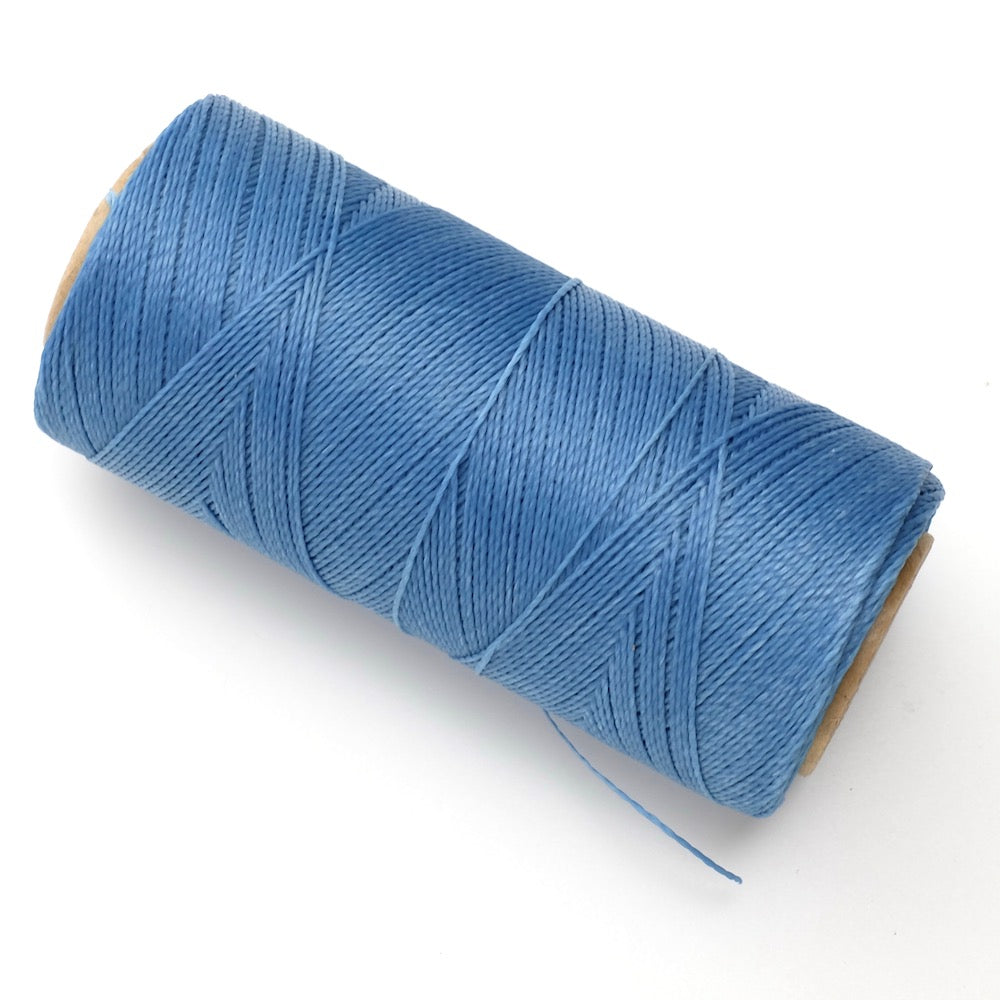
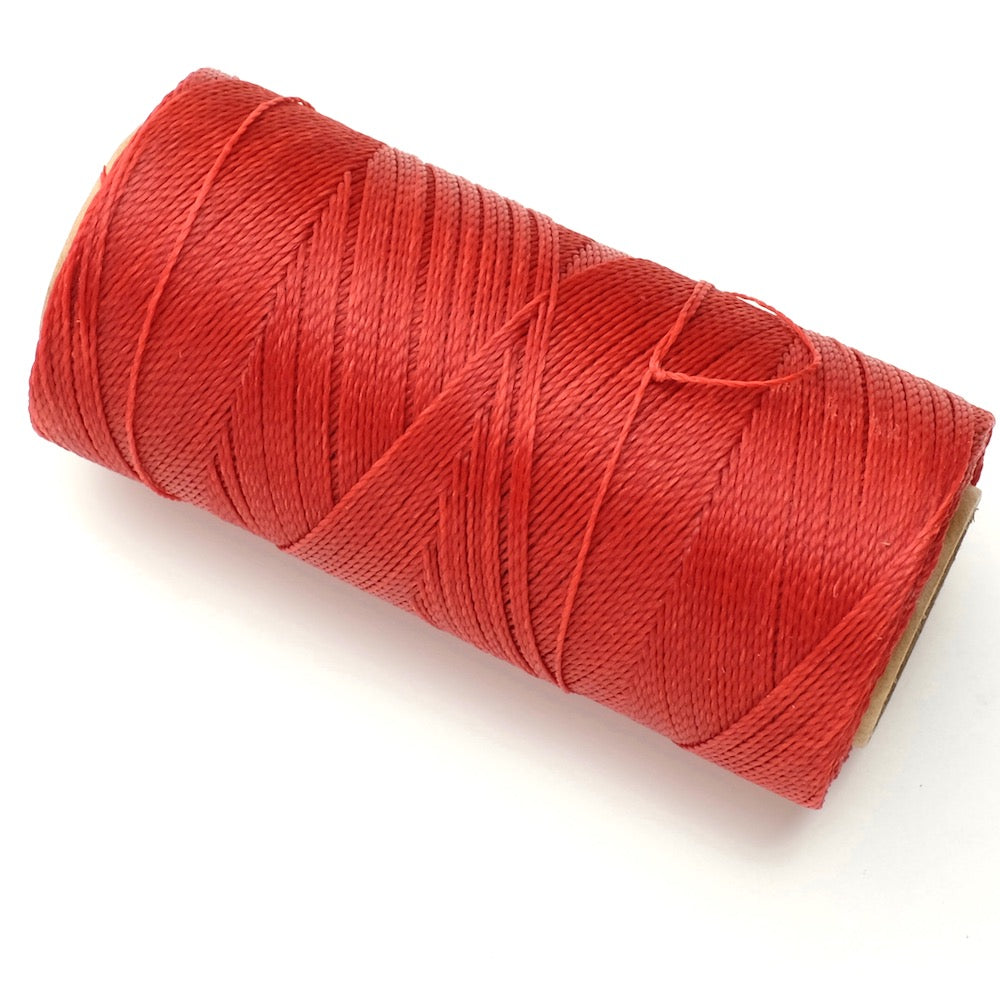
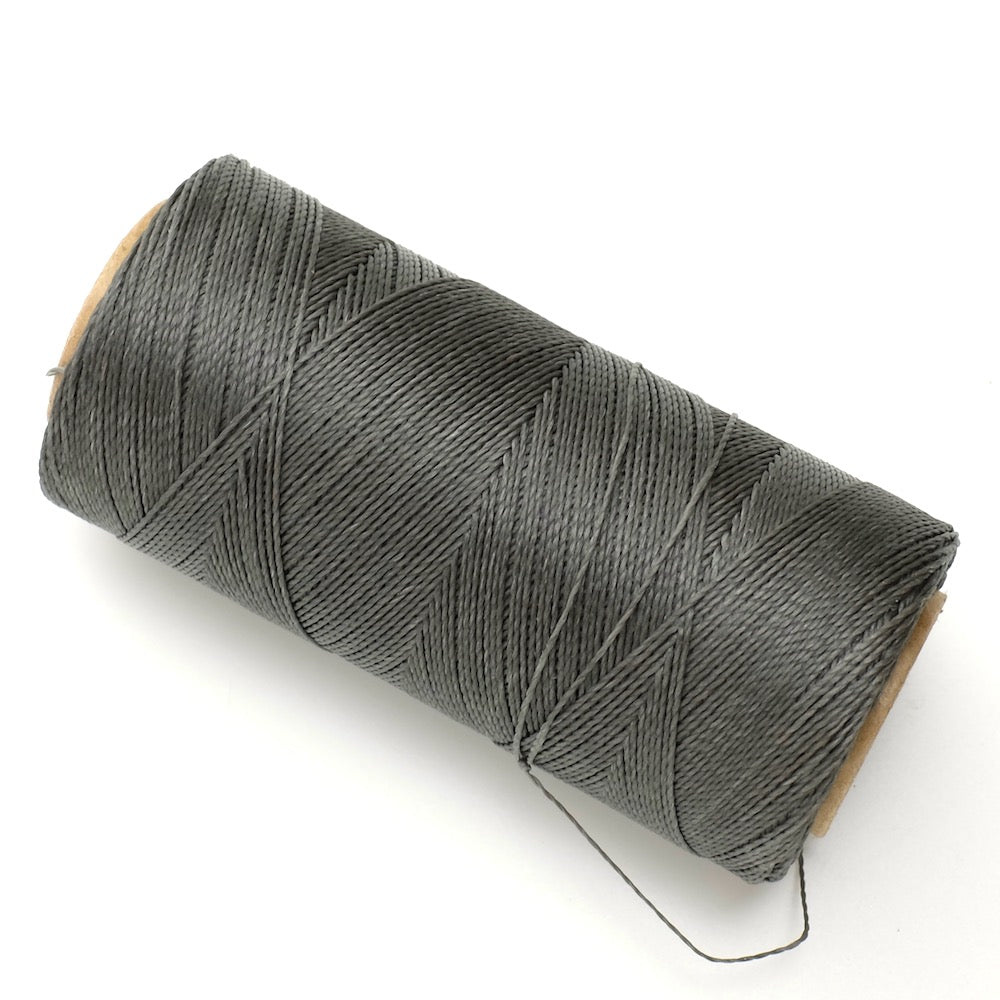
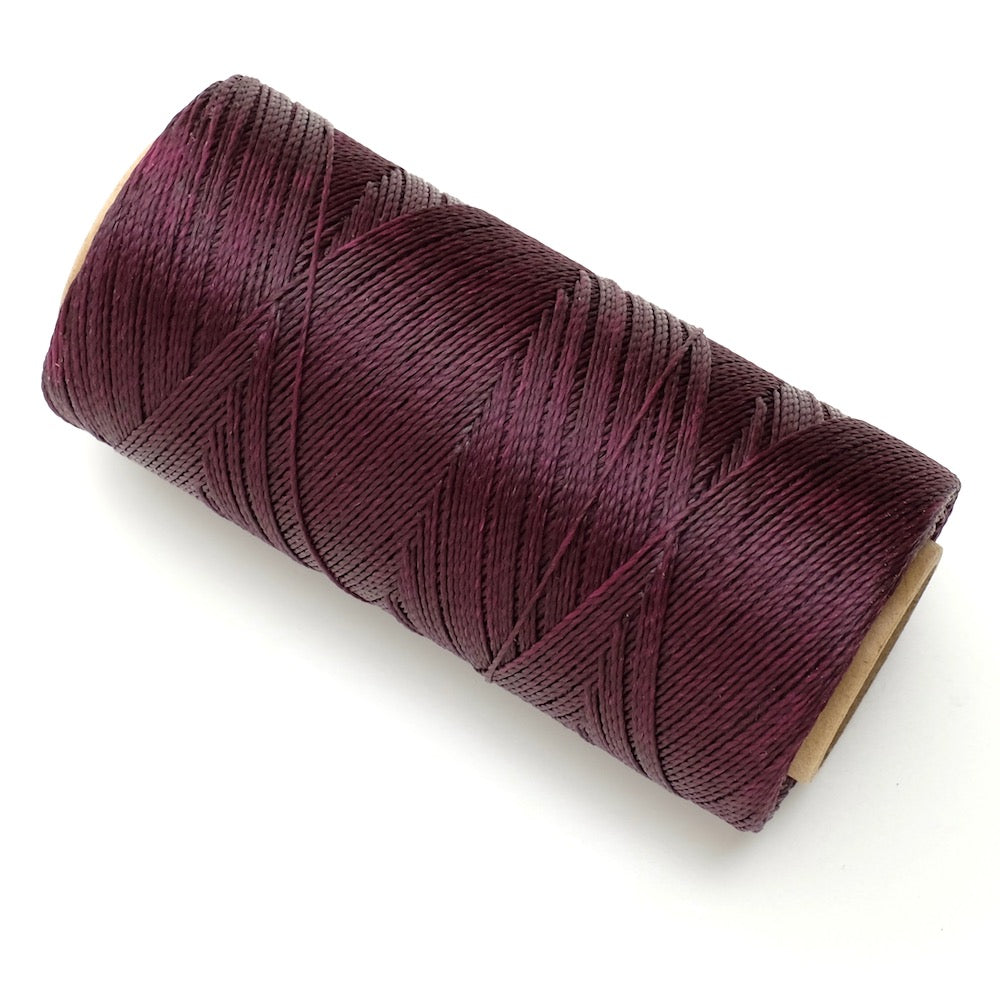
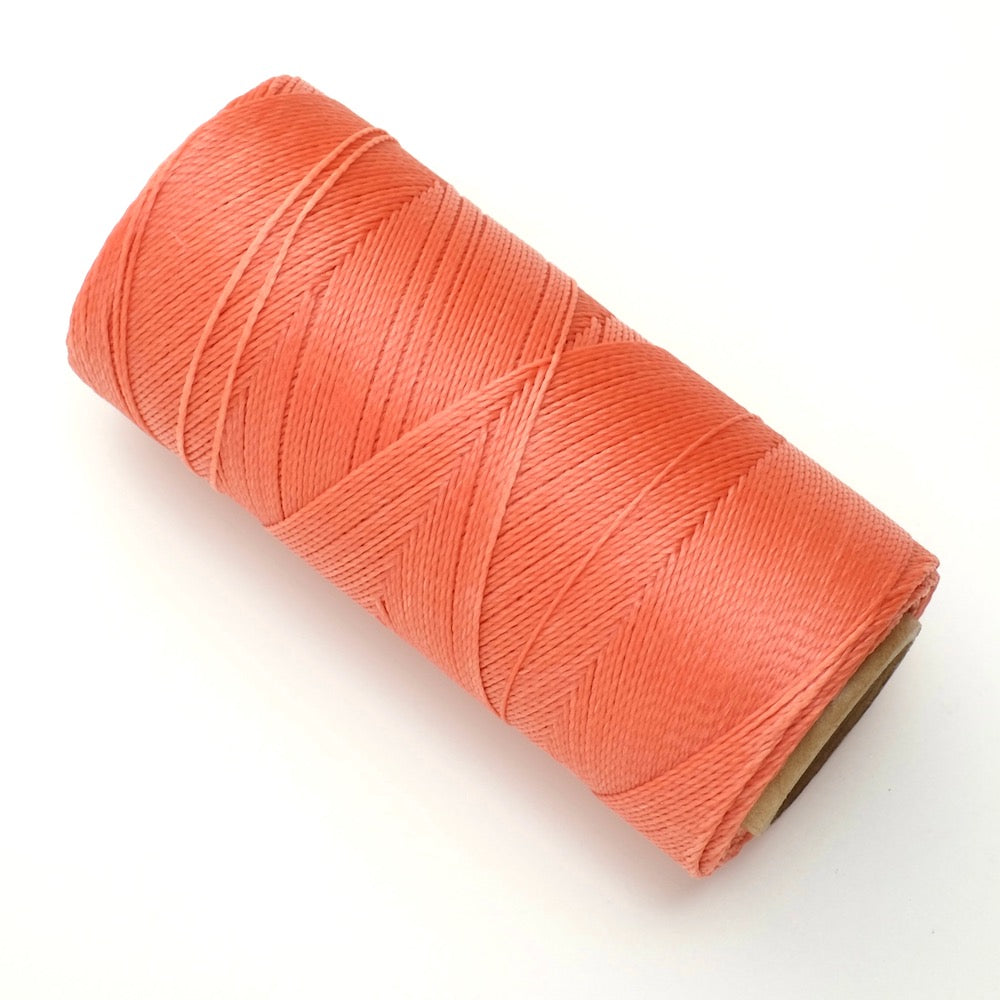
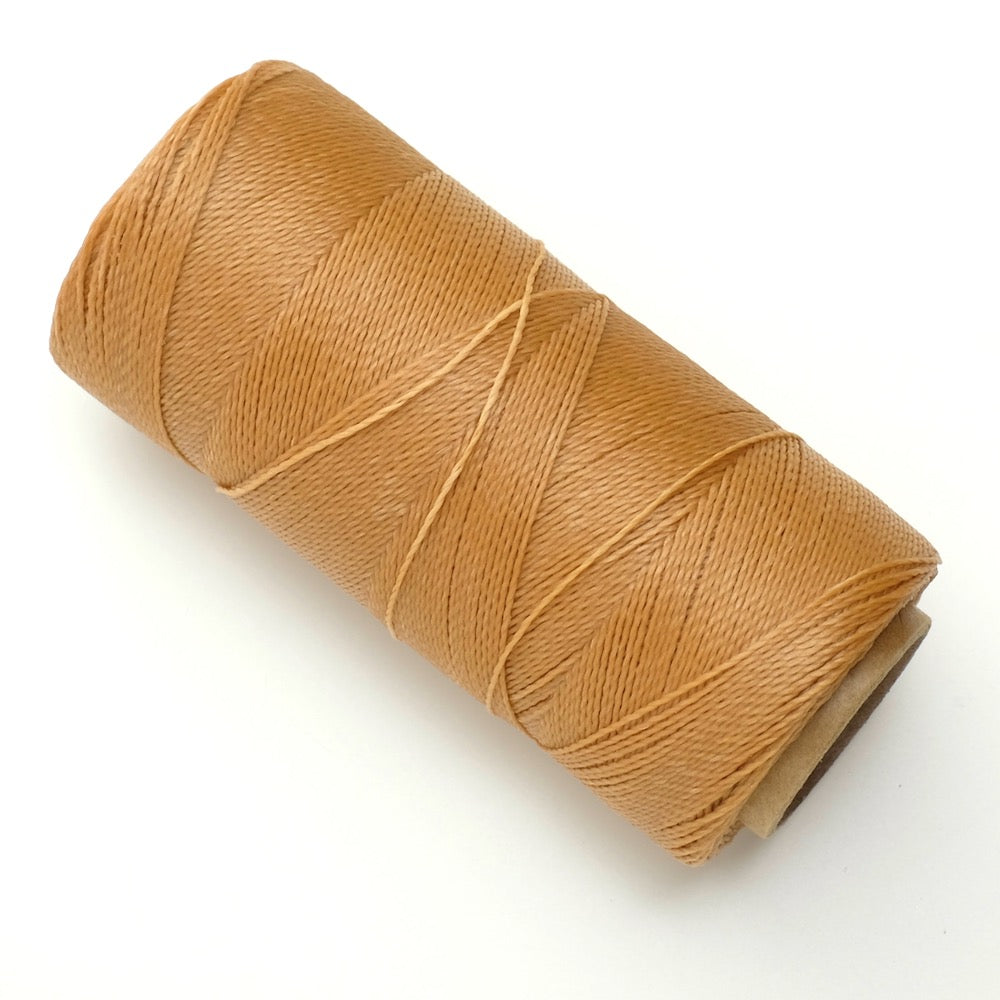
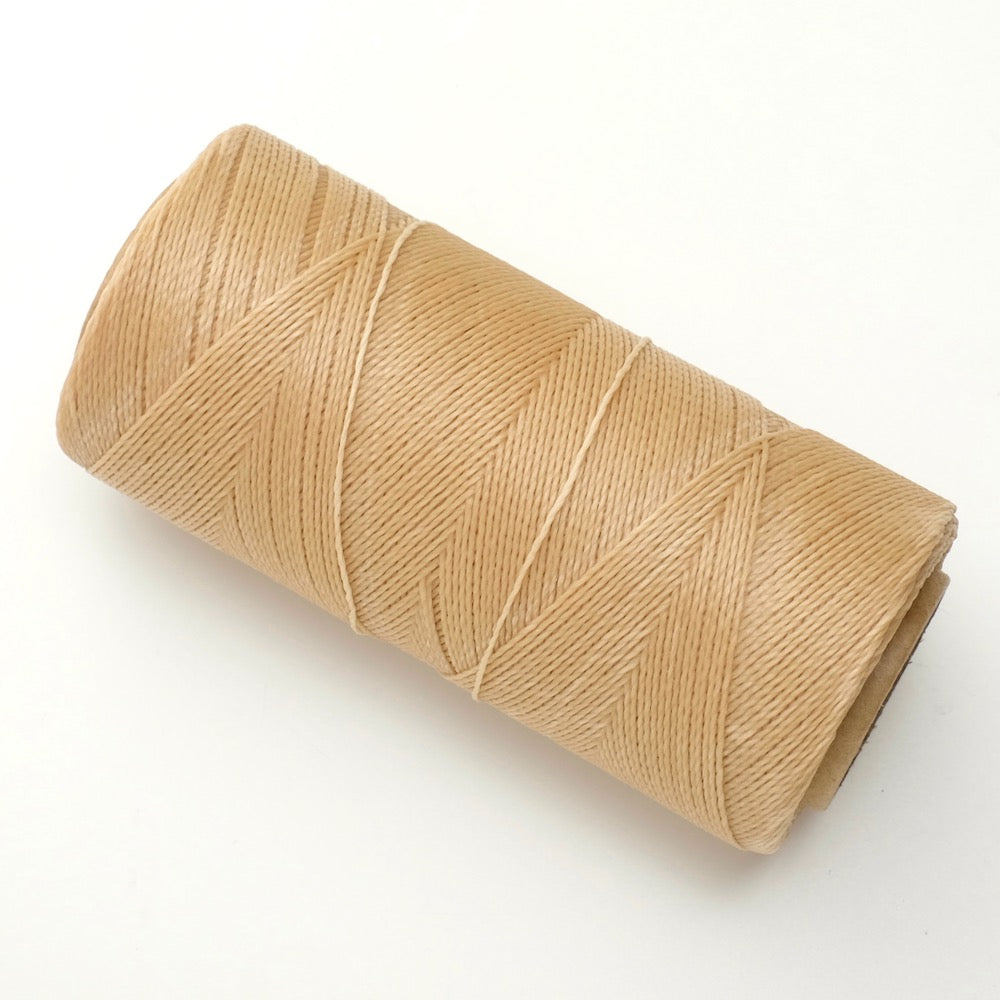
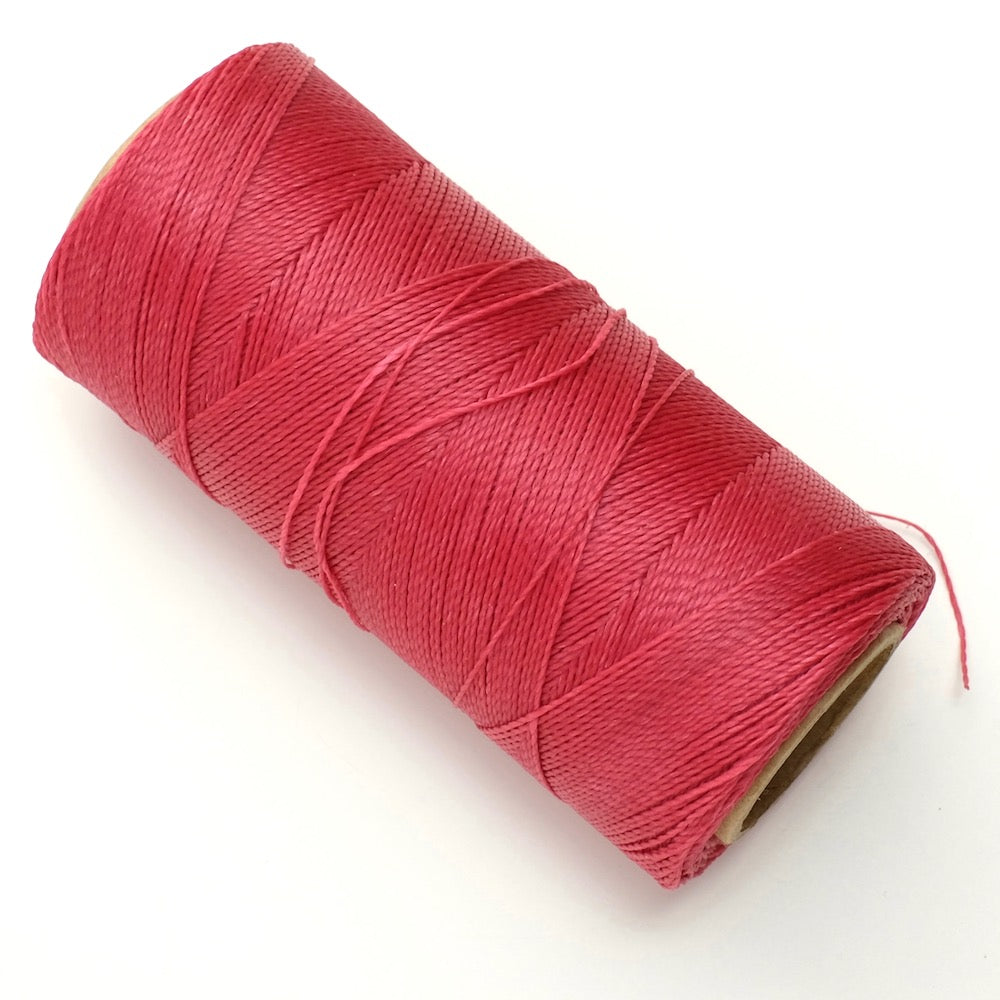
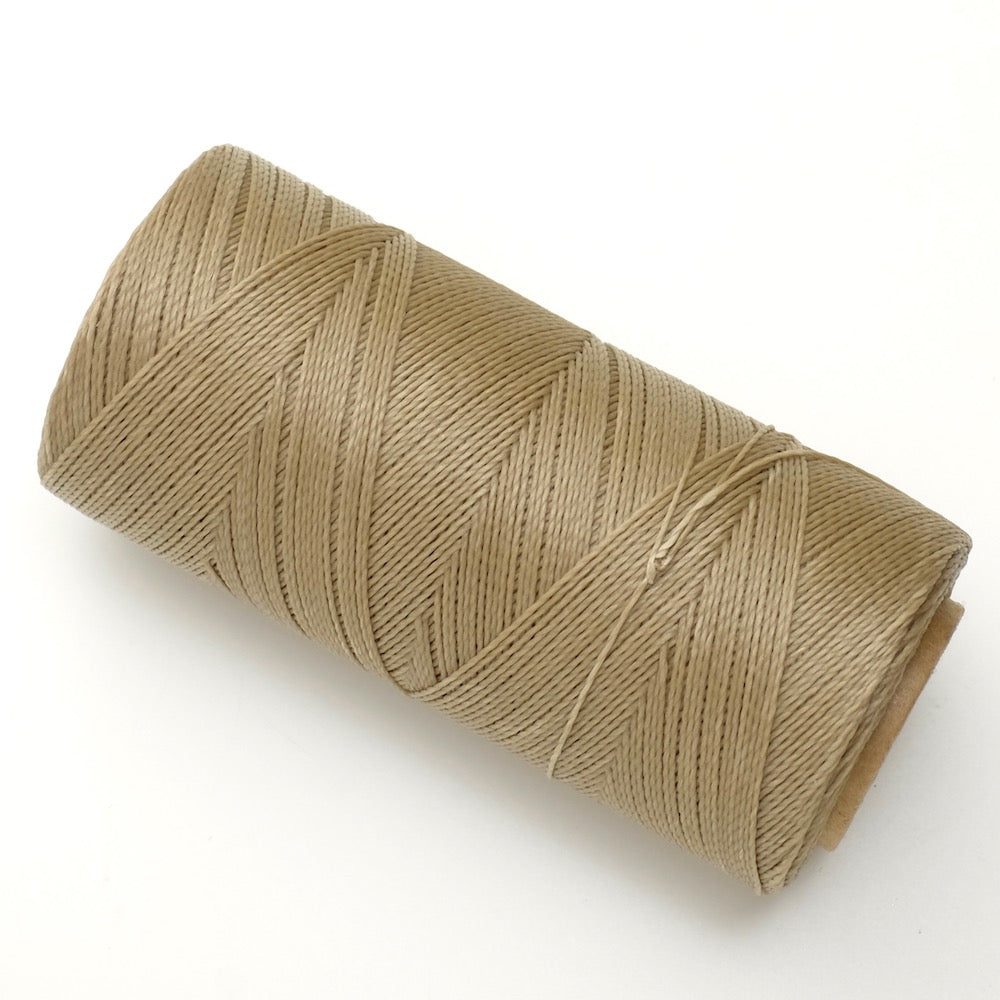
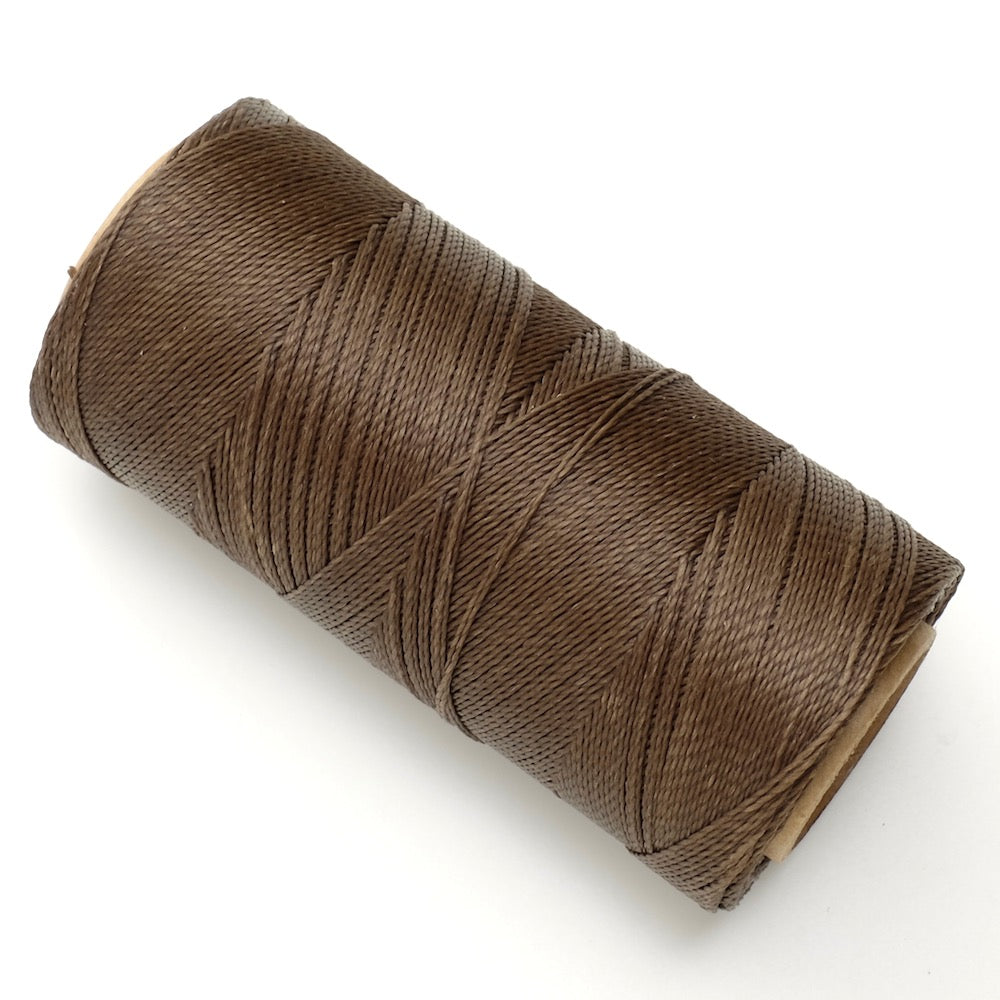
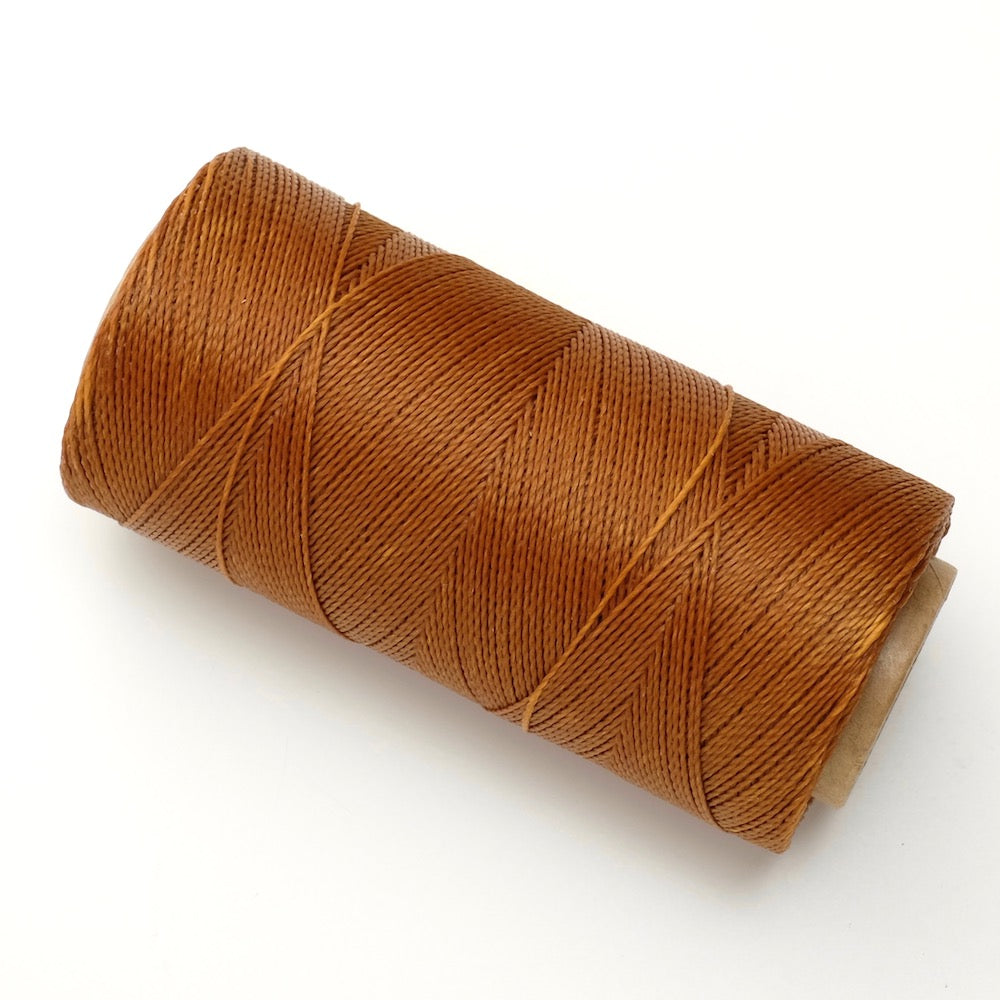
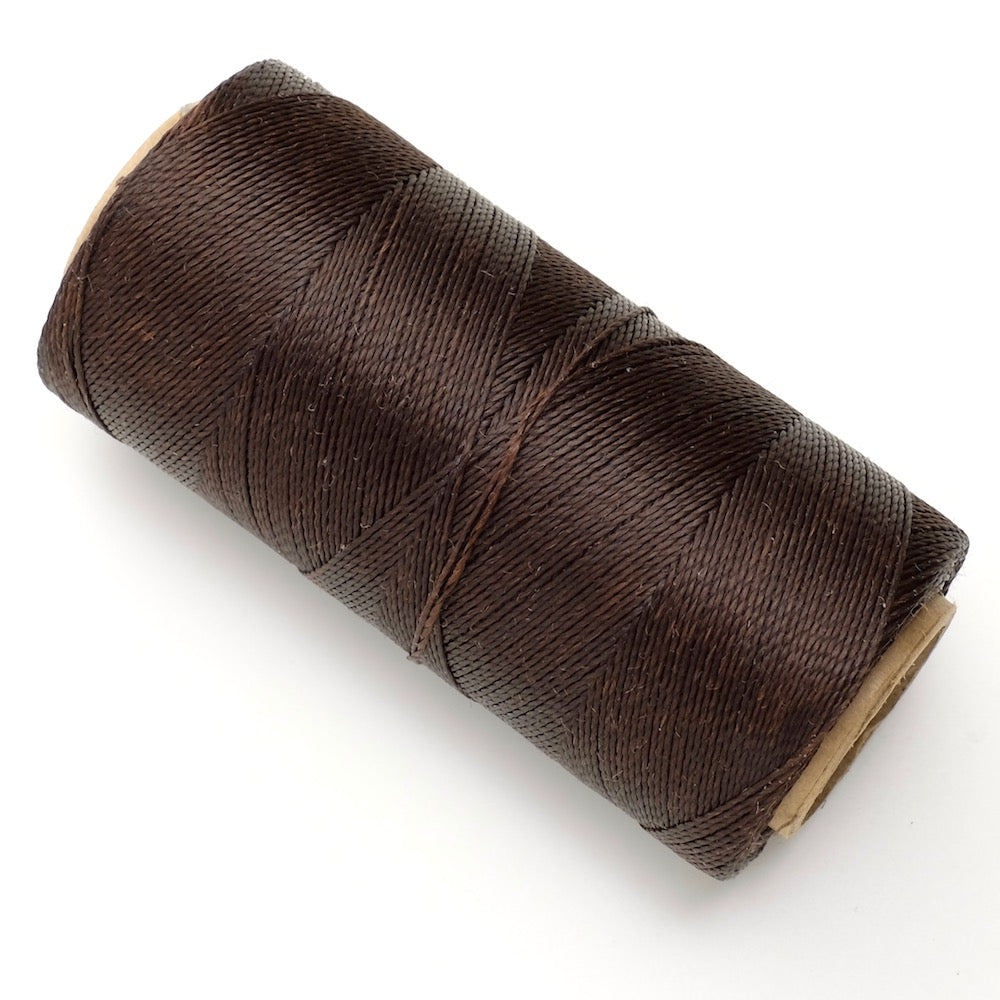
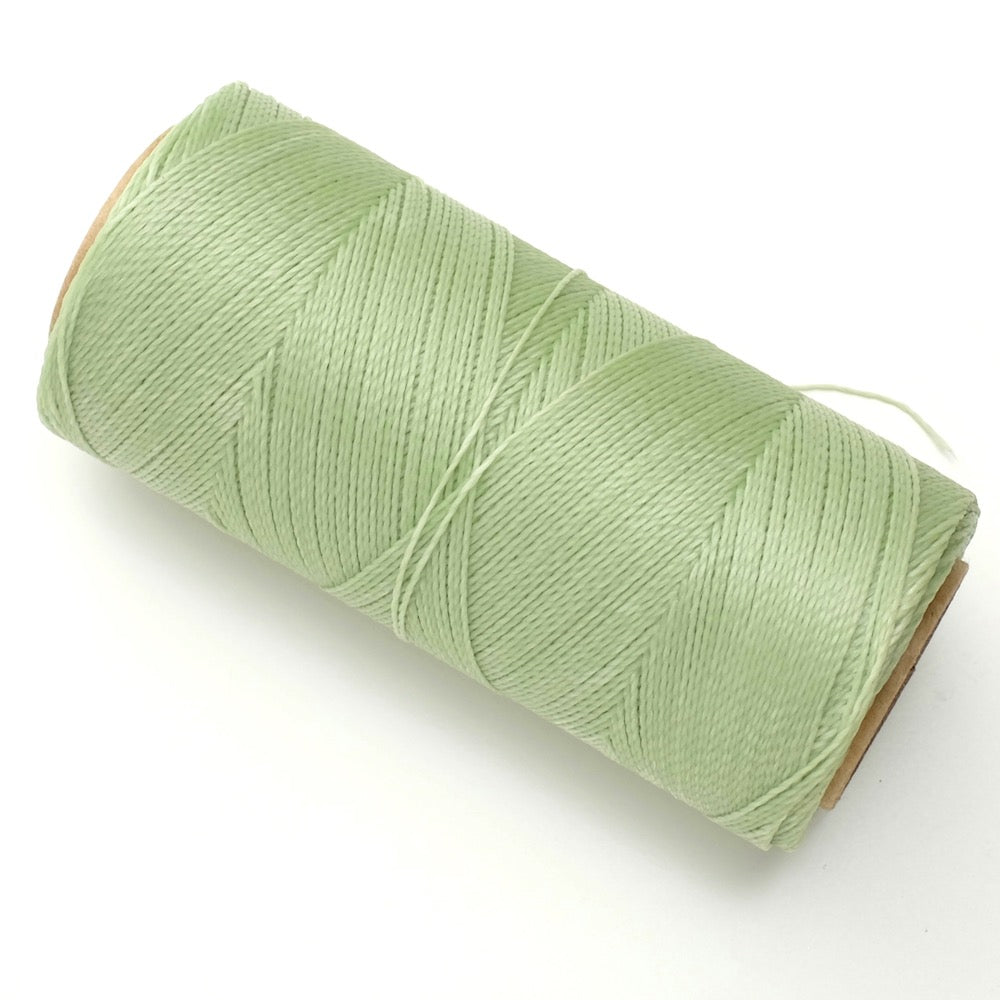
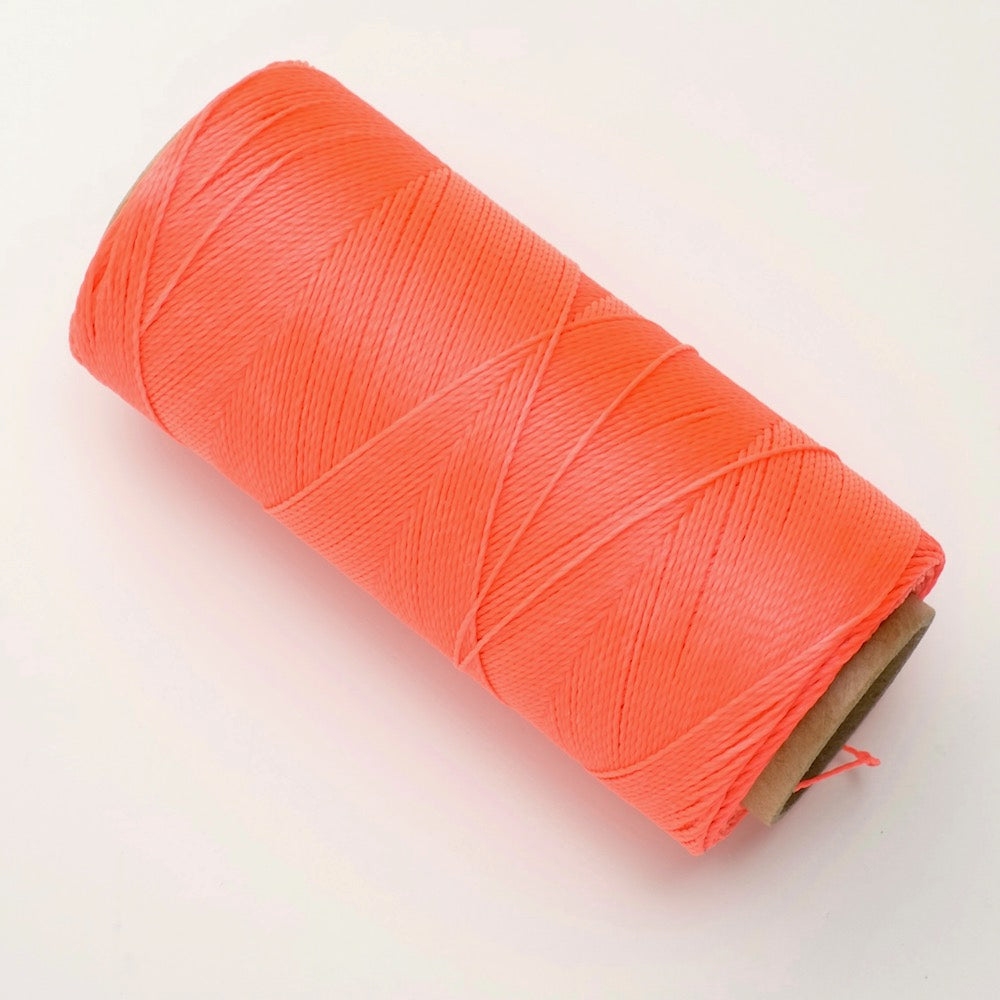
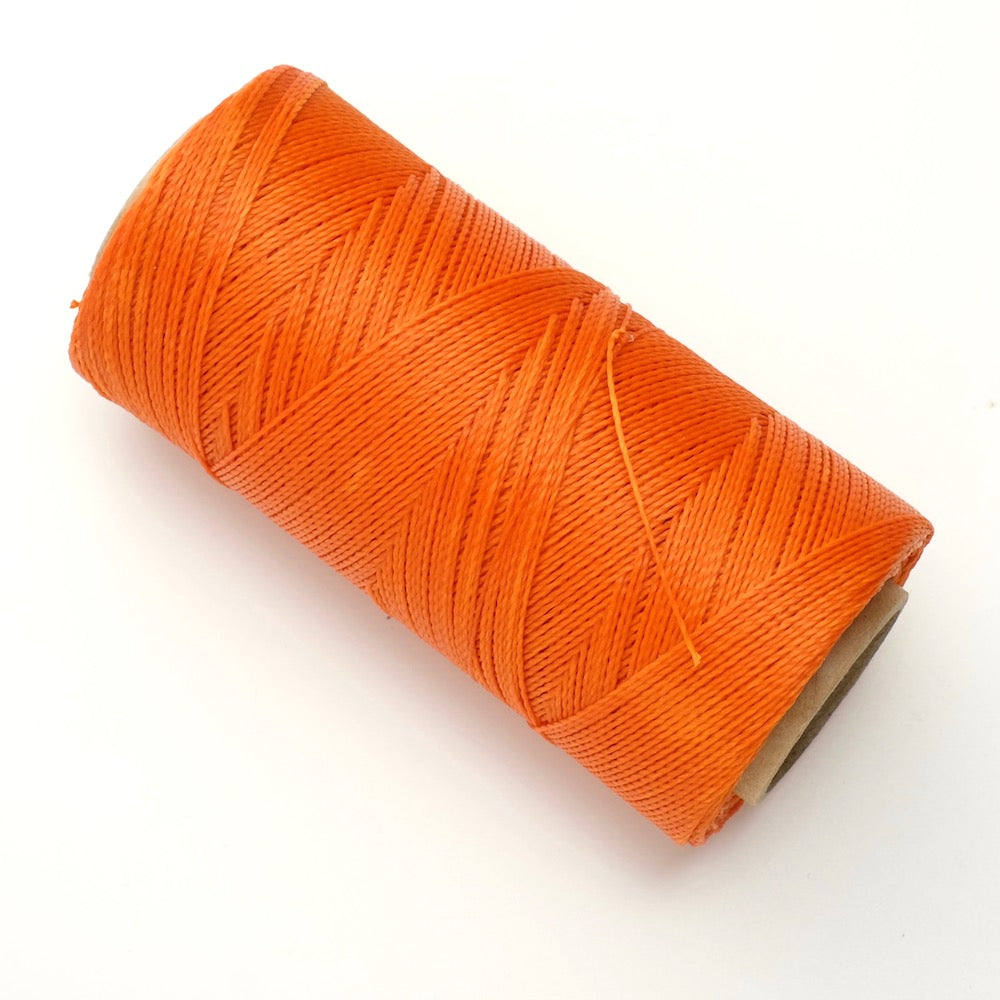
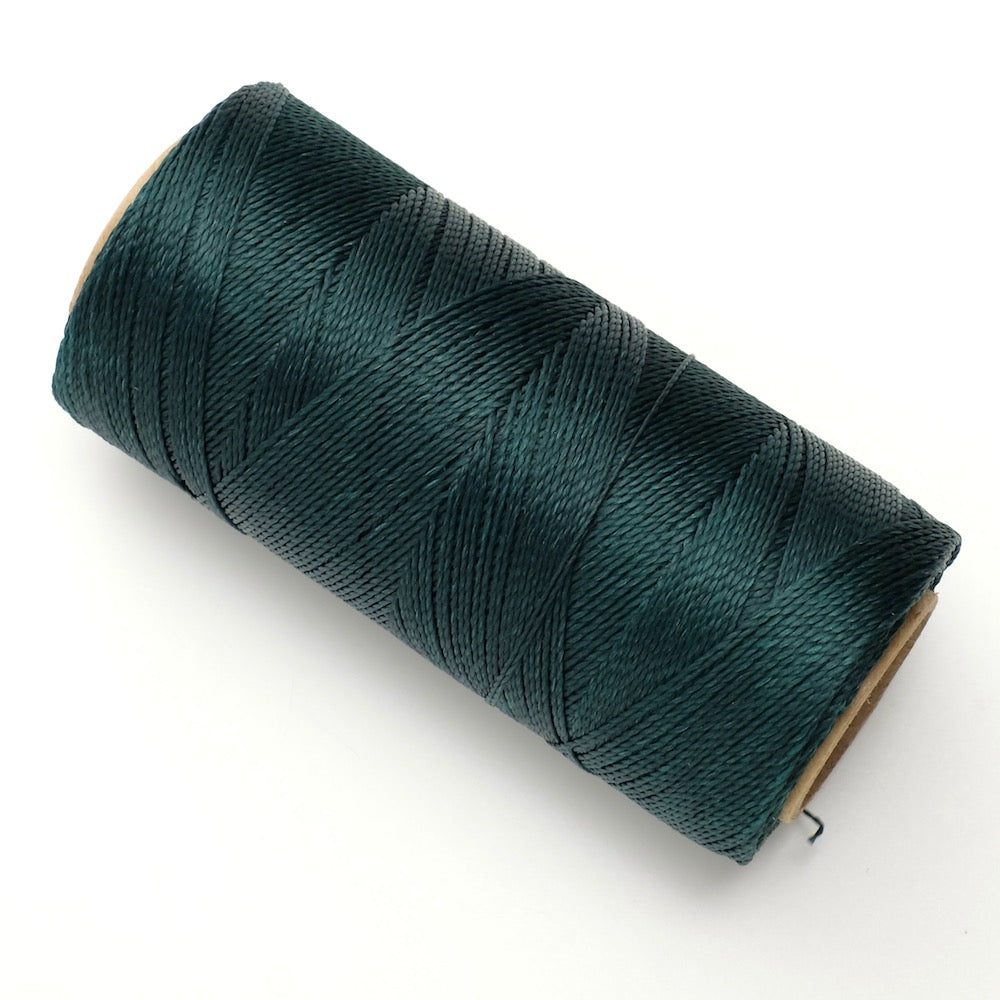
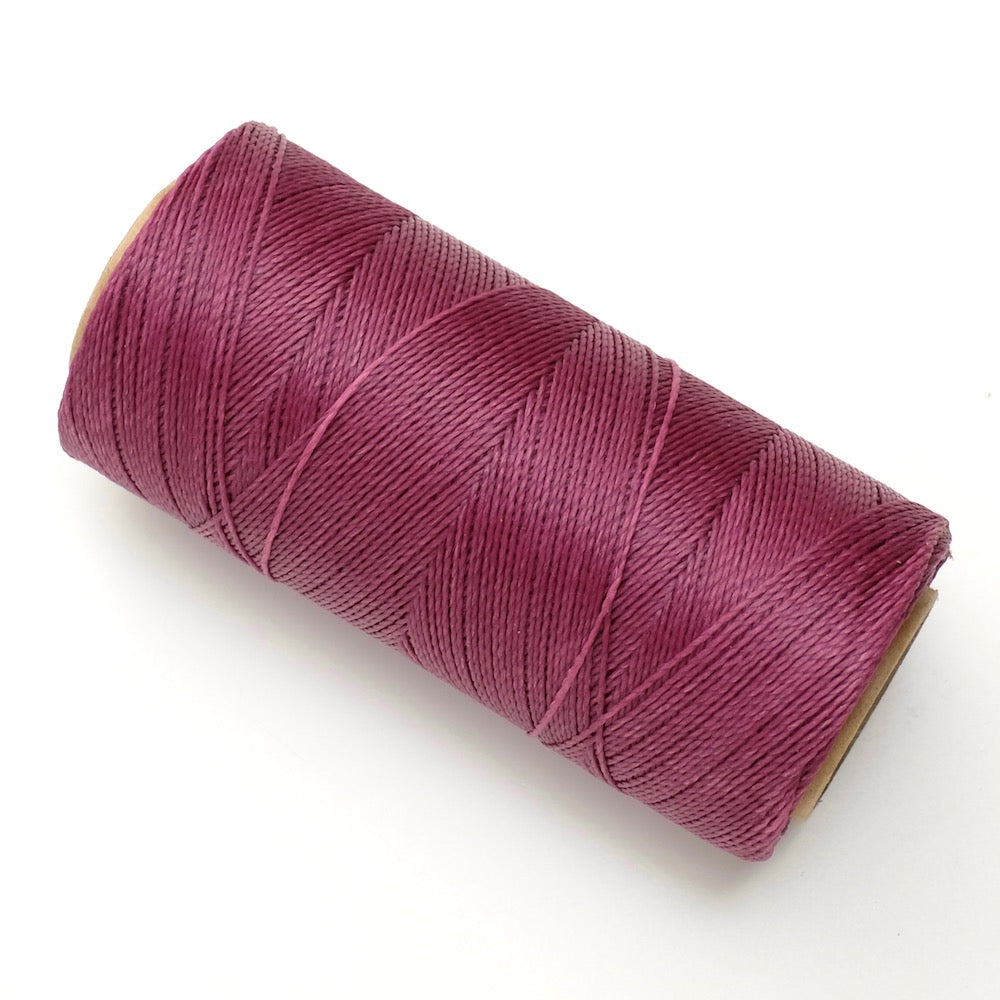
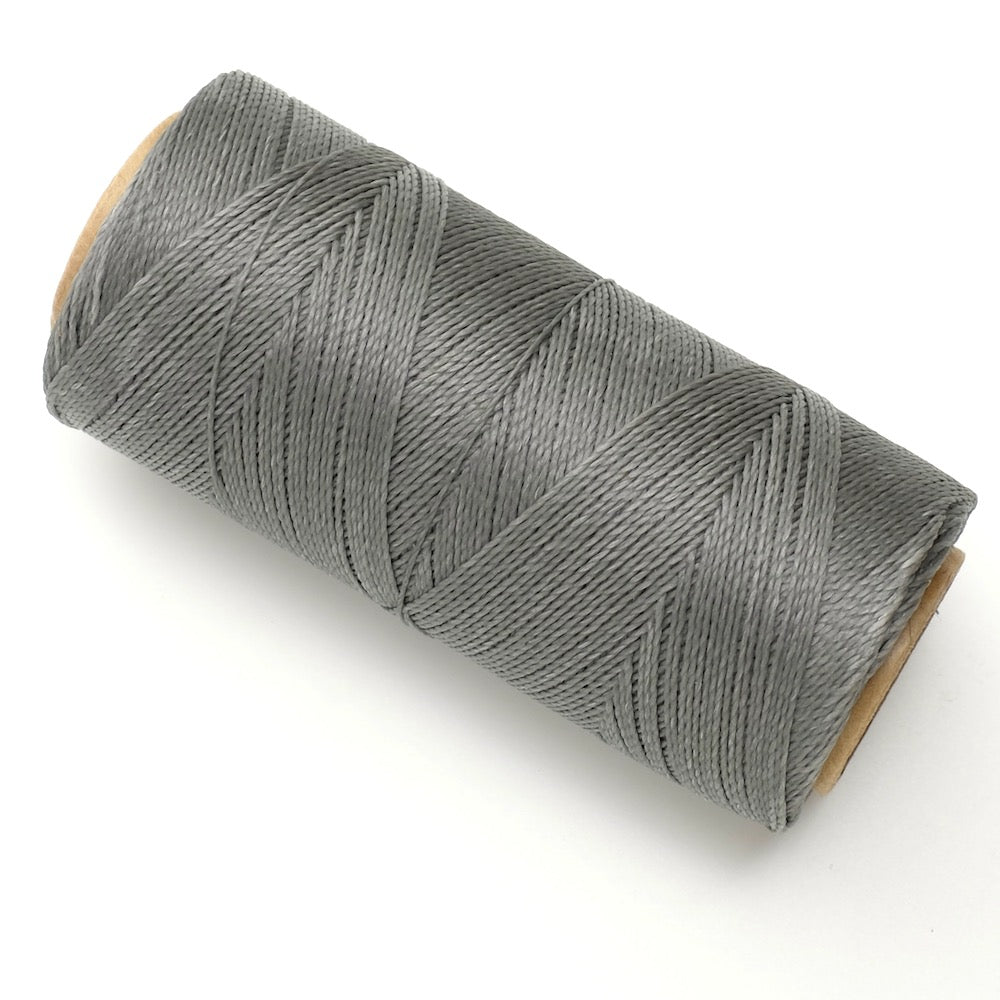
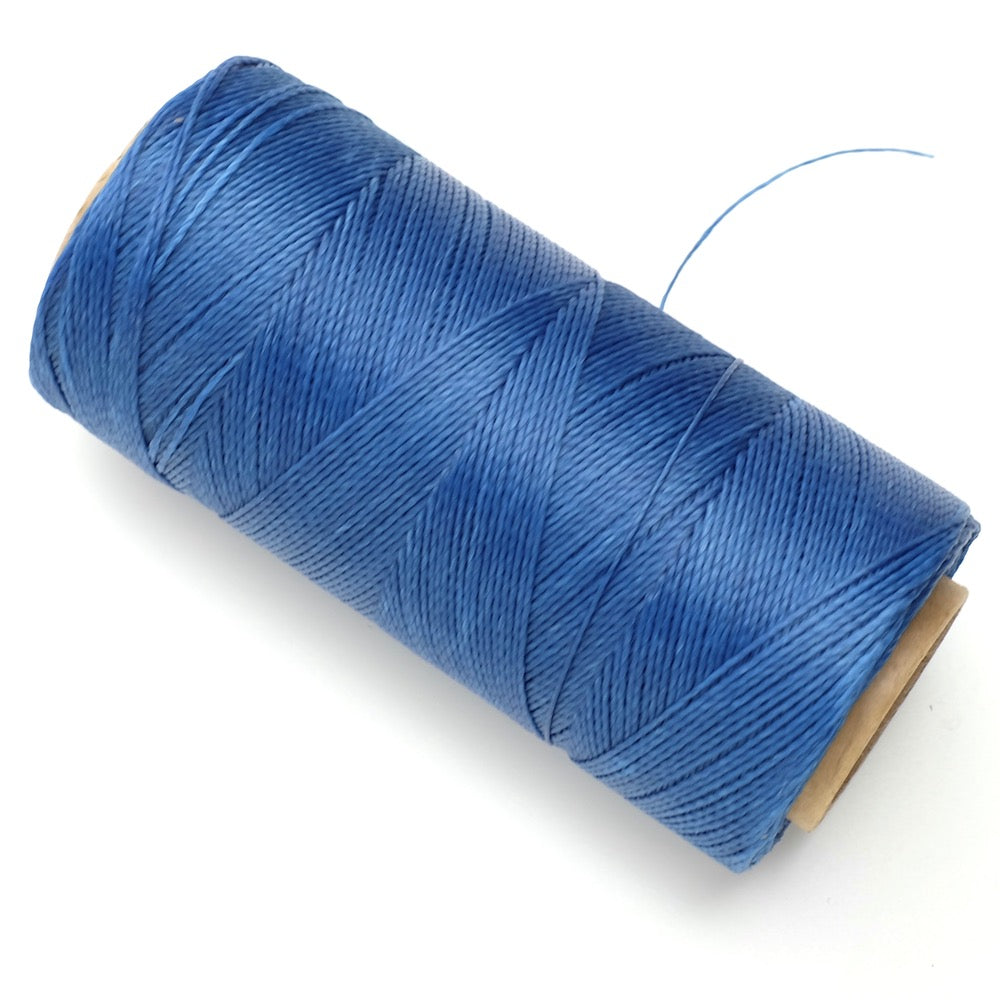
 Linhasita thread 0.5mm and 1mm