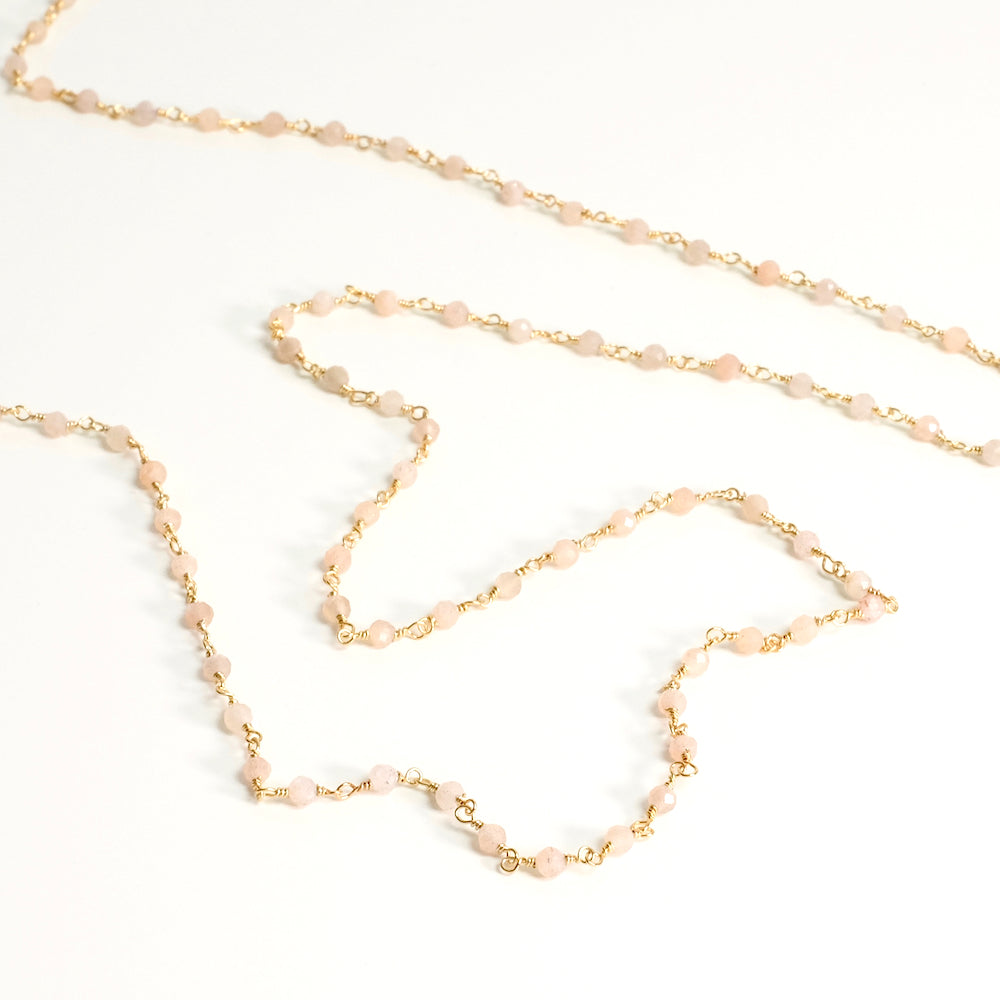
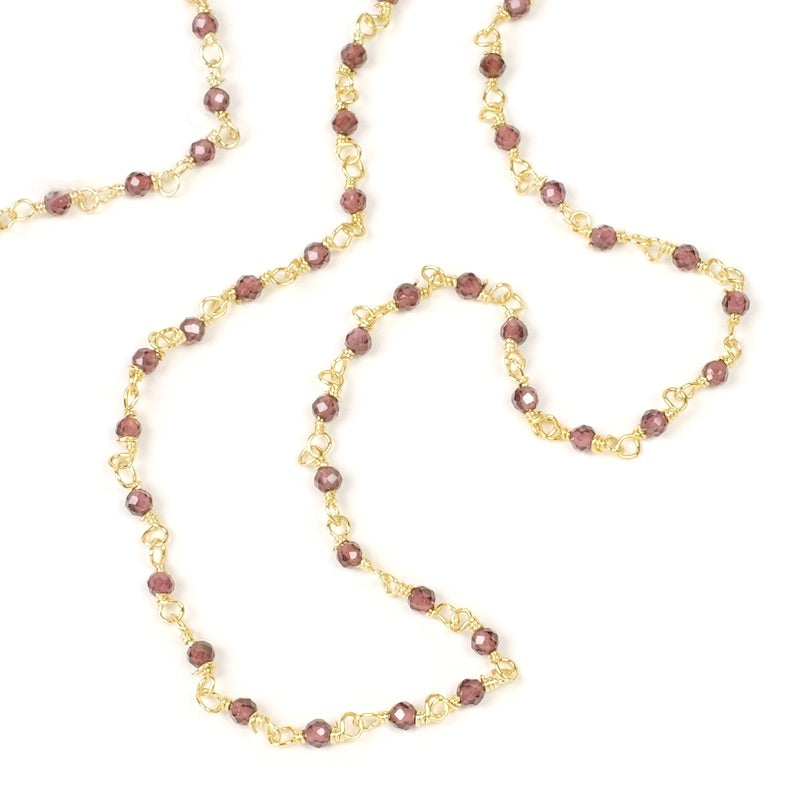
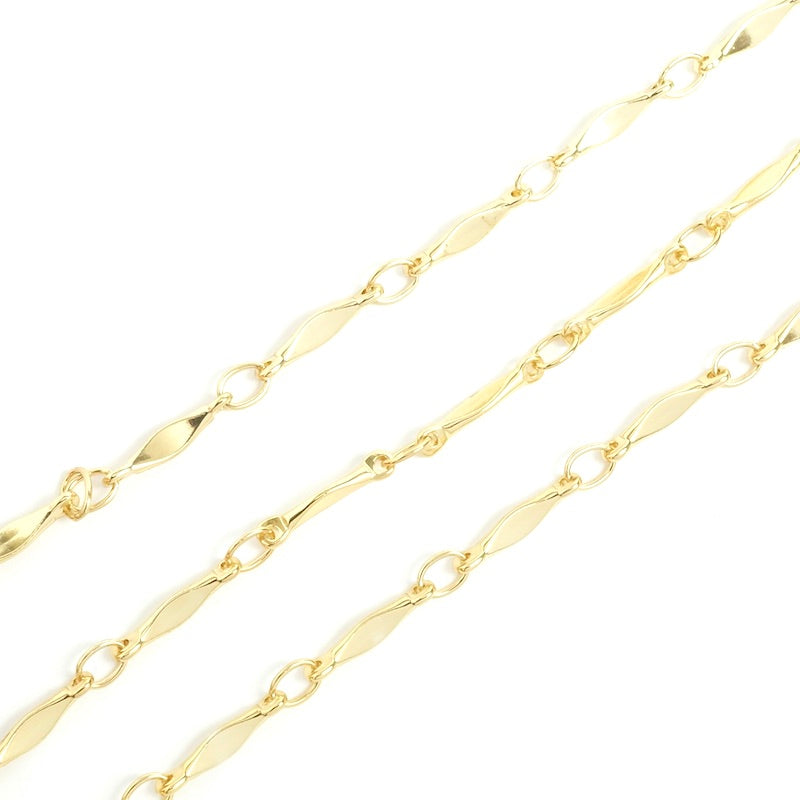
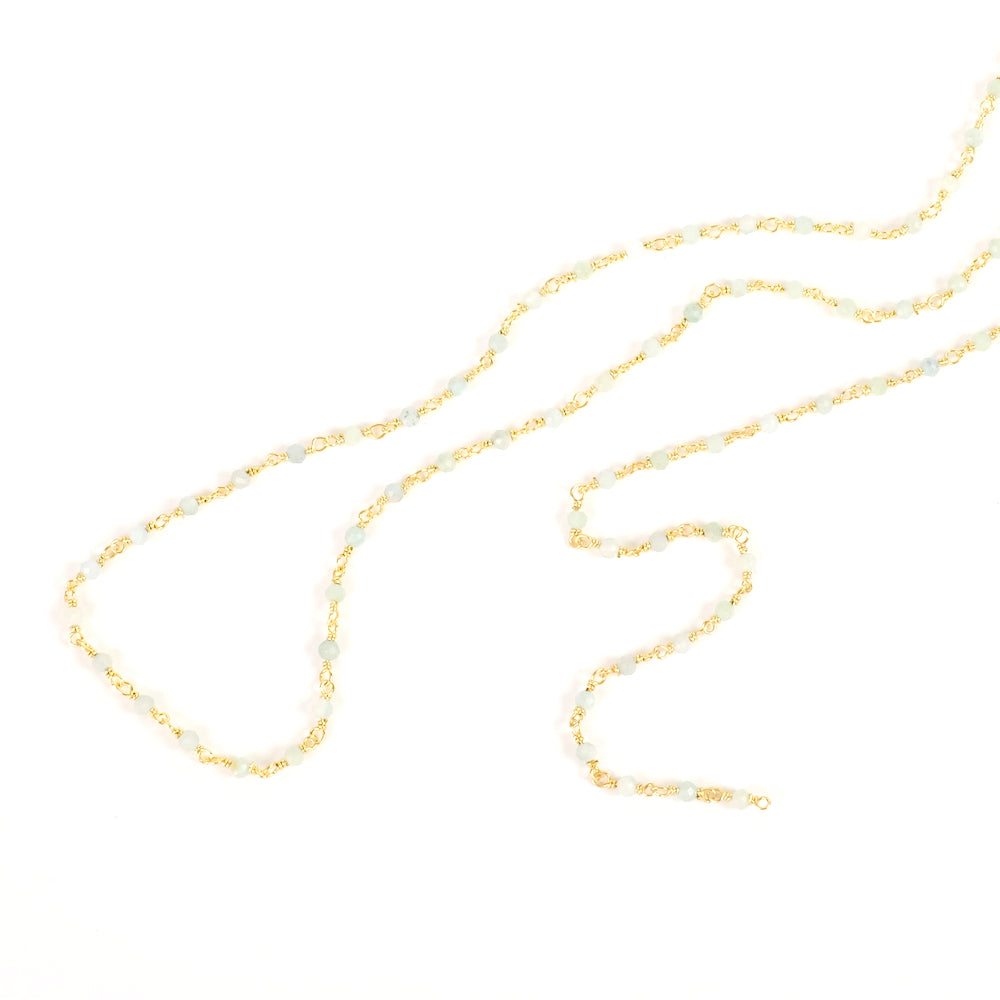
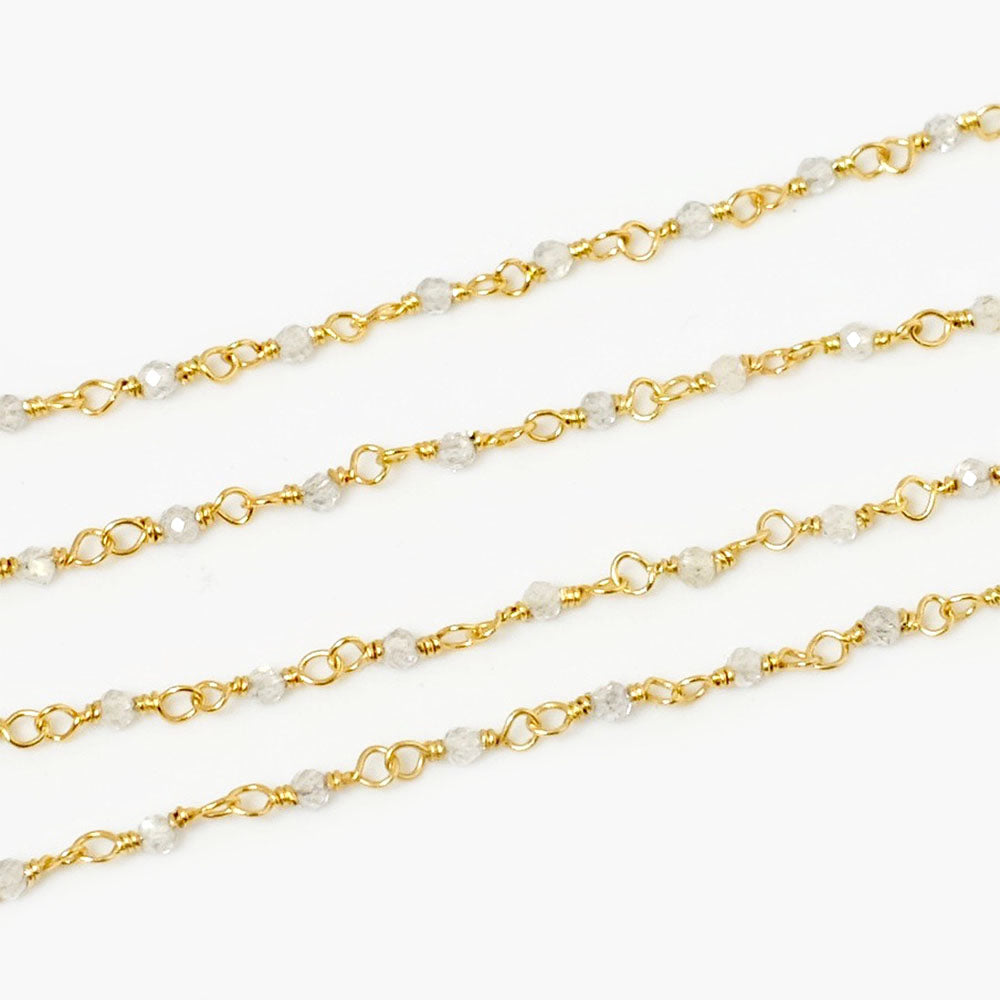
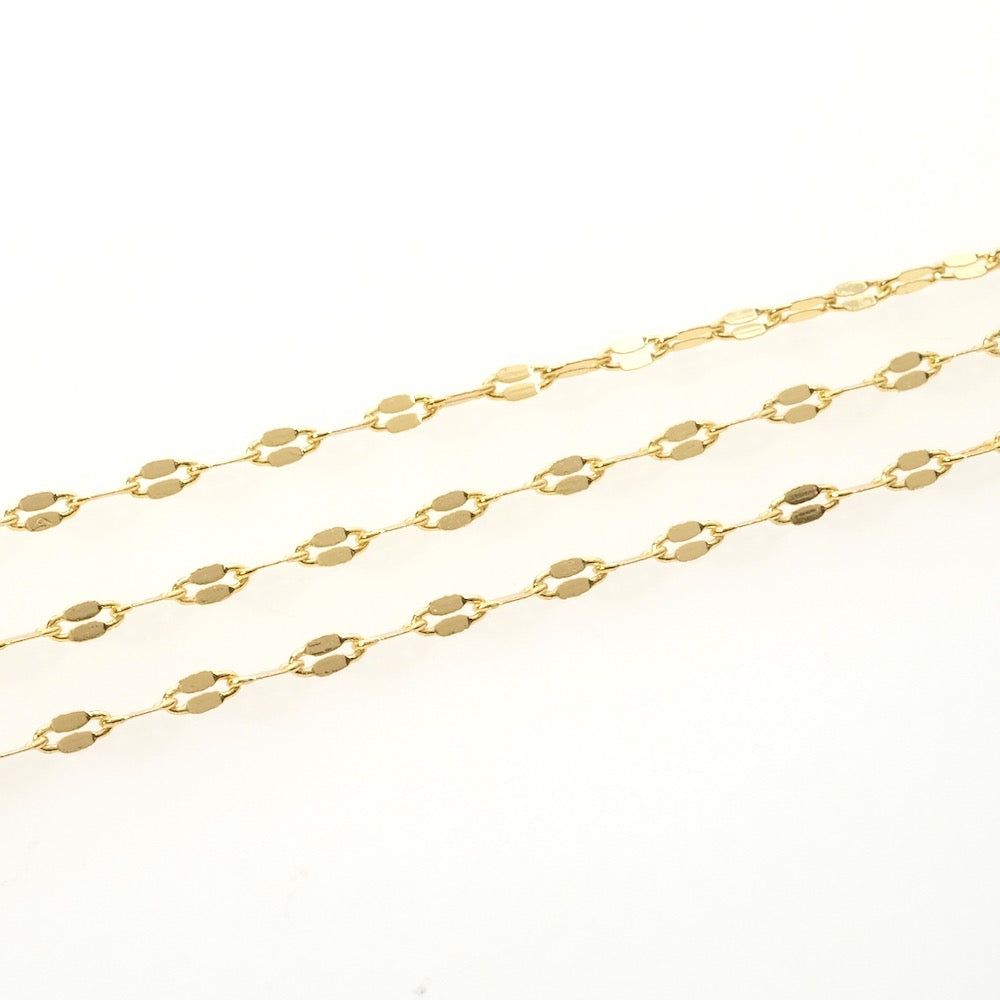
Three strands playing together — a strand of natural stones framed by chains gold plated with 24K fine gold.
The idea: combine colors, shapes, and materials to create a bracelet that catches the light with every wrist movement.
Three possible combinations, three different vibes. It's up to you to choose the one that suits you.

A bracelet to wear alone or stacked, designed for both sunny days and autumn — just change the stones.
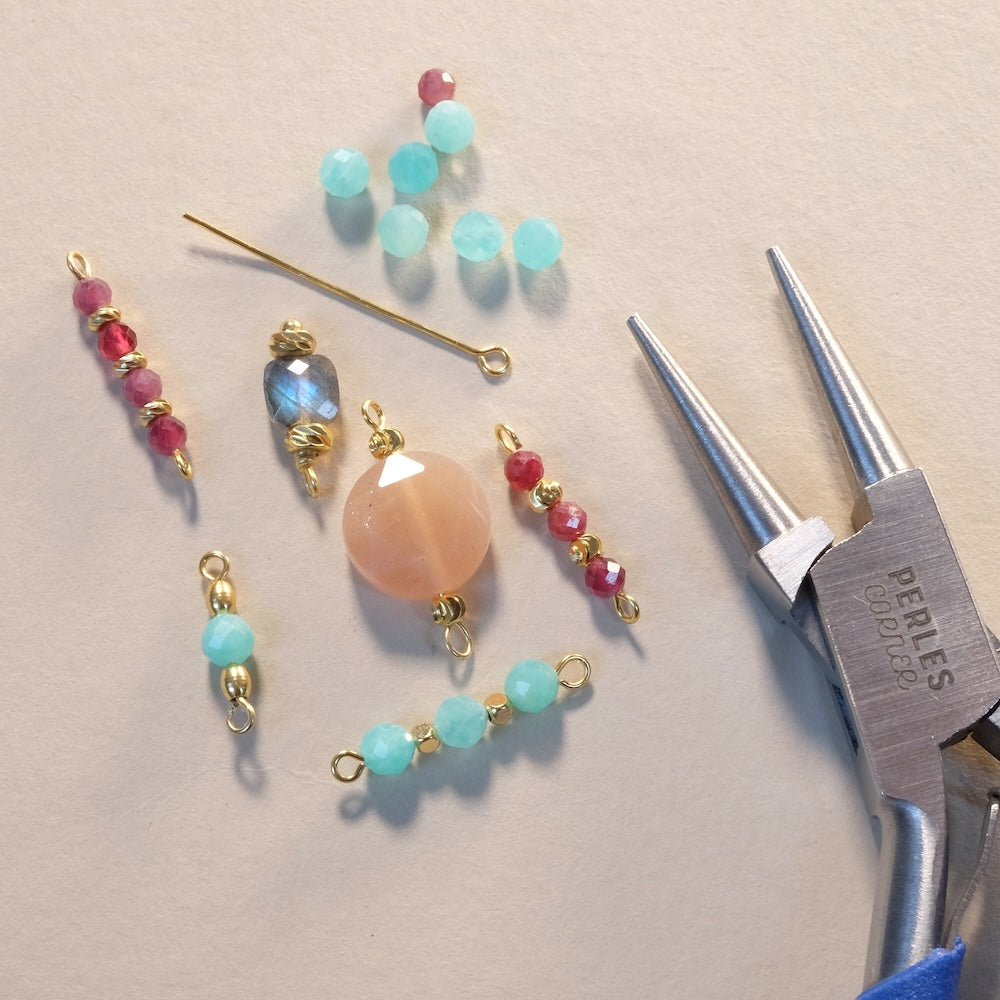
Necessary tools: Flat pliers
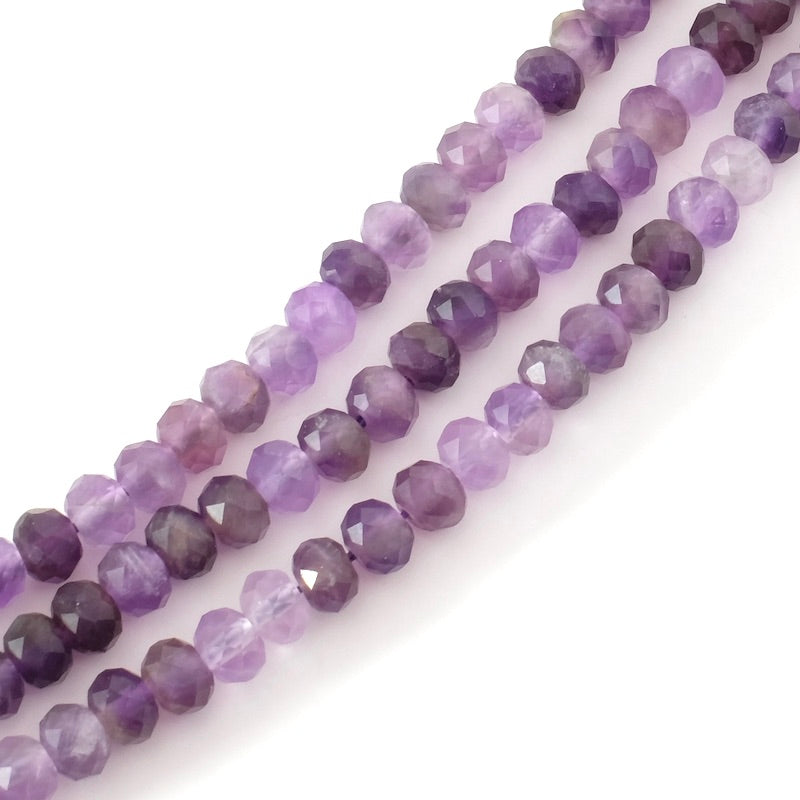
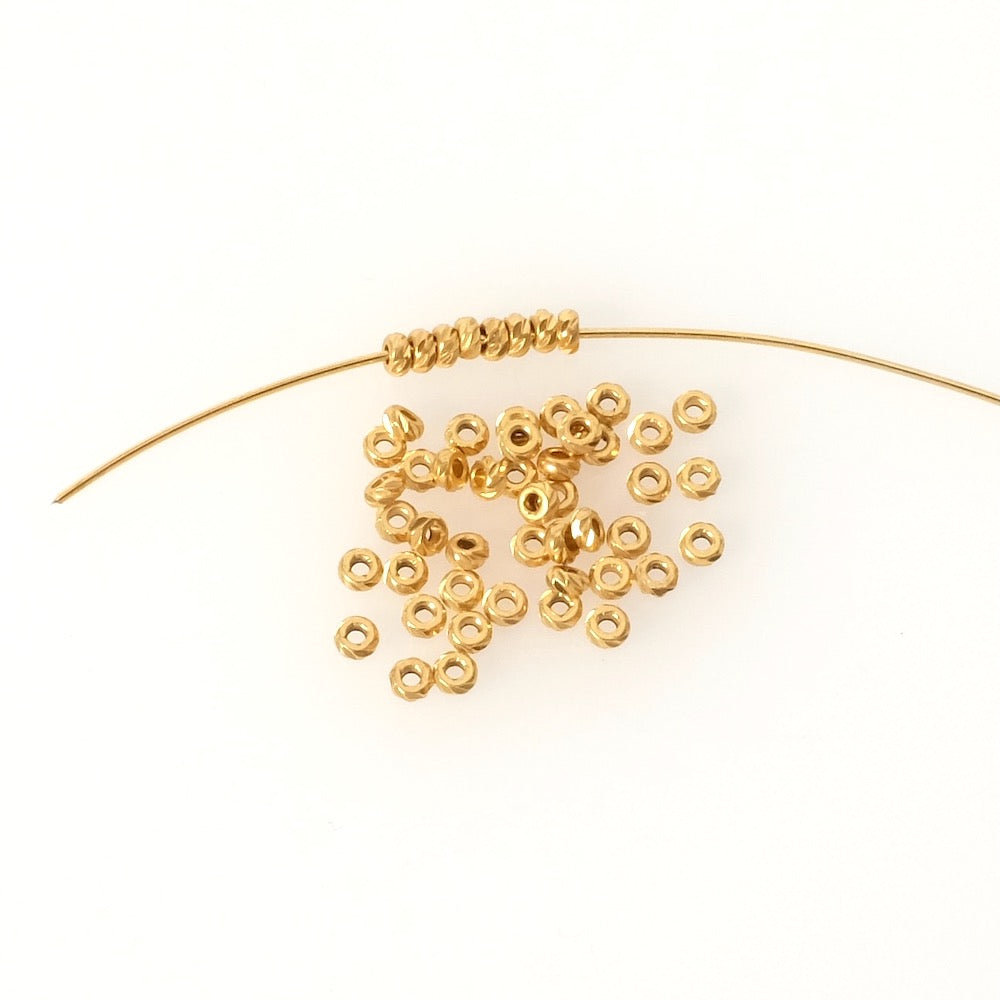
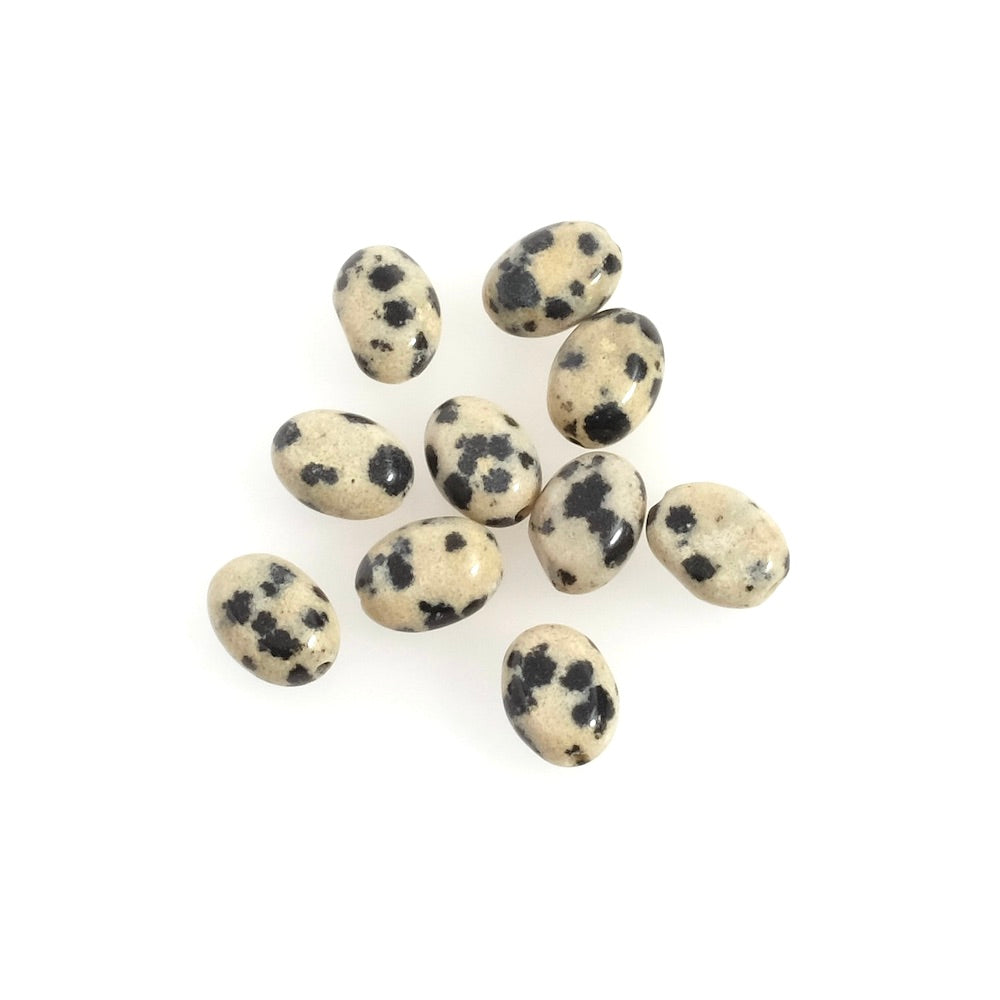
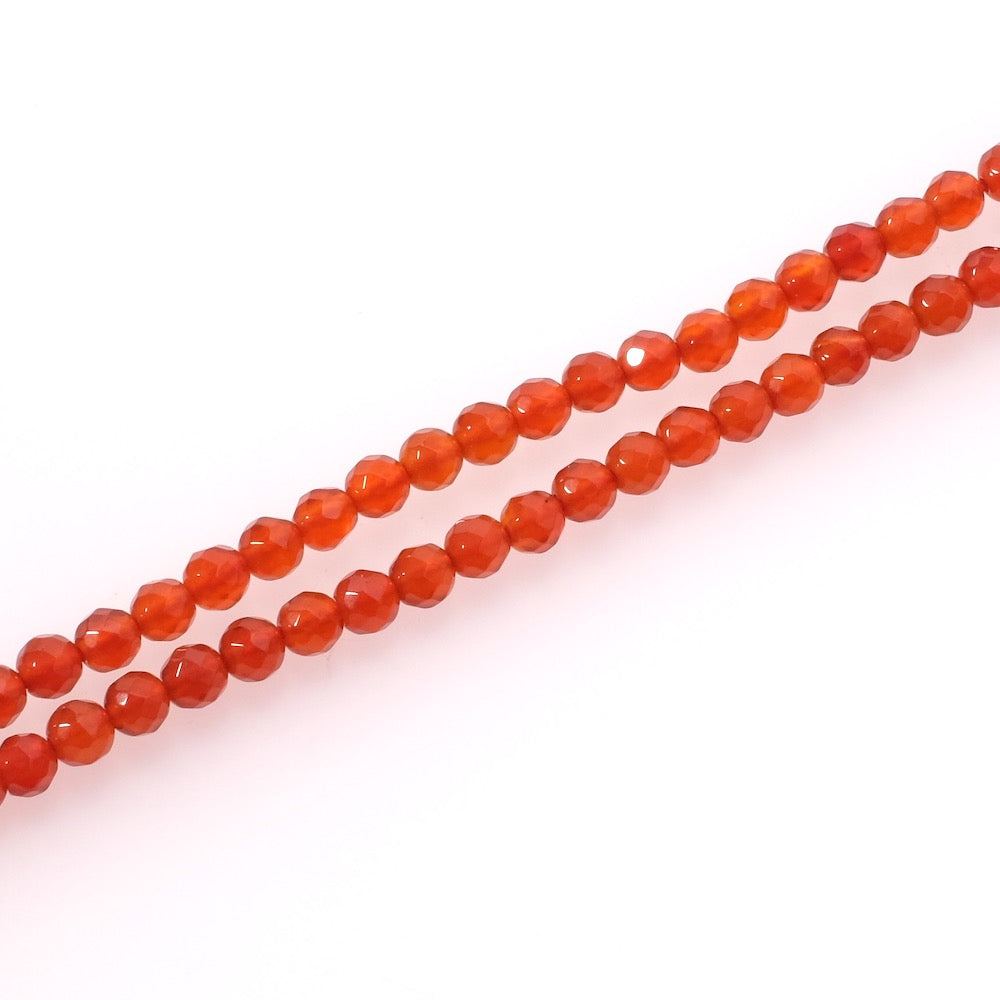
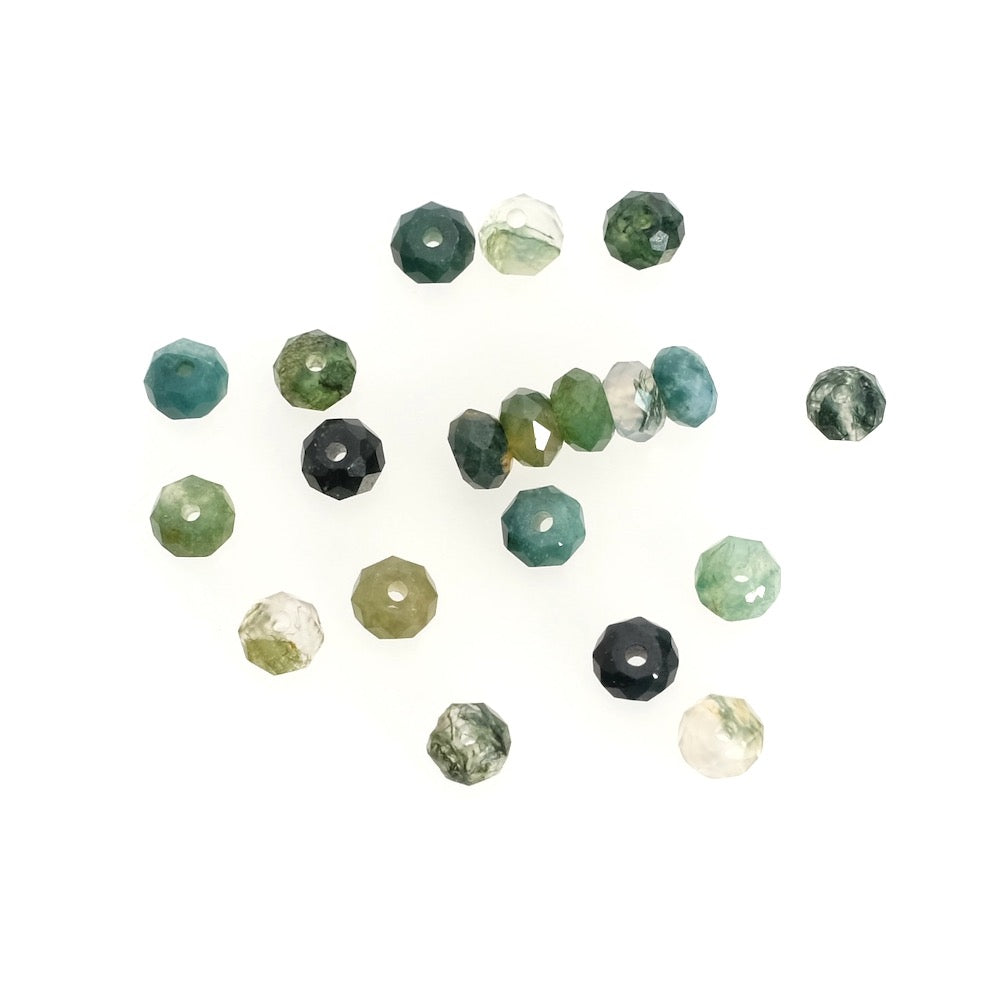
Select your natural stones beads. Create a combination of shapes, sizes, and shades. Align them to visualize the result before starting.
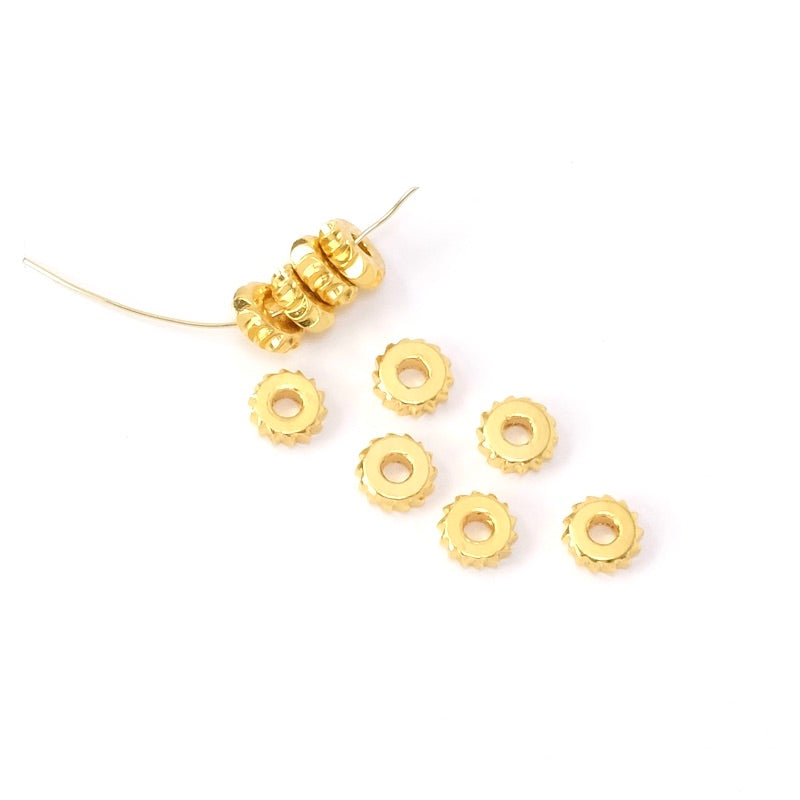
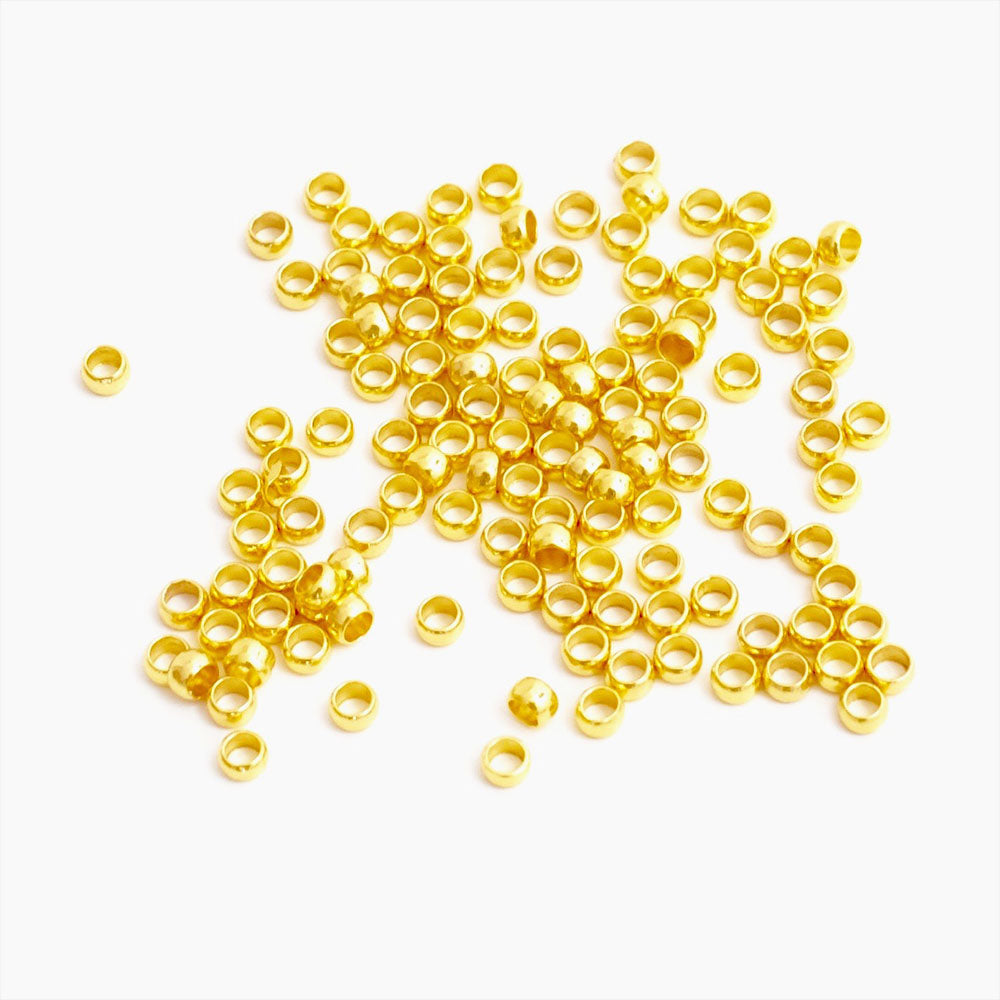
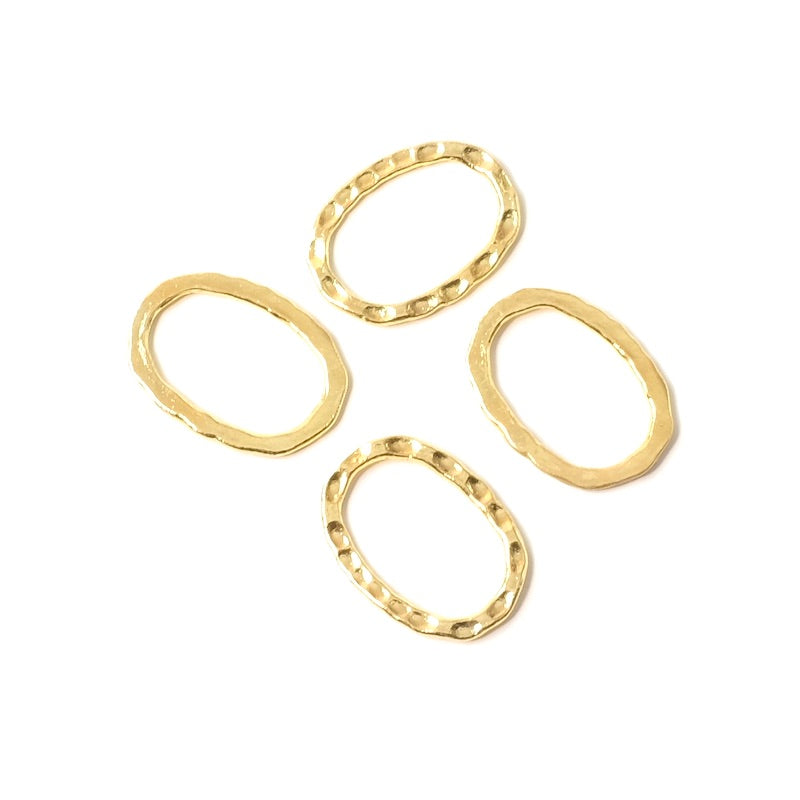
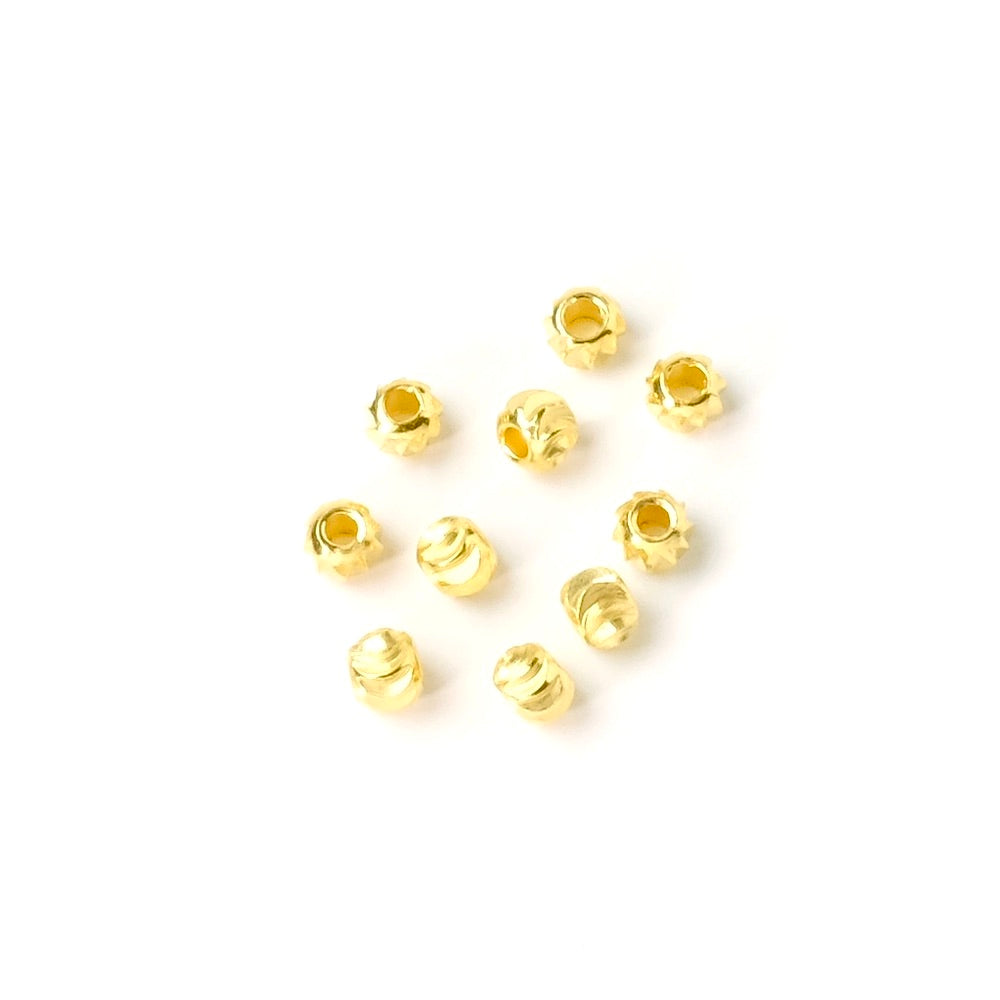
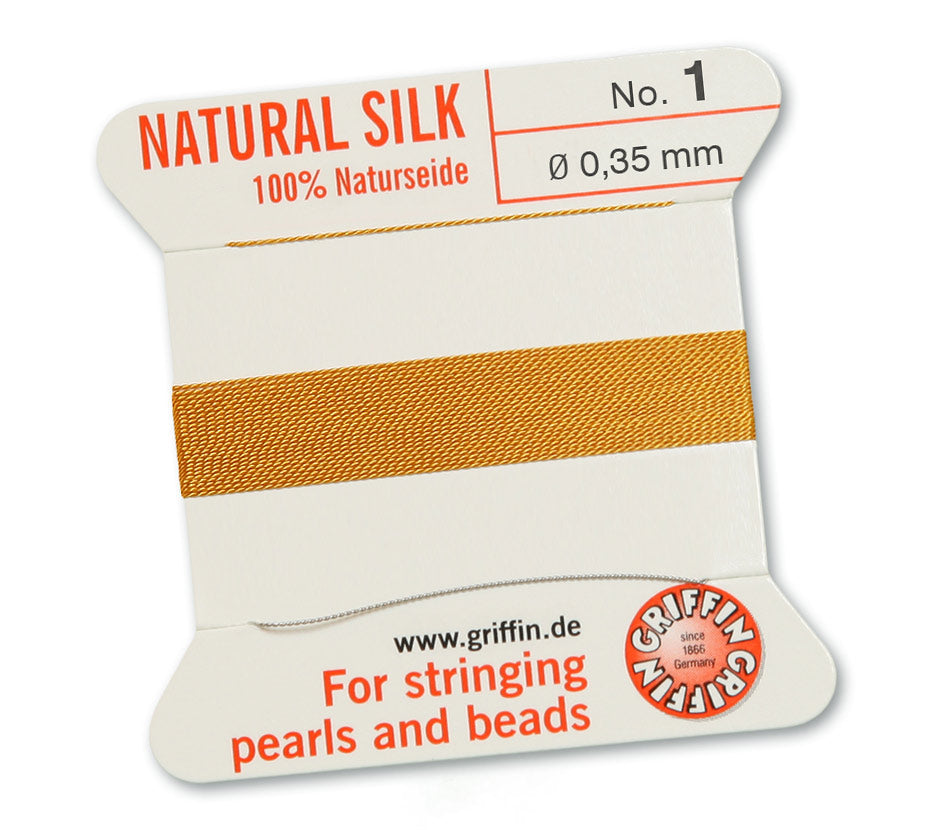
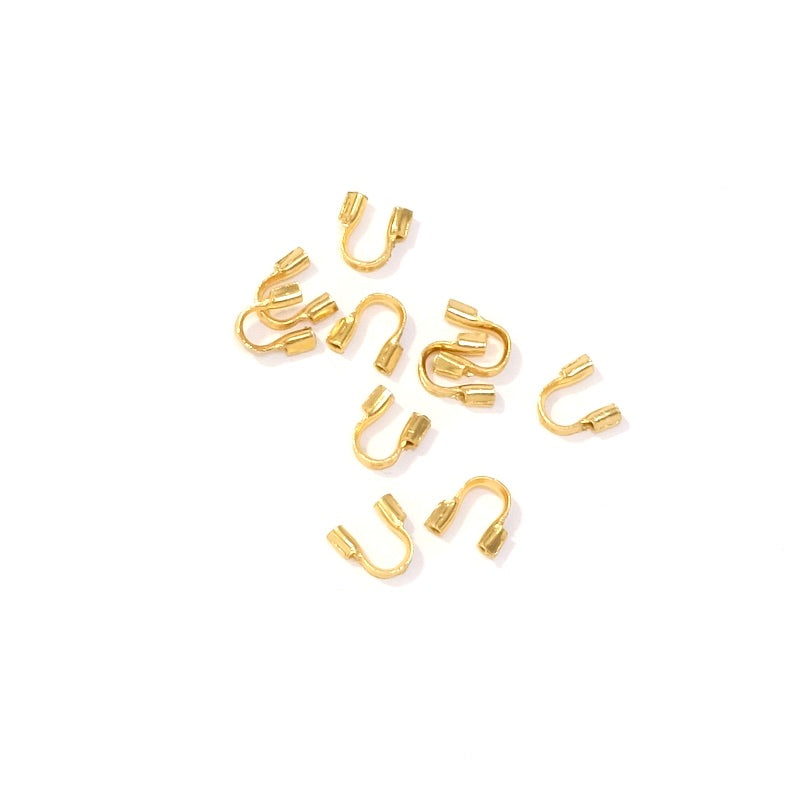
String a metal bead then the thread protector. Pass the thread back through the thread protector then insert the oval ring. Pass back through the metal bead then bring the elements to the end of the silk thread. With flat pliers, flatten the legs of the thread protector one by one — this locks the thread like a crimp bead.
Make a double knot at the edge of the thread protector then hide the knot inside the metal bead.
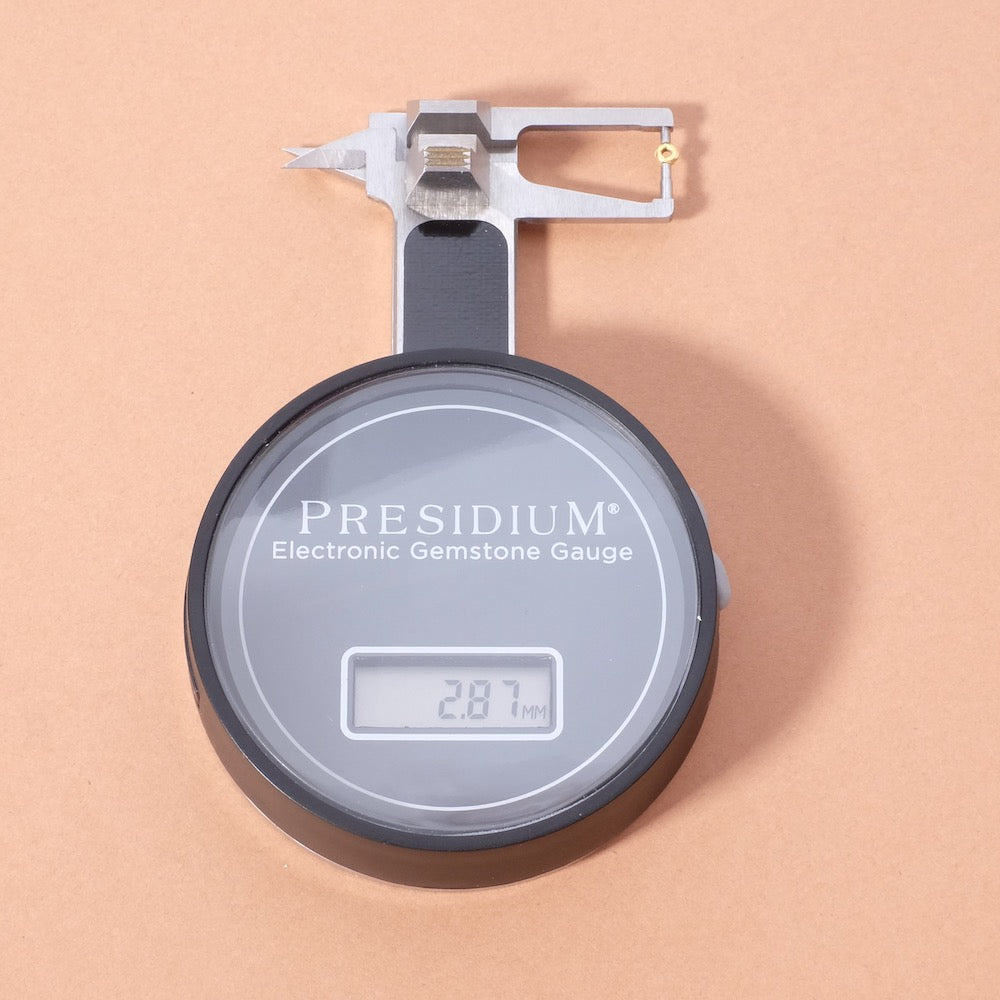
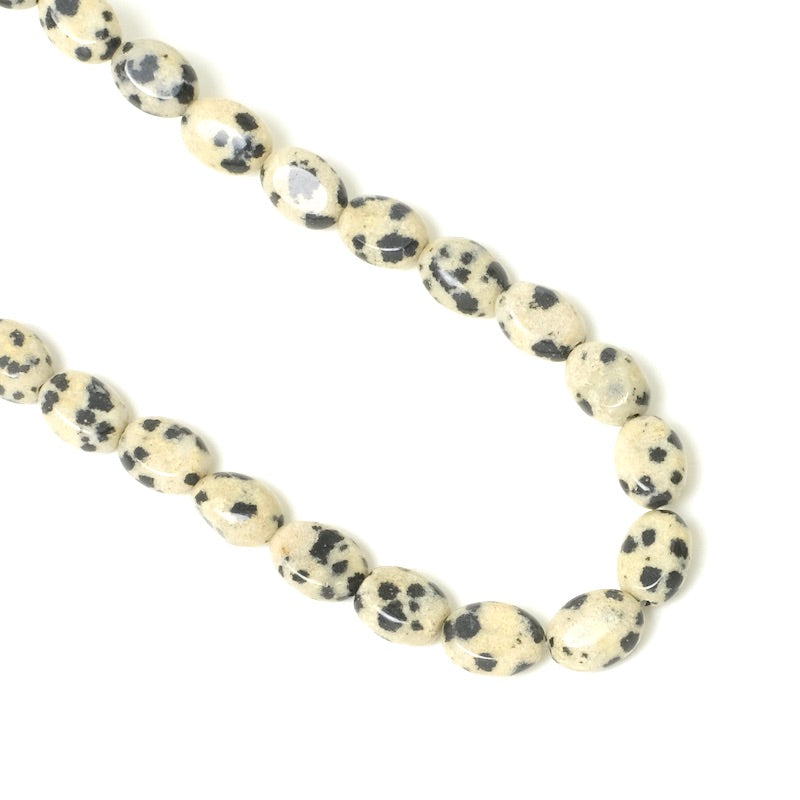
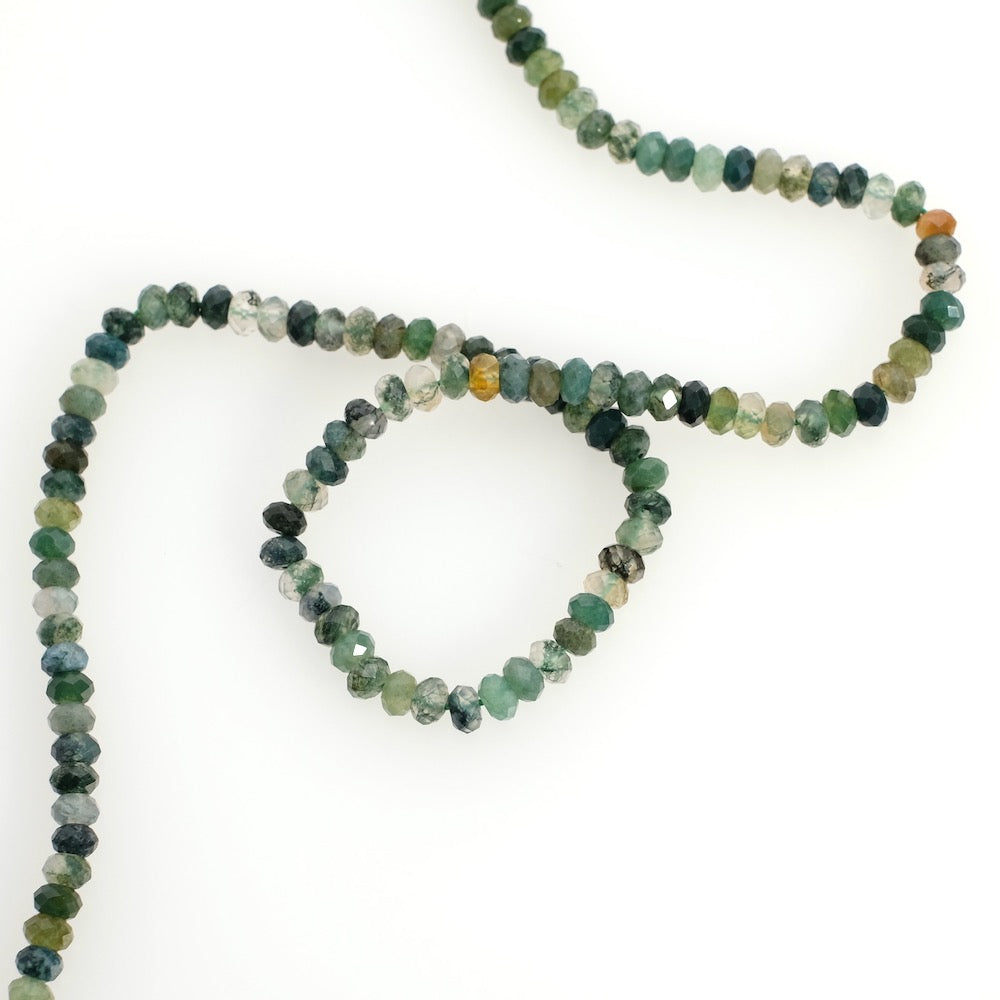
Start stringing the beads. During assembly, regularly measure your stringing to identify which bead will fall in the center. Don't forget to include the length of the clasp and the oval rings in your measurement.

All the beads are strung. Add a metal bead and the thread protector. Bring them against the row of beads.
Before crimping the thread protector, place the assembly flat so it remains flexible — no tension between the beads. Flatten the legs of the thread protector, then slide on the second oval ring.
Make a double knot at the edge of the thread protector. Pass back through a few beads and cut the excess thread flush.

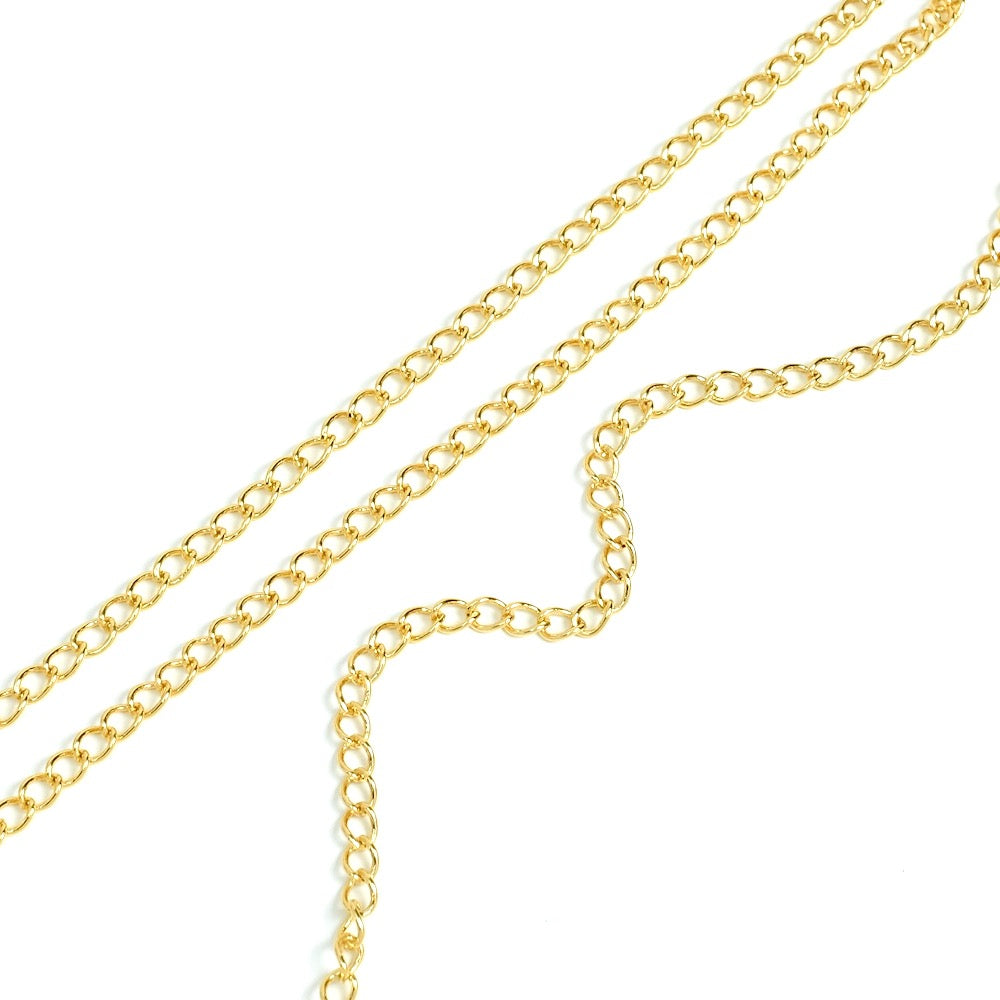
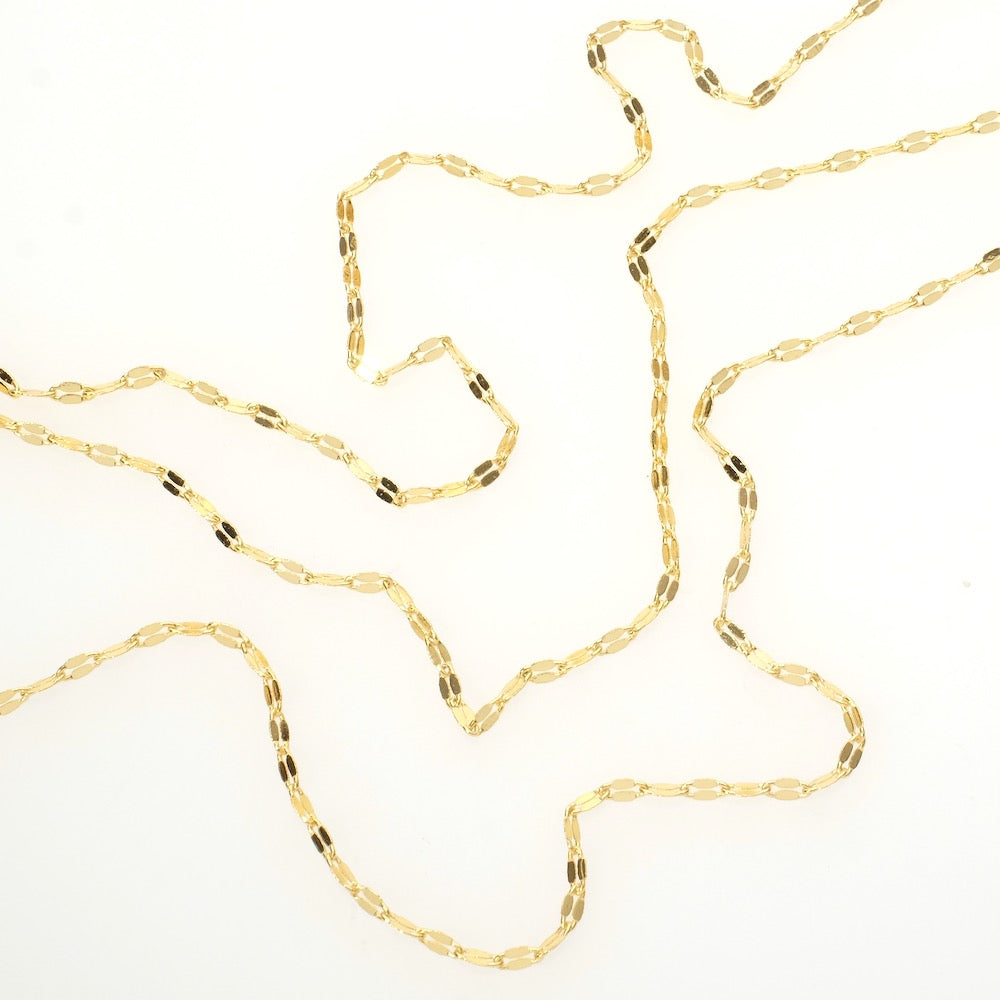
Cut two chains the same length as your strand of stones.
If the measurement does not fall exactly on a link, shift the cut to the longer side. It’s better to have a slightly longer chain to avoid any tension in the bracelet.

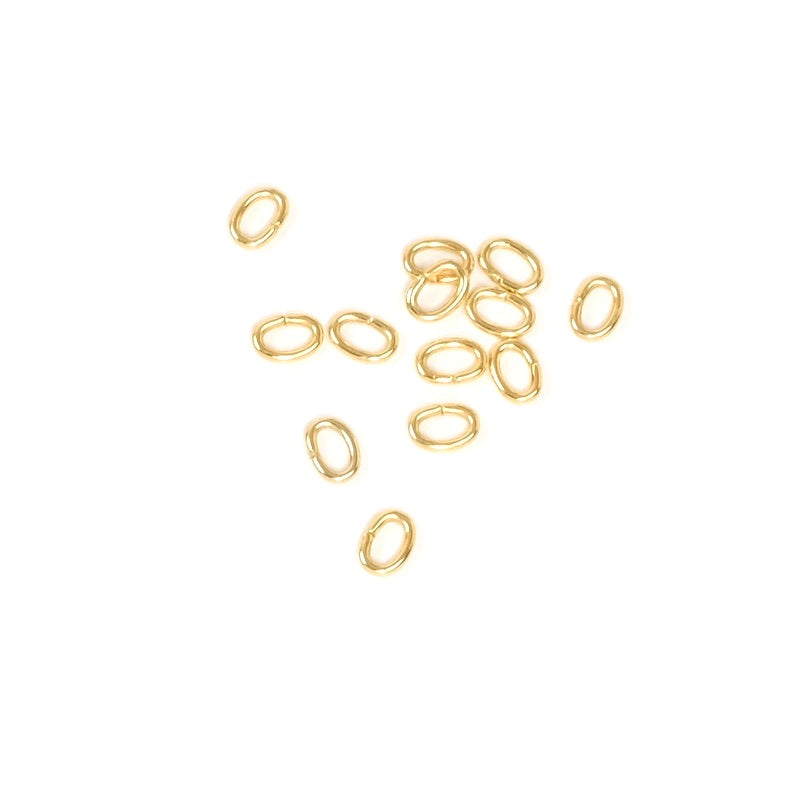
Assemble the chains on the oval rings with 4 × 3 mm rings. Pay attention to the direction and order: the three strands must remain aligned, without crossing.
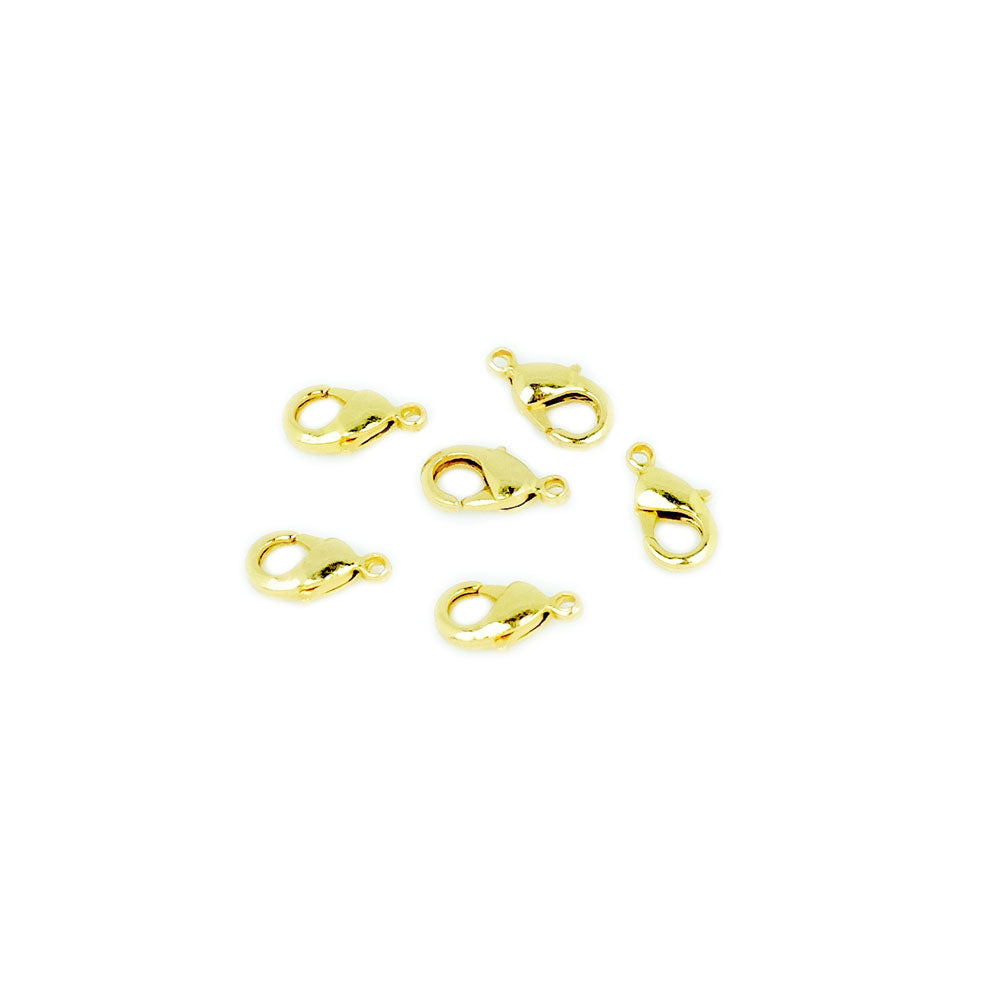
Finish by attaching the clasp and about 3 cm of extension chain with 4 × 3 mm rings.

Feel free to create several variants by playing with warm and cool shades, bead shapes… Each combination gives a completely different bracelet.
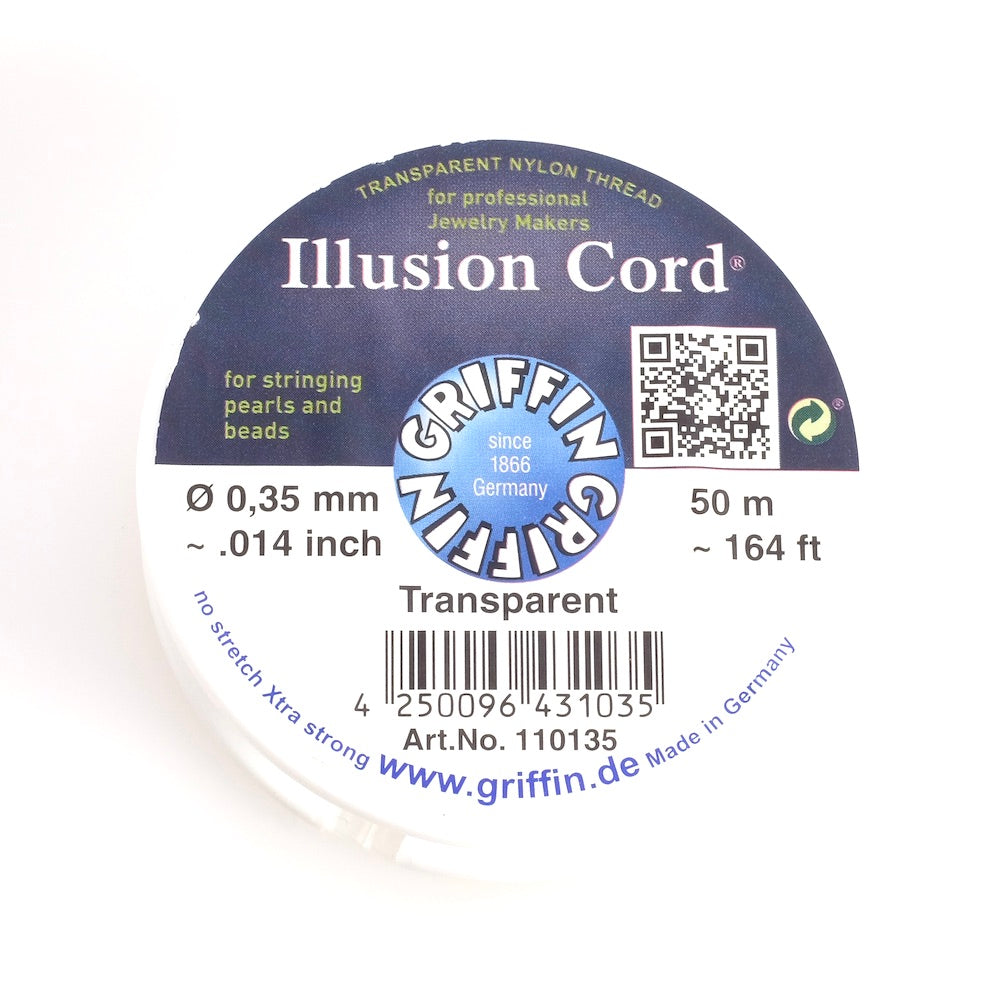
You can also replace the silk thread with transparent nylon thread and crimp beads — a simpler method, ideal if you are a beginner.
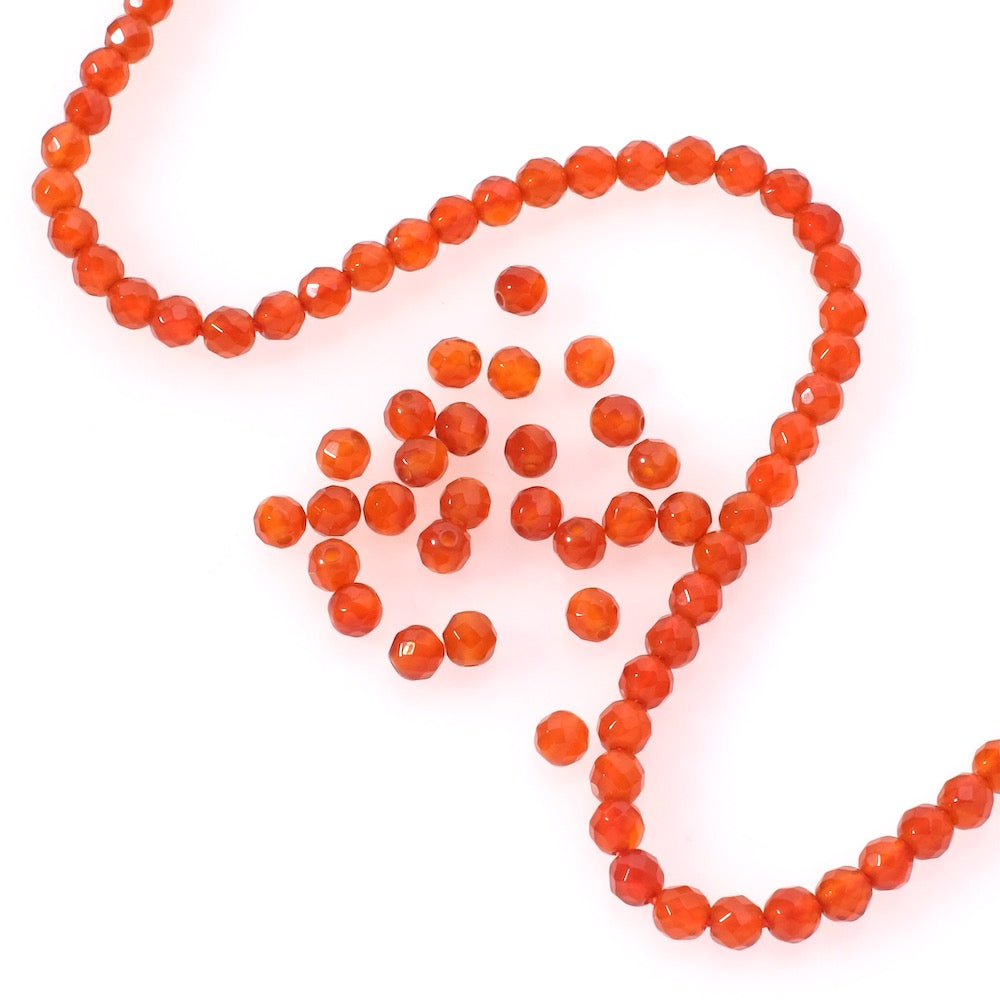
Autumn version — Garnet, carnelian, and warm tones for a cozy wrist.
Fresh version — Amazonite, aquamarine, and cool tones for a mineral and bright style.
Soft version — Amethyst and rose quartz for a feminine and soothing look.


To be reserved alone or with friends!

Inspirations, tutorials, and new arrivals: receive the best of handmade in your inbox.