|
|
|---|
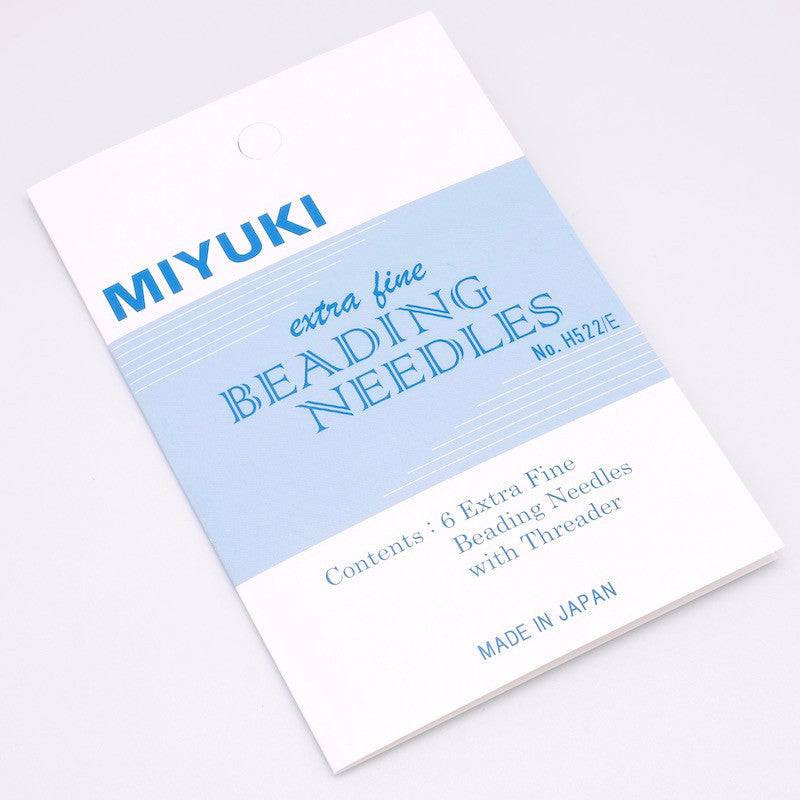
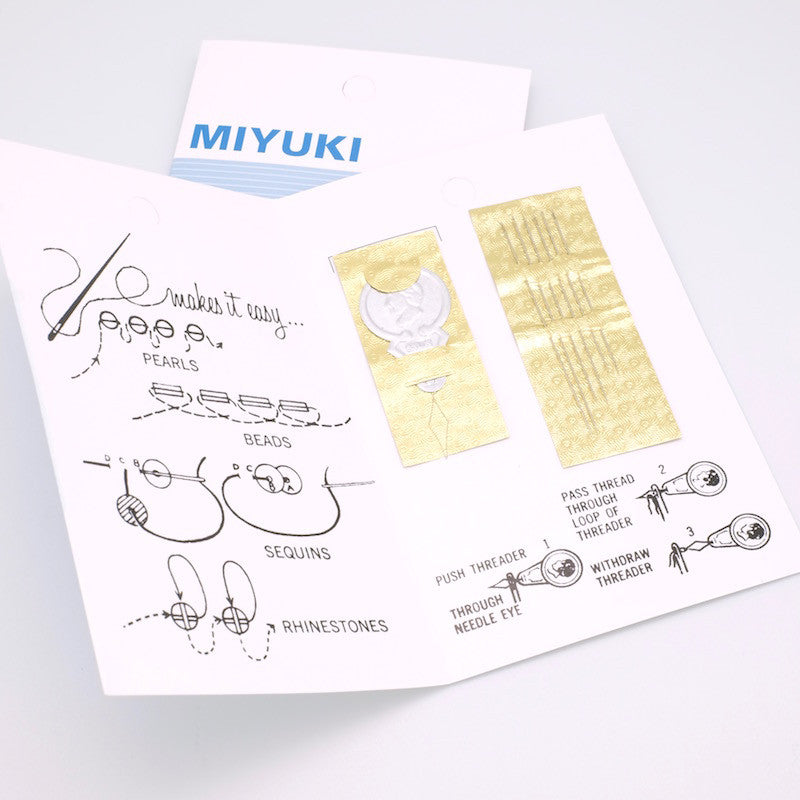
| For this project you need: | ||||
|
|
||||
| Making the first row: | ||||
|
|
To start, string 4 beads onto the needle. Then pass through the first 2 beads. Naturally, the beads are placed in a square. Then pass through the last 2 beads. |
|||
|
|
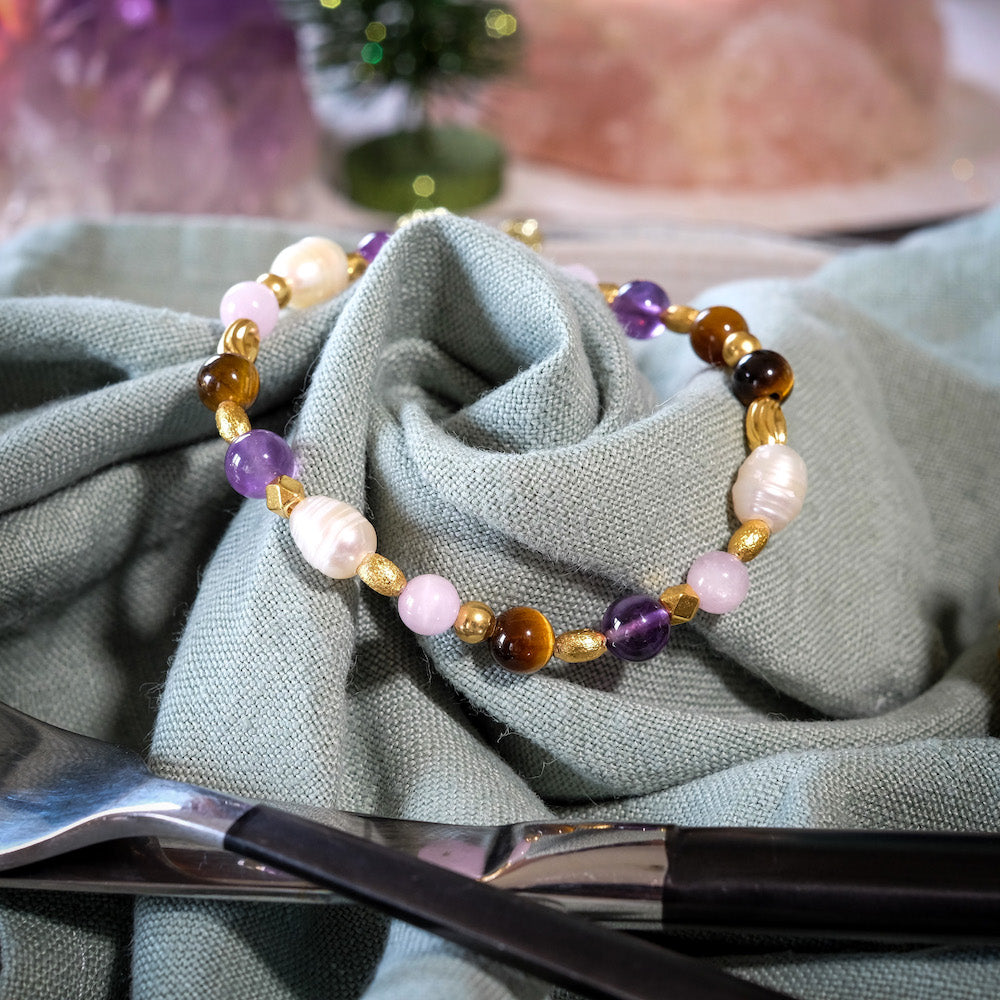
String 2 new beads then pass through the 2 previous beads before passing through the last 2 beads strung. Continue like this until all the beads are placed... You can make a tube of at least 4 beads for a thin tube (like in the photo of the necklace above) or increase the size of the tube by adding more beads. You must ultimately have an even number of beads! To facilitate reading, we alternated 2 colors. Here the row starts with 4 turquoise beads and ends with 4 pink beads. |
|||
| Making the tube: | ||||
|
Once the right size is achieved, close the tube... Bring the first 2 beads (turquoise) towards the last 2 (pink). Pass the needle through the first 2 beads and then go back through the last ones. You will thus form a loop in the beads that will block the tube. |
 |
|||
|
|
Make the next row... String 2 beads, then pass the needle through the right bead of the row below. Come out upwards in the bead located next to it. Tighten the thread well. String 2 new beads and then repeat the operation to secure them. You will see that the beads are placed in a chevron. This is normal; do not try to position them straight. Let them place themselves naturally. |
 |
Continue the assembly until the desired length.
|
|
|
If you need to make a connection: Stop the weaving thread by going back into the beads below. Choose a line of aligned beads and then make a knot by going between 2 beads and then going back through the created loop. Tighten well and then cut the thread. To restart a new thread, go through a row of beads and then go between 2 beads, form a loop, pass the needle through the loop, and then tighten properly. Go back through a row of beads and then repeat the operation for more security. Go up in a row of vertical beads to come out in the right bead. Maëlle's tip: "Mix Miyuki Délica beads and Rocailles to create reliefs and give more rhythm to your creation!" "If you are lost during assembly, on the passage in the row or the one below, look closely at the visible threads between your beads. There should be only 1 thread each time; if one is missing or if there are two passages... it means there is an error..." Thank you Maëlle for this technique +++ |


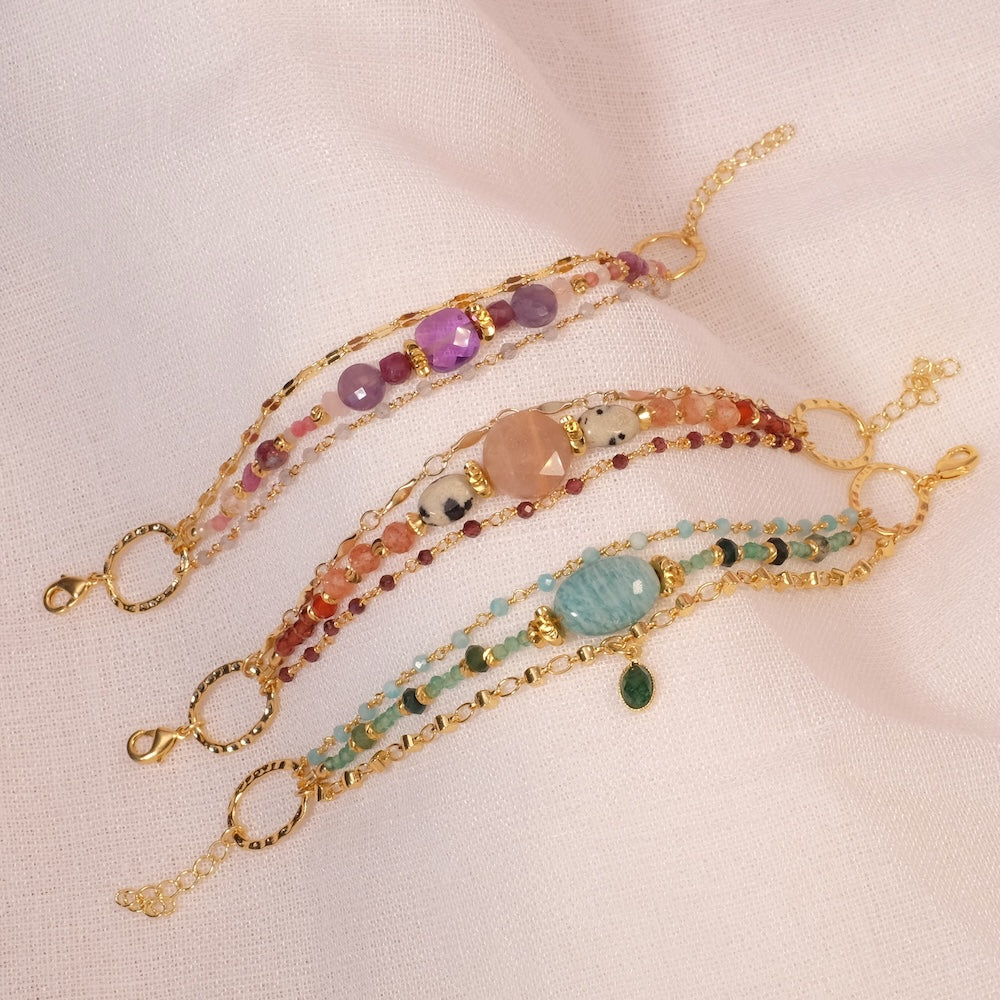
To be reserved alone or with friends!

Join Perles Corner to discover our new products, exclusive tutorials, and many other surprises... and receive your voucher by email!


 Beads of your choice