|
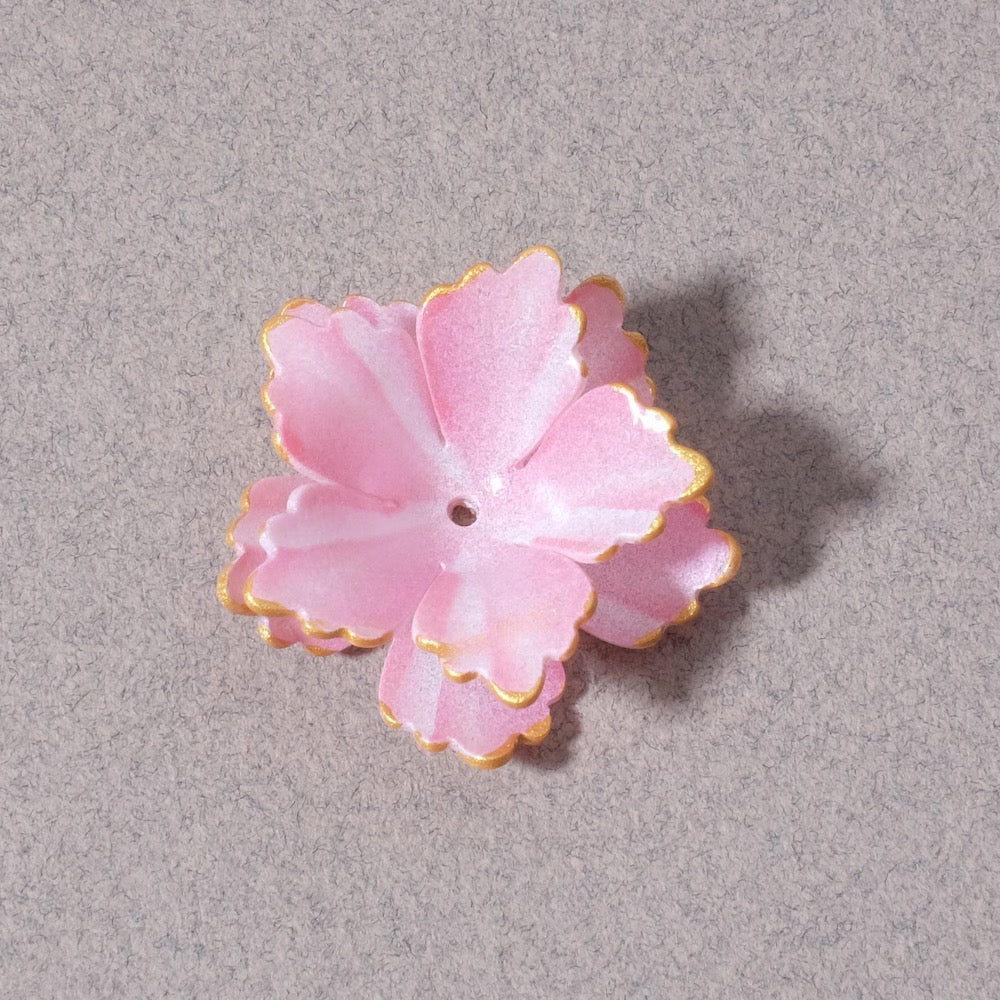
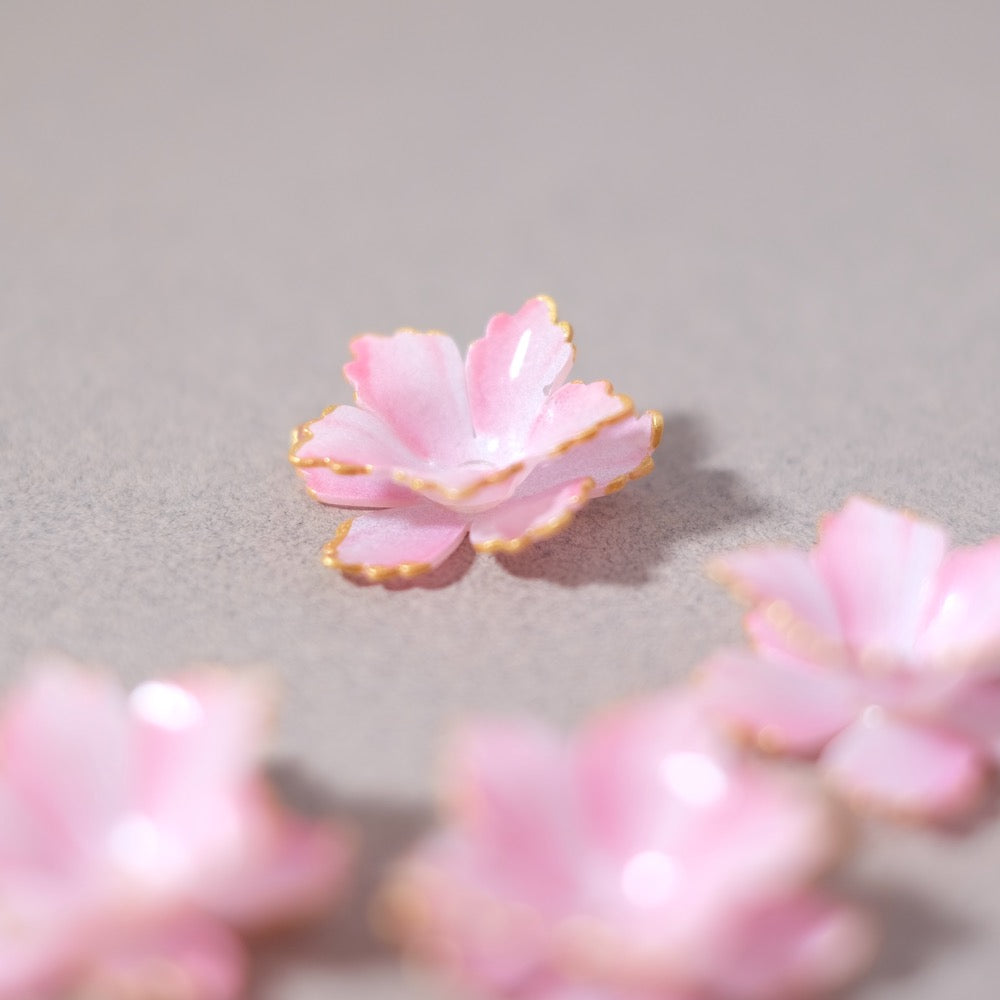
Fall for our new Amaryllis earrings, a symbol of strength, love, and beauty. Here we imagined a fluid and light piece of jewelry, with this superb flower whose stamens are made of small seed beads. A subtly assembled creation that you can find explained in video. Beautiful creation!
|
|---|
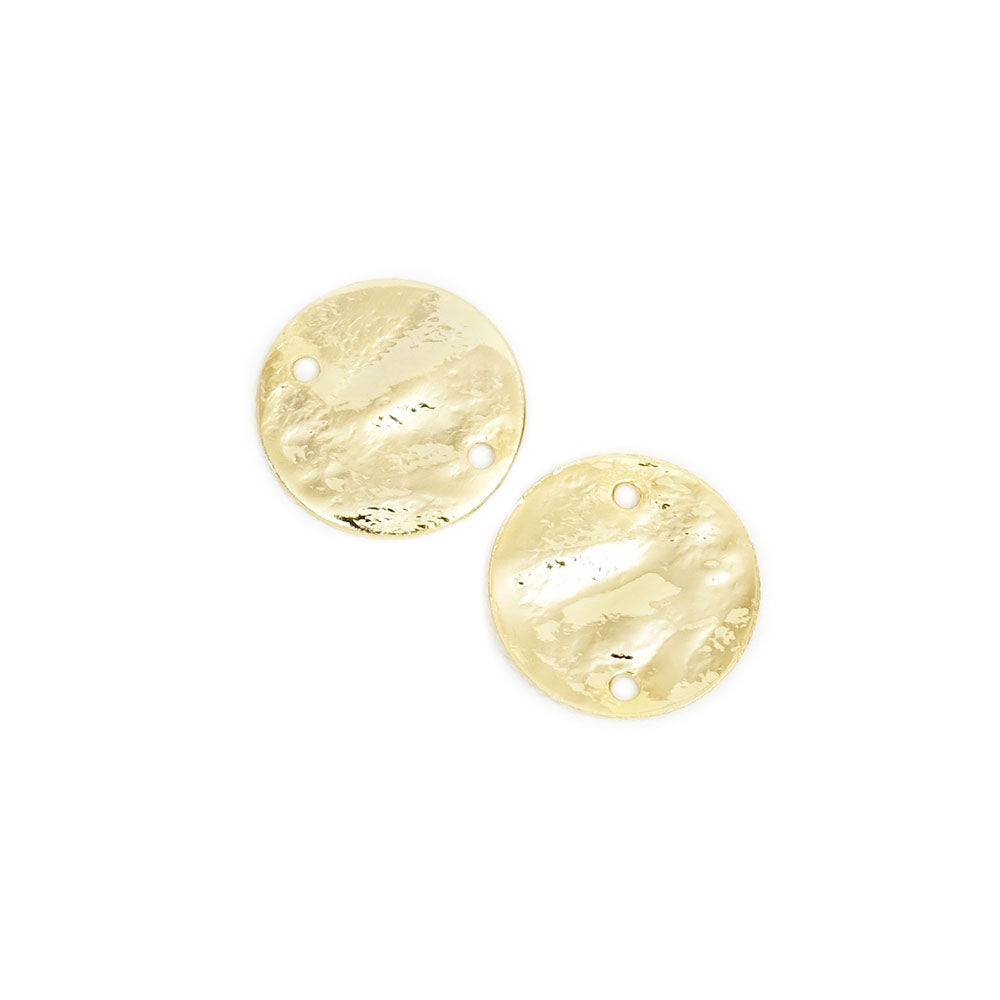
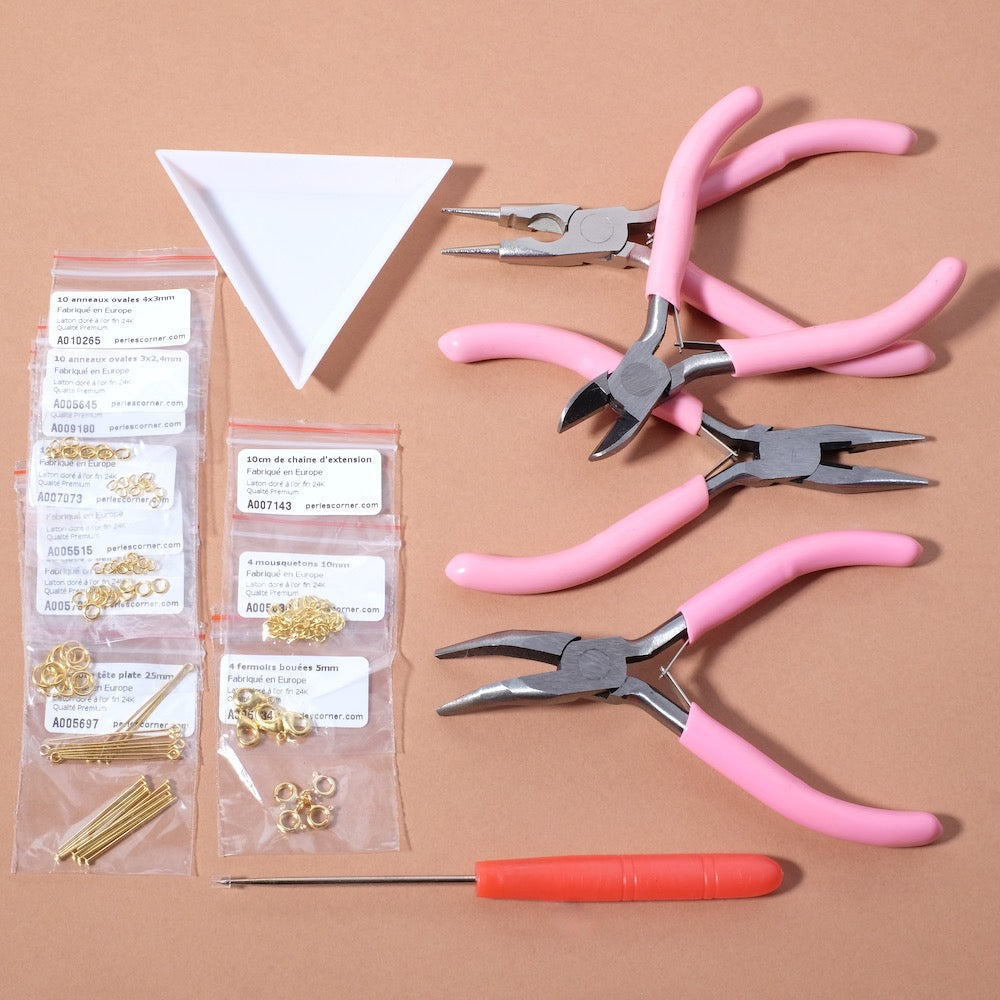
| For this project you will need: | ||||
|
|
||||
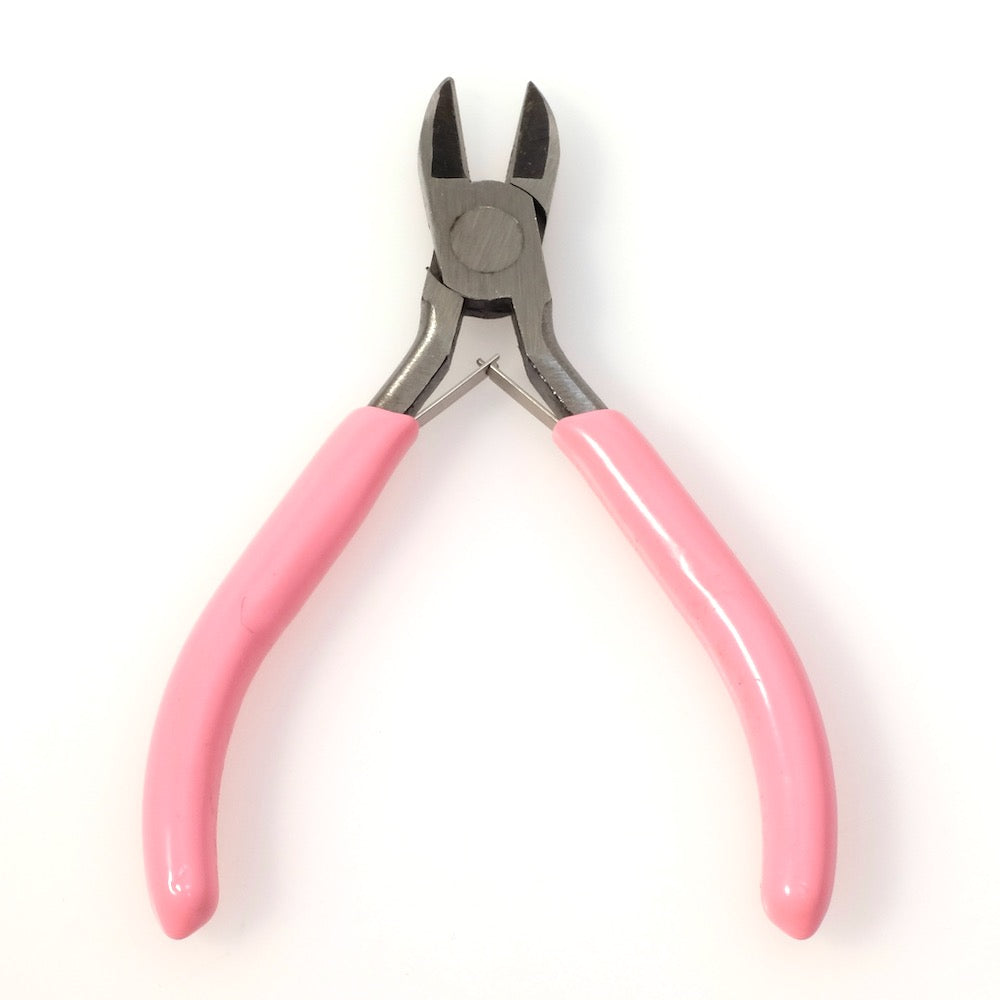
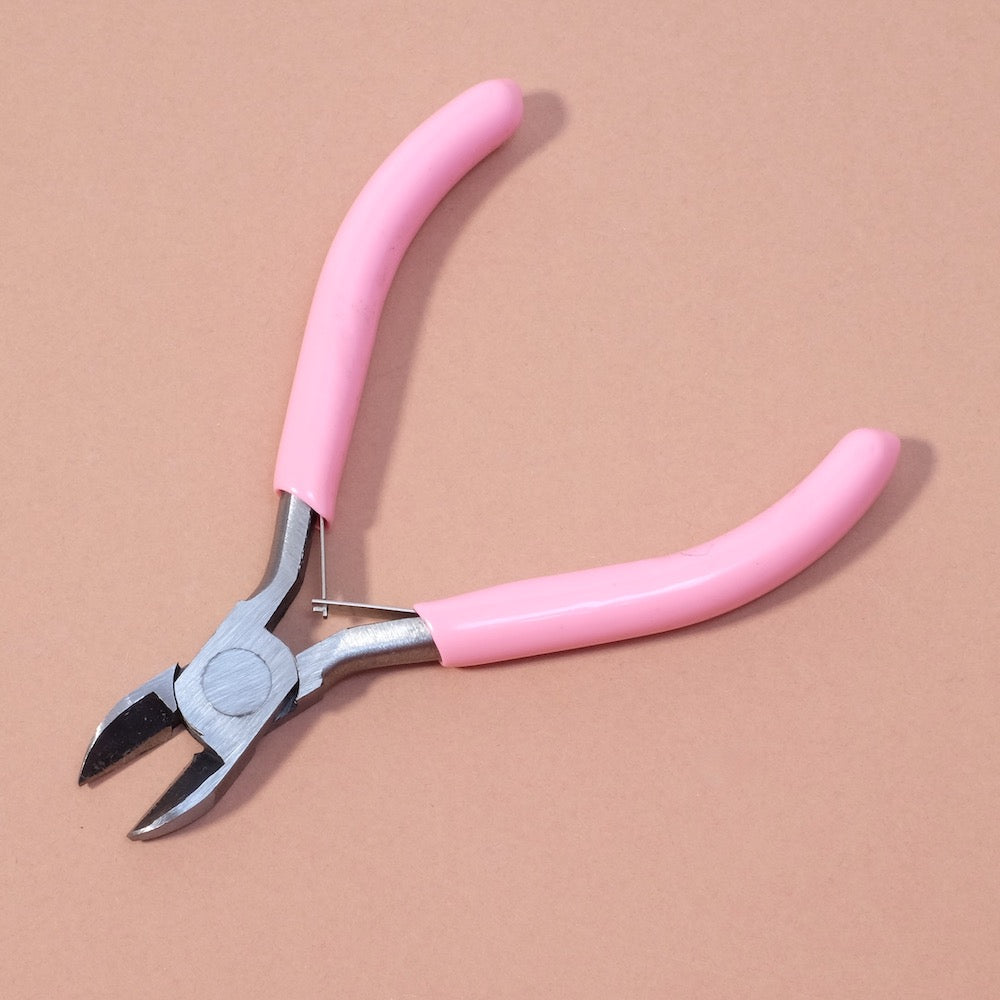
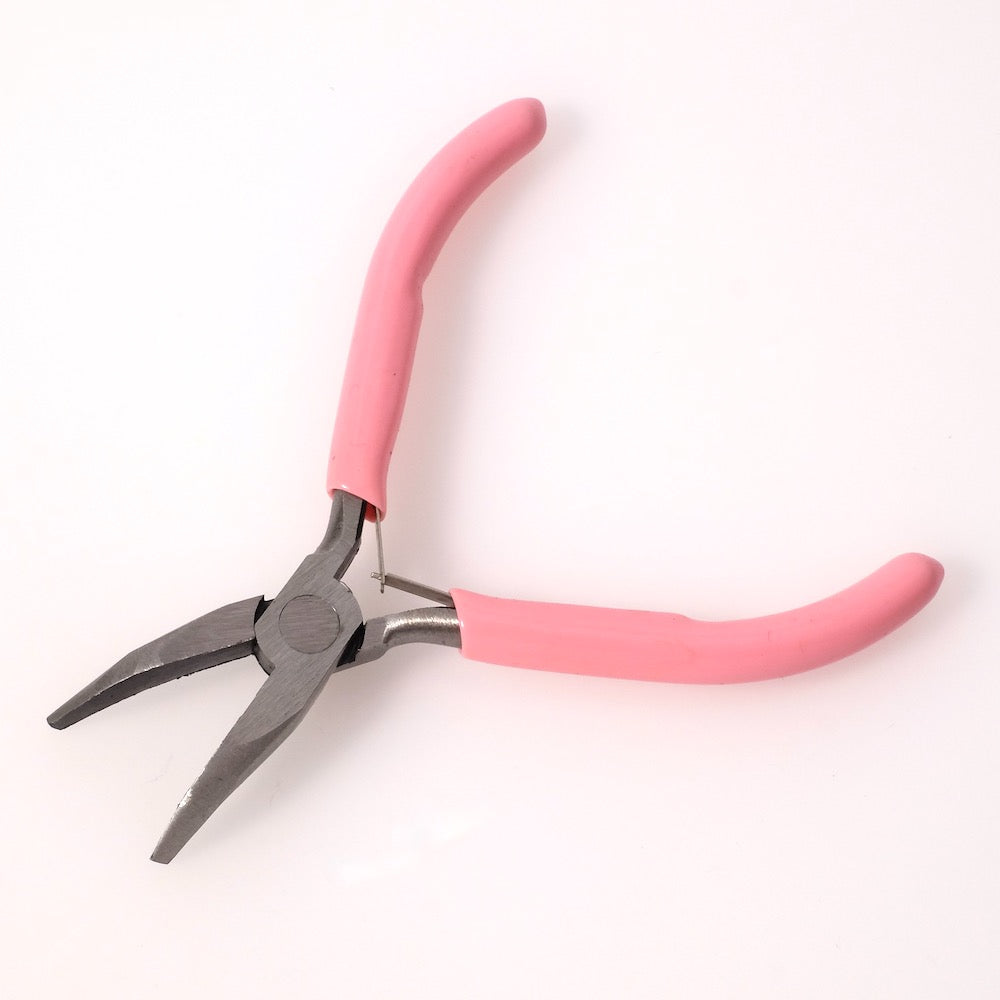
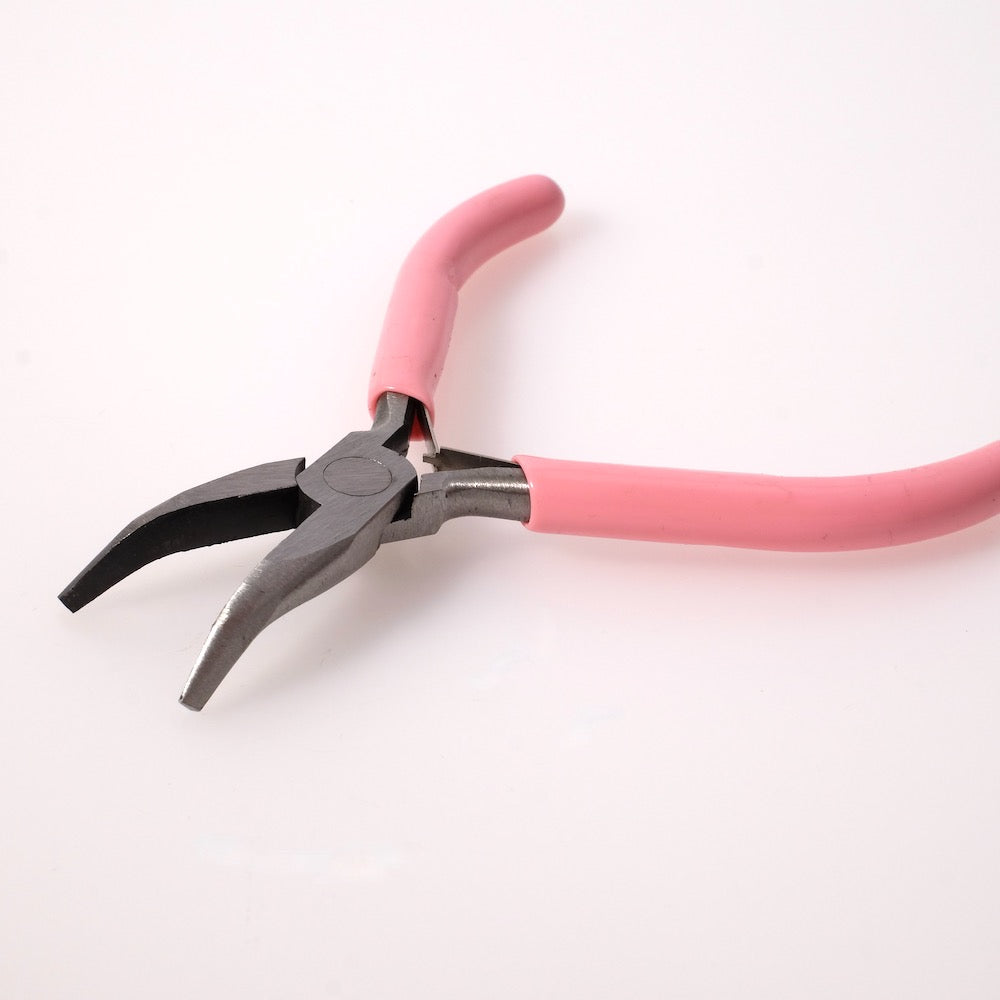
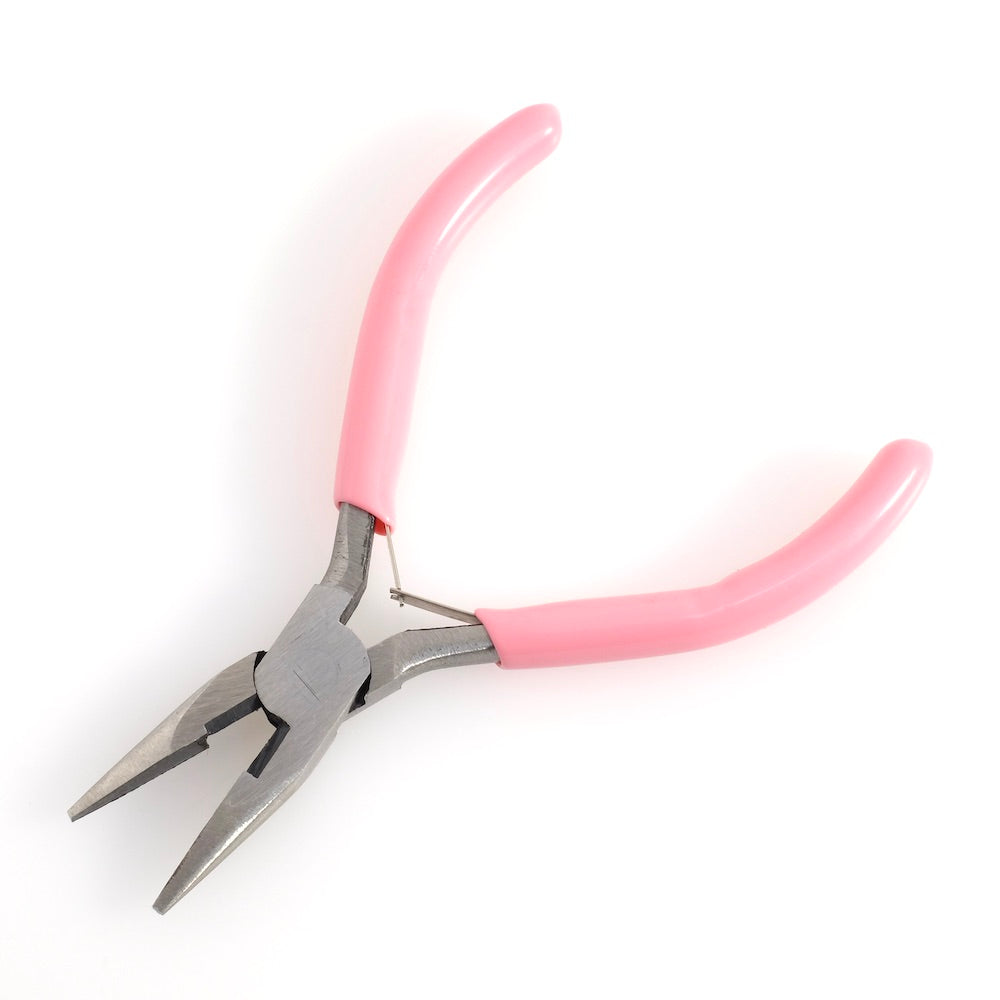
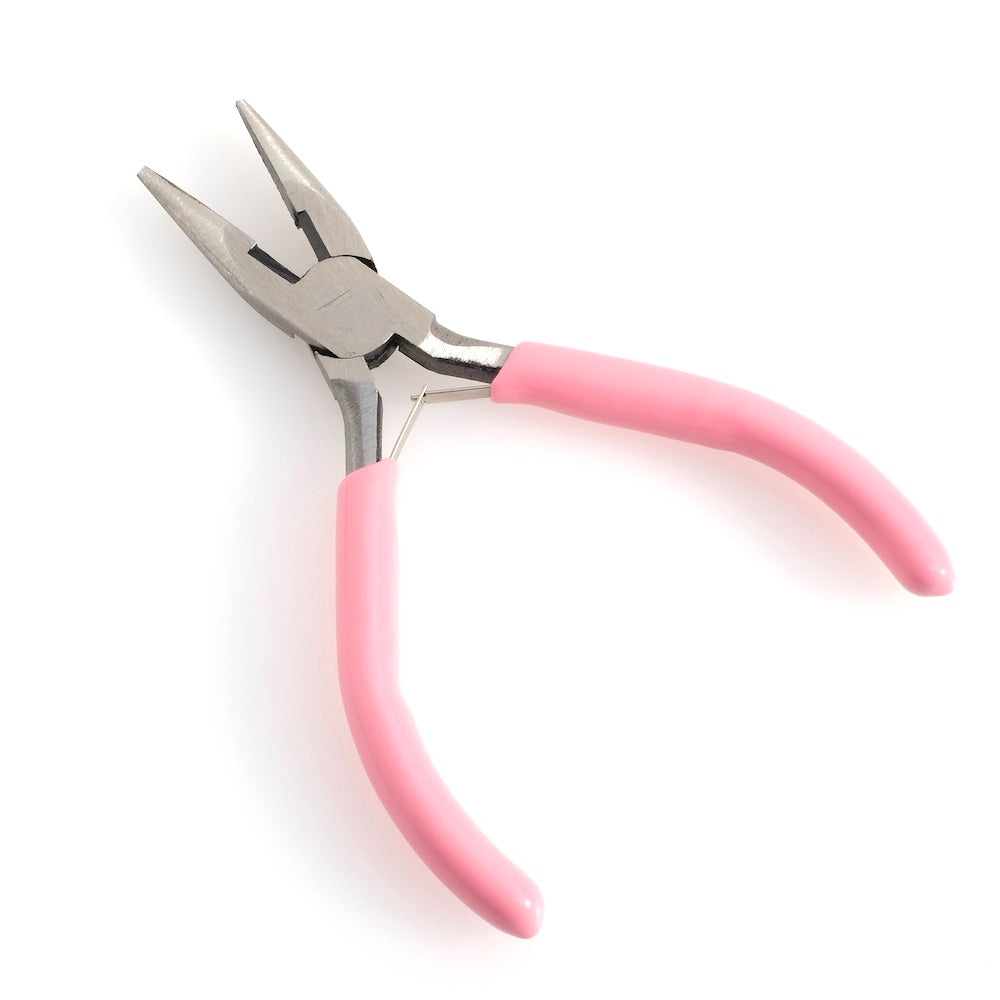
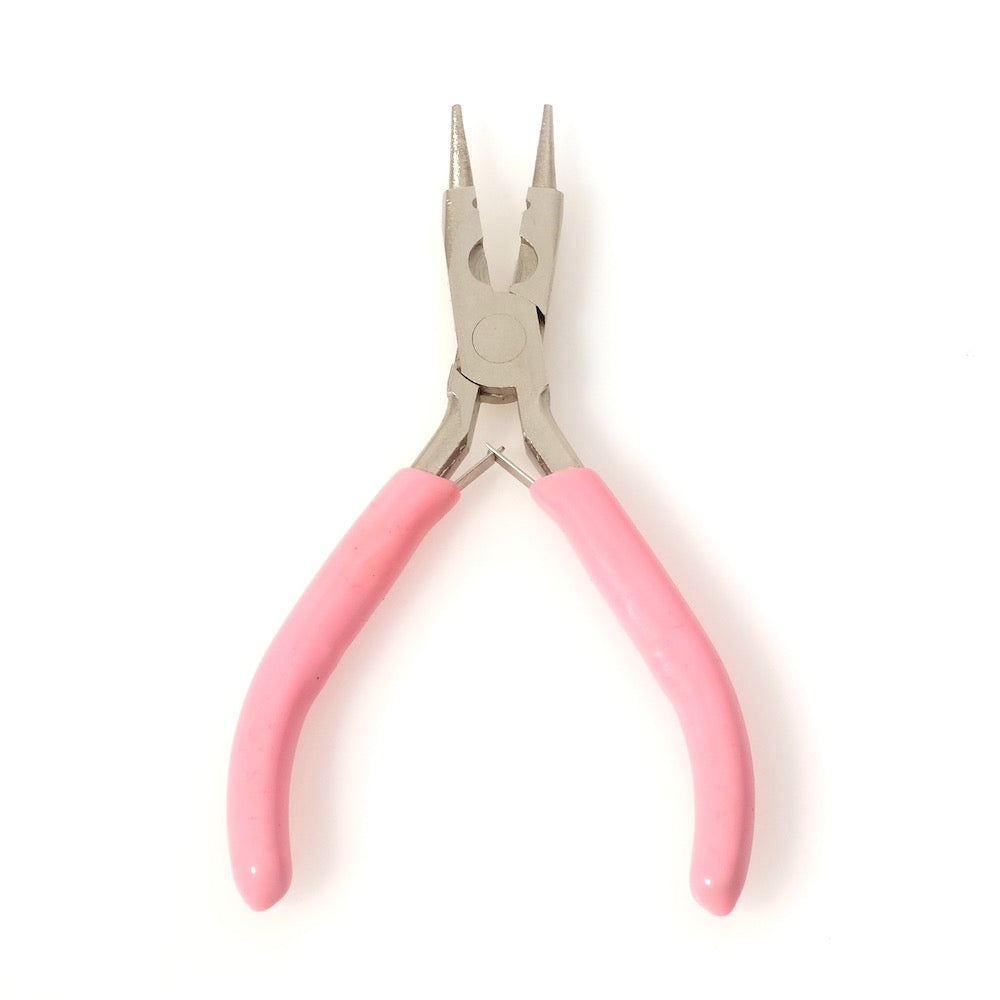
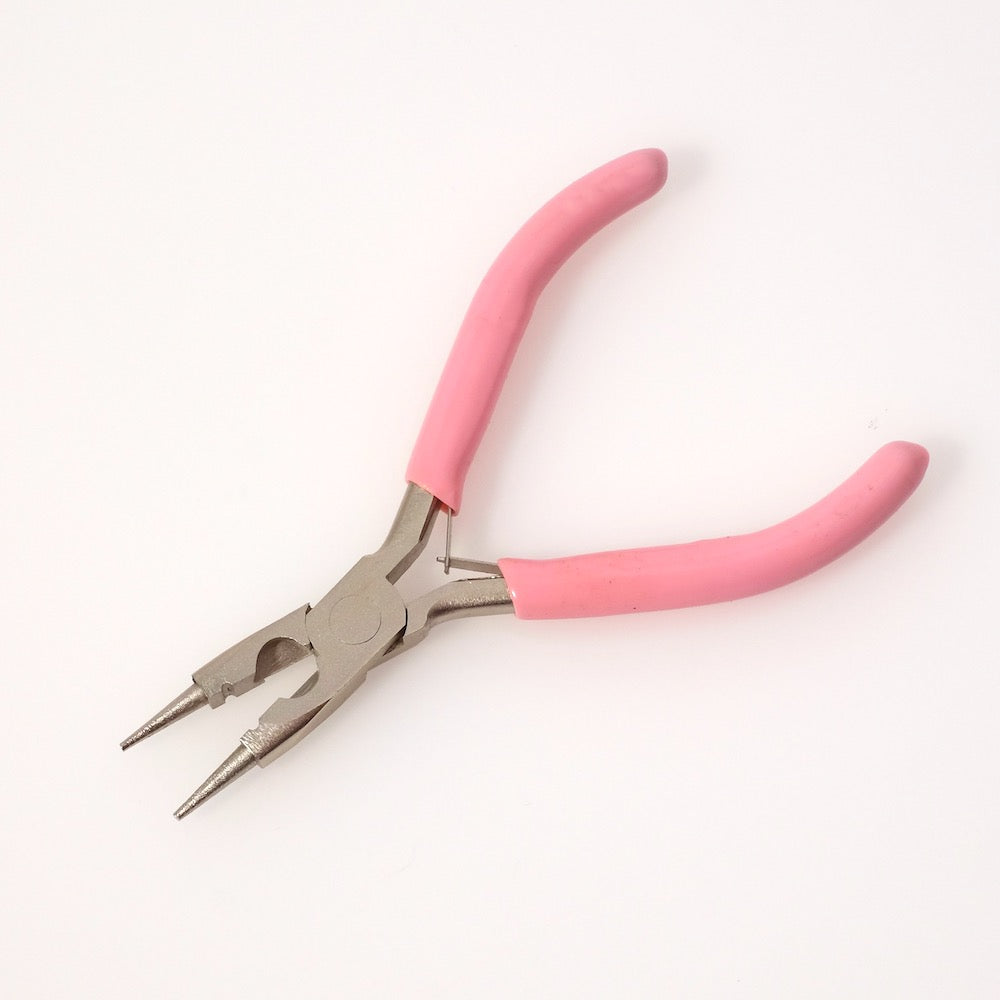
| The tools to use: | ||||
|
|
||||
|
This jewelry is not complicated to make. Follow the assembly in the video below to properly attach the flower to the pendant.
|
||||
|
The assembly: |
||||
|
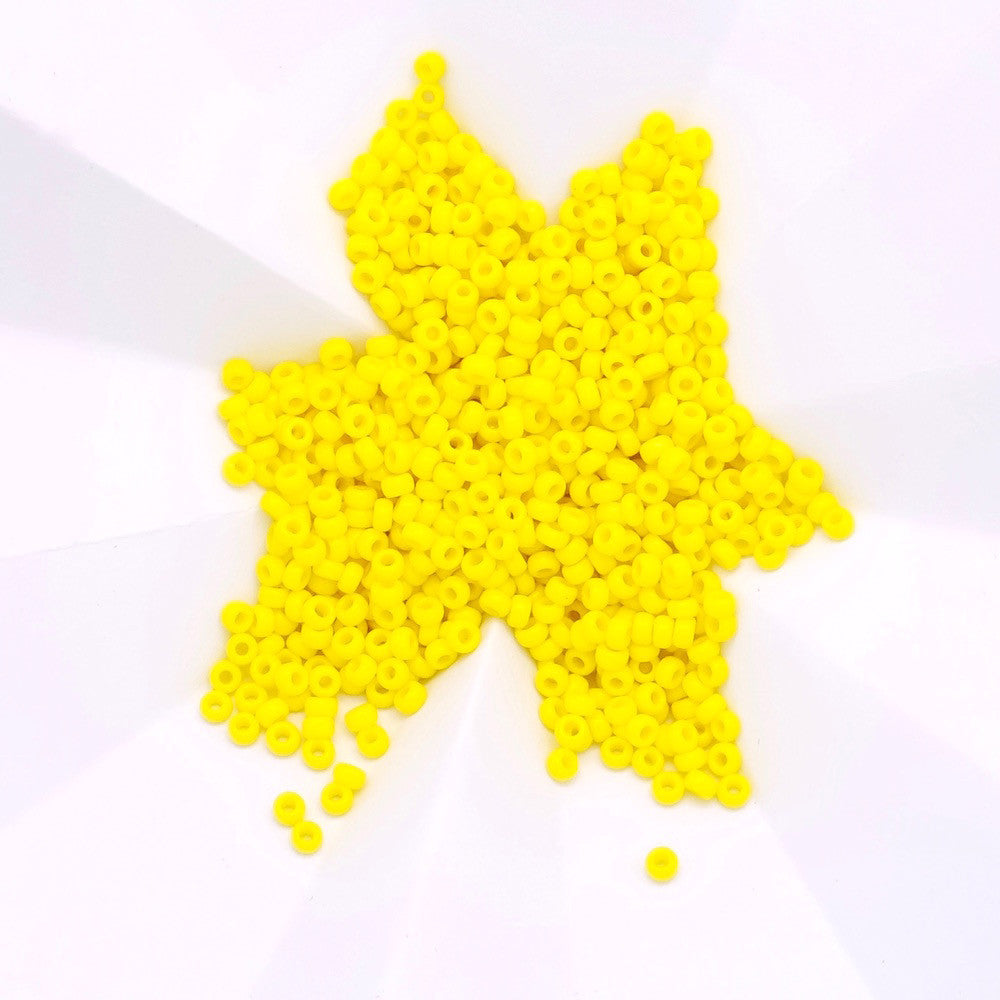
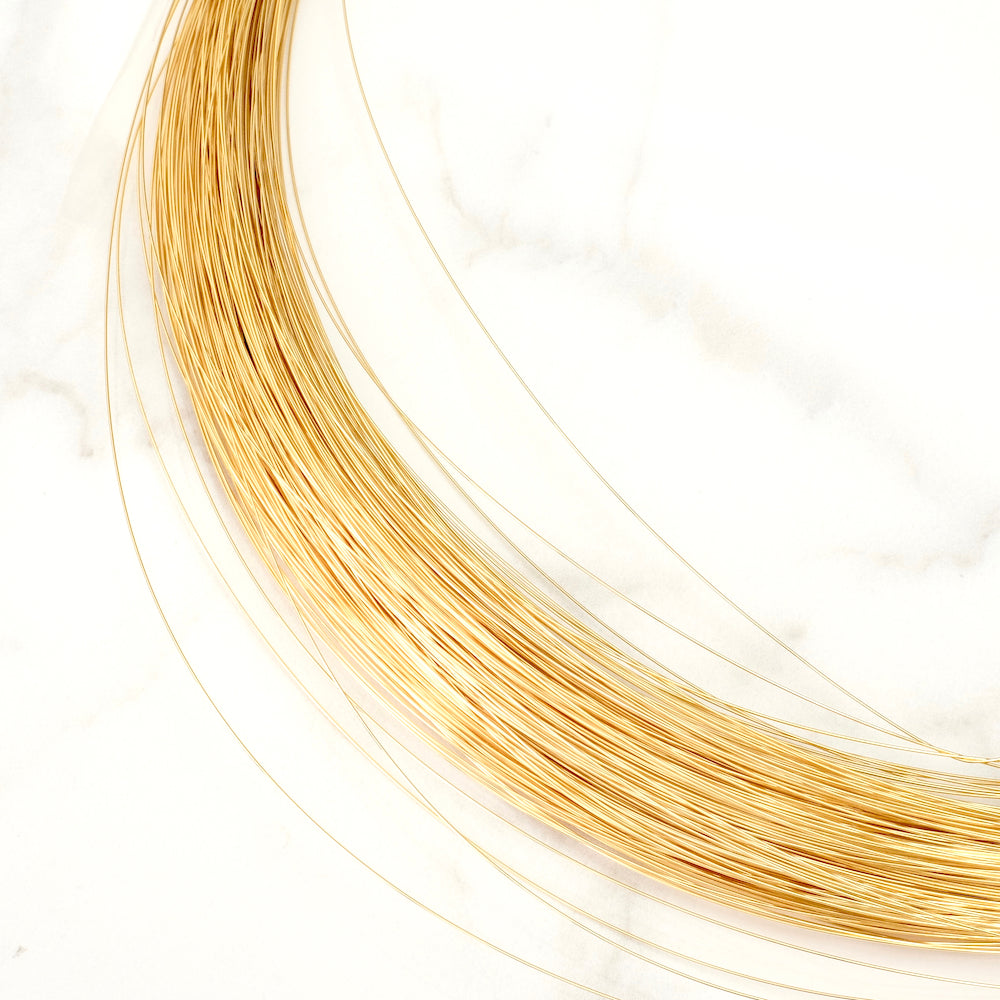
To start, cut a brass wire of about 40cm and then insert 4 pink beads and 4 yellow beads. Place the beads while keeping about 15cm of wire at the end. Spread the last yellow bead and then pass the wire through the other strung beads. Pull on the wire to create a small row of beads blocked by the last yellow bead. Repeat this operation to make 5 bead stamens. Be careful to place the stamens tightly, side by side on the brass wire. Then group the stamens into a small bouquet. Join the 2 ends of the brass wire. Insert the stamens into the center of the flower bead. Now mount the flower on the connector. To do this, insert the 2 ends of the brass wire into the hole of the connector and bring the flower tightly against the connector. Then, pass the wires through the other hole of the connector, bringing you back to the front of the flower. To secure it well, pass the wires between 2 petals of the flower to return to the first hole of the connector. Now wrap the wires between the flower and the connector around the starting wires. This will create a wrapped loop. Make another turn and then cut the wires flush.
Now open a 4mm ring and connect the flower connector to the other identical connector. Open a new ring and connect the previous assembly to the bottom of the earring.
Proceed in the same way for the other earring. Your jewelry is finished! Beautiful creation! Find all the supplies to make this jewelry at the bottom of the page. |
||||
 |


To be reserved alone or with friends!

Join Perles Corner to discover our new products, exclusive tutorials, and many other surprises... and receive your voucher by email!


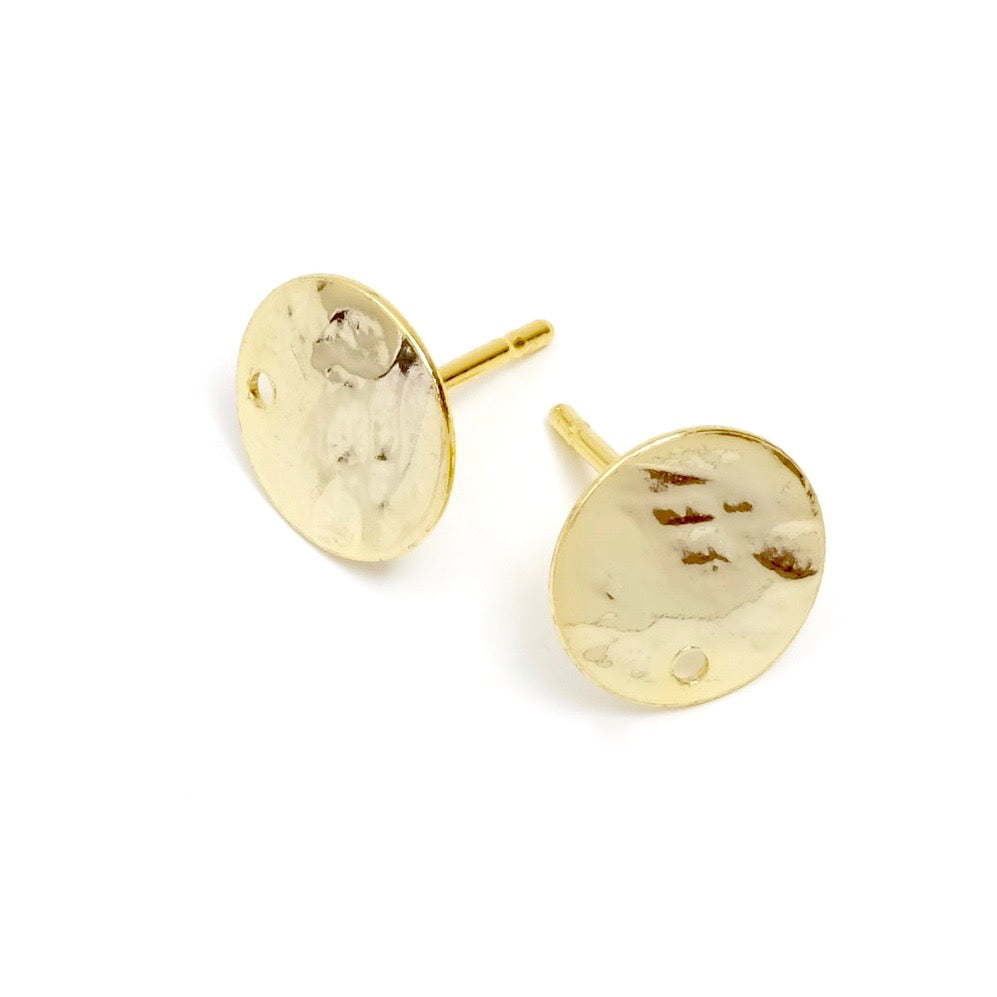
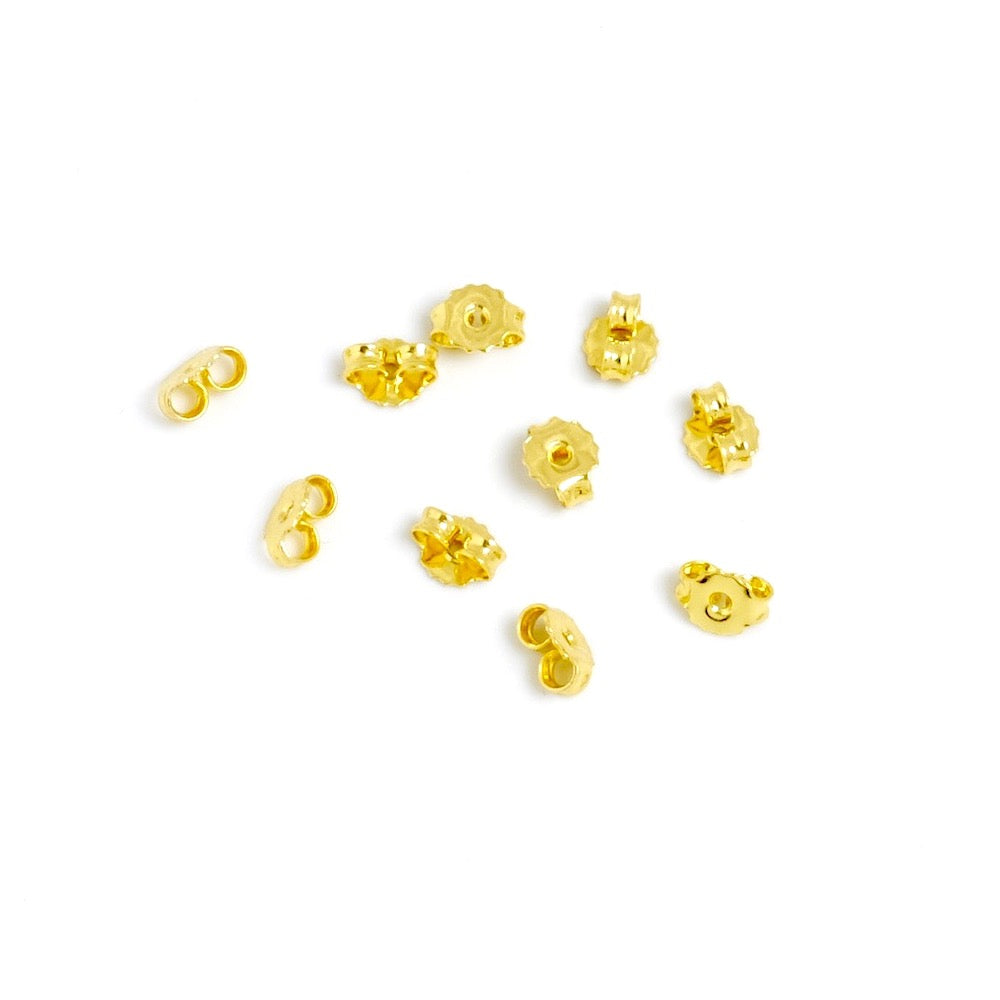
 2 earring stud supports
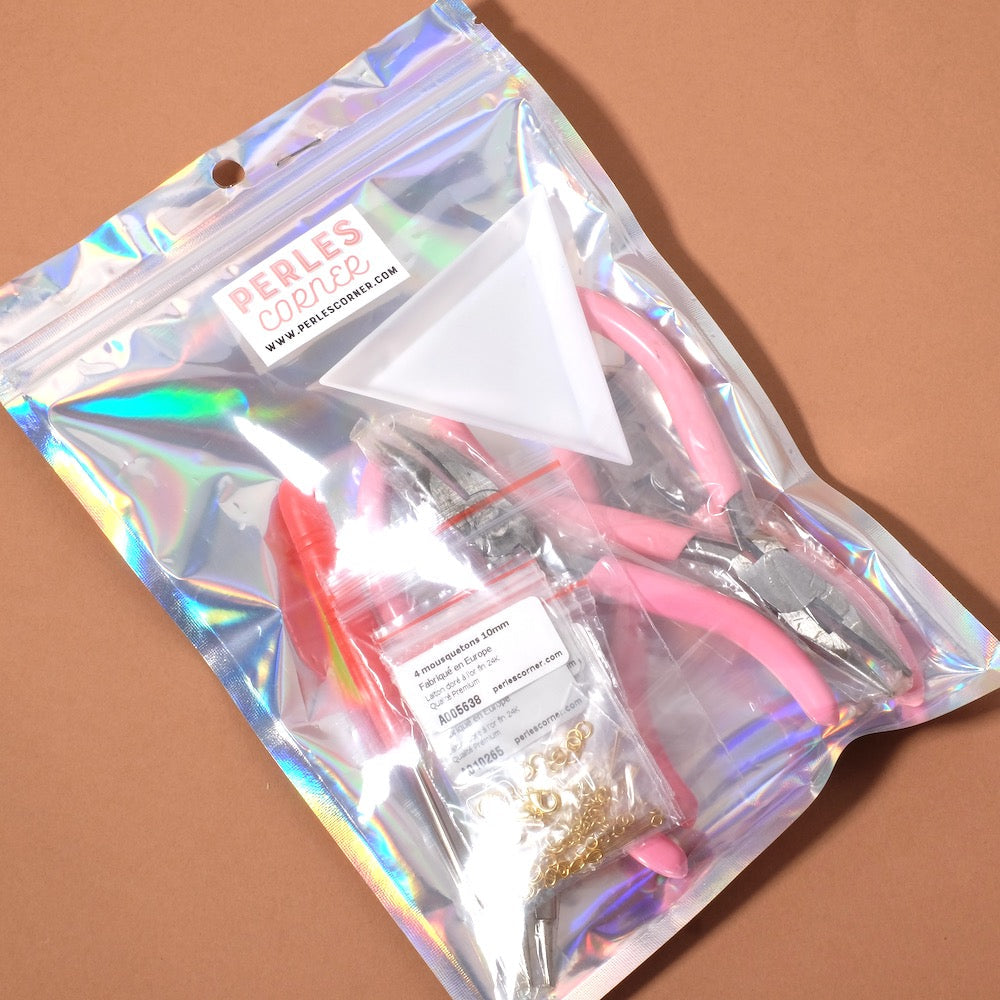
  pliers for jewelry making