|
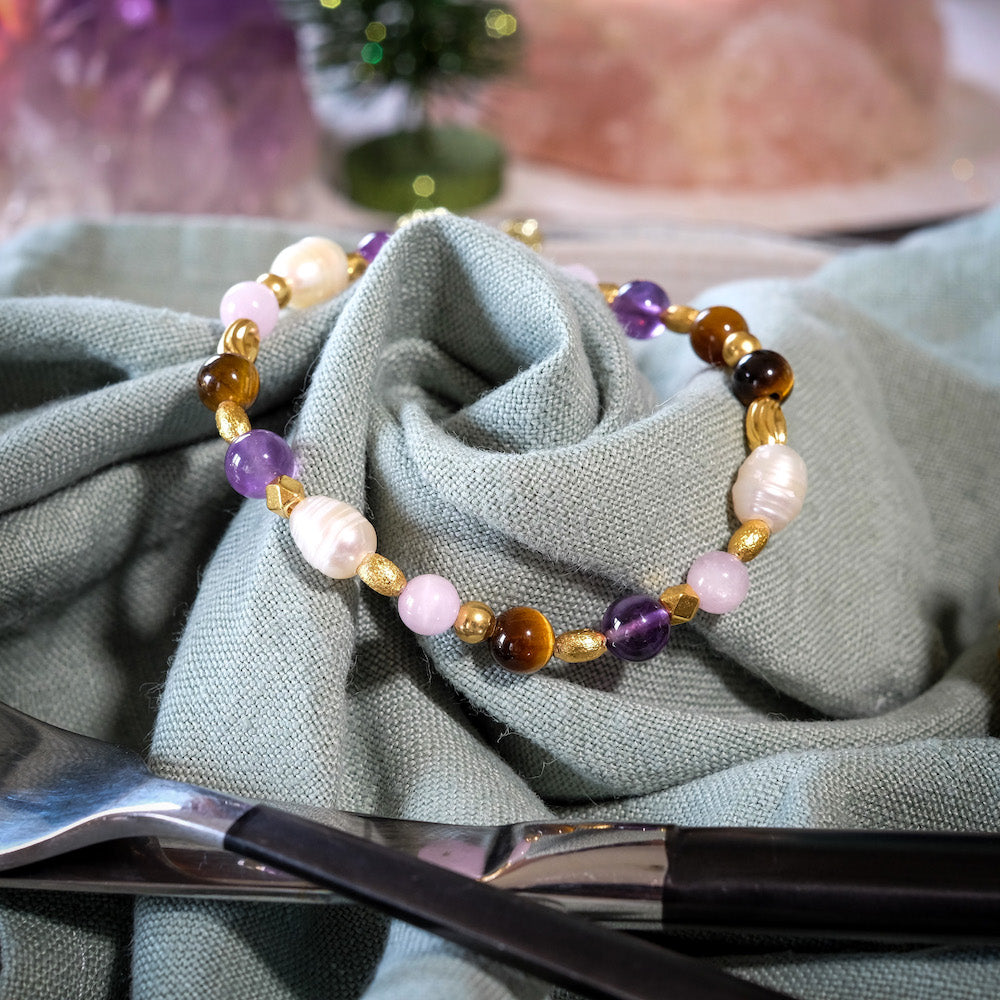
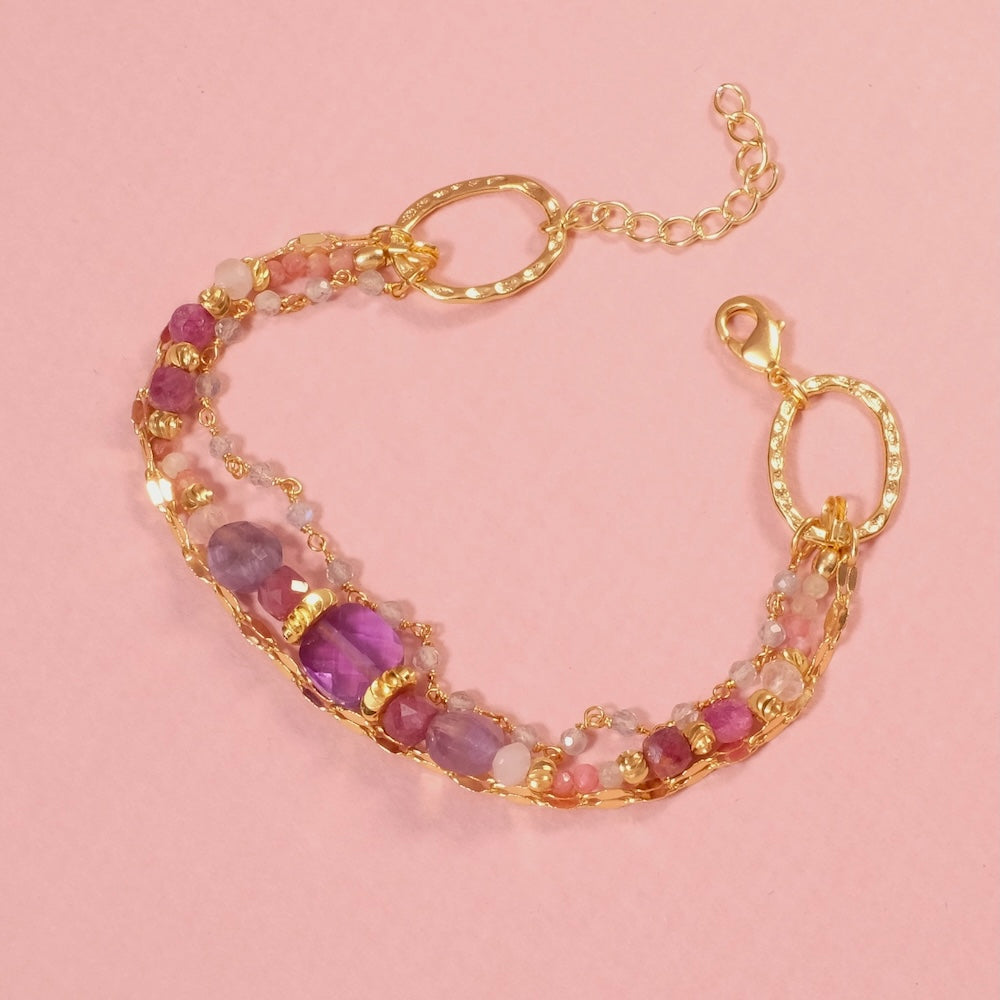
With our new tutorial, learn to easily create a stunning cascade of pearls. Play with the shapes, sizes, and shades of the pearls to create a beautiful harmony.
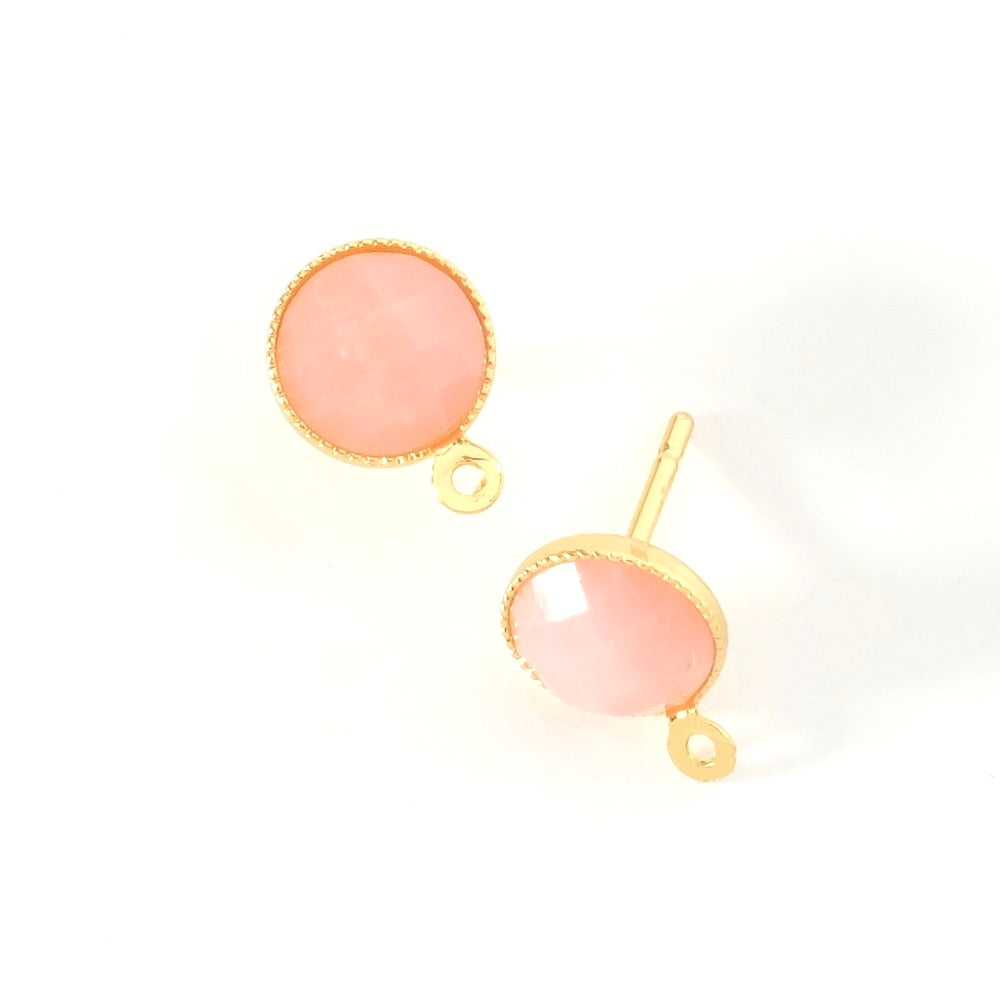
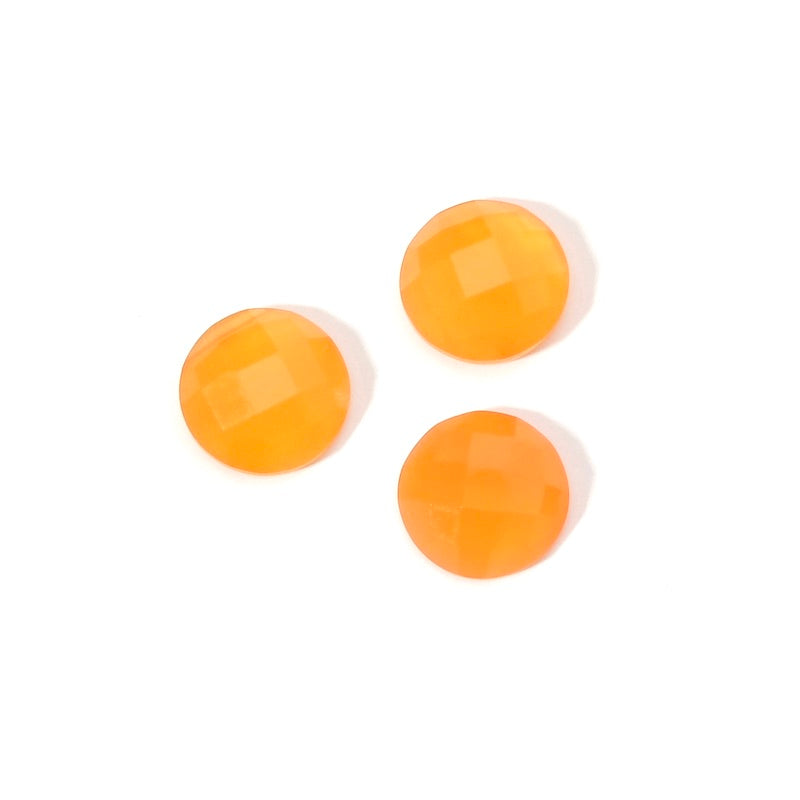
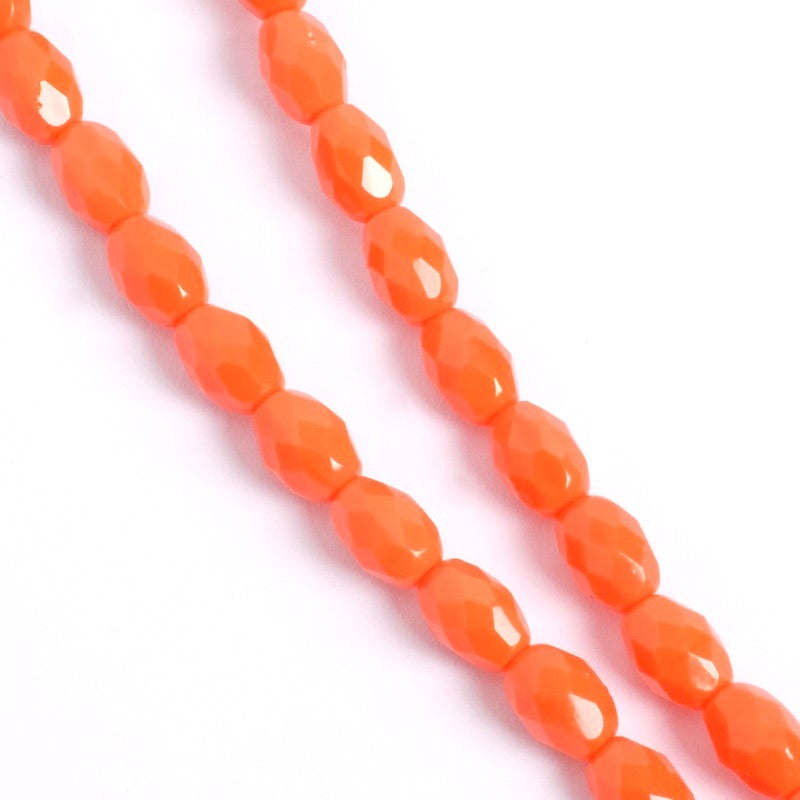
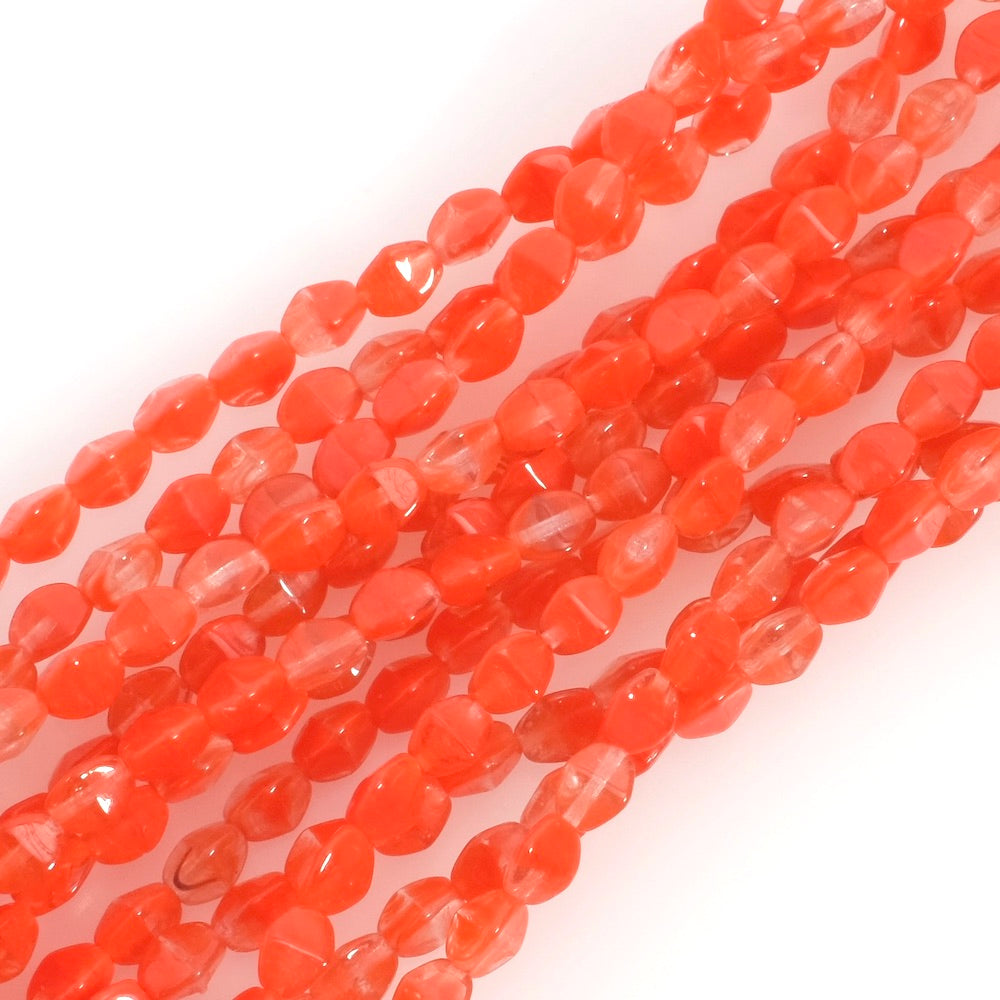
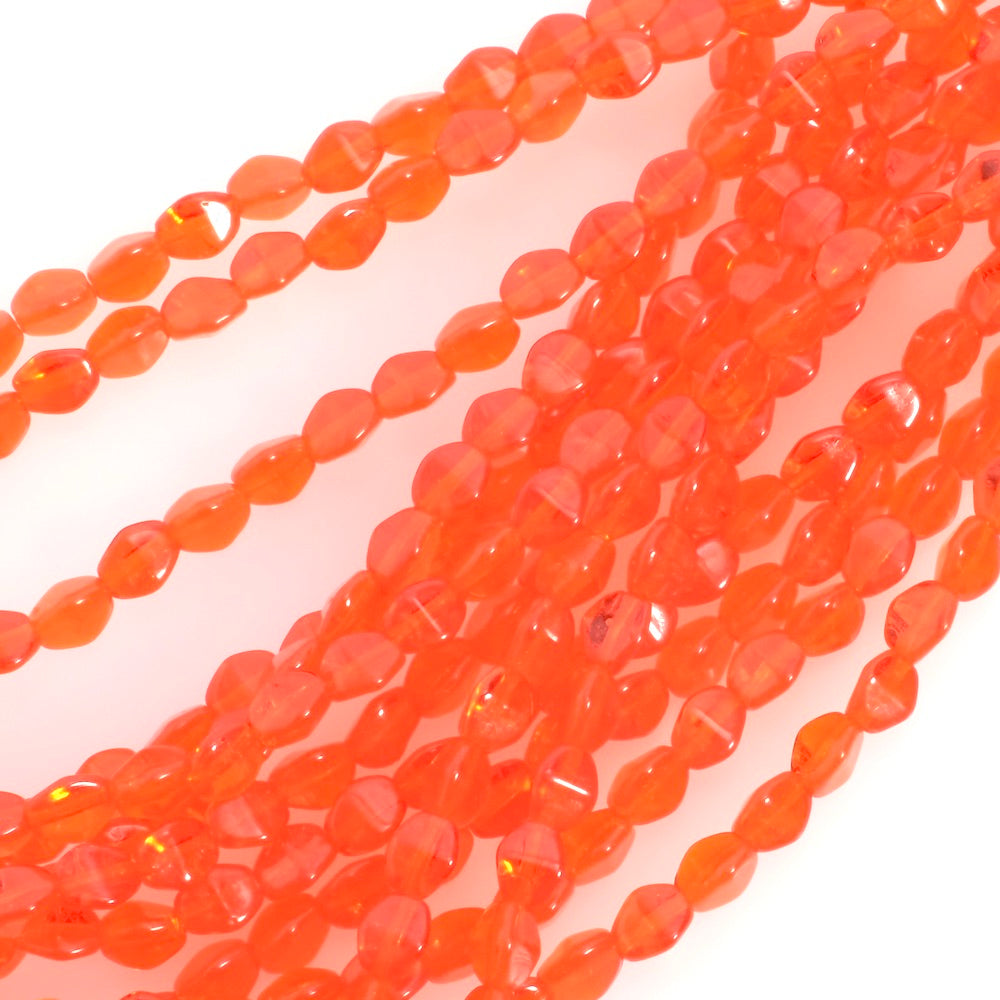
Here we have chosen pearls in orange shades that remind of the color of carnelian cabochons and the beautiful sunsets at the end of summer. You can reproduce this model exactly or customize it with our different natural stones and bohemian pearls. Do you like it? Follow all our detailed steps below. Beautiful creation!
|
||||
|---|---|---|---|---|
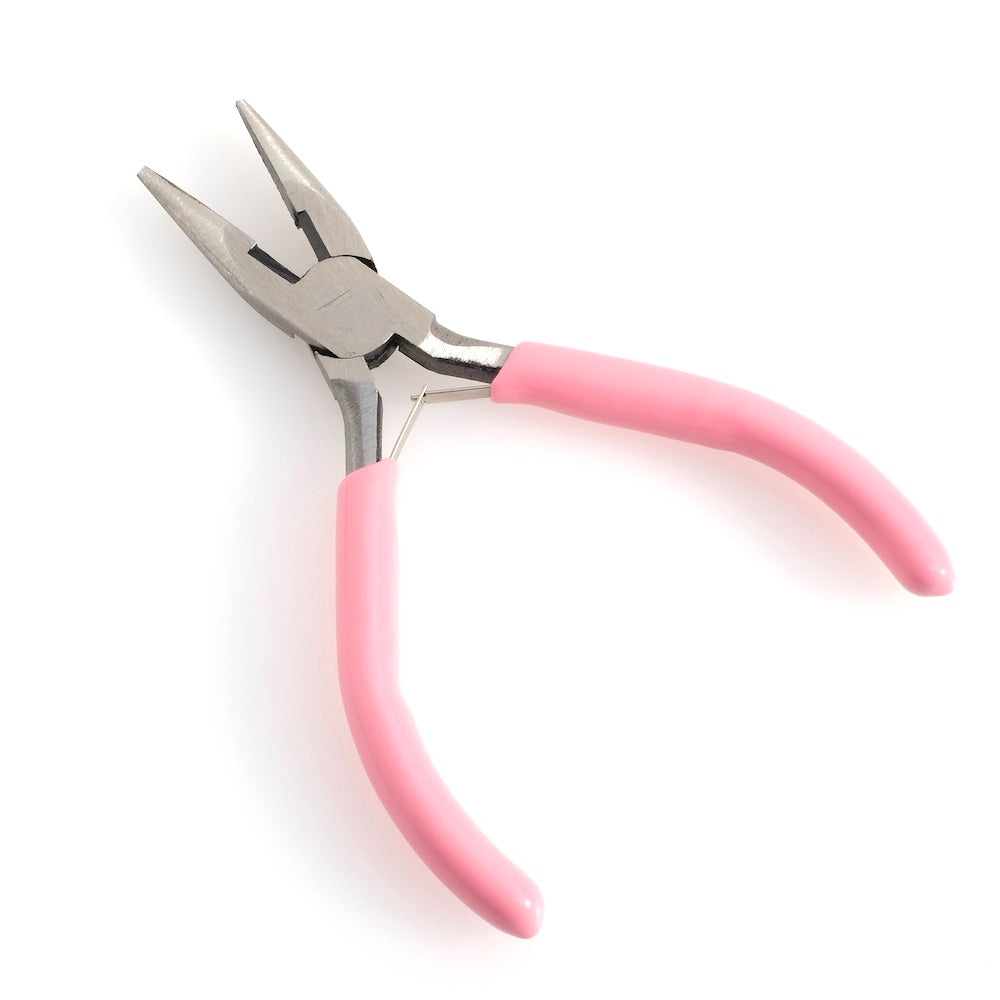
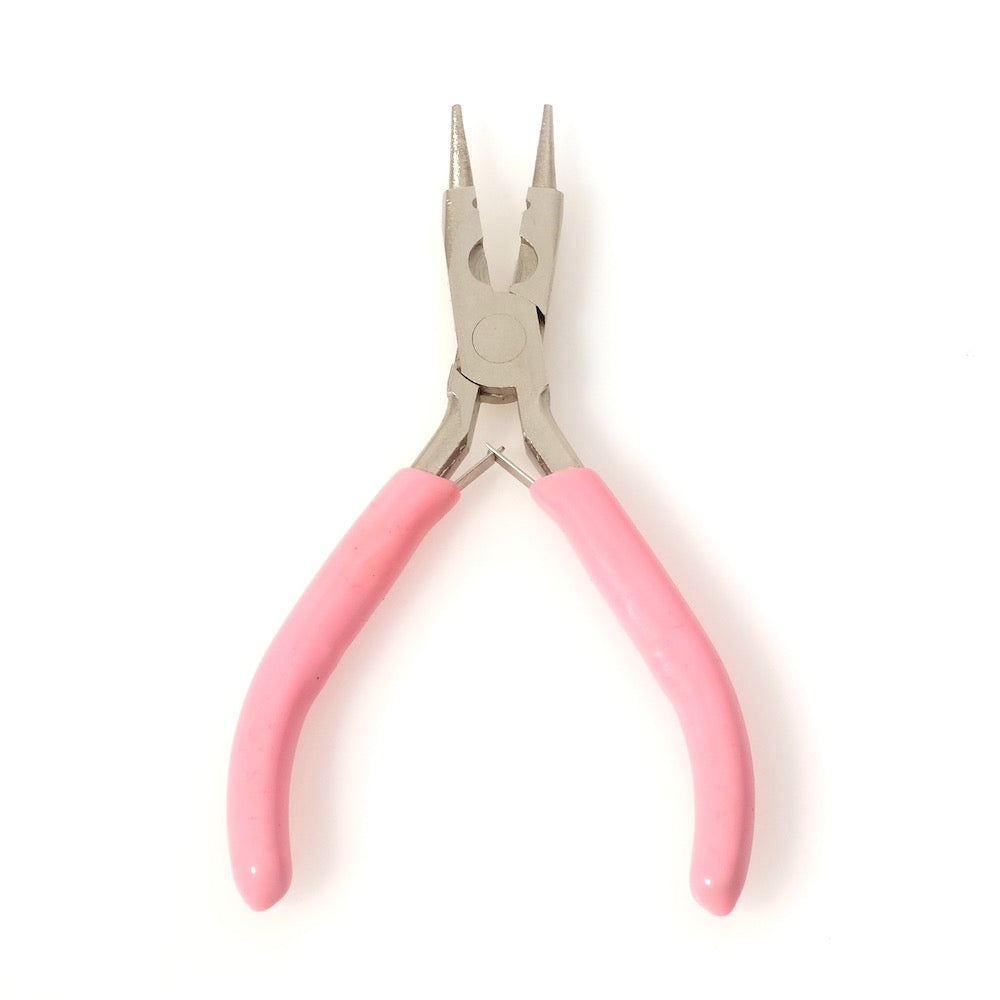
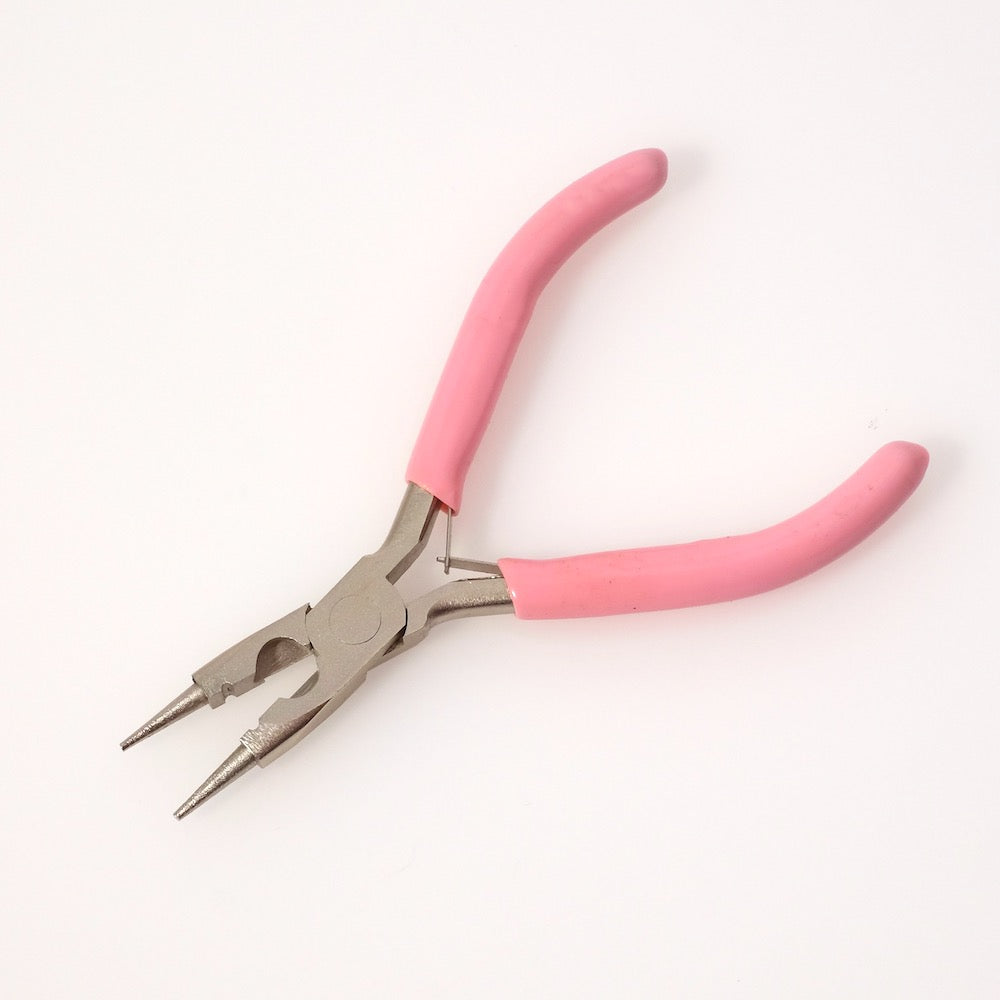
| For this project you will need: | ||||
|
|
||||
| The assembly: | ||||
|
|
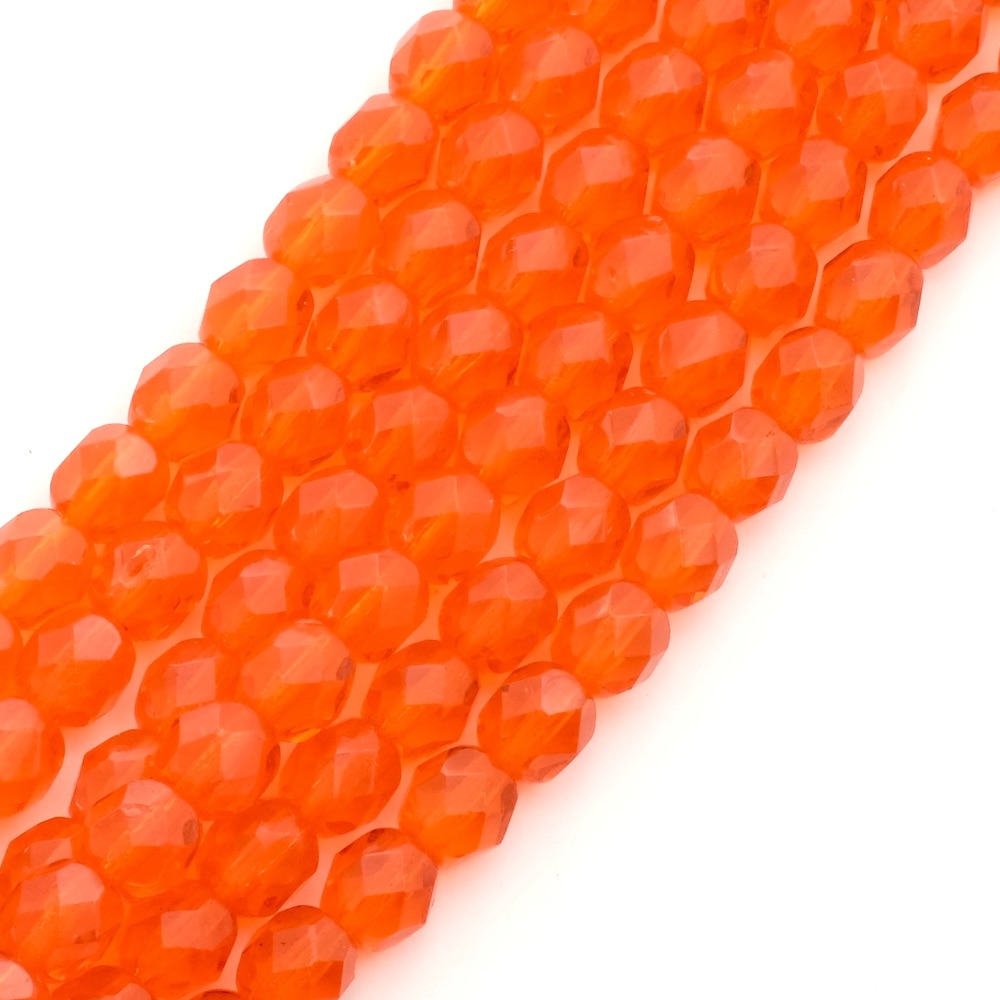
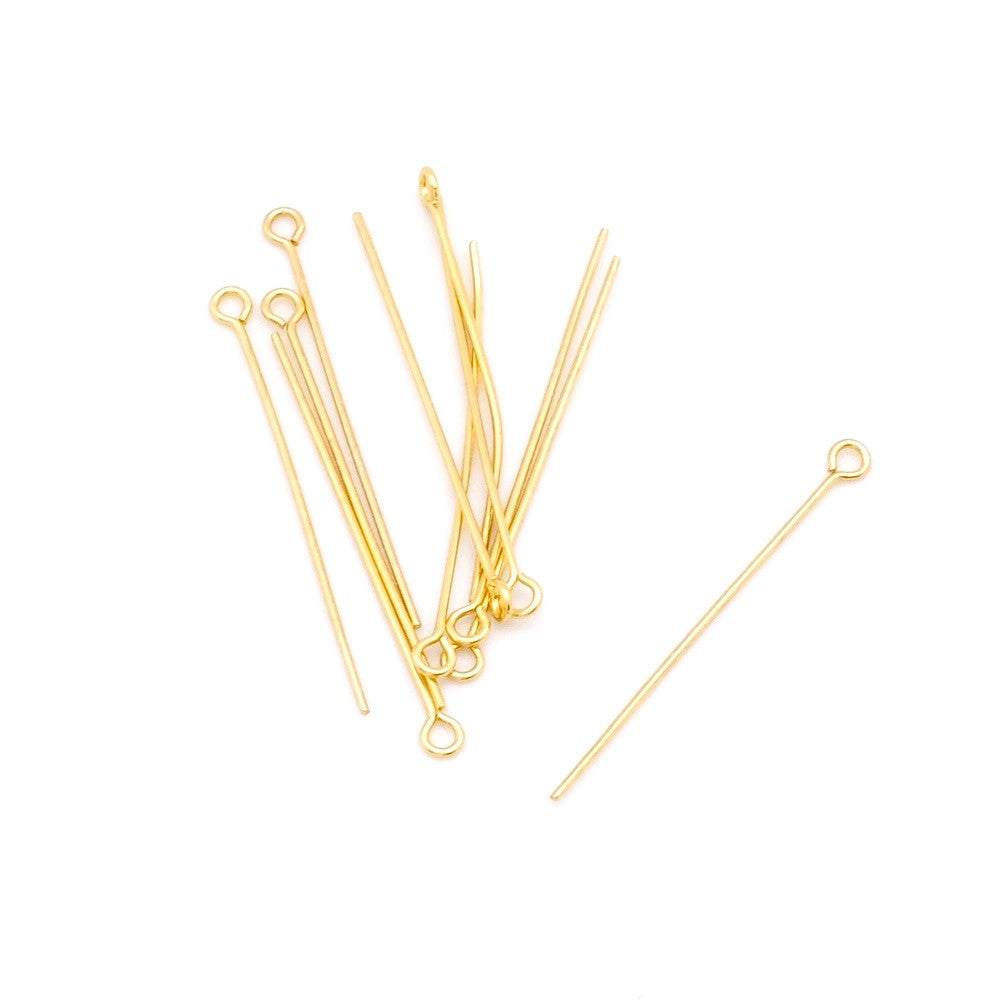
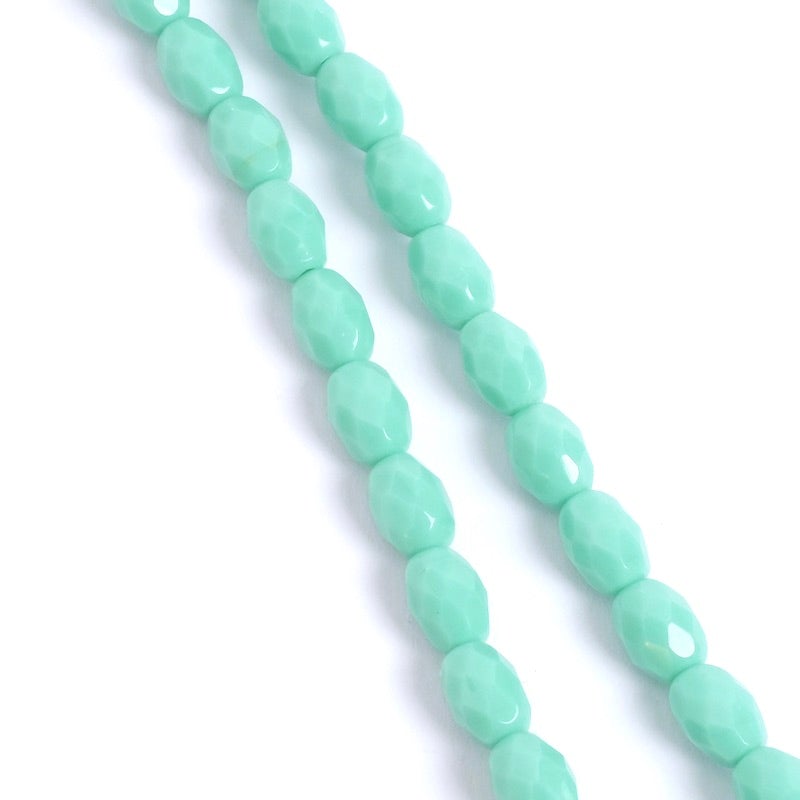
Find the video tutorial at the bottom of the page! To start, choose your beads, don't hesitate to play with different shades. You can opt for a harmony of similar colors or play with contrasts. For the shapes, have fun; here we took 6x8mm beads for the top of the cascade and then completed with smaller beads for the bottom. This adds lightness to the assembly. For the quantity of beads, we made sure that you only need to buy one strand of each shape to make this model.Assembly of the beads (for an earring): To start, thread 7 8x6mm faceted olive beads onto eye pins. Be careful to form a loop wide enough to be easily connected to the disk pendant. Your assembly should remain flexible!
Here we have created 7 cascading bead chains, but you can perfectly adapt the number to your liking.
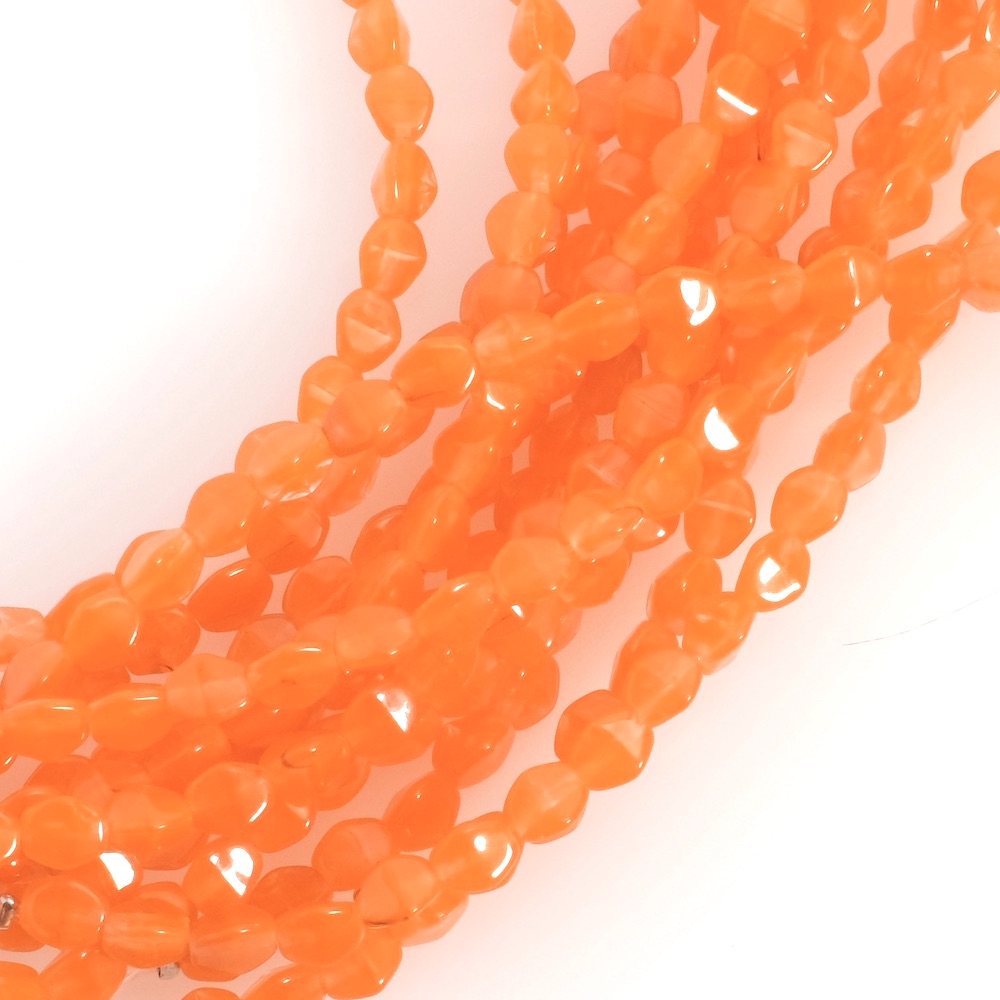
Now, thread 7 6mm faceted beads onto eye pins. Here, form loops of similar size and quite discreet.
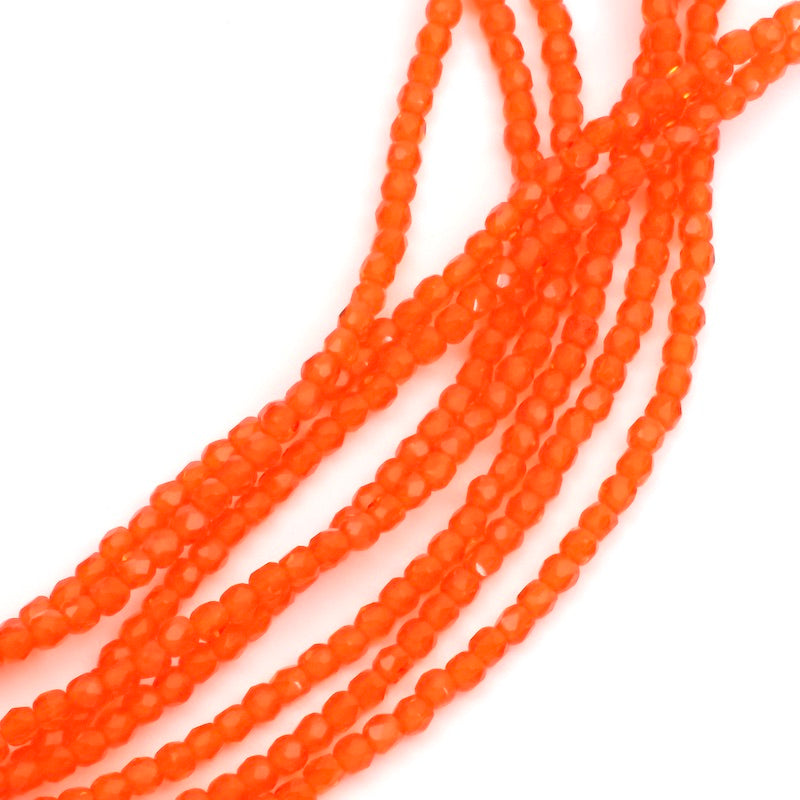
Continue in the same way with the 5mm faceted olive beads.
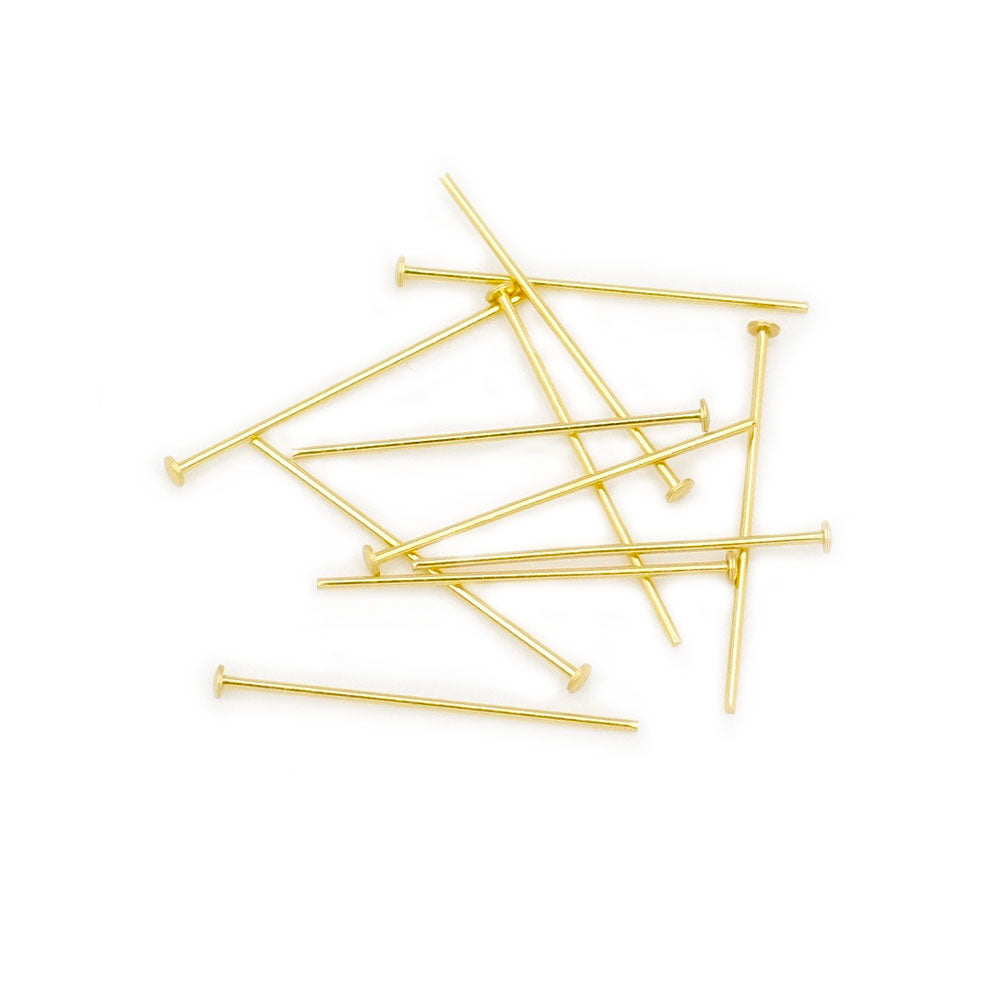
Now mount the beads located at the ends on flat head pins.
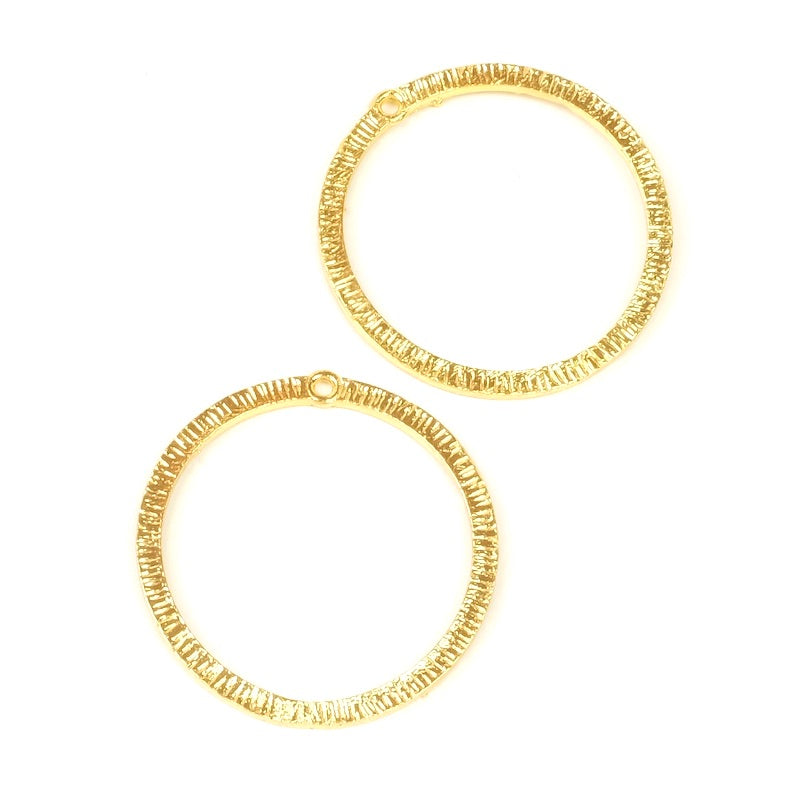
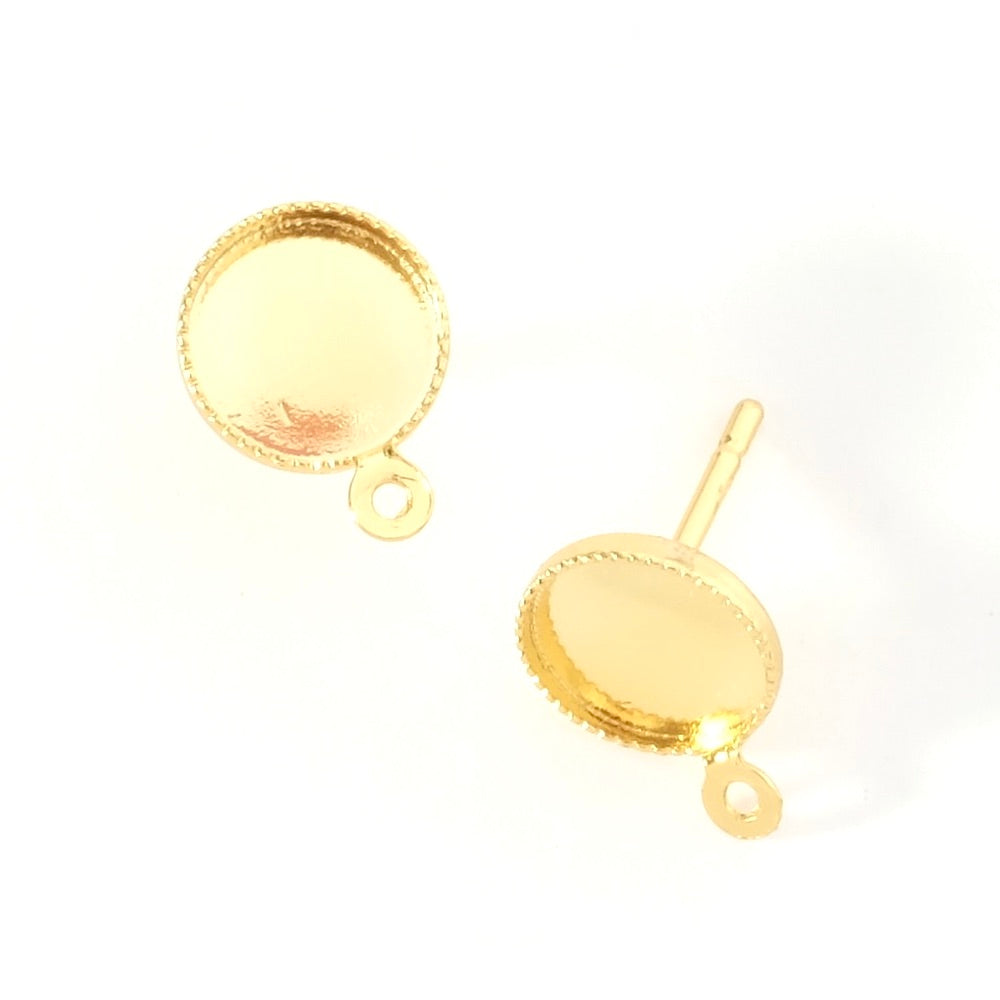
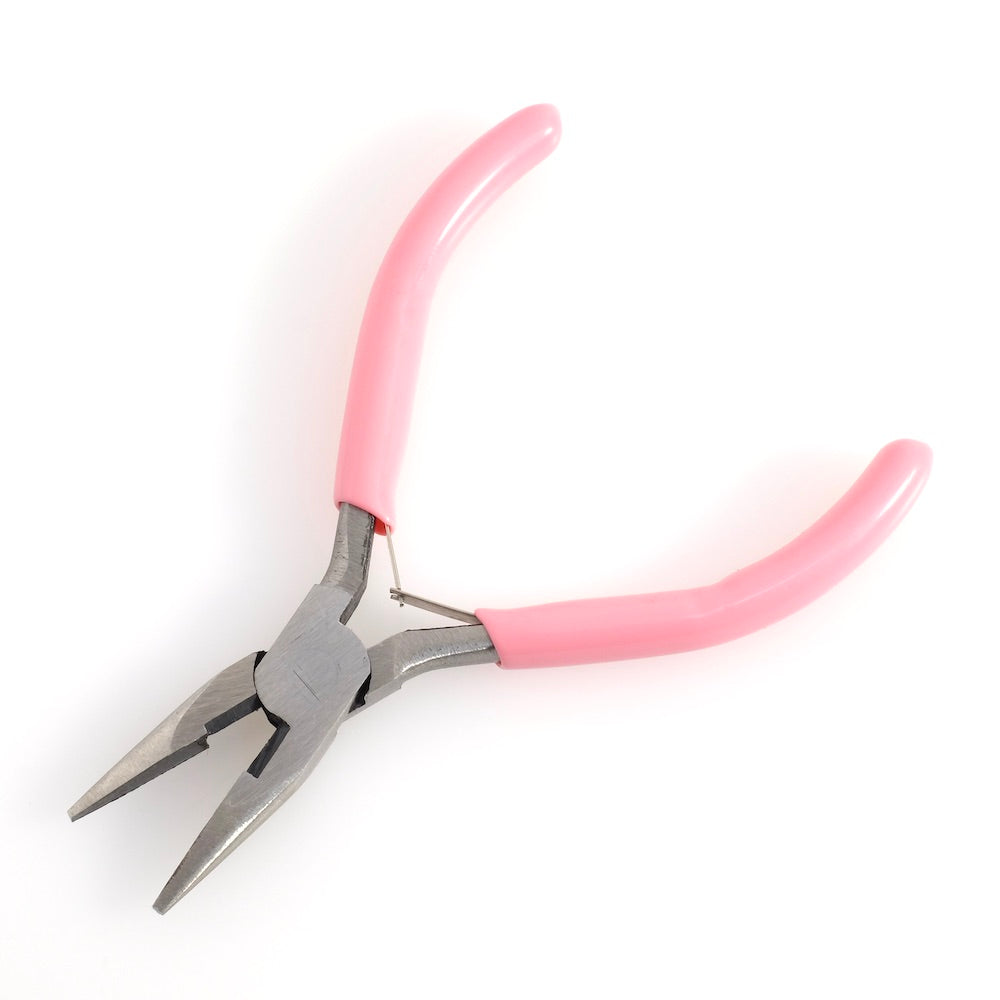
For a beautiful gradient effect, we played with the number of beads. This gives a nice pointed drop. To do this, mount the 2 outer pins in the order of a 2mm bead, a donut bead, and a 2mm bead. Then form the loops. For the 2nd pins, towards the center, place a 2mm bead, 2 donut beads, and a 2mm bead. Then form the loops. For the 3rd pins, towards the center, place a 2mm bead, 3 donut beads, and a 2mm bead.Then form the loops. For the central pin, place a 2mm bead, 4 donut beads, and a 2mm bead. Then form the loop. Mount the beads in a cascade... Then, connect all the pins together to create the cascade. Open the loops and then connect the pins together. Be careful to open the spiral loops as you would for a jump ring. This way, once closed, it will return to its original shape. Assemble the different elements: Now, open the large loops located at the top of the 8x6mm beads and mount them on the disk pendant while respecting the order of the bead chains. Then glue the cabochons into the earring loop supports. Connect the BO support to the top of the disk pendant with a 4mm ring. Repeat all the previous steps for the other loop ear. And there you go! Beautiful achievement! |
|||

Below are the different supplies to complete the tutorial


To be reserved alone or with friends!

Join Perles Corner to discover our new products, exclusive tutorials, and many other surprises... and receive your voucher by email!


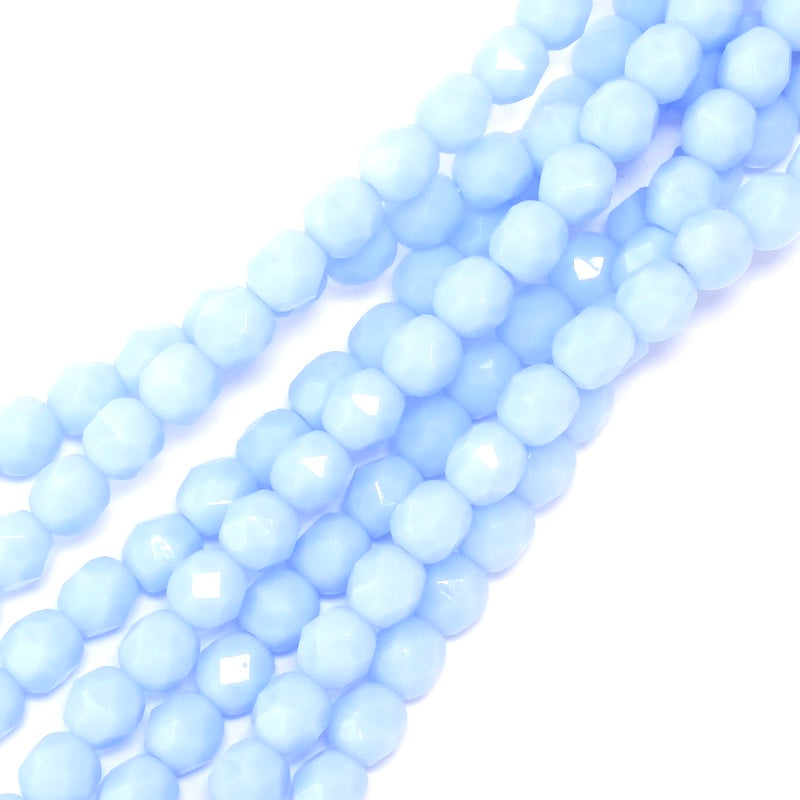
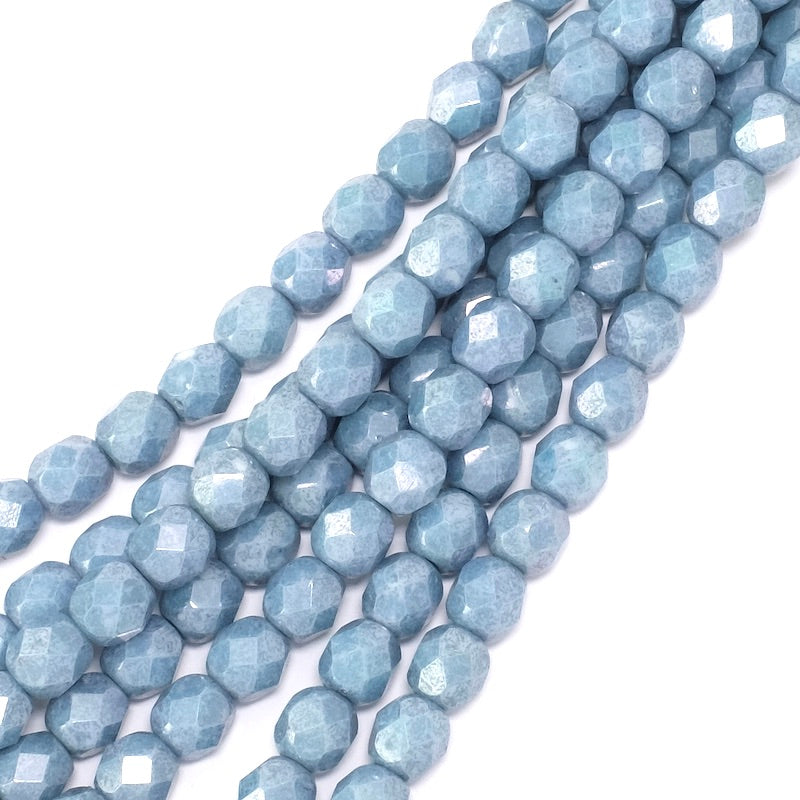
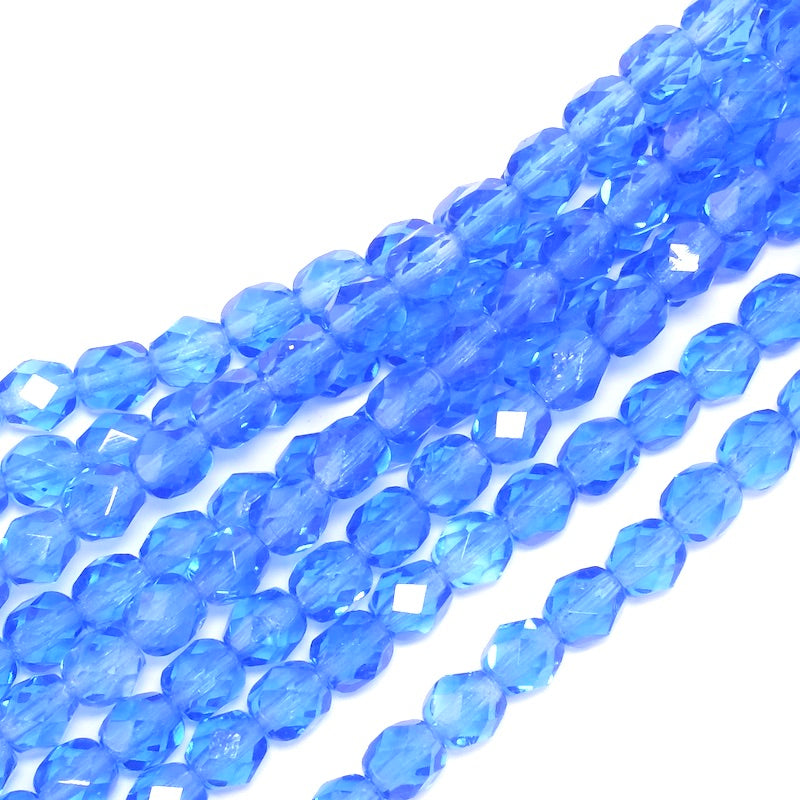
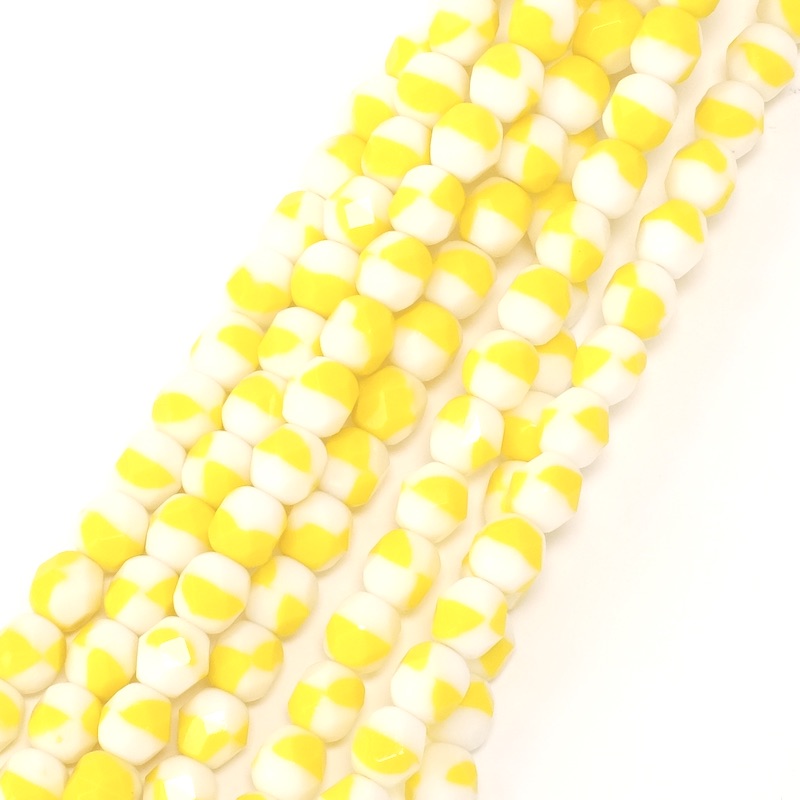
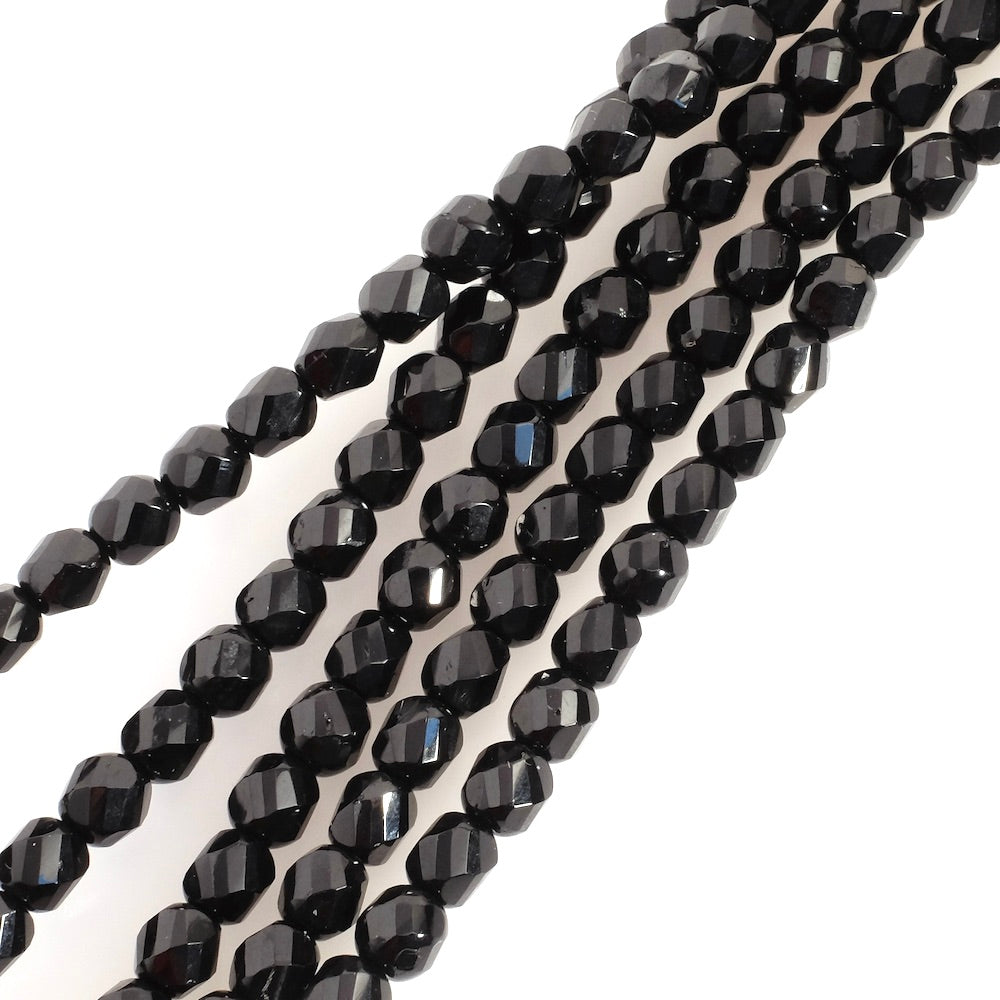
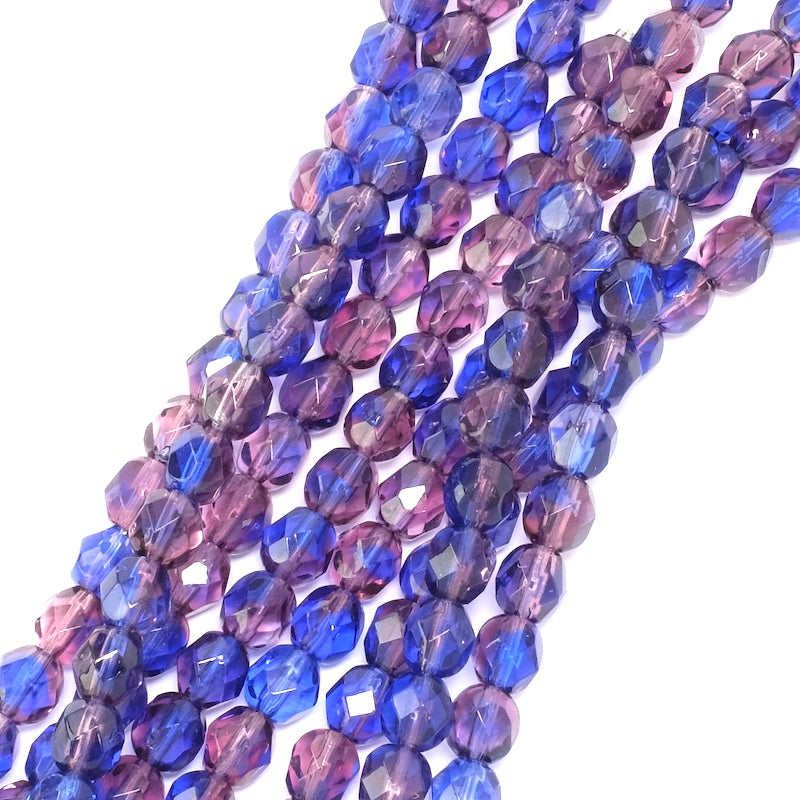
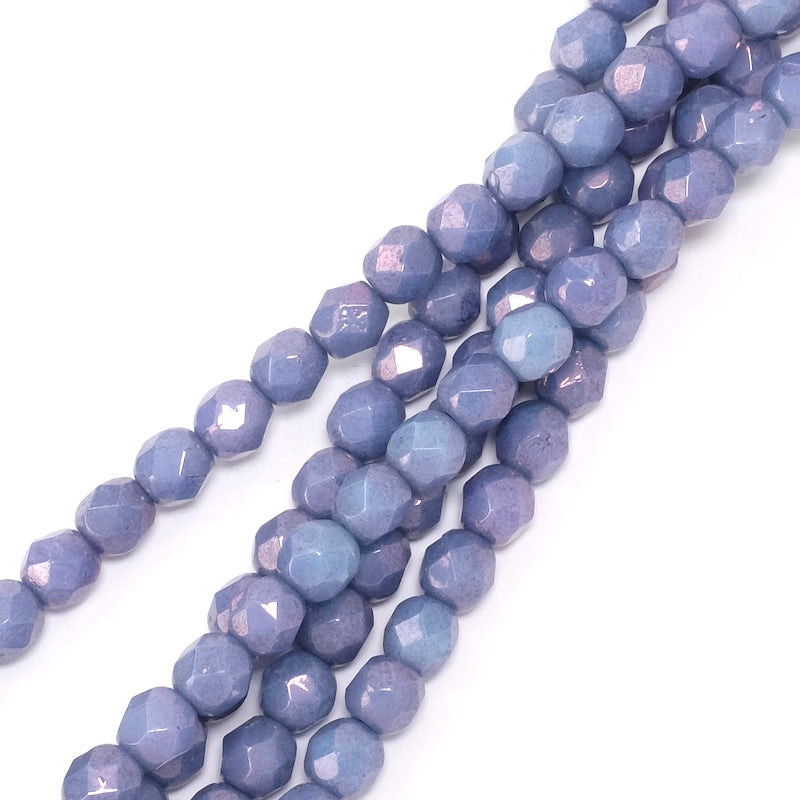
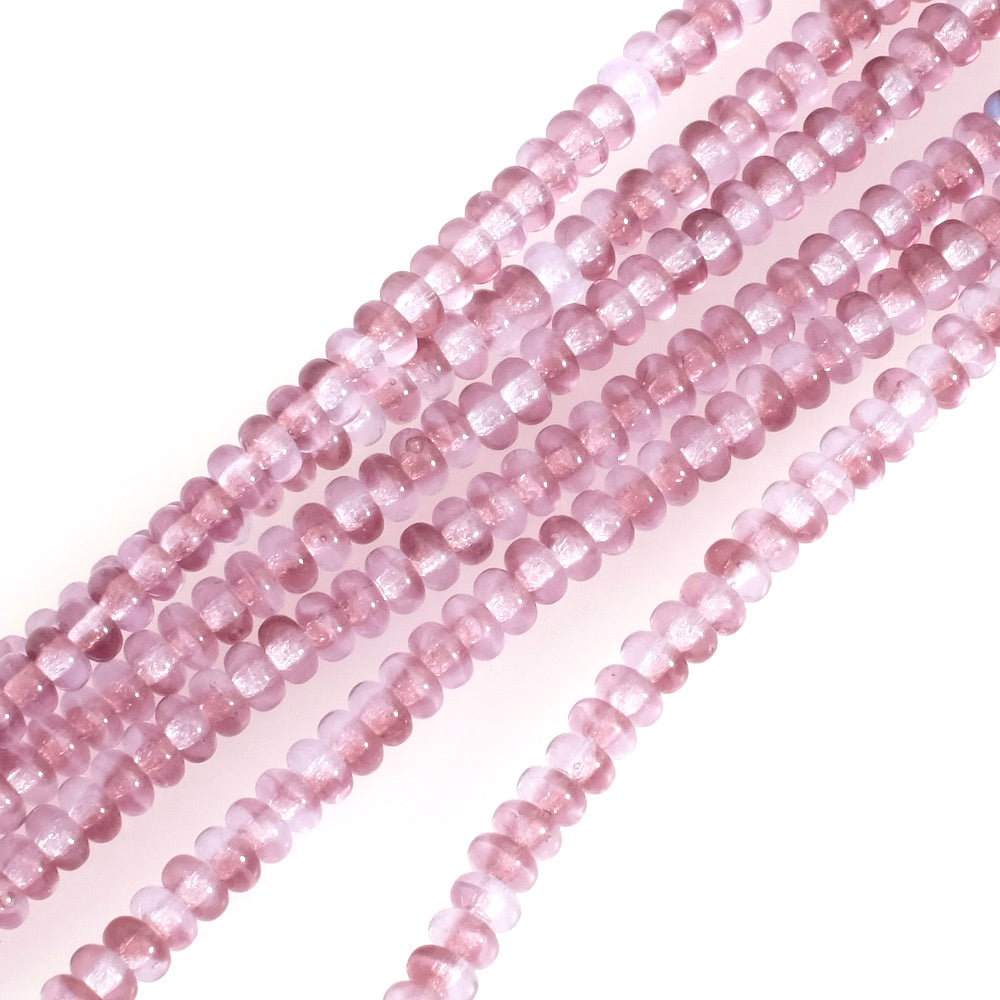
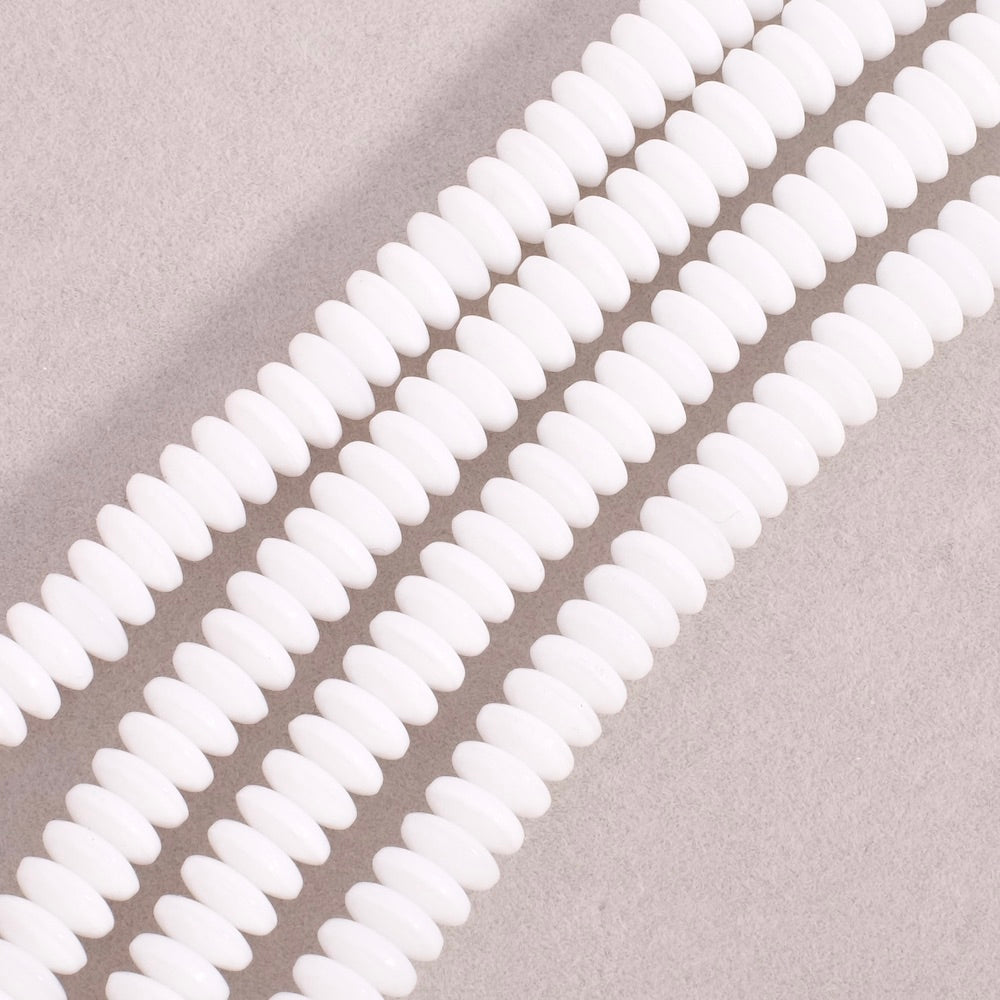
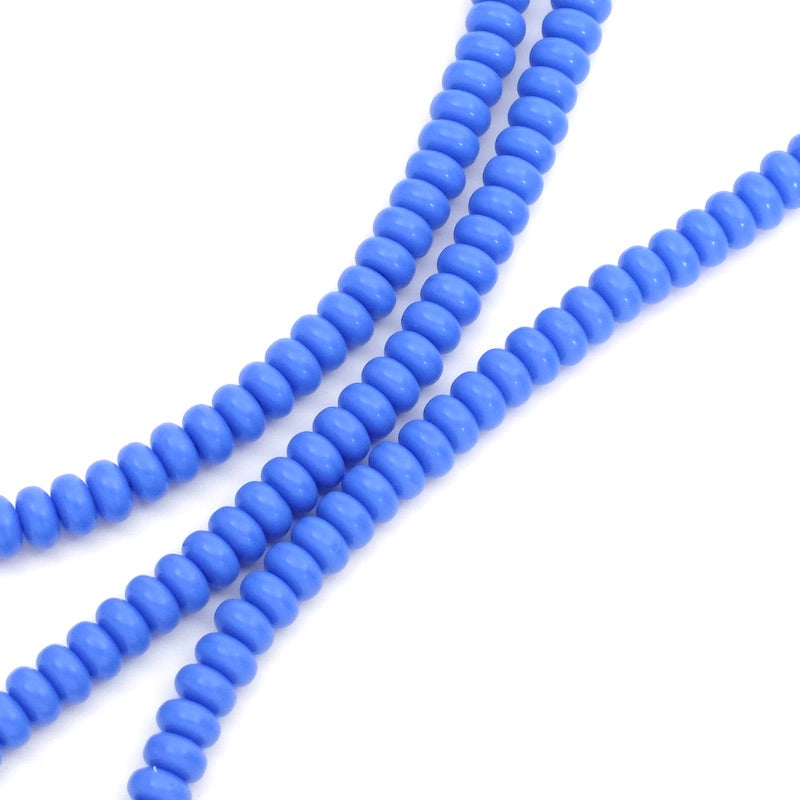
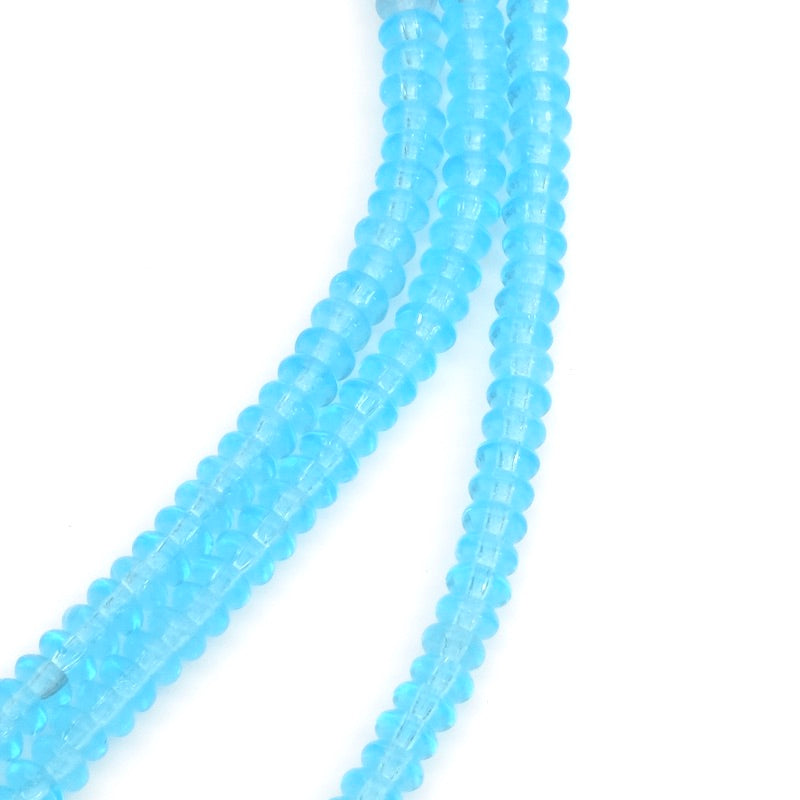
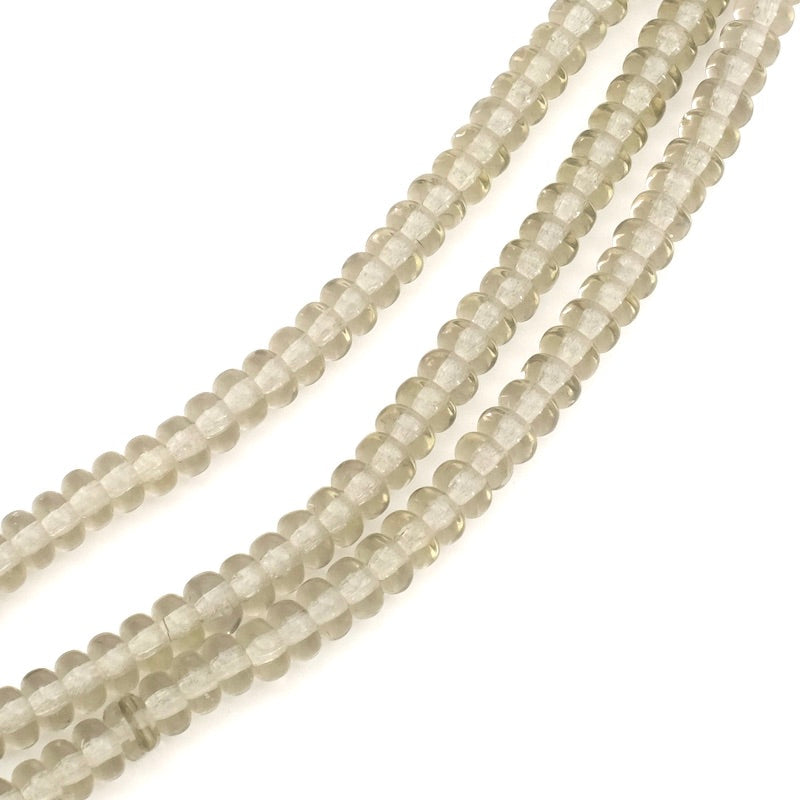
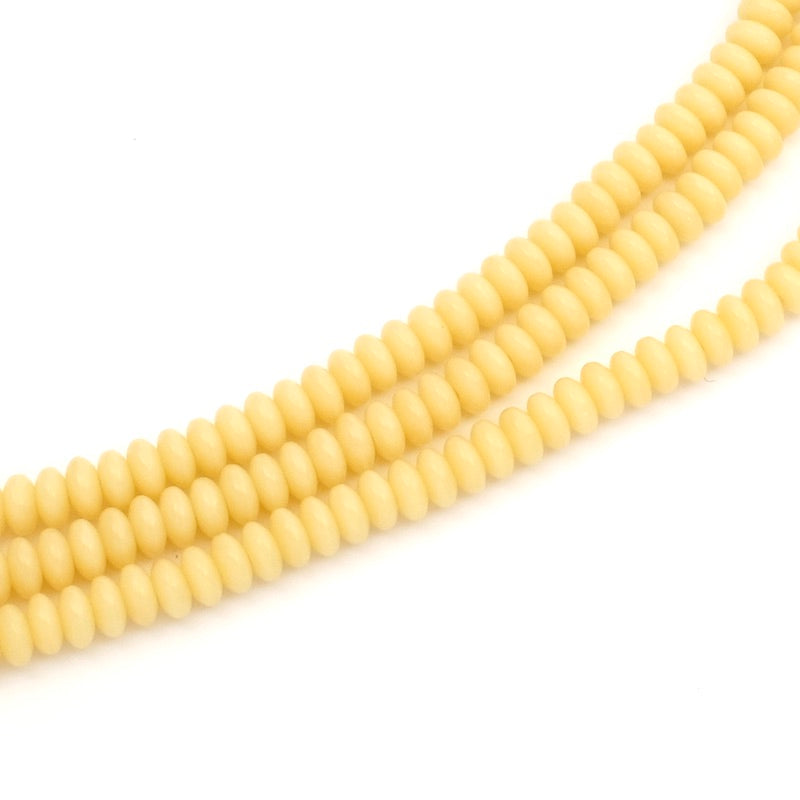
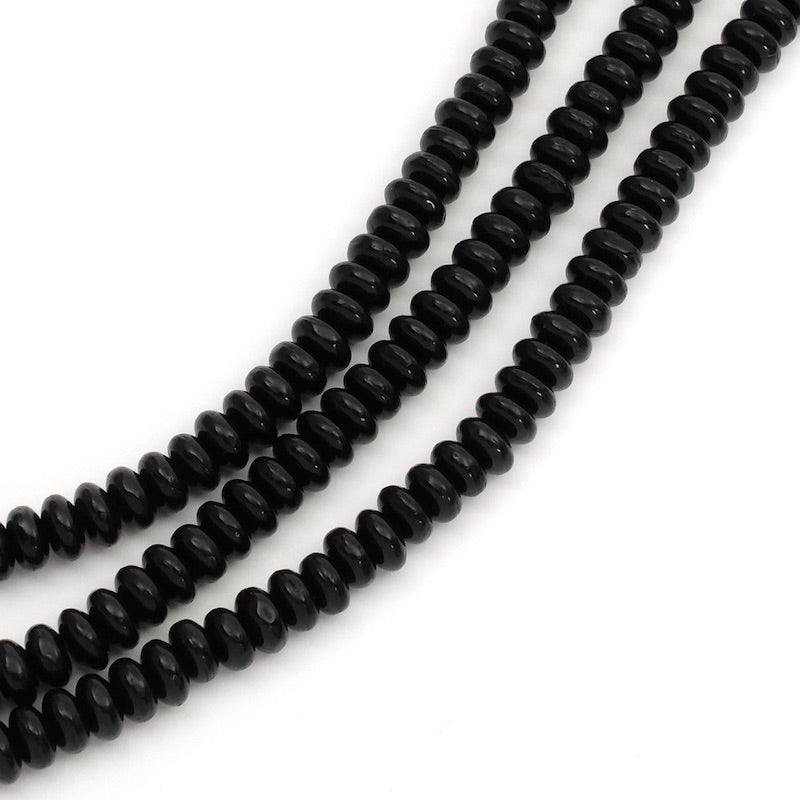
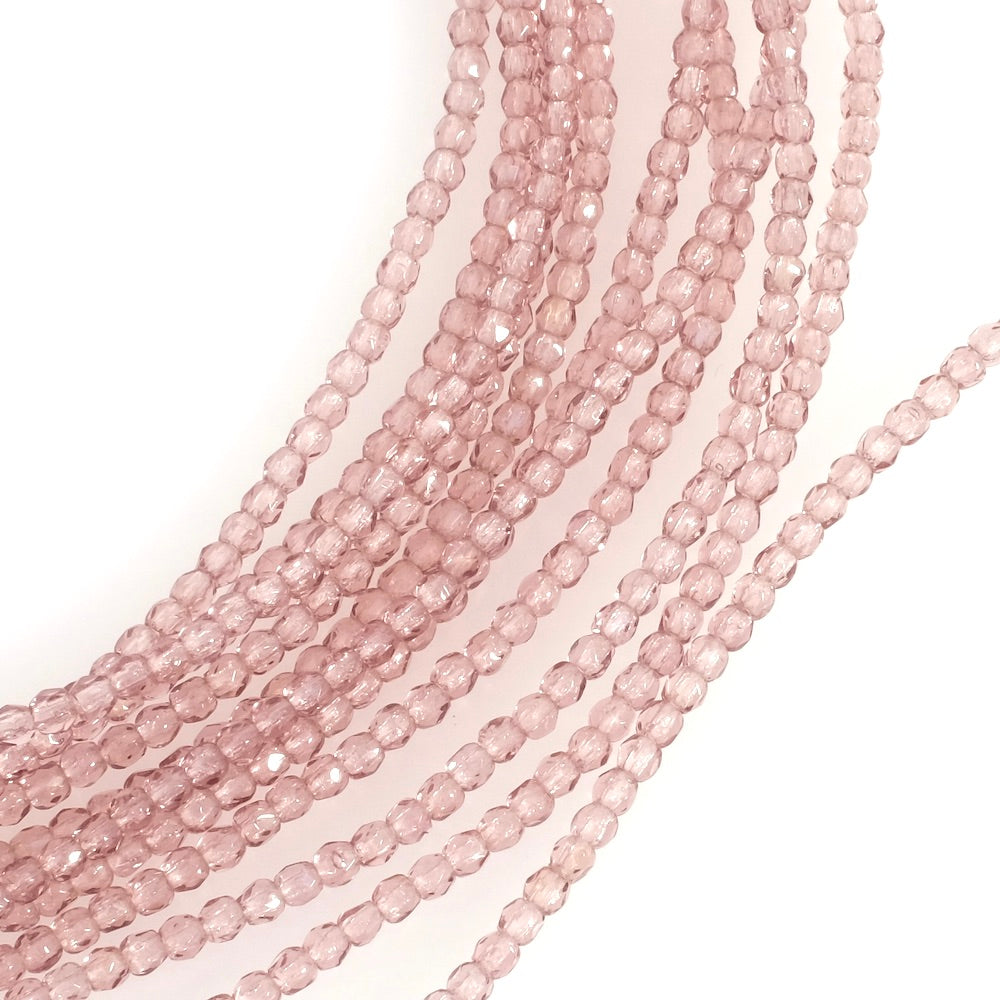
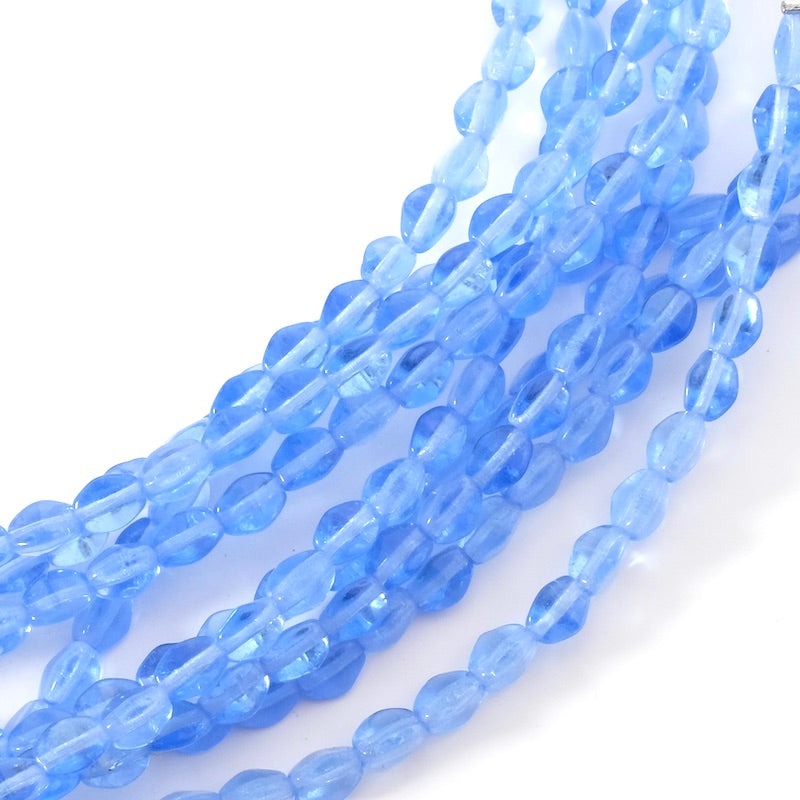
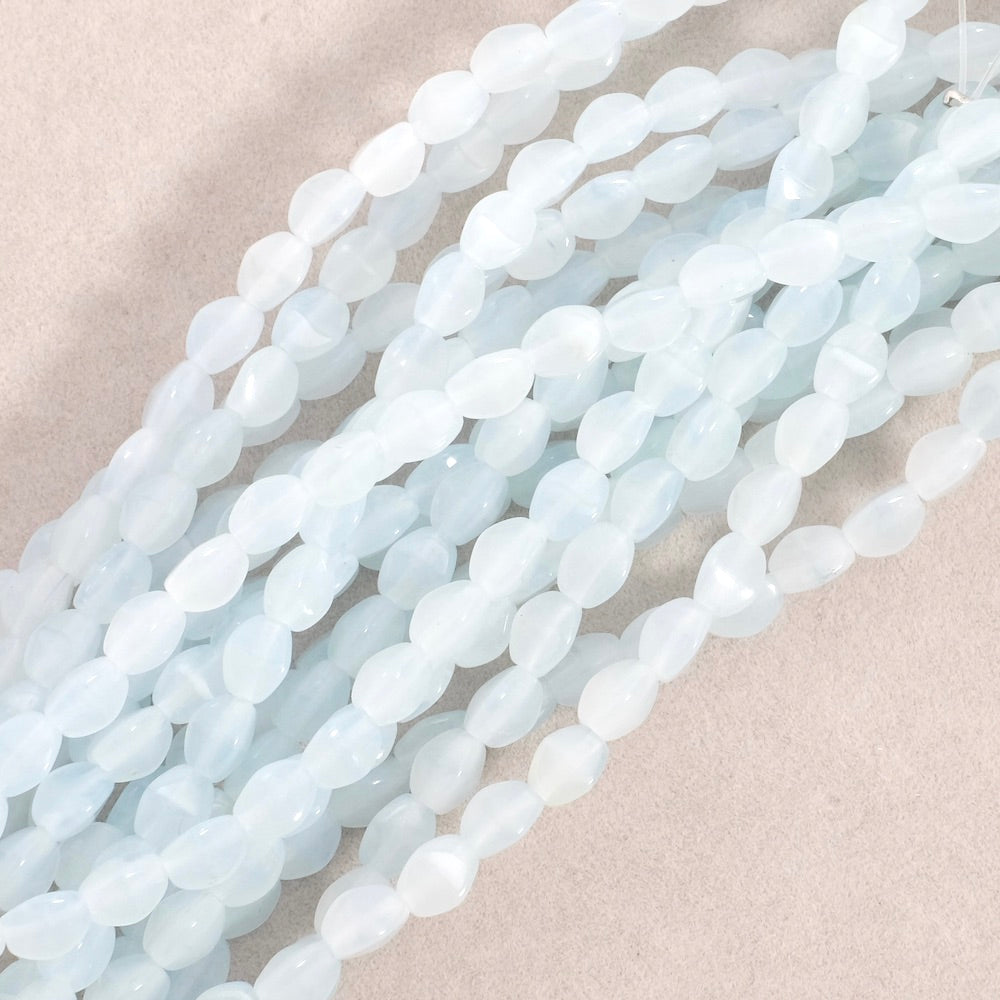
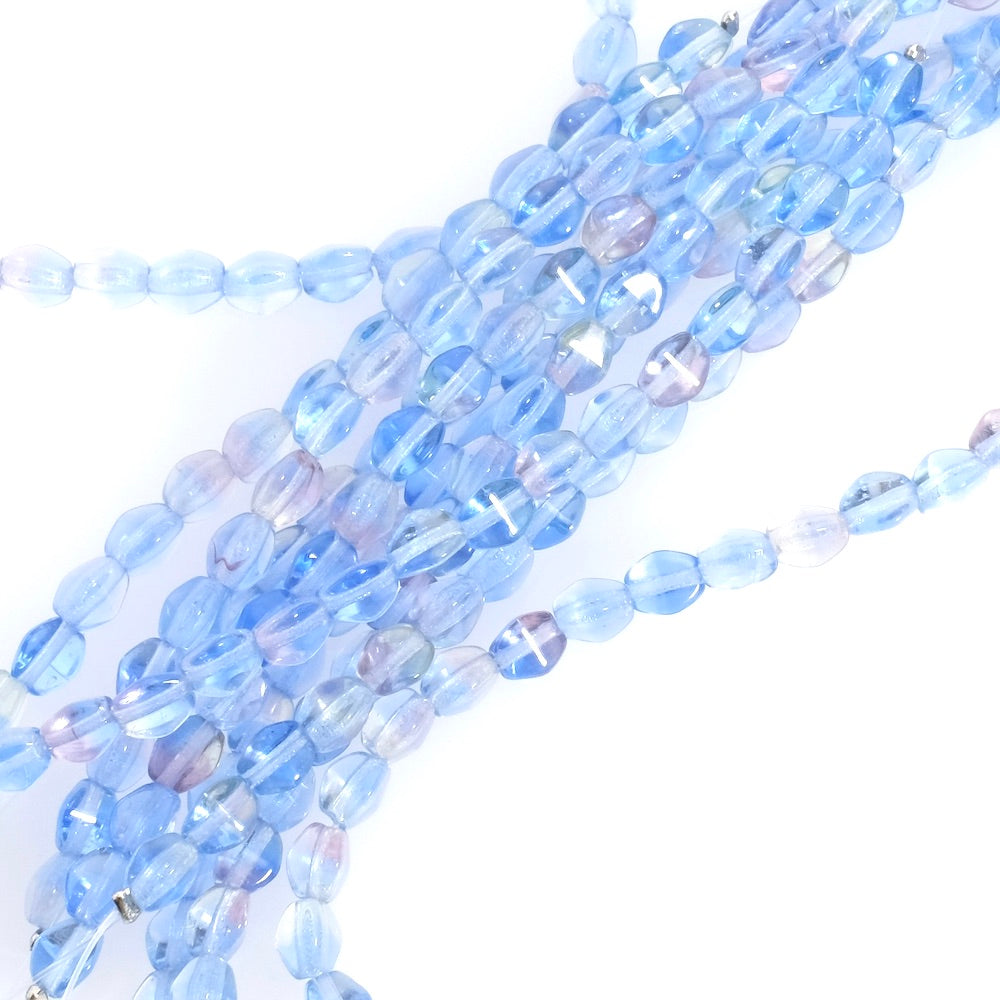
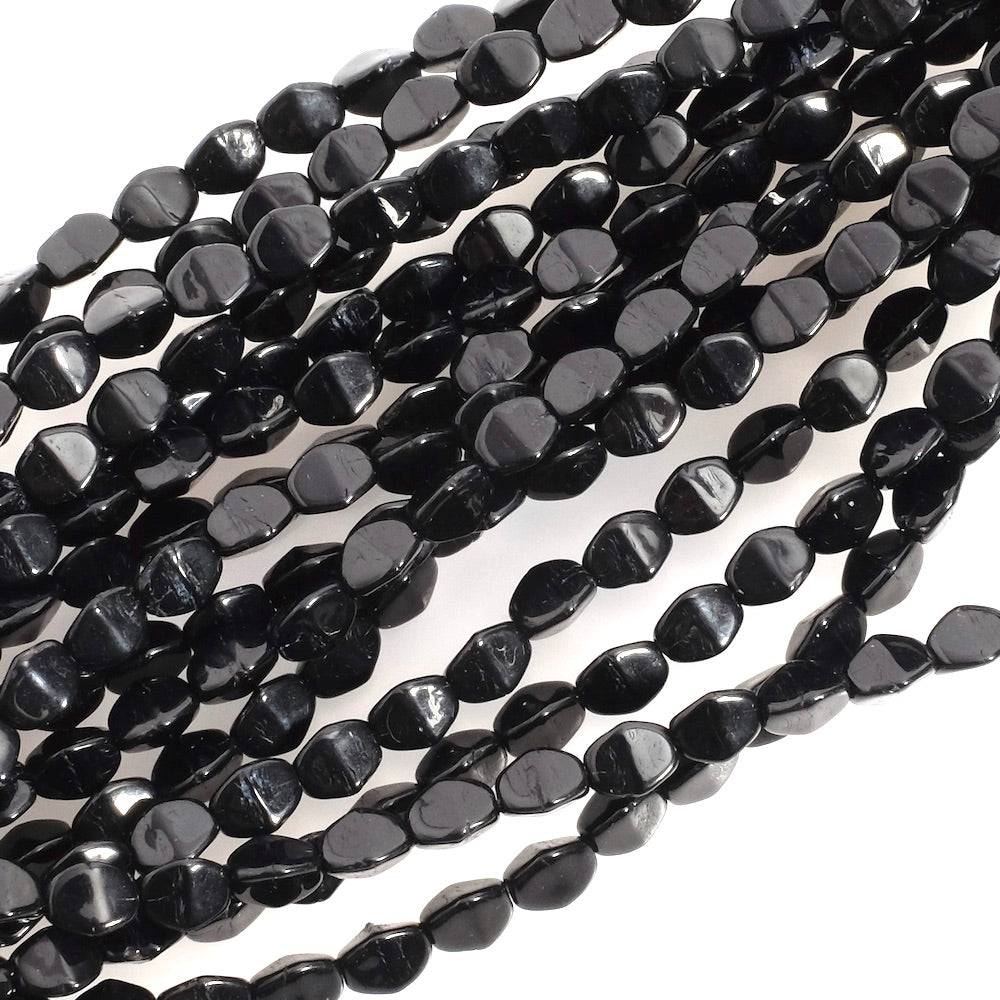
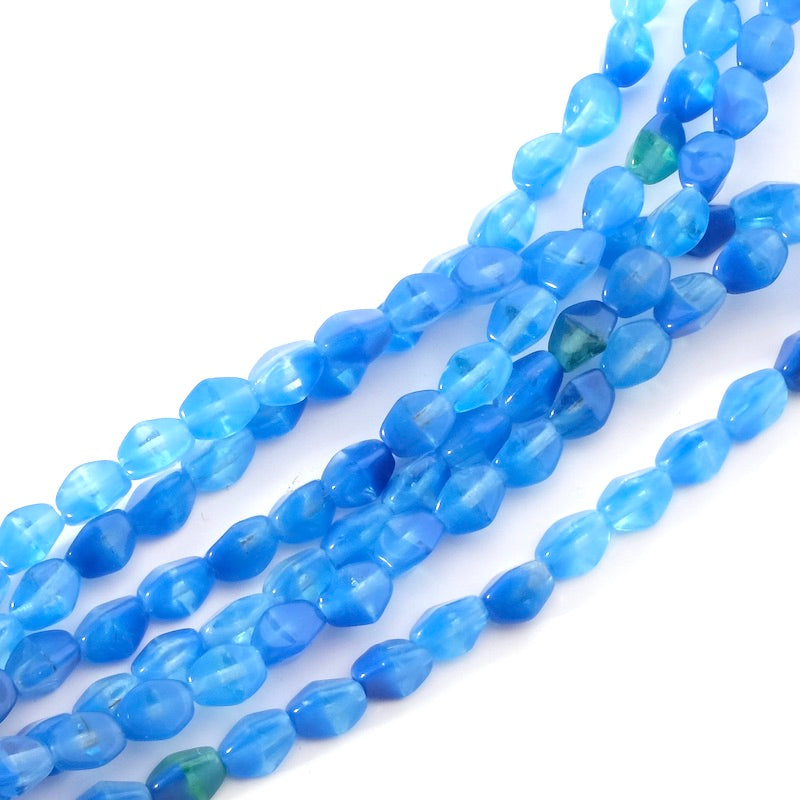
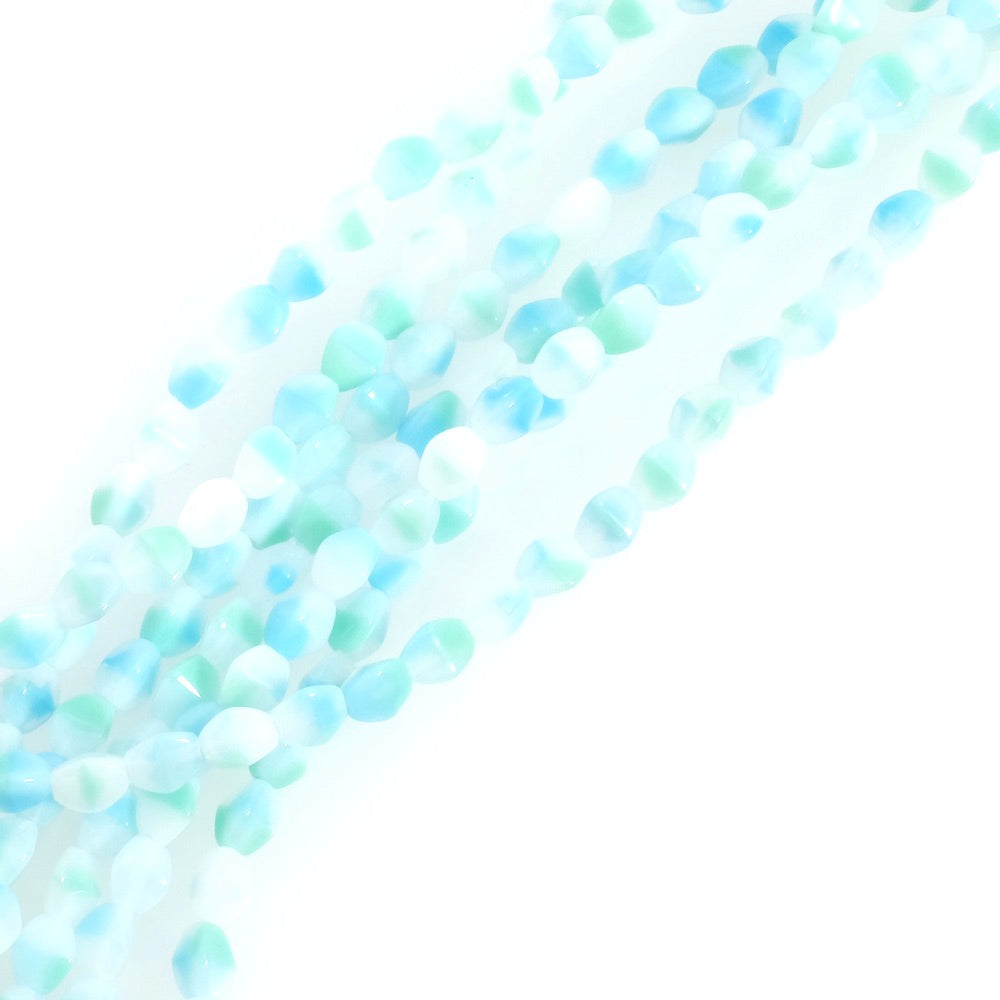
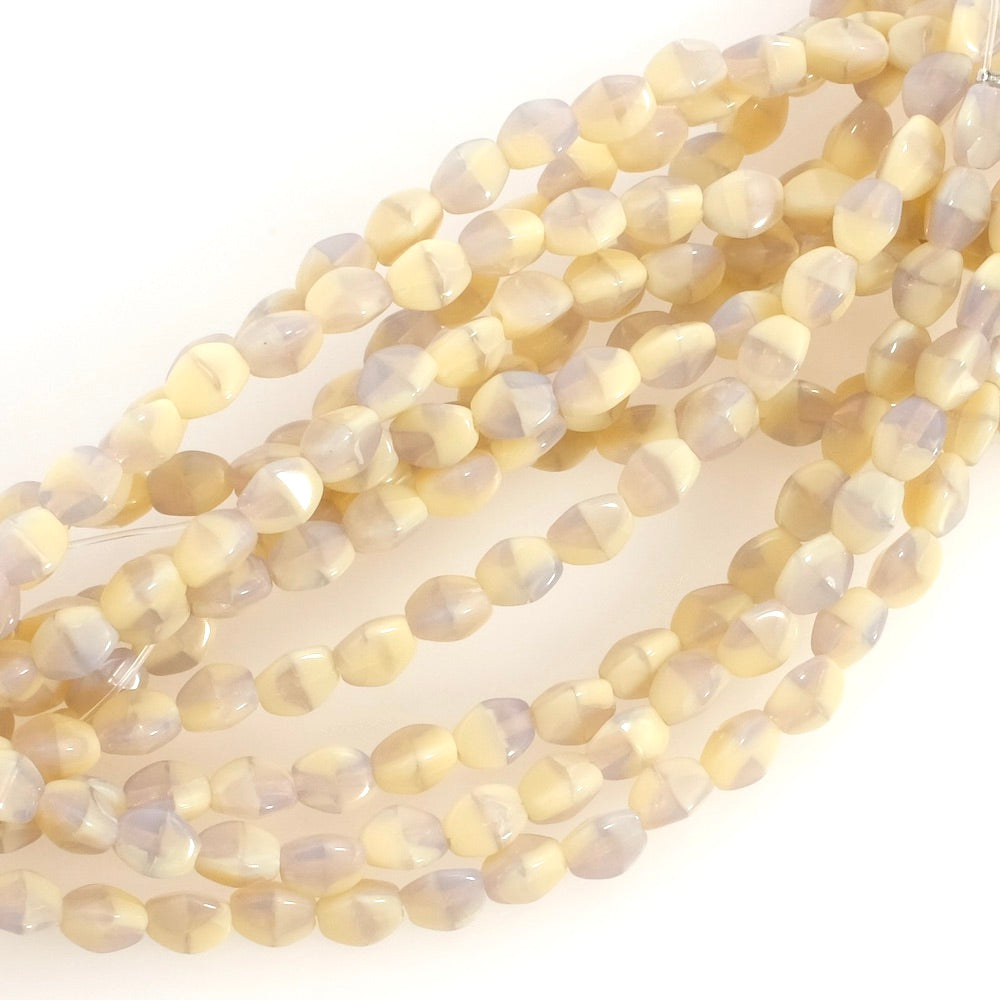
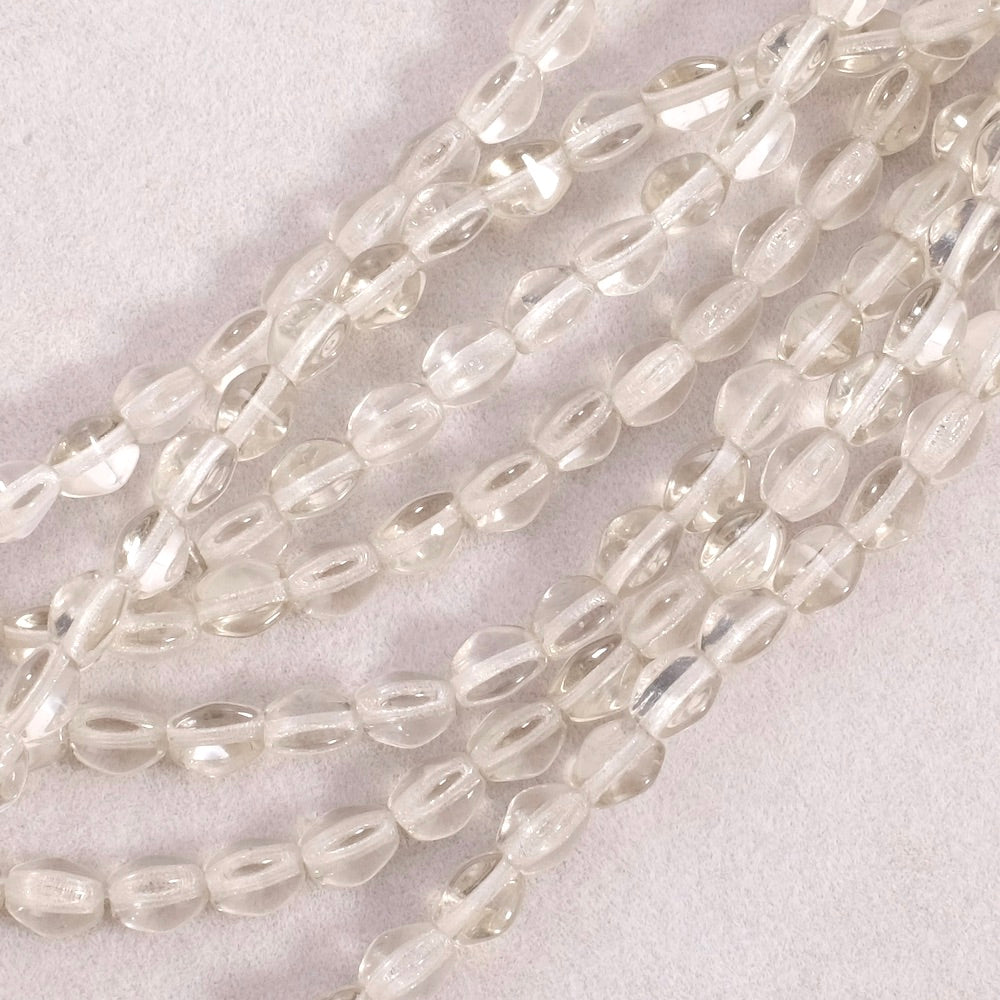
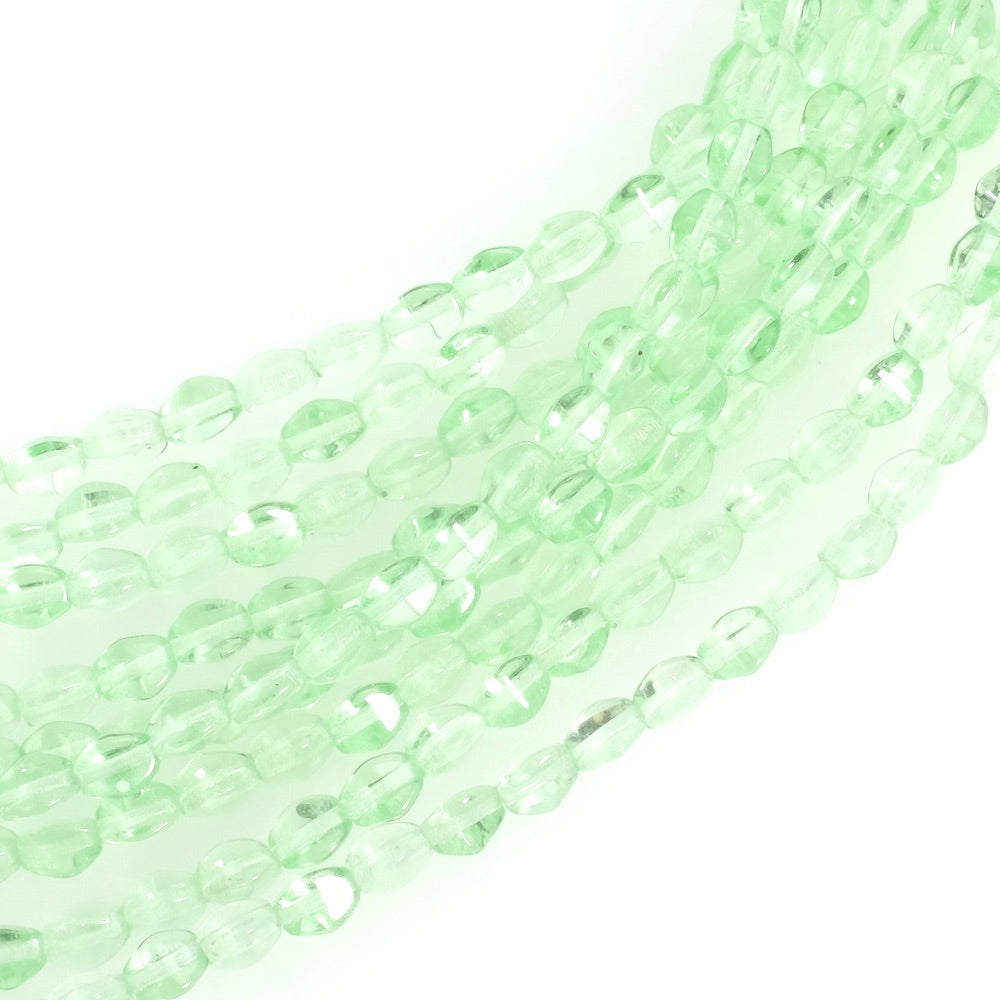
 bohemian pearls, sizes and shapes to choose from