|
TUTORIEL VIDEO J'ai le plaisir de vous présenter une nouvelle création pour apprendre à créer une boule 3D en perle, à monter sur une chaine en collier. Vous pourrez facilement décliner cette création avec les perles de votre choix, ici nous avons choisi des perles en pierres naturelles pour un bijou élégant et délicat. Un tutoriel simple à réaliser, suivez bien les étapes de la vidéo pour reproduire ce modèle à la perfection ! Belle création !
|
|---|
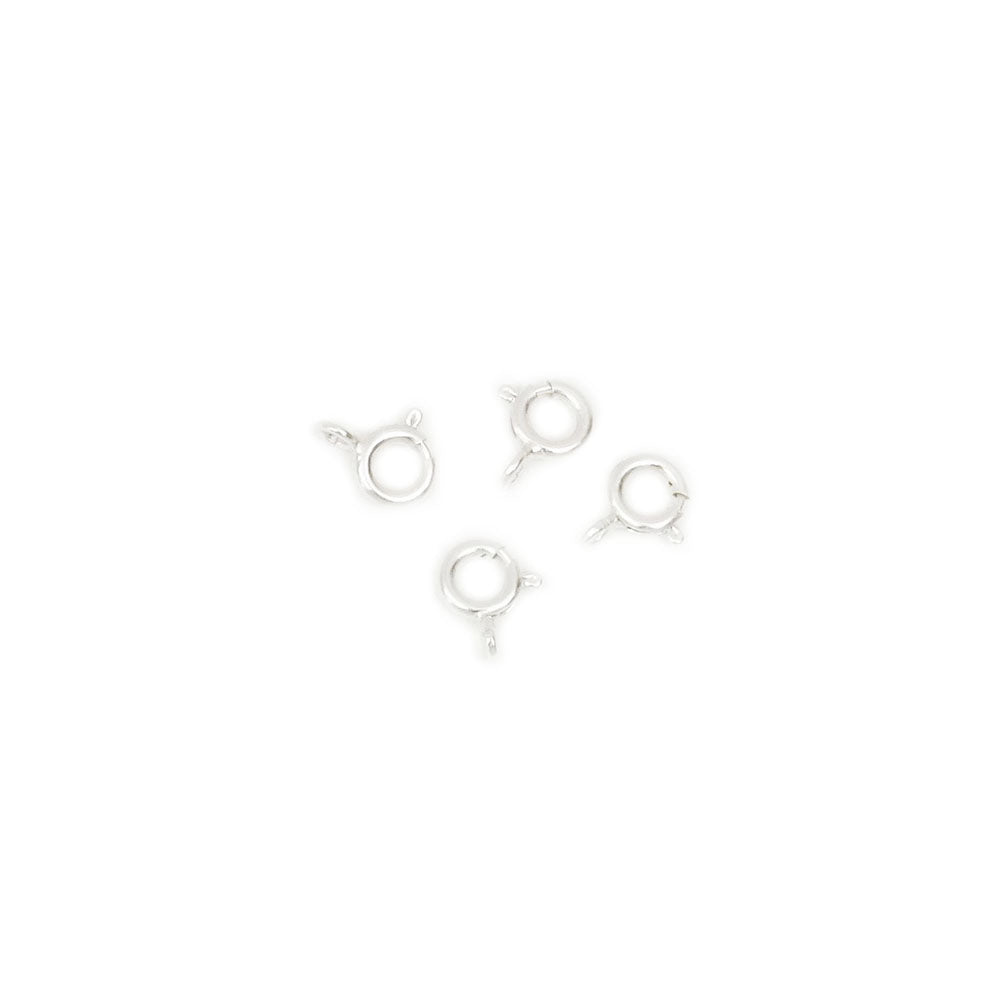
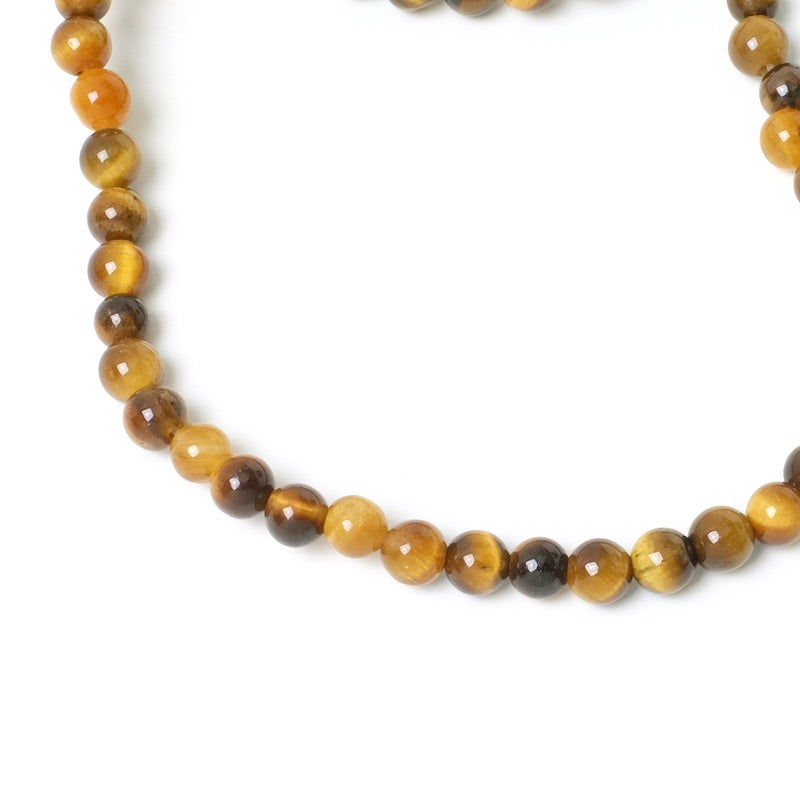
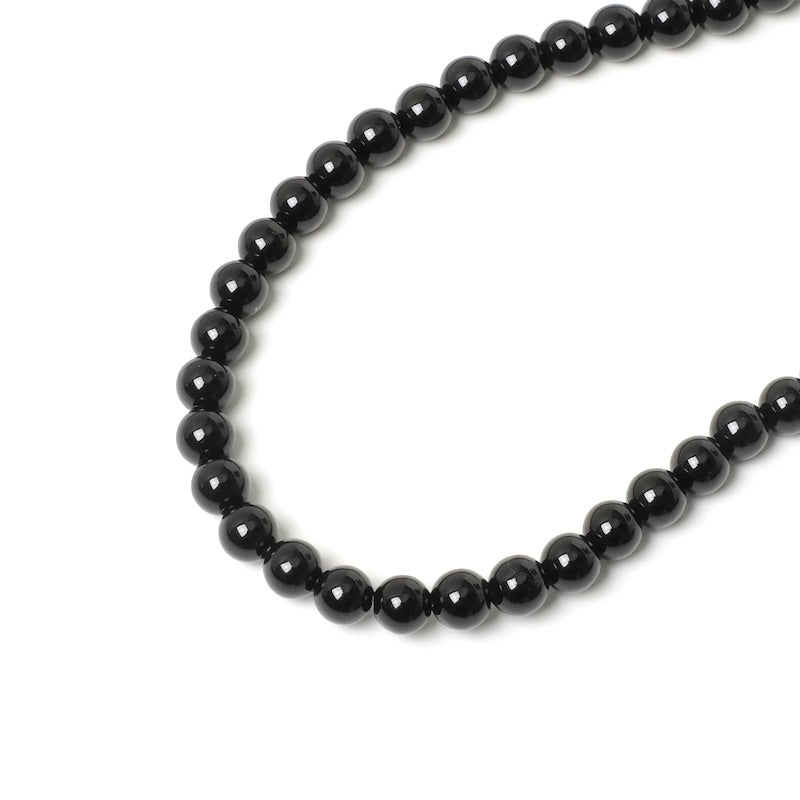
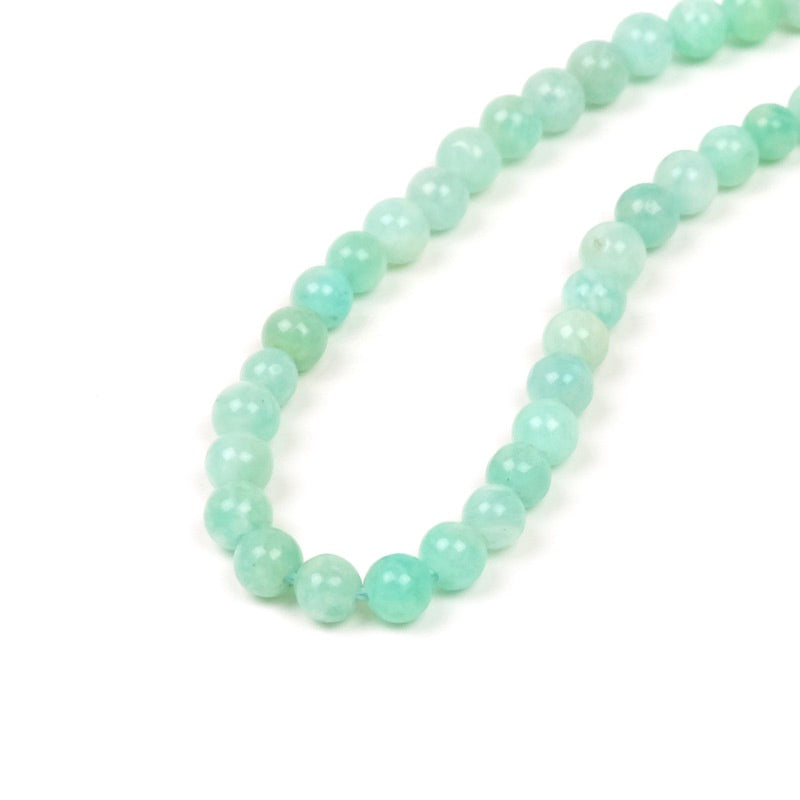
| Pour cette réalisation vous aurez besoin : | ||||
|
|
||||
| Les outils à utiliser : | ||||
|
|
||||
|
Le montage : |
||||
|
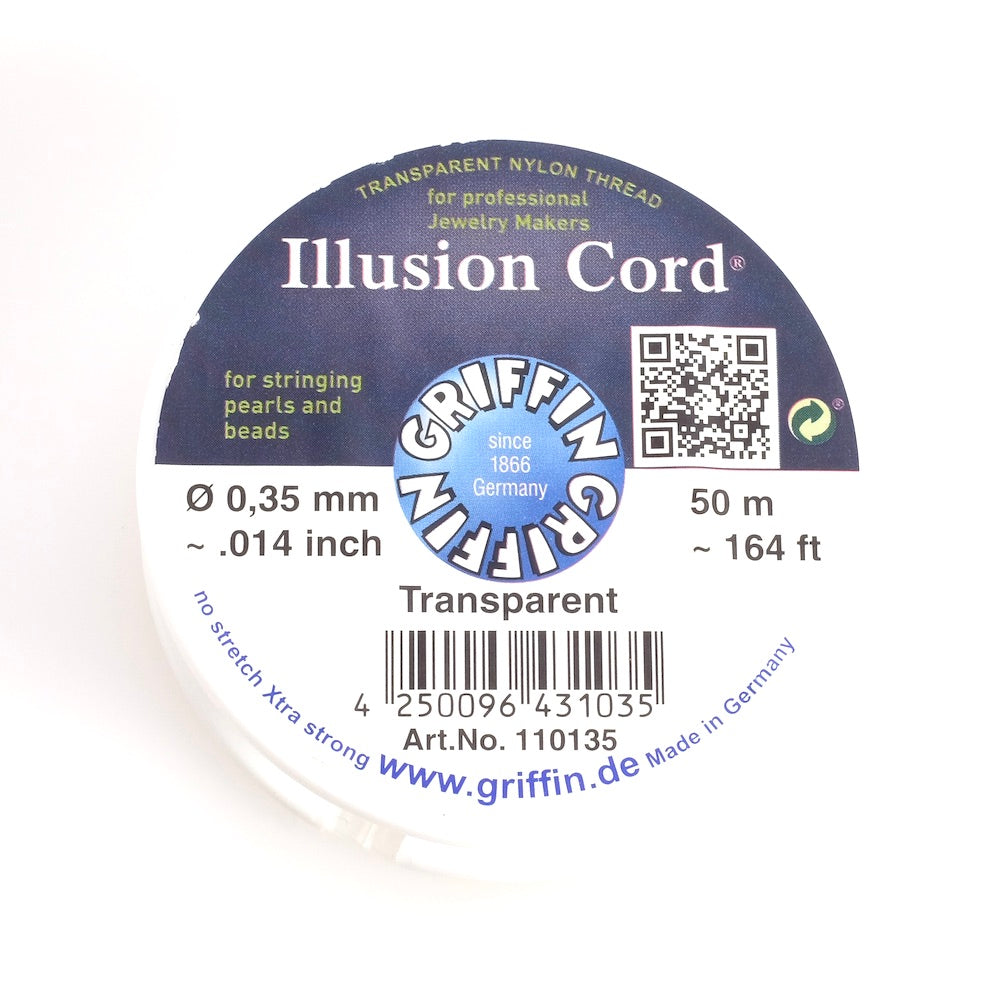
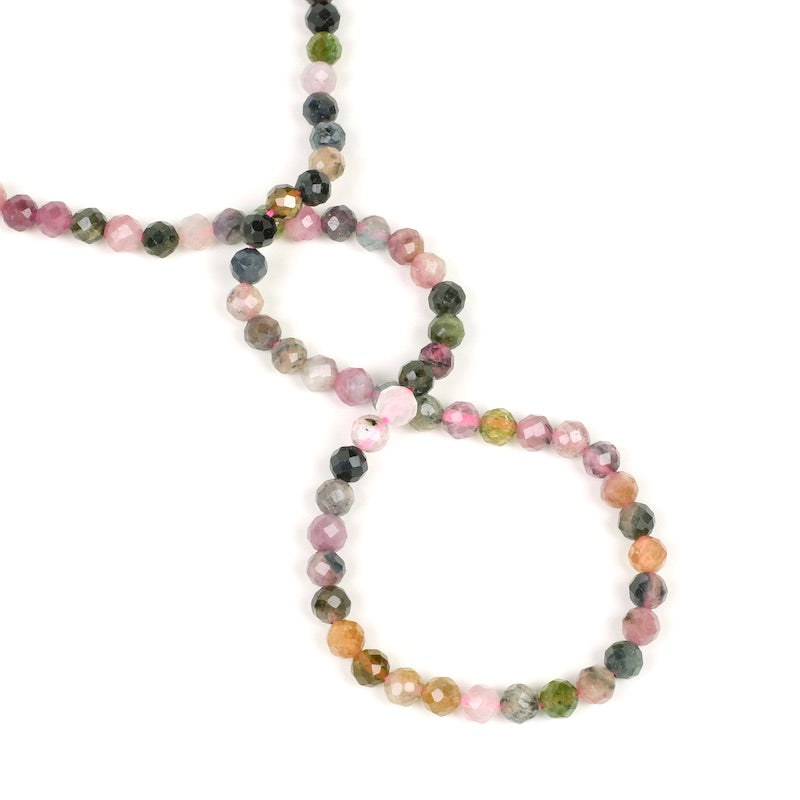
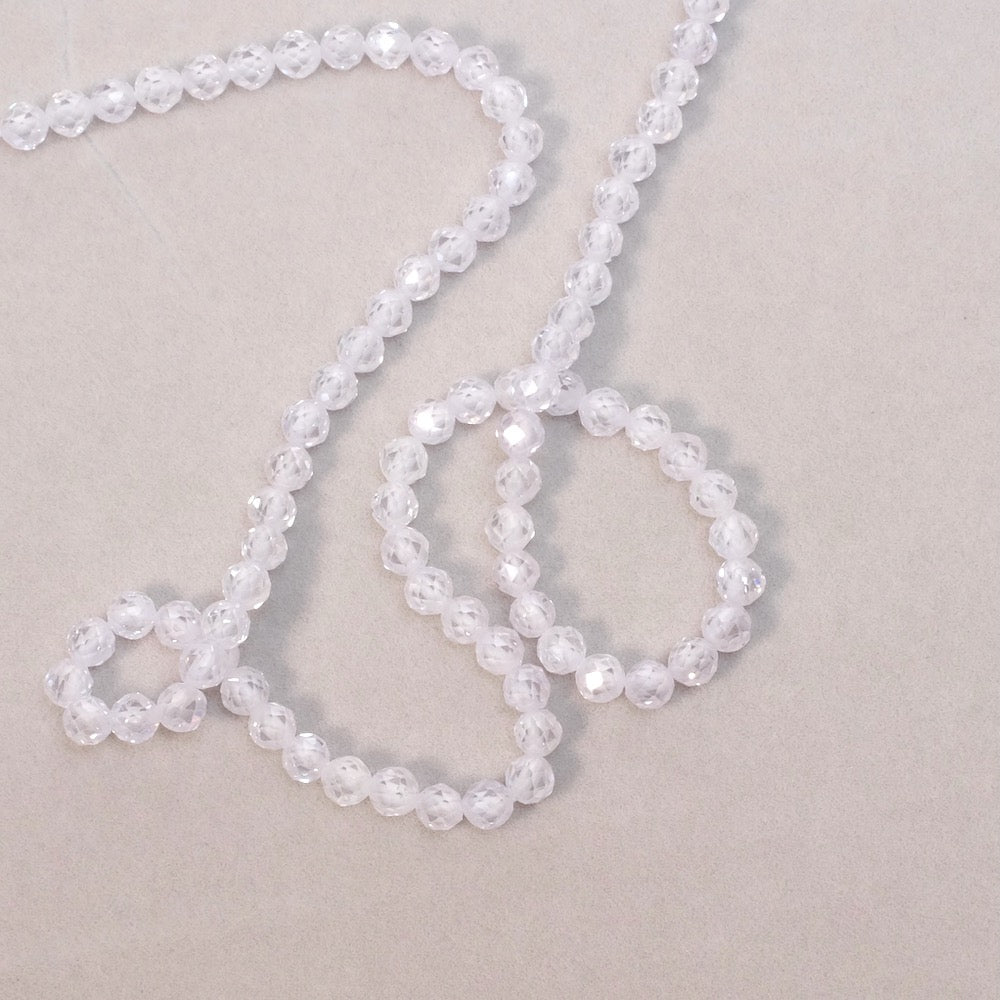
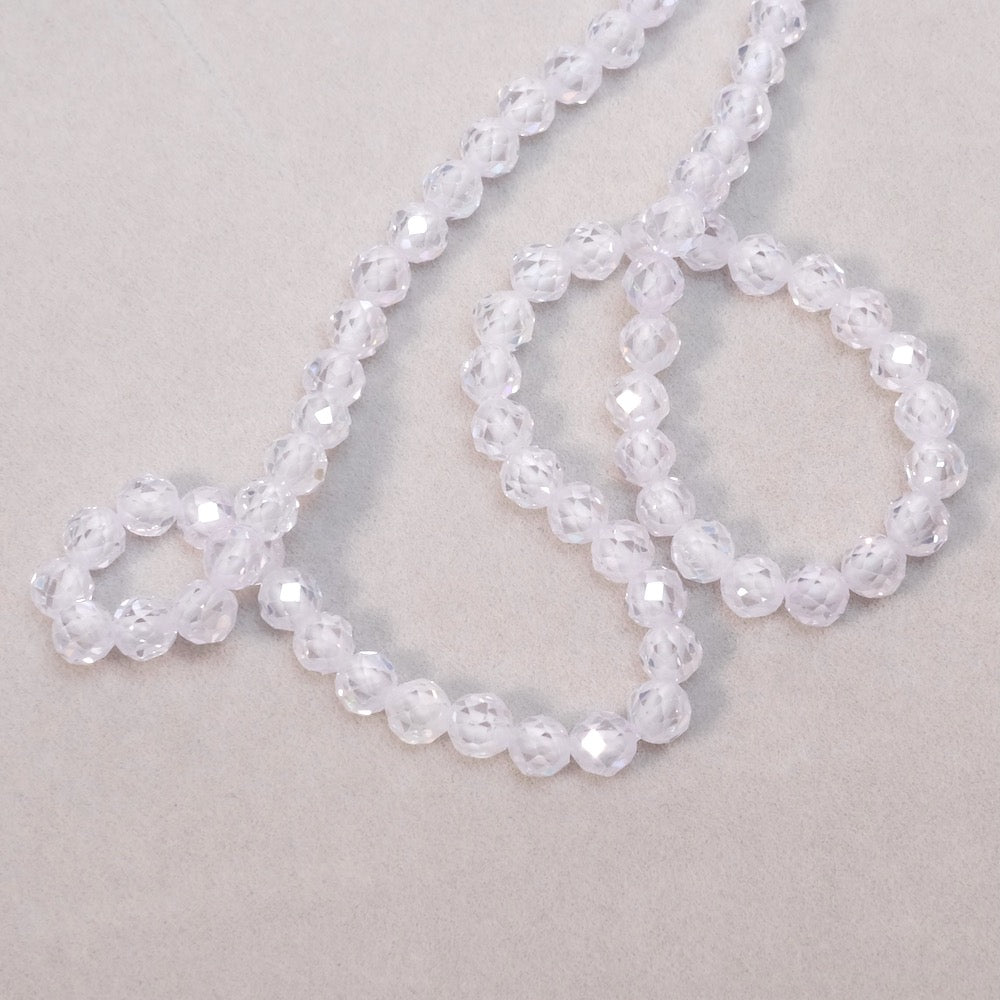
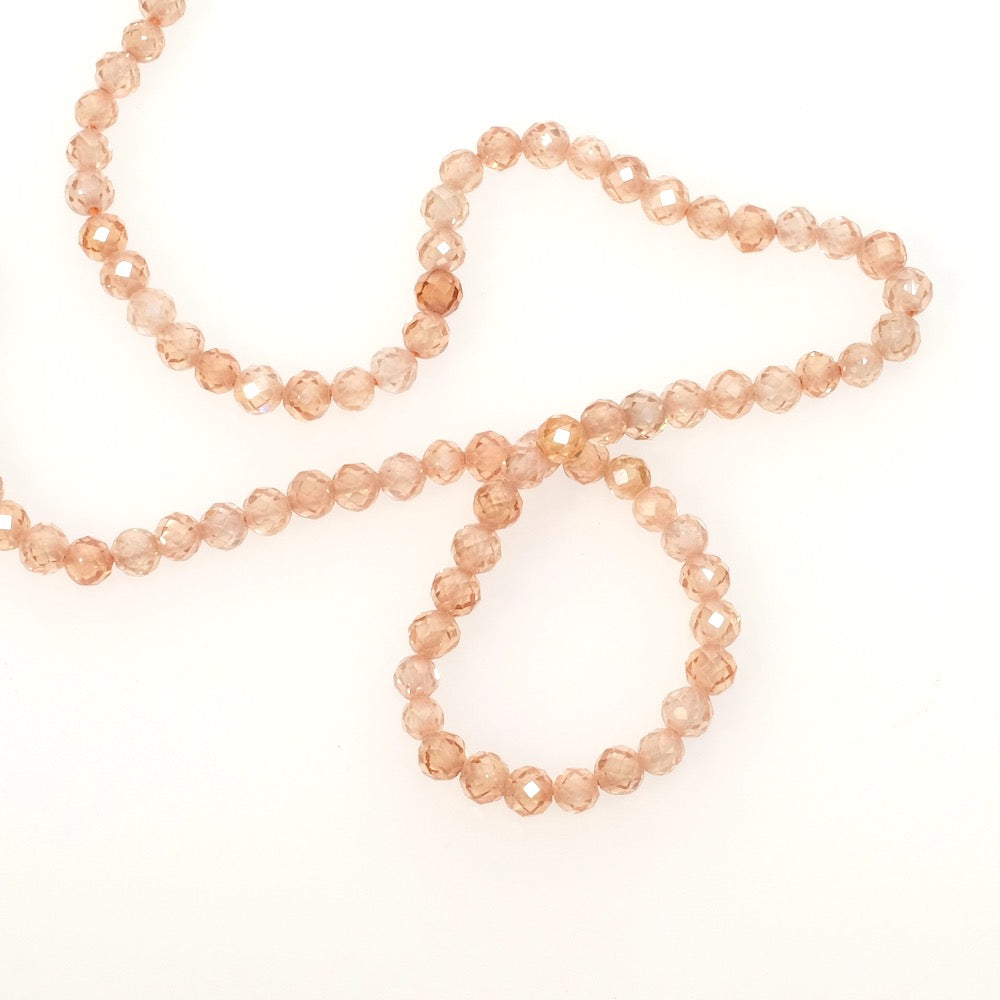
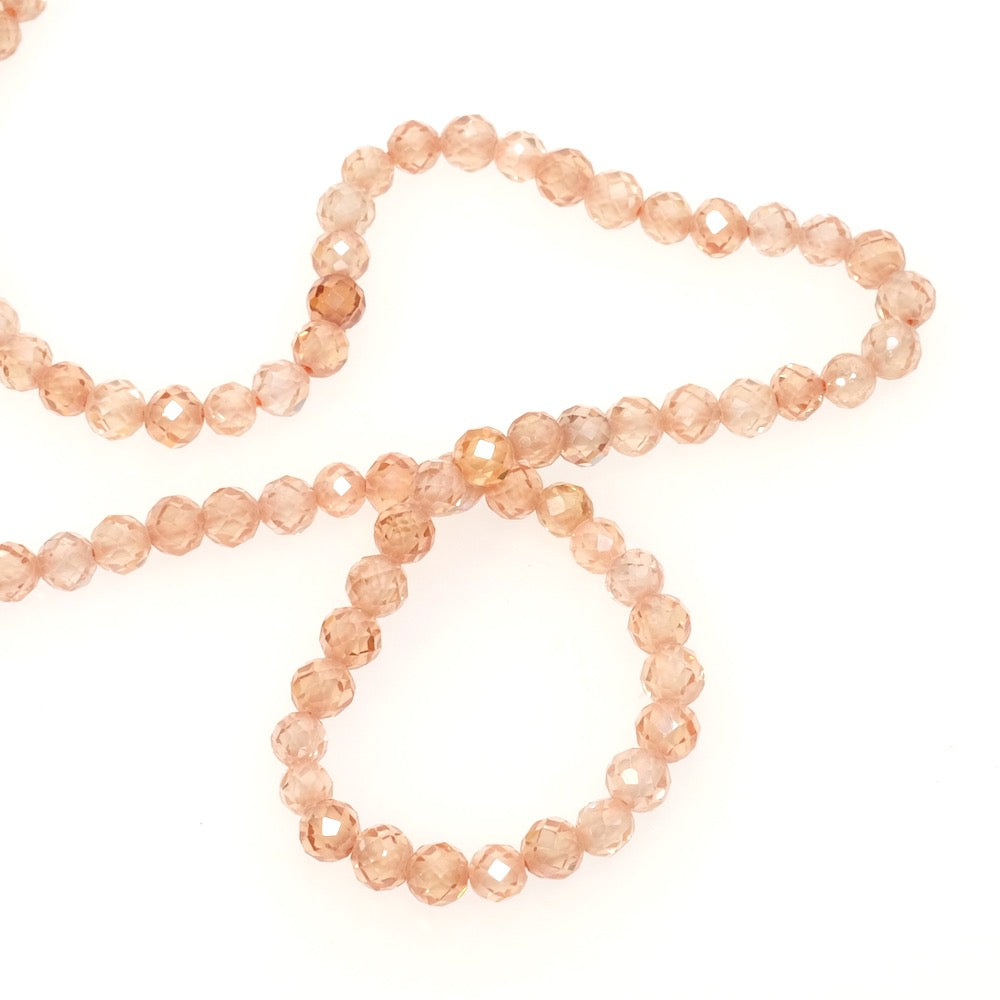
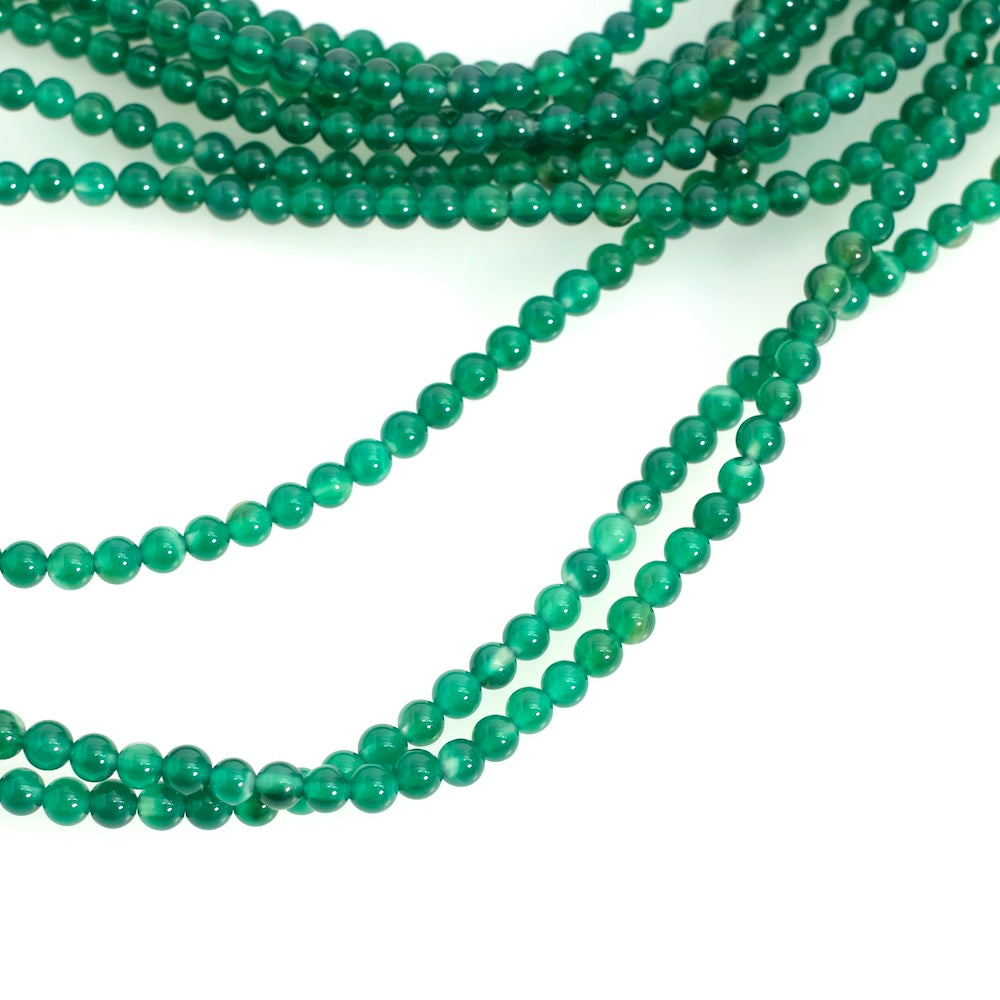
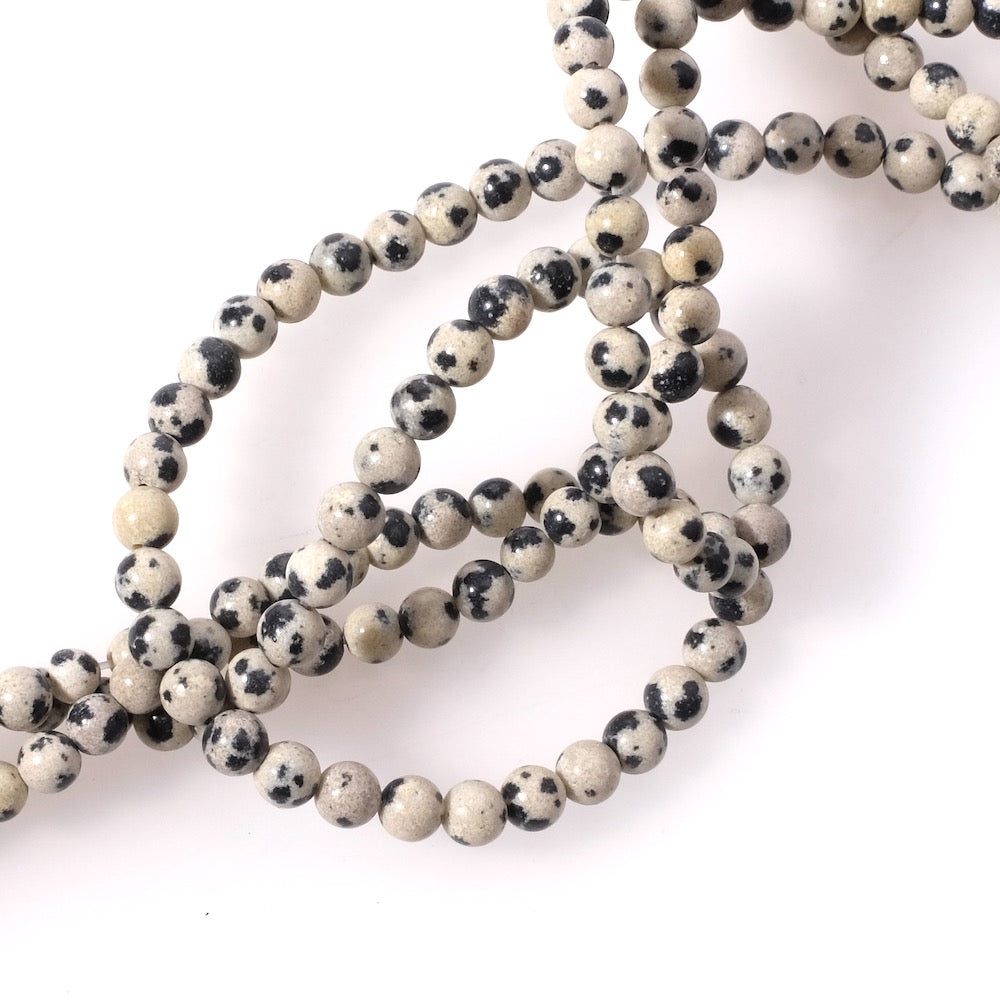
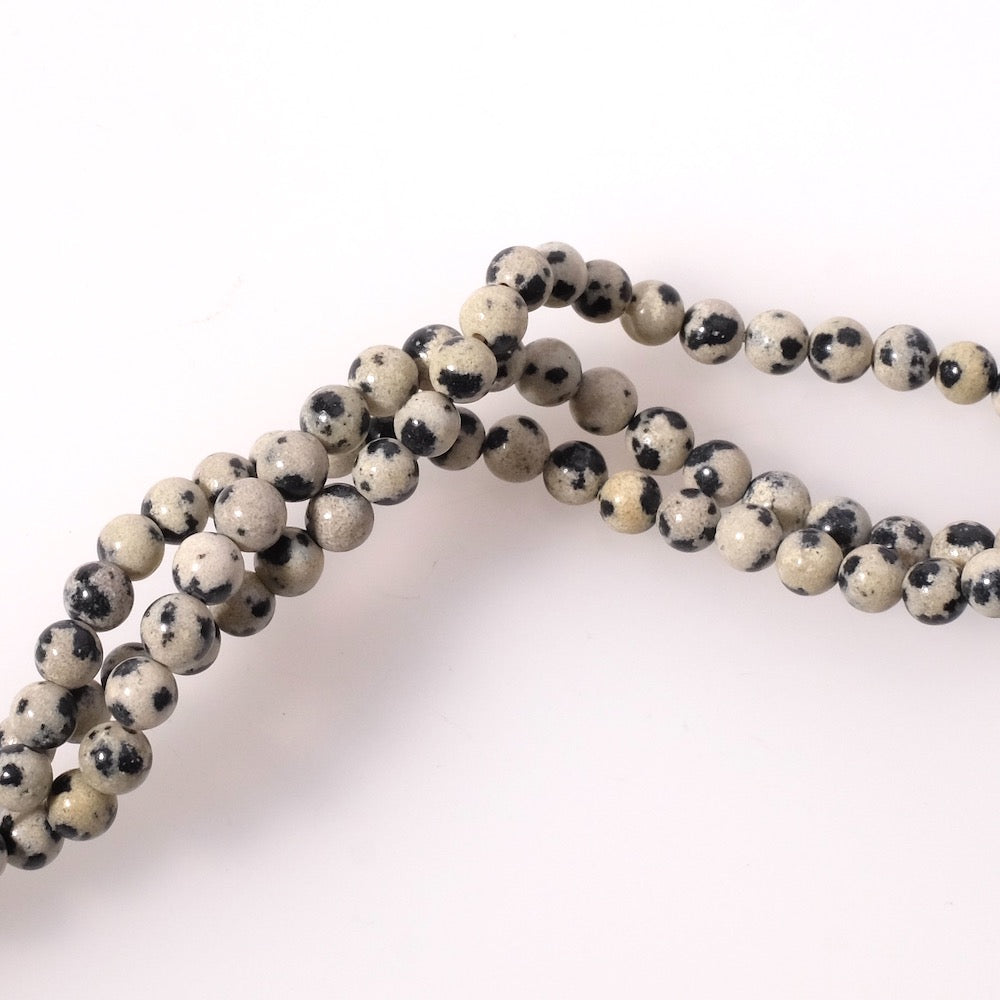
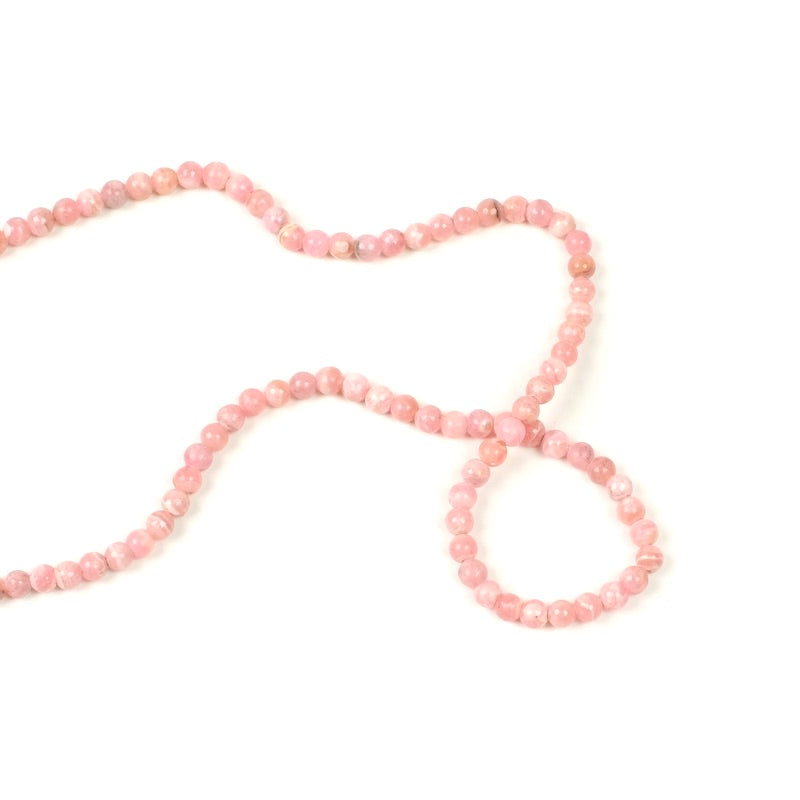
Cette création n'est pas très compliqué à réaliser, suivez bien les explications ci-dessous pour reproduire fidèlement ce modèle. Notre vidéo ci-dessous vous montre les étapes essentielles de montage sur une boule plus grande pour une meilleure compréhension. Le nombre de perles utilisées reste le même. N'hésitez pas à décliner ce modèle avec les perles de votre choix ! Changez les tailles pour une boule plus petite ou plus grande. Jouez avec les styles ! Utilisez des perles naturelles pour un rendu plus bijoux. Dans ce modèle nous avons utilisé du fil Griffin en 0,35mm compatible avec des perles naturelles 4mm. Si vous utilisez des perles plus petite, vous devrez utiliser du fil en 0,15mm. Ici nous avons utilisé un module de 5 perles qui se répète tout au long du montage. Pour commencer, coupez un fil nylon d'environ 80cm. Attention ne prenez pas un fil trop court au risque de manquer en cours de montage. Vous ne pourrez pas faire de raccords ! Enfilez 5 perles, centrez-les sur le fil puis repassez un des fils dans la dernière perle enfilée. Vous obtenez ainsi le premier module de 5 perles. Enfilez maintenant 4 perles sur le fil de droite. Passez le fil de gauche dans la dernière perle. Vous venez ainsi de monter le 2ème module de 5 perles. Passez le fil de droite dans la perle suivante du 1er module. Nous allons tourné autour du premier module pour le compléter avec les autres modules de perles. Enfilez 3 perles (votre fil passe déjà dans 2 perles, nous en enfilons 3 nouvelles pour créer le module de 5 perles). Puis repassez dans la dernière perles. Continuez ainsi pour compléter le cercle. Après cette étape vous obtenez une demi sphère. Nous allons maintenant réaliser l'autre partie pour fermer la boule. Passez le fil dans la perle suivante, votre fil passe donc dans 2 perles en bordure. Enfilez 3 perles puis passez dans la dernière perle. Maintenant passez le fil dans les 3 perles suivantes puis enfilez 2 perles... Vous allez naturellement former l'autre partie de la boule. Pour le dernier module qui va fermer la boule, passez le fil dans les 4 perles suivantes et enfilez une perle. Repassez dans la perle pour fermer la sphère. Repassez le fil dans les perles du dernier module et ressortez à côté de l'autre fil. Faites un double noeud. Pour une utilisation en boule de noël, vous pouvez enfilez des perles sur le fil, repassez dans la première perle puis faites un double noeud à la base. Vous obtenez ainsi une boucle de suspension en perles ! Et voilà ! Votre création est terminée ! J'espère que ce tutoriel vous plaira et qu'il vous donnera envie de le décliner.  Belle création ! |
||||
 |


Composez un bijou unique en sélectionnant Pierres de gemmes et apprêts doré à l’or fin 24K (Europe). Vous apprendrez les bases du montage, les harmonies de couleurs et les finitions propres—puis repartirez avec votre création, créé dans une ambiance conviviale à Paris 11e.
A réserver seule ou entre amies !

Rejoignez Perles Corner pour découvrir nos nouveautés, Tutoriels exclusifs et bien d'autres surprises... et recevez votre bon par email !


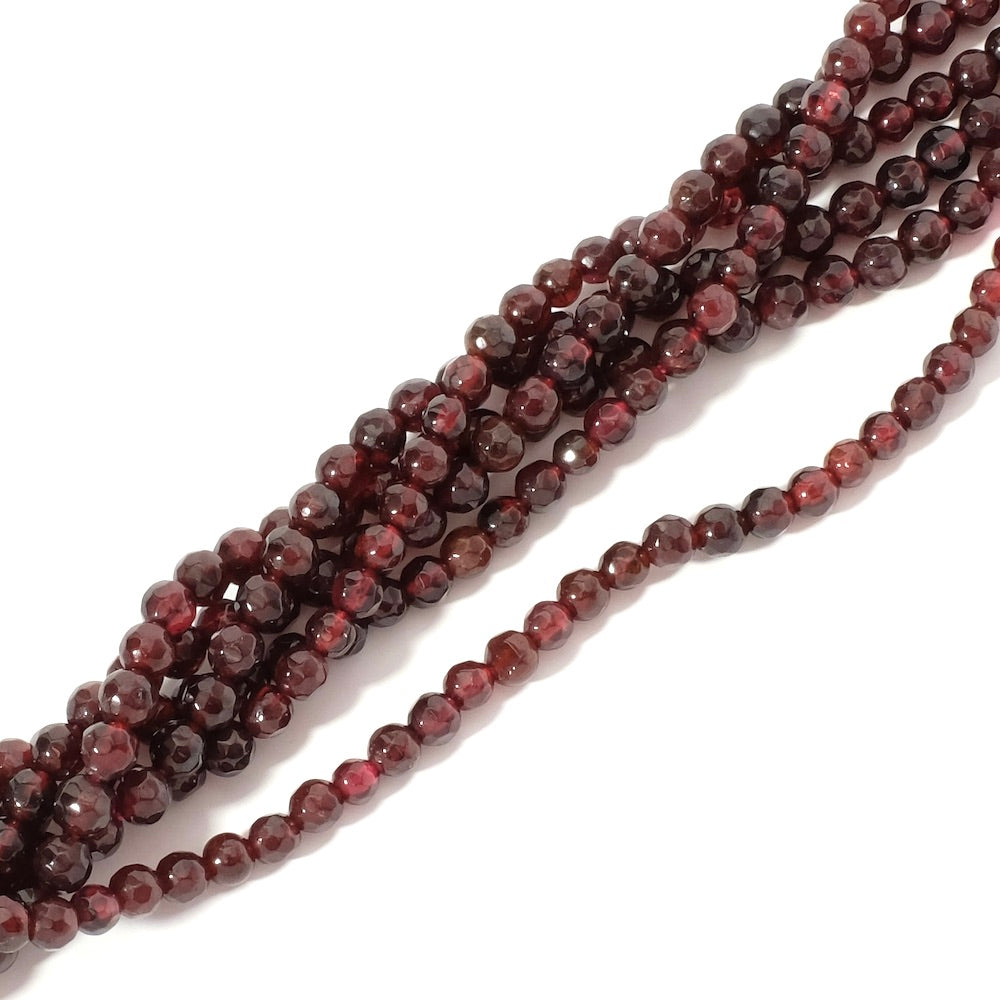
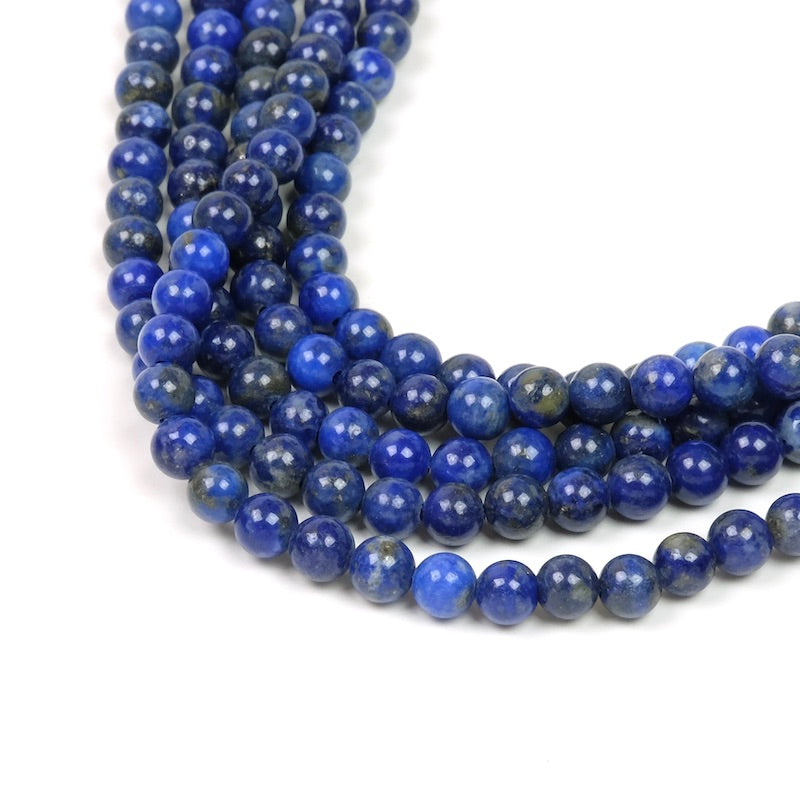
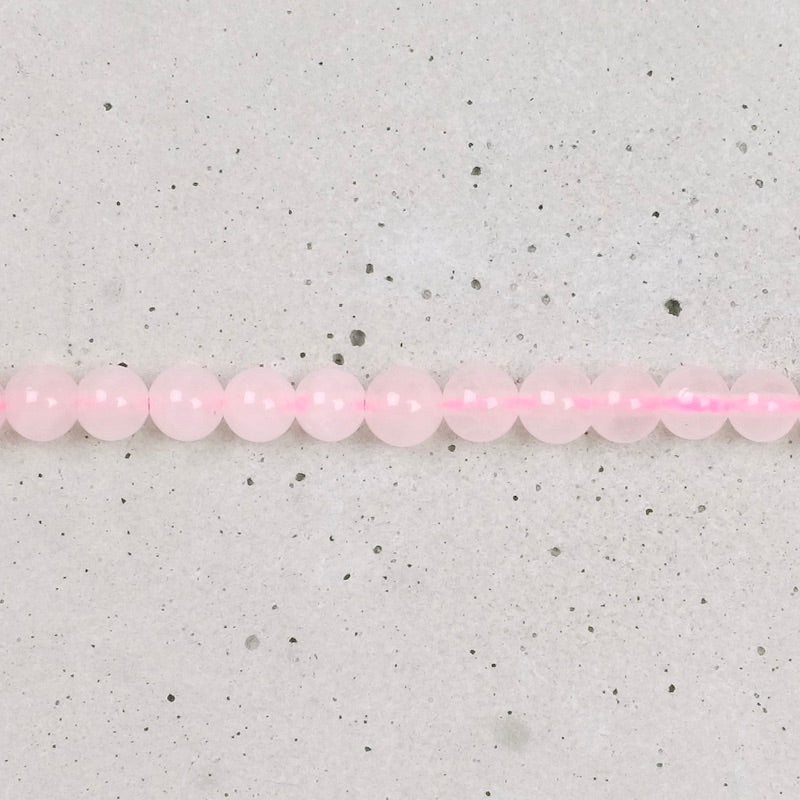
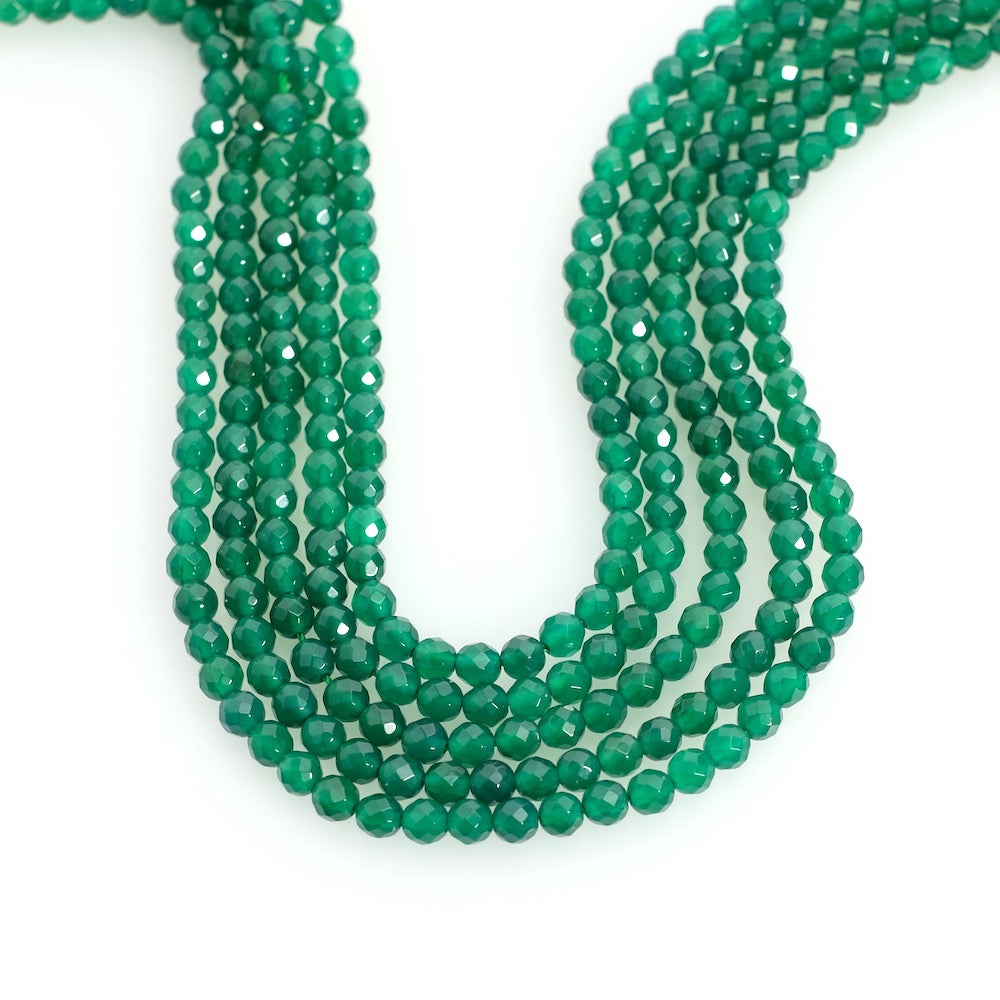
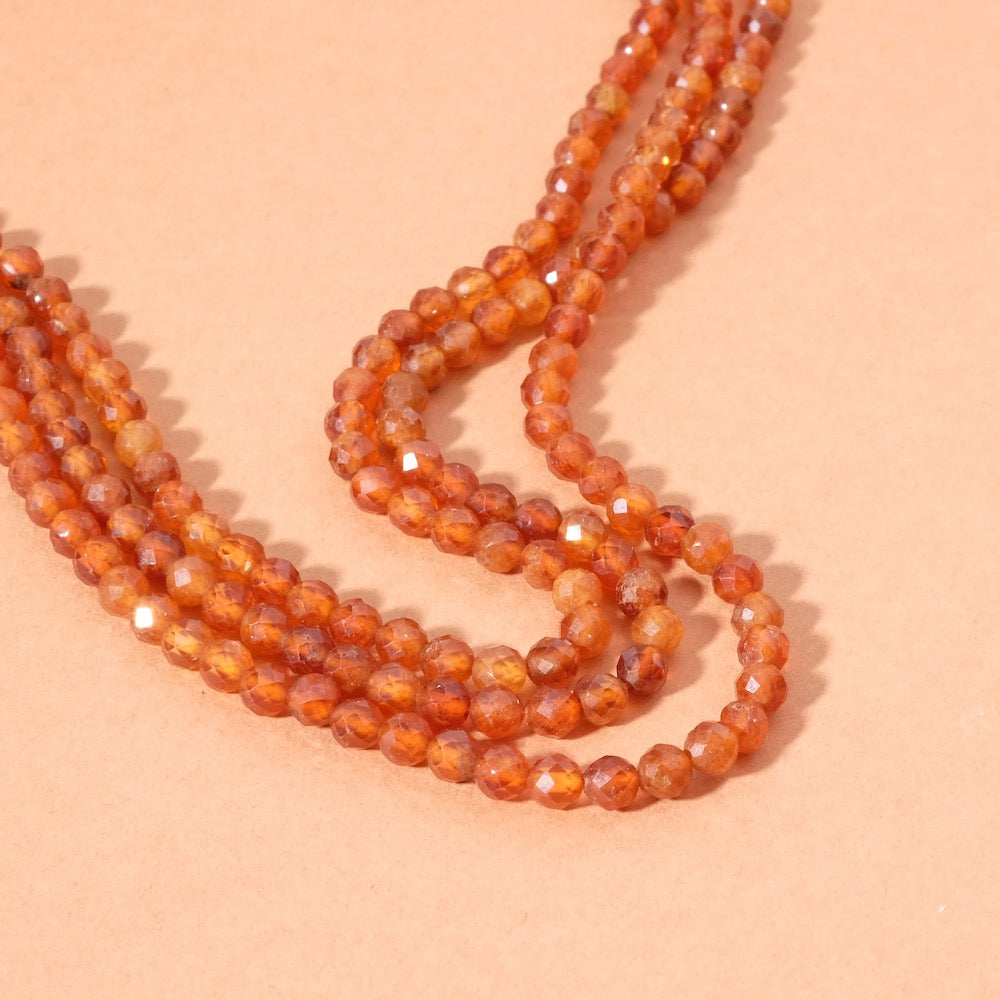
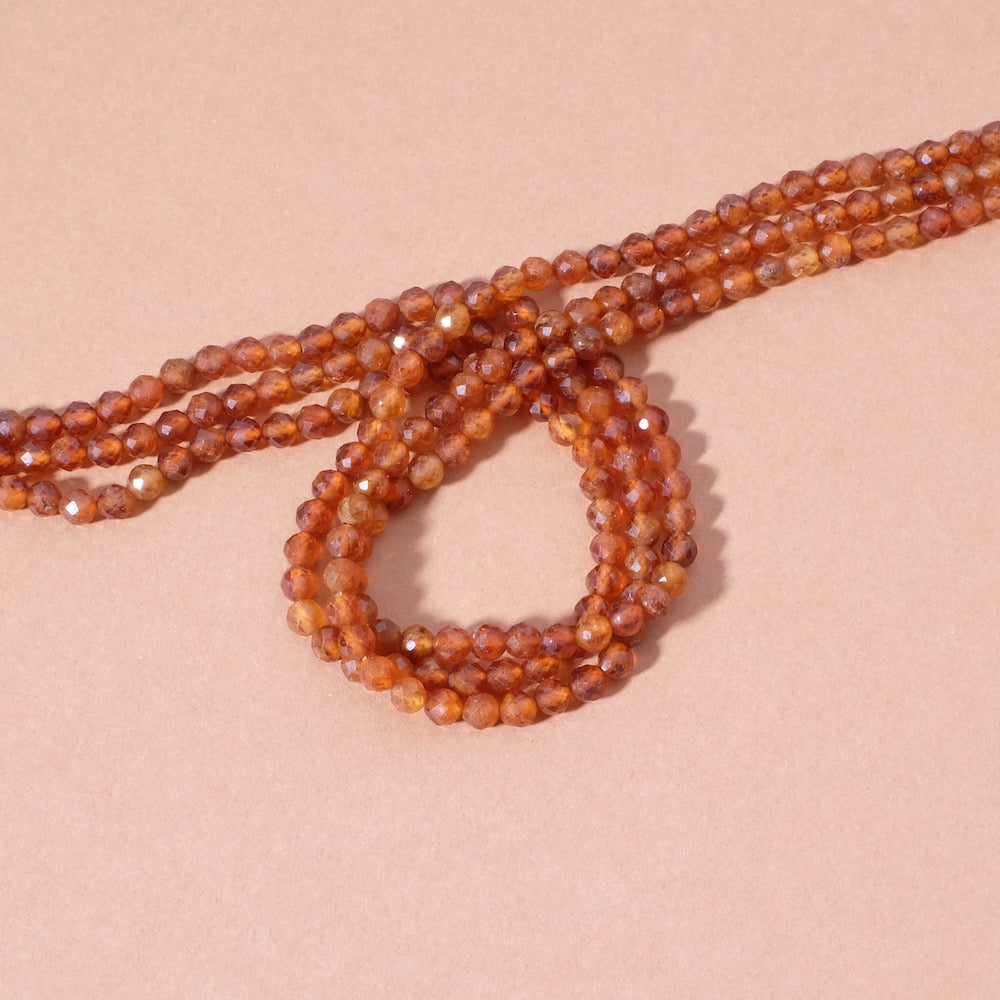
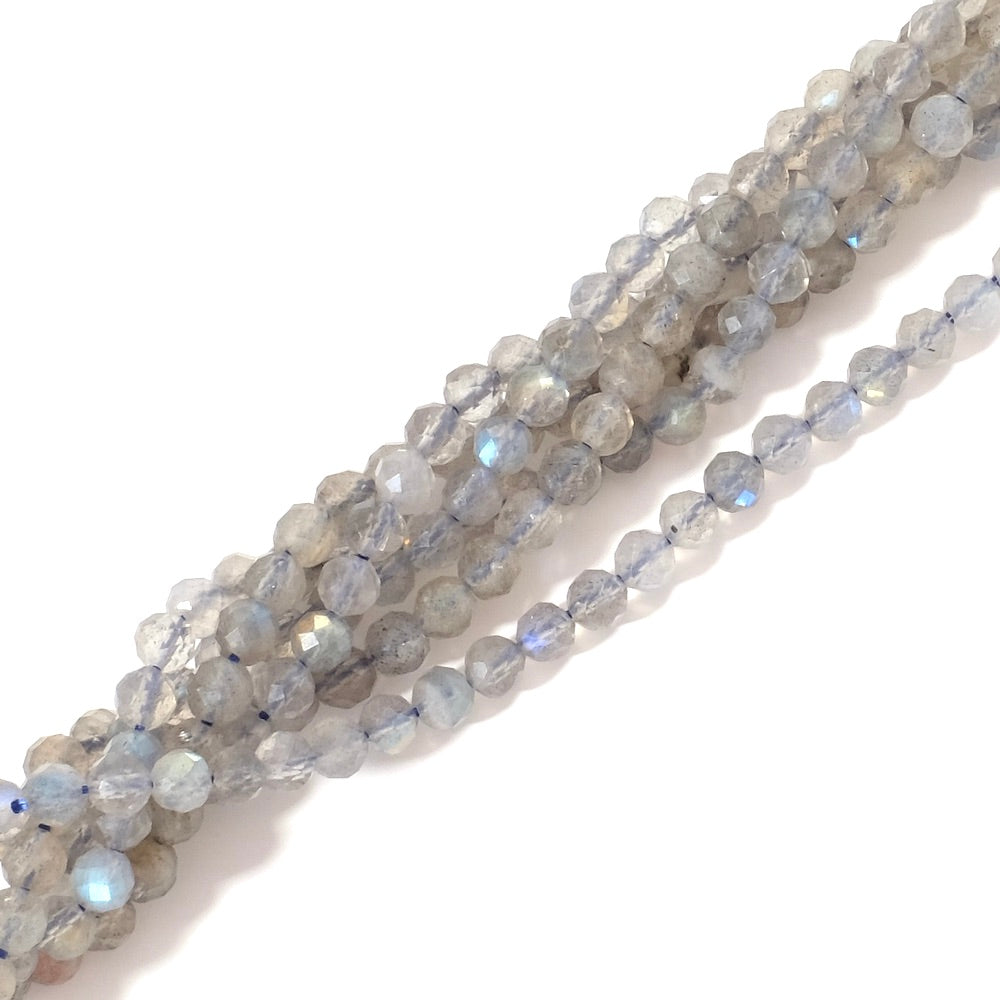
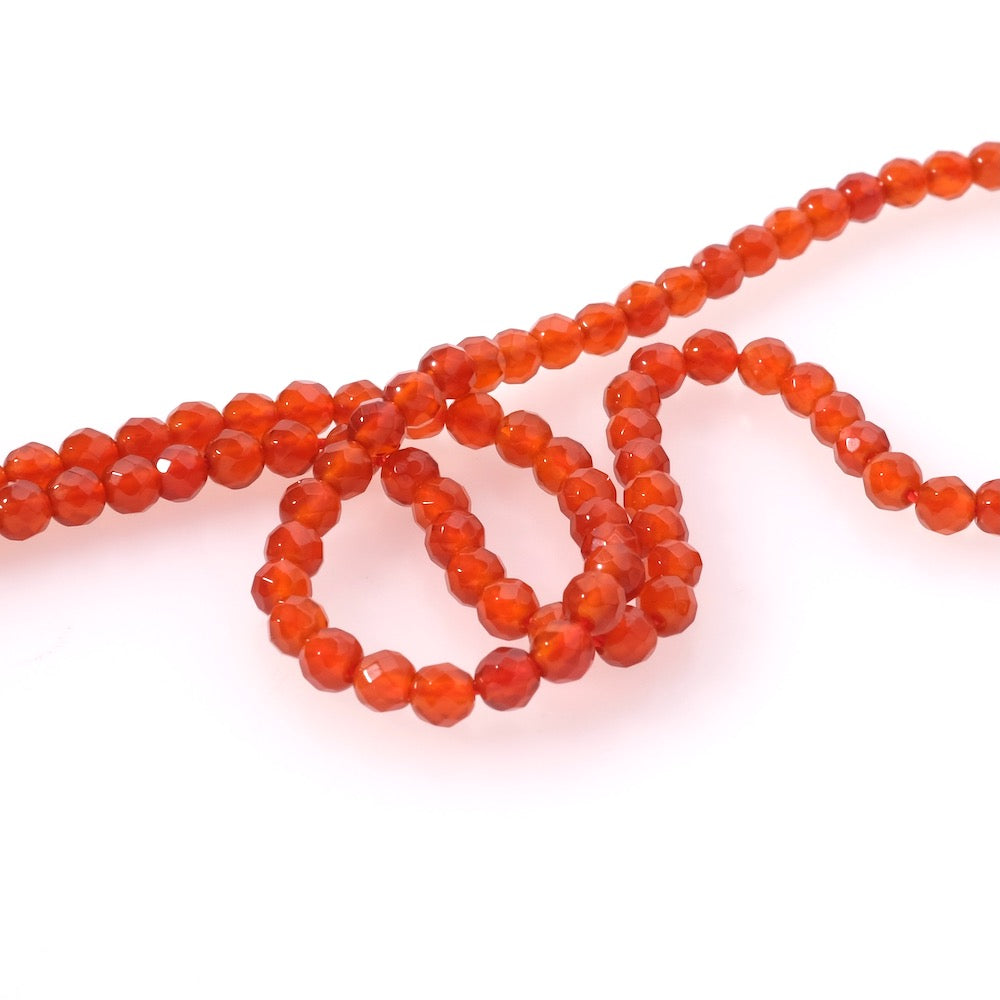
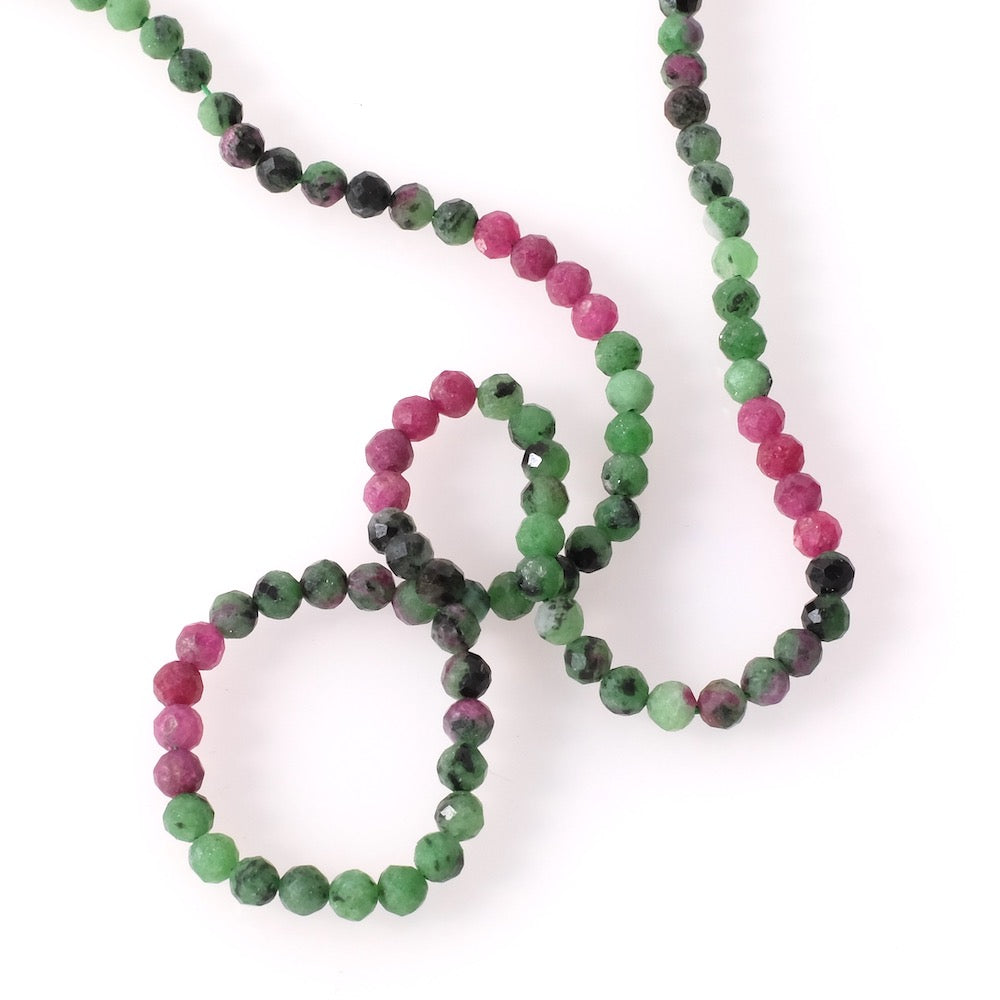
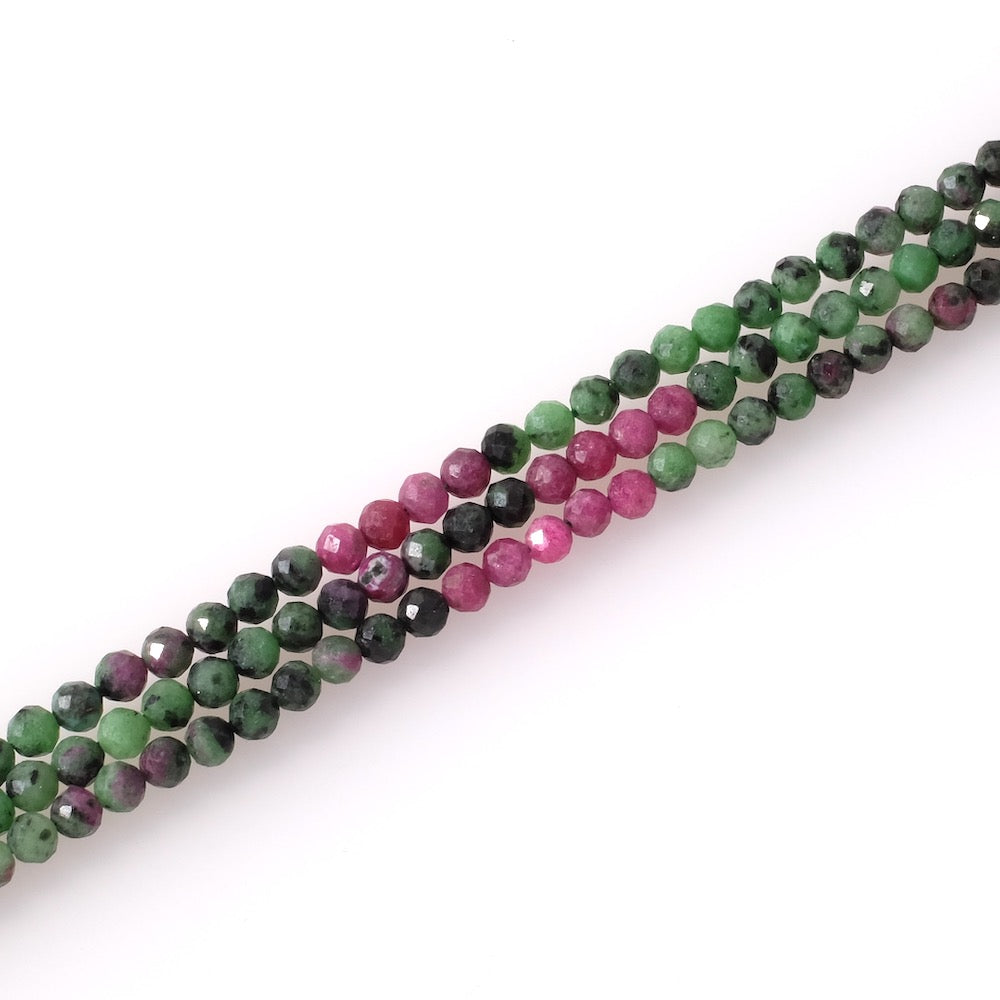
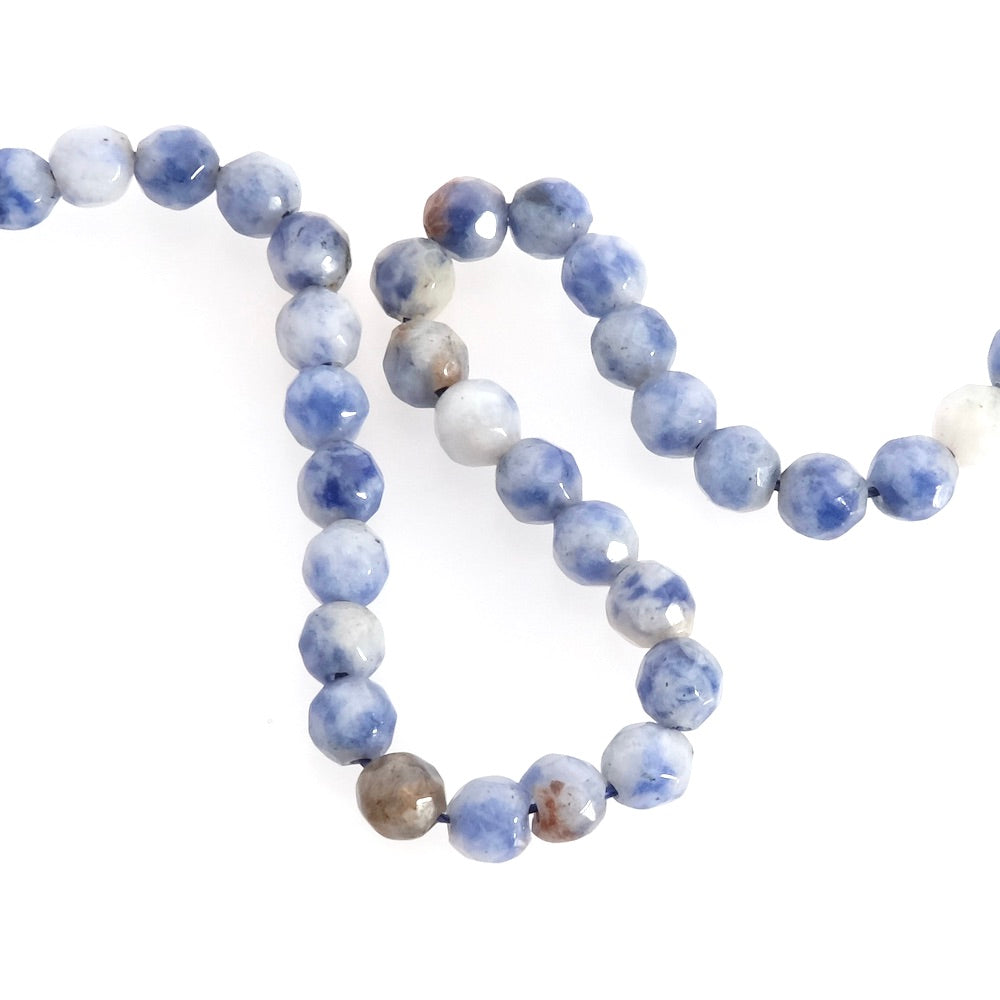
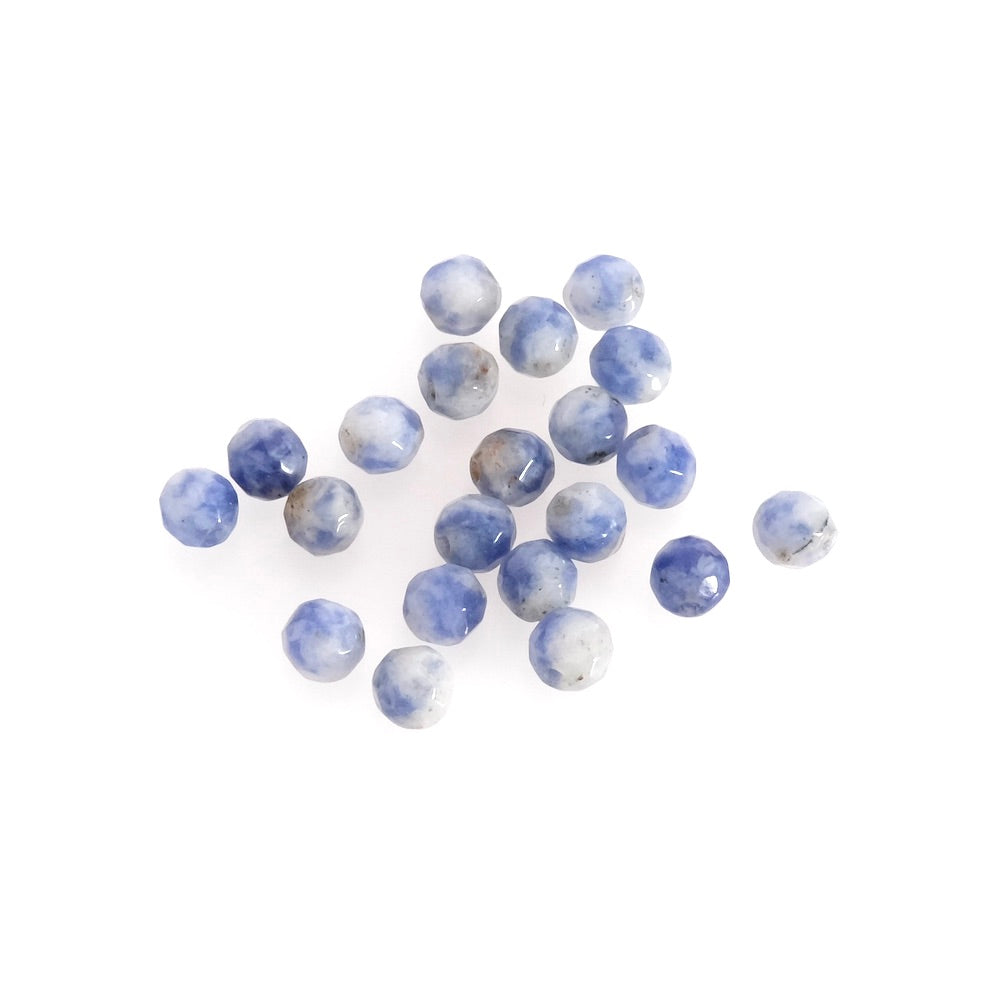
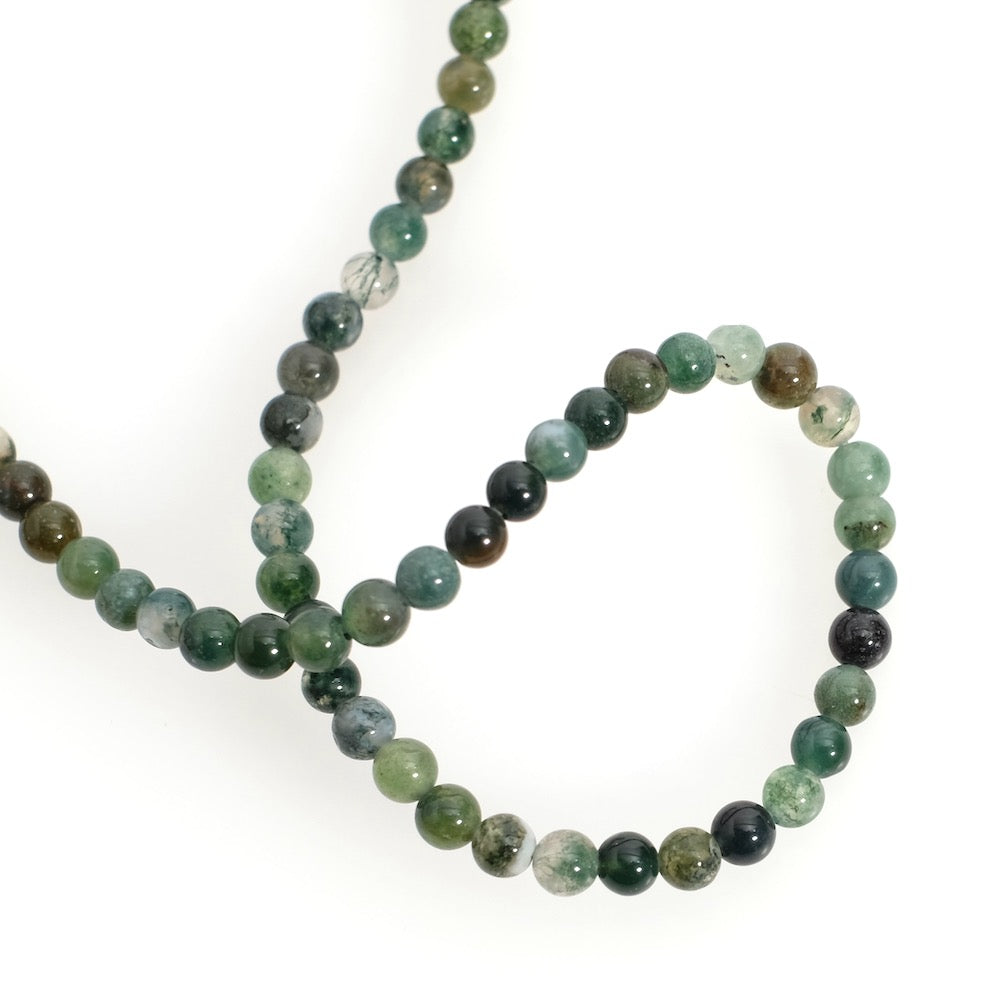
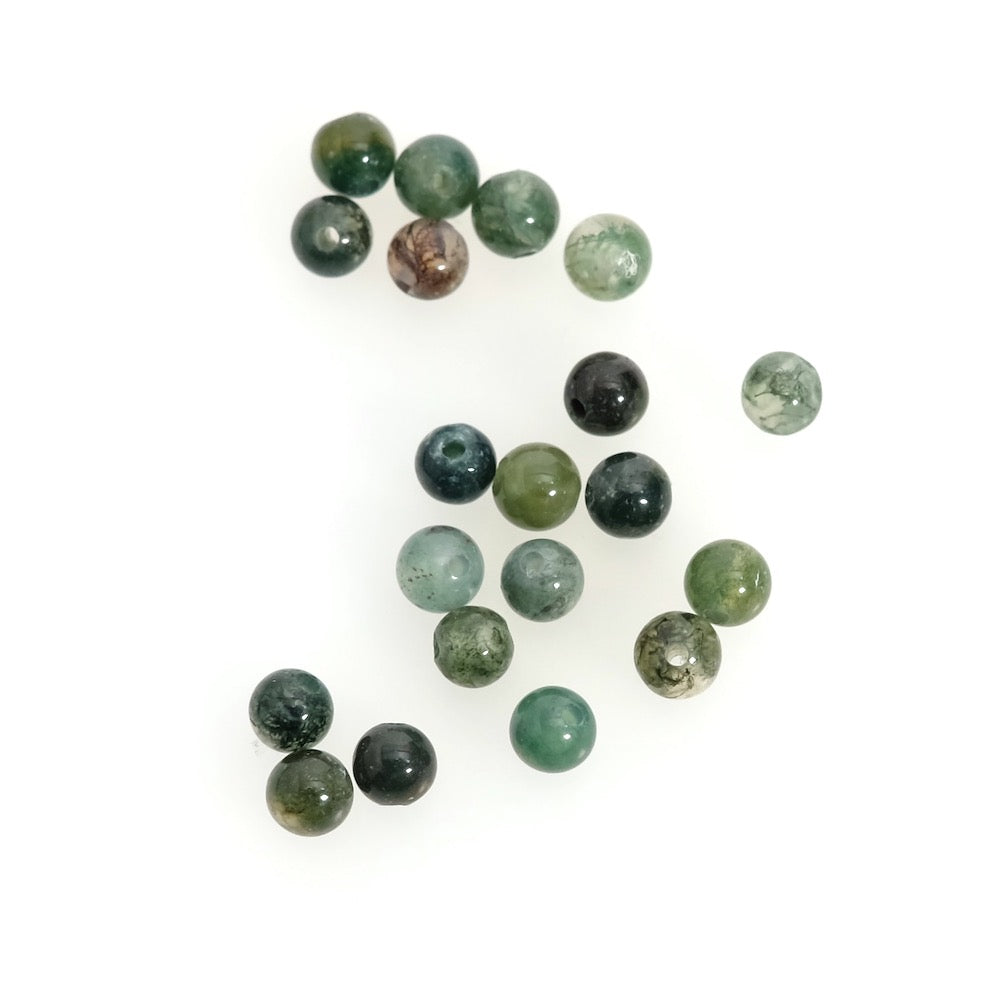
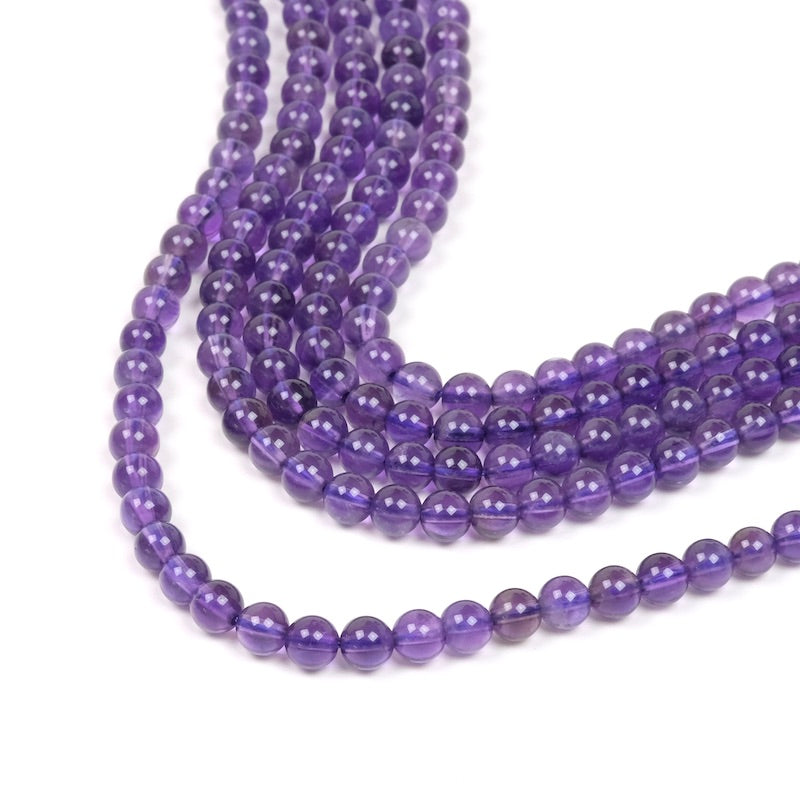
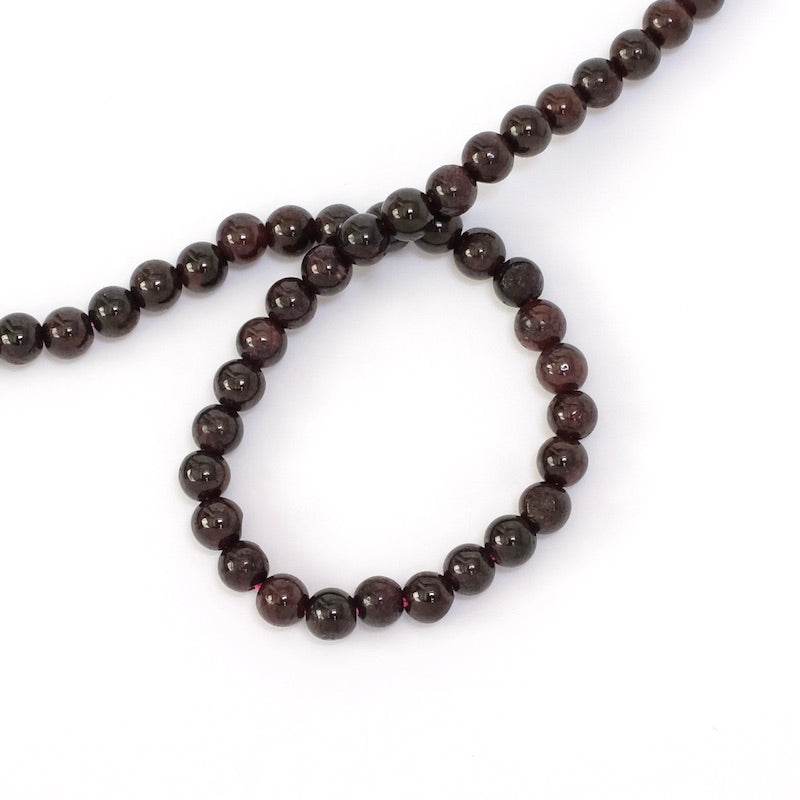
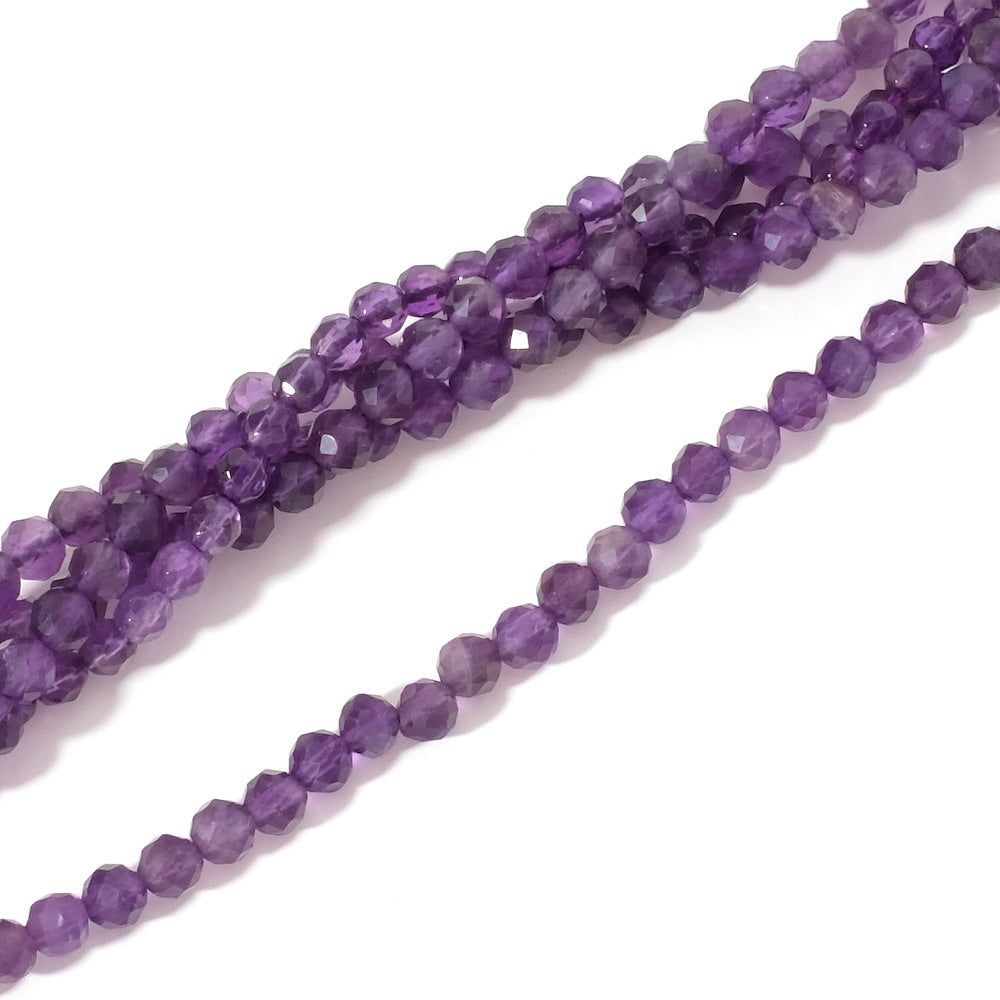
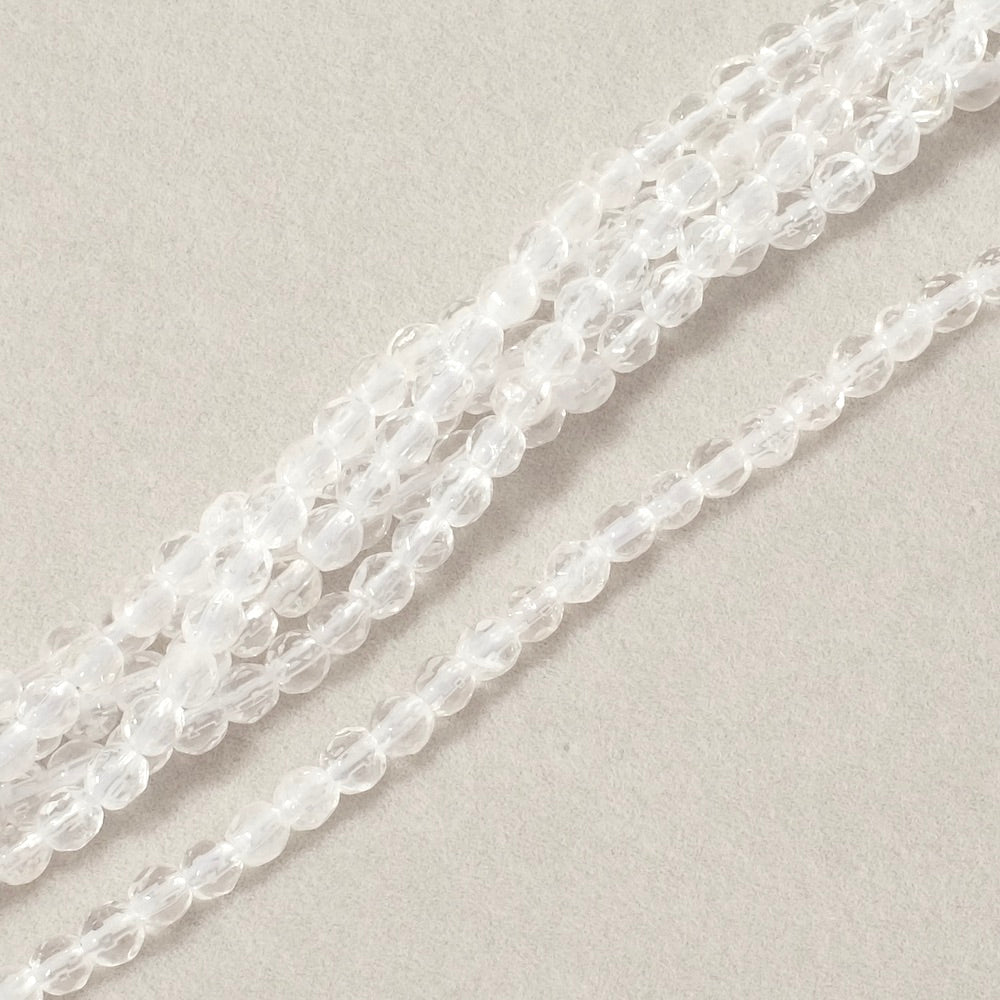
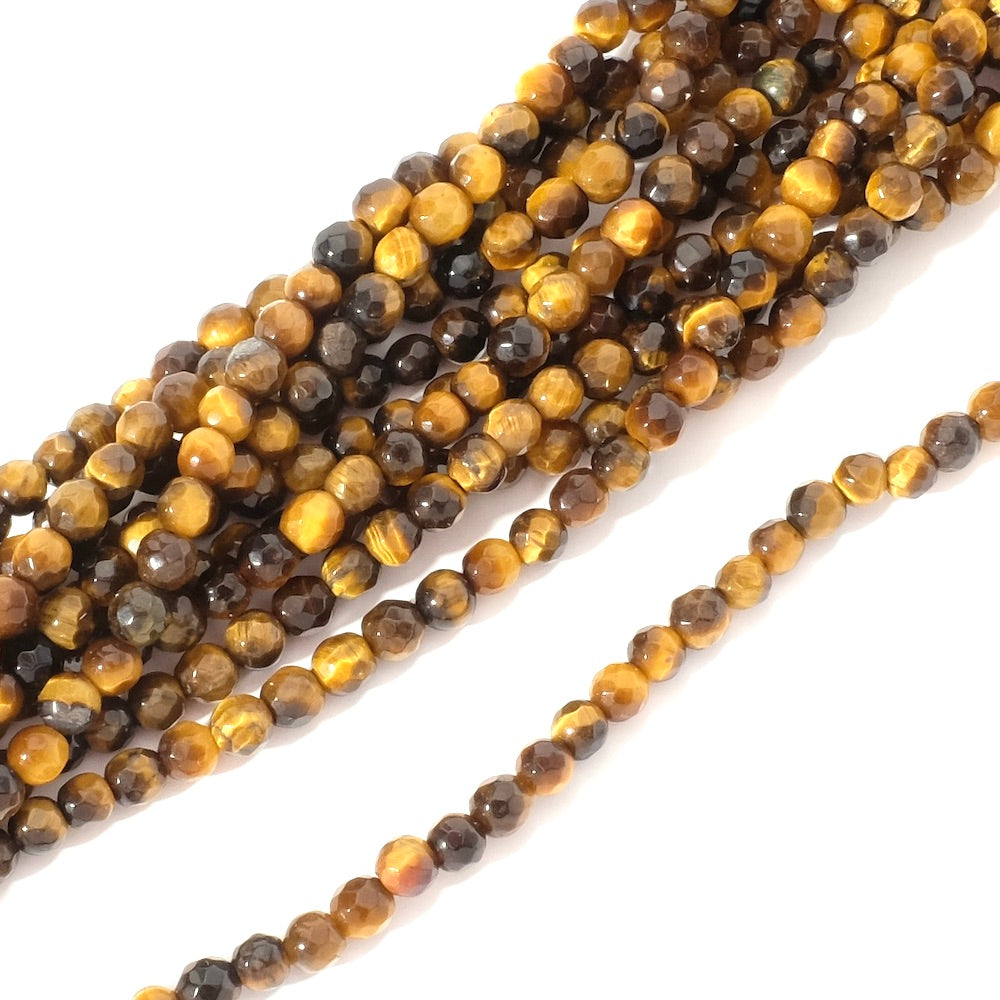
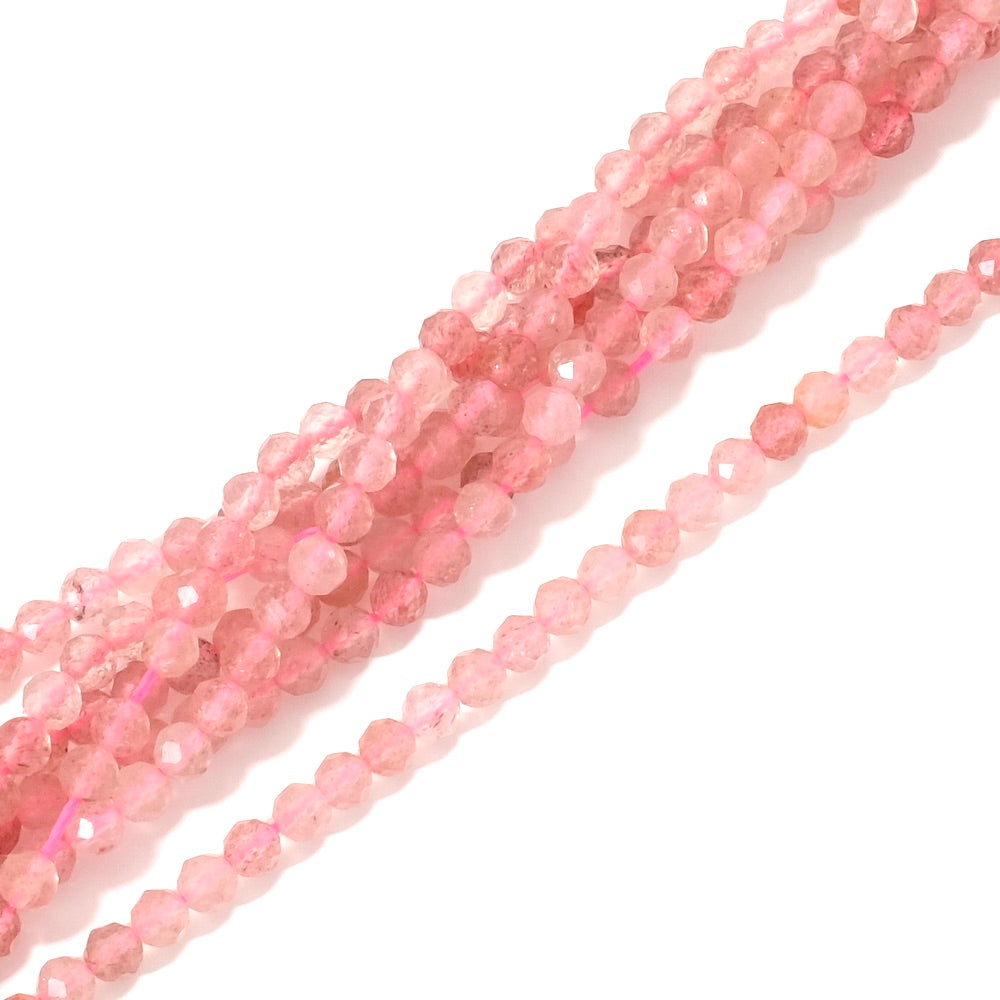
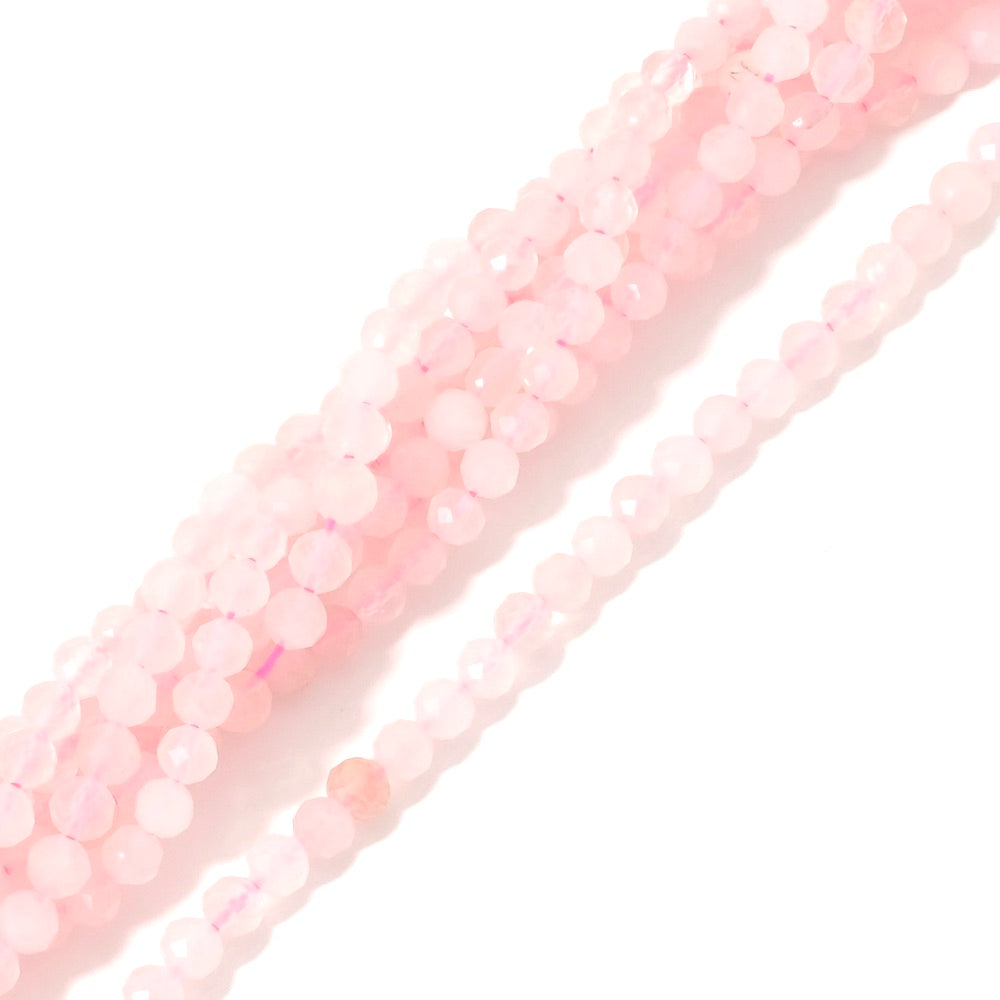
 des perles en pierres naturelles 4mm (ou autres tailles au choix)
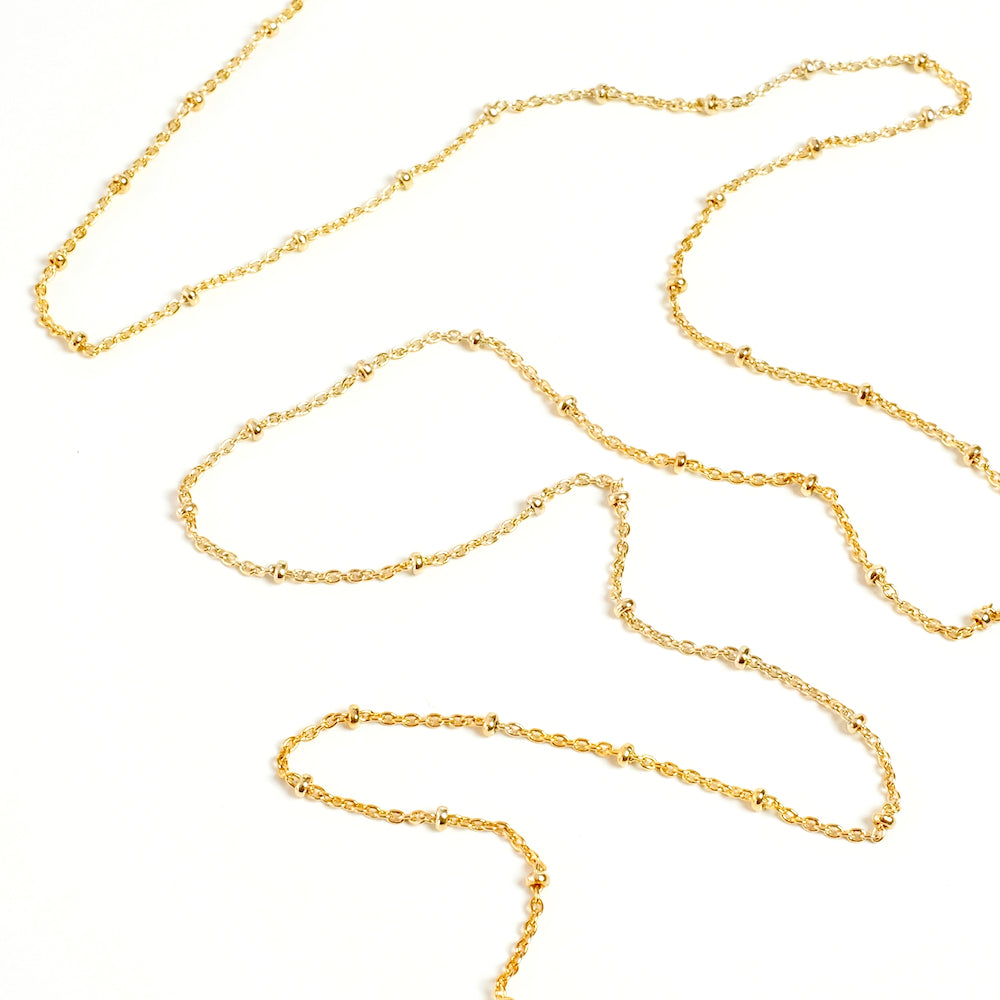
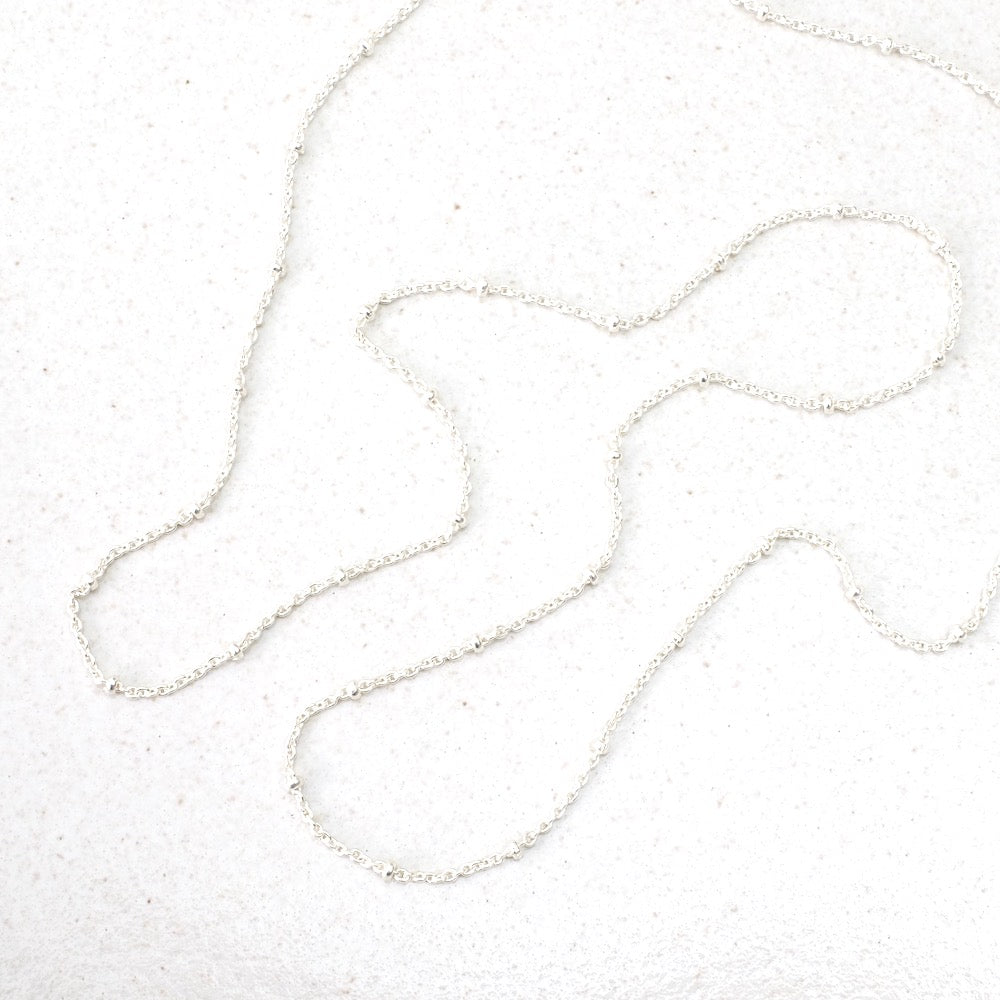
 de la chaine Dorée à l'or fin 24K pour une utilisation en collier