|
Avec ce tutoriel apprenez à réaliser des noeuds coulissants pour vos bracelets en cordons.
|
||||
|---|---|---|---|---|
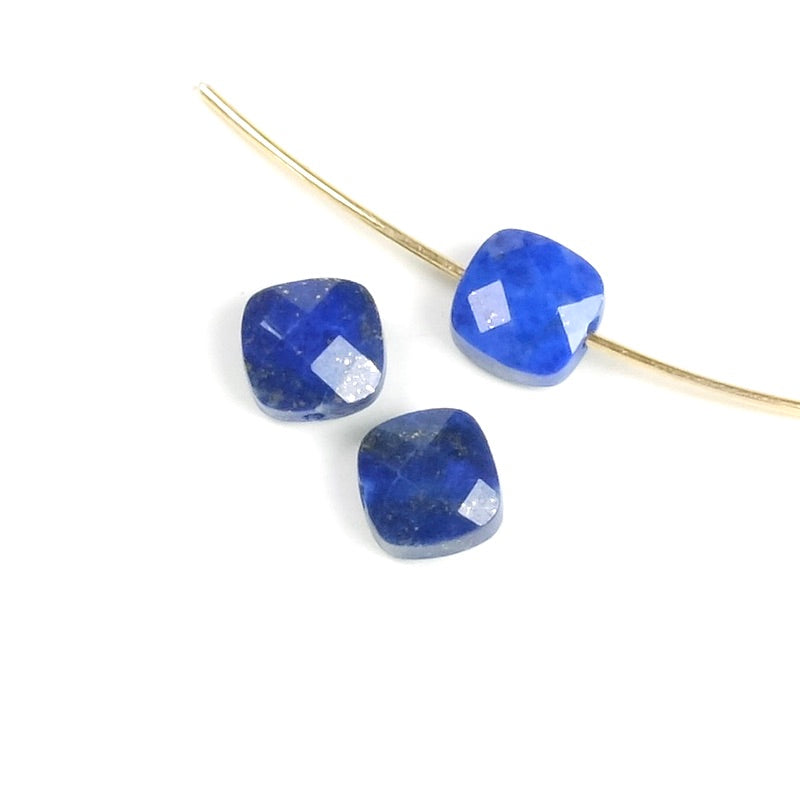
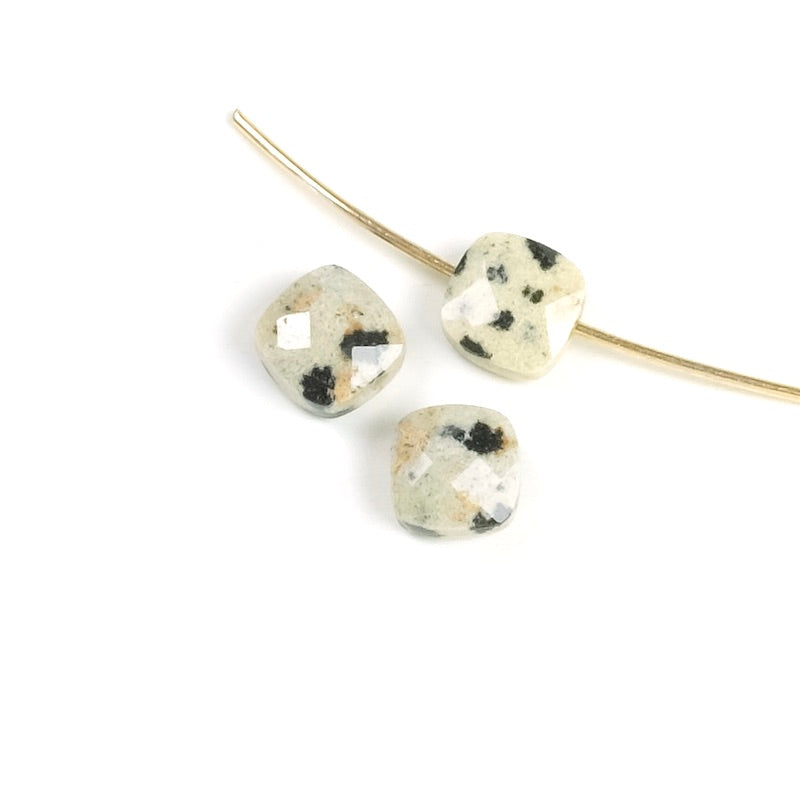
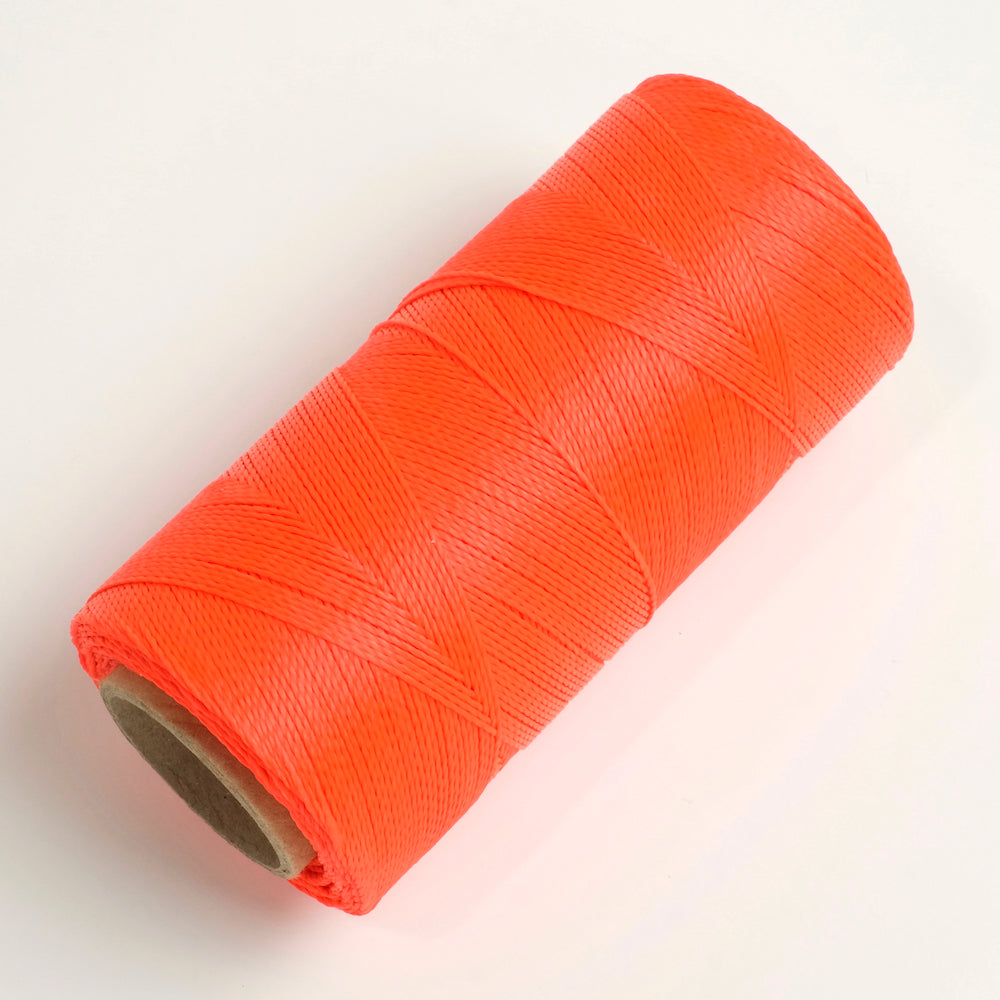
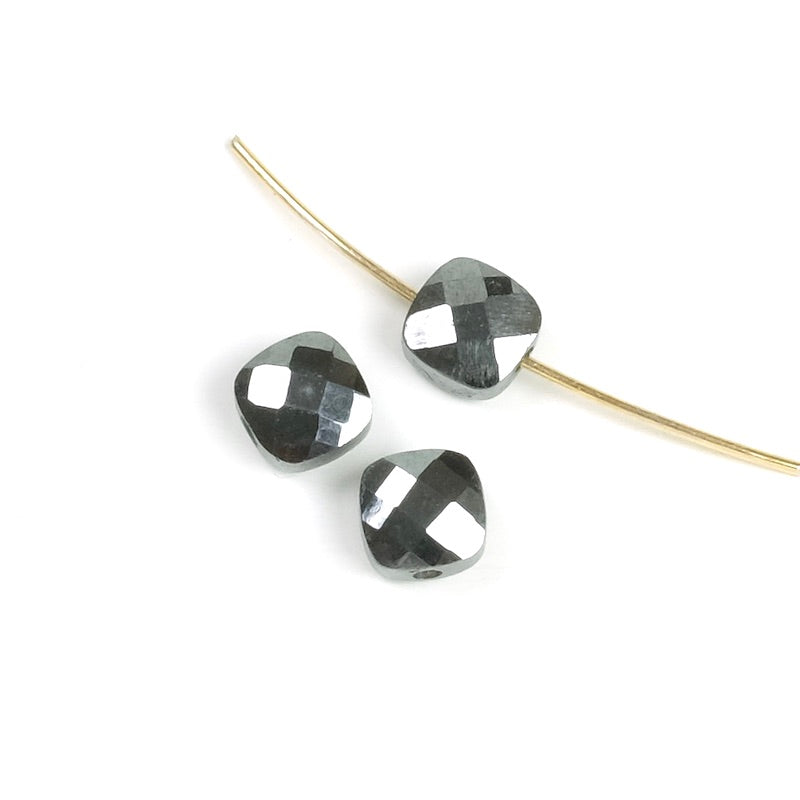
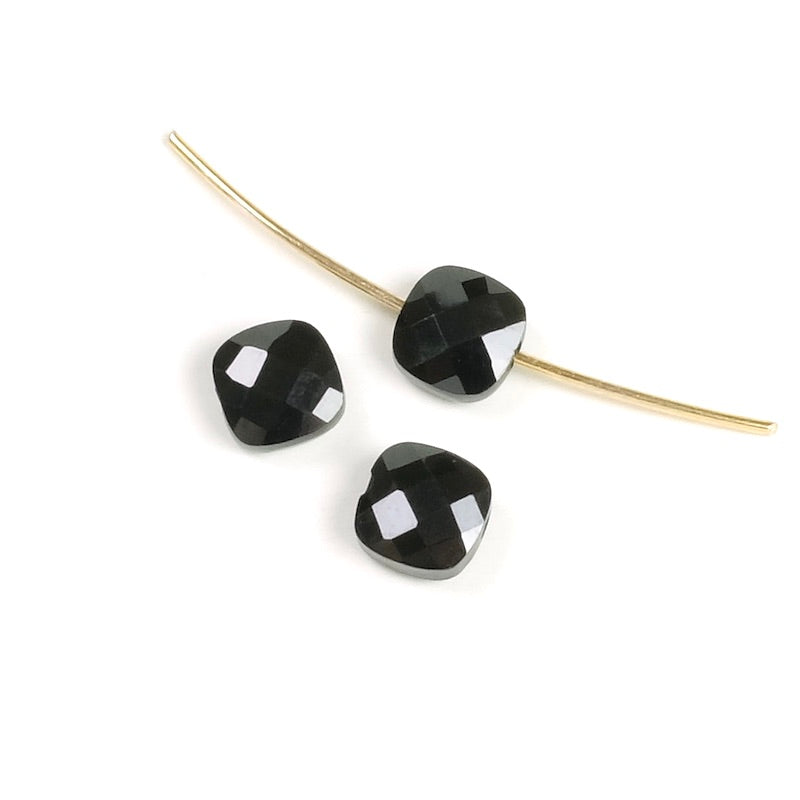
| Pour cette réalisation il vous faut : | ||||
|
|
||||
La technique :
|
||||||
|
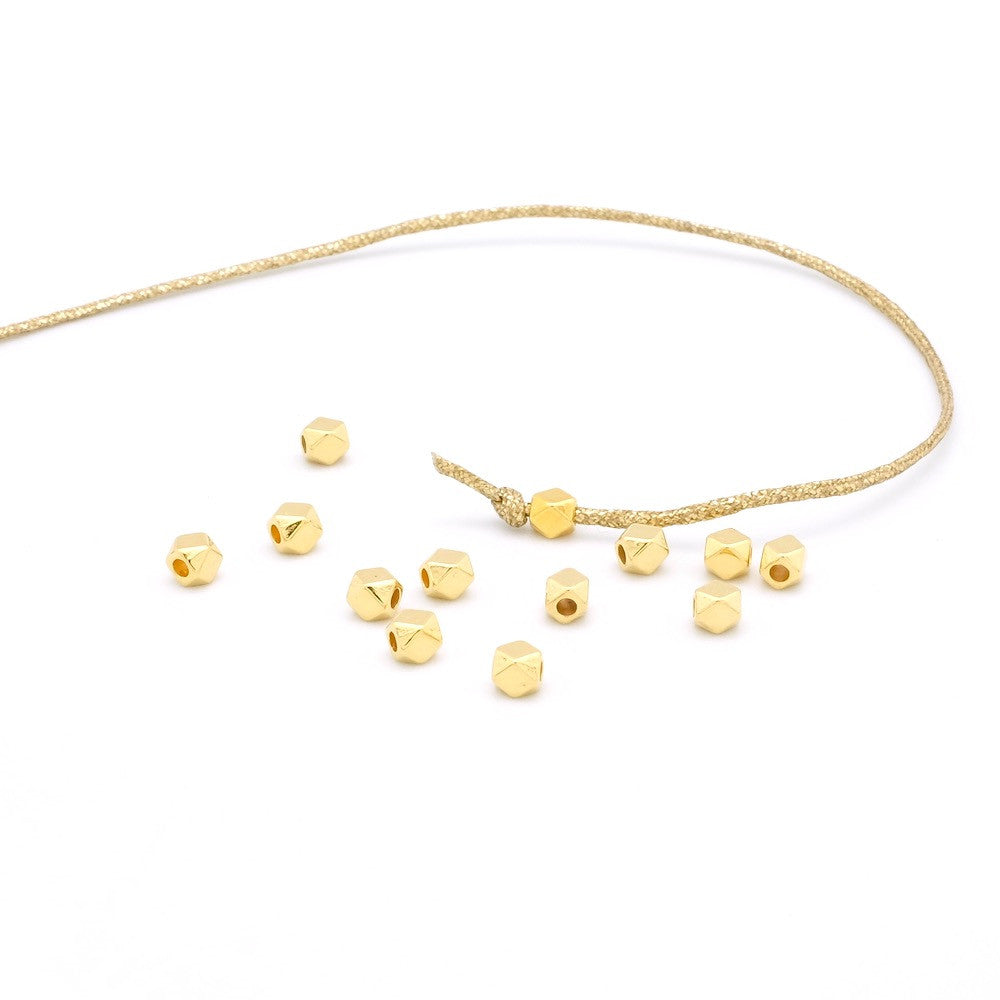
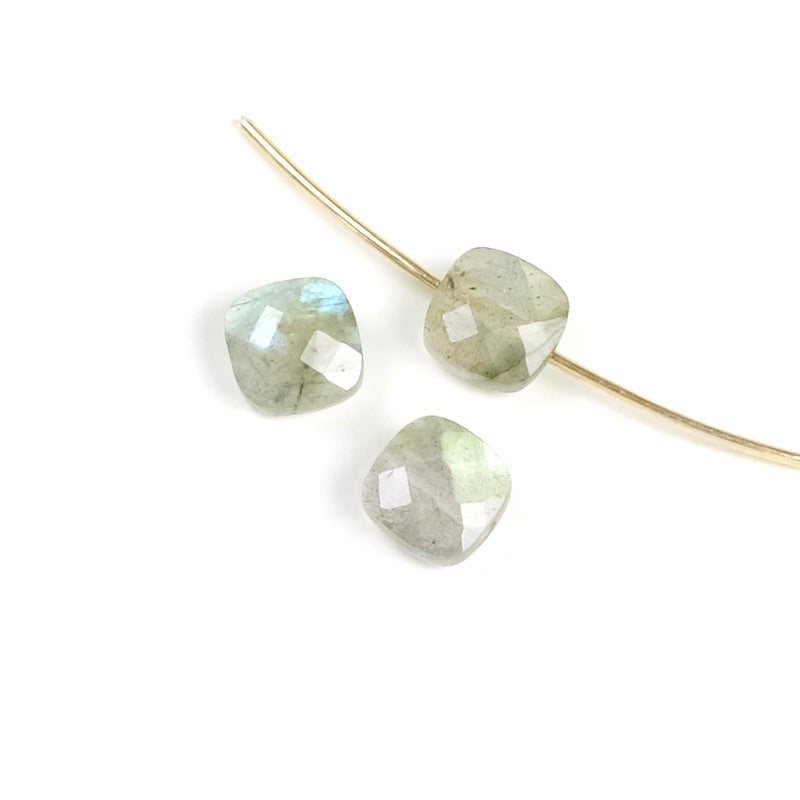
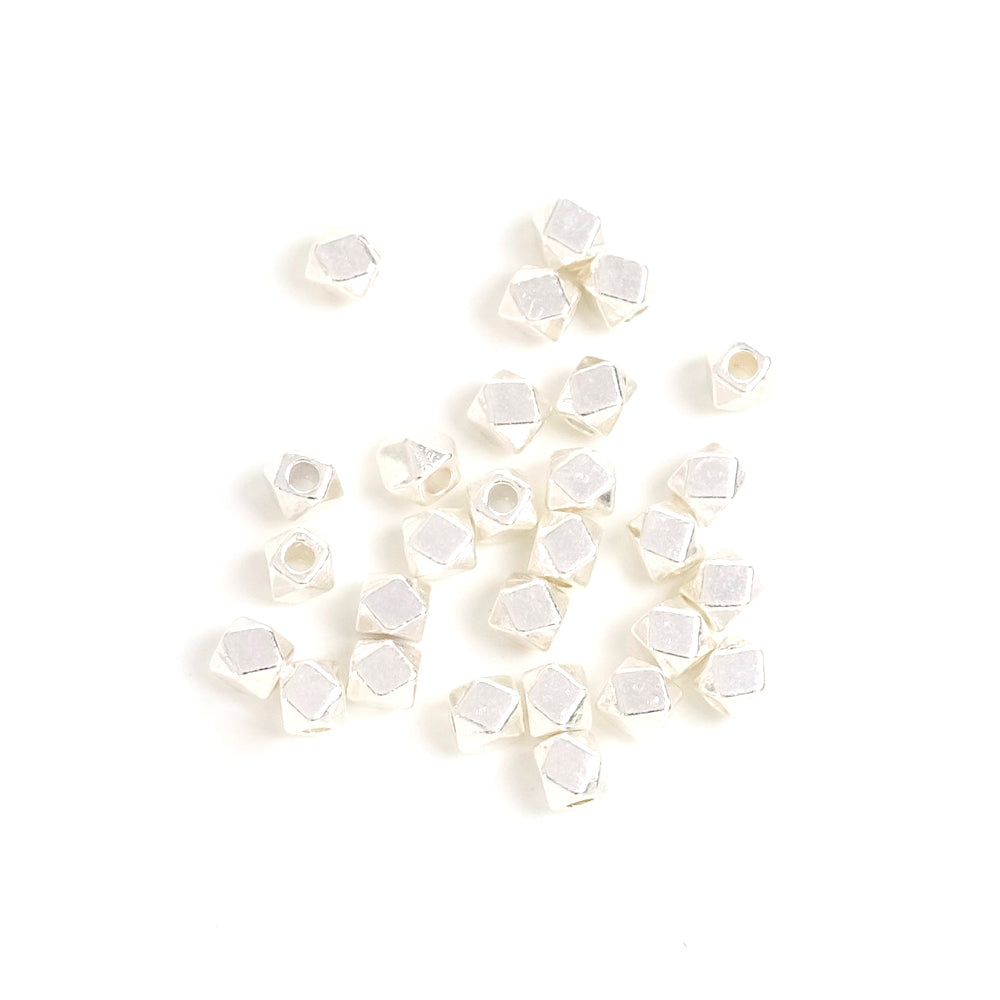
Pour commencer, coupez un fil d'environ 50cm pour être à l'aise. Une fois la technique maitrisée, vous pourrez ajuster la taille au plus juste. Faites un noeud simple au centre du cordon, puis enfilez la perle. Réalisez un deuxième noeud de l'autre côté de la perle pour la bloquer. Pour faire le noeud bien au bord de la perle, aidez-vous d'une aiguille passée dans le noeud, elle vous permettra de faire glisser le noeud au plus près de la perle. Serrez puis retirez l'aiguille. Le noeud : Placez les cordons dans la forme du bracelet, les 2 extrémités se croisent. Si vous le souhaitez vous pouvez insérez une perle sur les 2 cordons pour aider le croisement. Enfilez le bracelet pour déterminer la taille et l'emplacement approximatif des noeuds. Suivez le schéma ci-dessus pour vous guider. Passez le cordon de gauche par dessous le cordon de droite, puis ramenez le cordon de gauche pour formez une boucle. Maintenez-la avec votre main droite. Ensuite enroulez le cordon autour des 2 cordons sur 2/3 tours. Vous pouvez serrez les tours, pas besoin de les garder larges. Pour finir, passez le cordon par le dessous pour rentrer dans la boucle du départ. Serrez doucement le noeud. Ensuite coupez le cordon à 2mm du noeud puis brulez l'extrémité en veillant à ne pas toucher le noeud. L'extrémité va fondre, appuyez avec le doigt pour coller le bout sur le noeud. Cela évitera au noeud de se défaire. Si vous le souhaitez vous pouvez aussi placer un petit point de colle sur le noeud. Lorsque vous aller serrer le noeud il va se déplacer, la difficulté est de le réaliser à la bonne place. Pour cela prévoyez de le commencer en avant de la zone prédéfinie, car en serrant le noeud il va se placer plus loin. Entrainez-vous sur un cordon d'essai avant de réaliser votre bracelet.
|
||||||
|
|
Pour le deuxième noeud, procédez de la même manière avec l'autre cordon. Et voilà ! Belle création ! |
|||||


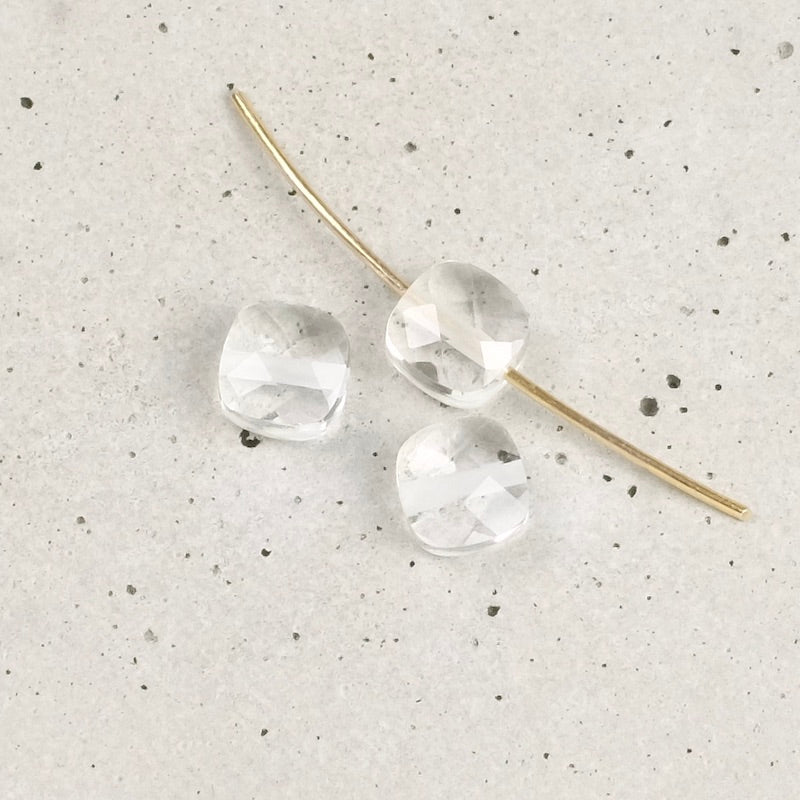
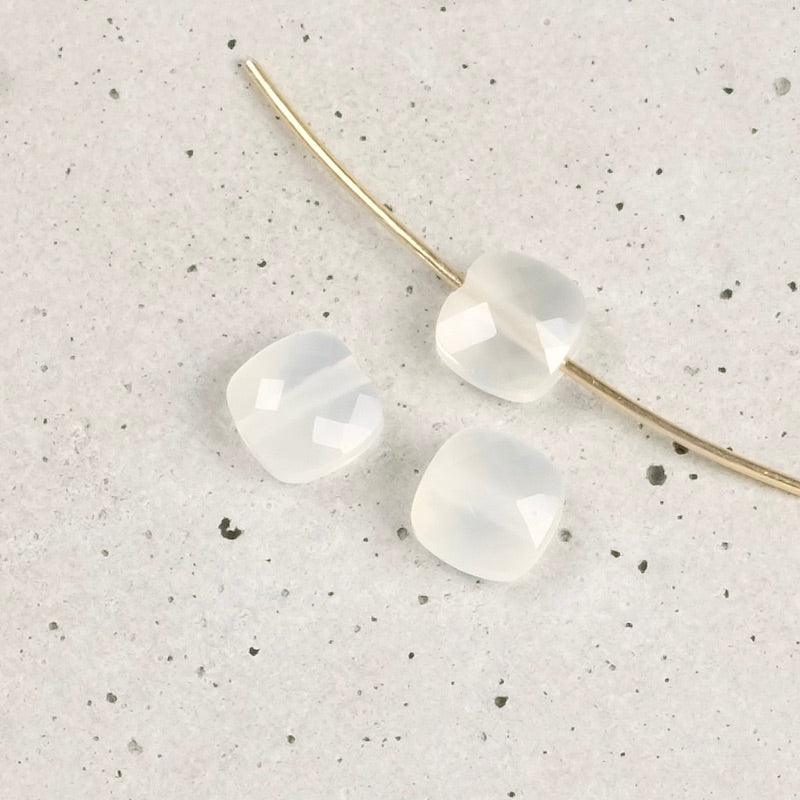
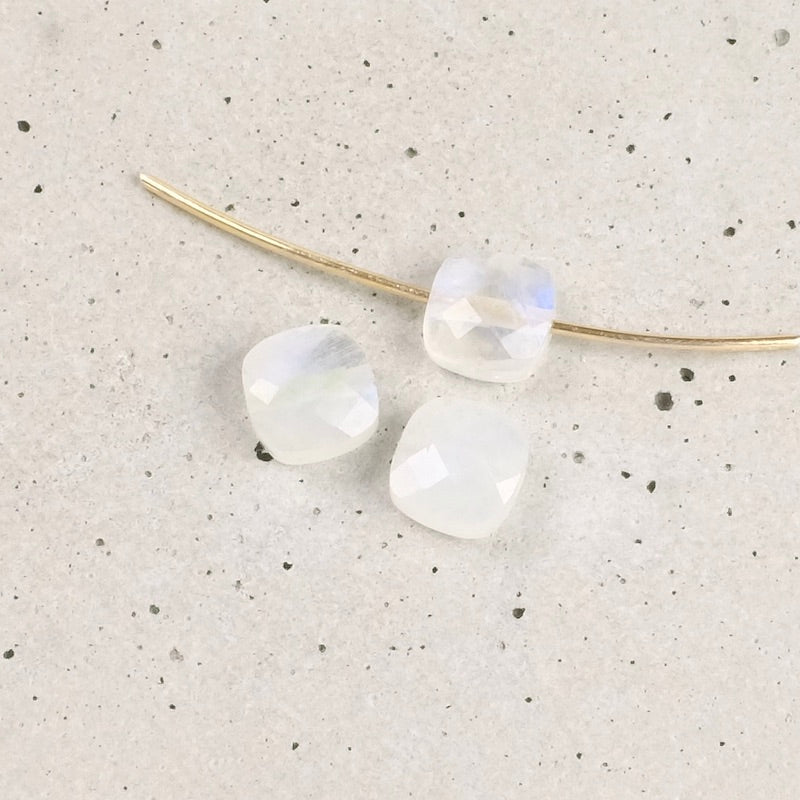
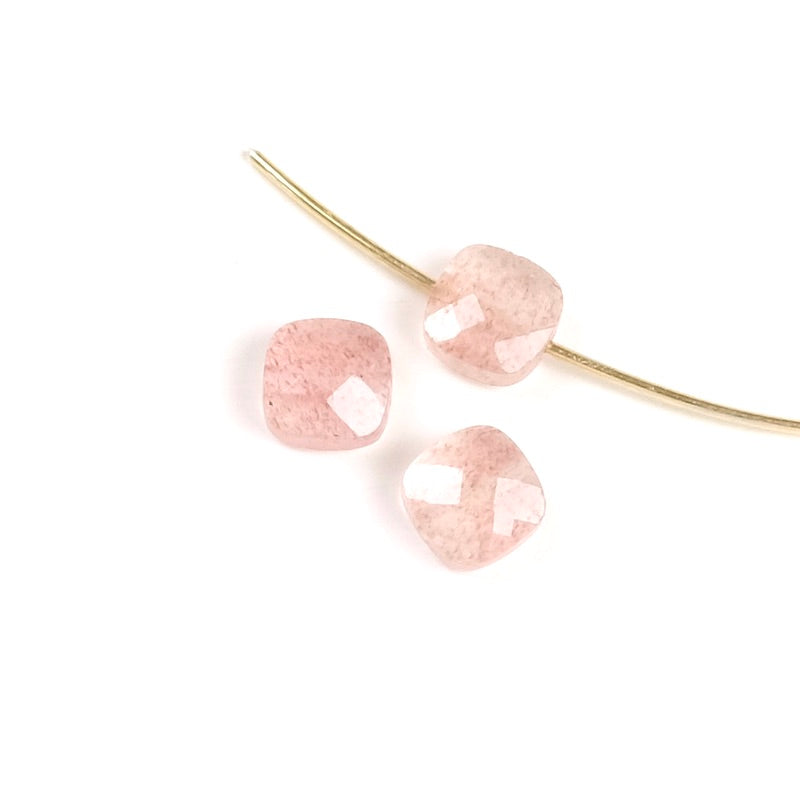
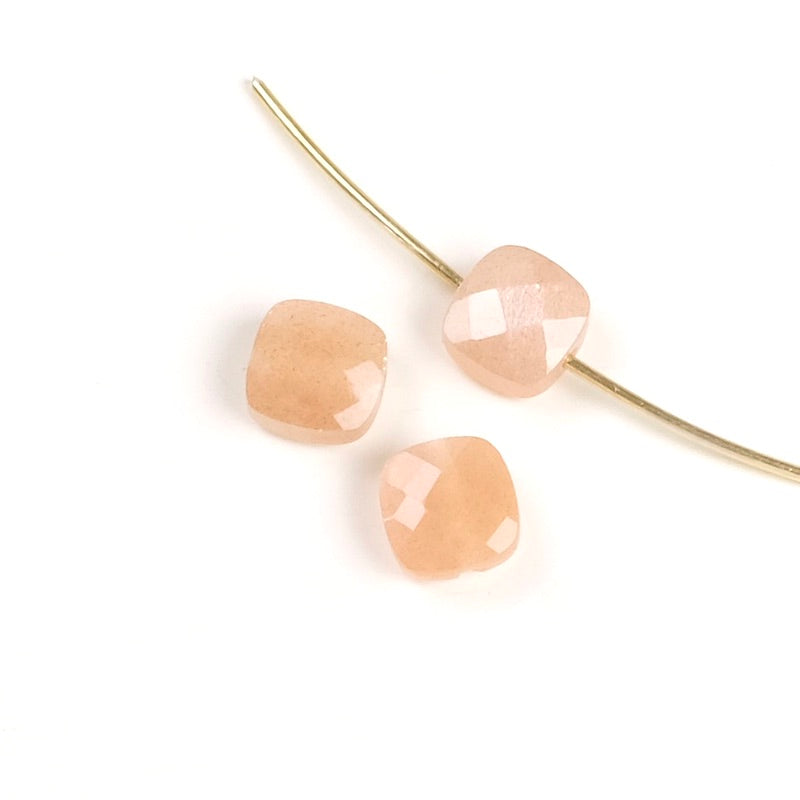
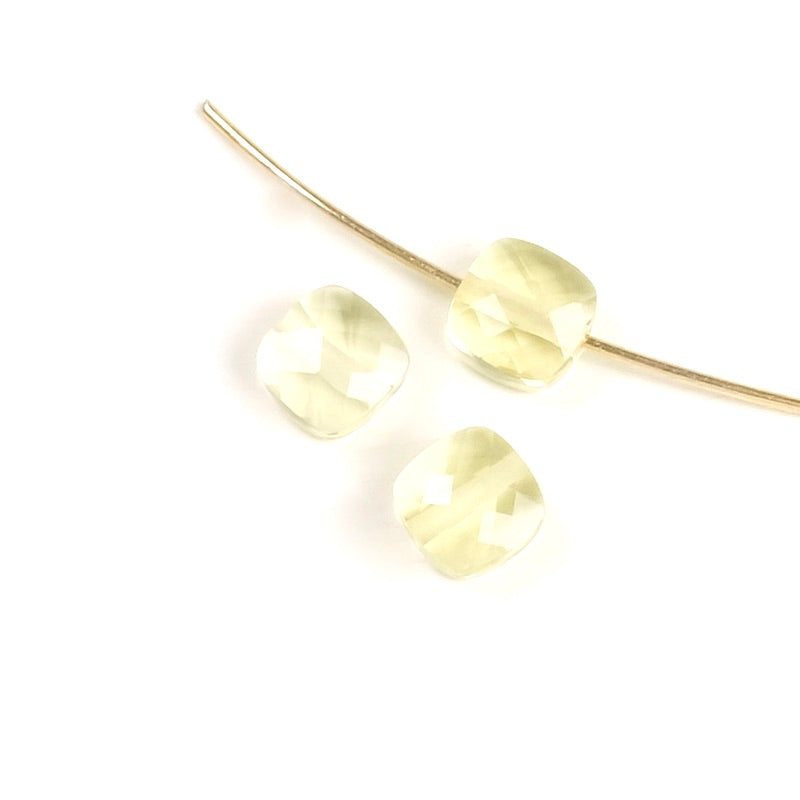
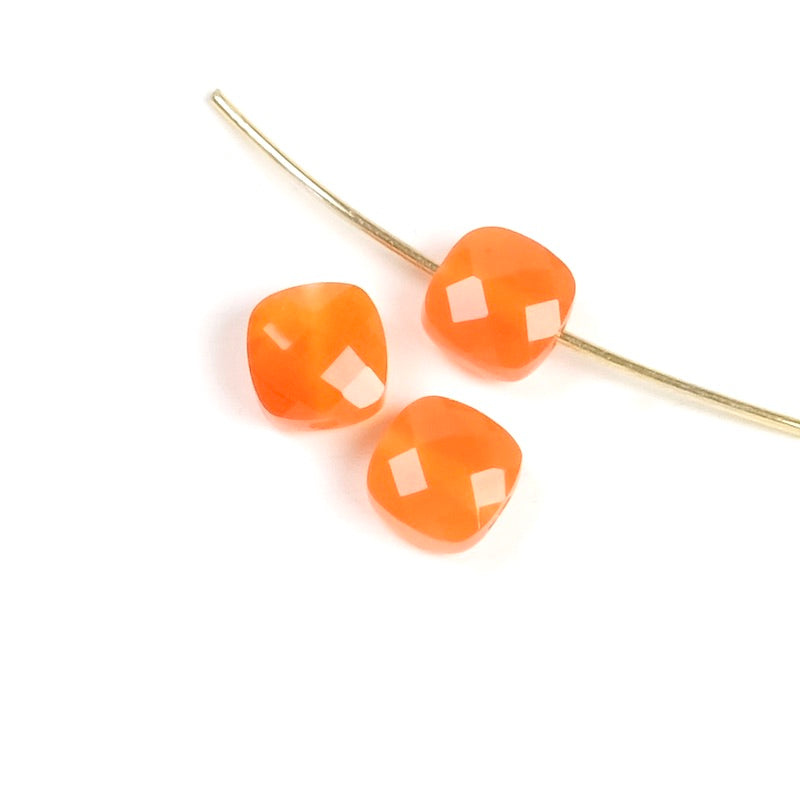
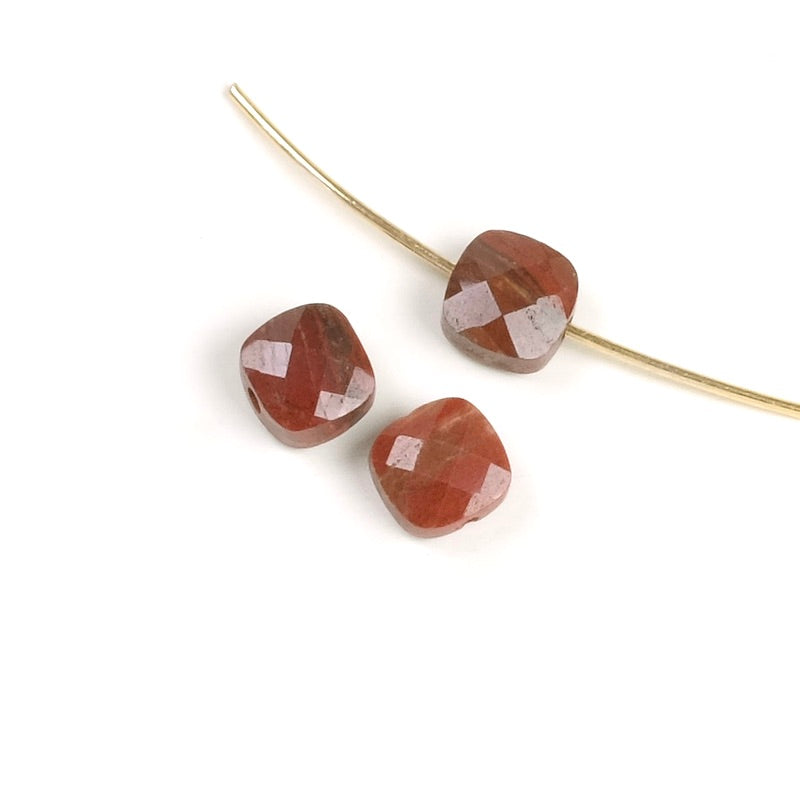
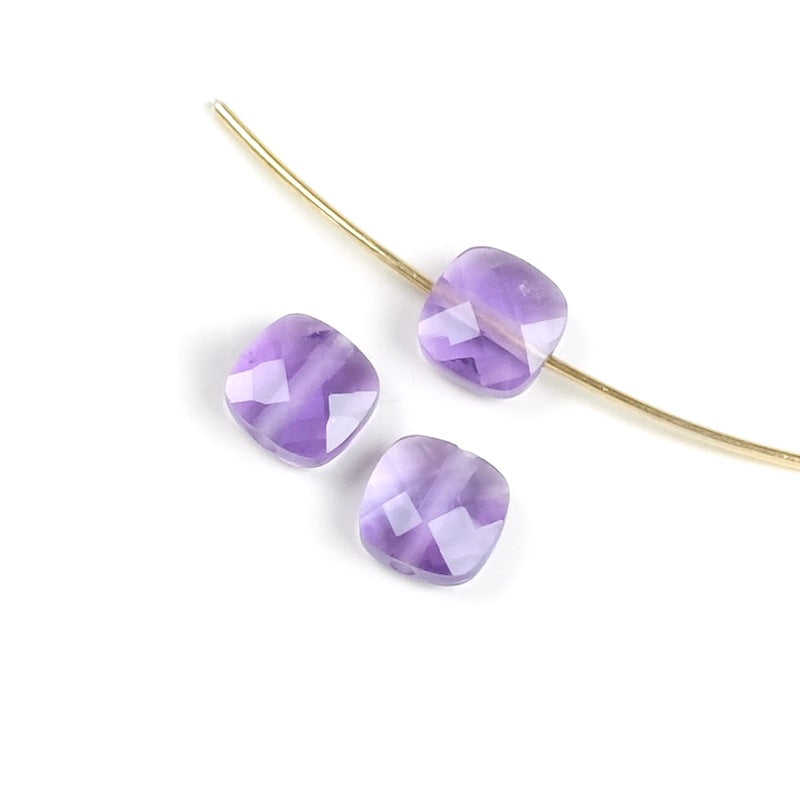
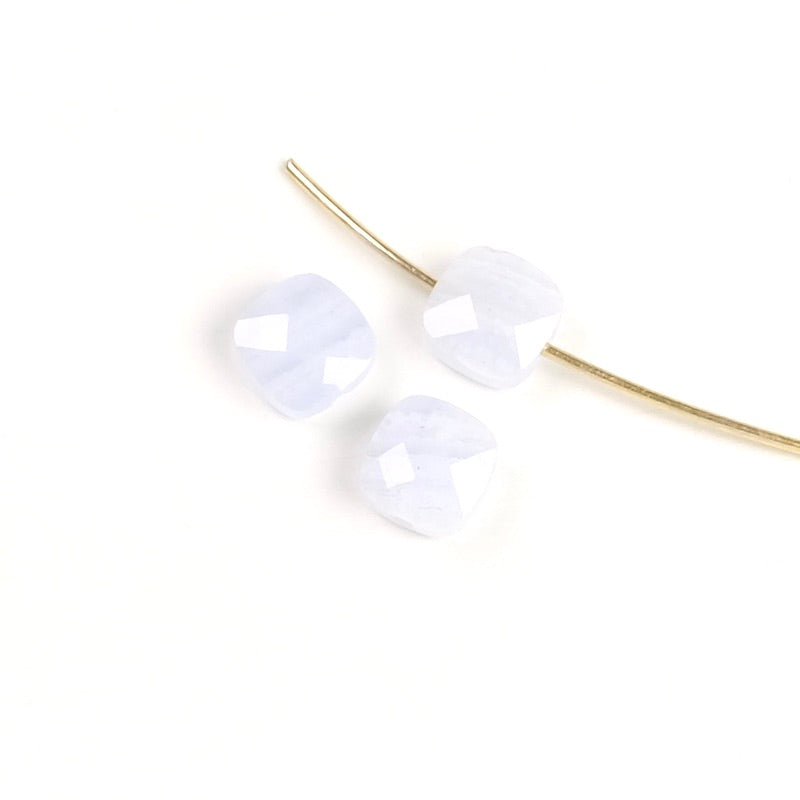
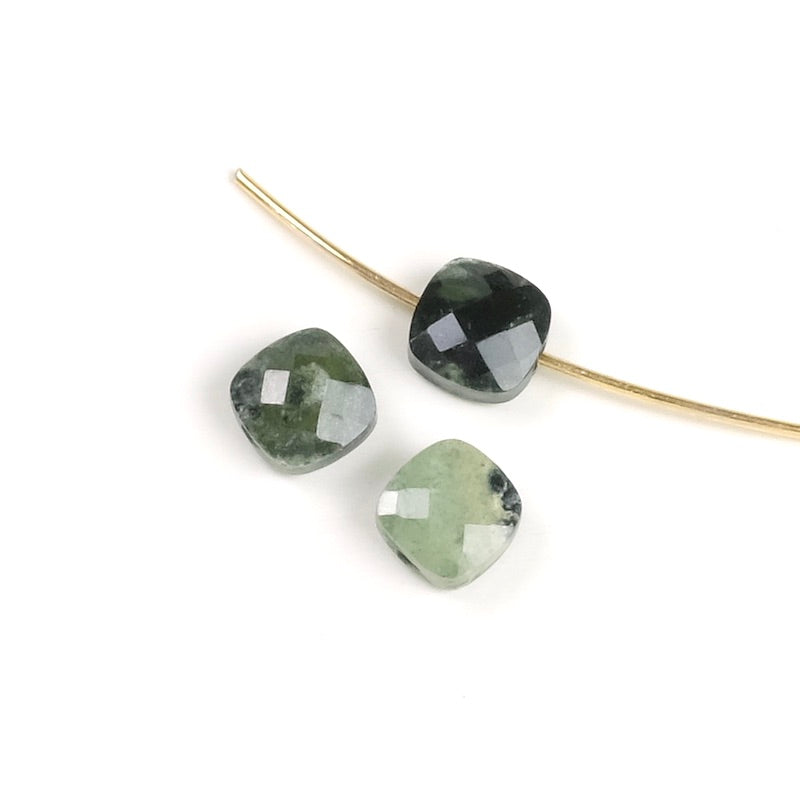
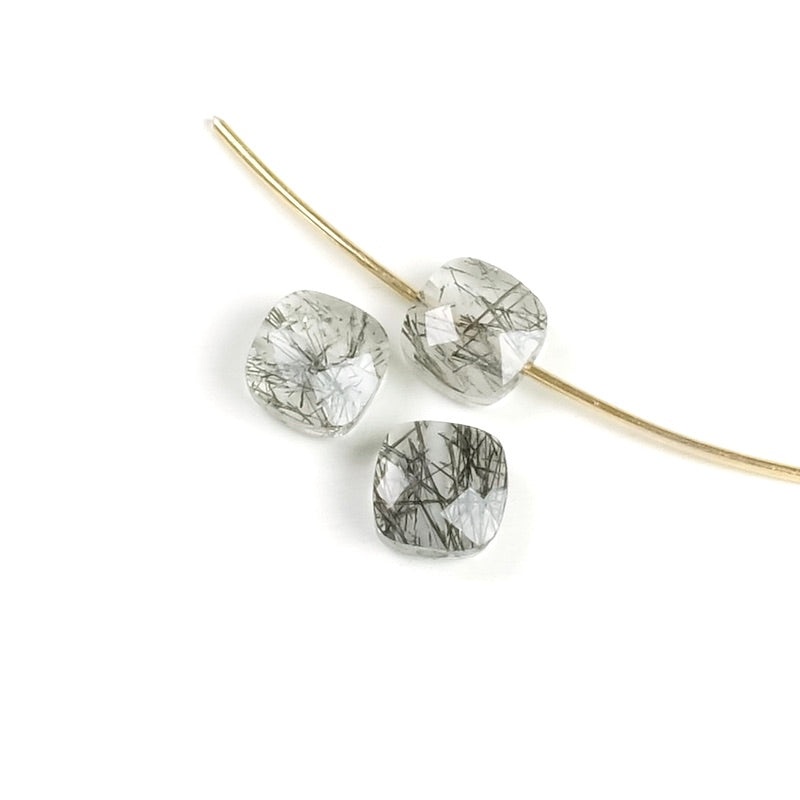
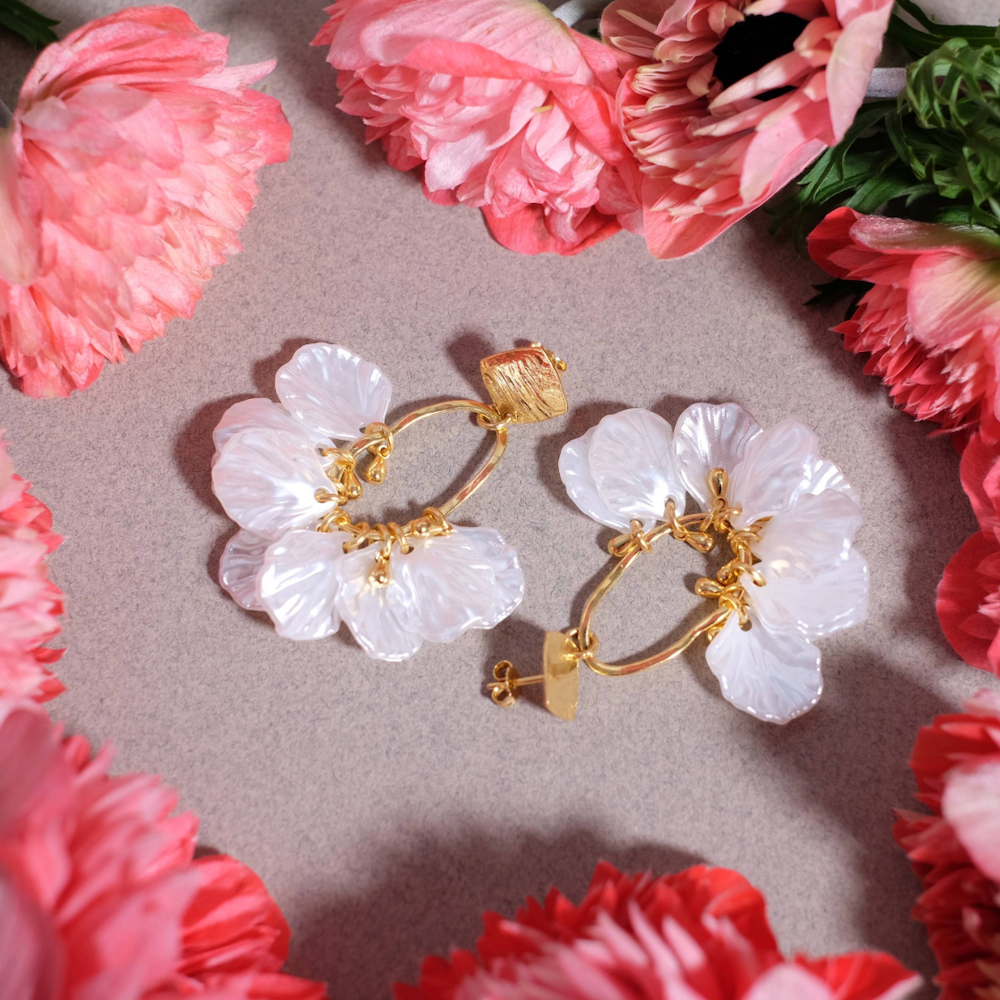
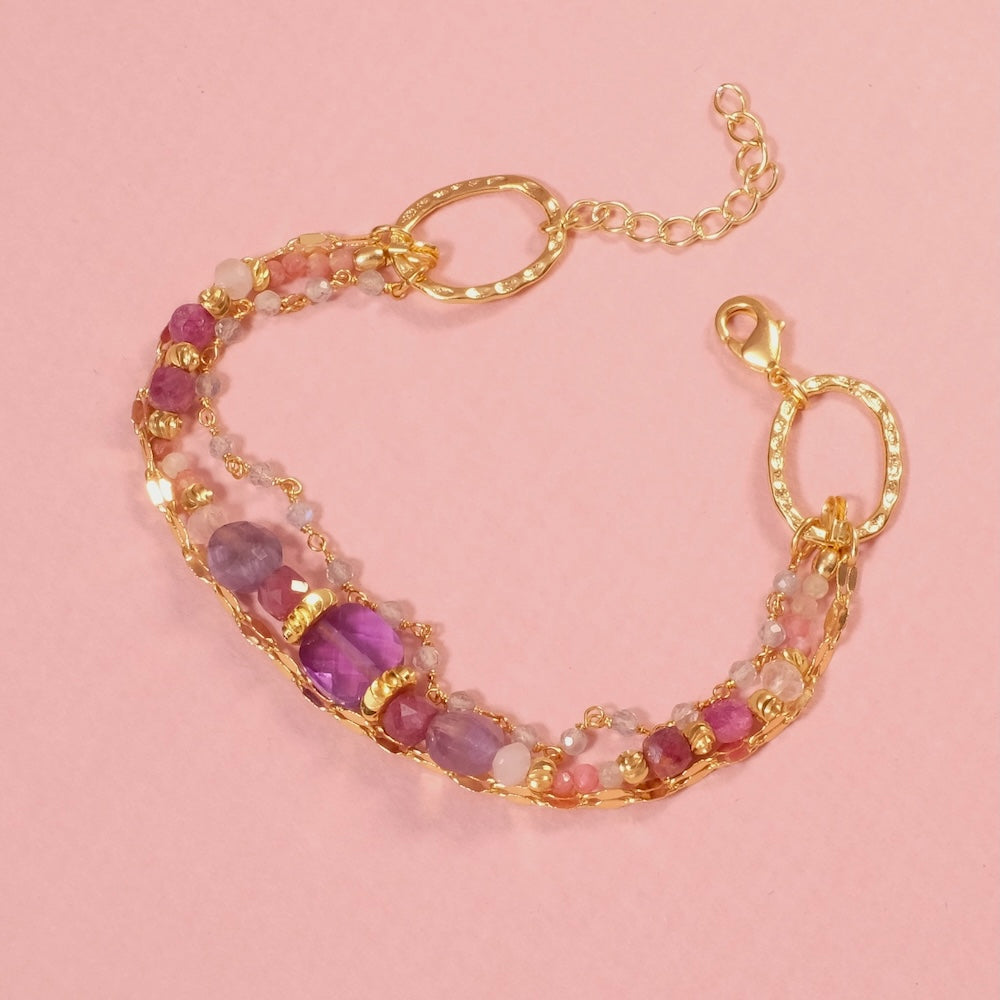
Composez un bijou unique en sélectionnant Pierres de gemmes et apprêts doré à l’or fin 24K (Europe). Vous apprendrez les bases du montage, les harmonies de couleurs et les finitions propres—puis repartirez avec votre création, créé dans une ambiance conviviale à Paris 11e.
A réserver seule ou entre amies !

Rejoignez Perles Corner pour découvrir nos nouveautés, Tutoriels exclusifs et bien d'autres surprises... et recevez votre bon par email !


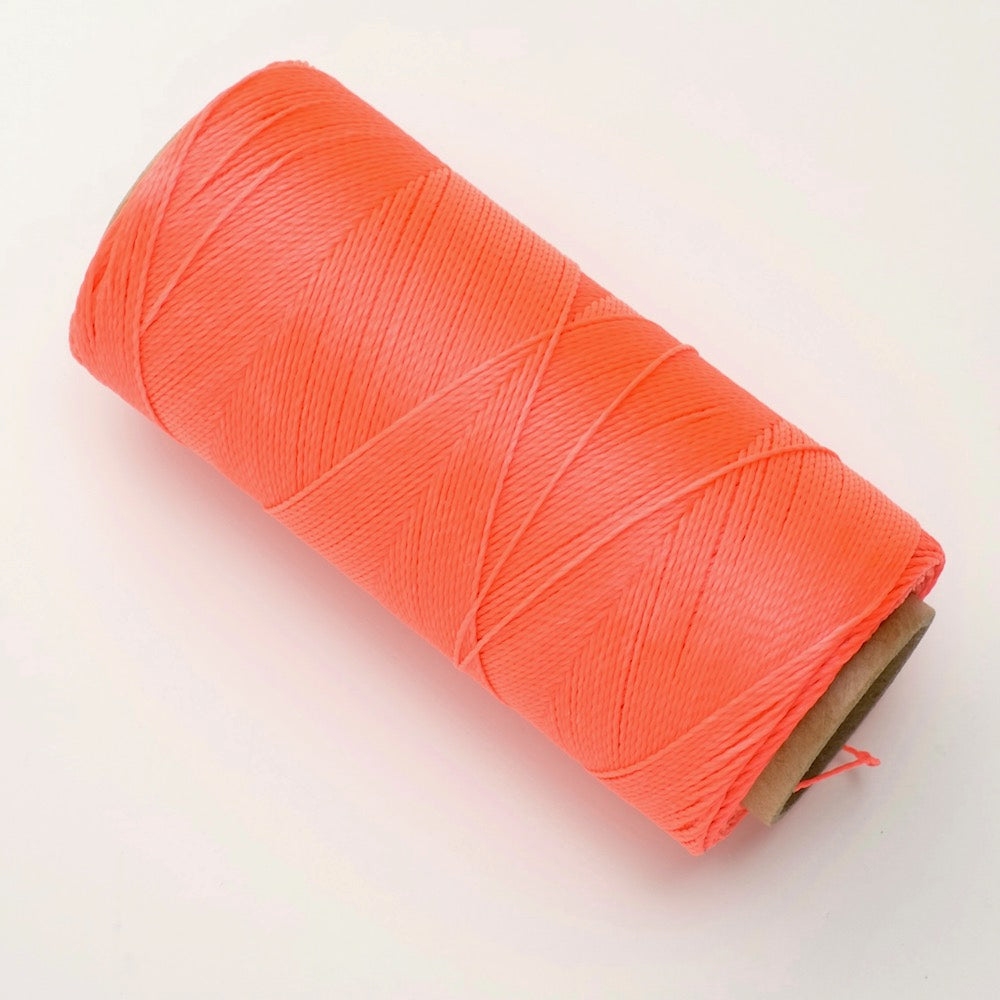
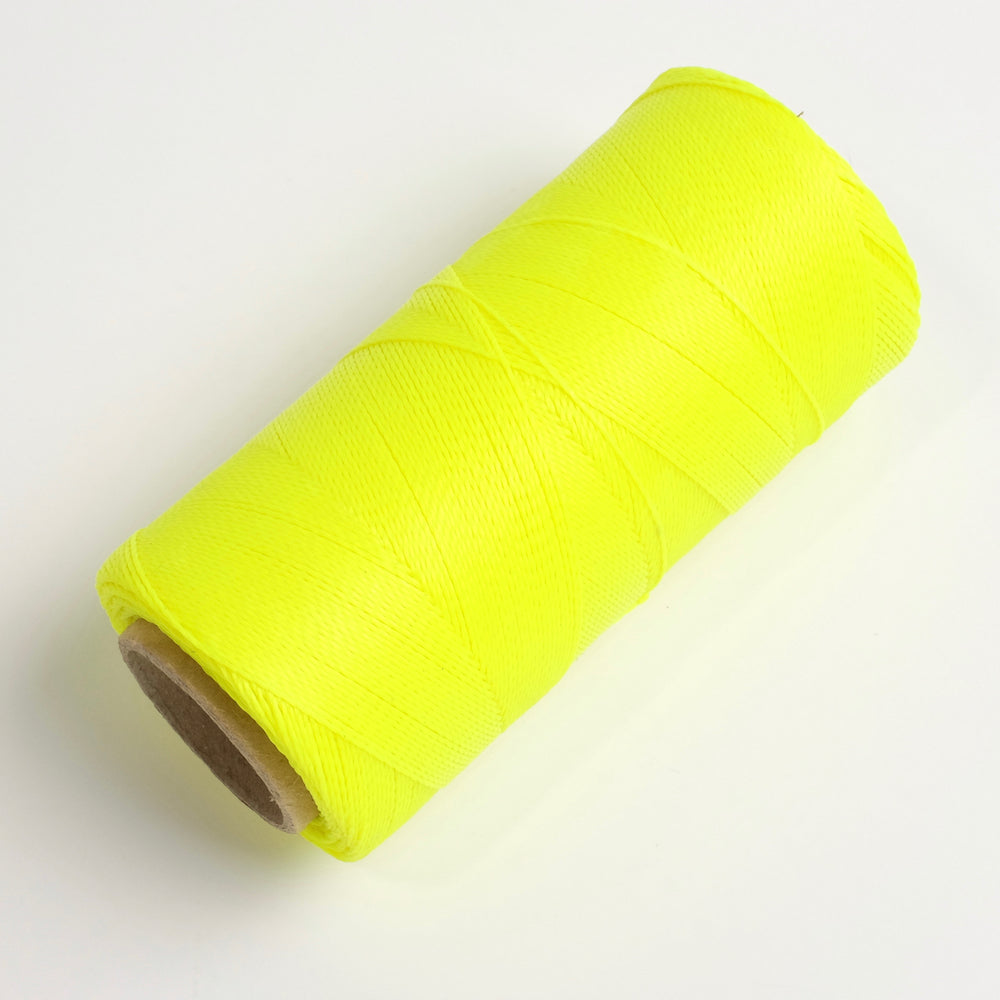
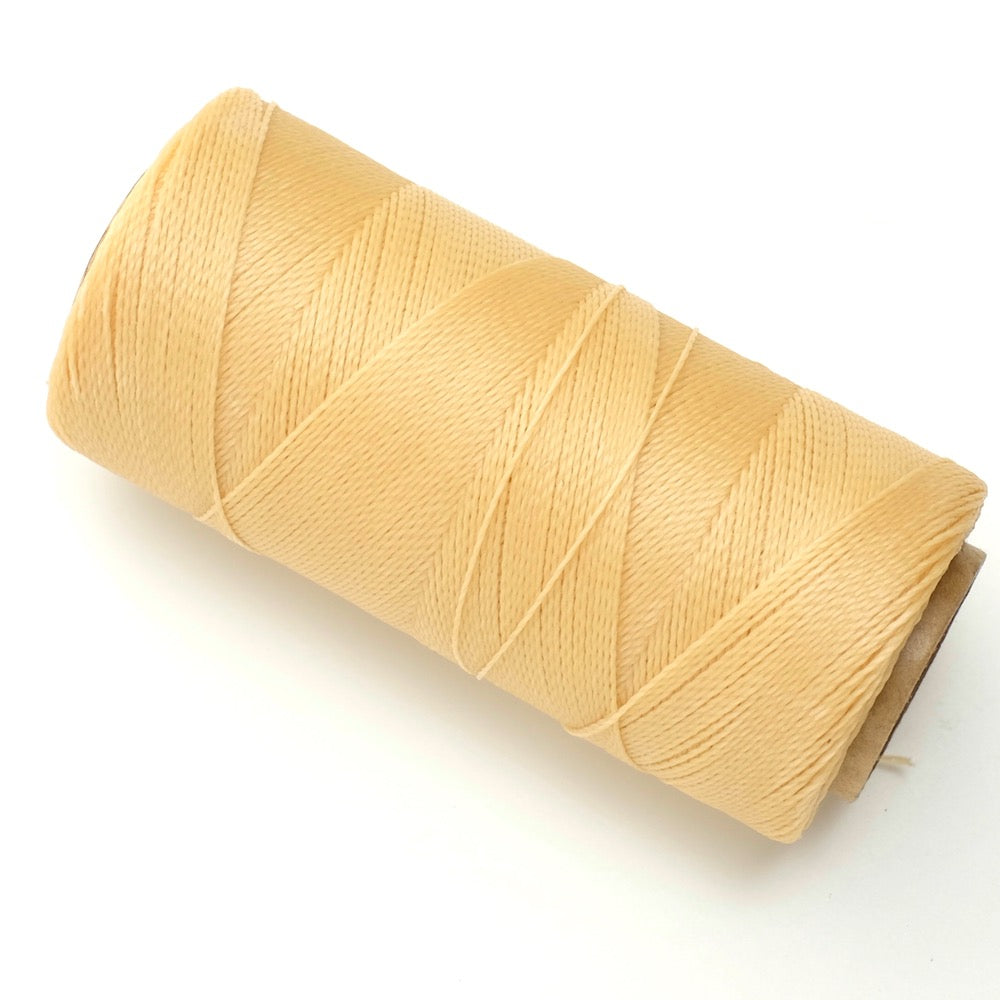
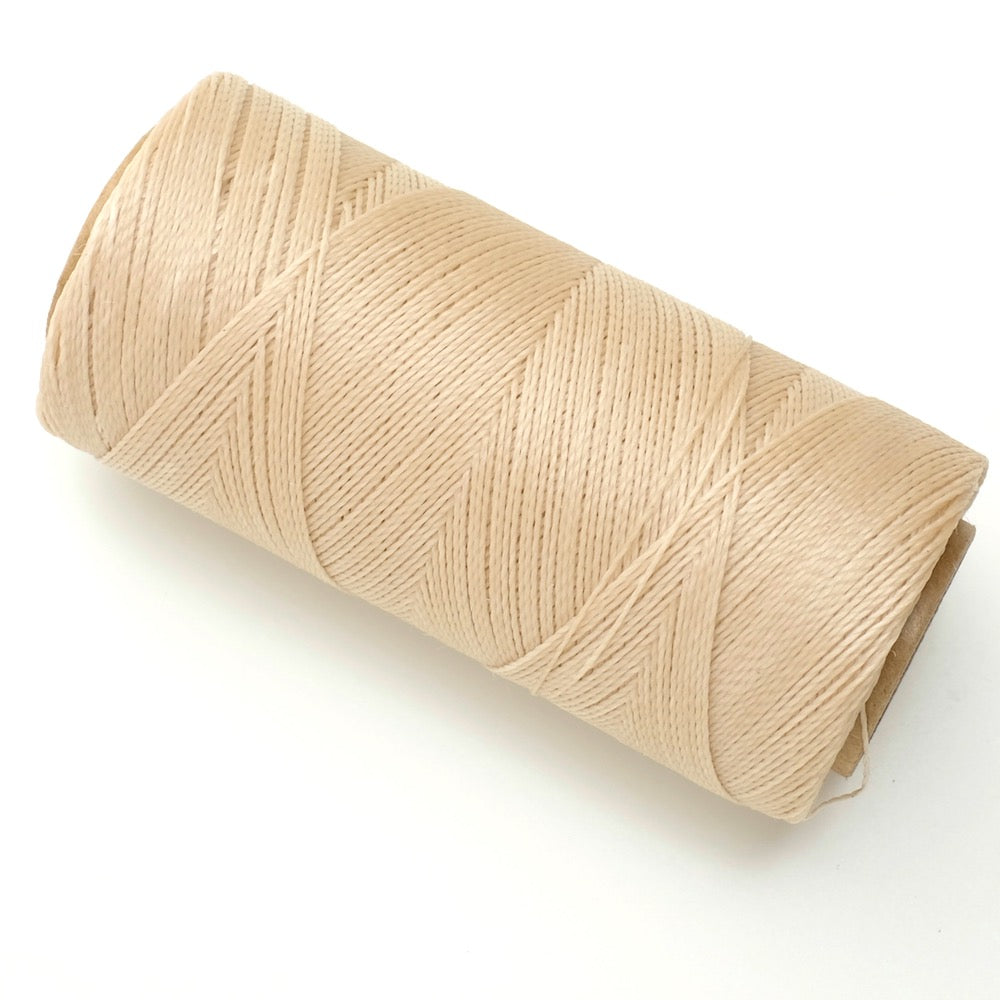
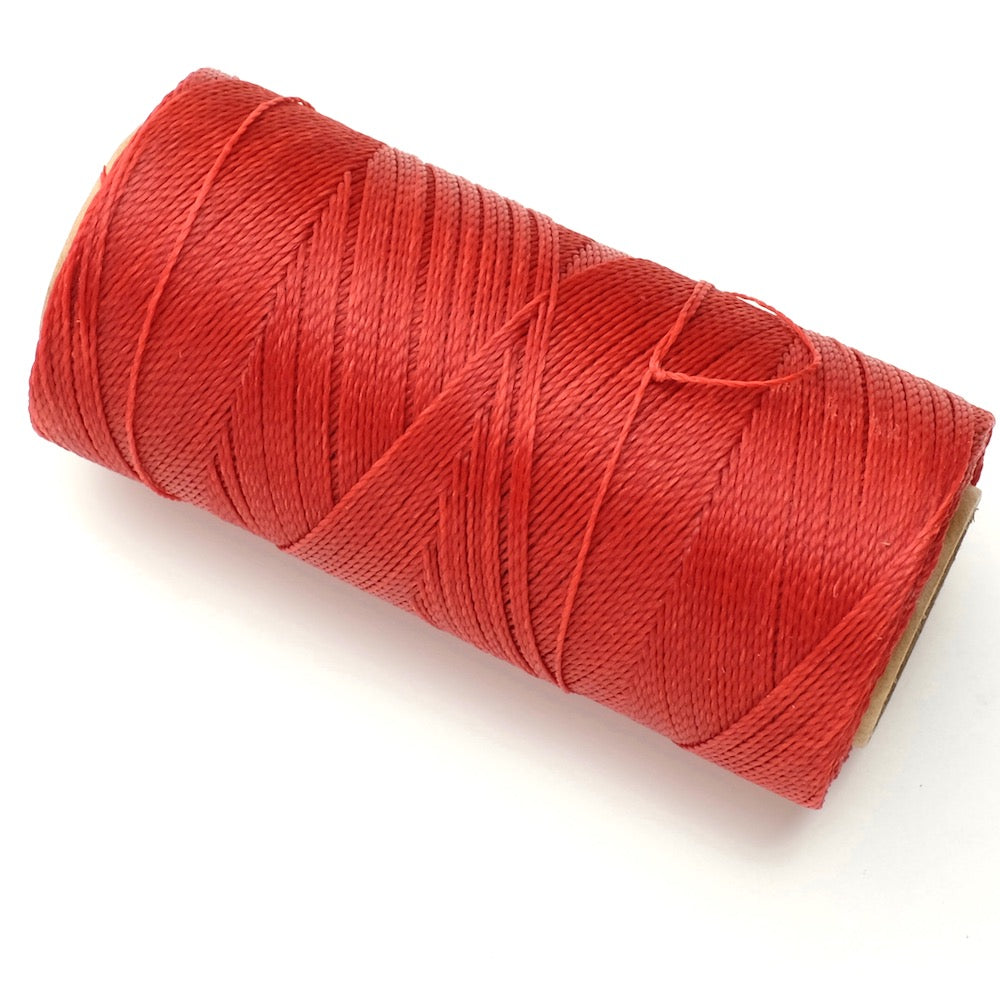
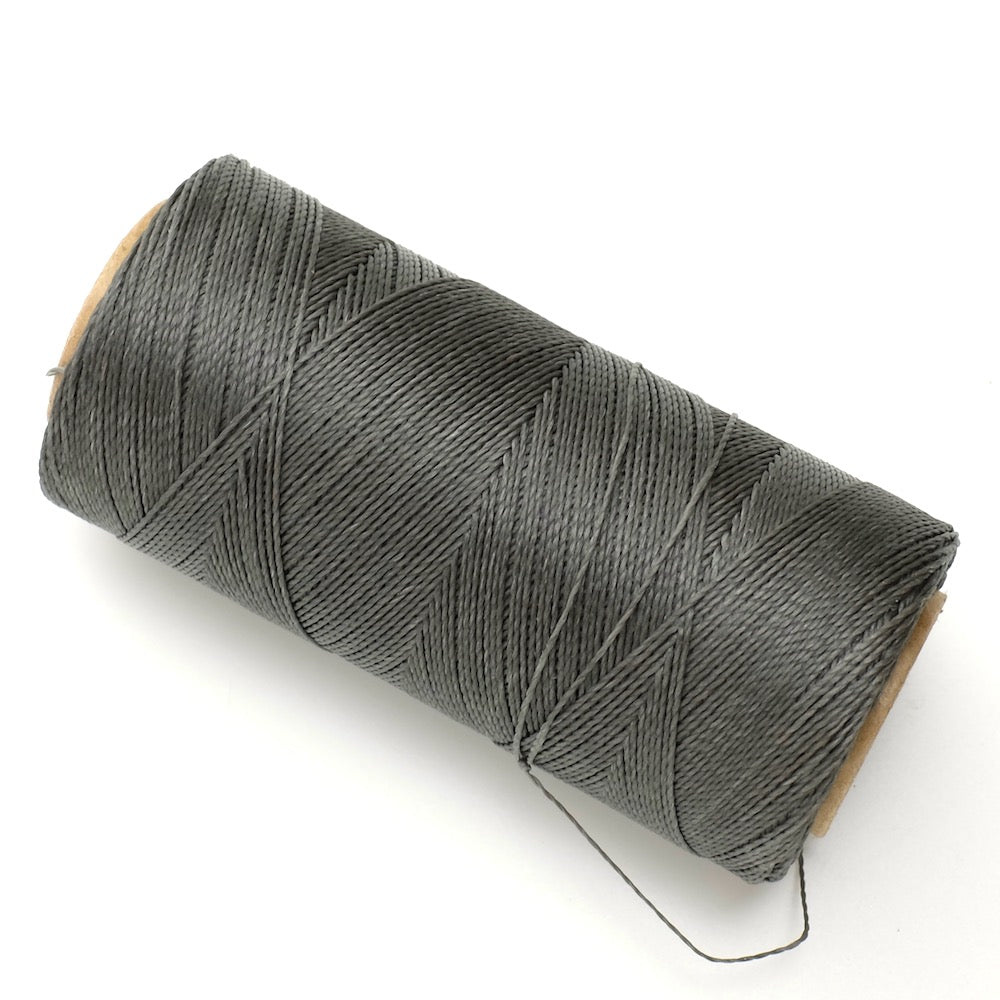
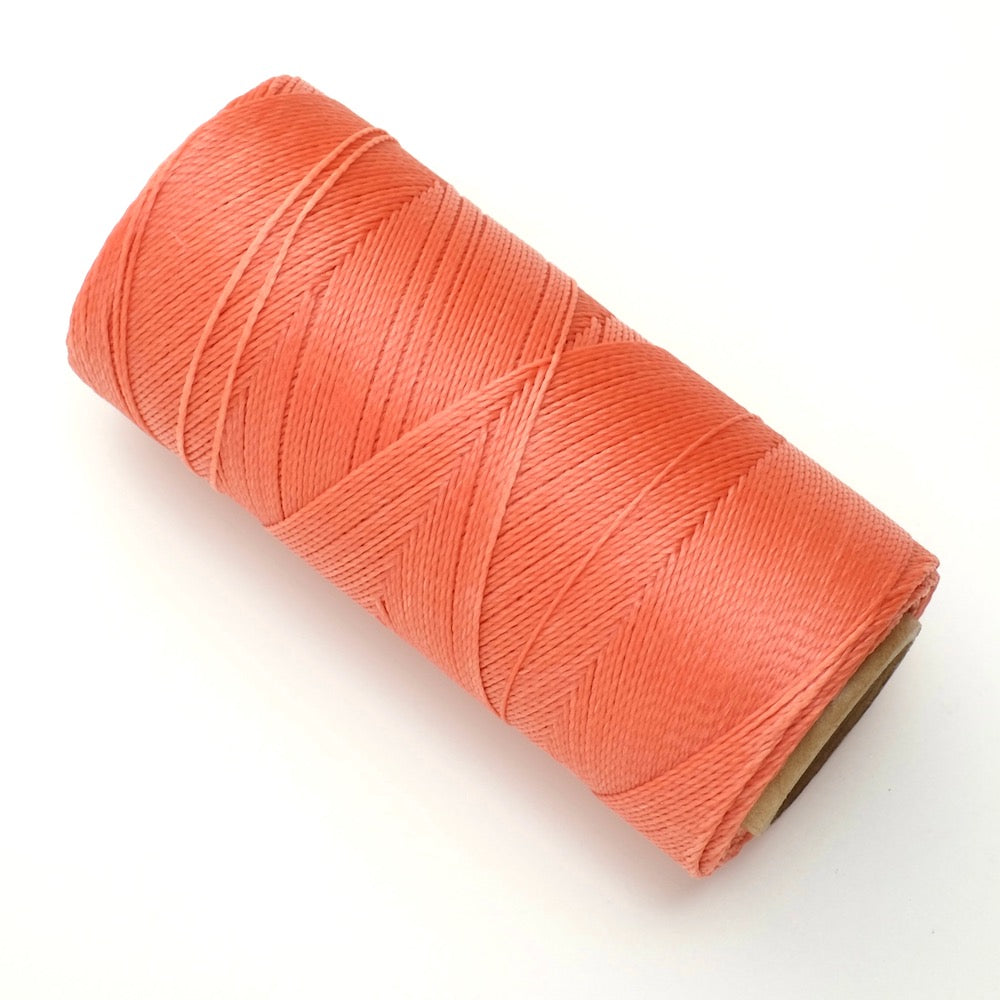
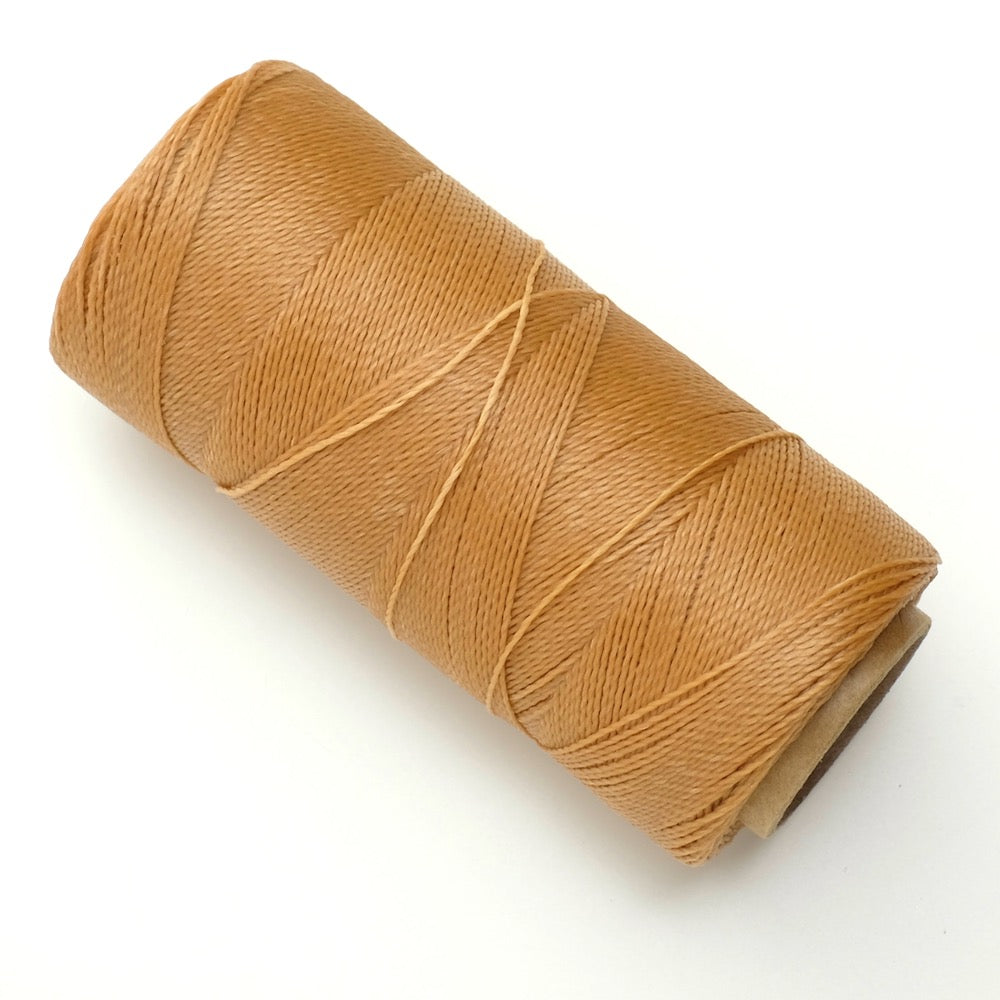
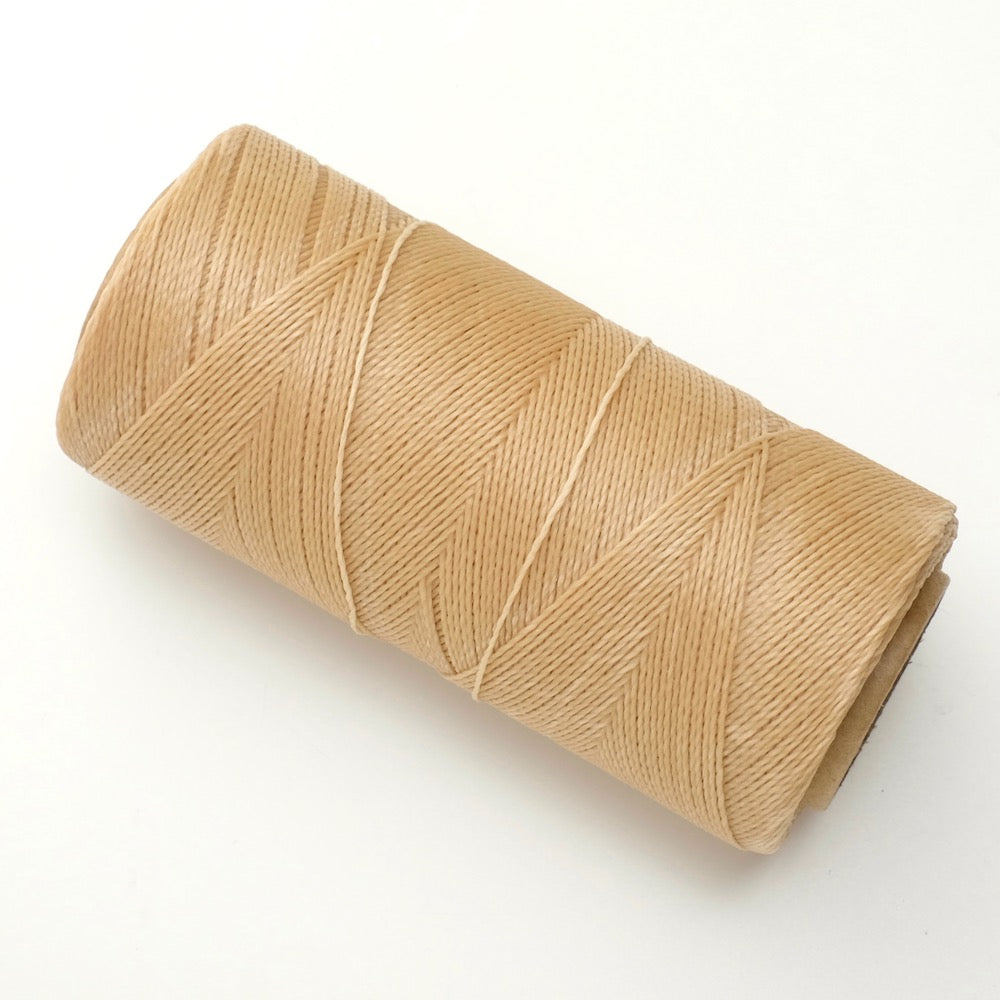
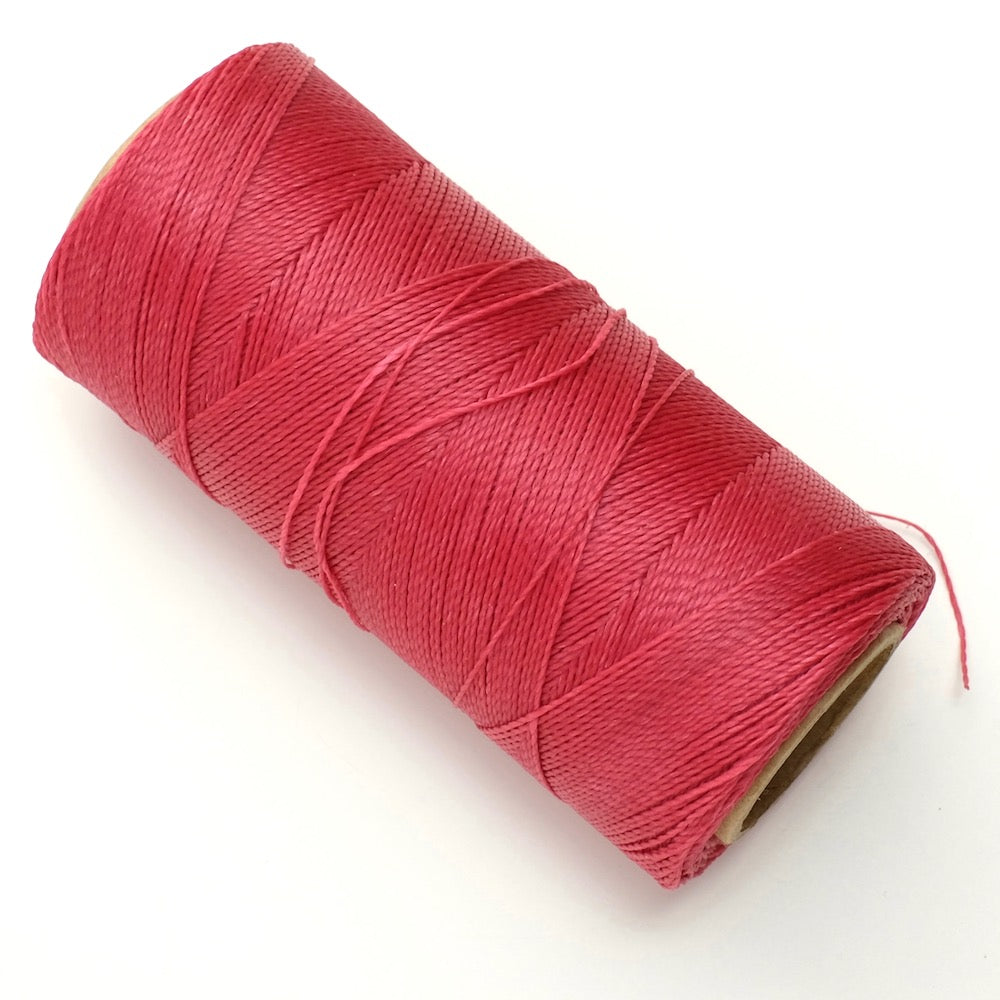
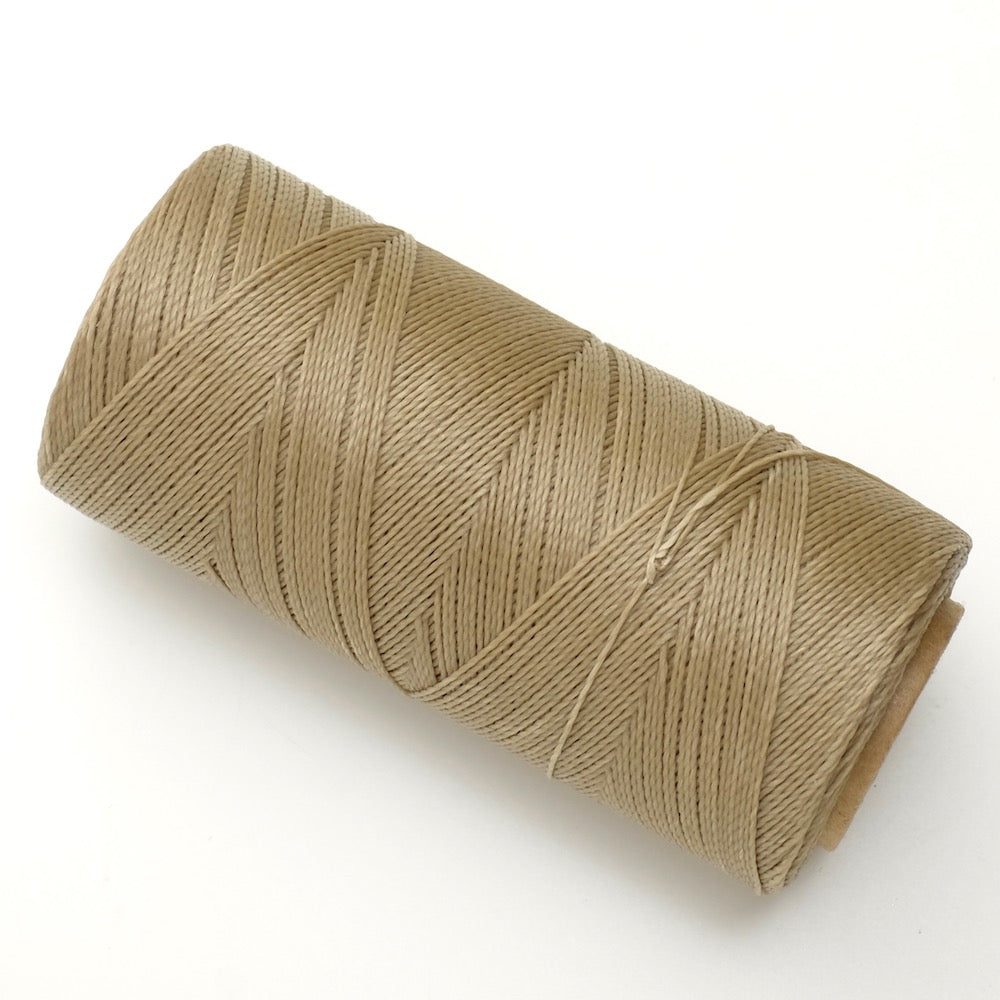
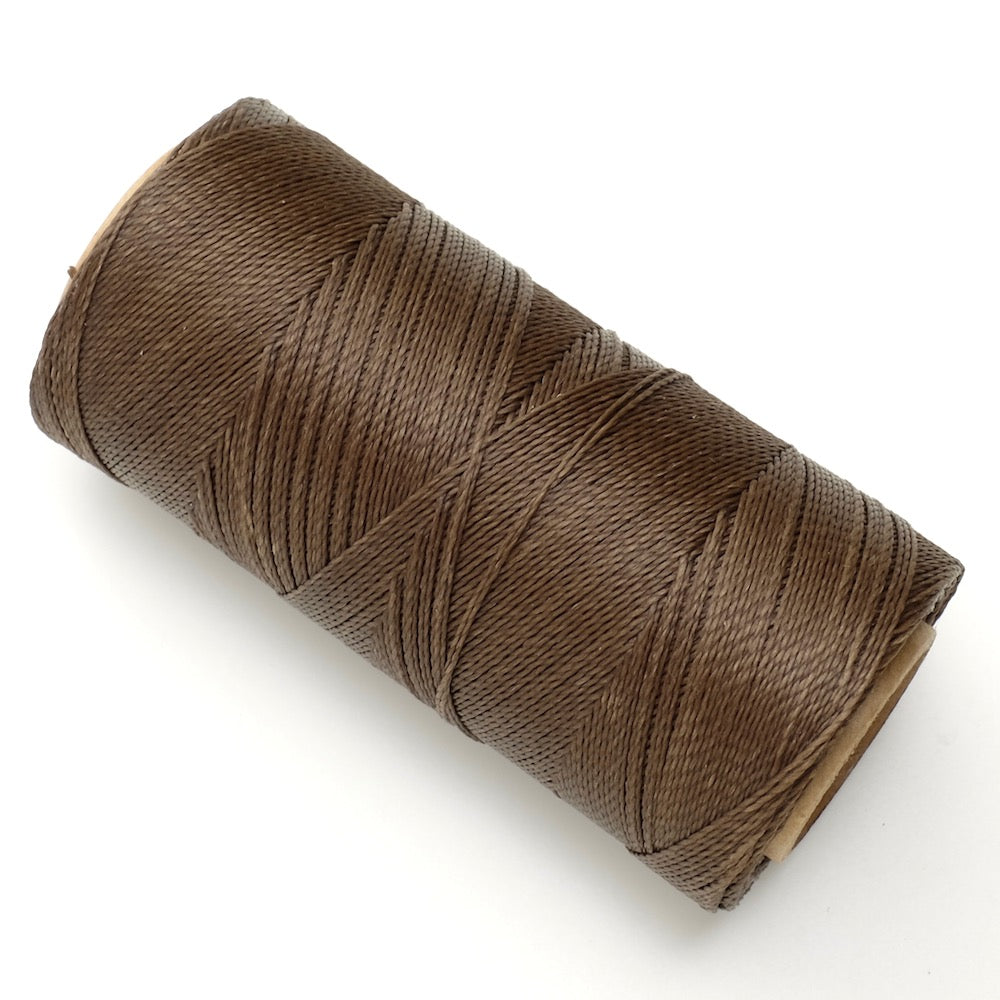
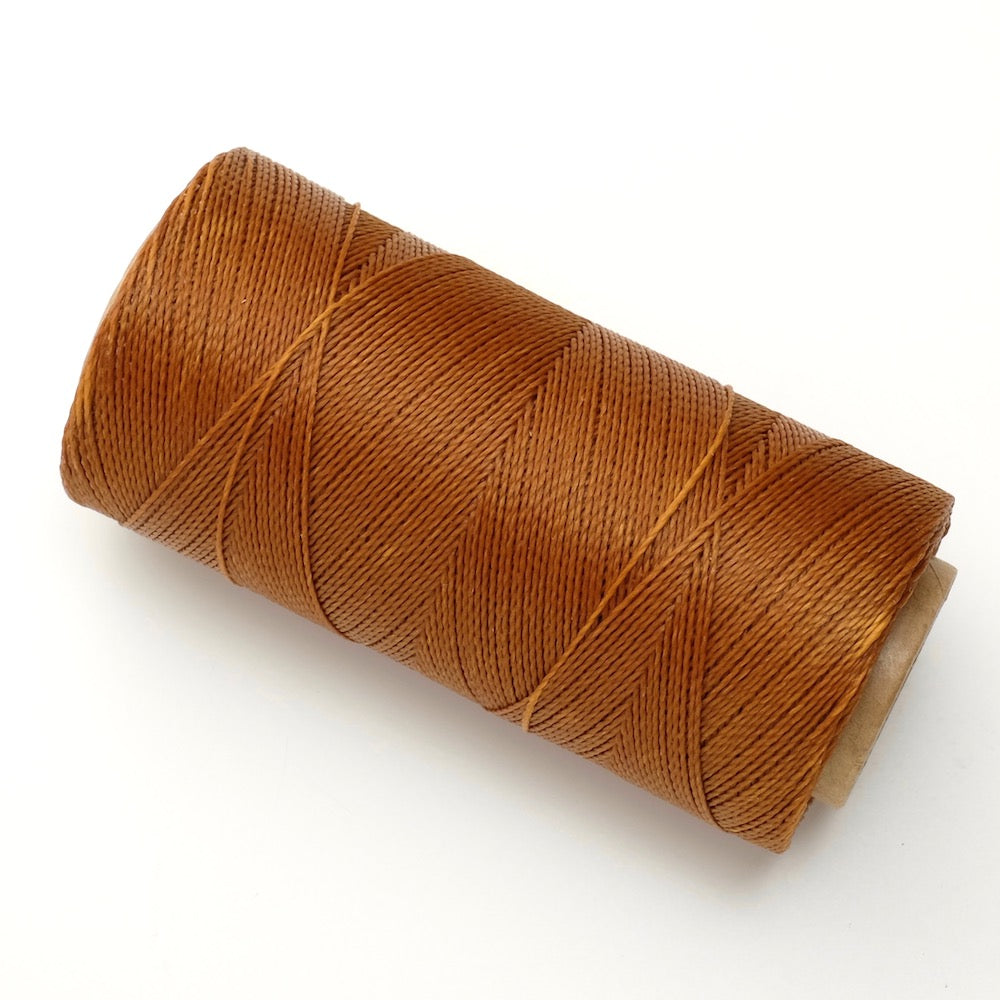
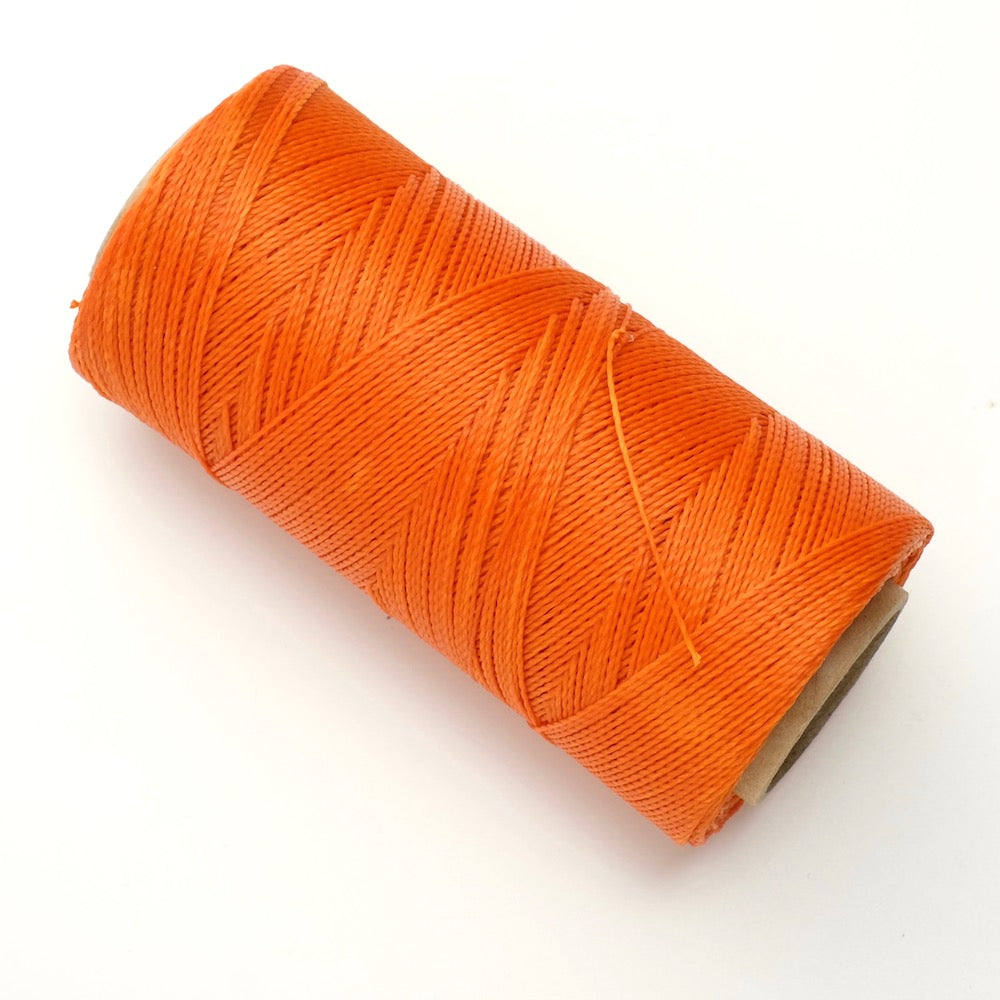
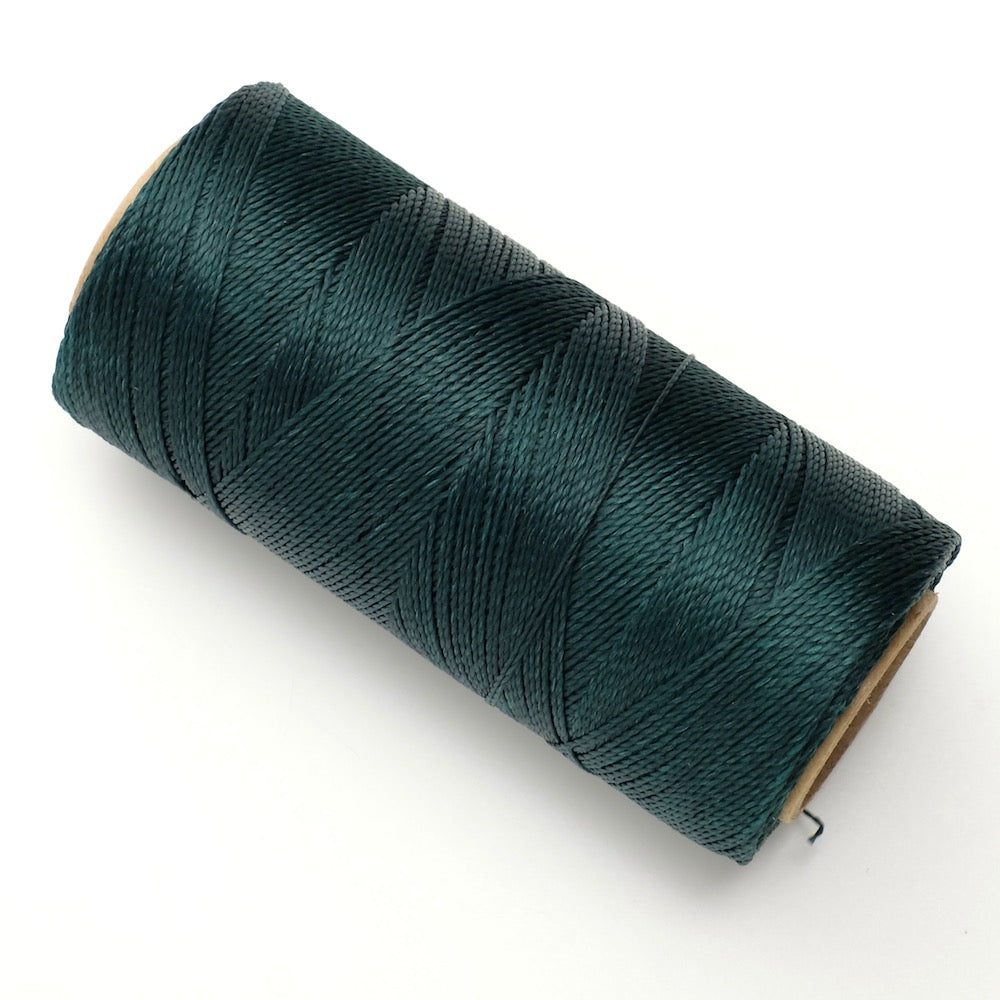
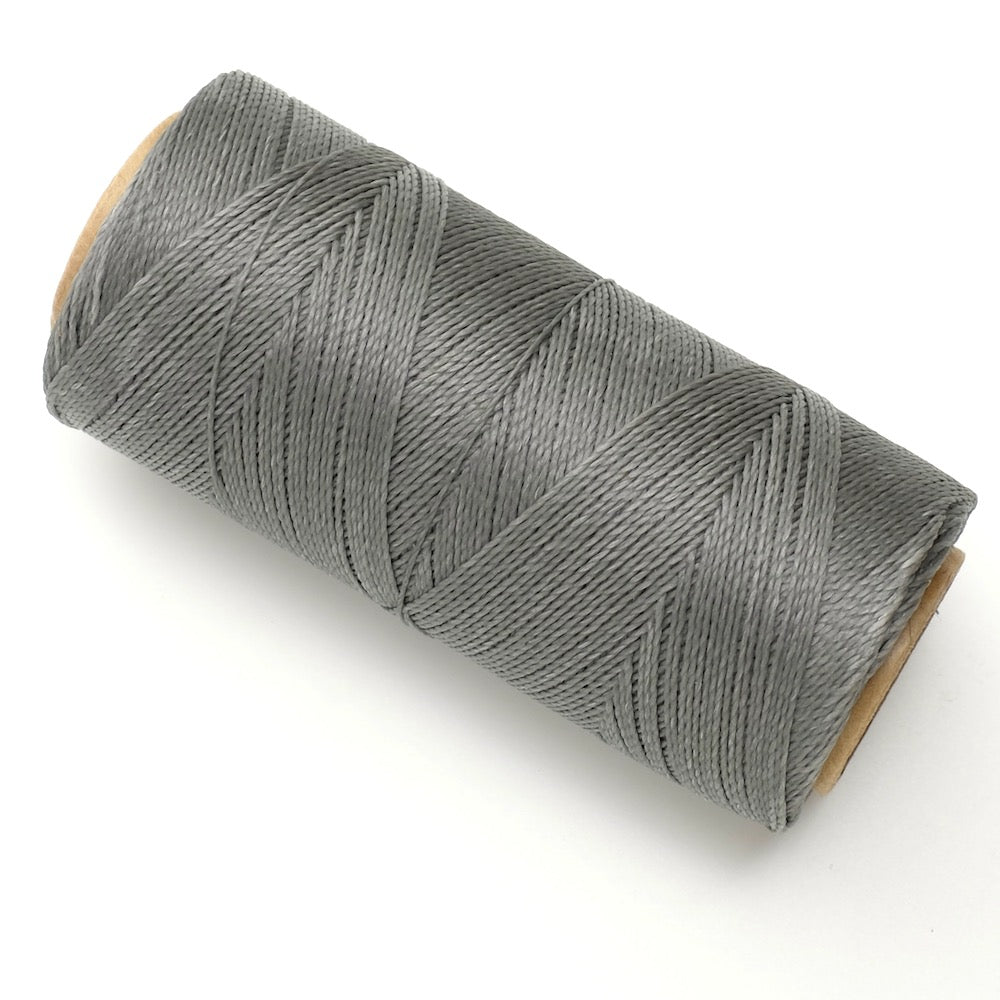
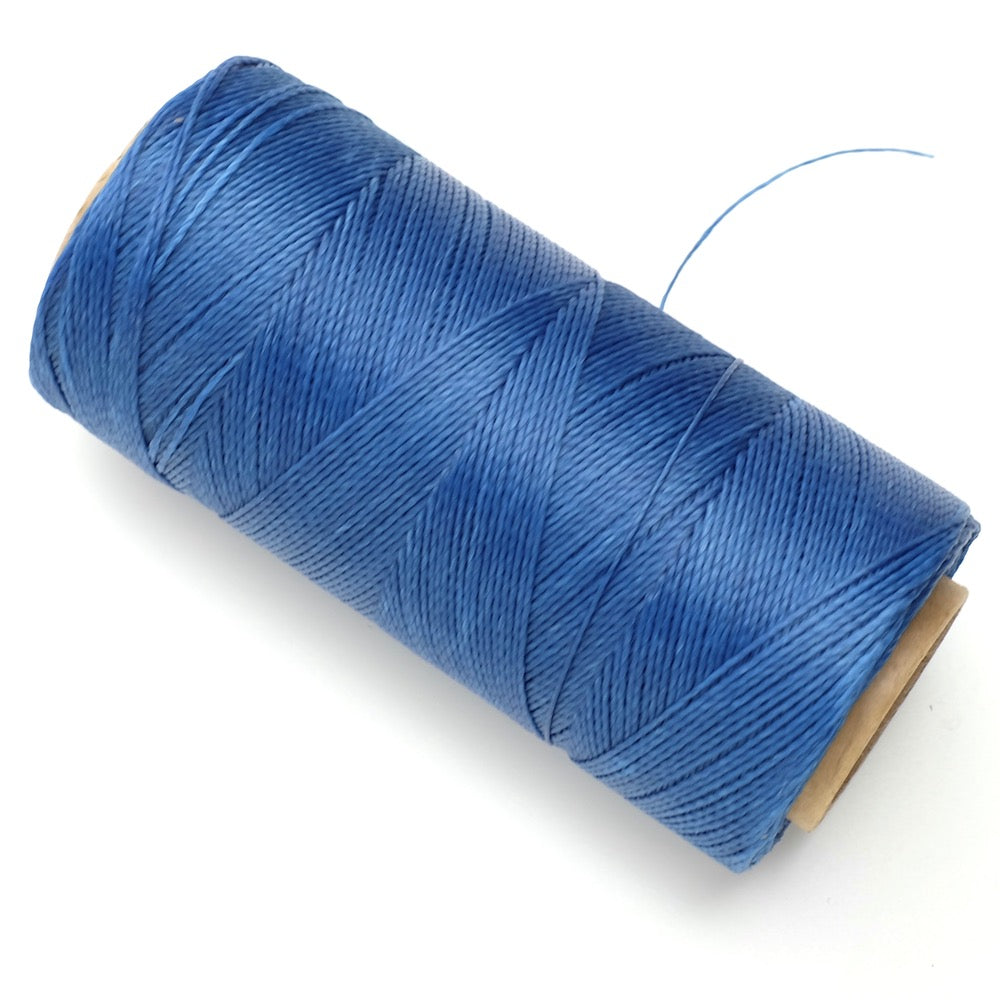
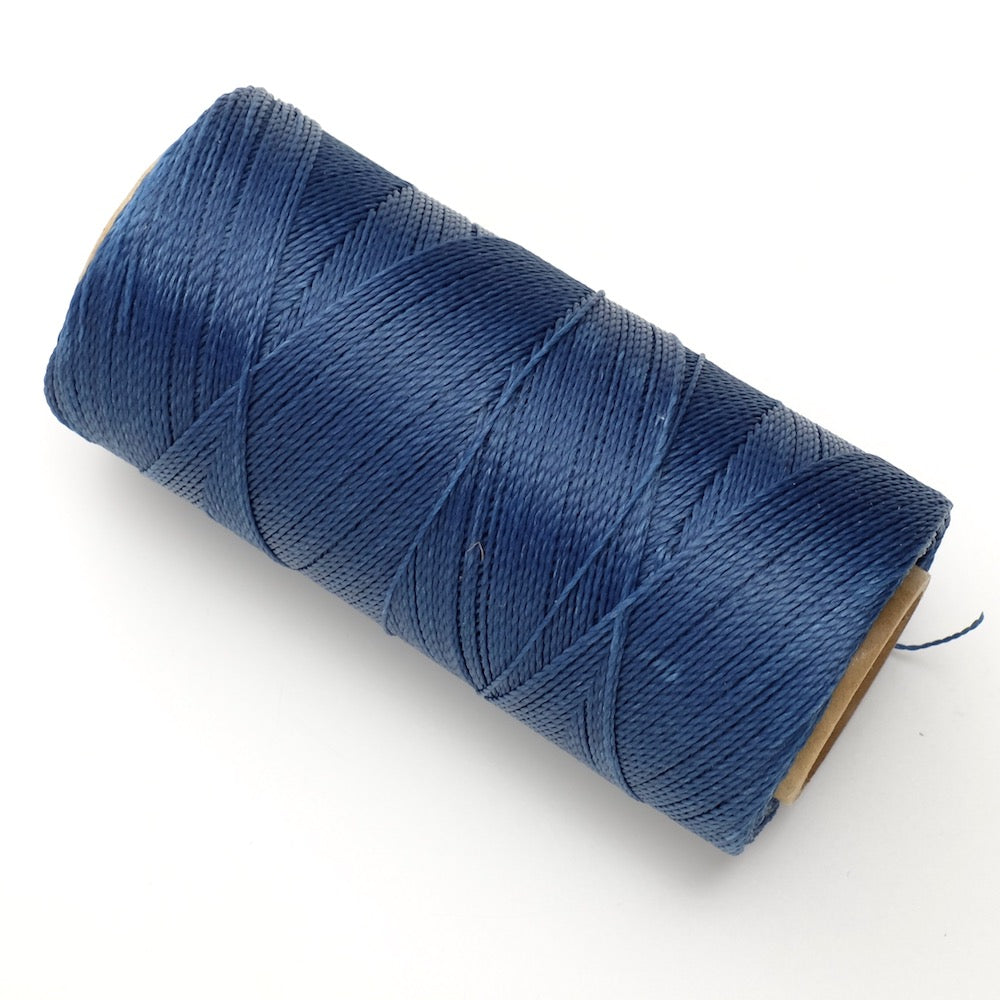
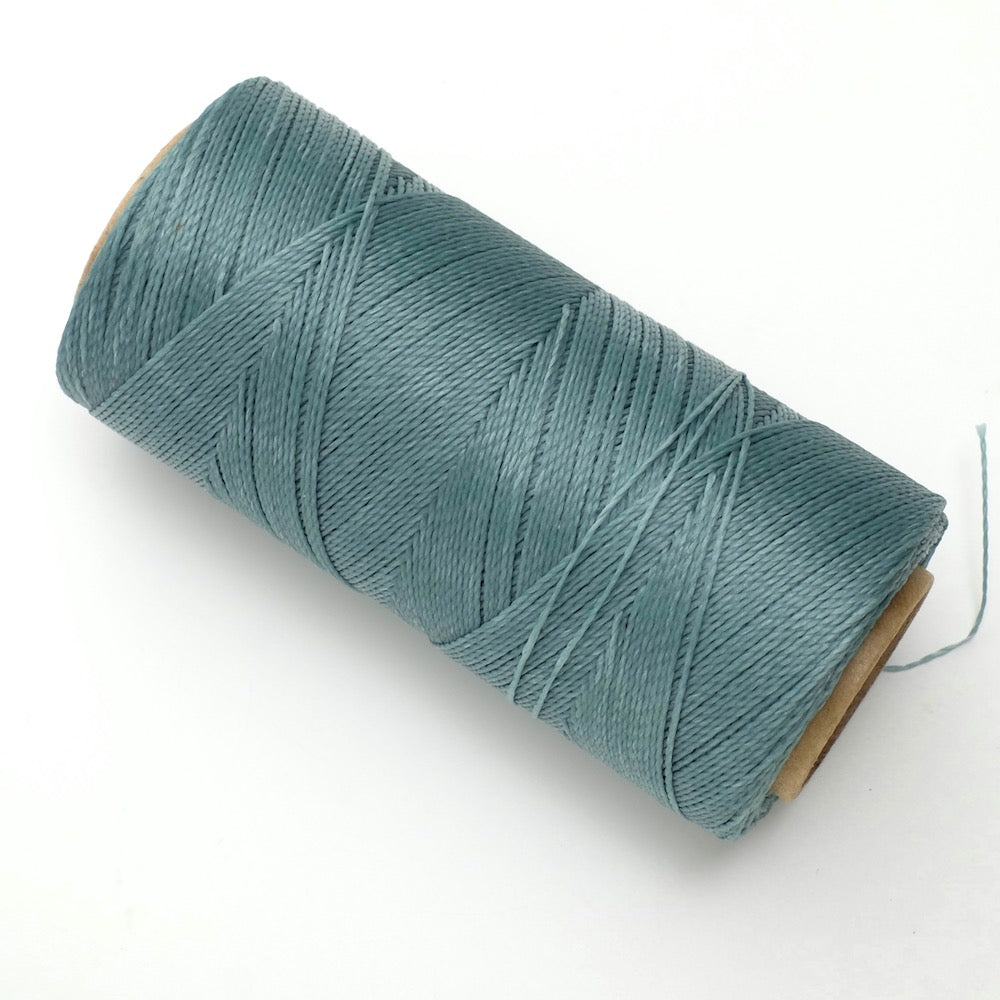
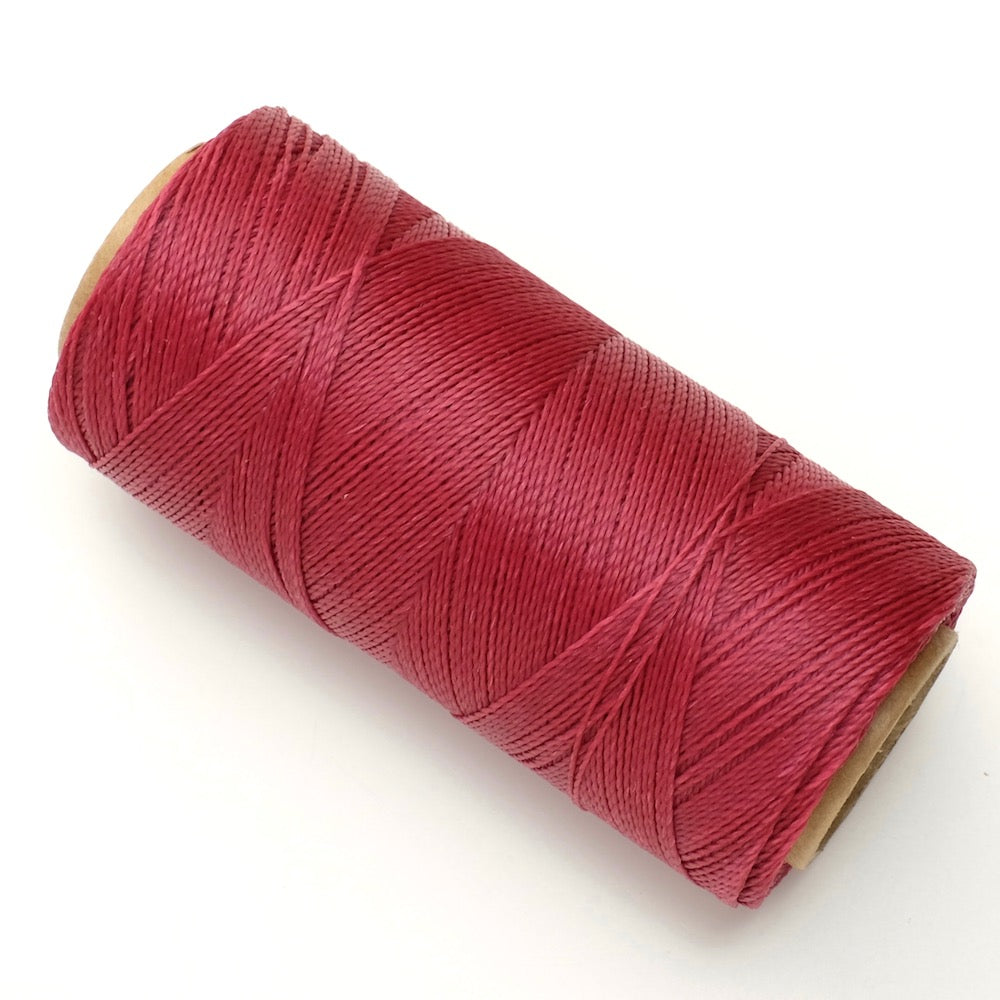
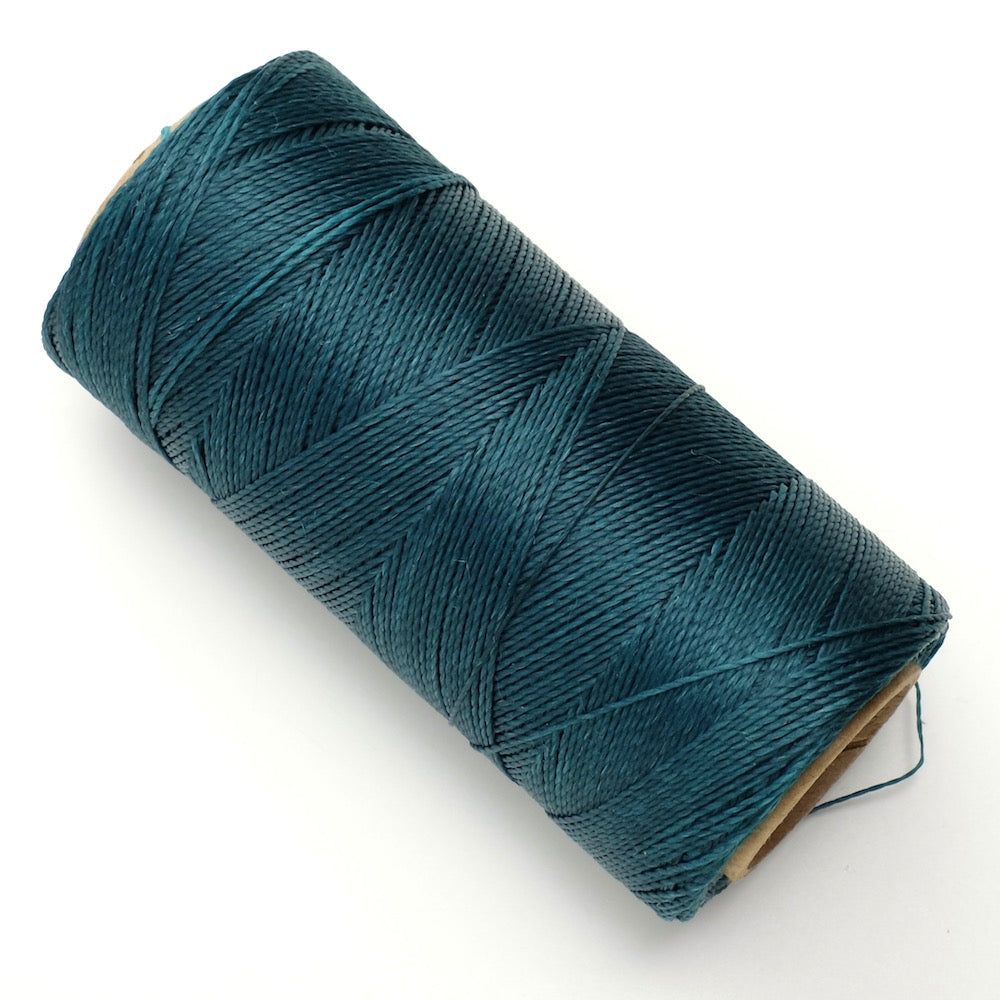
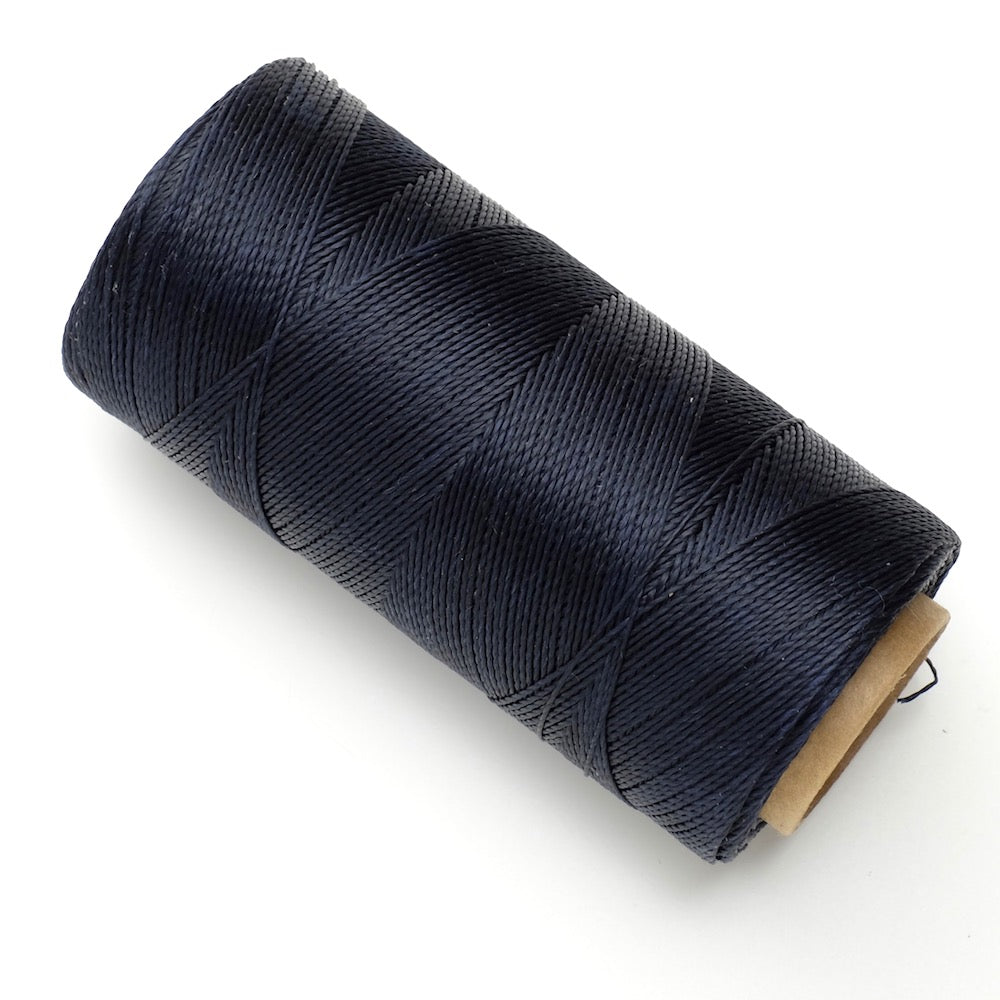
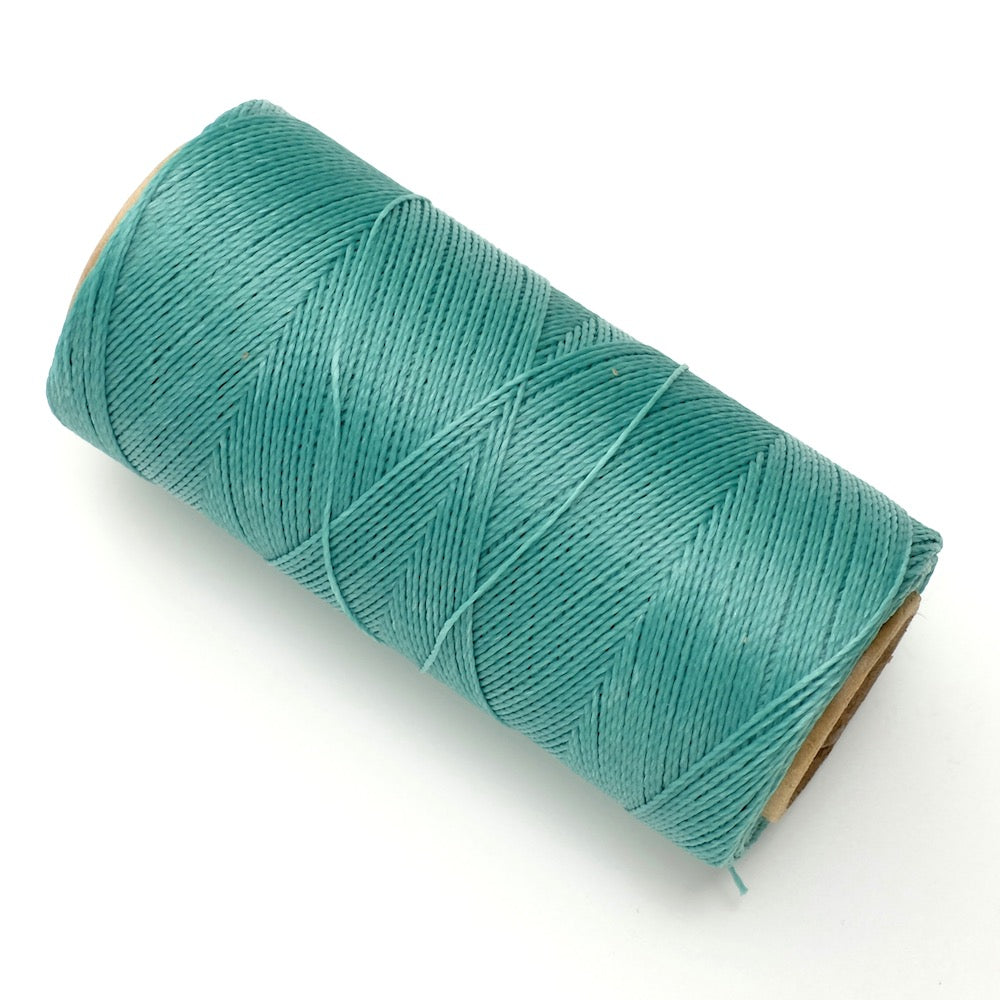
 Des cordons (taille au choix) Fils Linhasita, fils ciré...