|
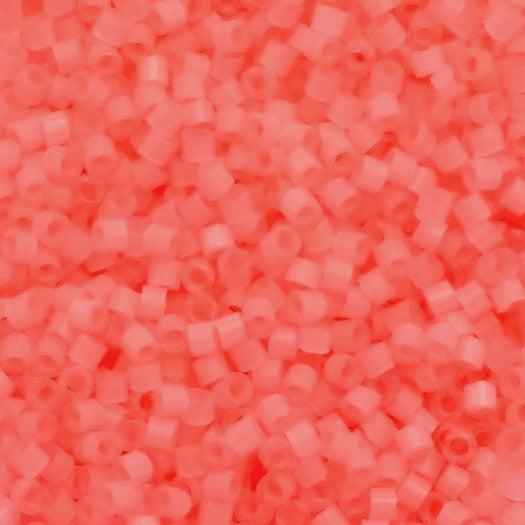
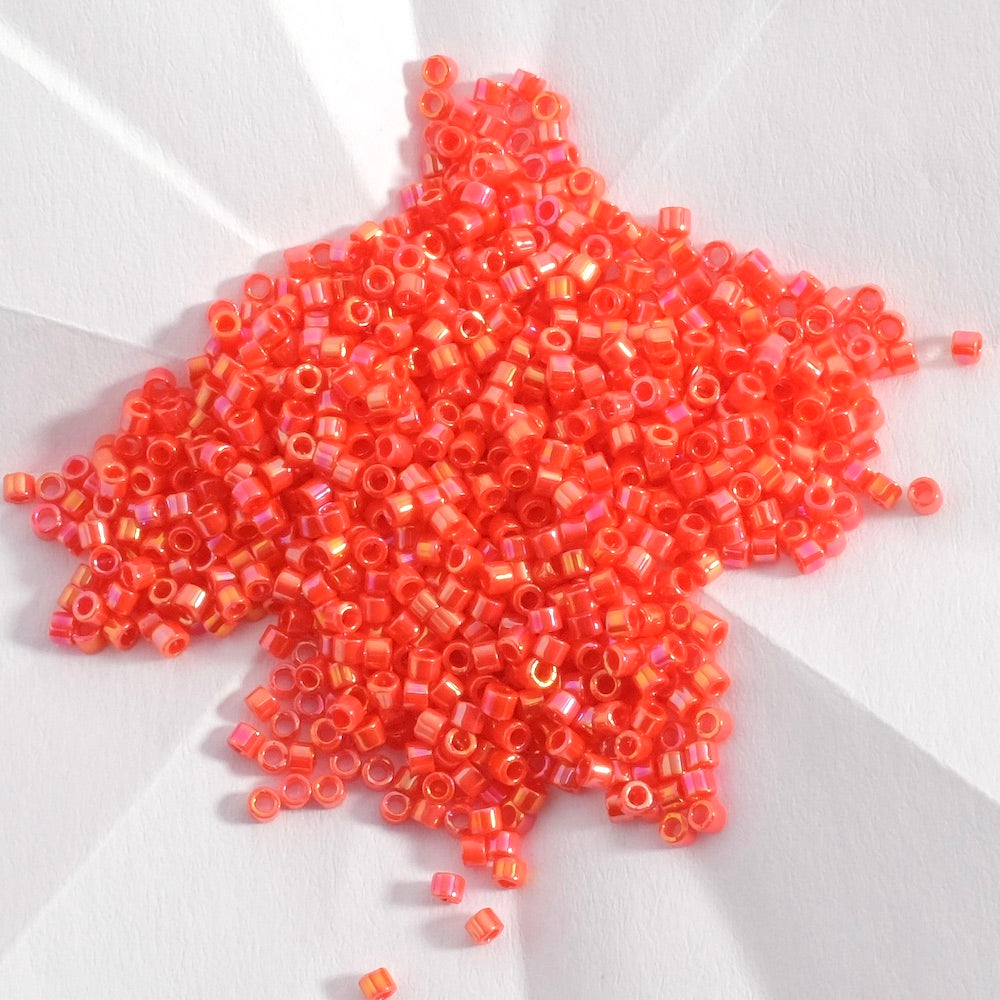
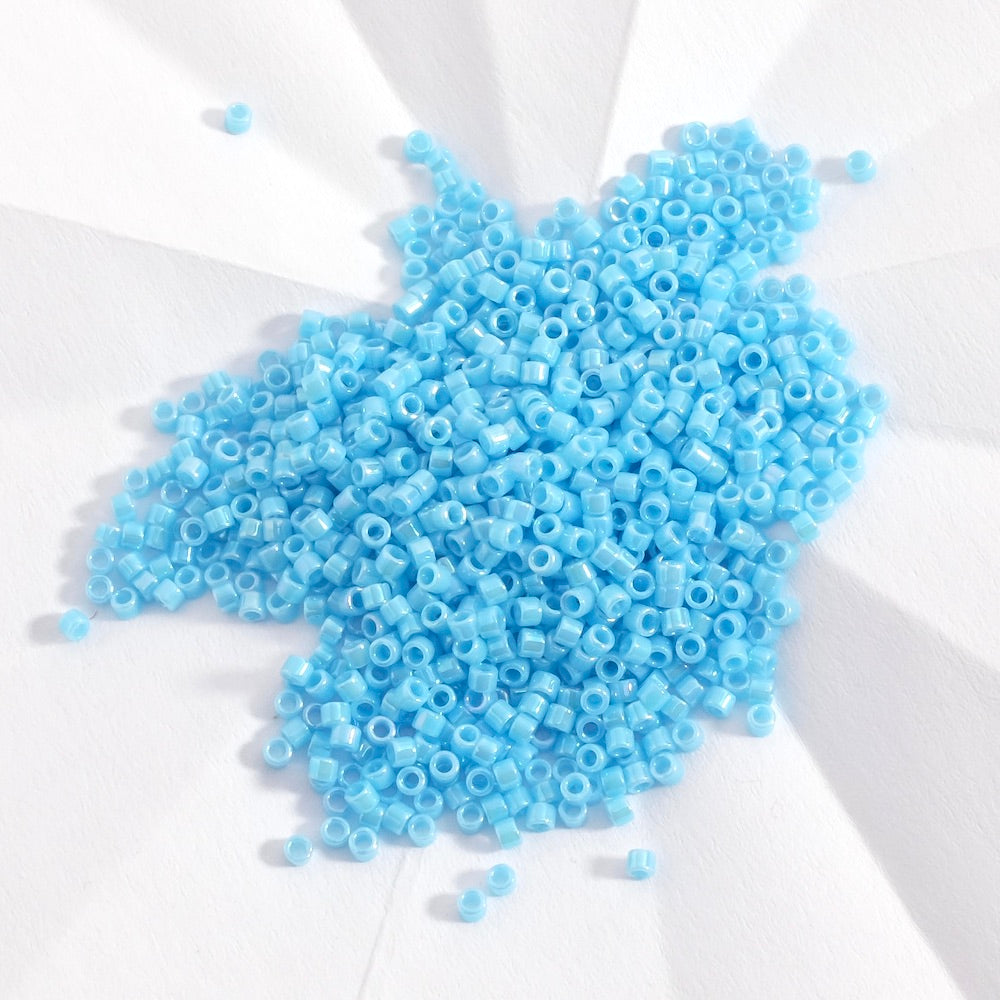
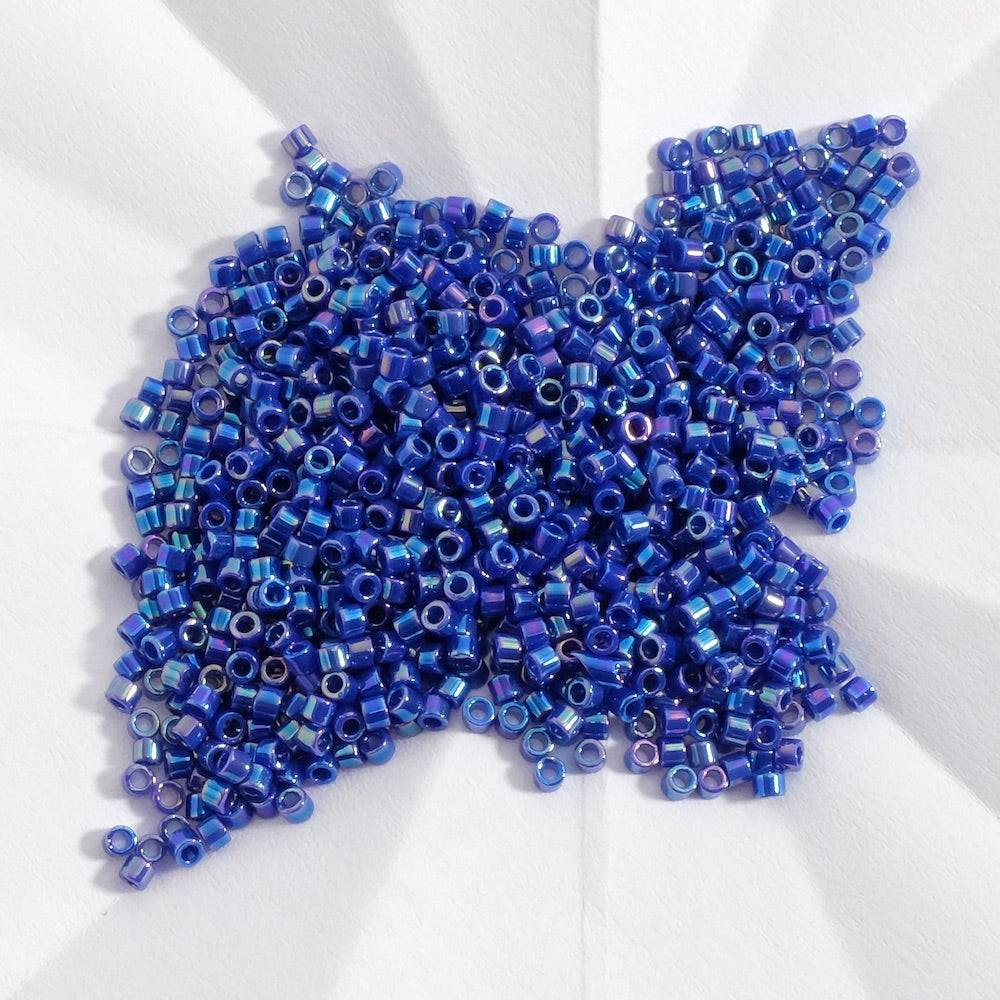
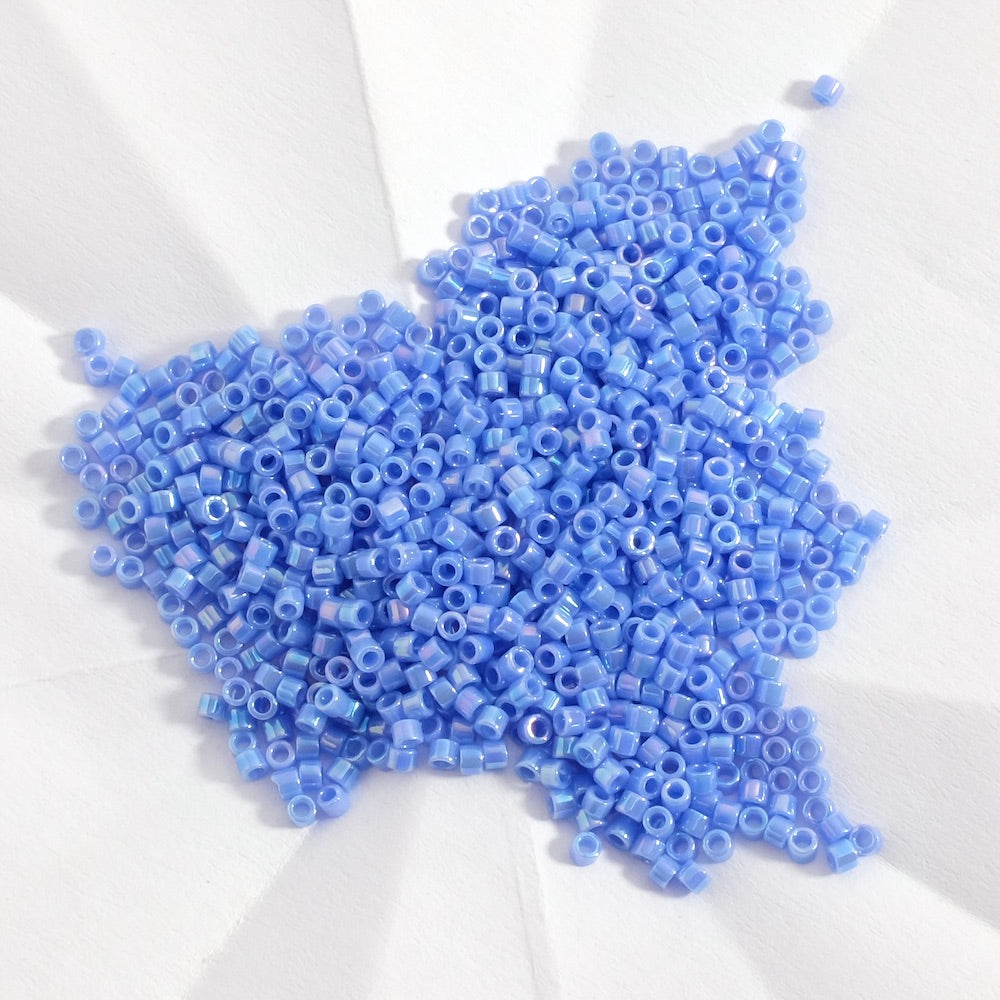
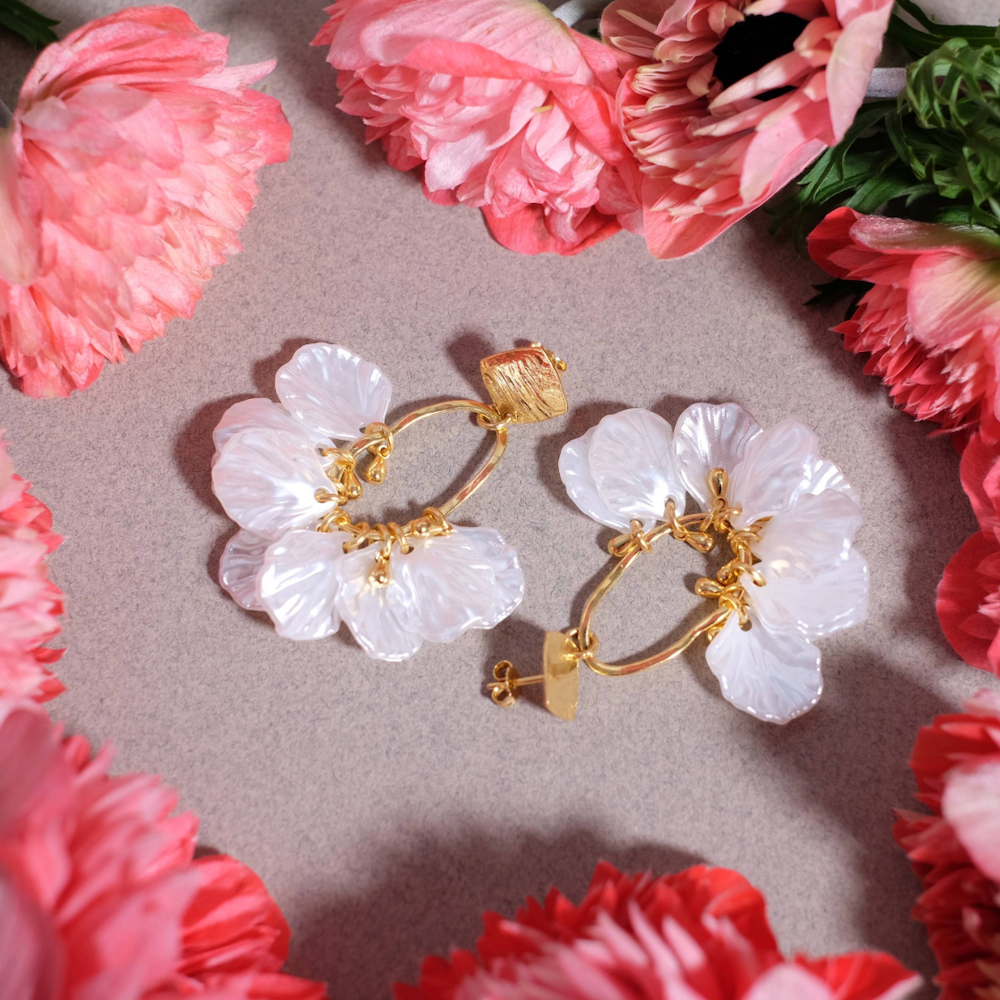
Craquez pour nos nouvelles boucles d'oreilles colorées et acidulées, composées de perles Miyuki montées avec la technique du Brick stitch. Une création minutieuse qui vous permettra d'appréhender les diminutions et les augmentations. Ensuite vous pourrez mettre en forme le tissage pour réaliser ce superbe berlingot de perles ! Belle réalisation !
|
|---|
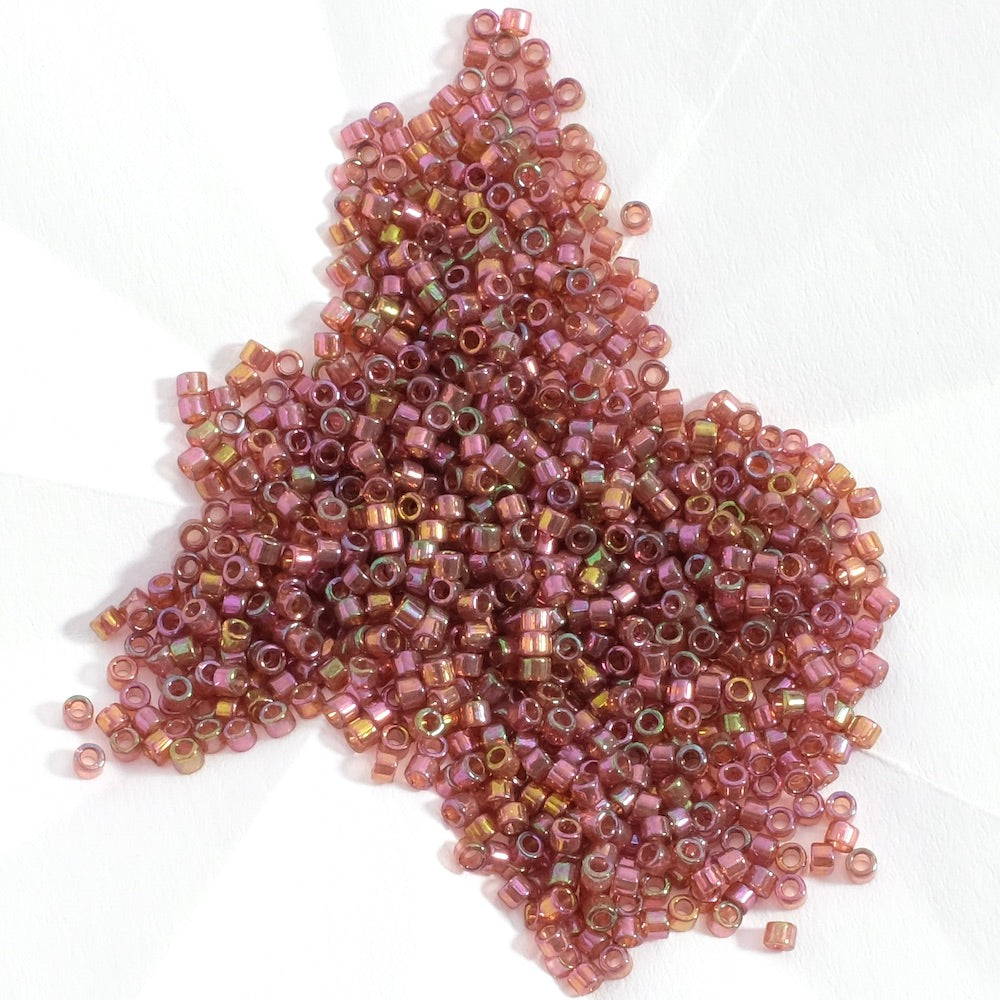
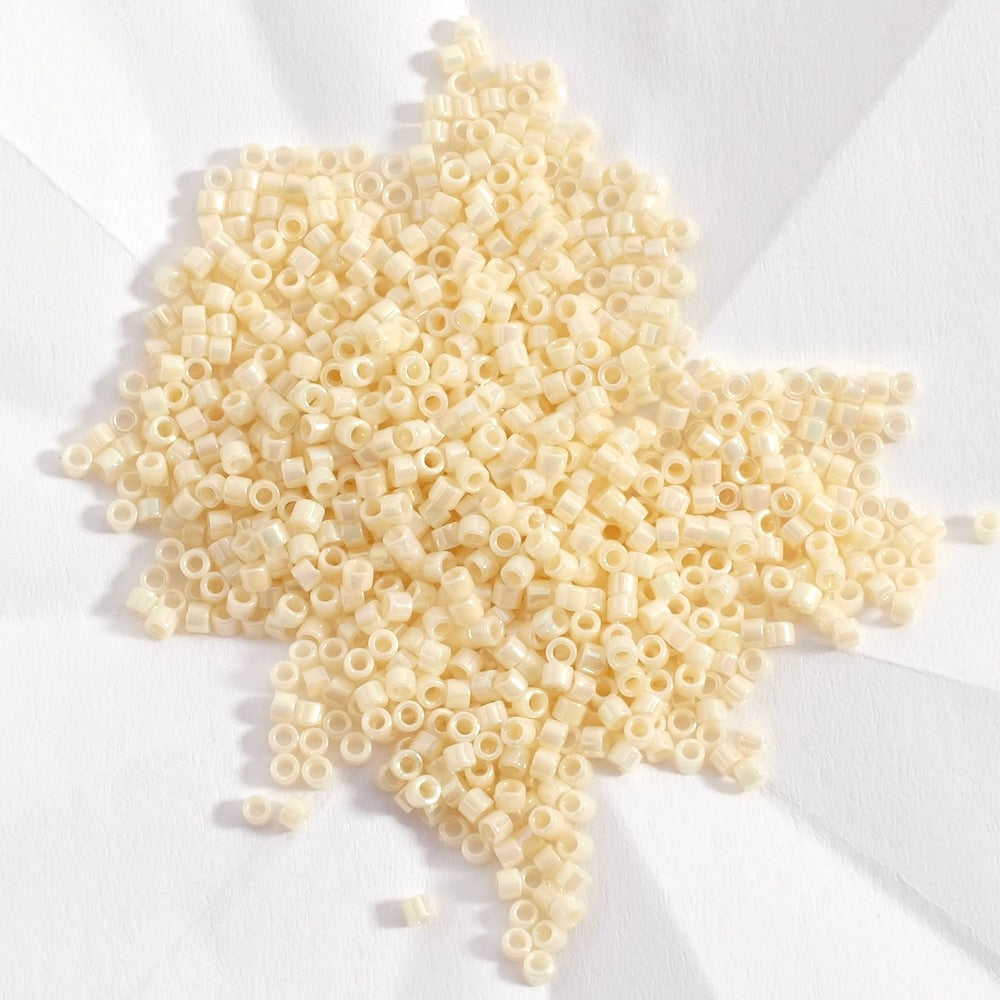
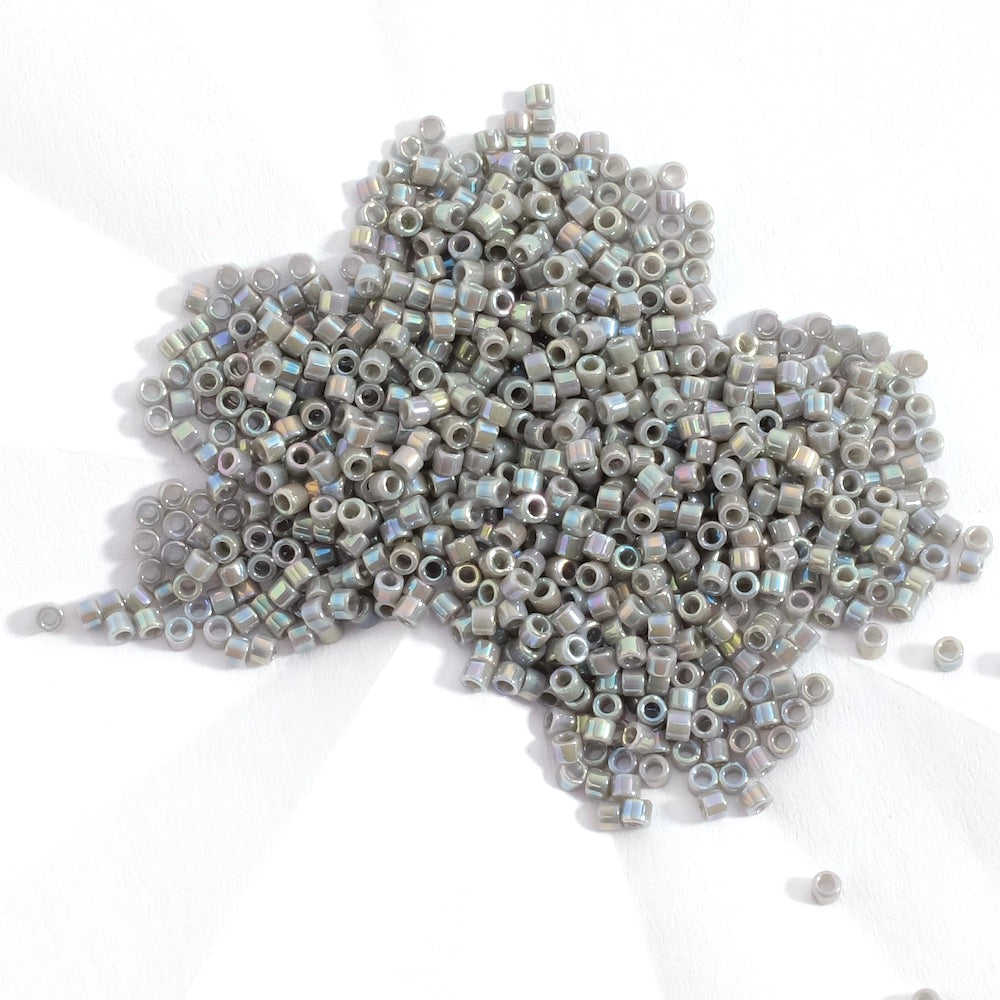
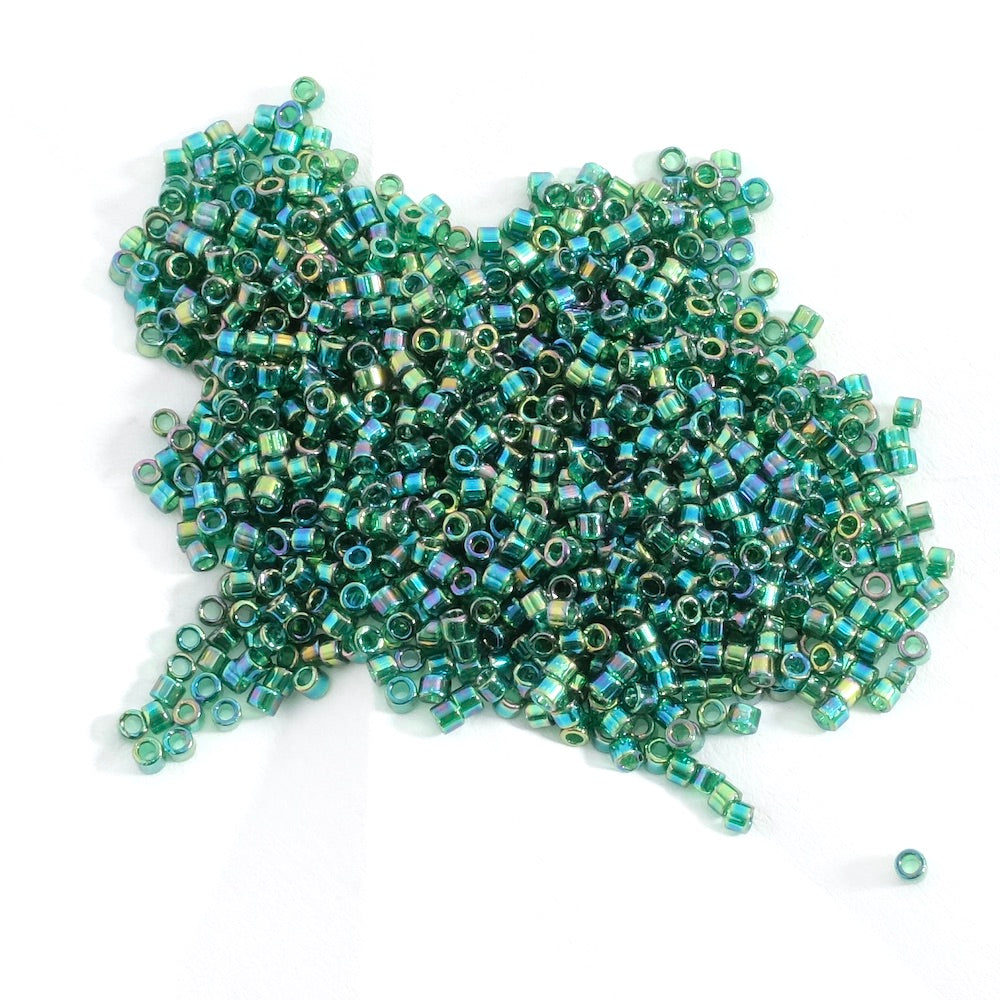
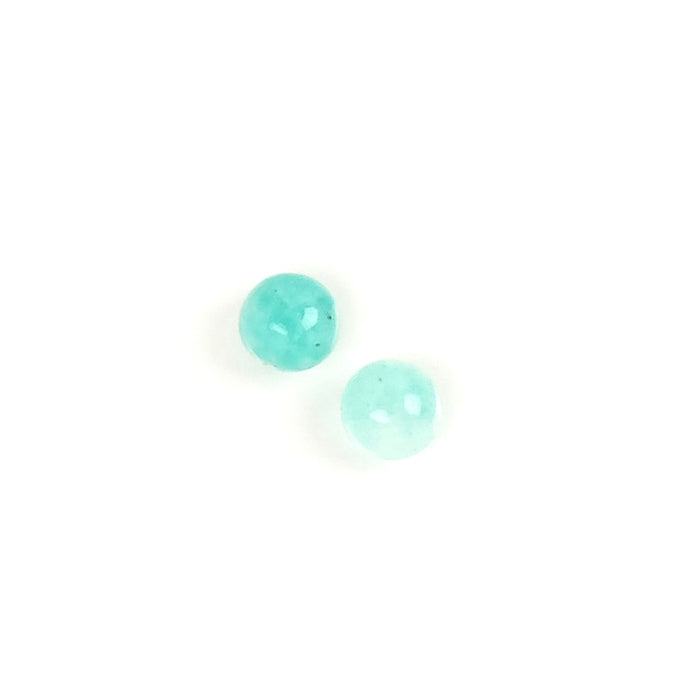
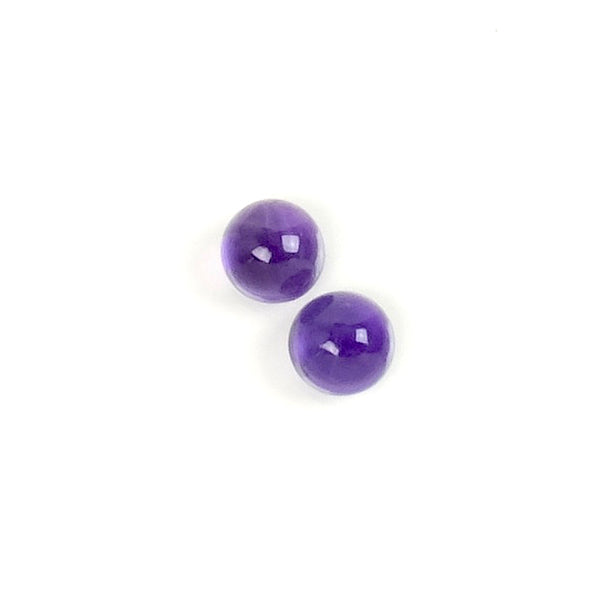
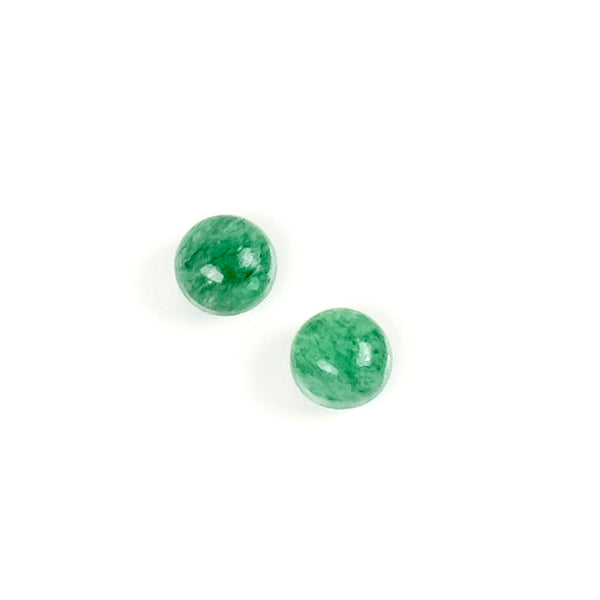
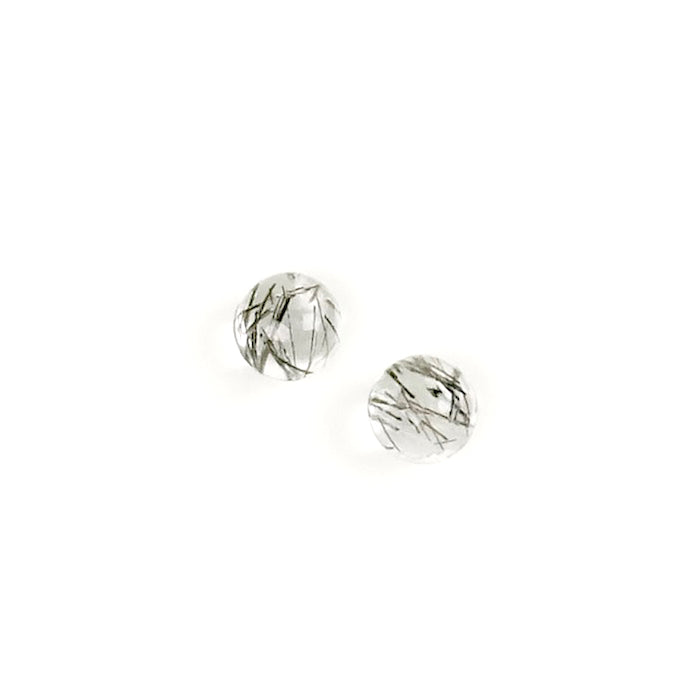
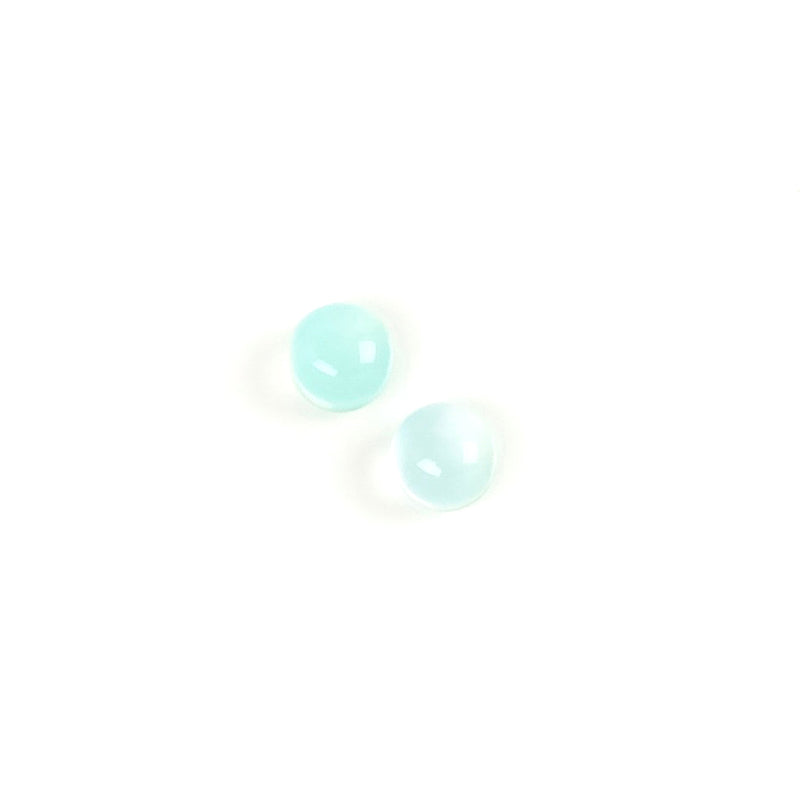
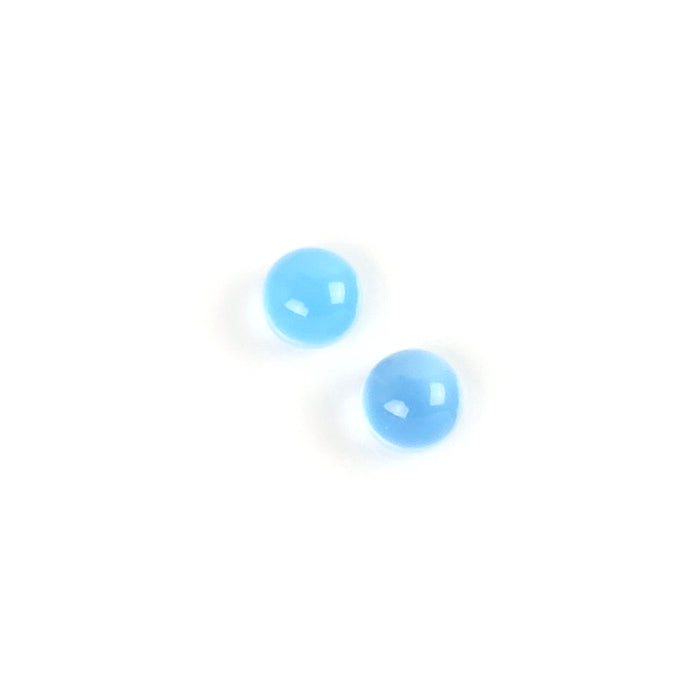
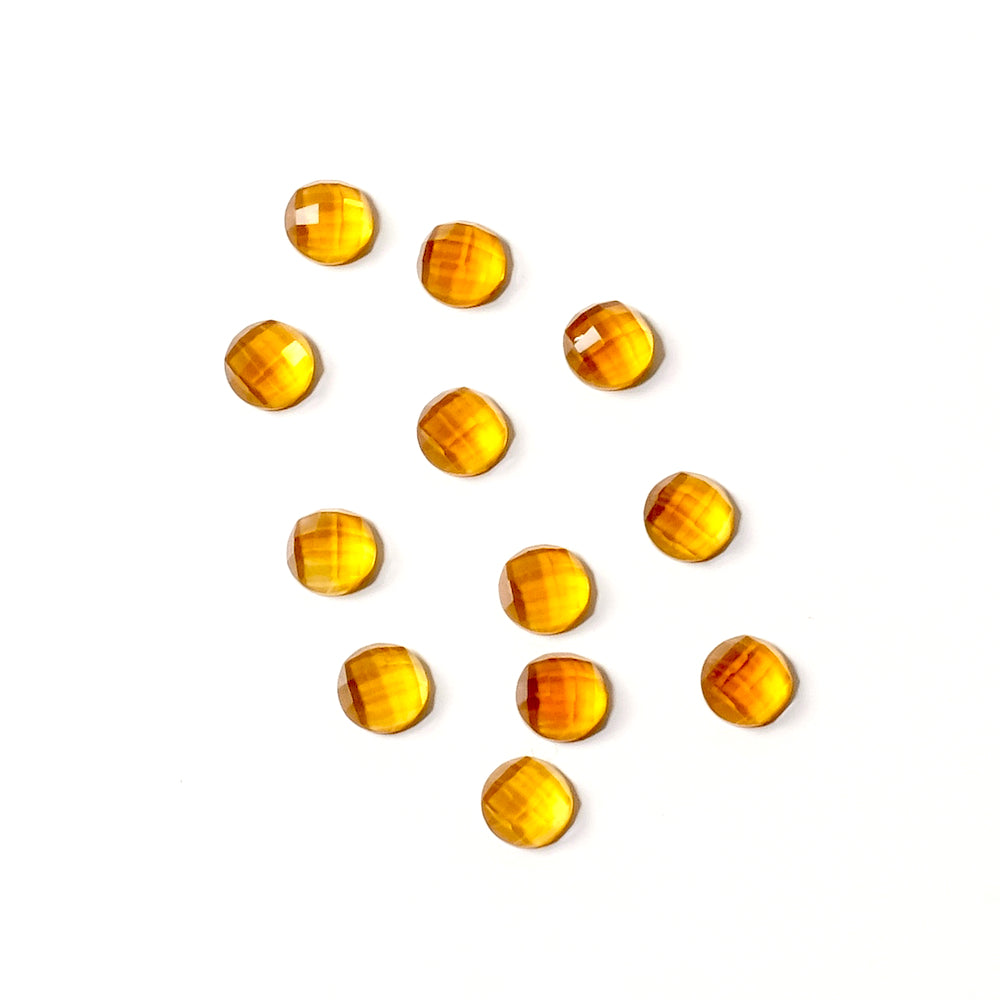
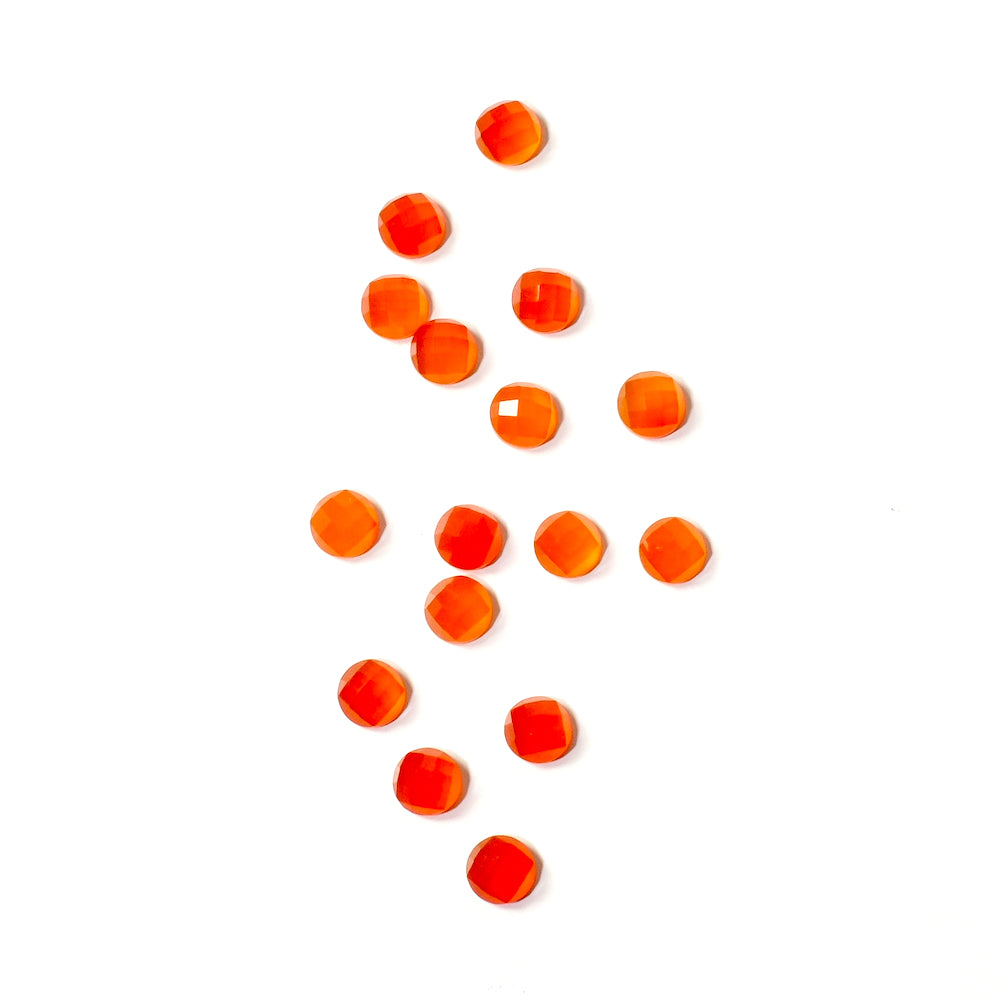
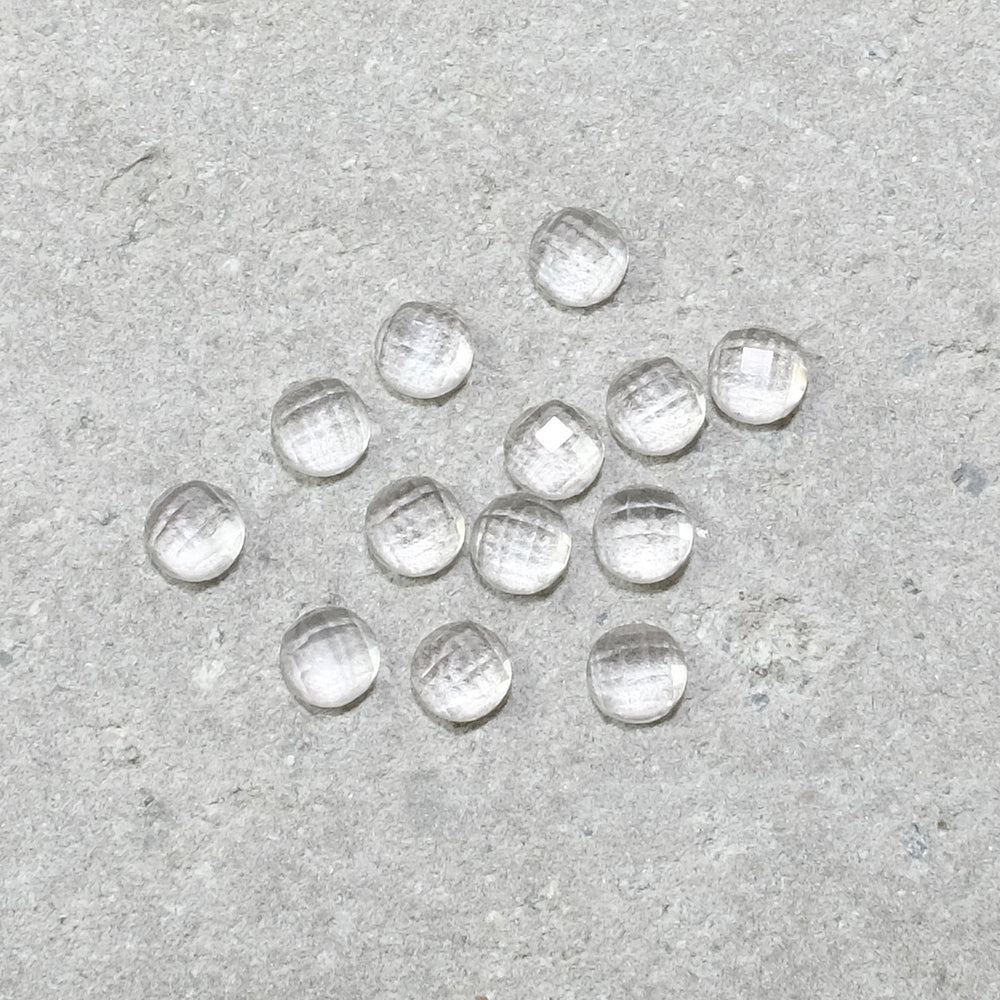
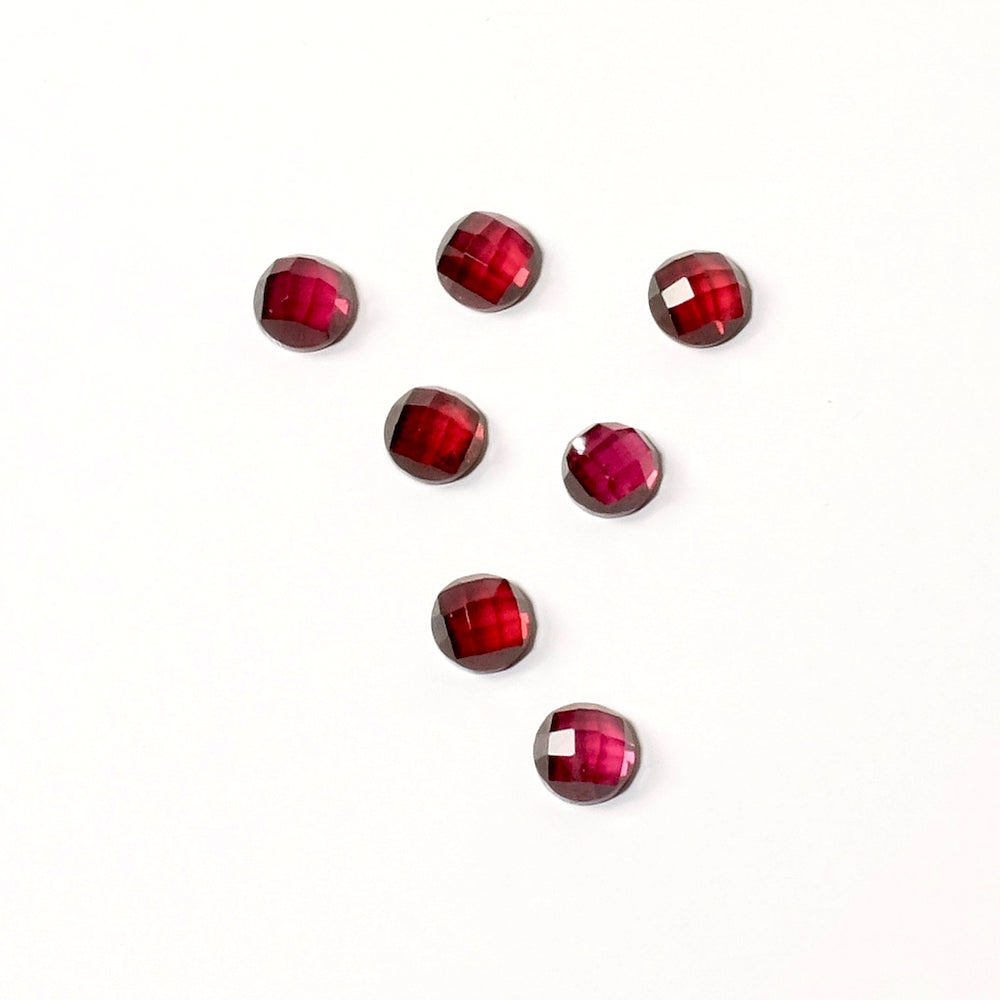
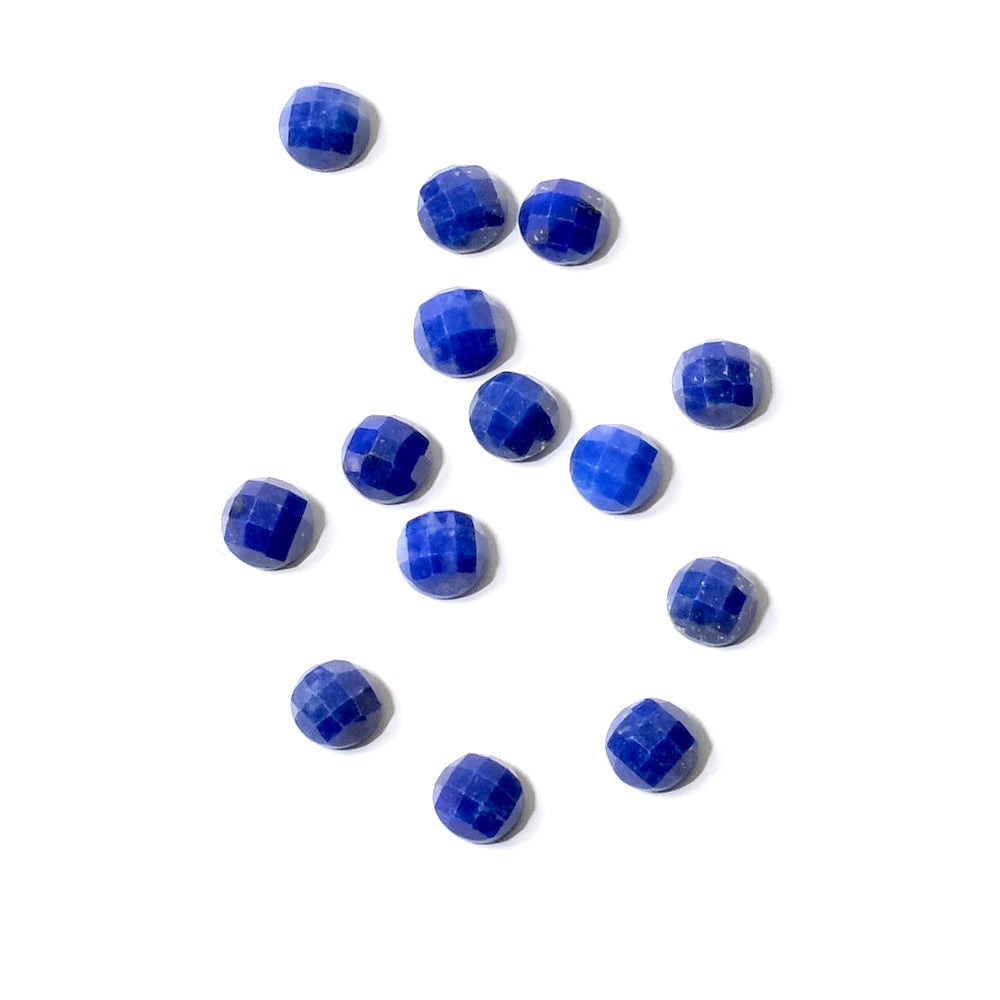
| Pour cette réalisation il vous faut : | ||||
|
|
||||
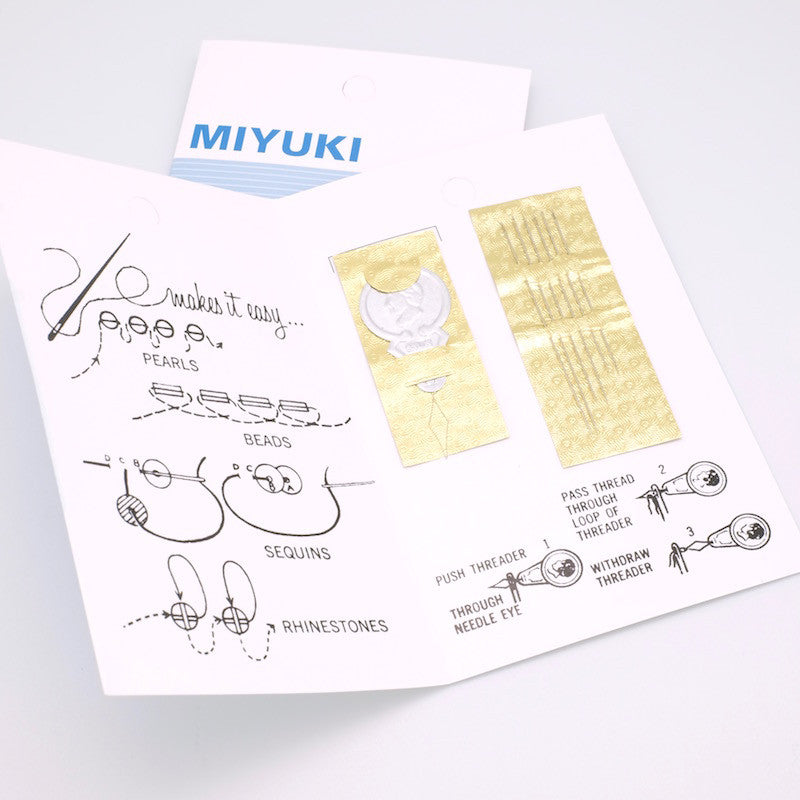
| Les outils à utiliser : | ||||
|
|
||||
|
Ce bijou n'est pas très compliqué à réaliser. Suivez bien les explications ci-dessous pour apprendre les techniques de base de tissage et regardez bien les visuels pour suivre les rangées de perles.
|
||||
|
Le montage : |
||||
|
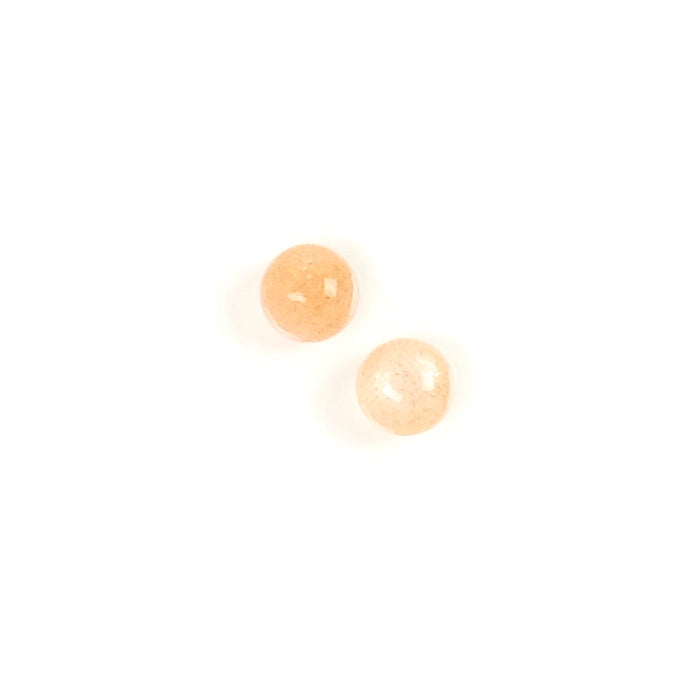
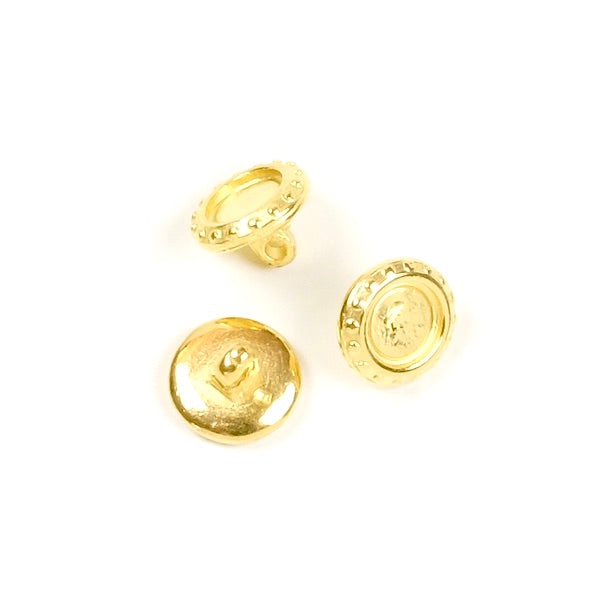
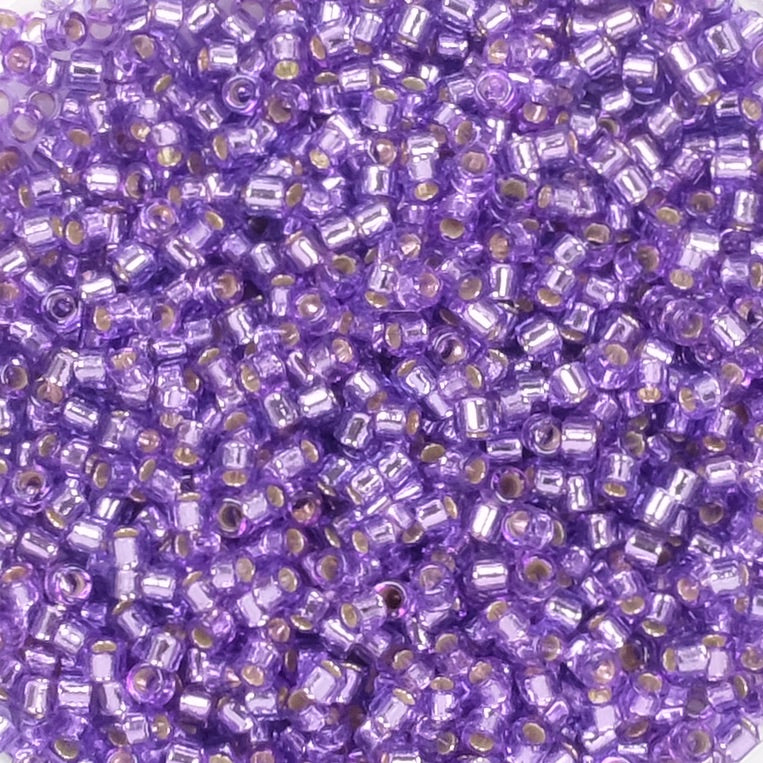
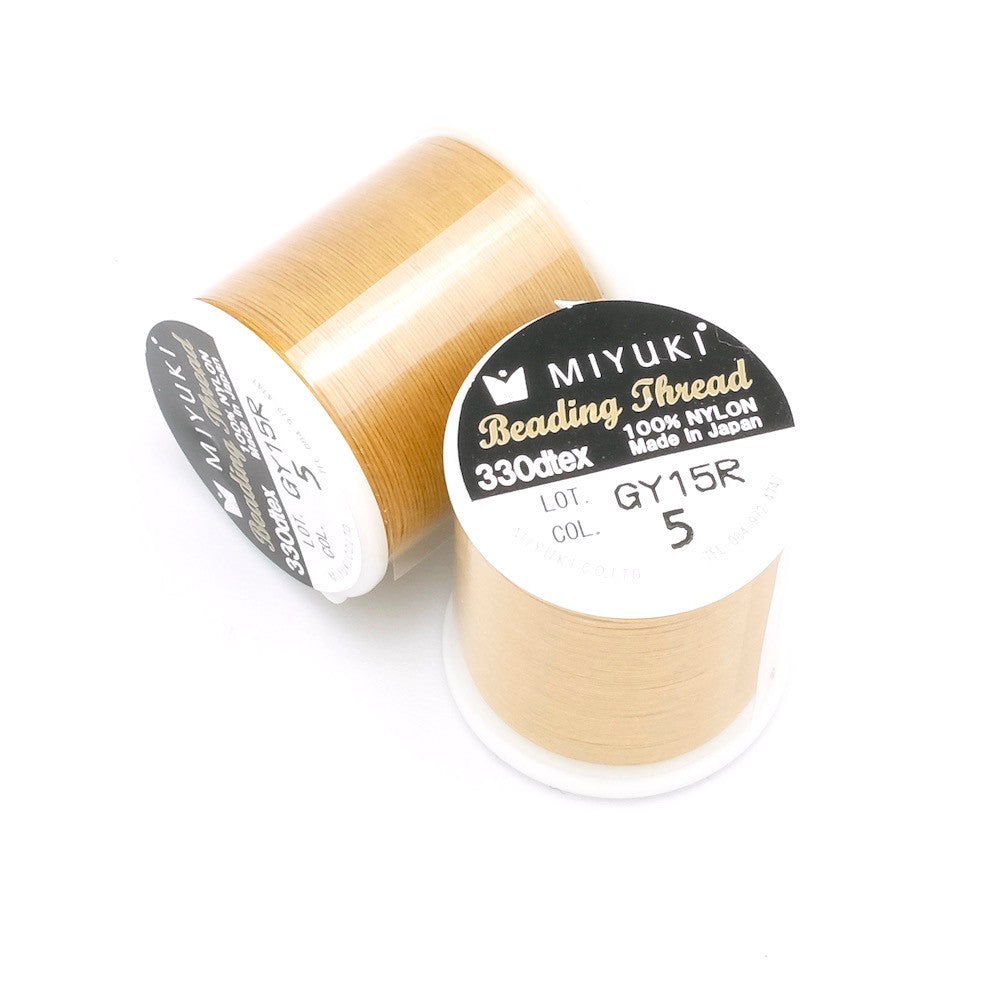
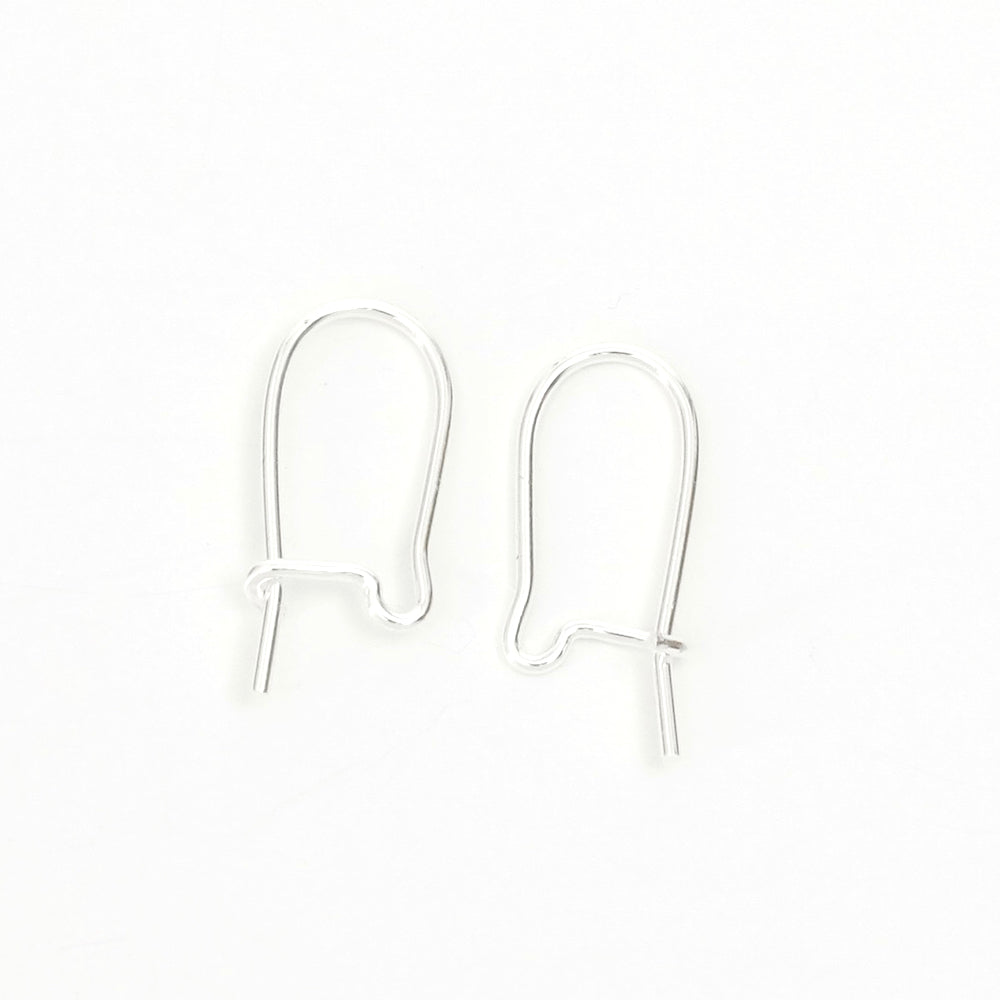
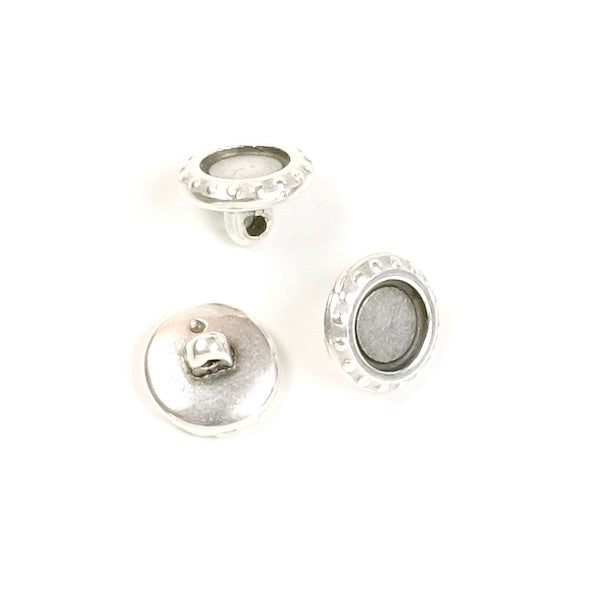
Pour commencer, coupez un fil d'environ 1,5 mètre. Je préfère prendre un peu plus long sur ce type de montage car un raccord en plein milieu peu s'avérer complexe et assez ennuyeux ! Enfilez le fil dans le chas de l'aiguille. Maintenant nous allons commencer le tissage par la rangée la plus grande de premier triangle violet. Retrouvez toutes les techniques de tissage Brick stitch sur notre page dédiée. >>> Apprendre le tissage Brick stitch <<<  Montez une première rangée de 11 perles en conservant la moitié du fil pour repartir sur le bas du tissage par après. Continuez la 2ème rangée avec un départ en diminution invisible. Votre 2ème rangée est ainsi composée de 10 perles. Réalisez la 3ème rangée de 9 perles toujours en diminution et au centre de la rangée remplacez une perle par le pendentif à tisser.  Continuez toujours avec cette méthode pour réaliser un triangle. Arrêtez-vous avec 2 perles pour la pointe de triangle.  Maintenant, repartez en bas du triangle avec le fil mis de côté au départ. Réalisez une rangée en diminution invisible, puis une rangée en augmentation, une en diminution et à nouveau une en augmentation.  Changez de couleur de perles. Réalisez une rangée en diminution puis une en augmentation. Ensuite continuez le triangle en diminution invisible et arrêtez-vous avec 2 perles pour la pointe.  Maintenant reliez les 2 pointes ensemble en tissant les perles en bordure et pensez à placer le support boucles d'oreilles lors du passage du fil. Ainsi le support sera directement tissé au bord des perles. Faites 2 passages dans les perles et le support. Ensuite redescendez le fil dans quelques perles pour bloquer le tissage. Pour finir collez le cabochon dans son support.
Procédez de la même manière pour l'autre boucle d'oreille. Votre bijou est terminé ! Belle création ! Retrouvez toutes les fournitures pour la réalisation de ce bijou en bas de la page. |
||||
 |


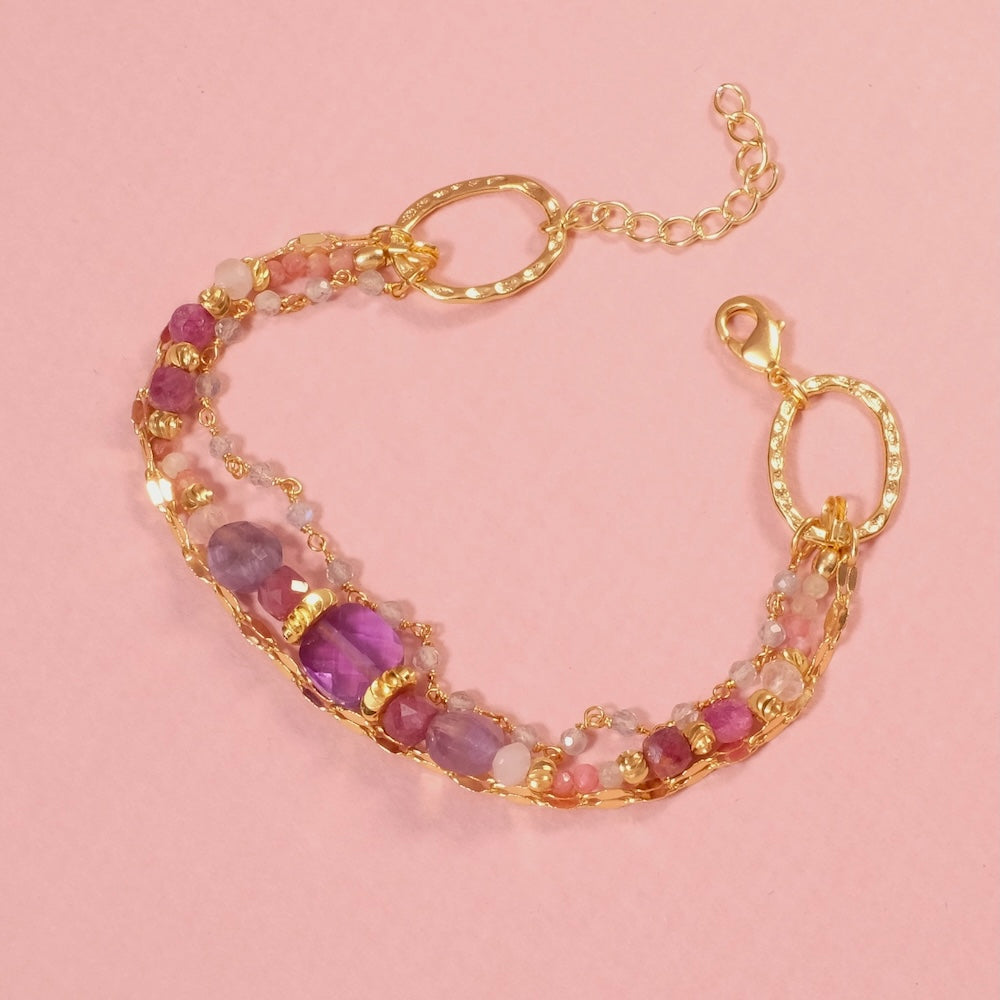
Composez un bijou unique en sélectionnant Pierres de gemmes et apprêts doré à l’or fin 24K (Europe). Vous apprendrez les bases du montage, les harmonies de couleurs et les finitions propres—puis repartirez avec votre création, créé dans une ambiance conviviale à Paris 11e.
A réserver seule ou entre amies !

Rejoignez Perles Corner pour découvrir nos nouveautés, Tutoriels exclusifs et bien d'autres surprises... et recevez votre bon par email !


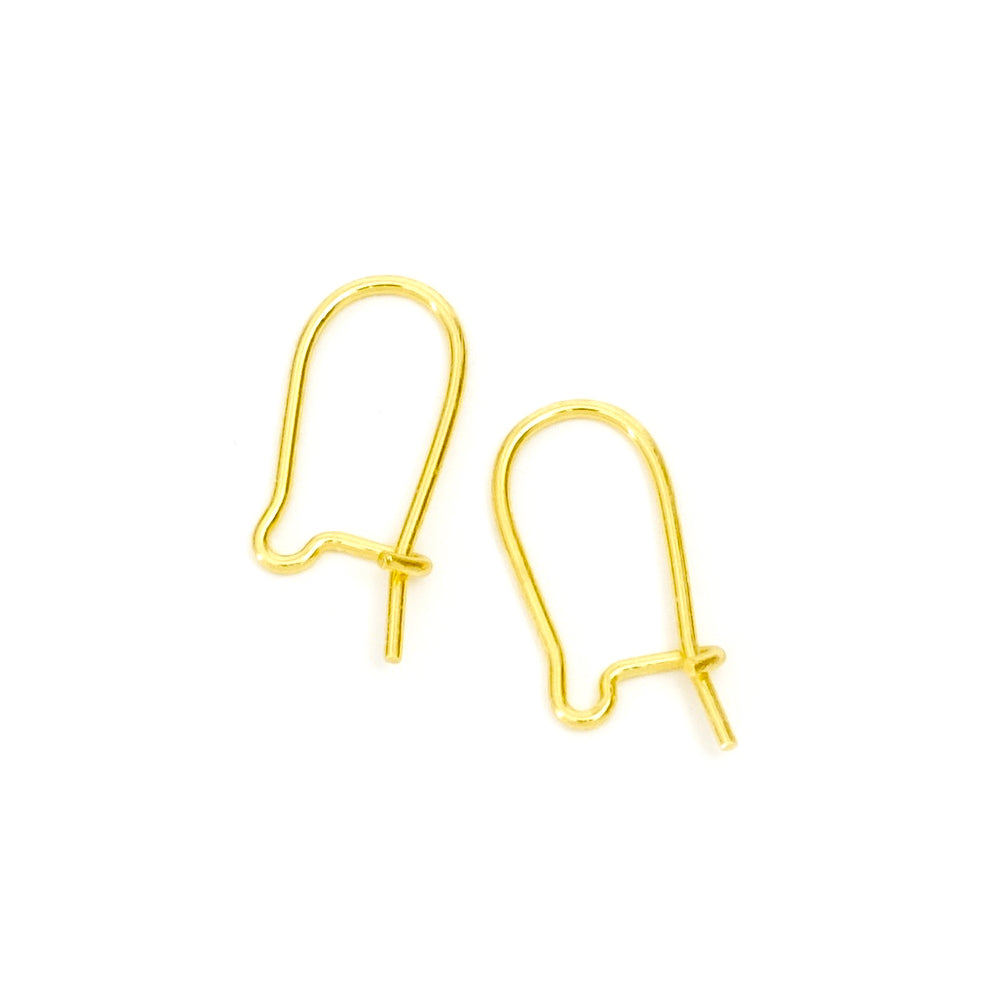
 2 supports boucles d'oreilles dormeuses fils Doré 24K