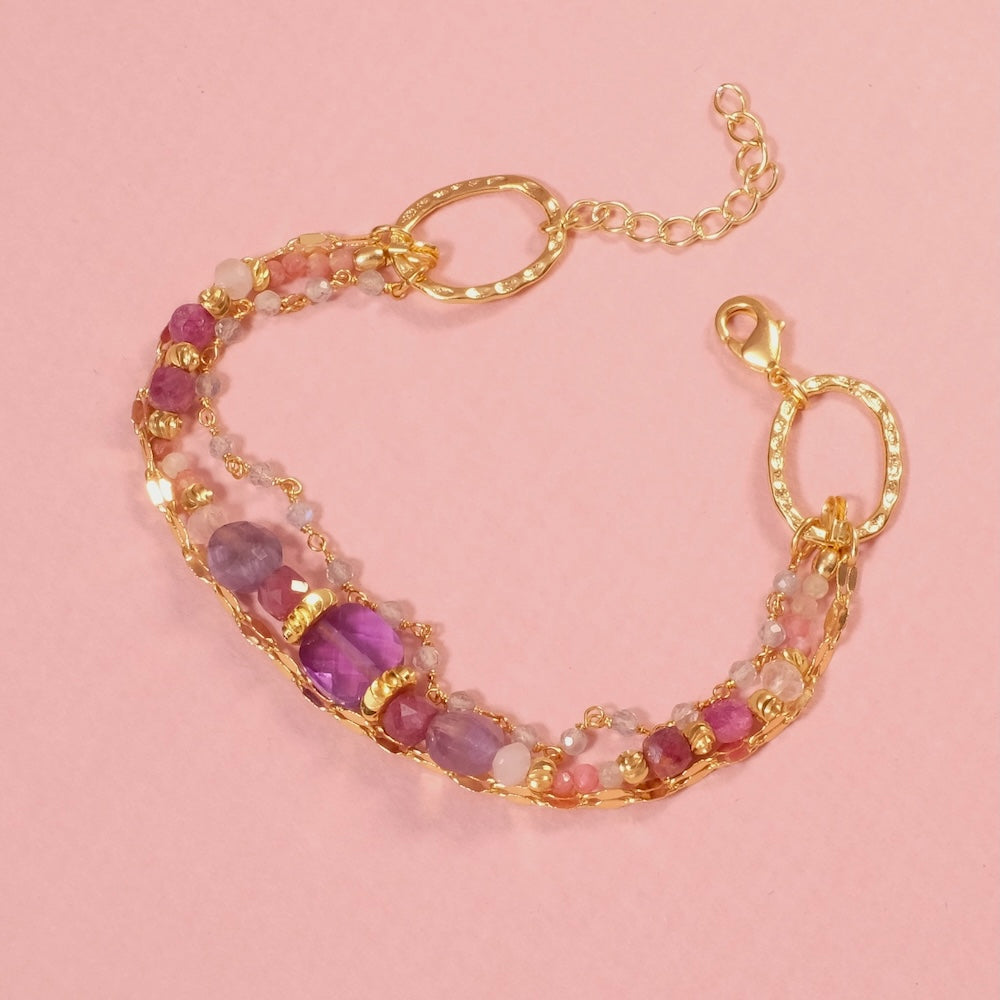
Élégance Intemporelle : Créez votre Collier ras de cou en Pierres Naturelles
Chères créatrices, laissez-vous séduire par l'art délicat de la création de bijoux fait-main avec notre tout dernier tutoriel.
Je vous présente aujourd'hui une manière unique de capturer l'essence de l'élégance : un collier ras de cou en pierres naturelles, sublimé par des perles dorées 24K et un pendentif graphique, aussi raffiné que contemporain.
Je vous partage ici des conseils pour trouver les perles idéales ainsi que des astuces et techniques essentielles en création Bijoux.
Vous aurez besoin de :
- un fil de perles facettées 2mm en pierres naturelles
- 6 perles 4mm et 2 perles 8mm en pierres naturelles
- 6 perles rondelles en métal 3mm
- 6 perles rondelles en métal 4mm
- un pendentif rectangle graphique
- du fil de soie 0,35mm
- un fermoir bouée
- de la chaine d'extension
Comment choisir des Pierres Naturelles de qualité ?
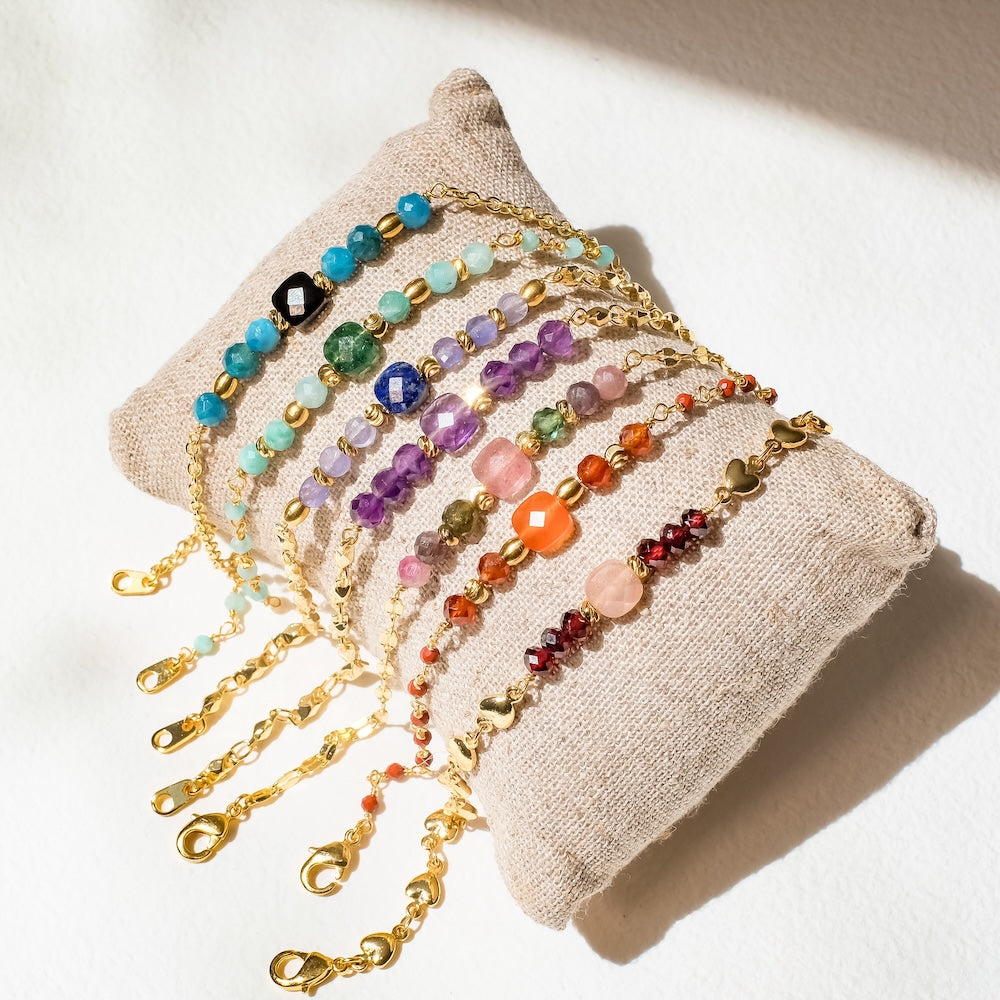
Le choix des pierres naturelles est l'acte fondamental de ce processus créatif. Vous pouvez choisir des pierres en fonction de leur couleur, de leur texture et ou de leurs significations. Cela rendra votre bijou non seulement beau mais également personnel. Que vous soyez attirée par l'apaisante améthyste ou l'énergisante cornaline, écoutez d'abord votre intuition.
Chez Perles Corner nous sélectionnons des pierres de qualité et vous proposons un grand choix de perles pour que vos créations soient aussi belles que dans votre imagination !
Vous pouvez retrouver toutes nos pierres naturelles directement sur le site internet et dans notre boutique de Paris.
Comment savoir si une pierre est vraiment naturelle ?
Les gemmes portent en elles une histoire vieille de millénaires, chacune racontant un récit de la terre d'où elle provient. Dans un monde où les bijoux se déclinent sous toutes les formes et matériaux, savoir distinguer une pierre naturelle d'une imitation est une compétence précieuse et essentielle pour garantir la qualité de vos créations. Pour les créateurs de bijoux, les collectionneurs et les curieux, reconnaître l'authenticité d'une pierre est essentiel. Voici quelques astuces pour vous guider.
- Touchez la pierre. Les pierres naturelles ont tendance à être plus froides au toucher que les imitations en plastique ou en verre. Même si elles se réchauffent avec le contact humain, elles restent fraîches plus longtemps.
- Observez la pierre à la lumière. Les pierres naturelles présentent souvent des inclusions ou des variations de couleur, signes de leur formation géologique. Ces imperfections peuvent être un indicateur d'authenticité, contrairement aux imitations qui ont souvent un aspect trop parfait et uniforme.
- Le prix, une pierre trop peu chère peu être un indicateur de mauvaise qualité.
Il existe encore beaucoup d'autres moyens, mais n'hésitez pas aussi à demander au vendeur.
Chez Perles Corner, nous sommes passionnés par les pierres, nous avons même une personne diplômée en Gemmologie qui source et sélectionne toutes nos pierres afin de vous proposer des pierres de qualité.
Le montage du collier ras de cou
Avec toutes vos perles à portée de main, il est temps de commencer l'assemblage.
Réalisez d'abord un noeud avec le fil sur l'anneau du pendentif. Faites un noeud bien serré pour sécuriser le montage.
Maintenant enfilez les perles une à une, en alternant les pierres naturelles et les perles dorées pour créer un rythme et une harmonie visuelle. Prenez le temps d'expérimenter l'ordre jusqu'à ce que vous trouviez l'équilibre parfait.
Continuez ensuite avec les perles facettées 2mm. Pour cela défaites-les par lot de 4/5 perles, ce sera plus facile pour les enfiler sur l'aiguille.


Comment faire un noeud sur un collier en perles
La finition de votre collier est aussi importante que son commencement.
Le positionnement du nœud au bord du fermoir est essentiel pour la durabilité de votre bijou mais c'est aussi l'étape la plus délicate !
Il n'y a rien de plus rageant que de finir votre enfilage de perles et de louper la pose du fermoir. Un collier trop serrer sera rigide et inconfortable. Trop lâche, les perles vont bouger et on pourra voir le fil.
Voici une astuce qui va vous permettre de réaliser un noeud parfaitement au bon endroit et en plus super facilement!
Réalisez un noeud simple pour raccorder le fermoir sur le fil. Maintenez le fermoir puis tirez sur le fil pour le ramener au plus près des perles.
Maintenant piquez une aiguille dans le noeud entre les perles et le fermoir.
Faites le derniers noeud normalement. Il va naturellement se placer autour de l'aiguille.
Enlevez l'aiguille puis serrez bien le noeud.
Pour sécuriser votre montage, je vous conseille de placer une petite pointe de colle sur les noeuds.

Créer votre propre collier en pierres naturelles est une aventure enrichissante qui aboutit à un bijou aussi unique que vous.
Quel plaisir de voir le résultat! C'est une expression de créativité, un exercice de patience et une vraie satisfaction personnelle.
Avec ces étapes et astuces, vous êtes maintenant prête à réaliser un collier raffiné, idéal pour ajouter une touche élégante à vos tenues de fin d'année ou bien à offrir en cadeau à quelqu'un d'important pour vous.
Belle réalisation !


