|
Discover our step-by-step visual to master the sliding knot technique and make discreet, adjustable bracelets in the blink of an eye. Perfect for your summer creations or friendship bracelets, these models adapt to all your desires. See step-by-step instructions below.
|
|---|
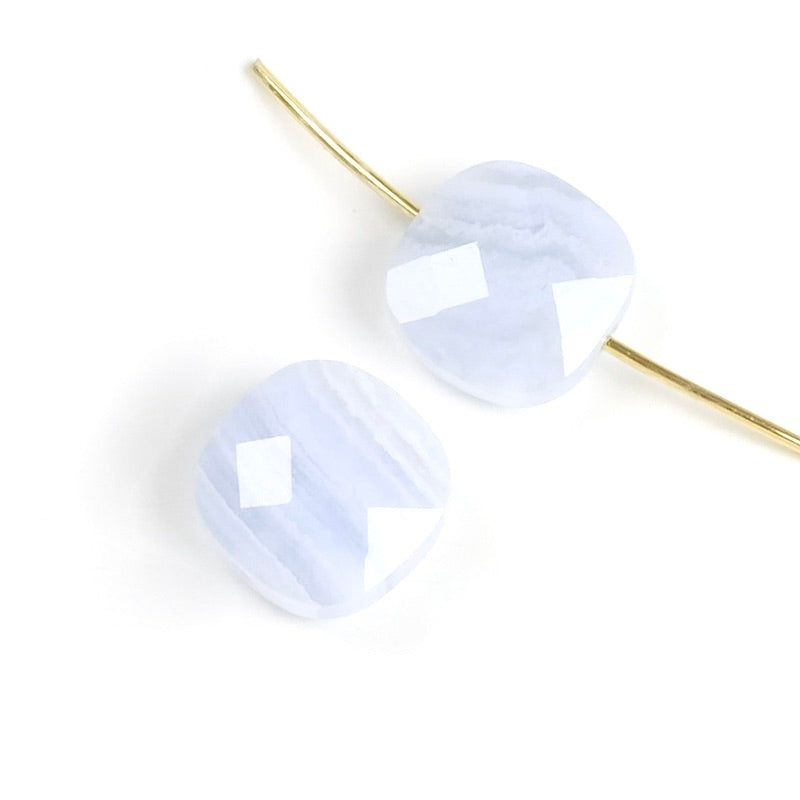
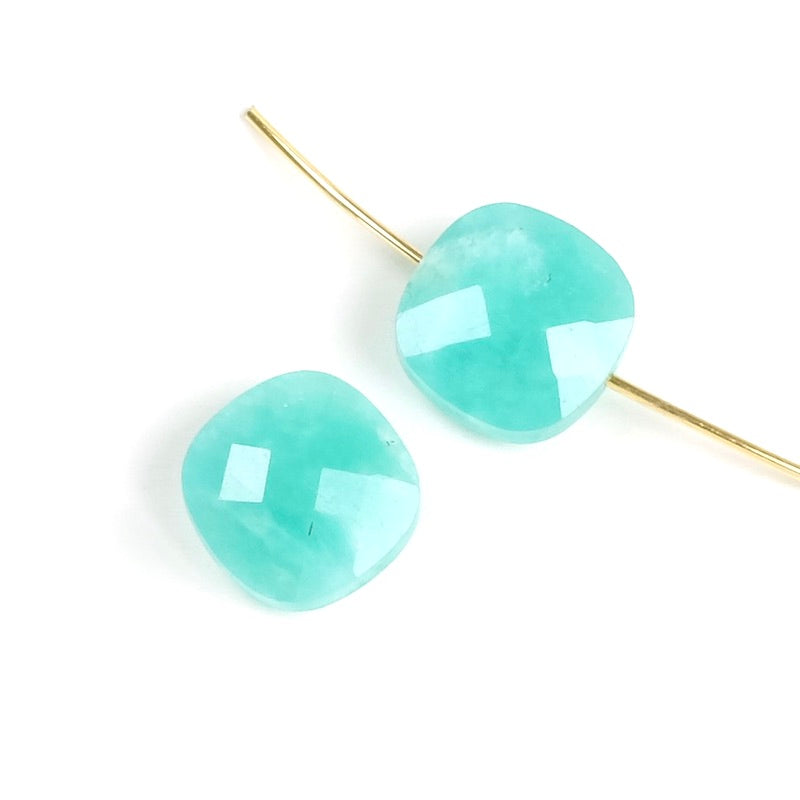
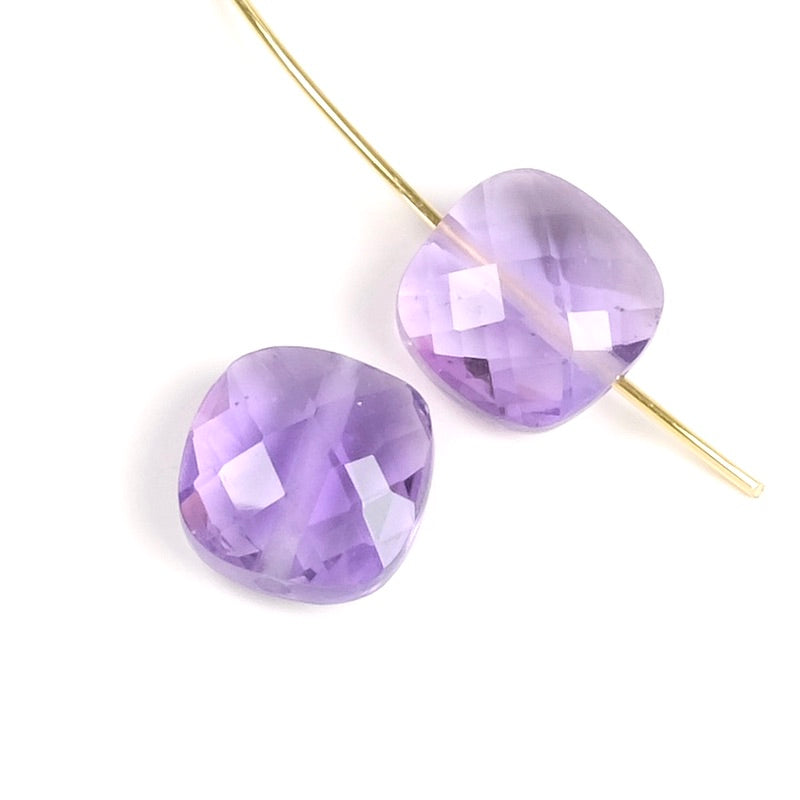
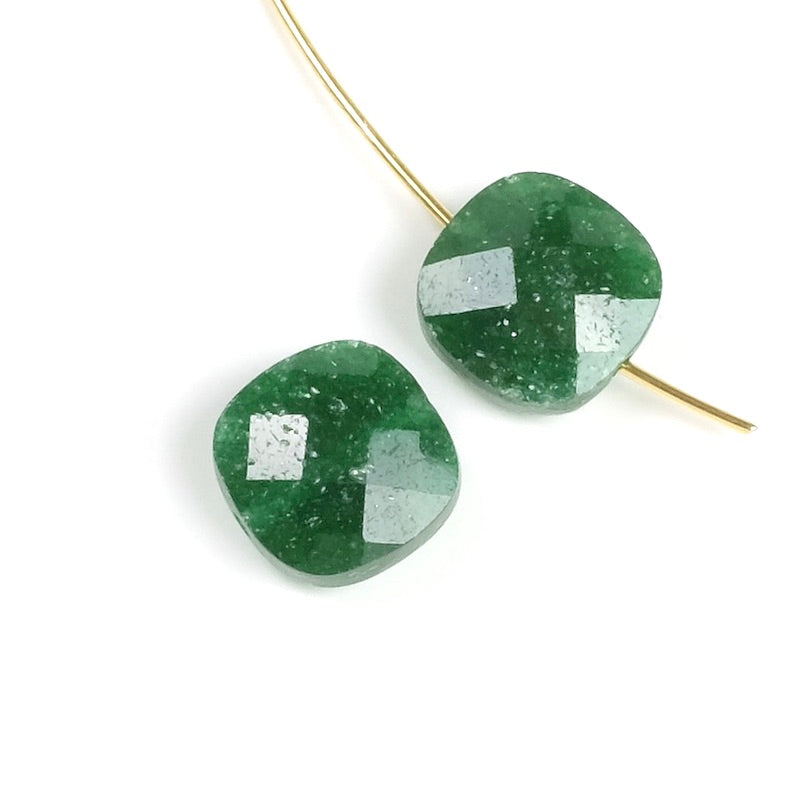
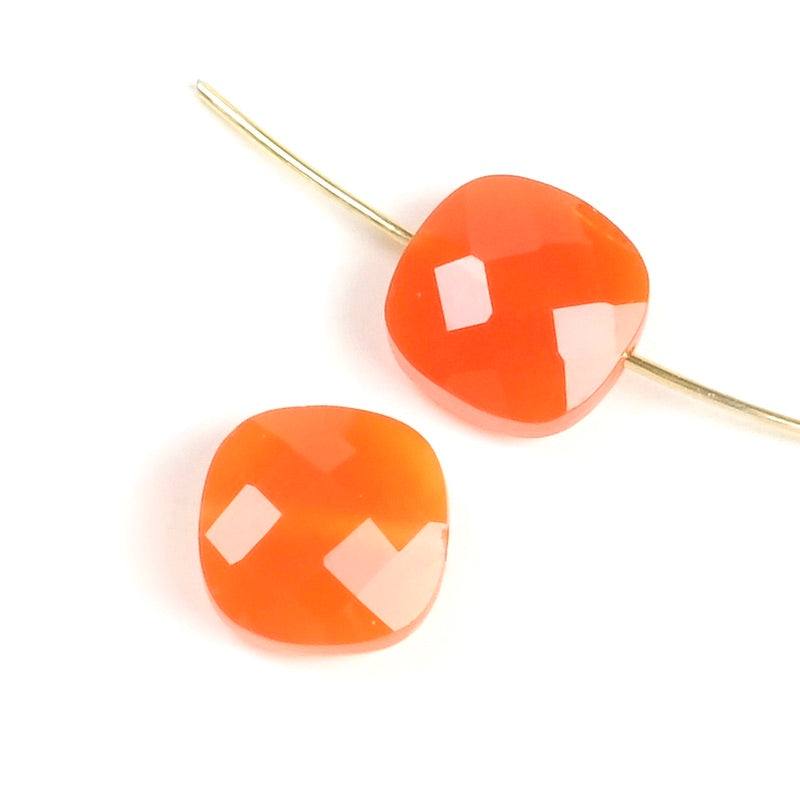
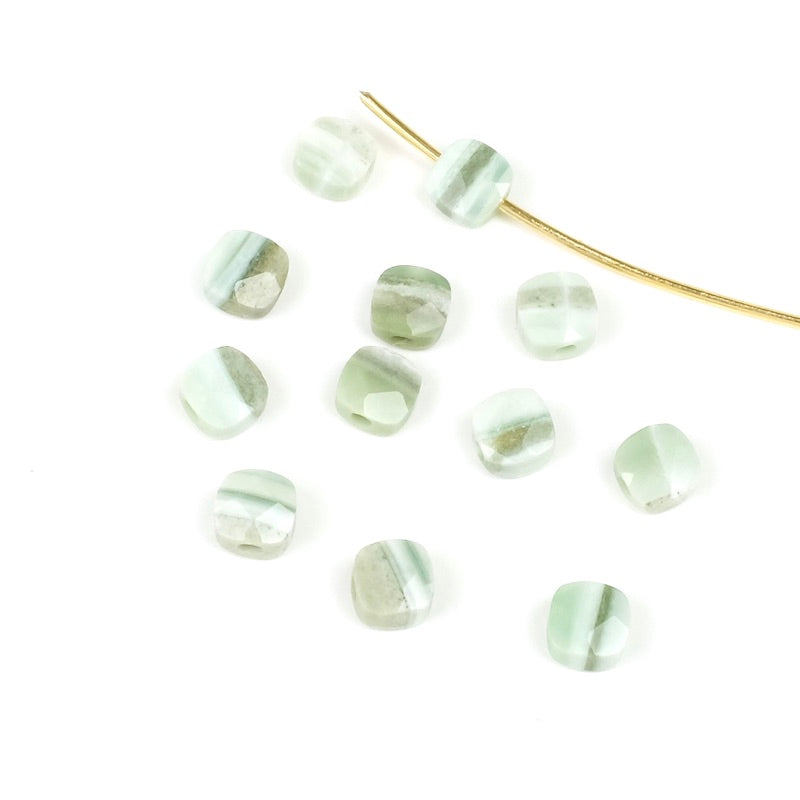
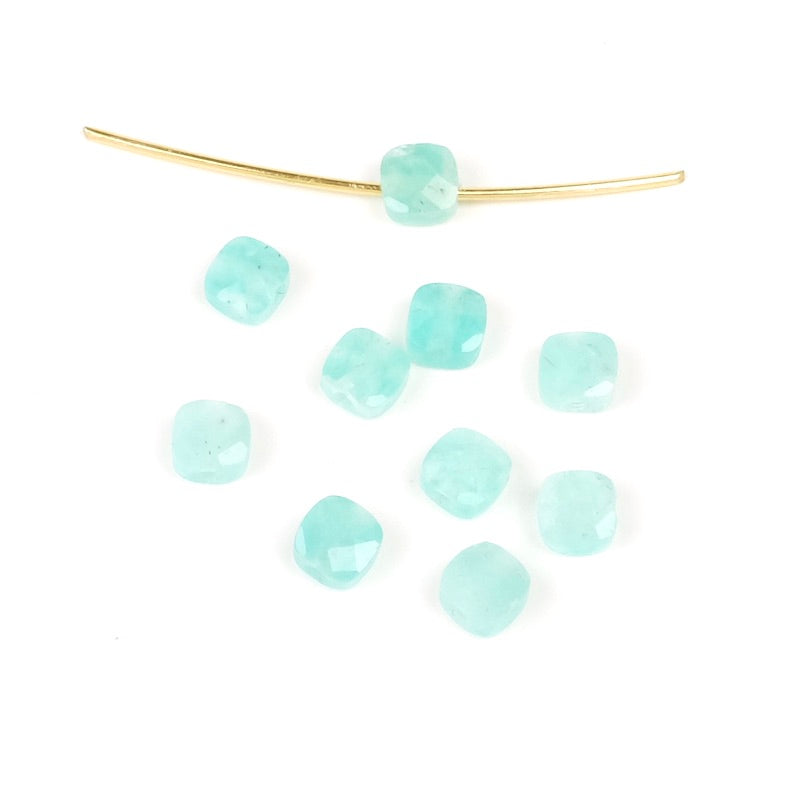
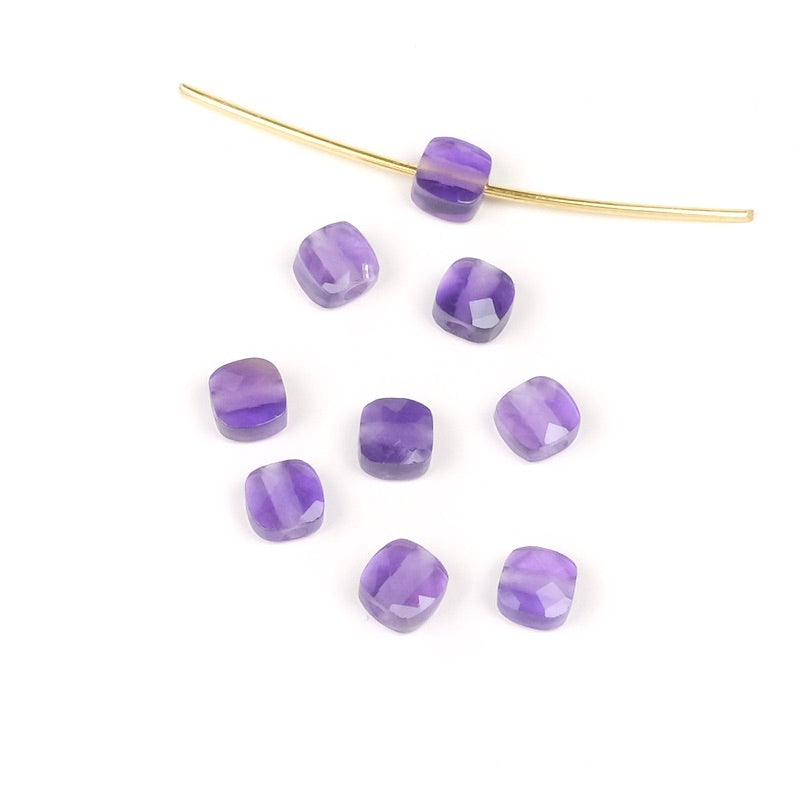
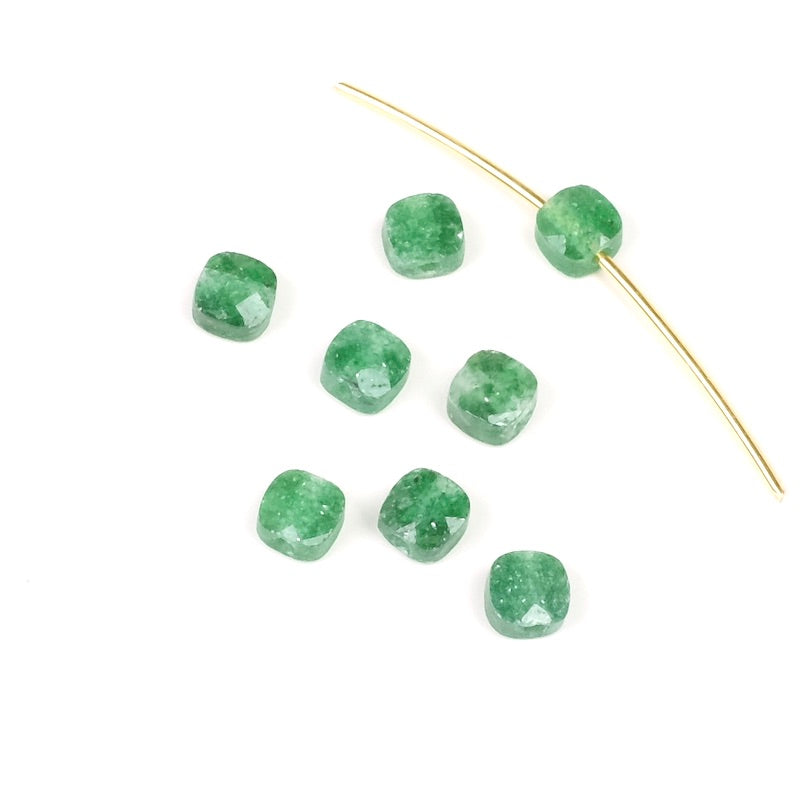
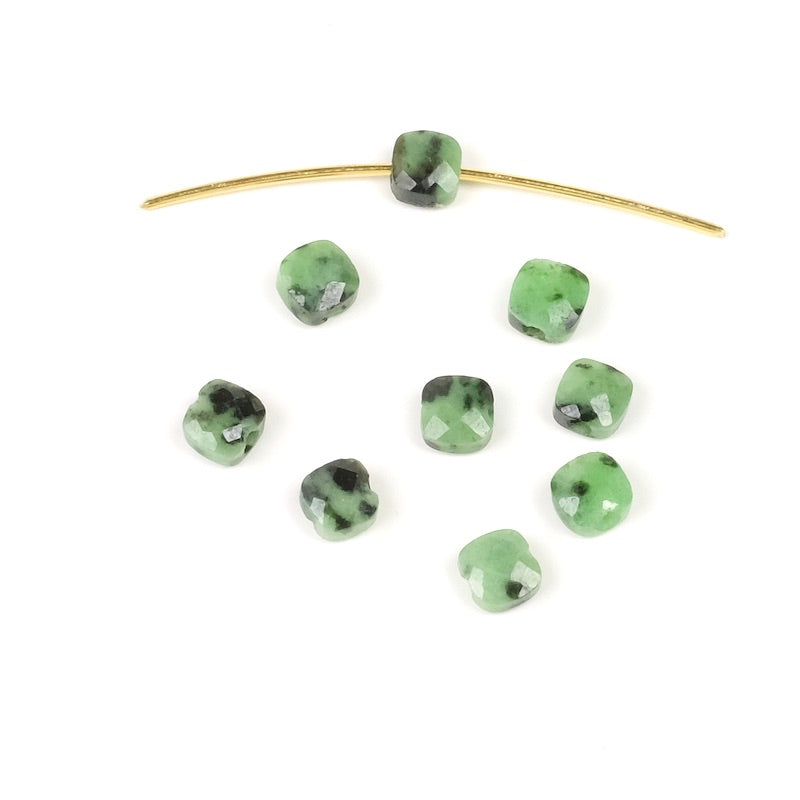
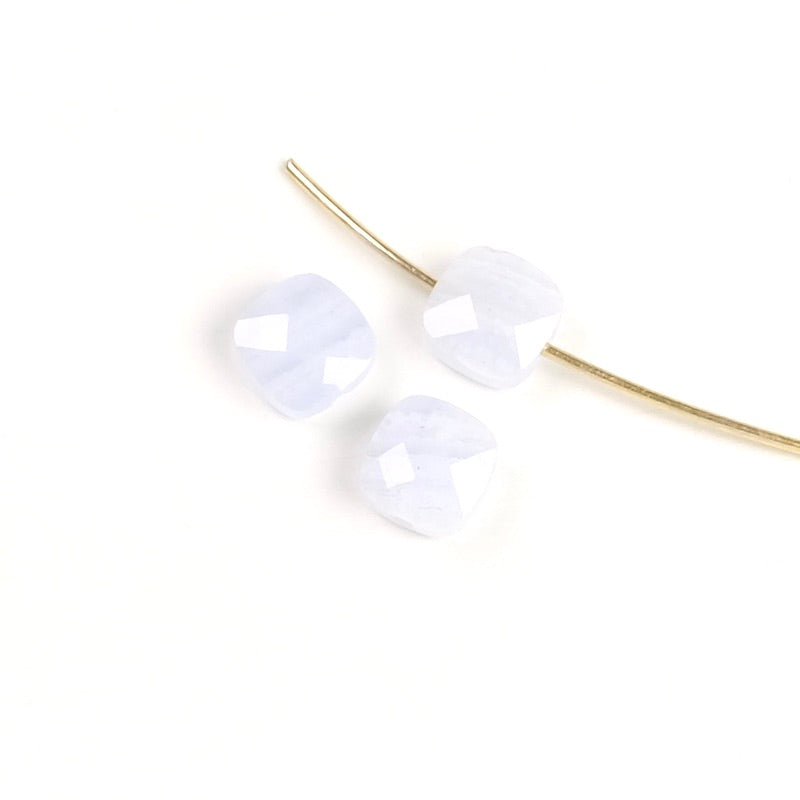
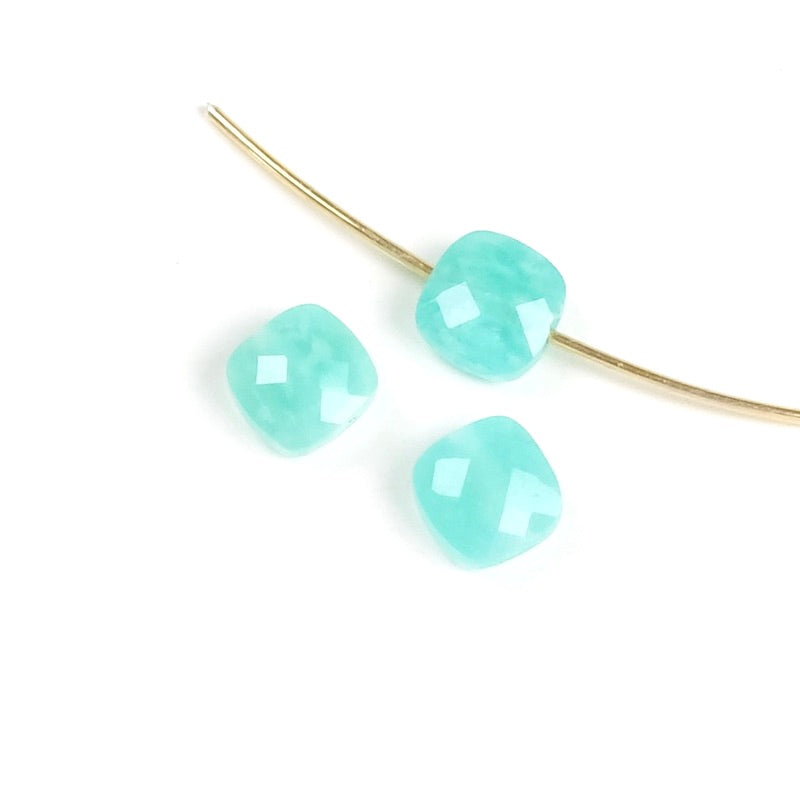
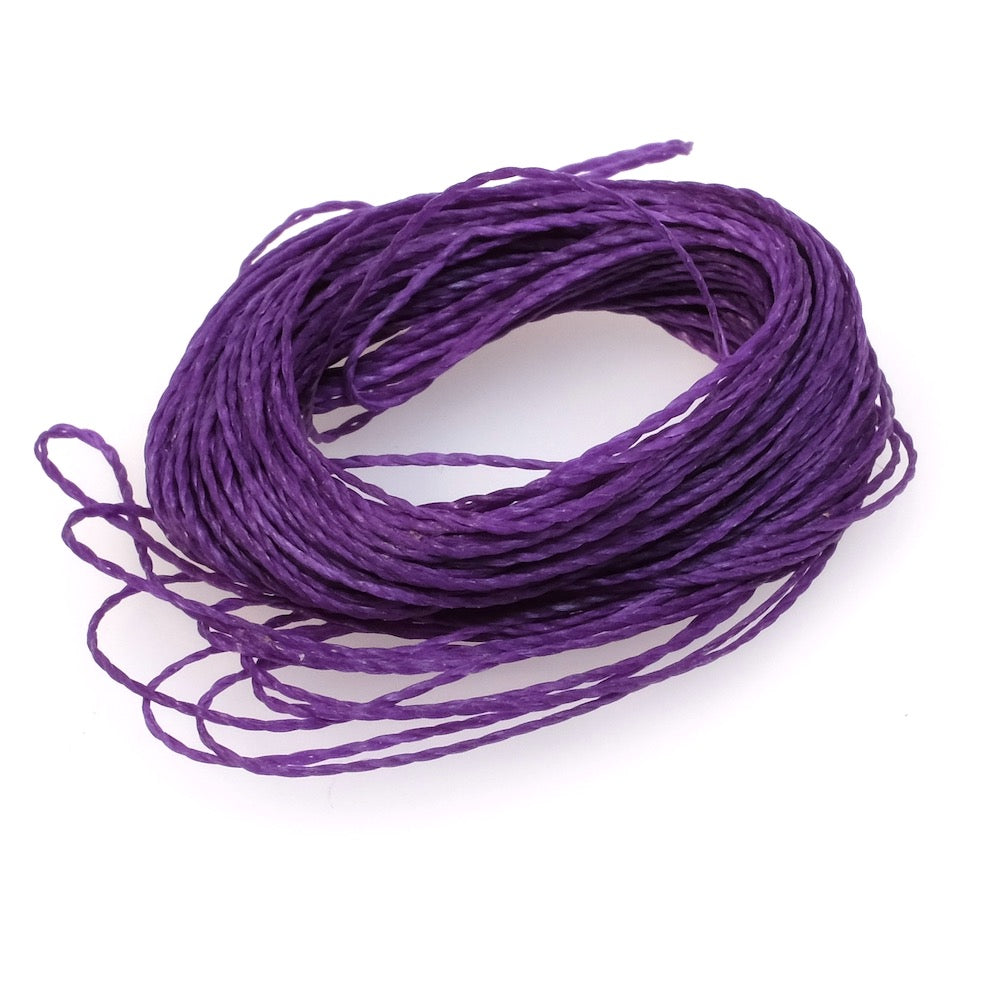
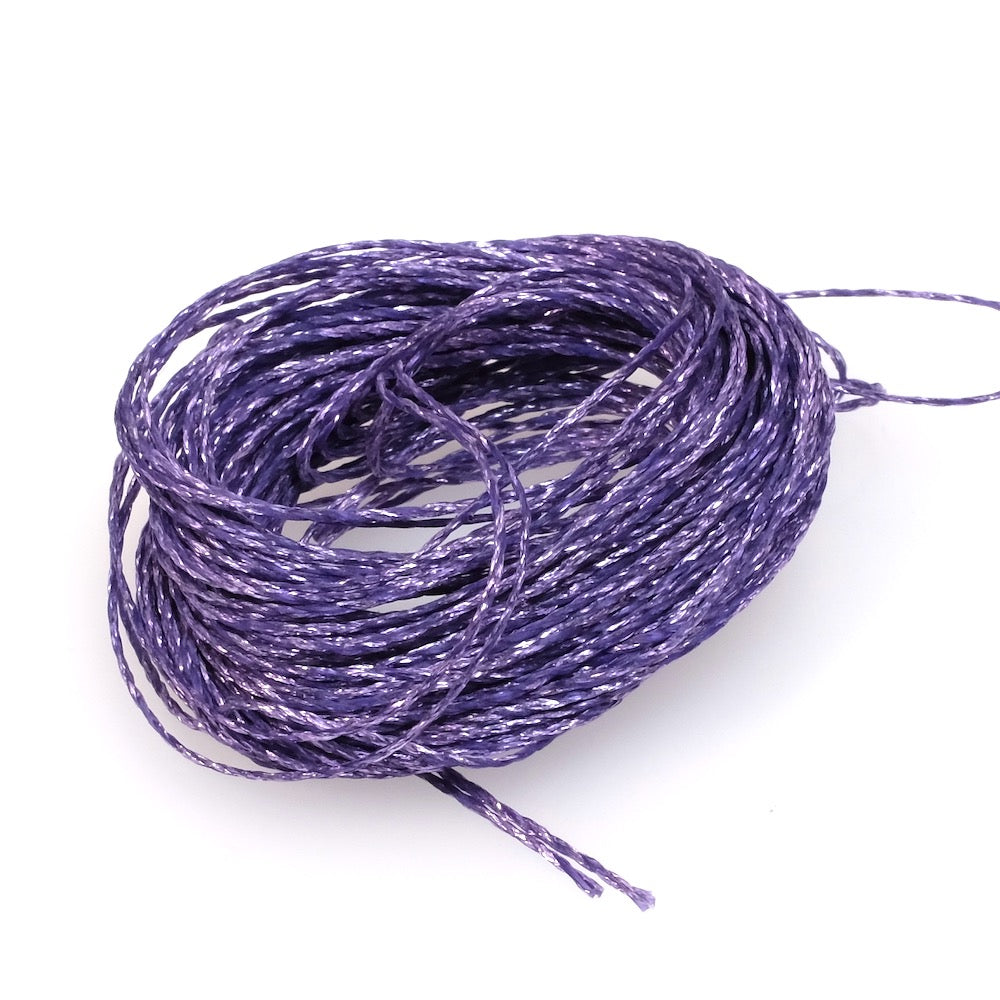
| You'll need : | ||||
|
|
||||
| Tools to use : | ||||
|
|
||||
|
Assembly: |
||||
|
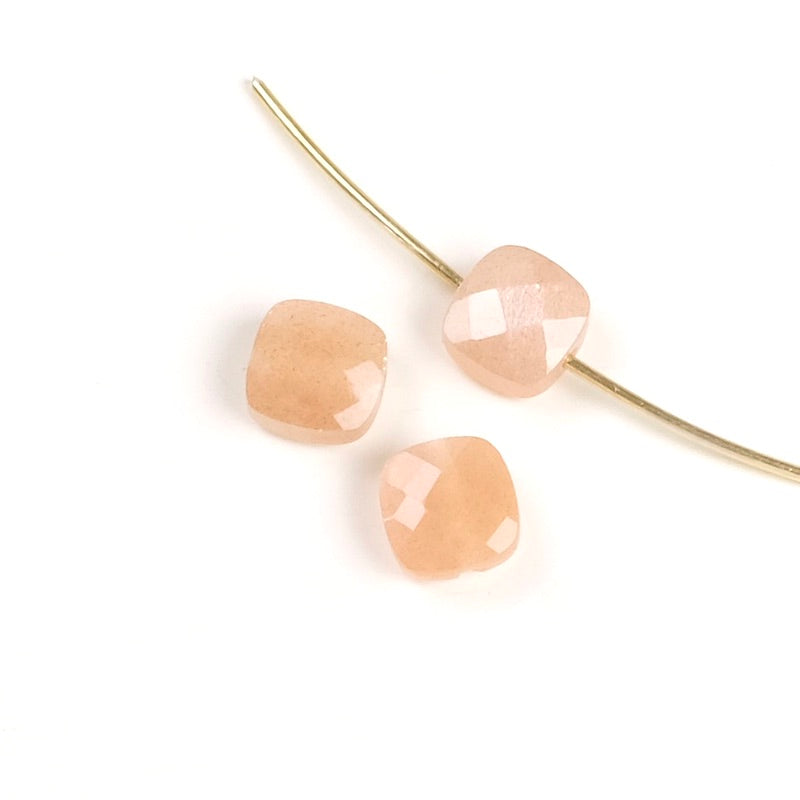
To begin, choose your thread and beads. To secure the bead(s), make a simple knot towards the center of the bracelet. Thread the bead(s), then prick a pin into the wire at the edge of the bead. Tighten the knot and remove the pin at the last moment. This way, your knot will be perfectly placed! Now cross the wires to form the bracelet. The trick here is to place the knots in the right place, symmetrical to each other. Indeed, when you tighten the knots, they may move a little. To do this, first test the technique on a test cord by making large loops to get a feel for the method, then on your real creation, make the loops as small as possible. This way, the knots will be placed where you want them. Follow the diagram below to understand the method. Here we've used 2 colors for a better understanding, but in reality it's the same thread that crosses.
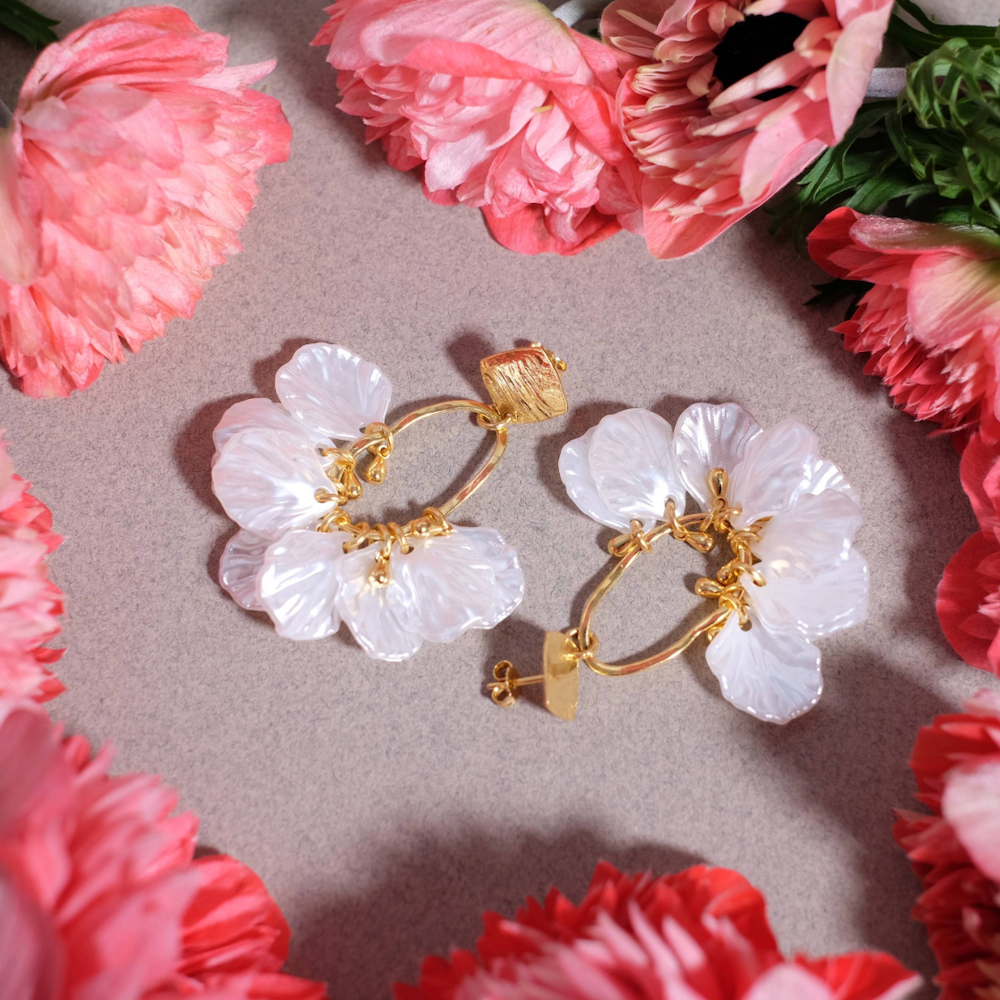
Beautiful creation! |
||||
|
|
||||

Rejoignez Perles Corner pour découvrir nos nouveautés, Tutoriels exclusifs et bien d'autres surprises... et recevez votre bon par email !


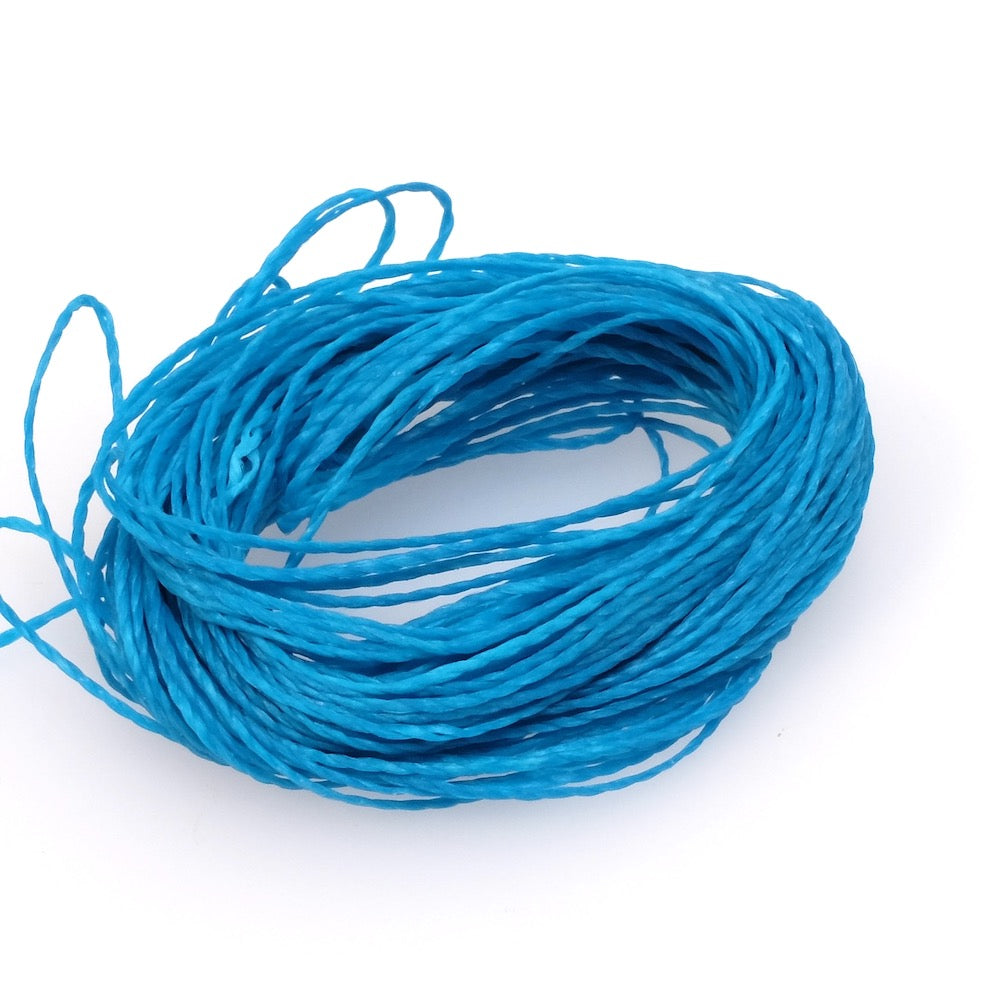
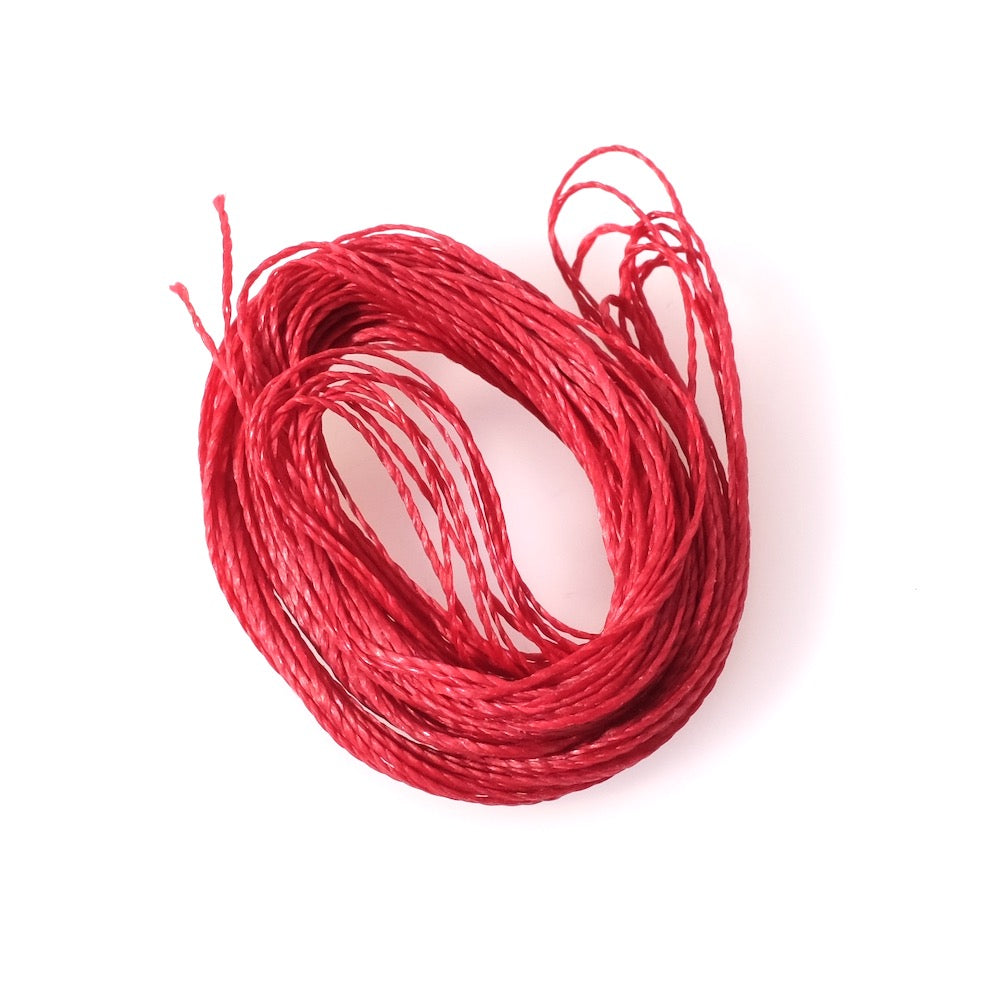
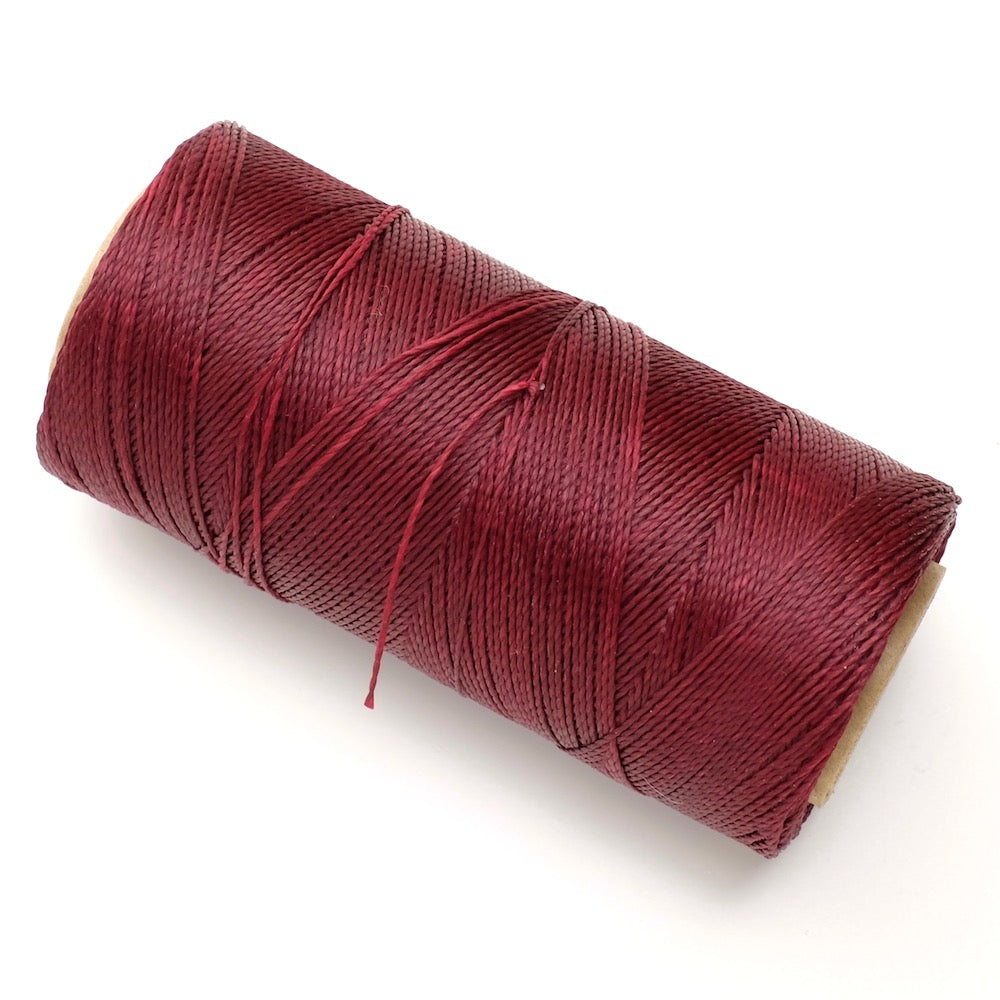
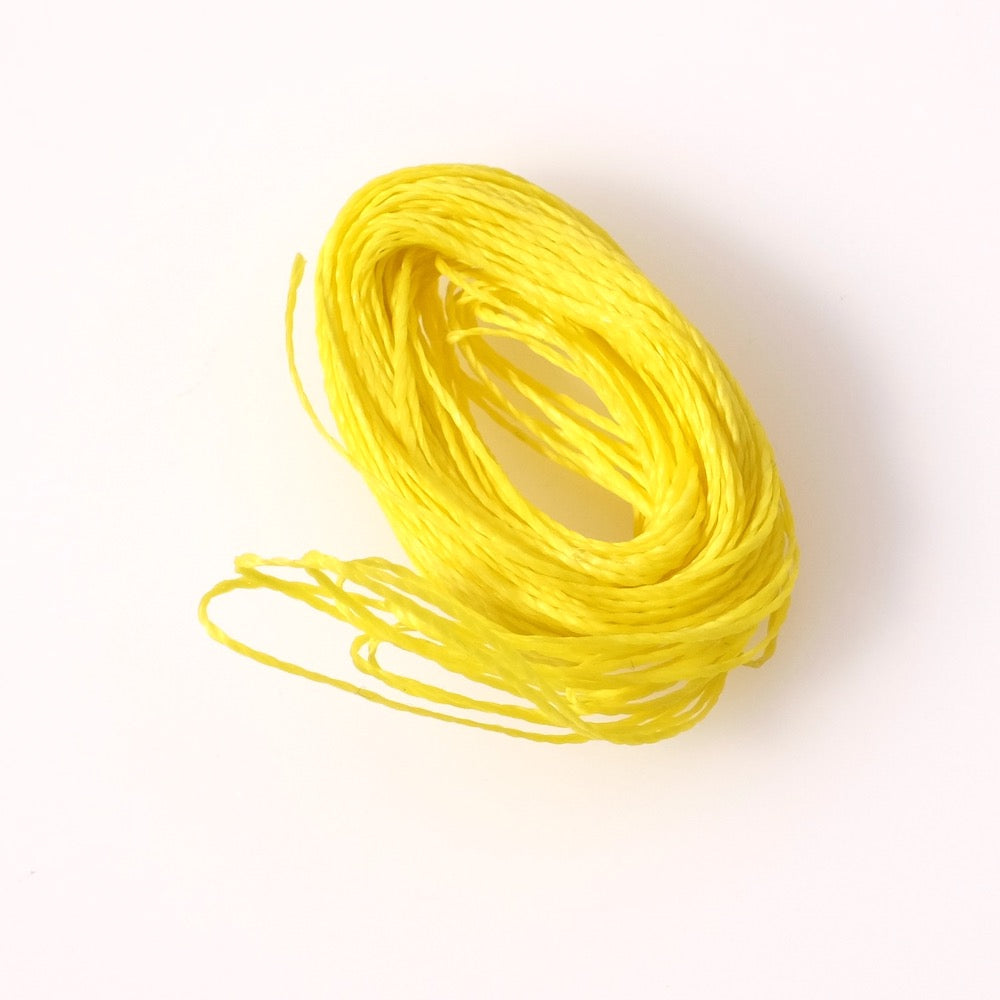
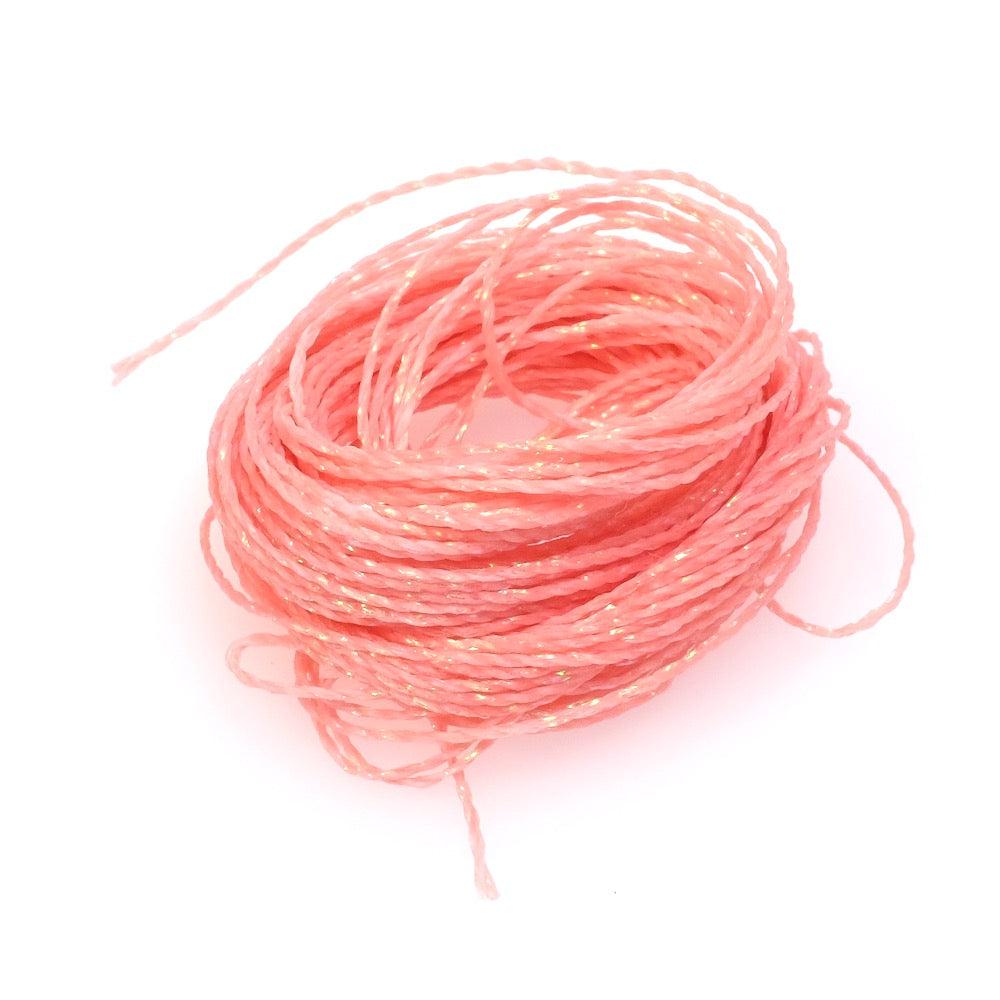
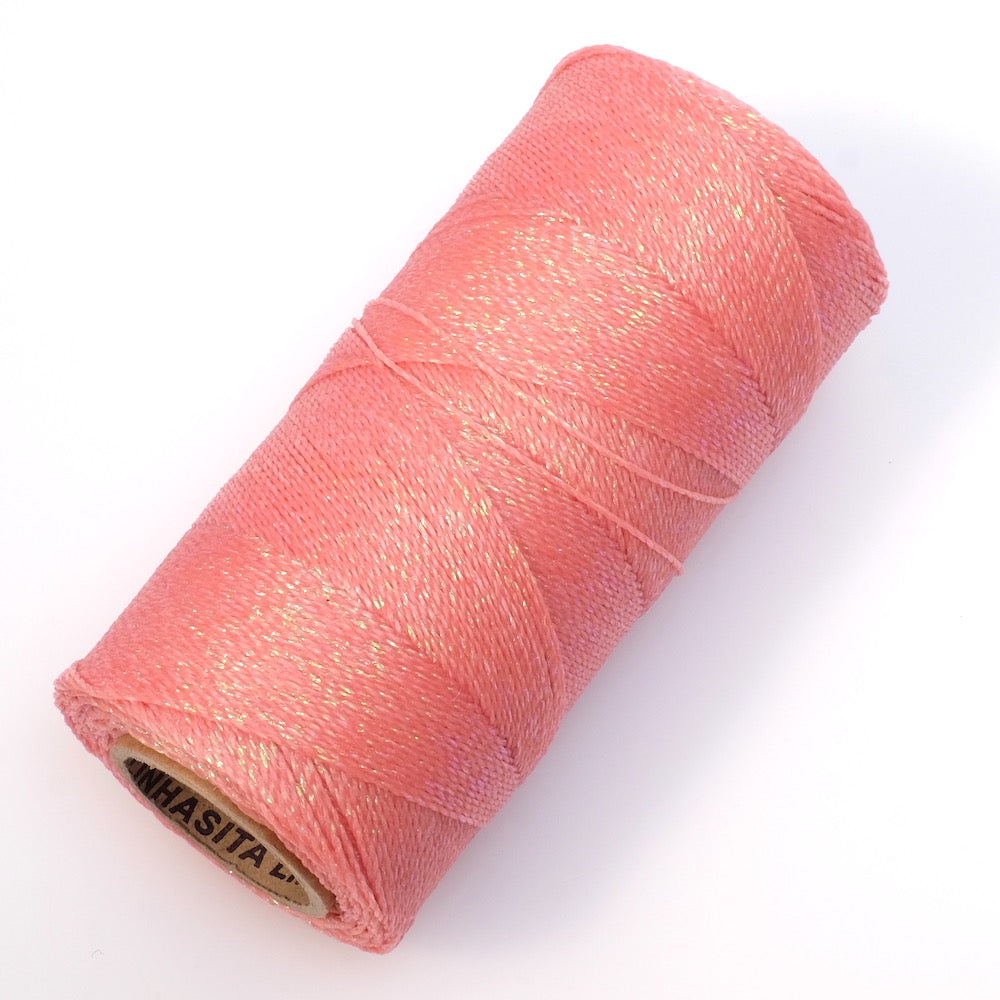
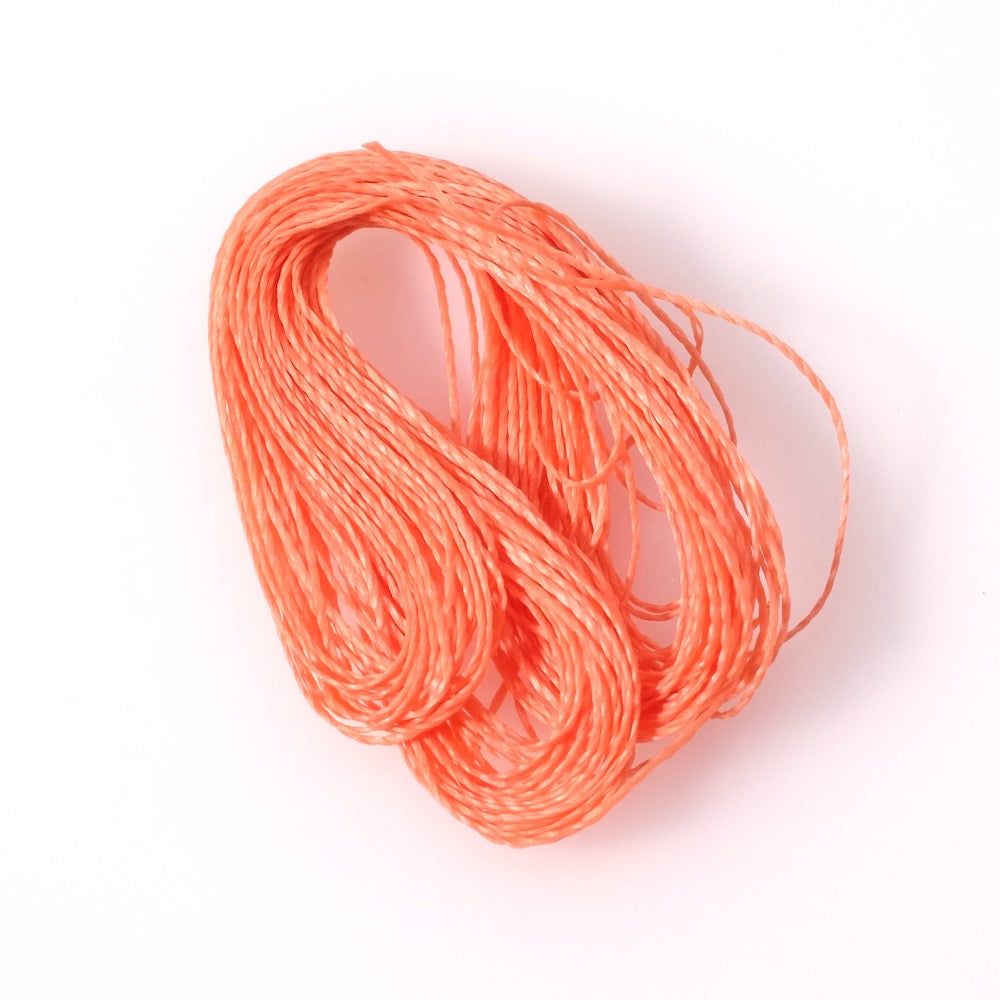
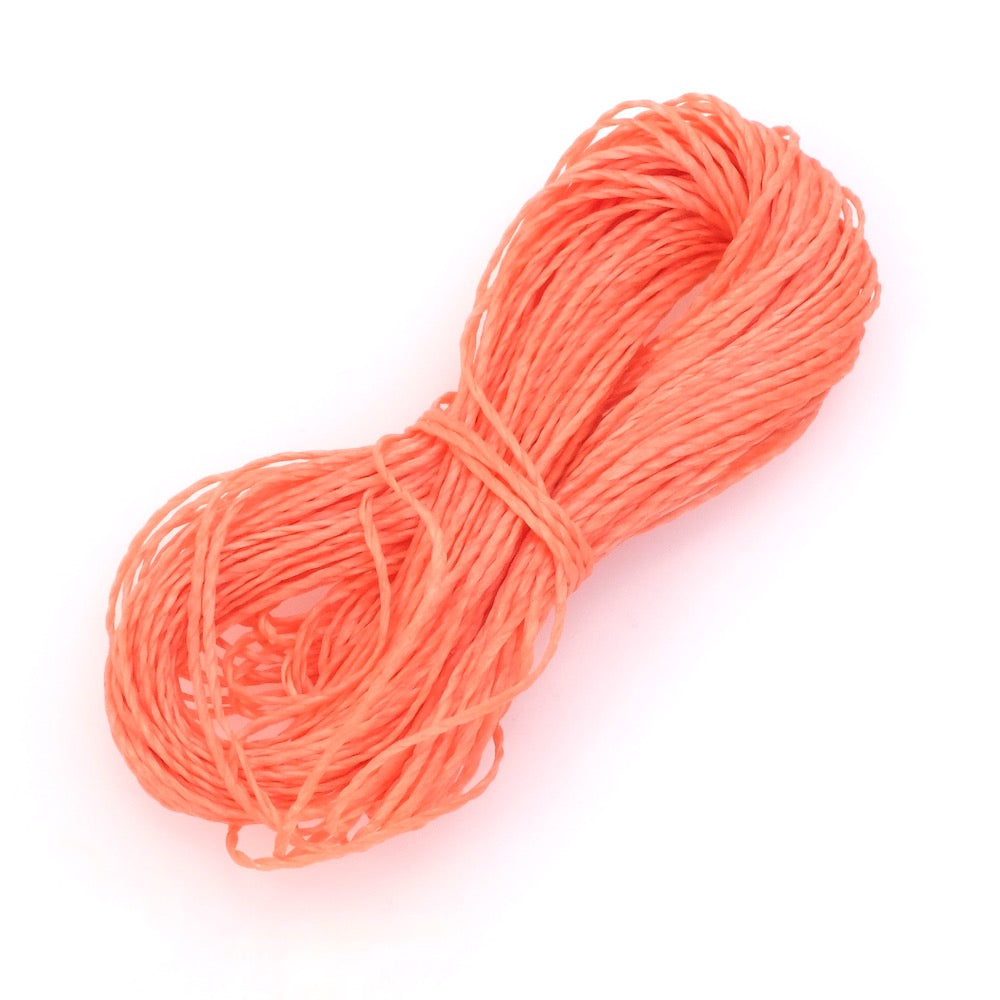
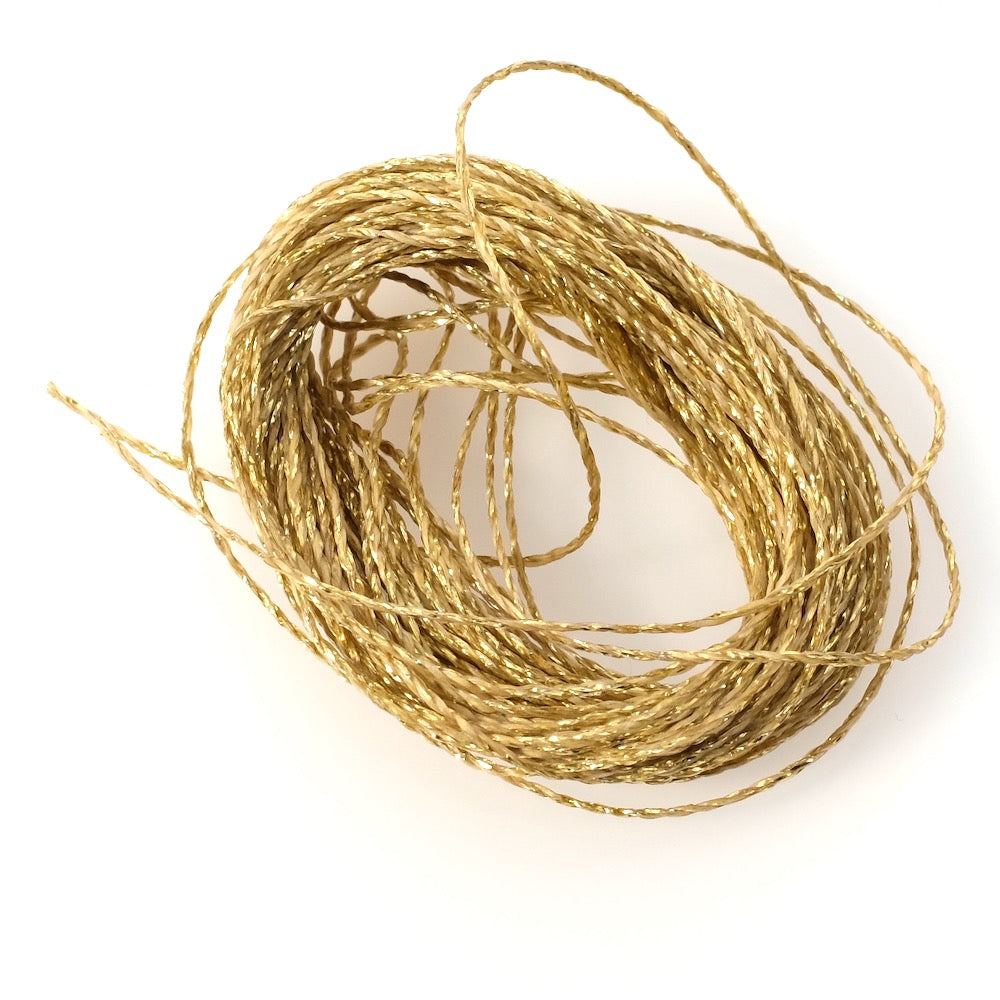
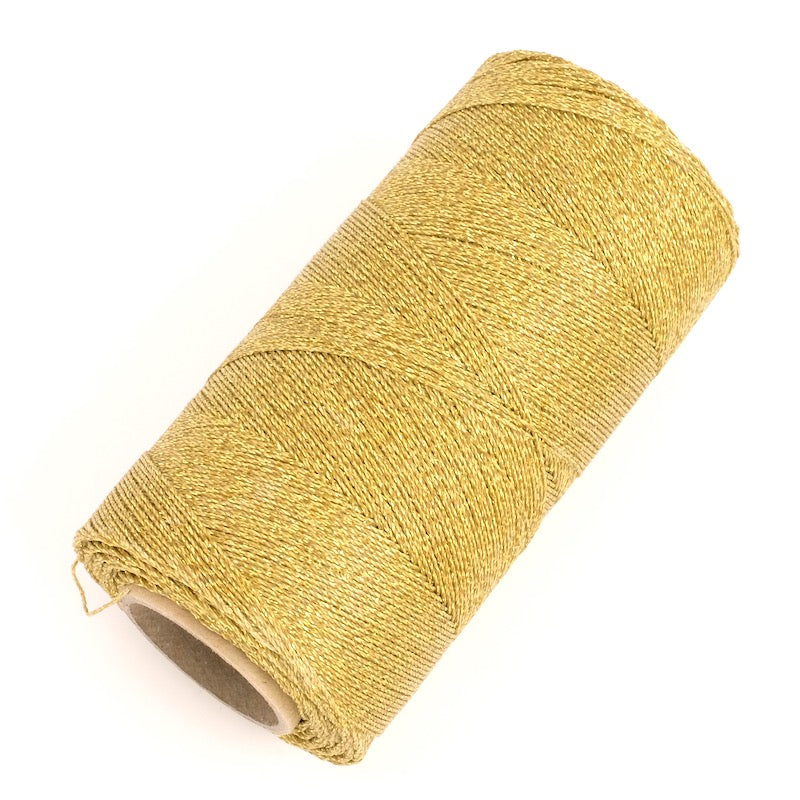
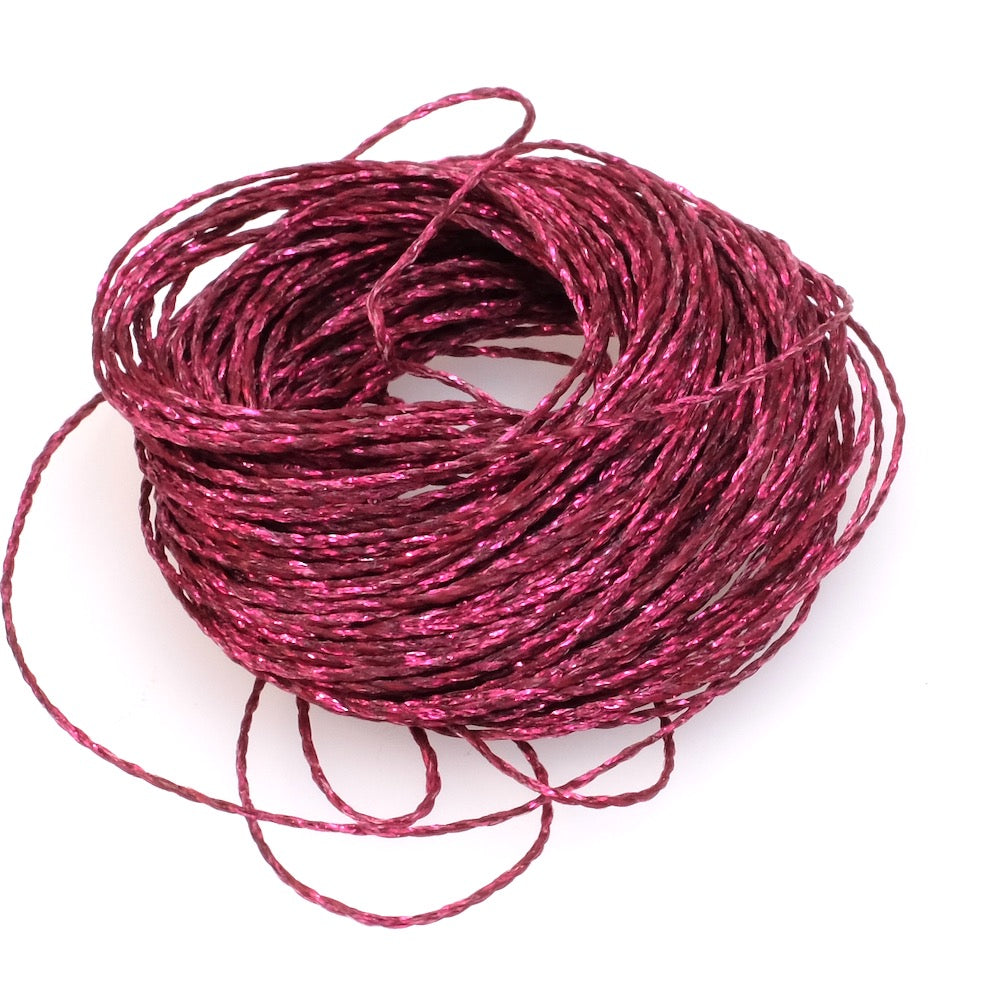
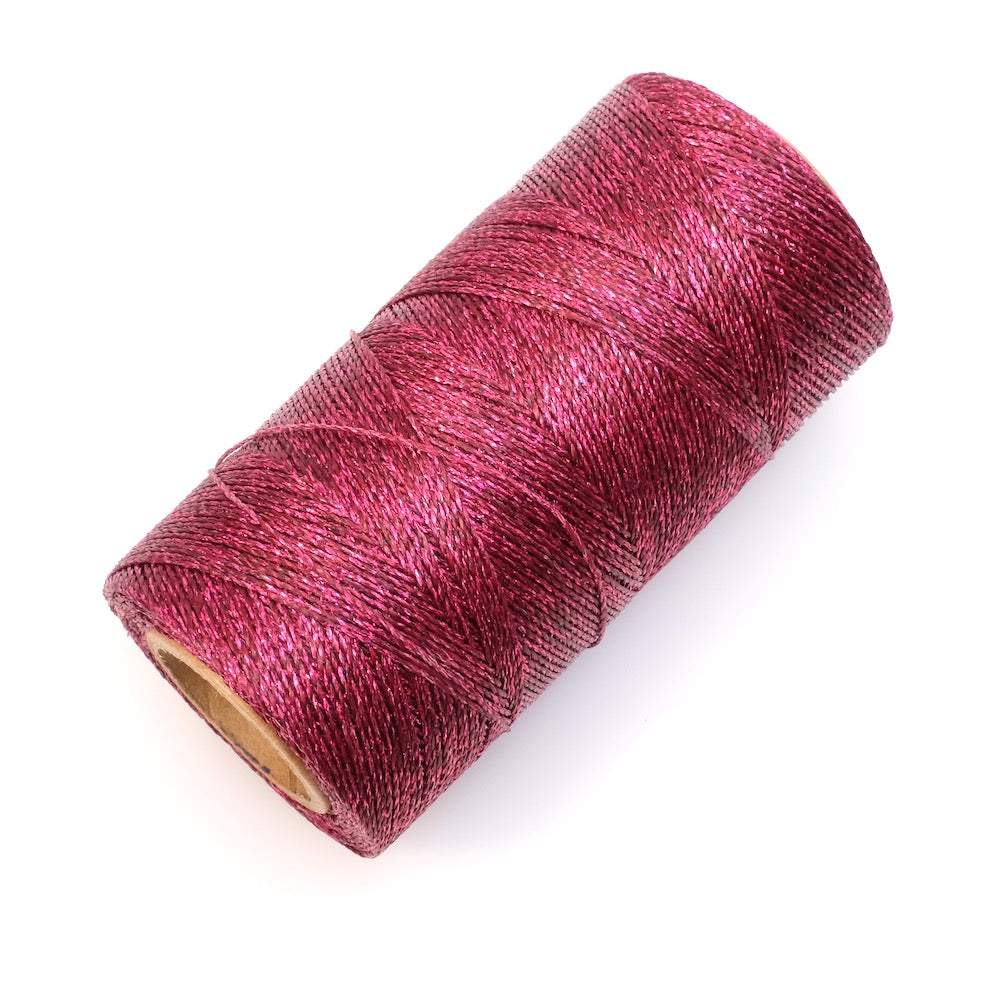
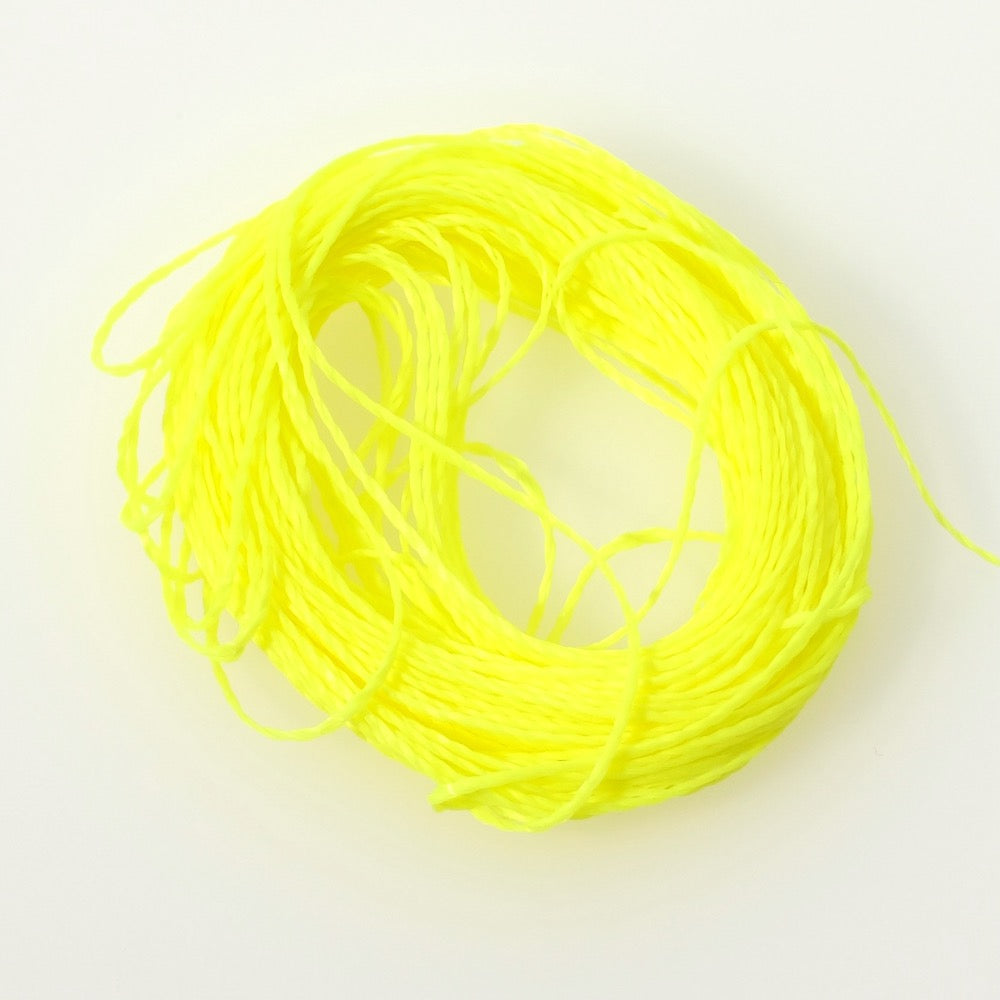
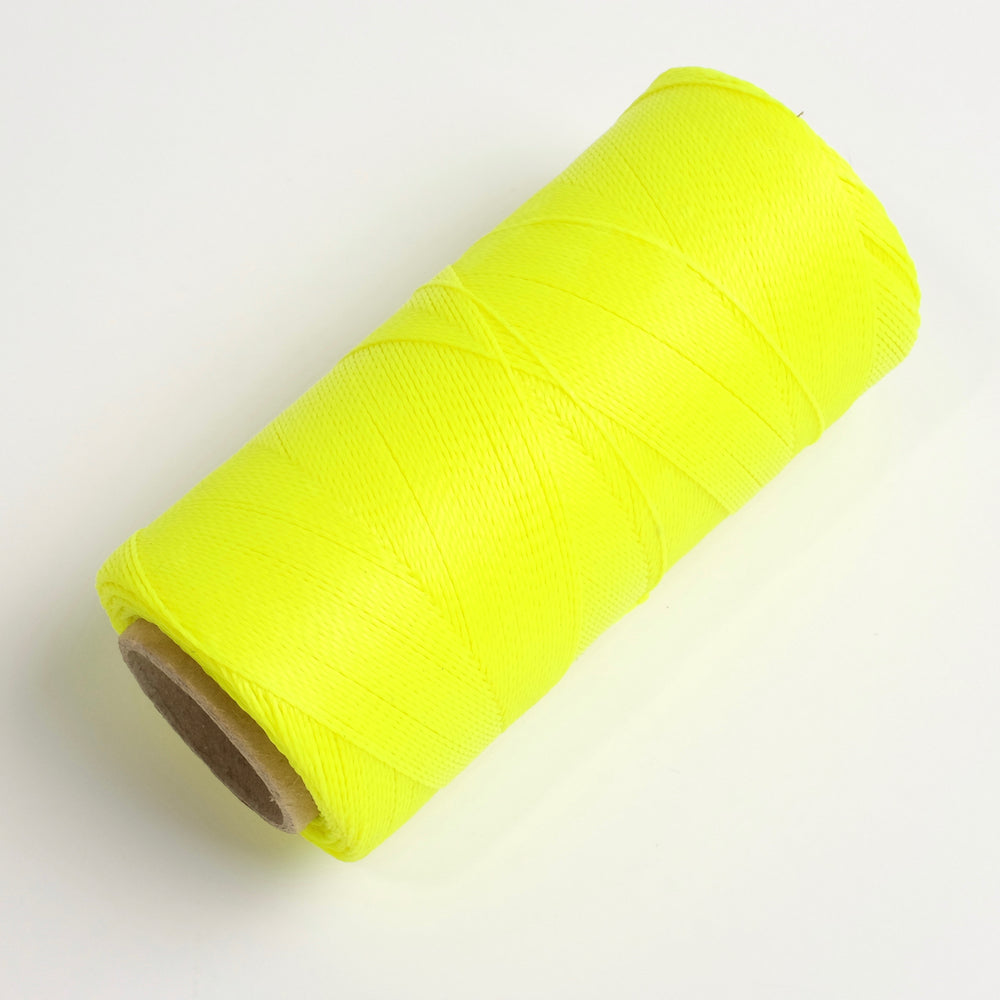
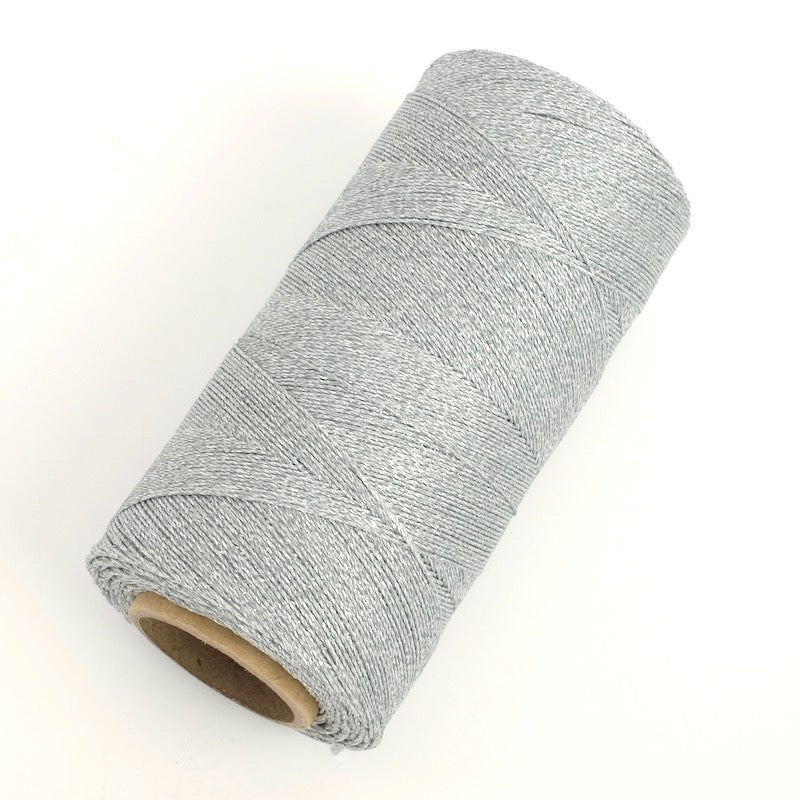
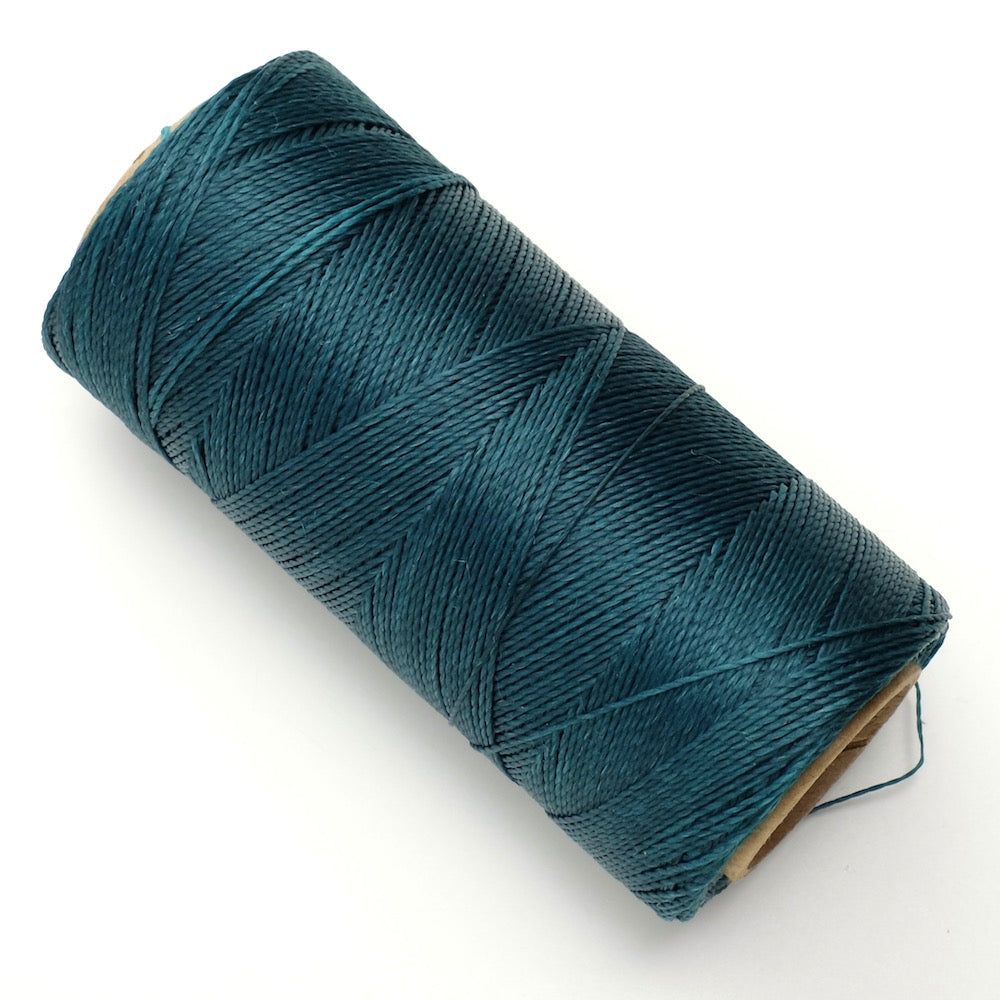
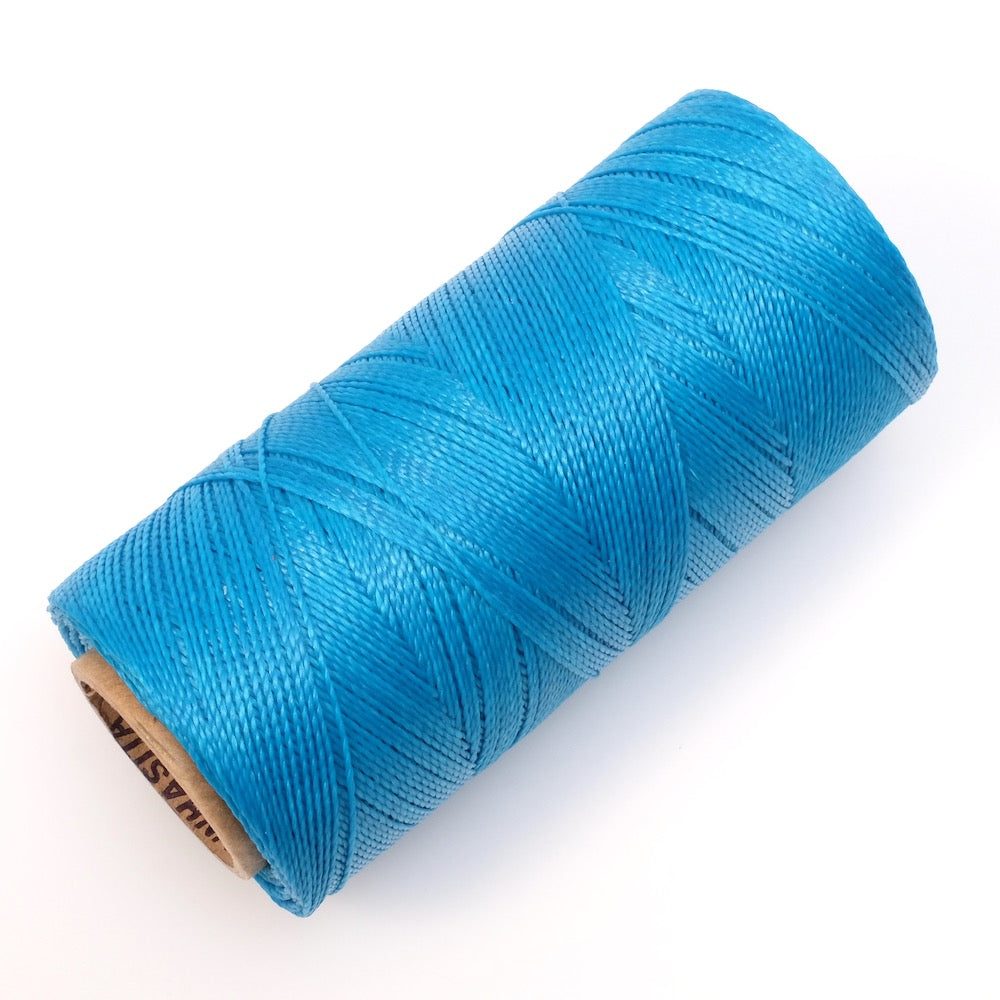
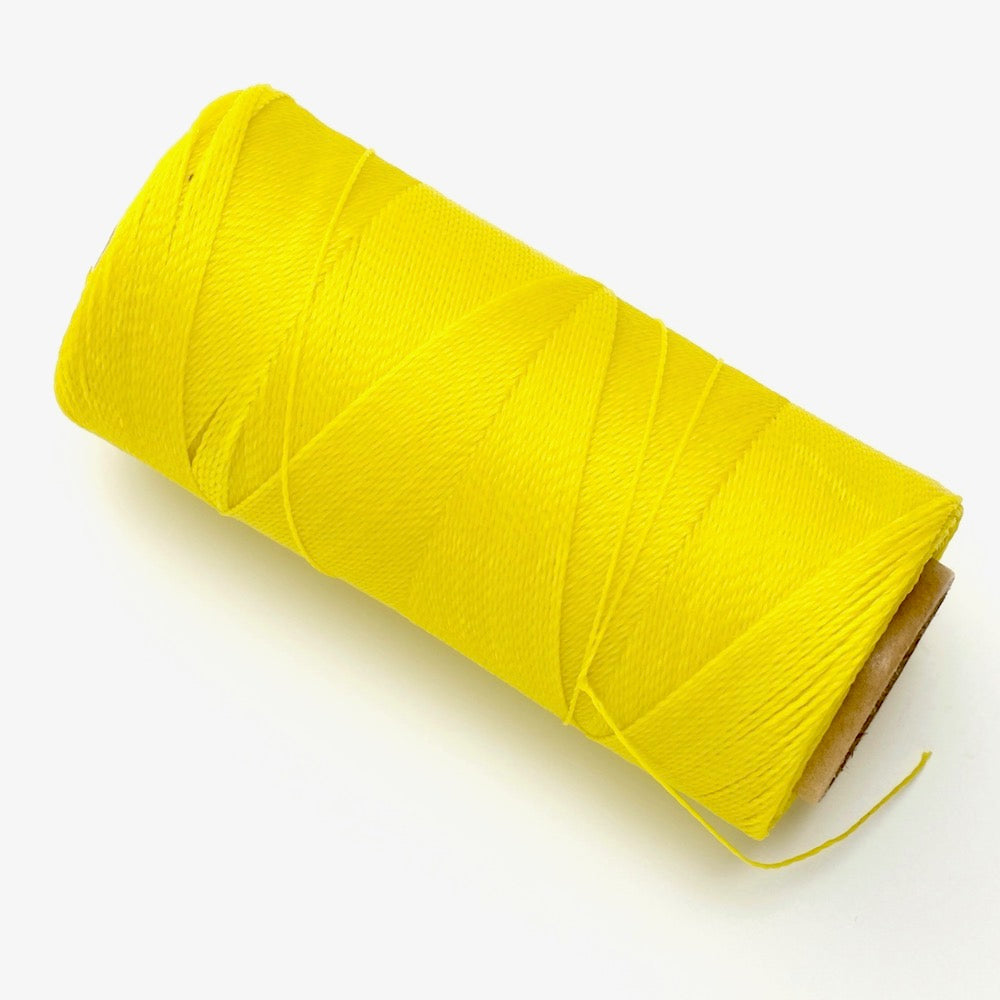
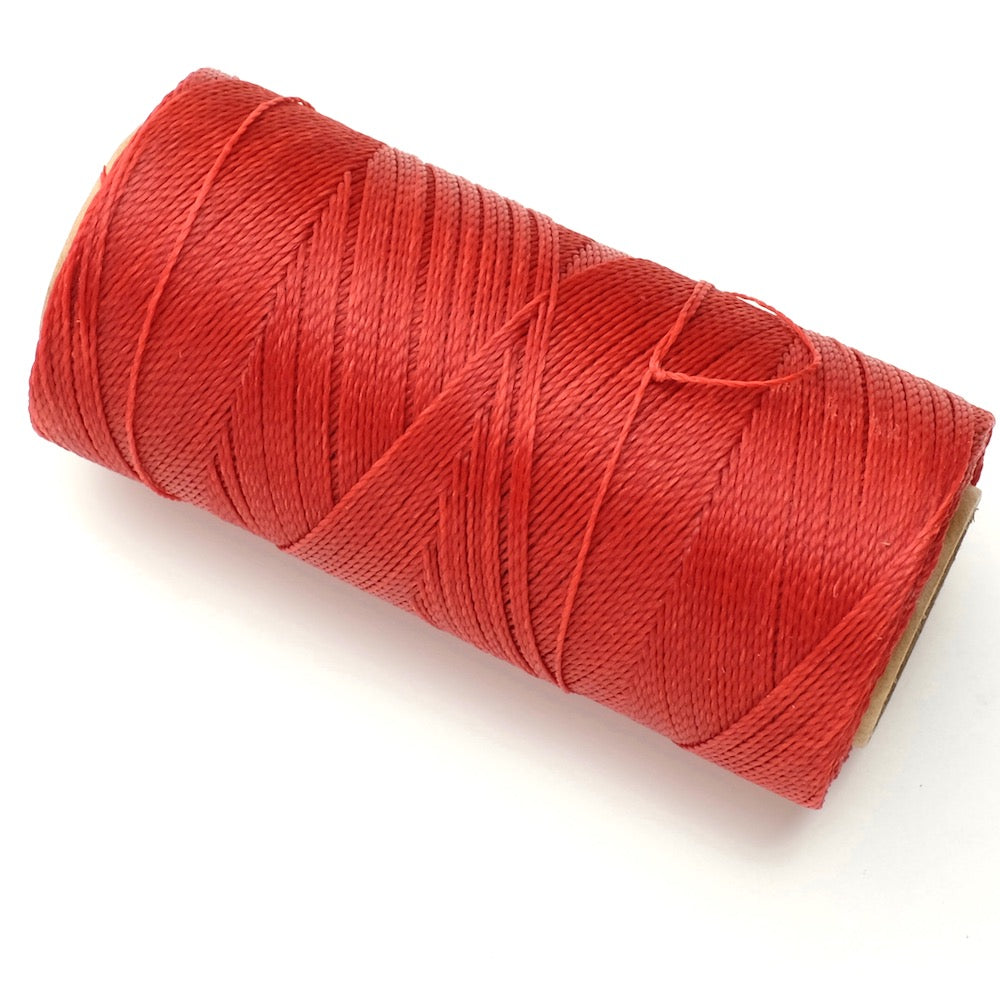
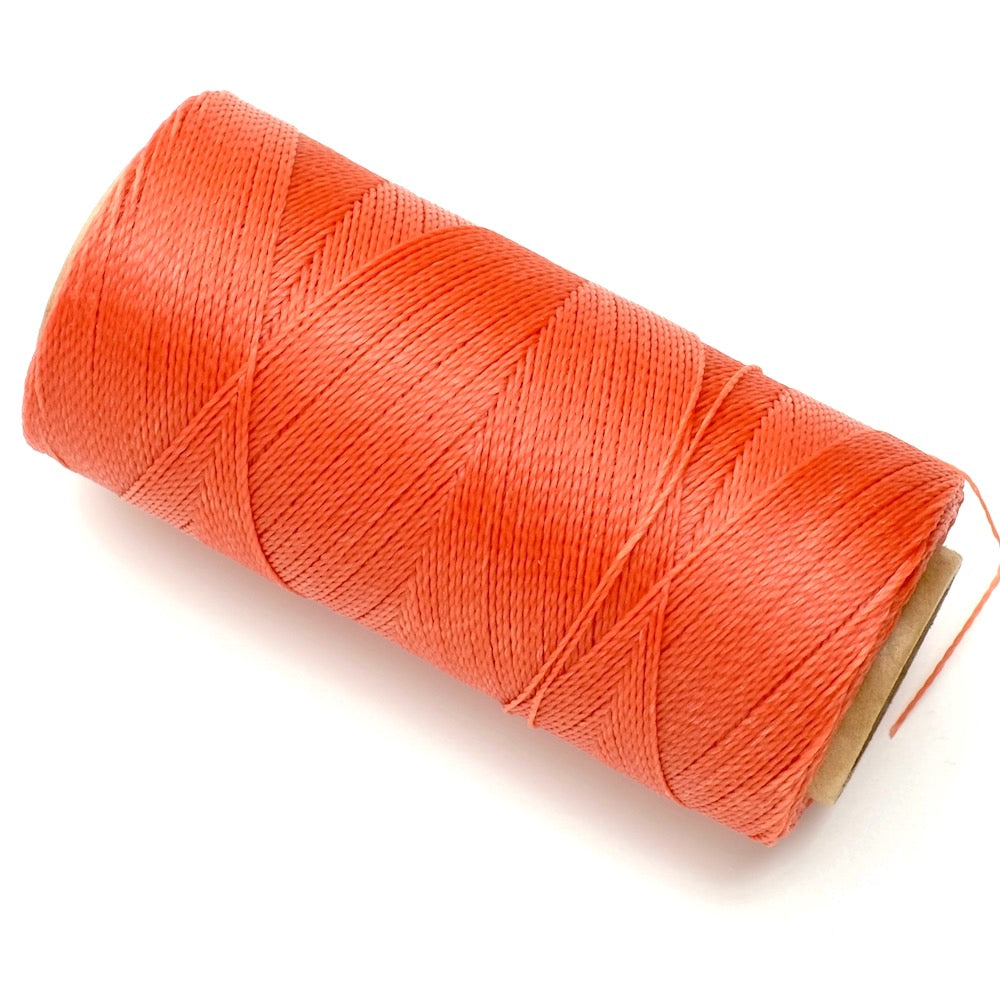
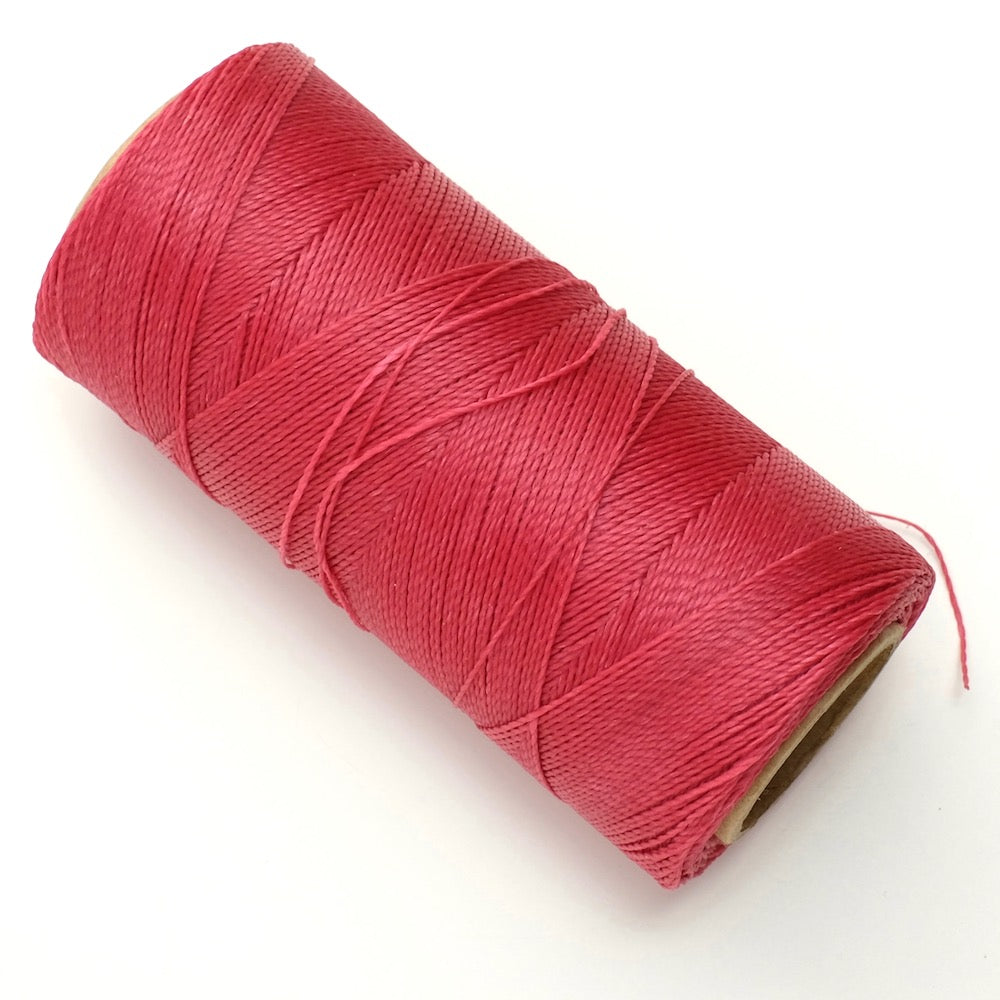
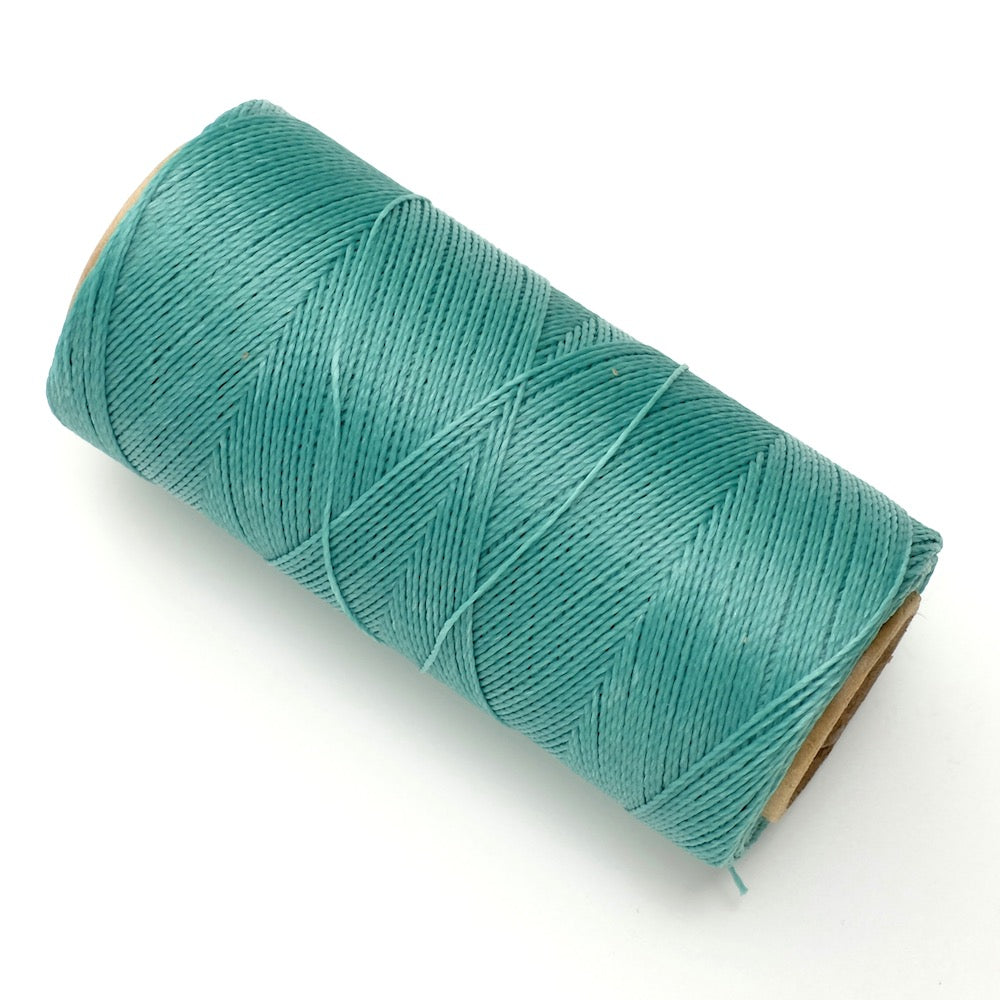
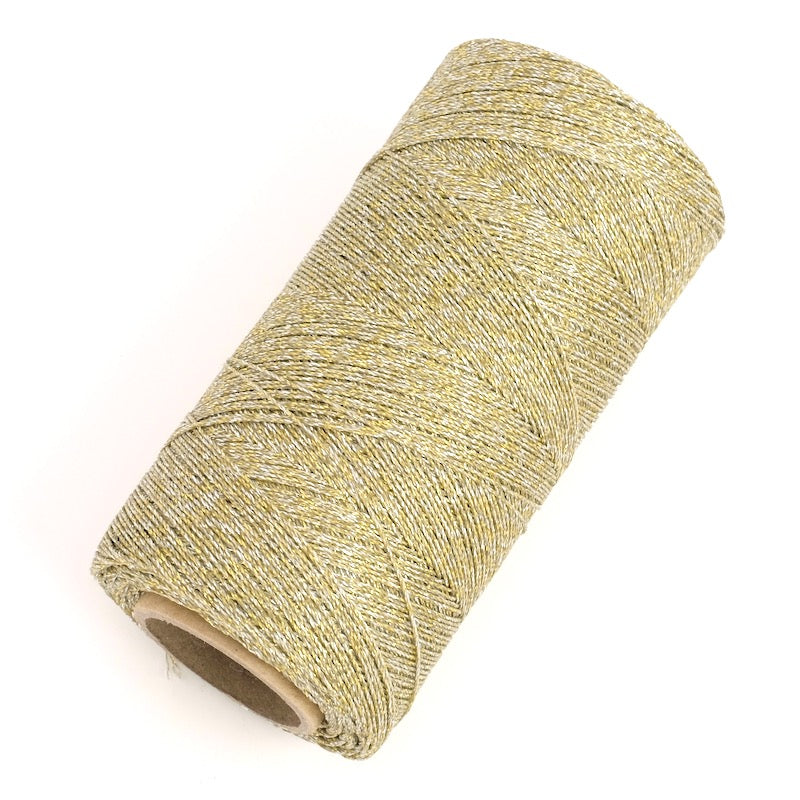
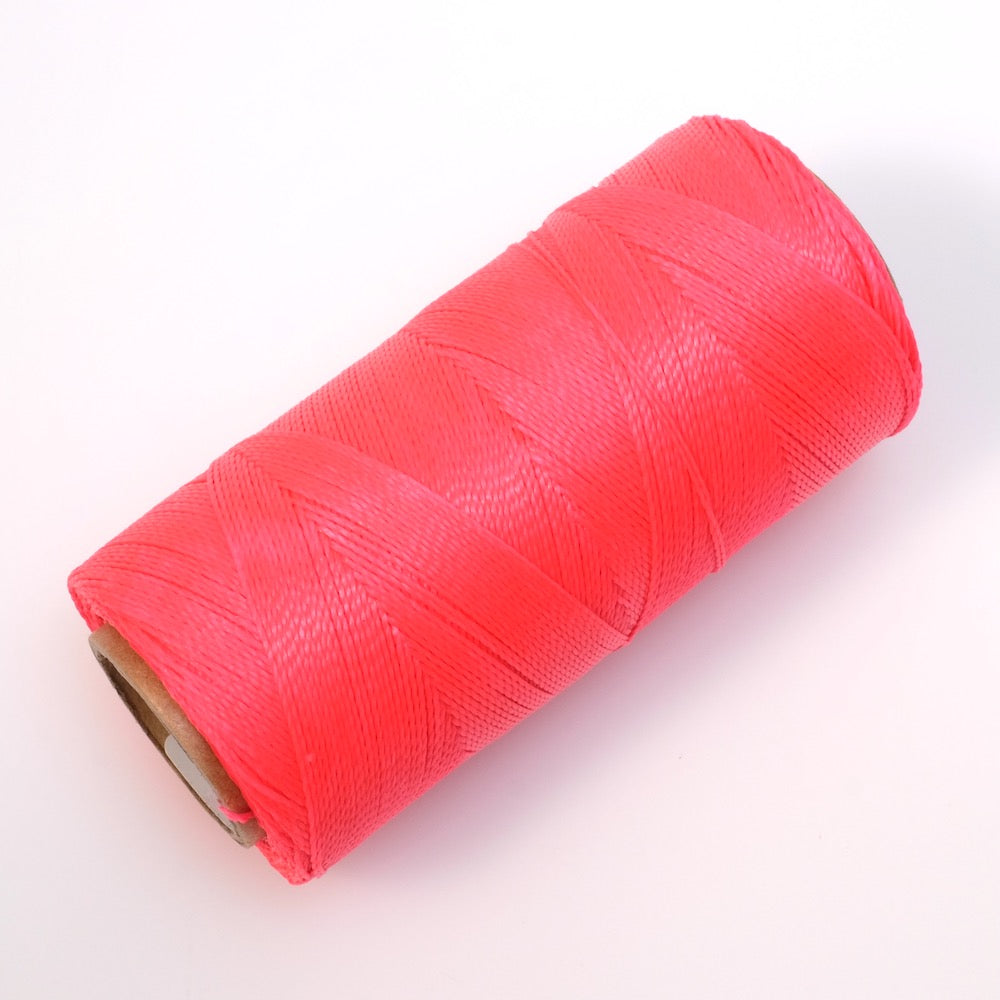
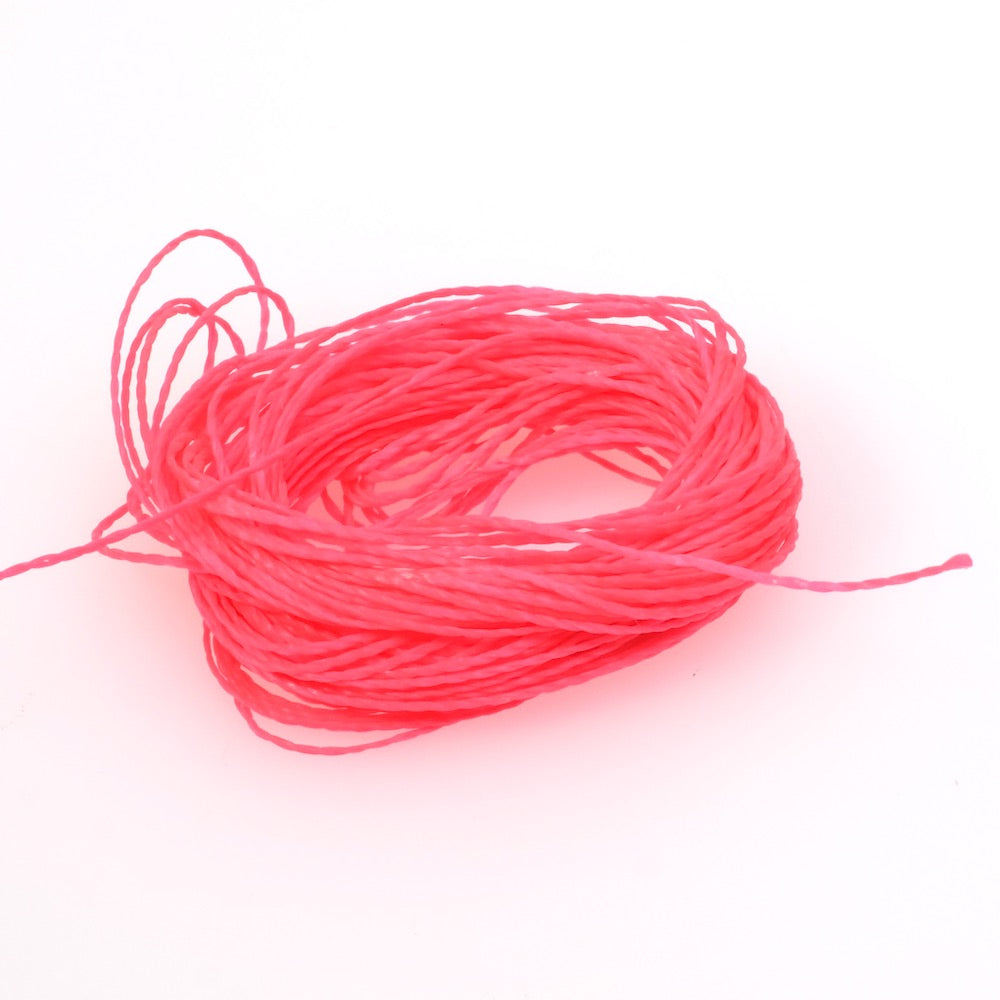
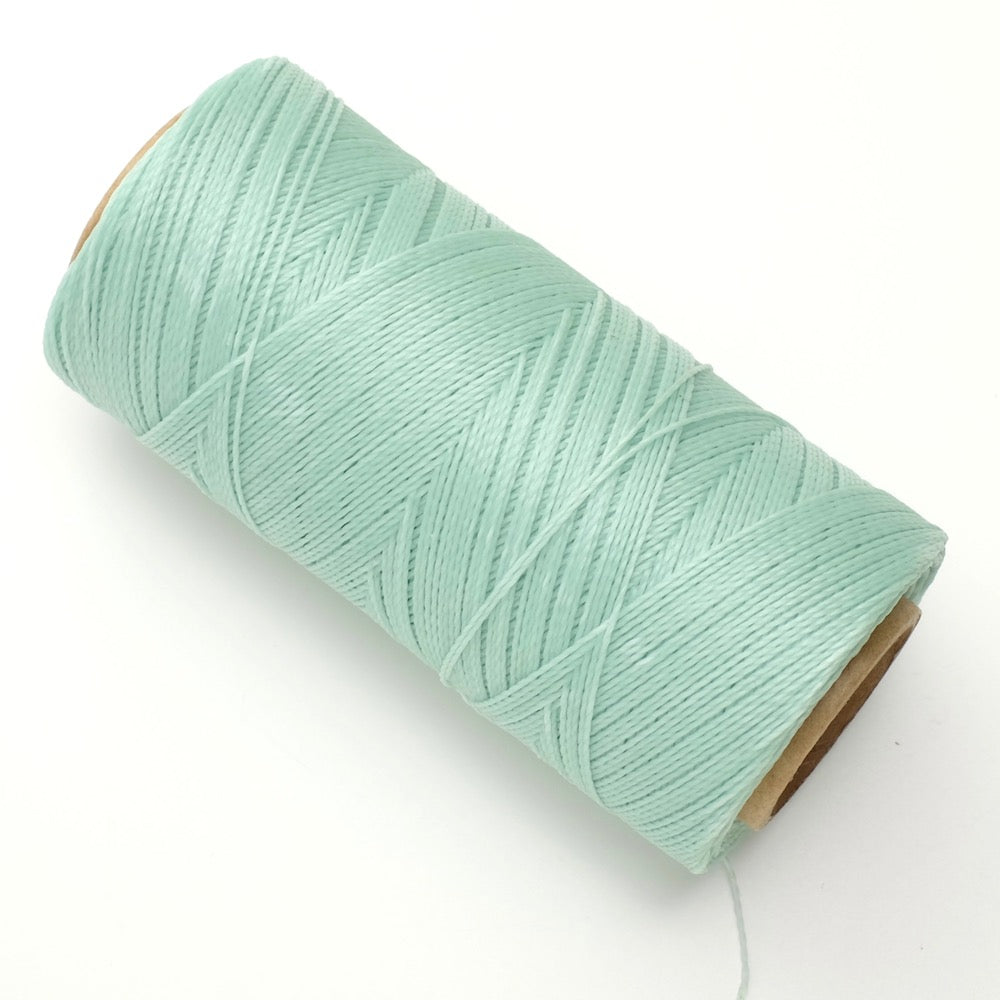
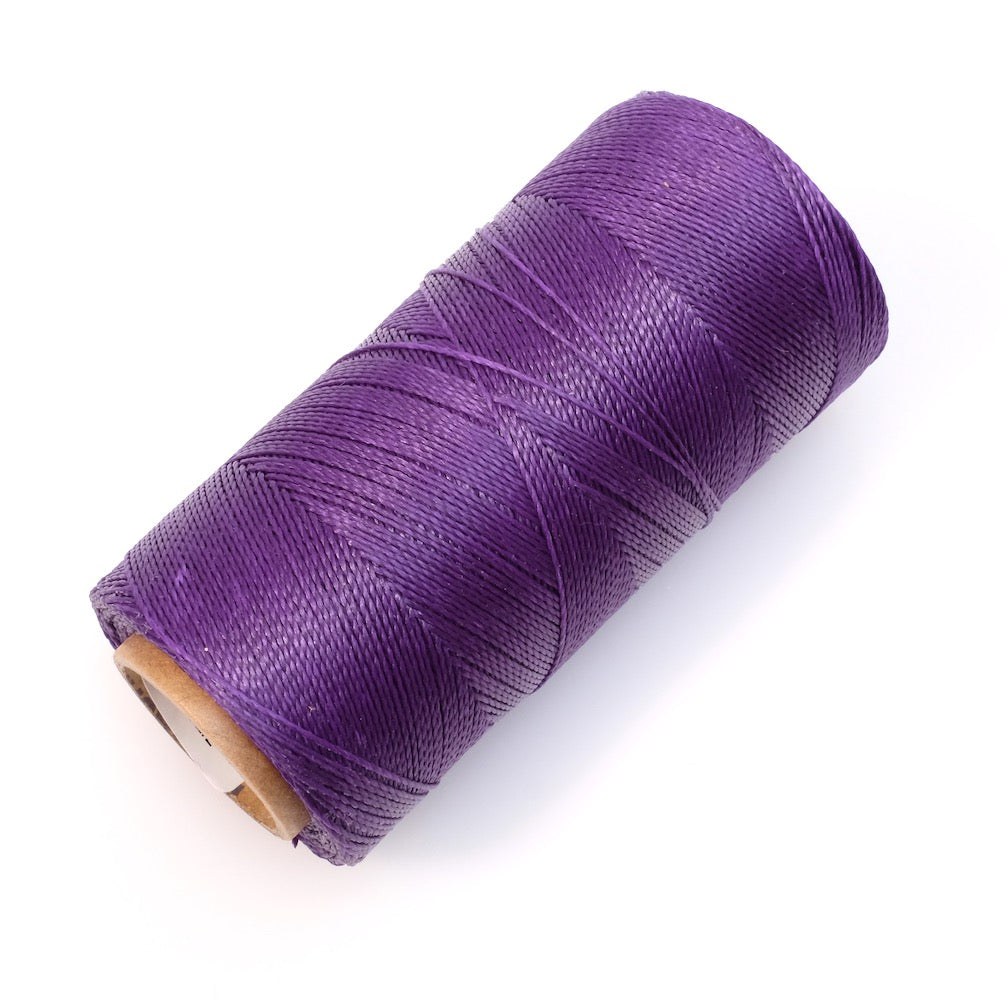
 Linhasita thread (thickness to suit your needs)