|
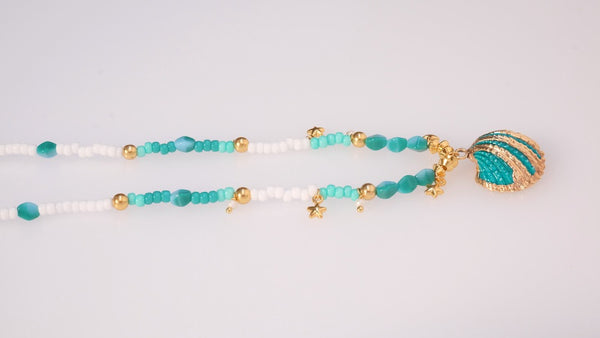
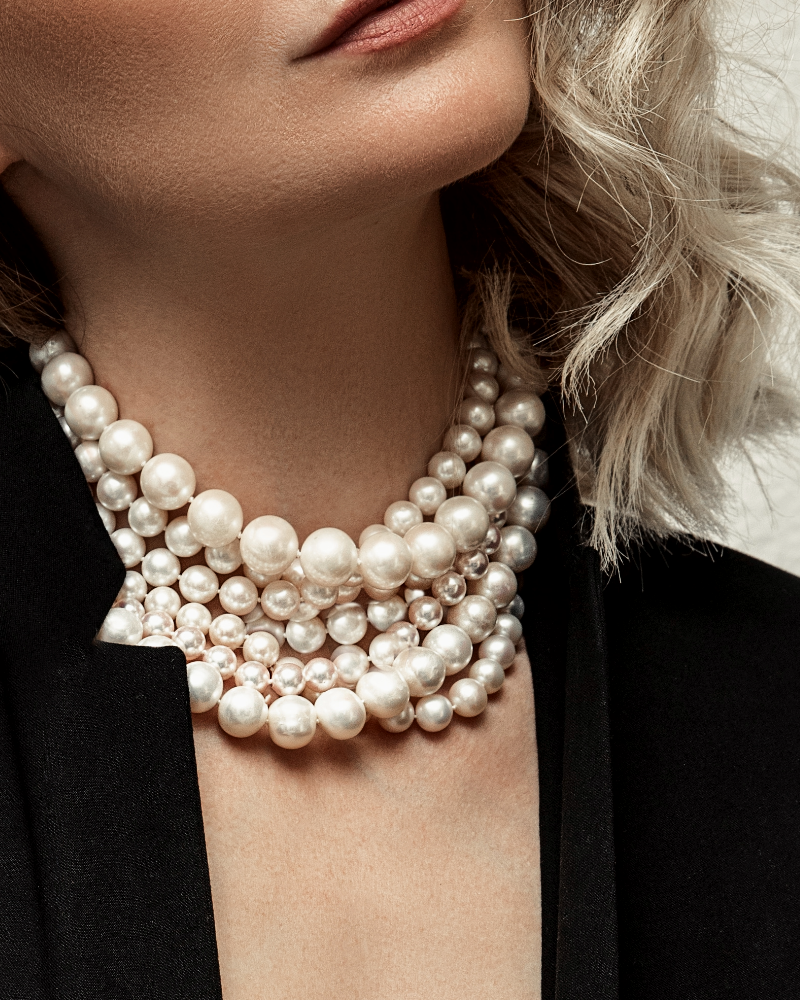
With a beautiful mix of coloured beads, these choker necklaces go perfectly with our shell pendants. Here's to you! |
||||
|---|---|---|---|---|
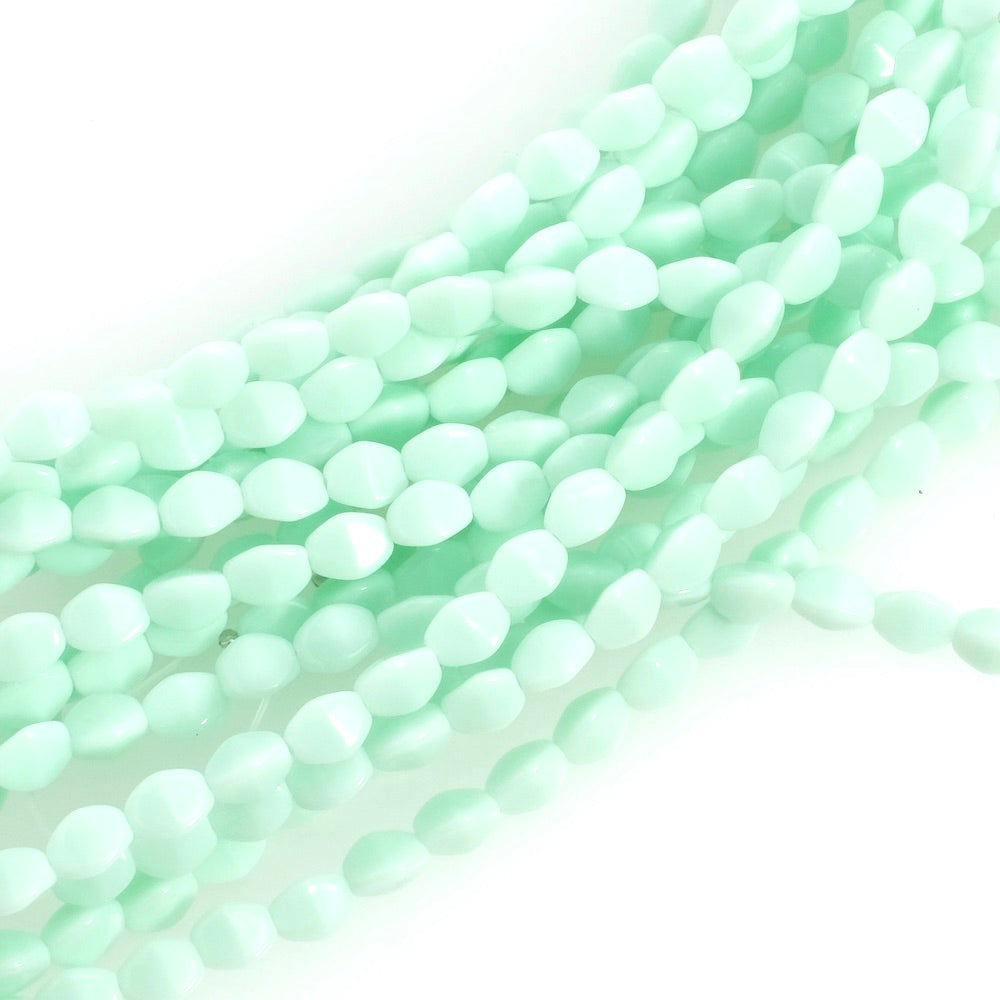
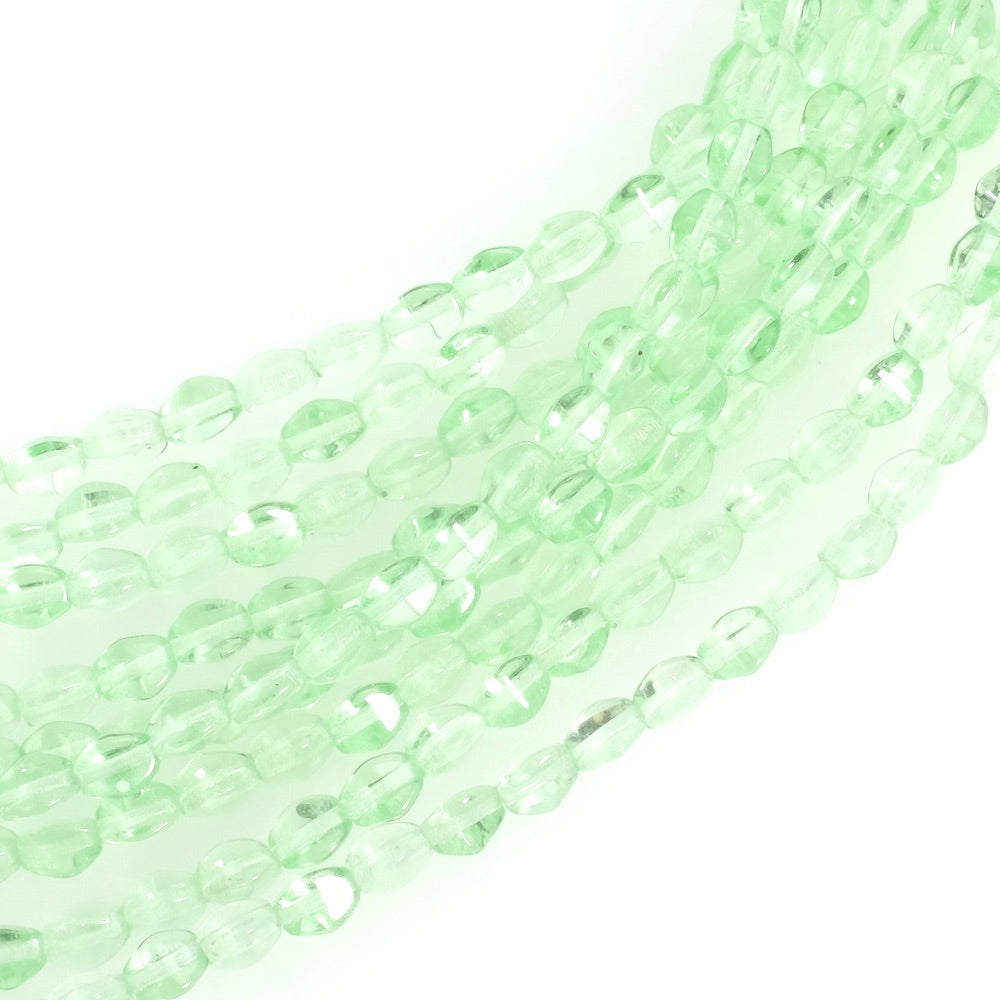
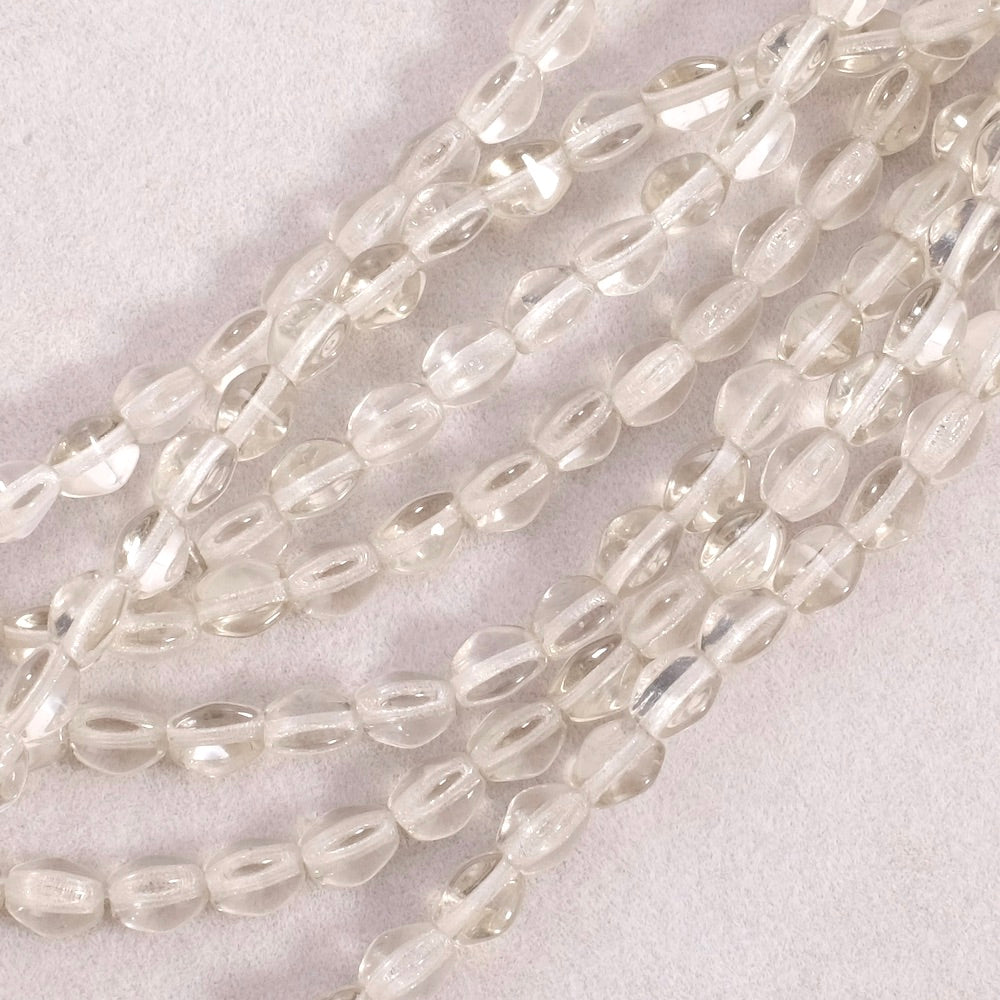
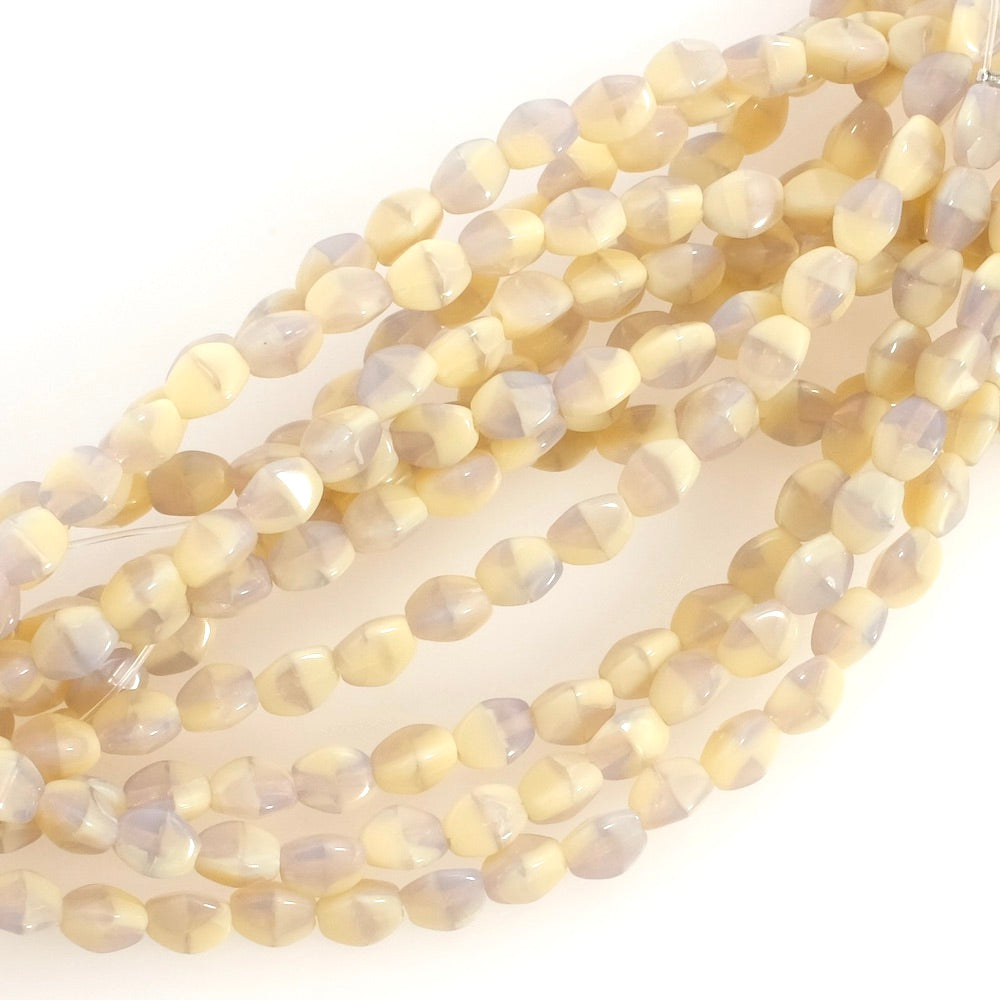
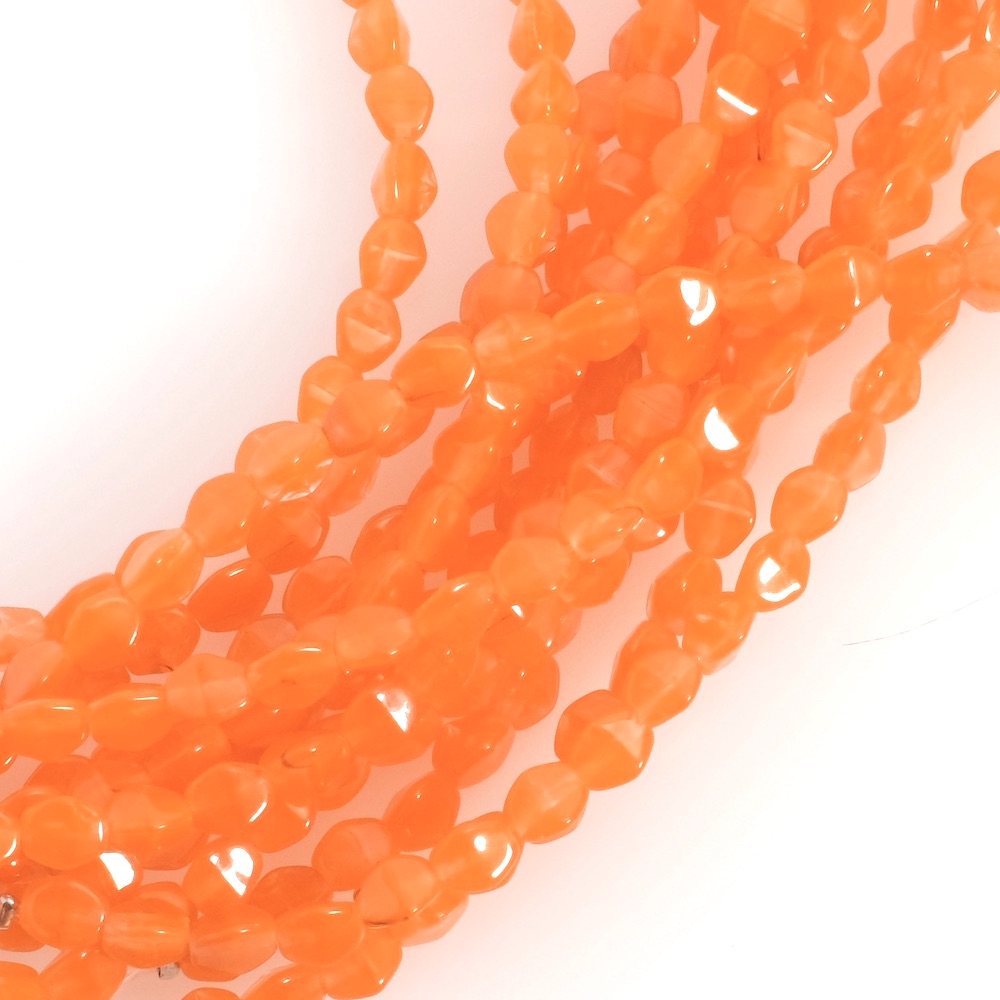
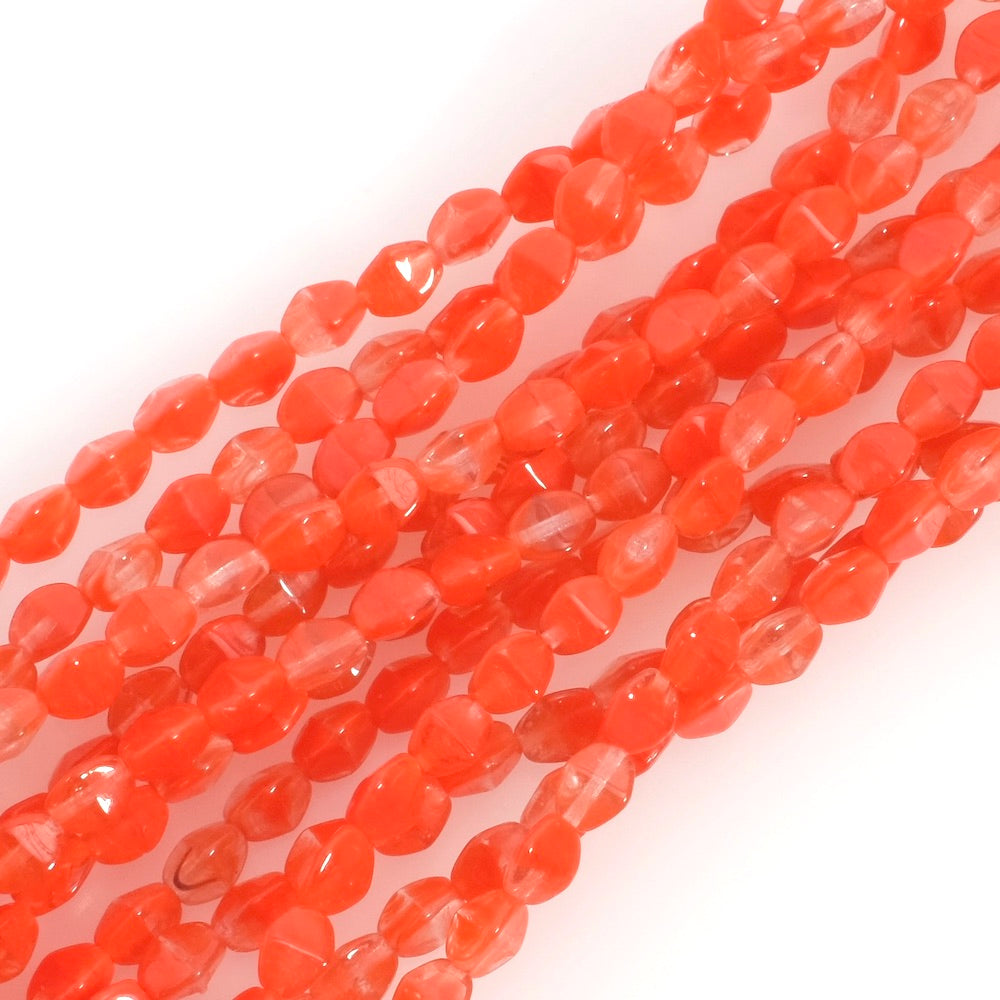
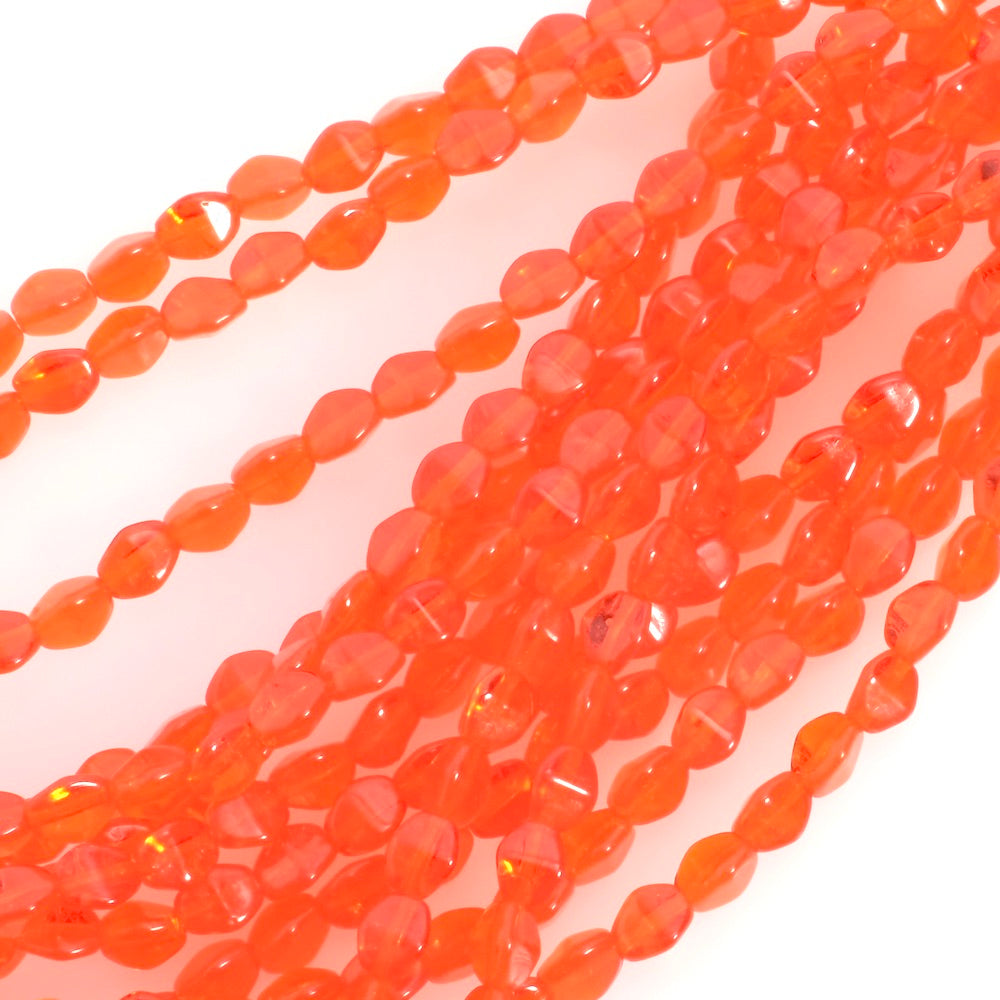
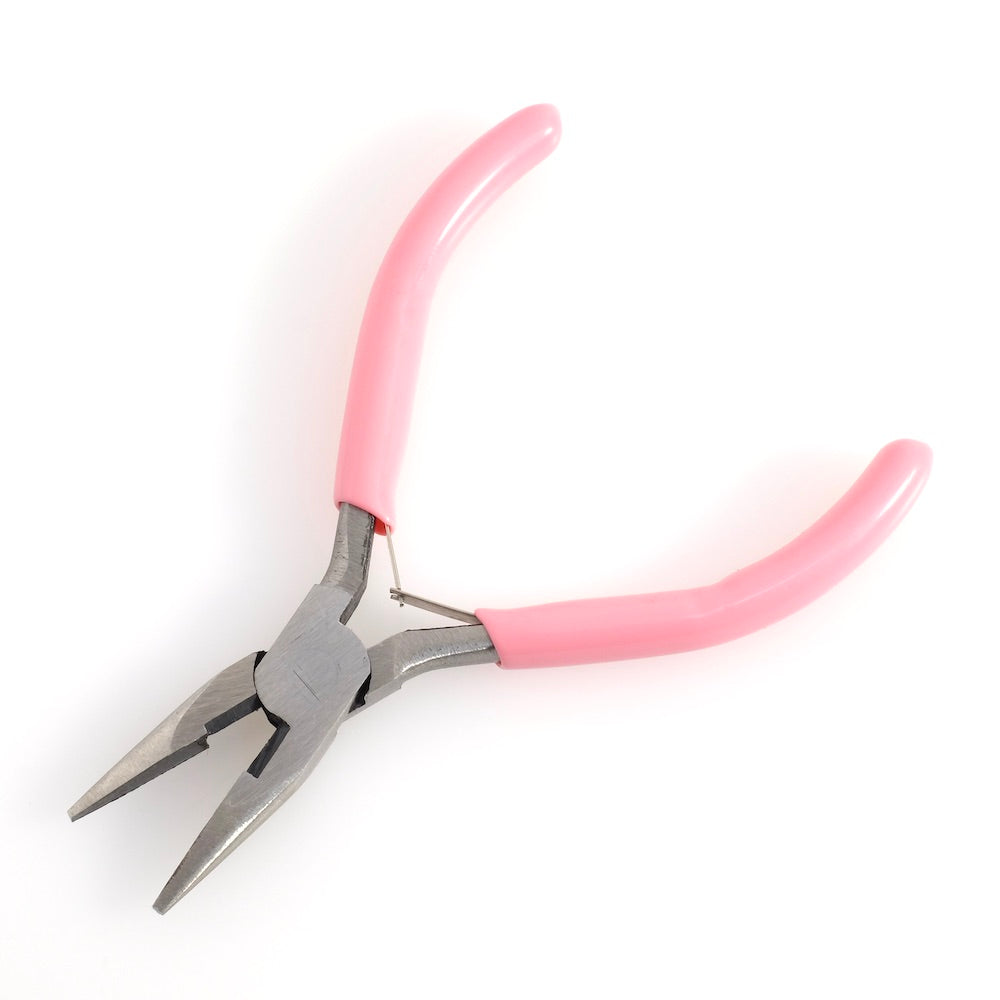
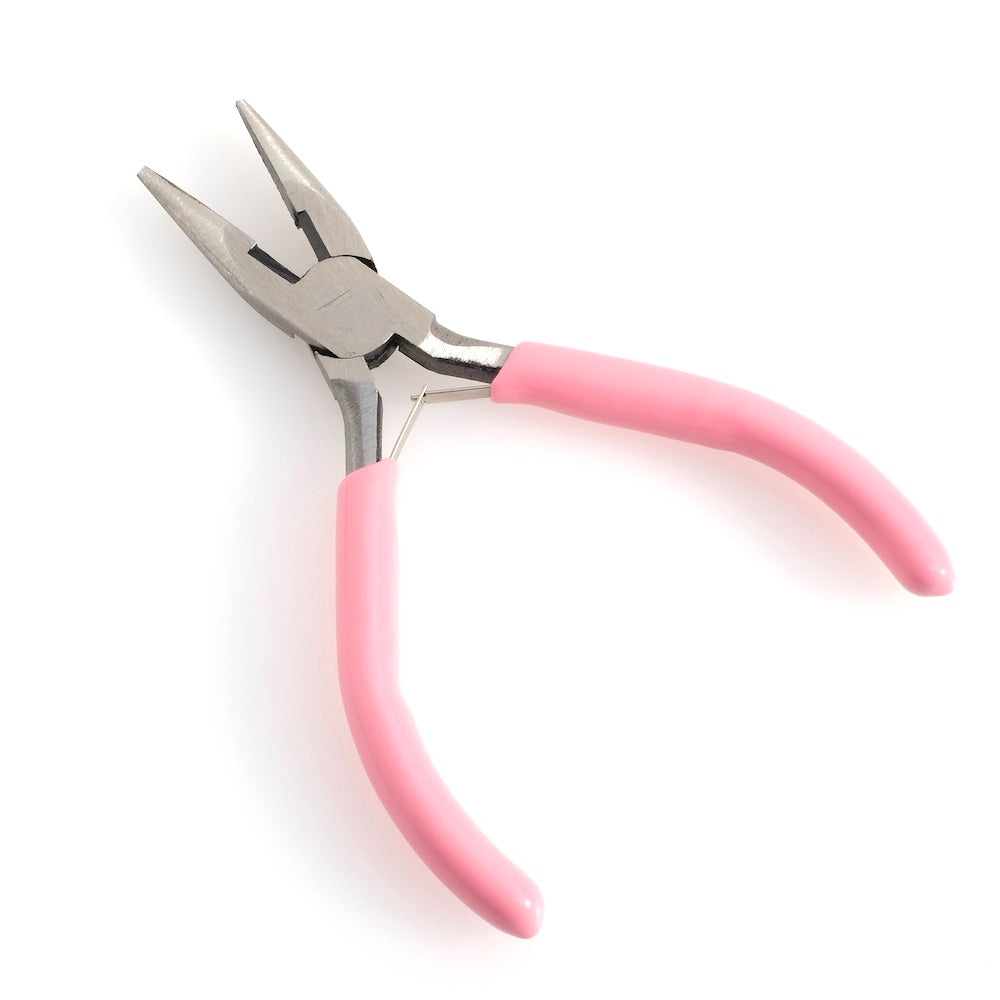
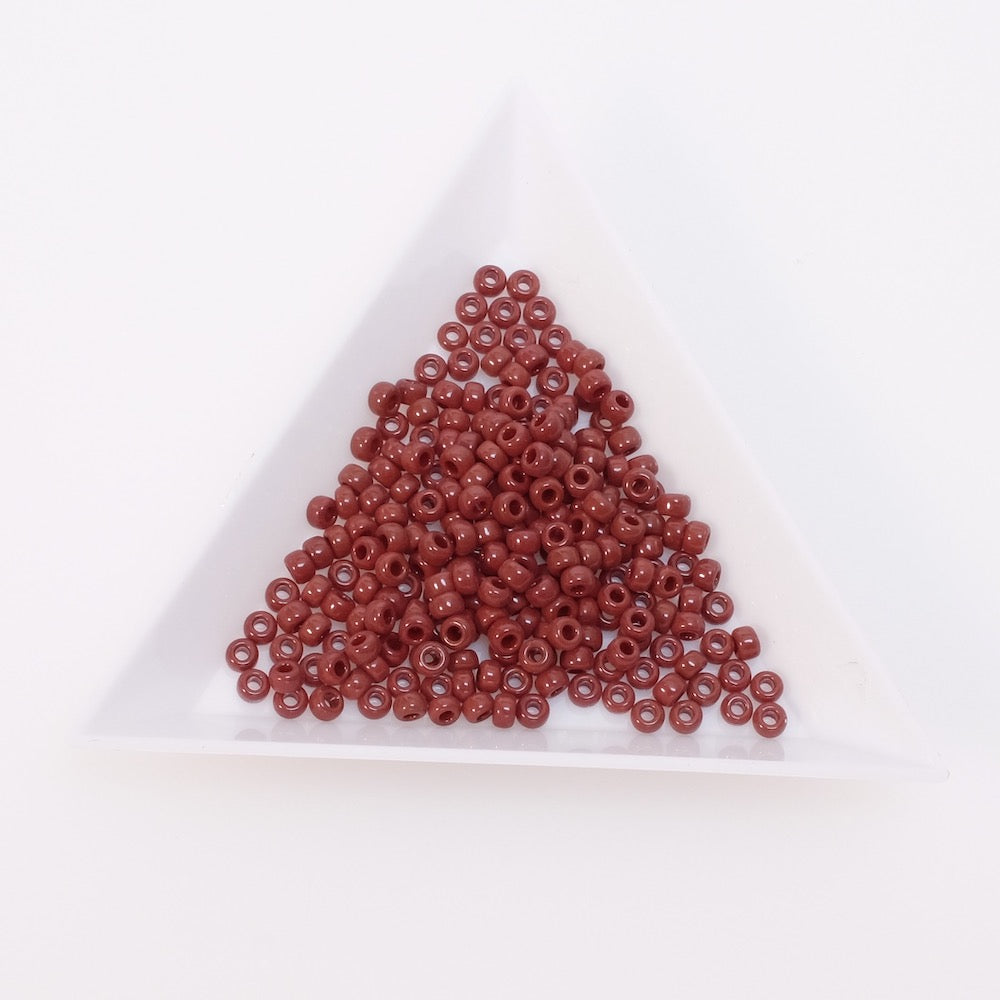
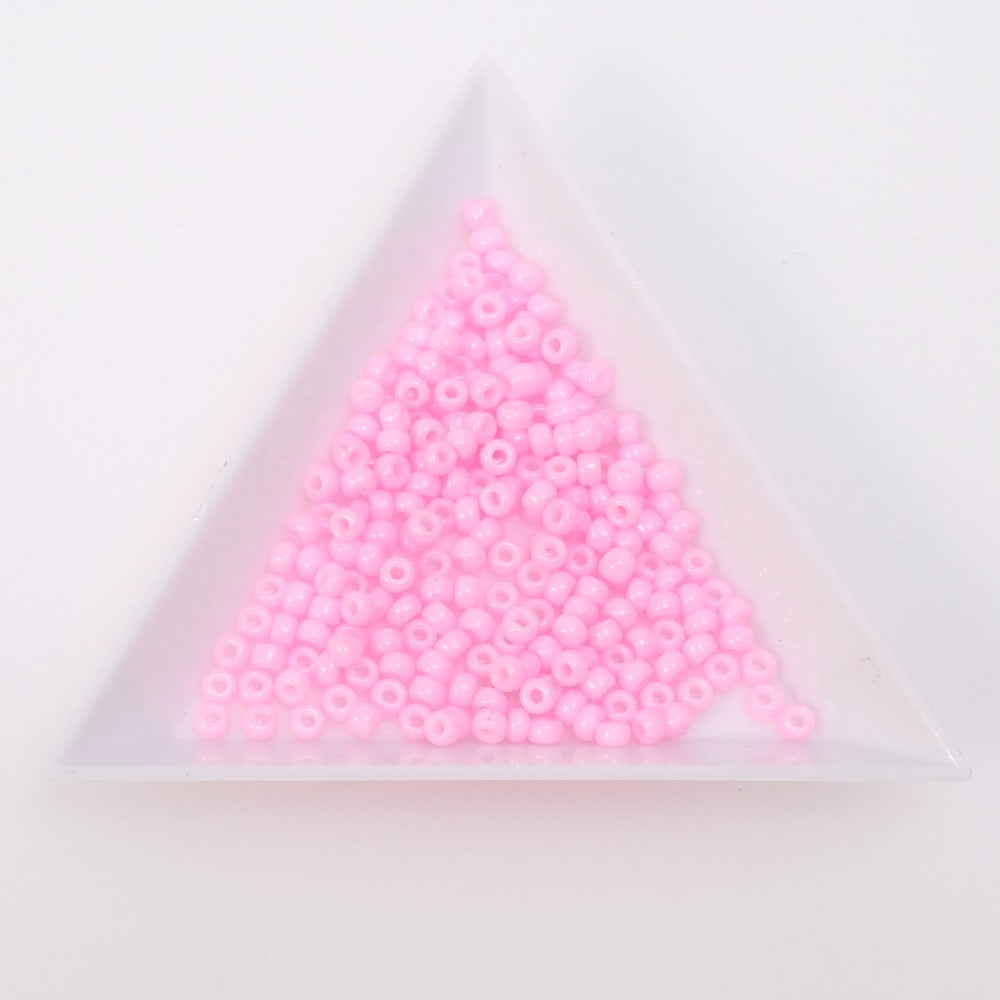
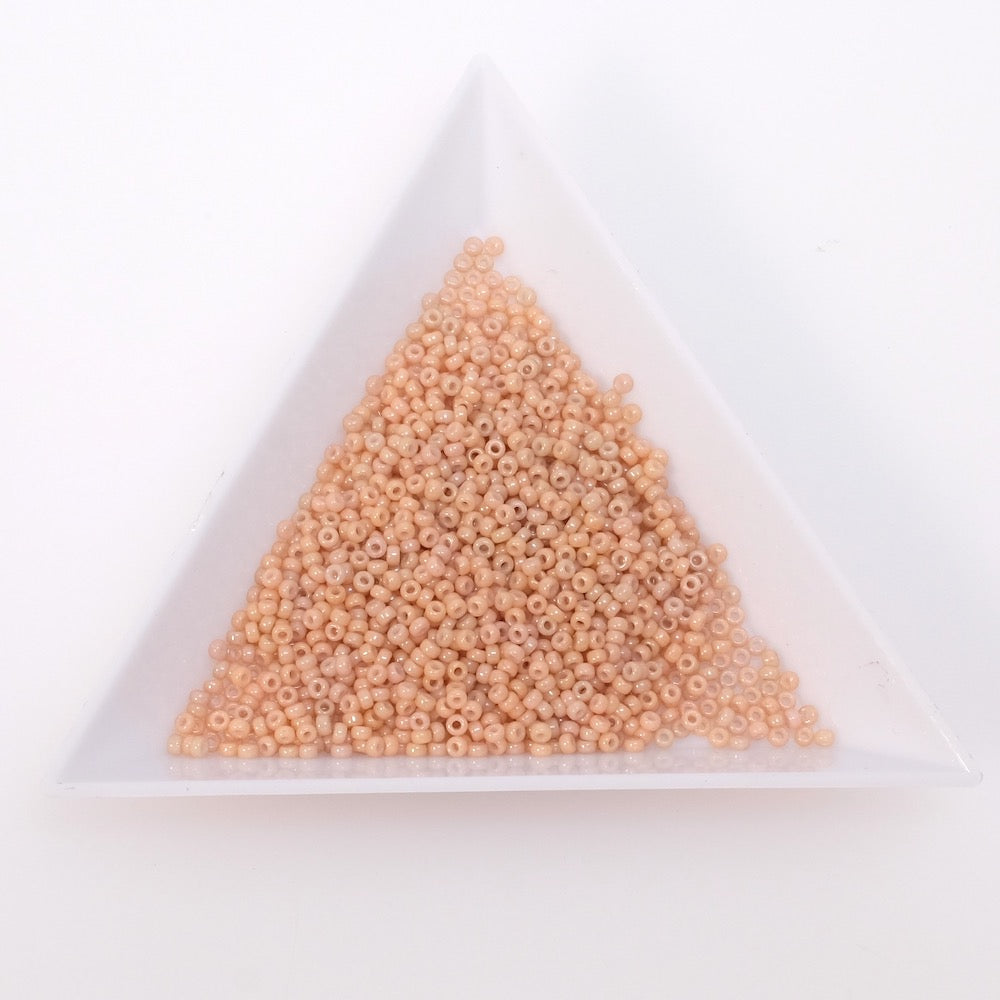
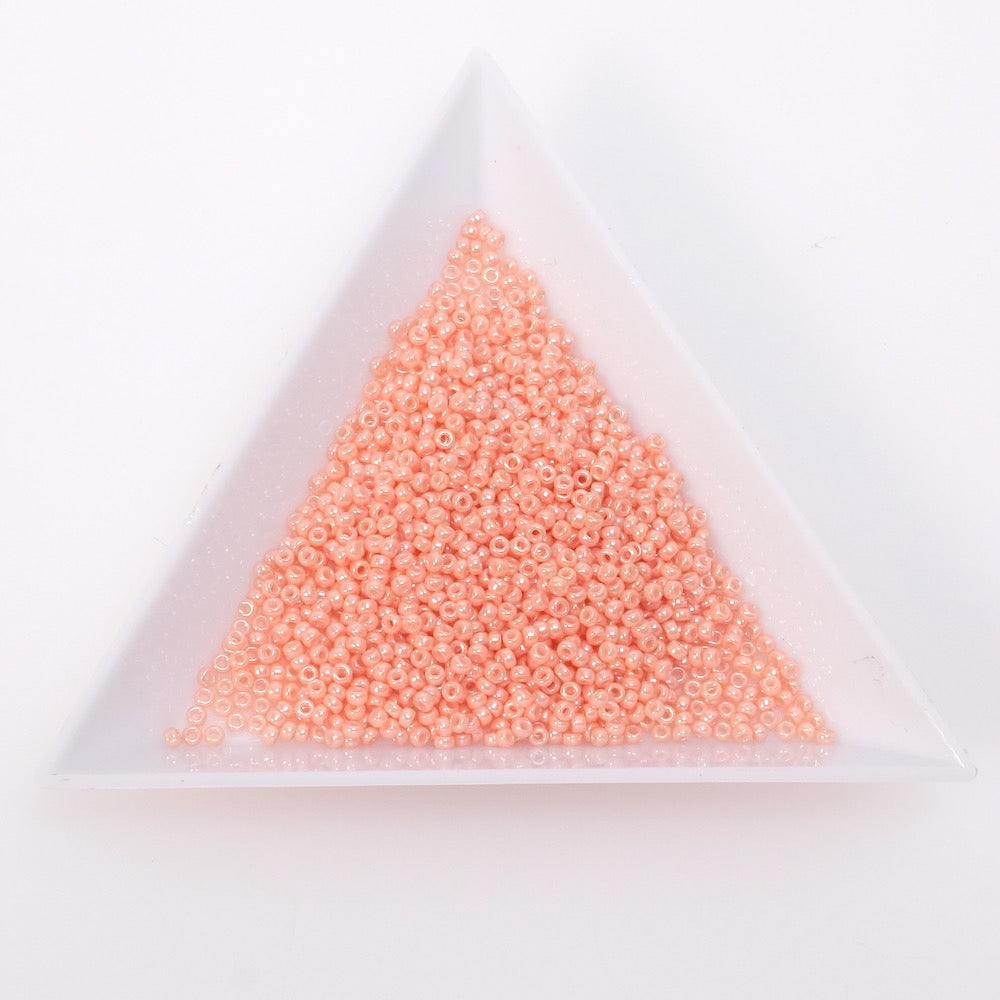
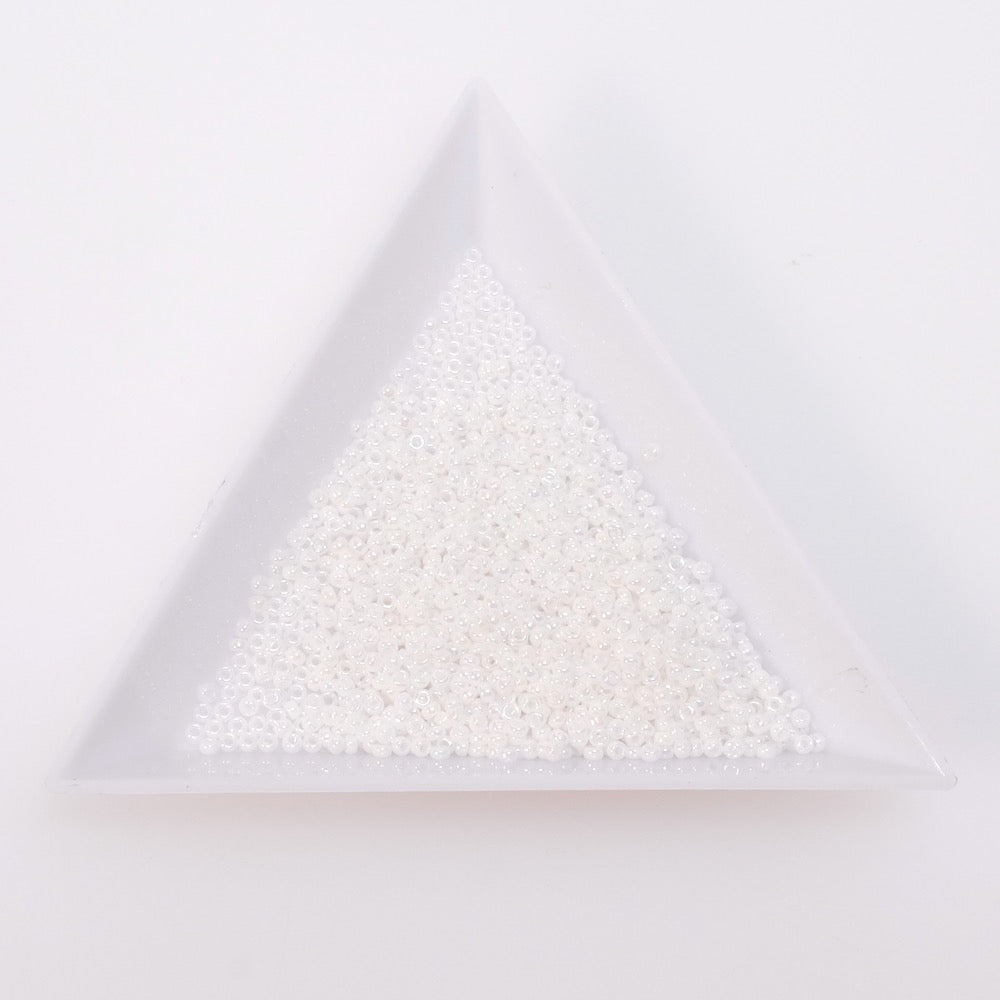
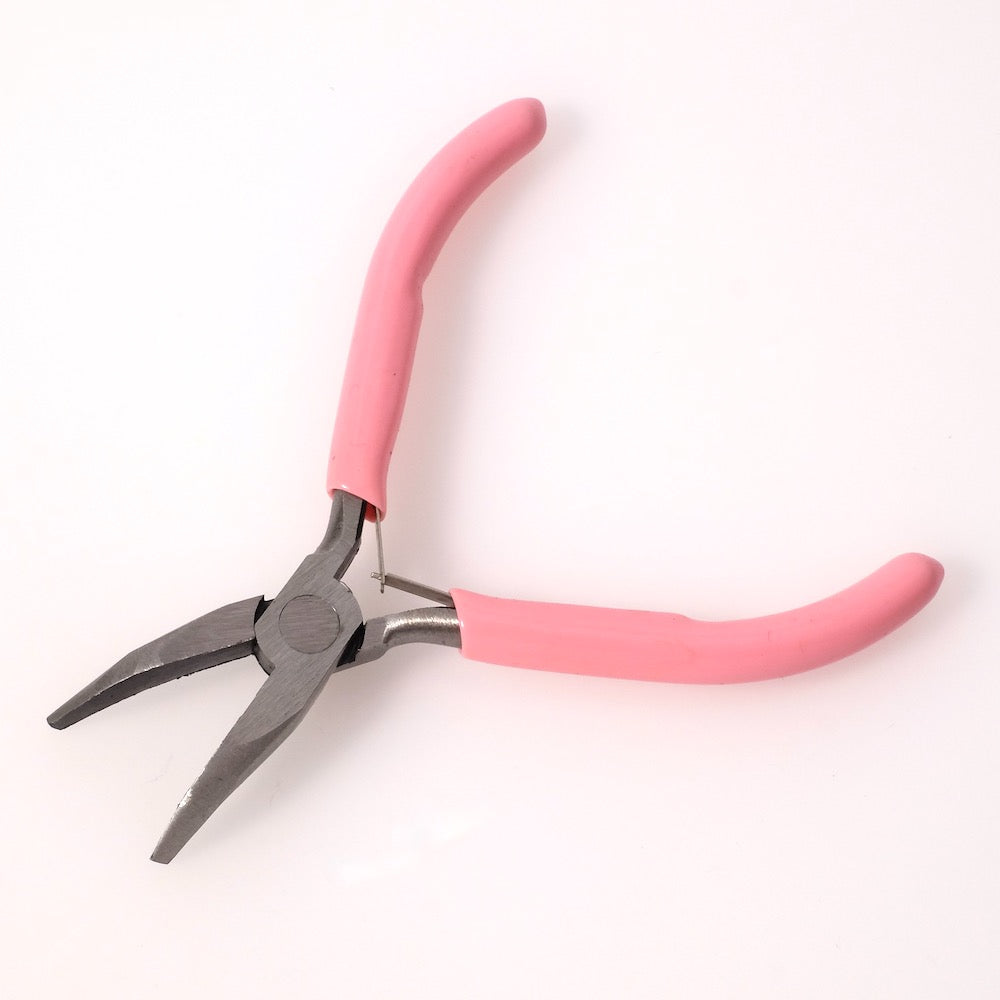
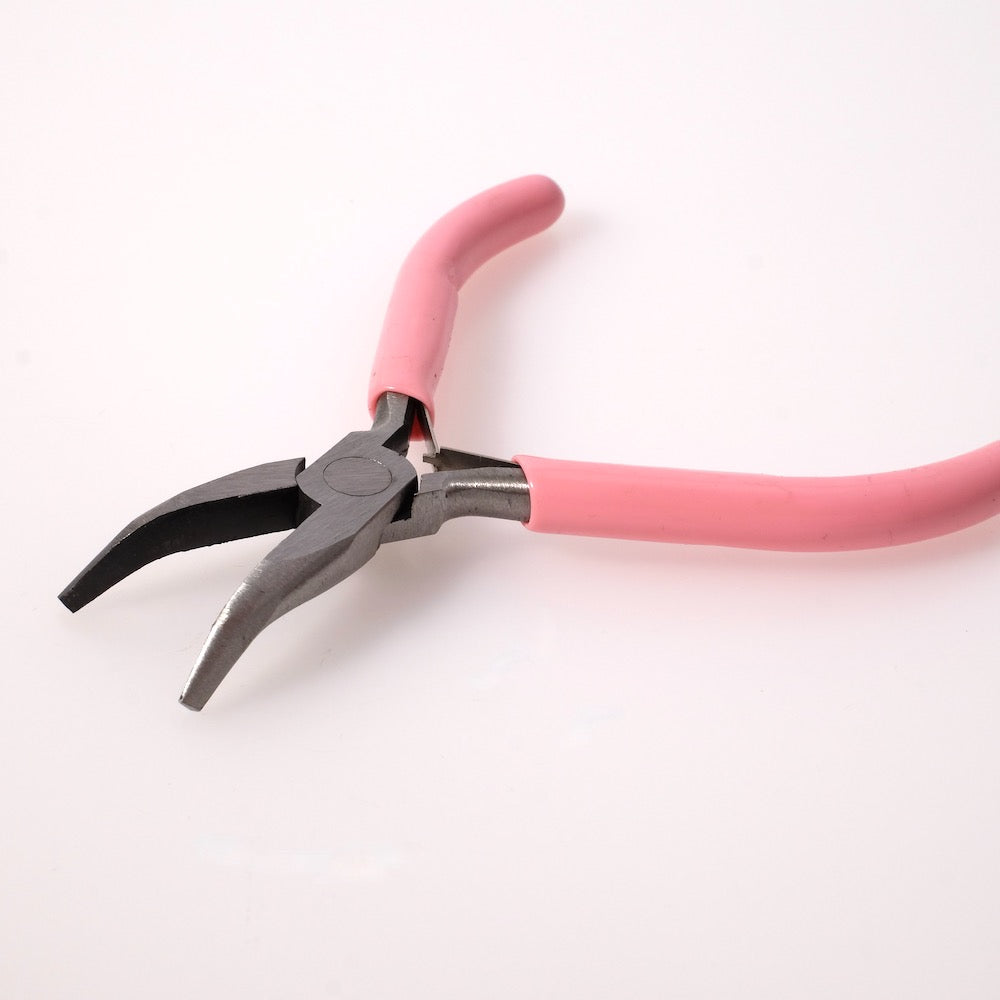
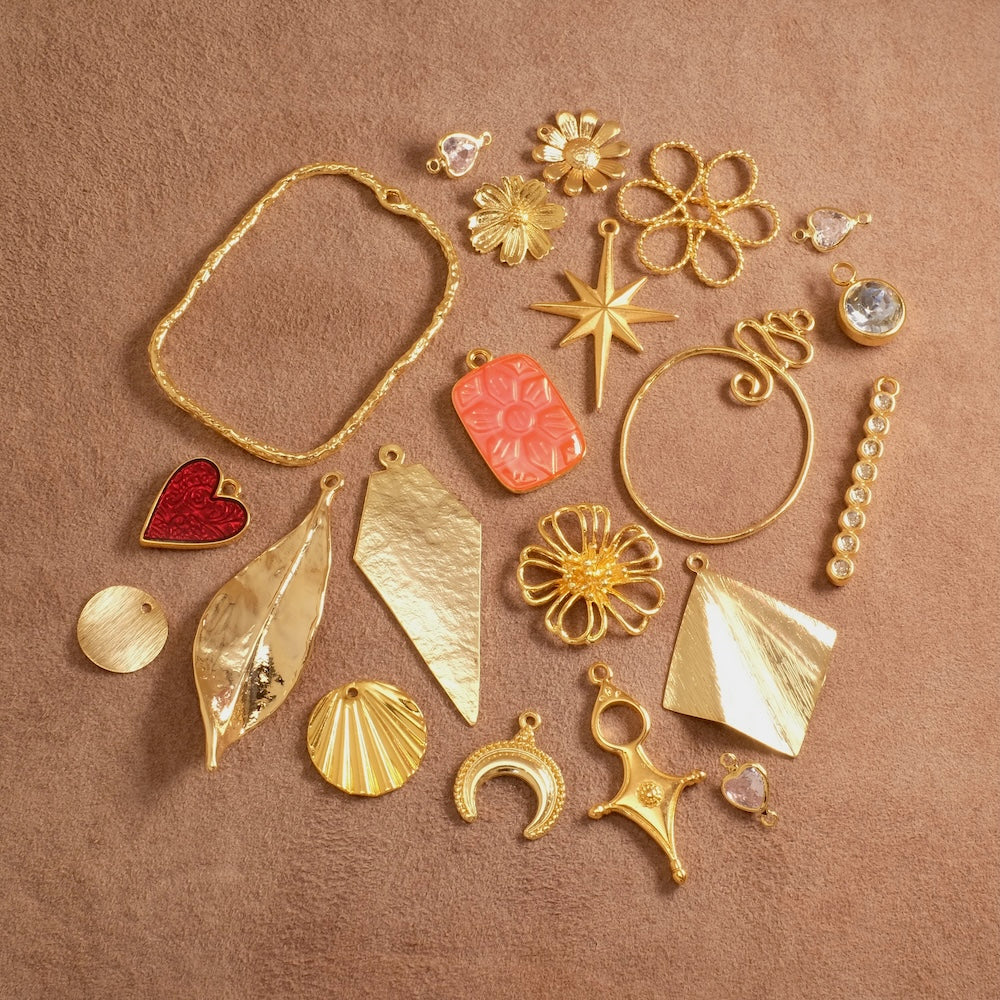
| You will need : | ||||
|
|
||||
| Here are some explanations: | ||||
|
|
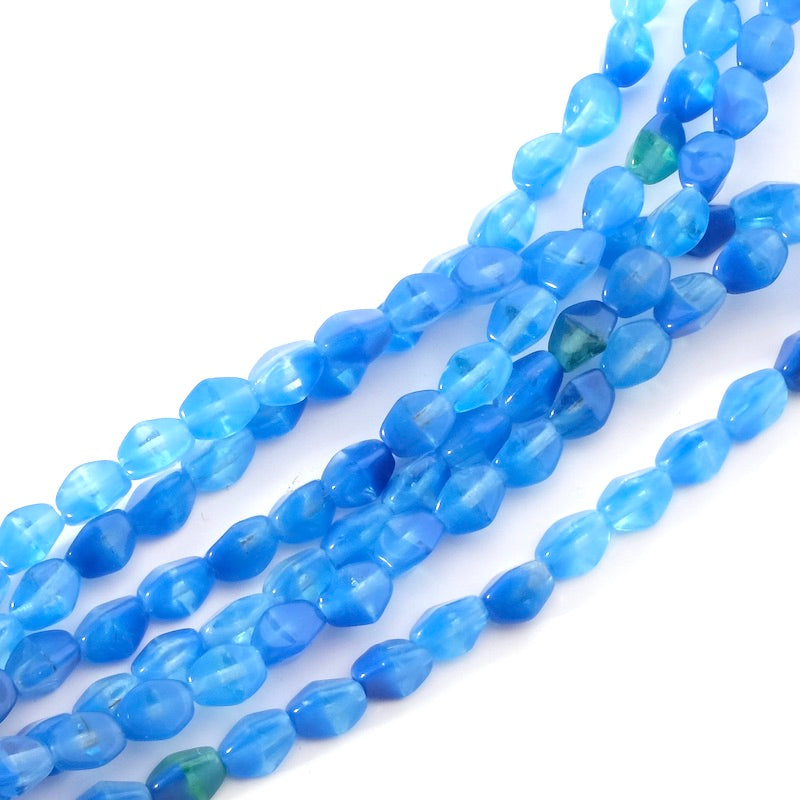
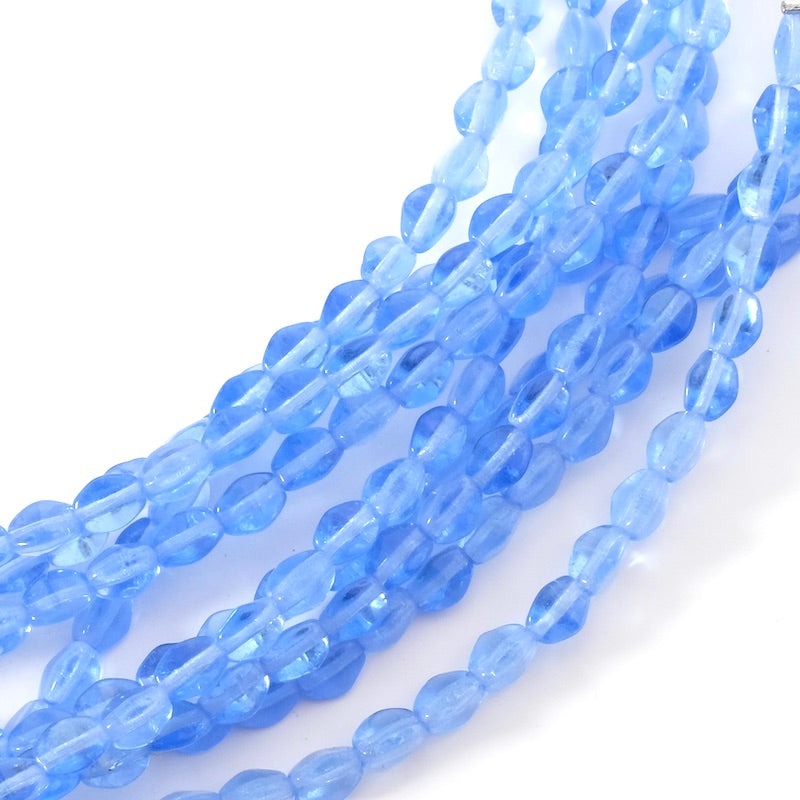
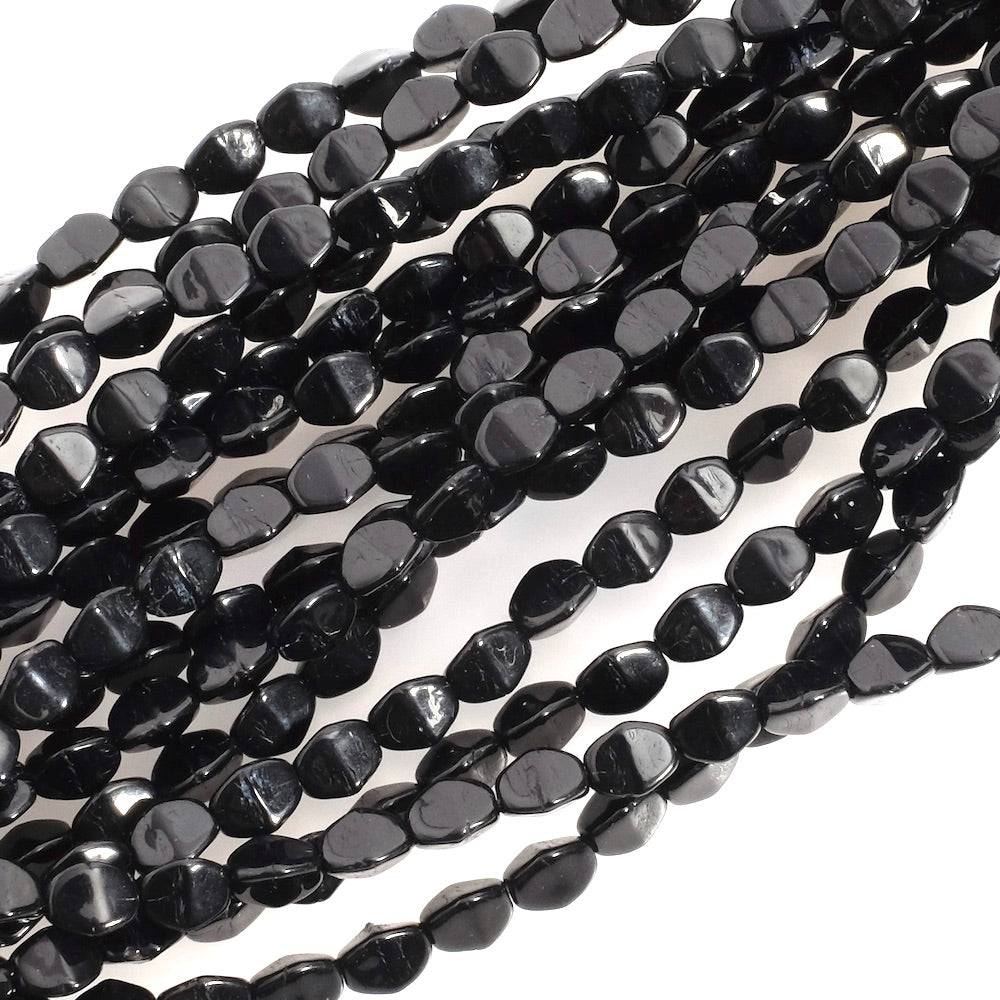
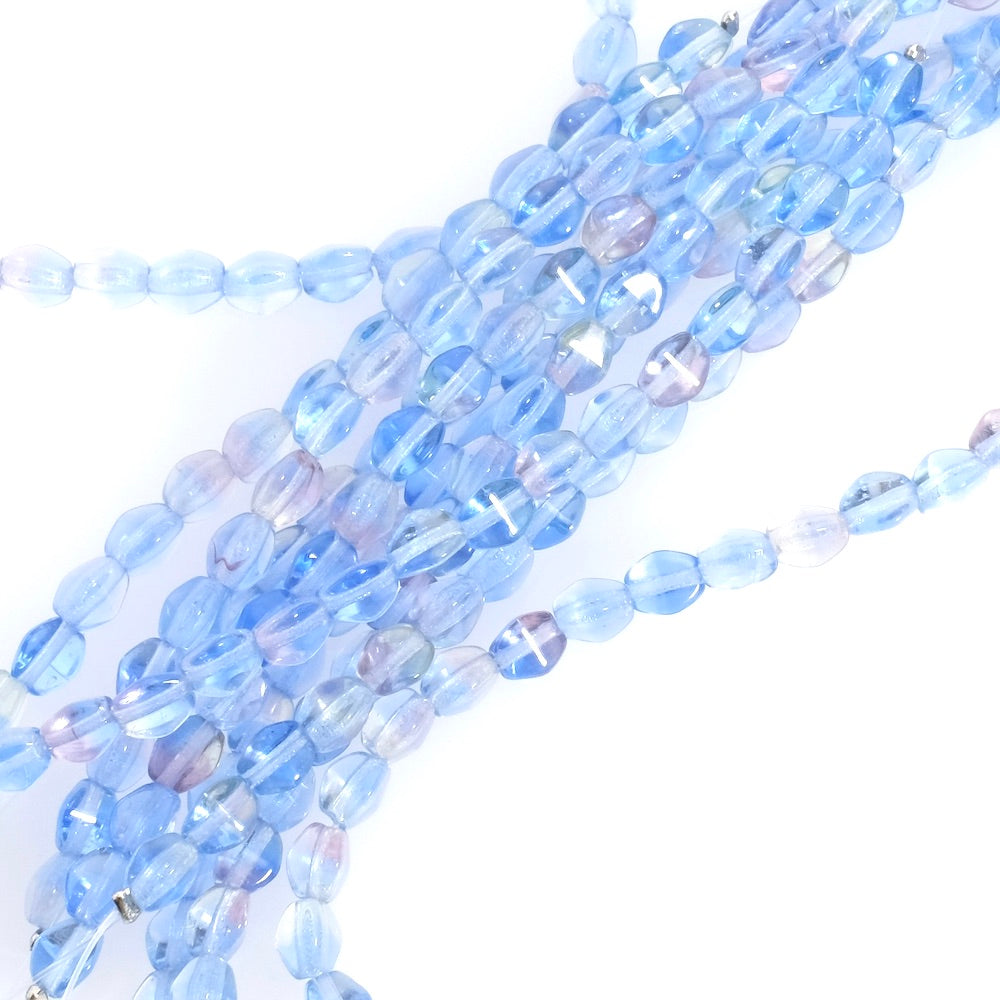
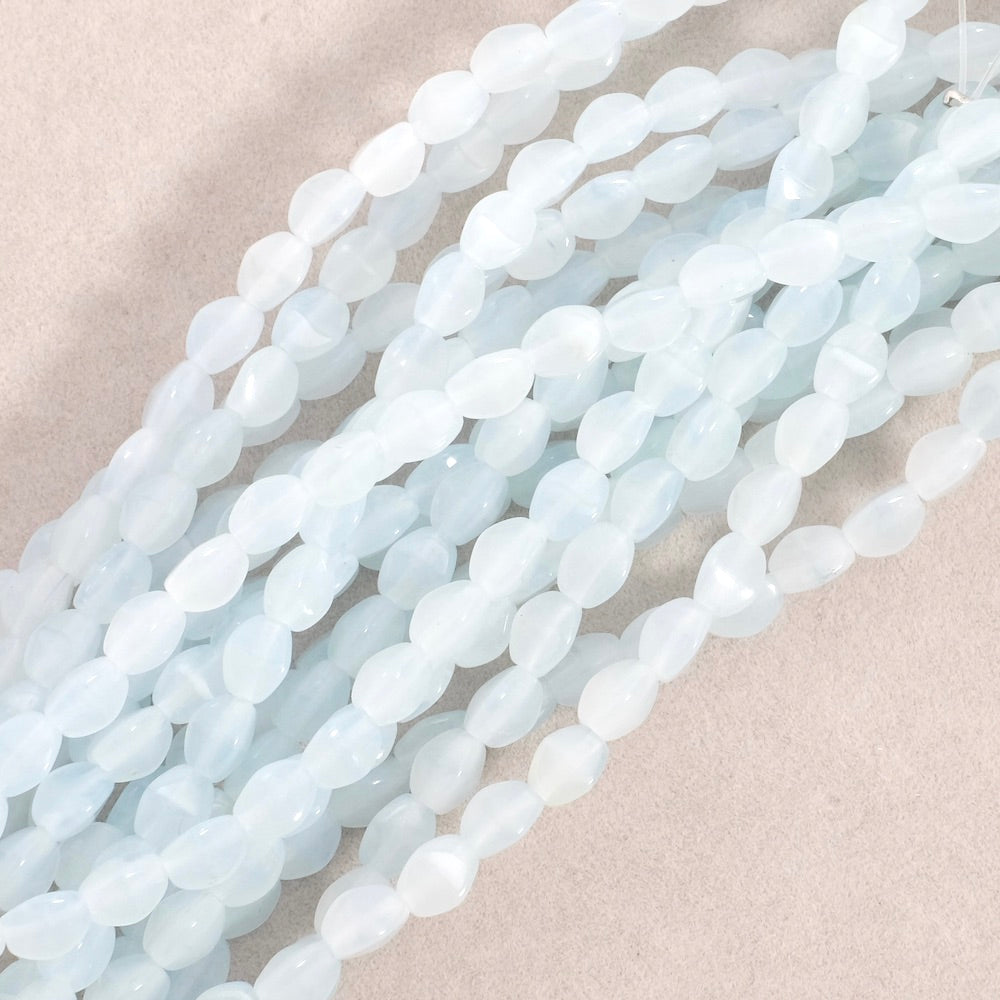
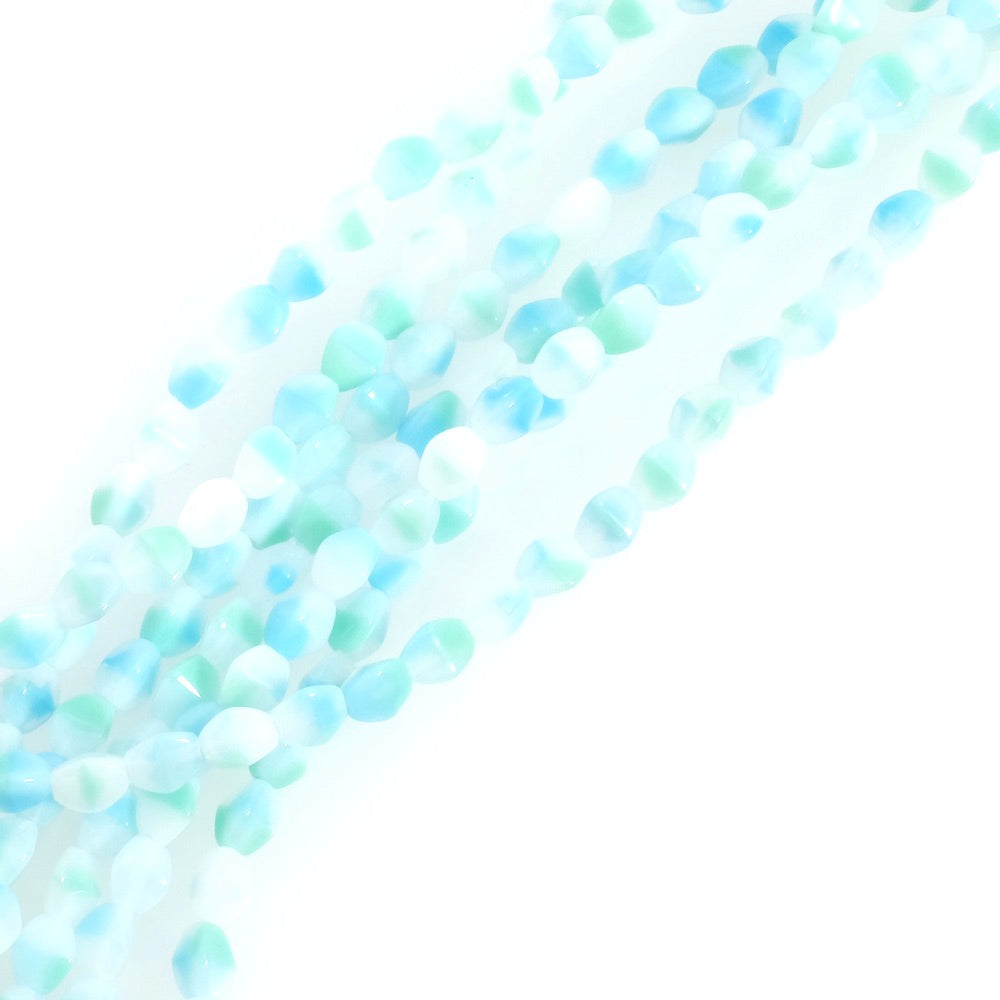
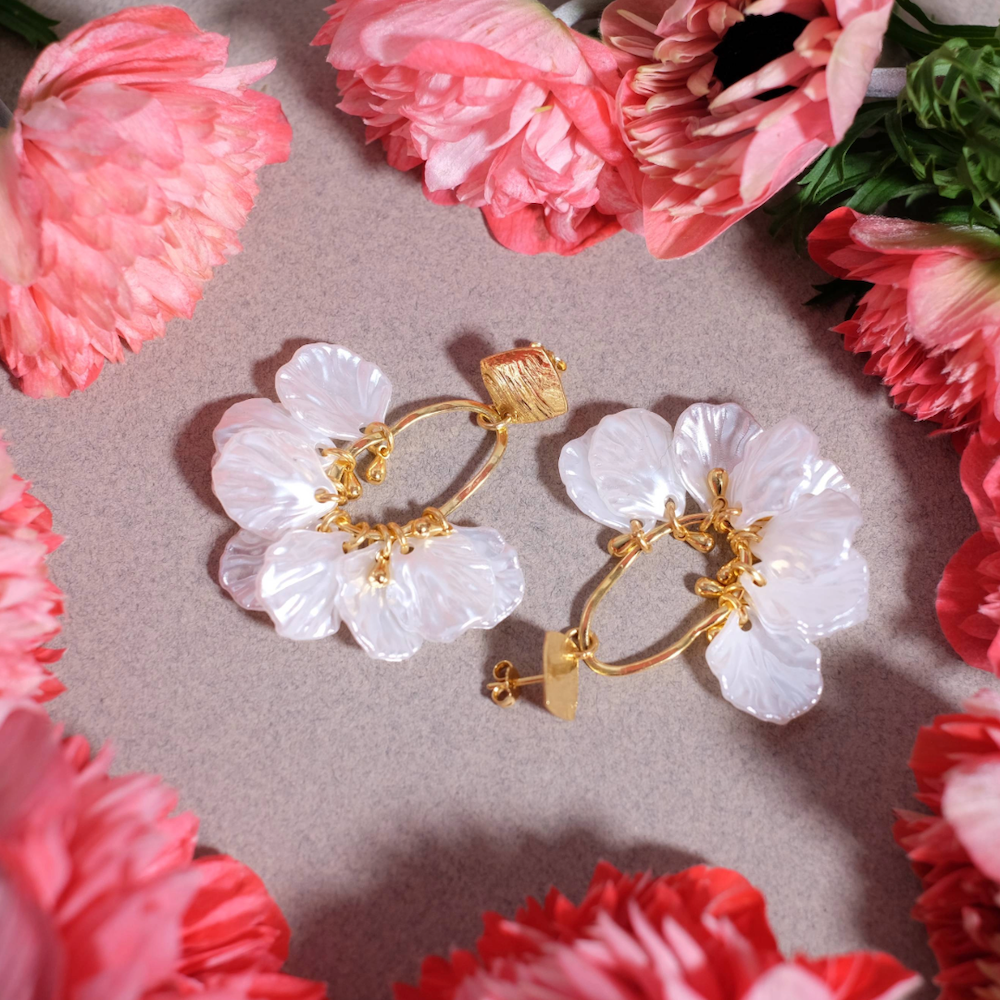
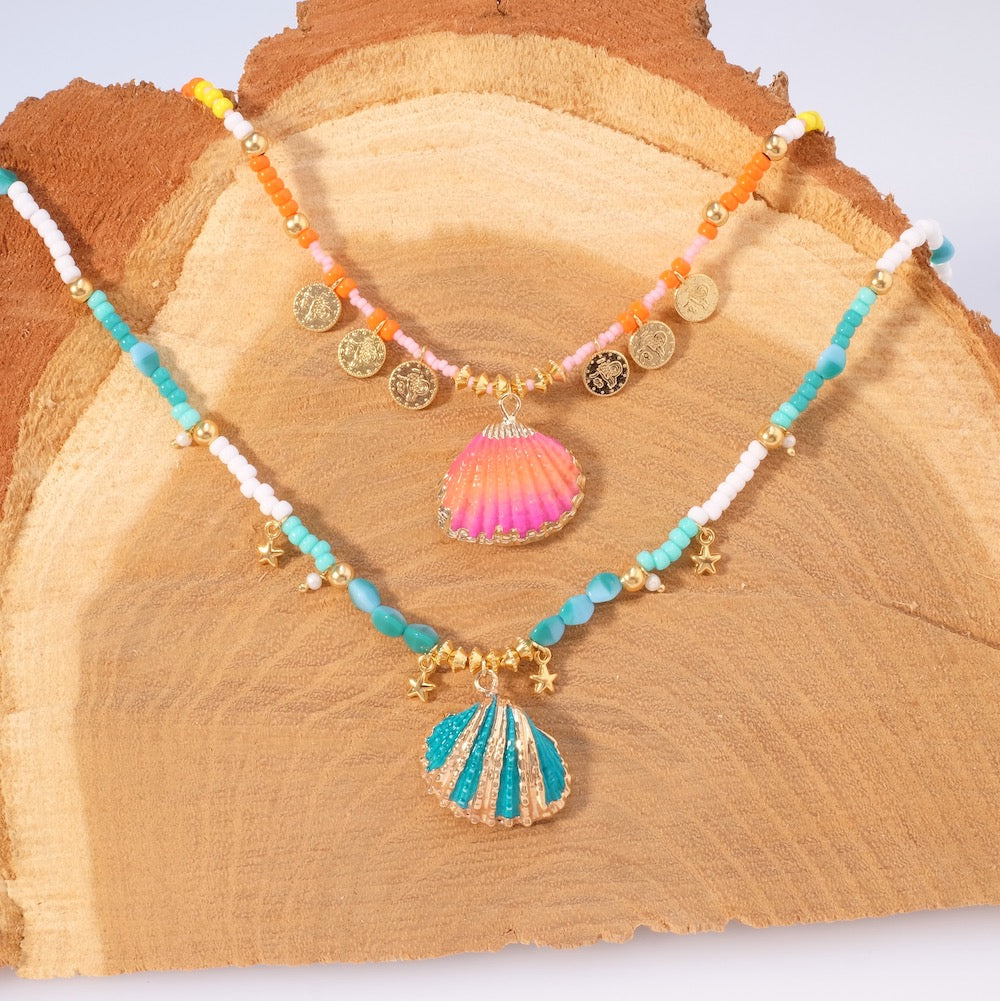
This piece of jewellery is very easy to make, so start by choosing beads colours to match your chosen pendant. If you choose a gold pendant, you can play with the colours of your choice and let your imagination run wild! Then attach all the pendants to the oval rings. Note that some pendants already have the ring in the right direction, ready to be threaded onto the wire. In this case, no extra rings are needed. Cut a nylon or silk thread about 50cm long. Here we've made a 40cm choker with a 5cm extension. Adjust the size as you wish. Tip: Start threading from the centre of the necklace, so you can easily reproduce the symmetry as you go along. You'll be able to see how it looks straight away without having to take it all apart if you don't like a particular combination of beads. It's also easier because you don't have to count all the beads again! First, put on the shell pendant in the centre. Then start playing with the beads combinations. To give rhythm and contrast, you can alternate seed beads with metal beads, pendants and slightly larger bohemian beads. On the pink necklace, we even alternated very small 15/0 seed beads with larger 8/0 beads. This gives a real contrast and relief to the stringing. We love the repetition of colours to create a pattern. Don't be afraid to play with gradients or strong contrasts! Once you have reached the desired length, secure the ends of the thread with pliers to prevent it from slipping out! Thread a squeeze bead onto one end of the wire, then the ring of the buoy clasp, then back through the squeeze bead. Pull on the wire to bring the clasp back to the edge of the beads. Then gently flatten the pearl to be crushed. Tip: Don't squeeze the pearl too firmly as this could break the nylon thread. A little pressure is enough. Test the hold to make sure it's secure. To prevent the end of the thread from itching, tuck in the remaining thread over about 3cm of beads. For the other side, do the same thing, but this time use an extension chain. But before flattening the pearl, position the necklace in its final shape, leaving some flexibility between the beads. Your necklace should remain fluid, otherwise you risk creating unpleasant and unsightly tension.
And voilà! A great achievement! |
|||


To be reserved alone or with friends!

Join Perles Corner to discover our new products, exclusive tutorials, and many other surprises... and receive your voucher by email!


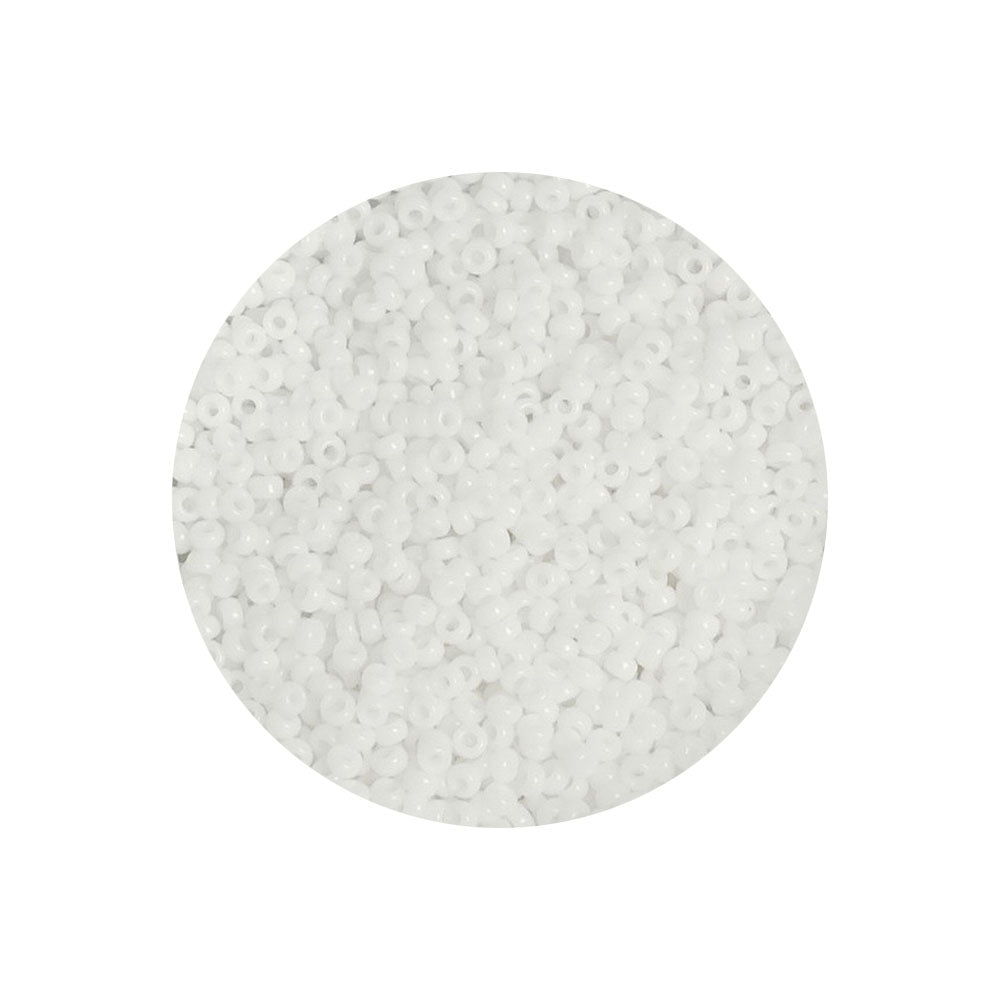
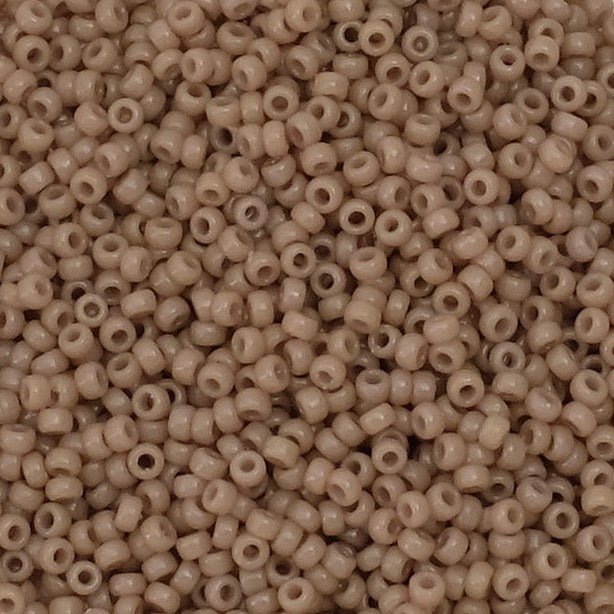
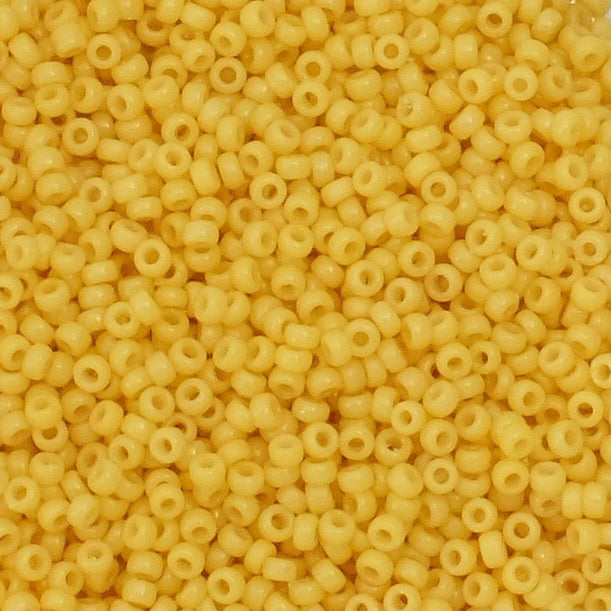
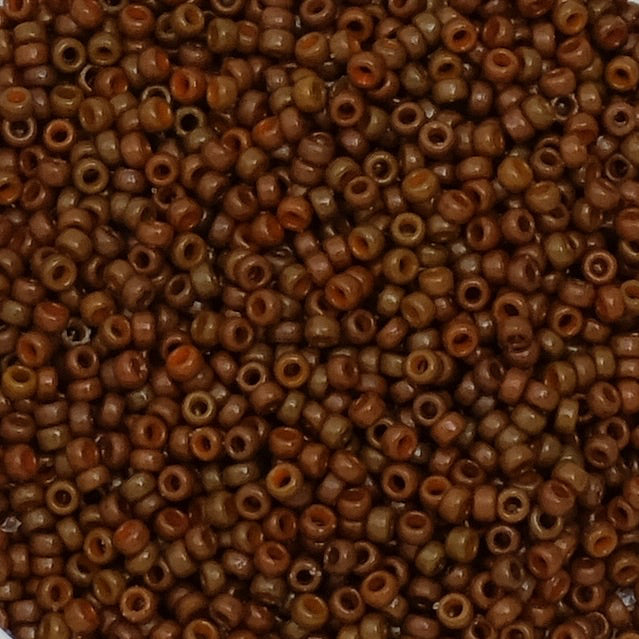
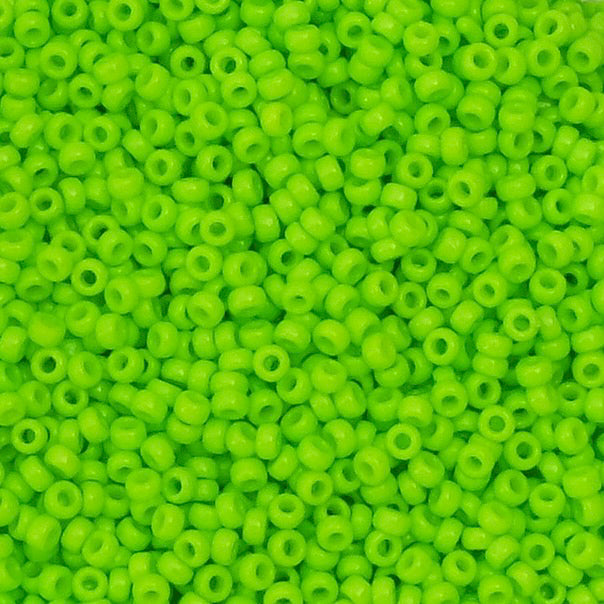
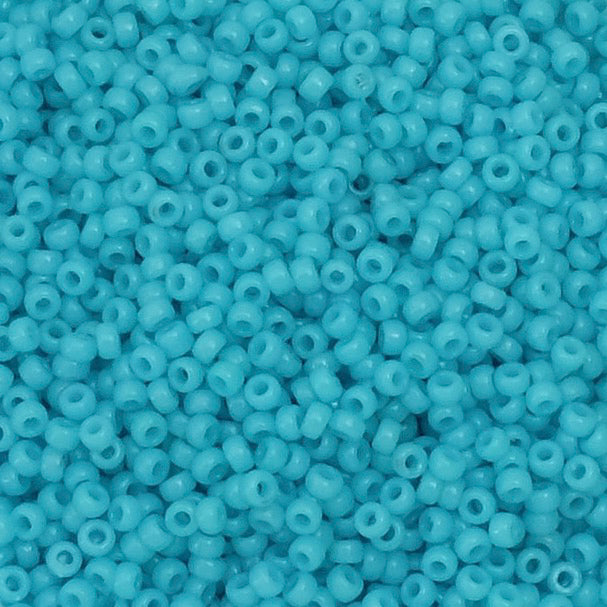
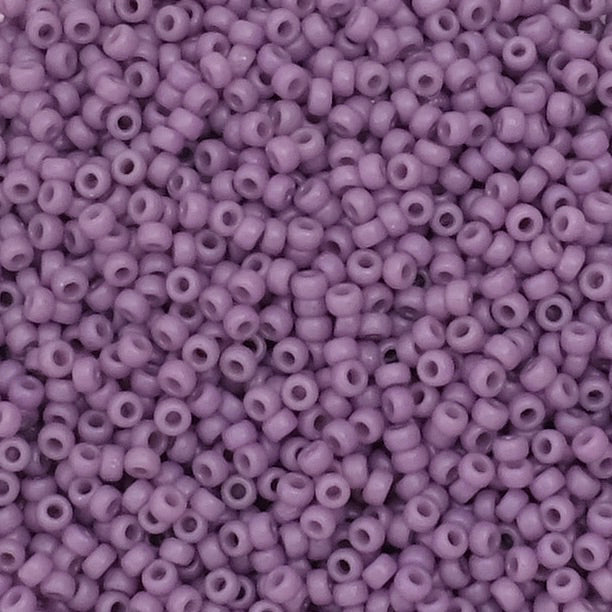
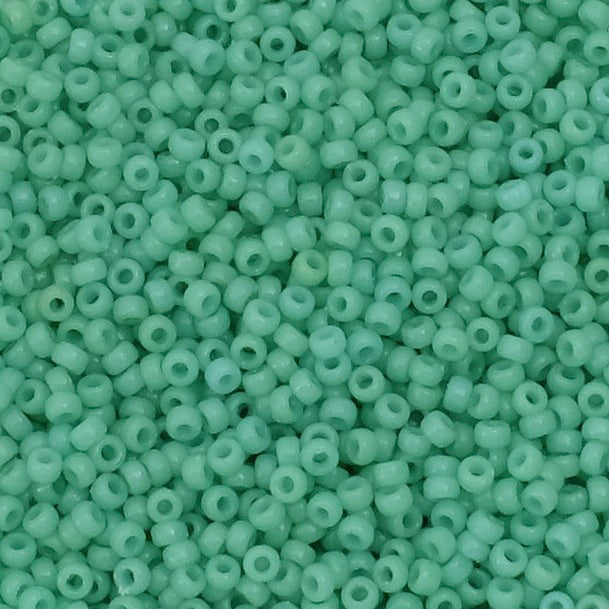
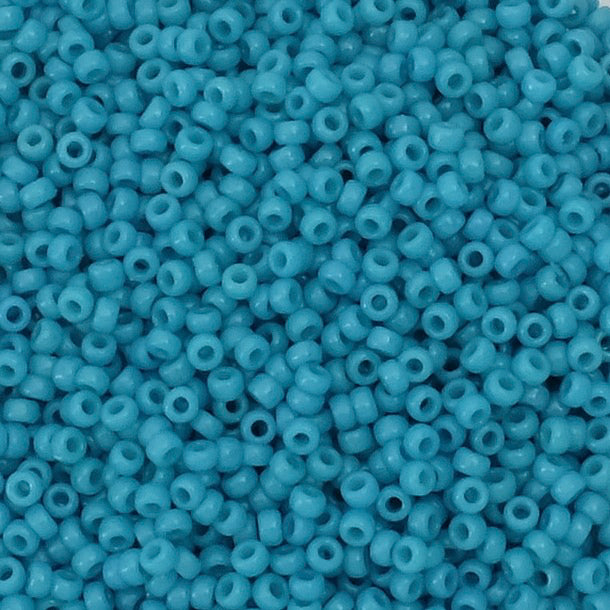
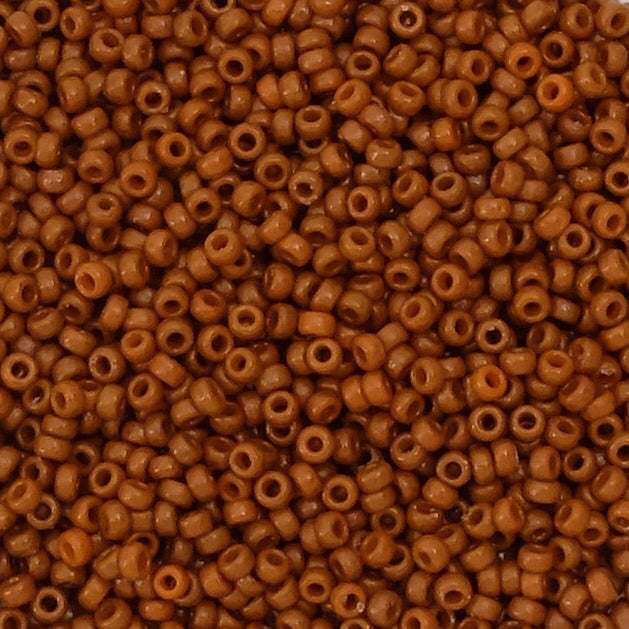
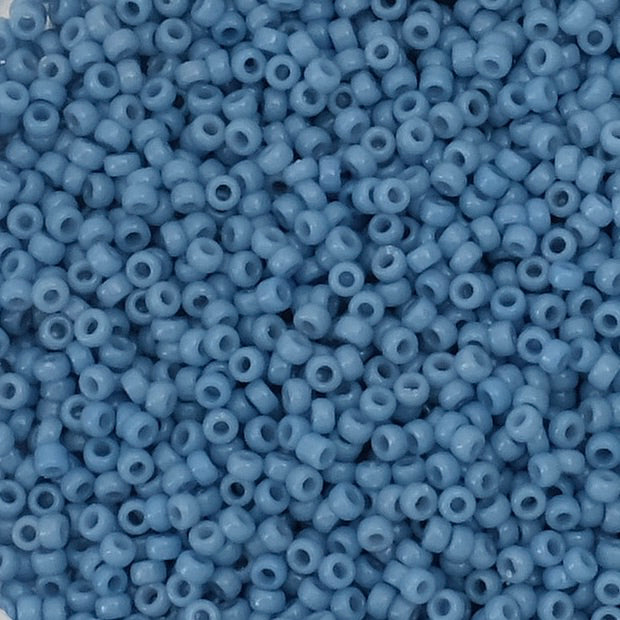
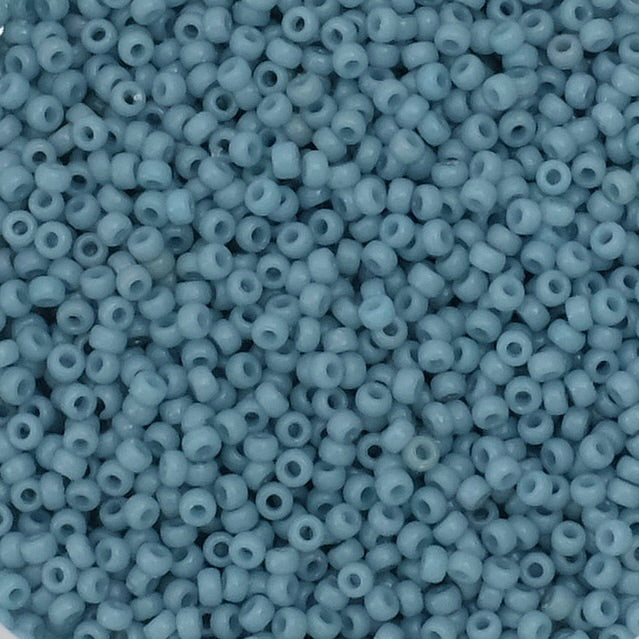
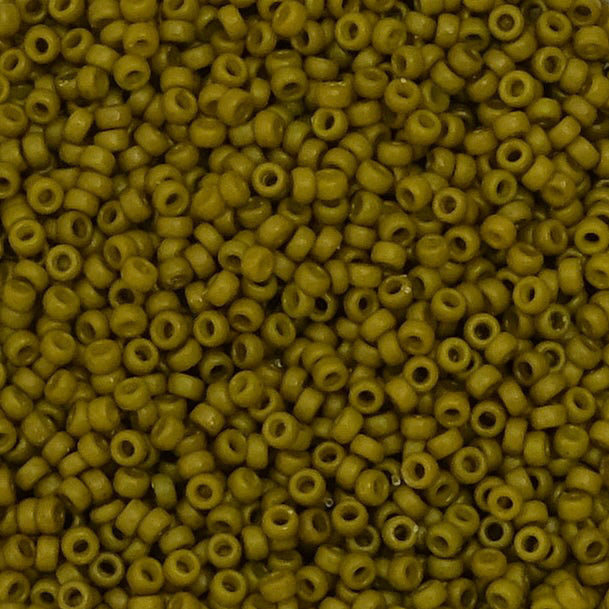
 8/0 seed beads
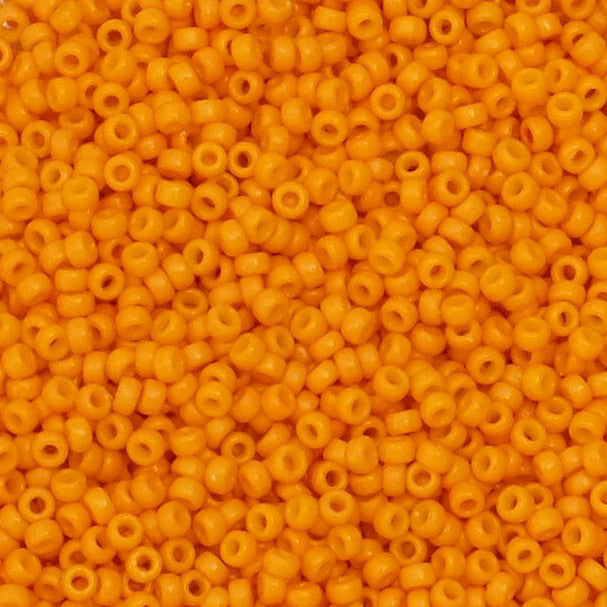
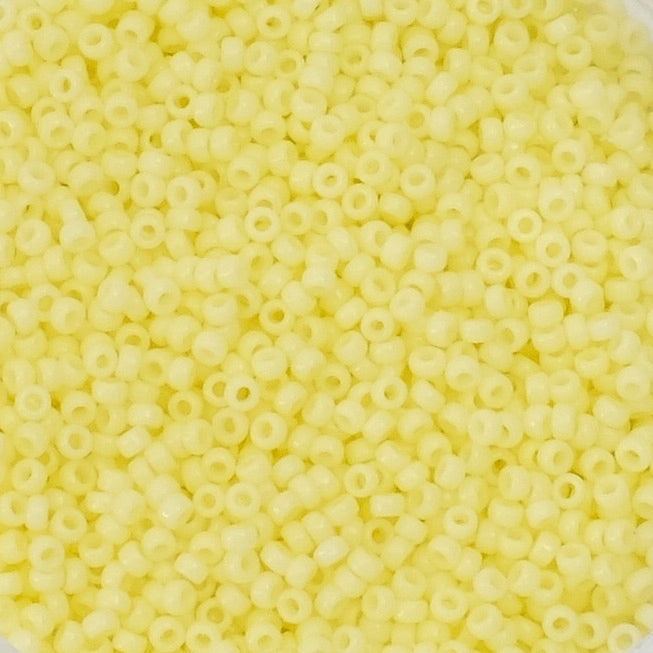
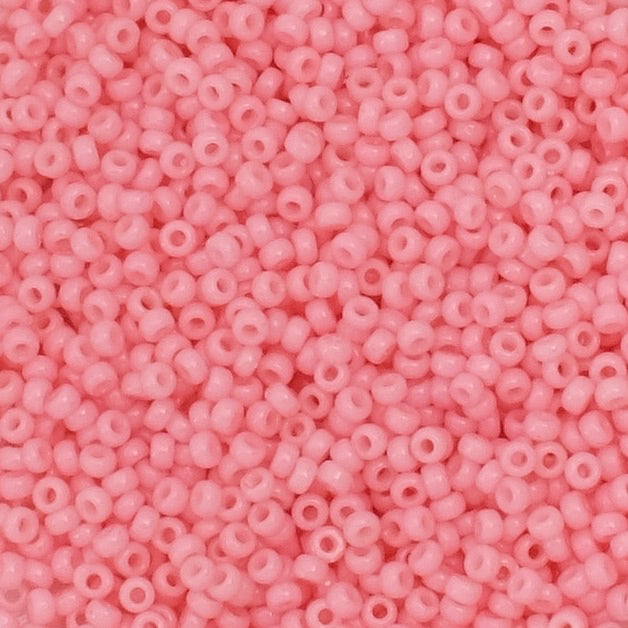
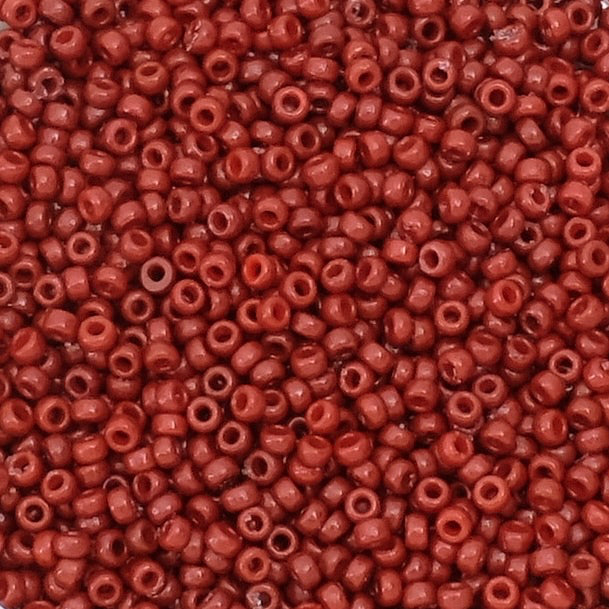