|
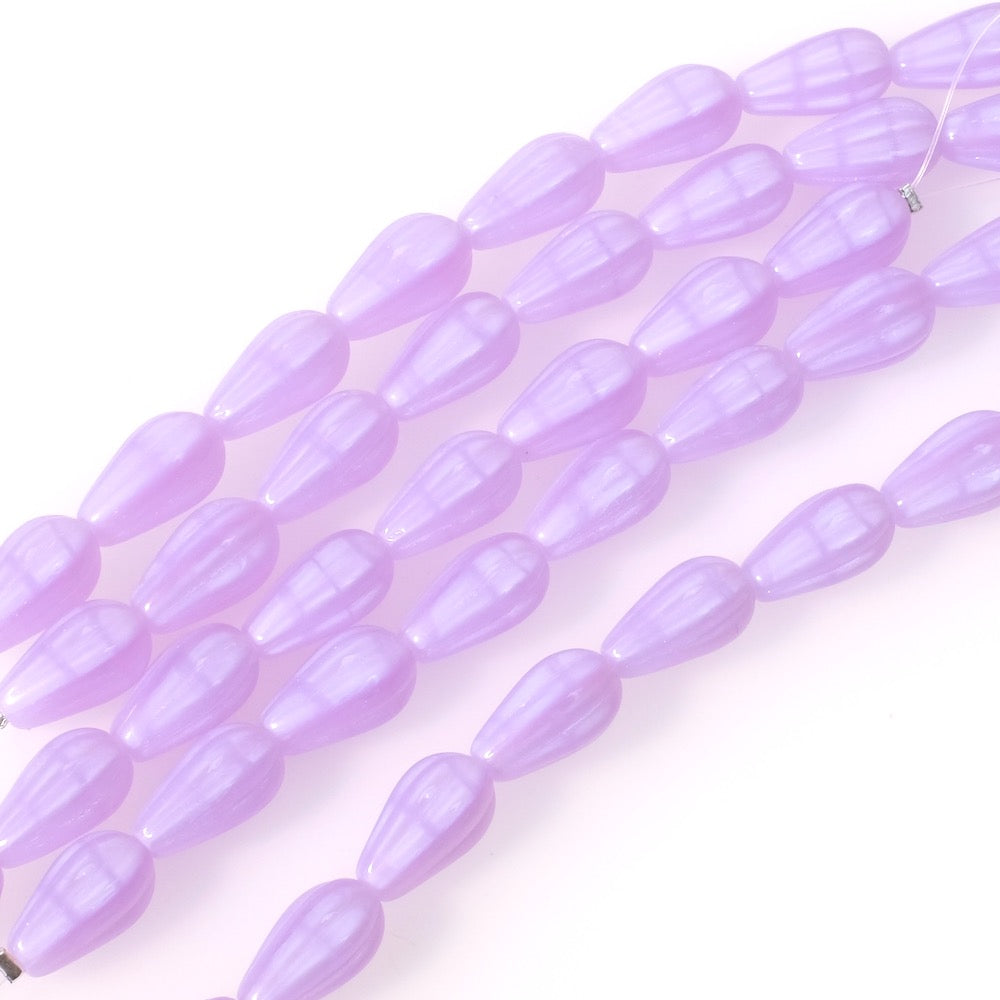
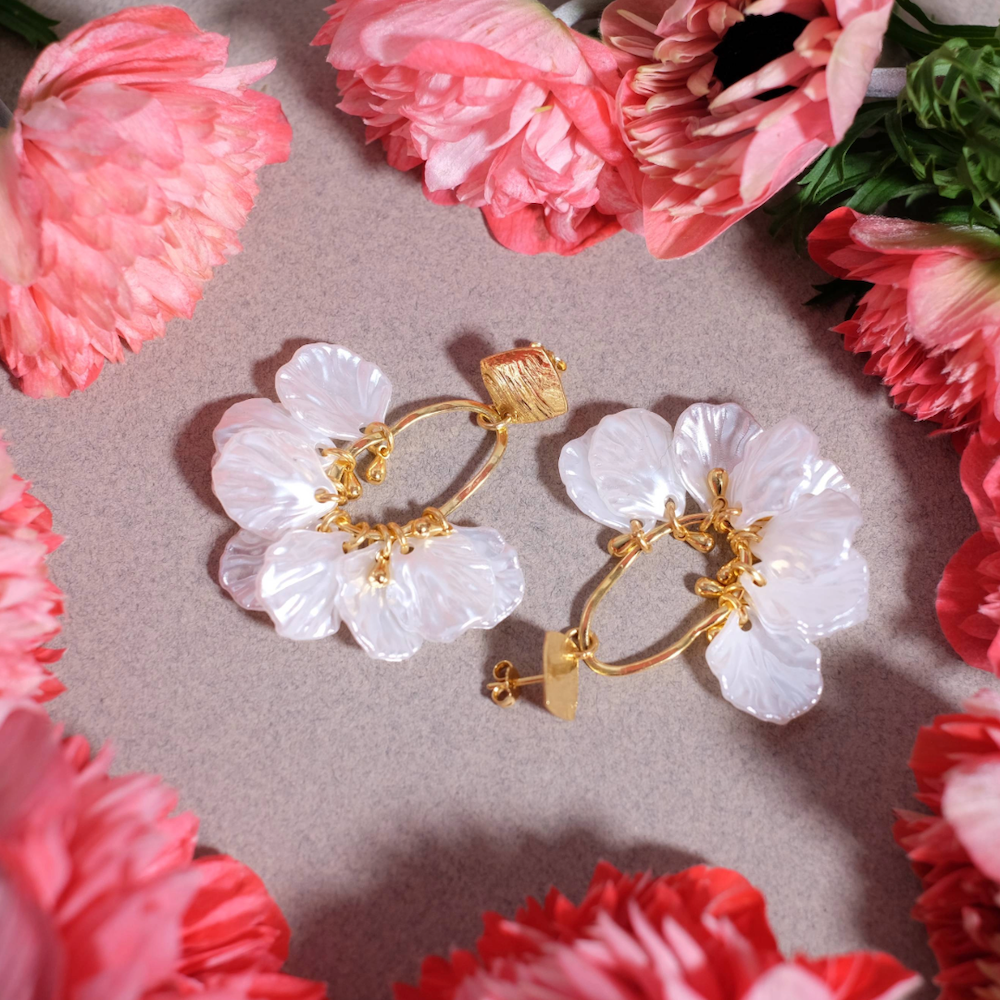
A symbol of love and complicity, Glycine flowers are among the most beautiful climbing plants. They represent a reciprocal bond of friendship, using the support of their neighbours to enhance them in return: trees, walls... Here I've created a variation on our earrings. A string of mother-of-pearl beads with a few beads in shades of violet to evoke the flowers of Glycine. I hope you like this jewel! Follow our simple step-by-step instructions to make this superb piece of jewellery yourself! A great achievement!
|
|---|
| You will need : | ||||
|
|
||||
| Tools to be used : | ||||
|
|
||||
|
This jewel is not complicated to make. Just follow the steps below and proceed in the same order for easy assembly! |
||||
|
Assembly: |
||||
|
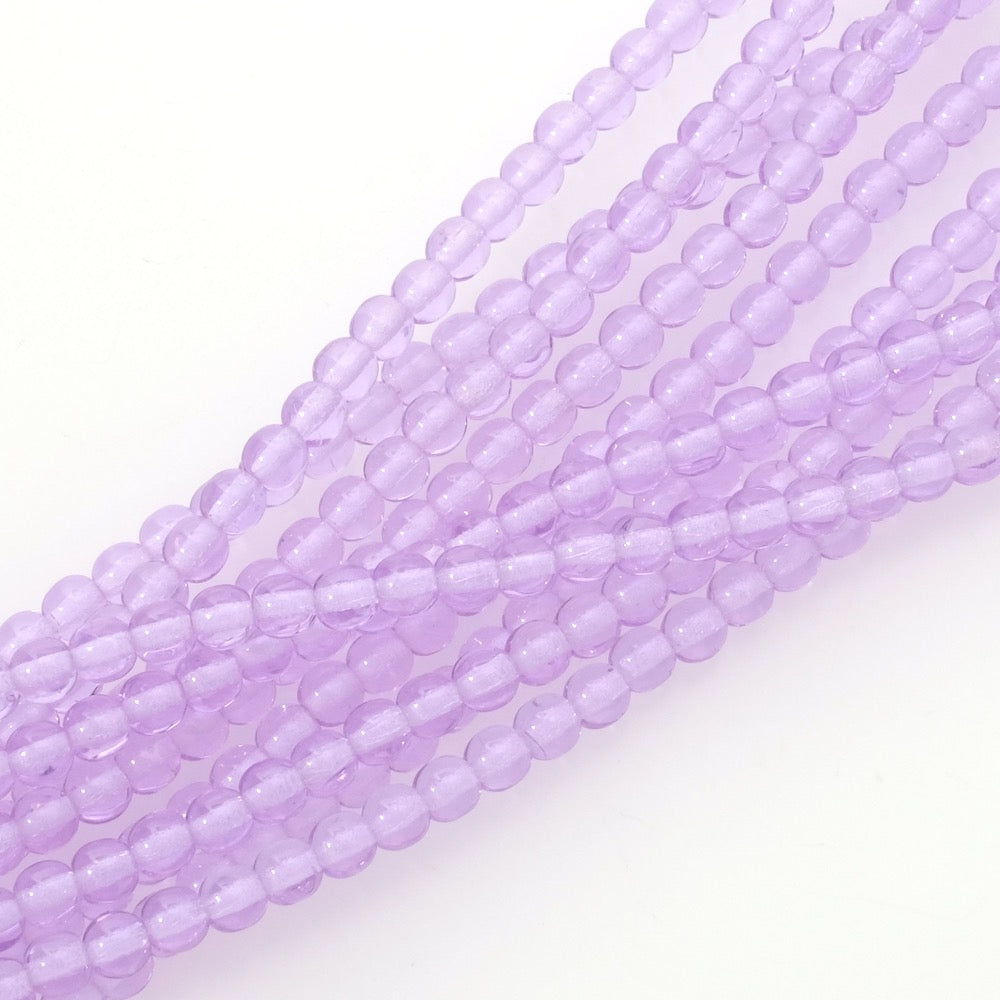
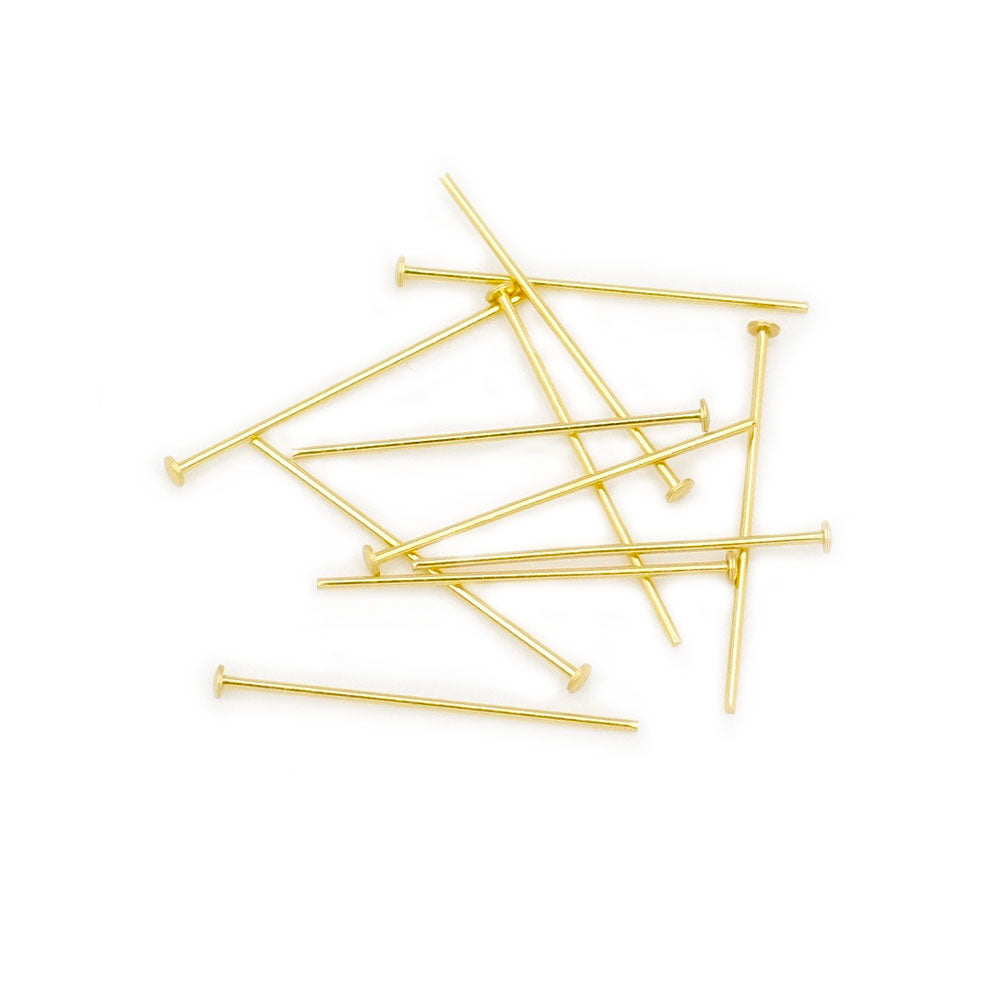
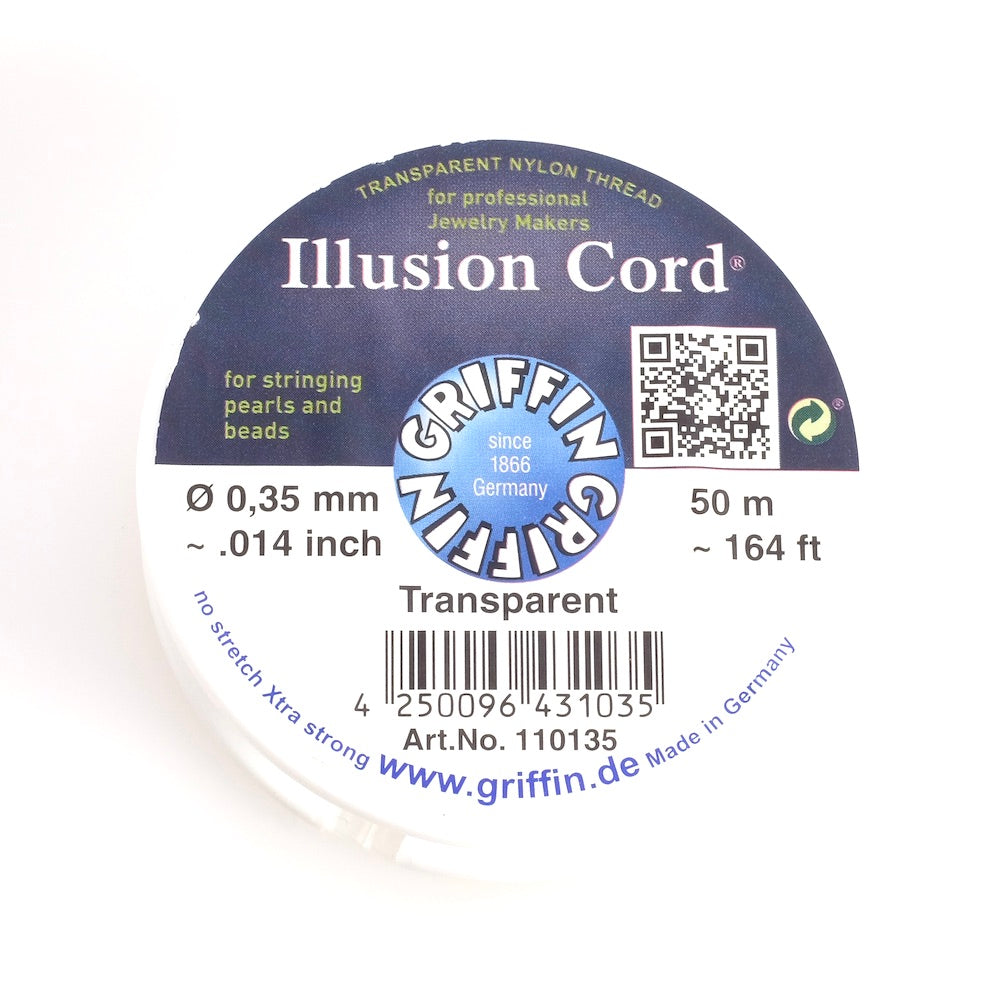
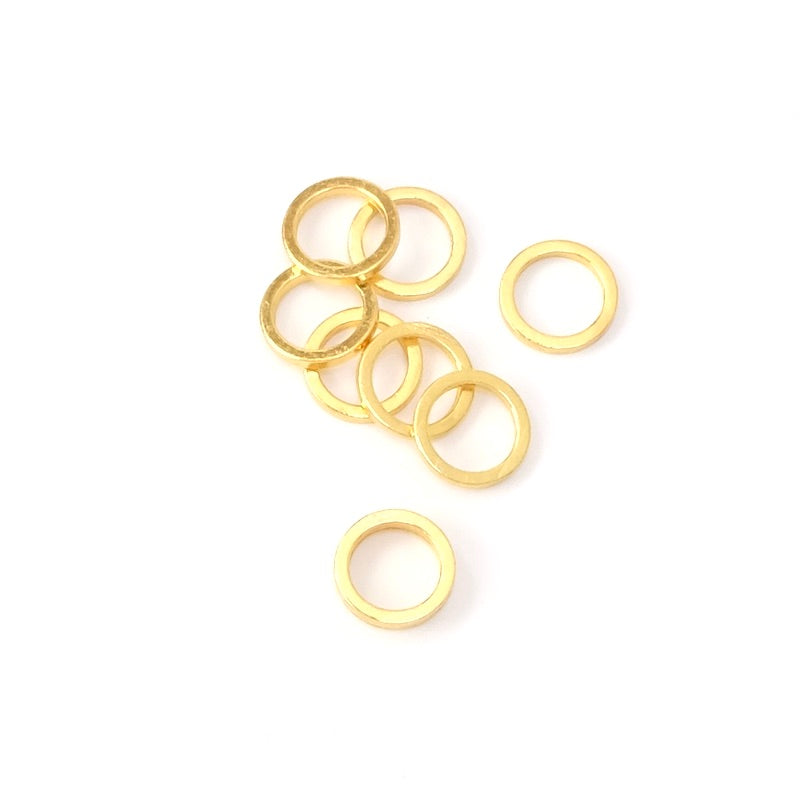
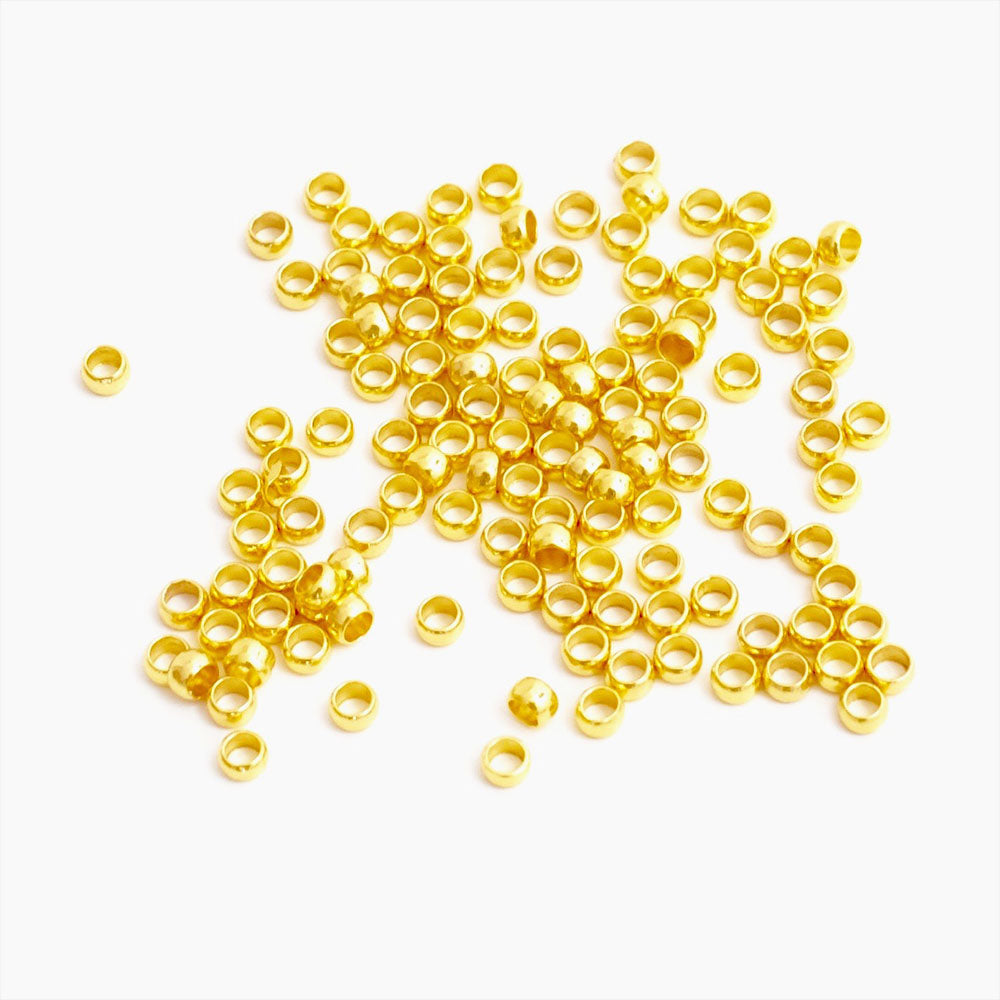
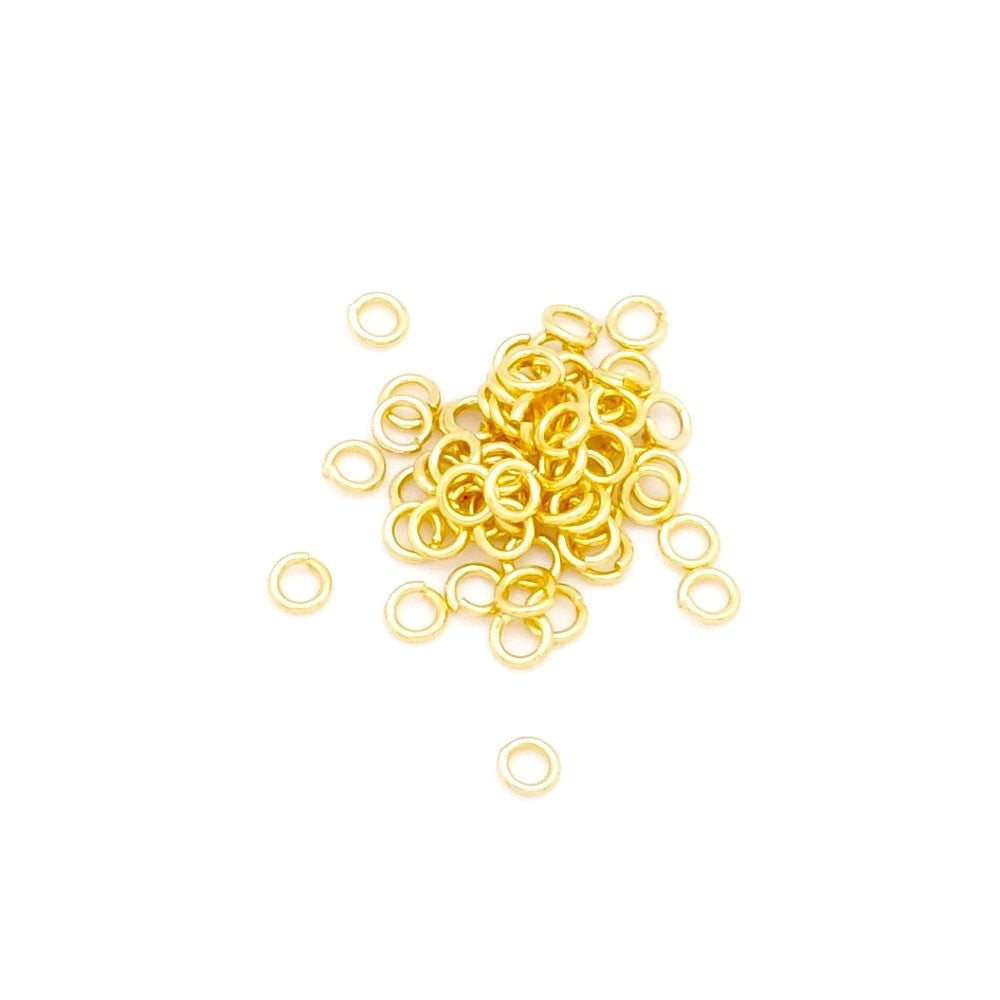
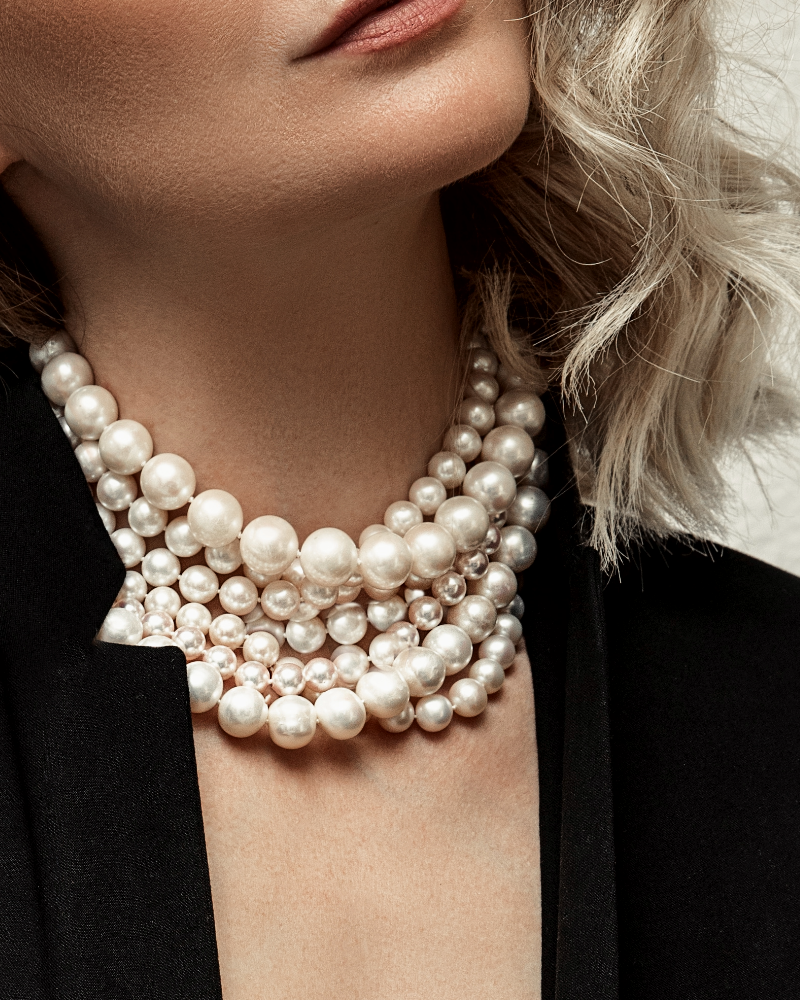
I'm going to give you the instructions for a 40cm choker, but feel free to adjust the size to your taste by lengthening either the chains or the row of beads. In this case, remember to use 2 threads mother-of-pearl. To begin, mount the 4mm round beads on flat-headed nails and form normal-sized loops. The loop should measure around 3mm in diameter for a beautiful, discreet effect. Then attach 5 drop beads to flat-headed nails. Make curls in the same sizes as above.  Then cut a transparent nylon thread about 30cm long. Here we're going to start from the centre of the necklace and then assemble the beads symmetrically. This method allows you to adjust the length and stringing without having to remove everything if it doesn't suit you. Thread a drop pearl in the centre and place a mother-of-pearl pearl on either side. Thread a 4mm pearl on each side, then a mother-of-pearl pearl again. Continue in this way until all the drop and 4mm beads have been placed, alternating with the mother-of-pearl beads. Finish the stringing with the remaining beads in symmetry.  Now we're going to connect the pearl wire to the chains. Here is a simple and easy version for connecting a string of beads to chains. First, cut 2 pieces of 10.5cm chain. Here for a 40cm necklace. Adjust the length if necessary. Thread a squeeze bead onto the nylon thread, then pass the thread through the chain link. Pass the thread back through the bead to be crushed and then, using flat-nose pliers, bring the bead back to the edge of the chain link. Crush the pearl with the flat-nose pliers. Trim the excess thread at the edge of the bead. For the other side, follow the same procedure as above, but before flattening the bead, make sure that the string of beads remains flexible. Your necklace should remain fluid with no stiffness between the beads.  Finally, connect the clasp with a 3mm ring to the end of one of the chains. On the other side, place the ring closed with a 3mm ring. Check that your rings are properly closed.  Your jewellery is finished! Beautiful creation! Complete your creation with matching earrings!  Find all the supplies you need to make this jewel at the bottom of the page. |
||||
 |


To be reserved alone or with friends!

Join Perles Corner to discover our new products, exclusive tutorials, and many other surprises... and receive your voucher by email!


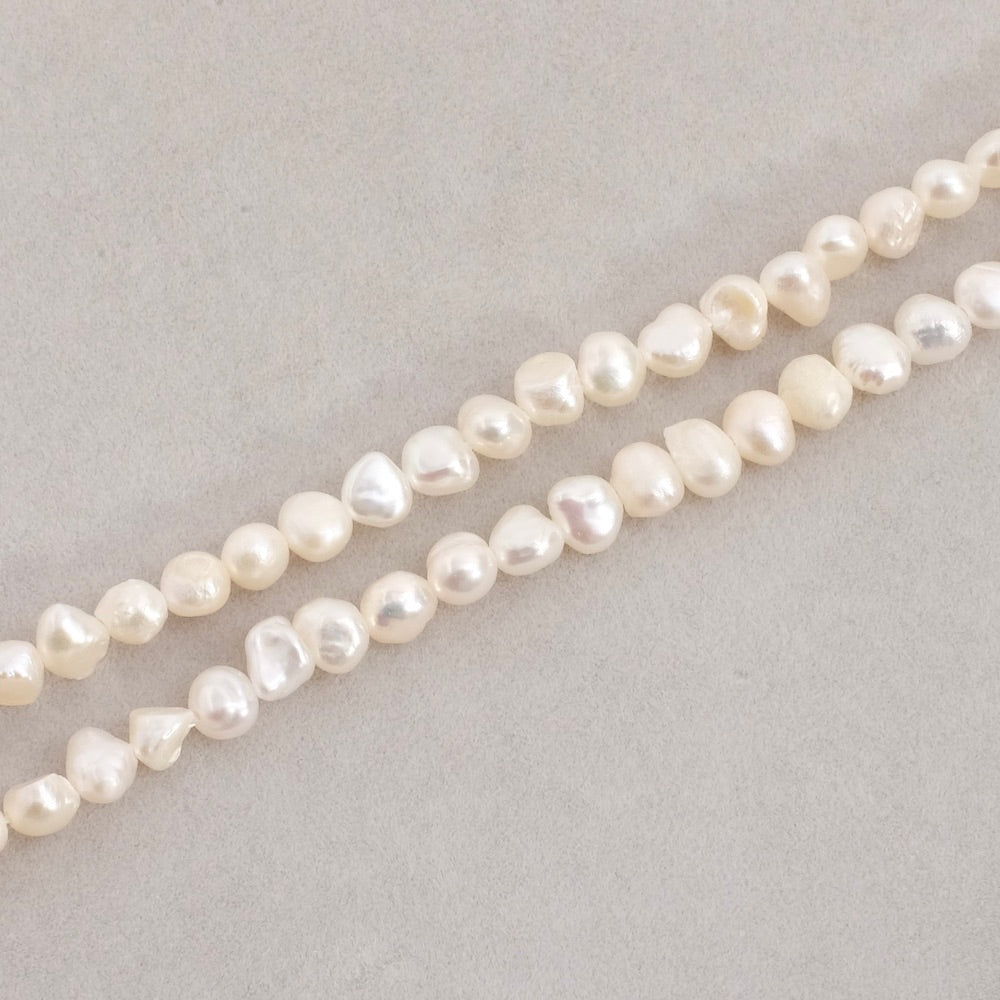
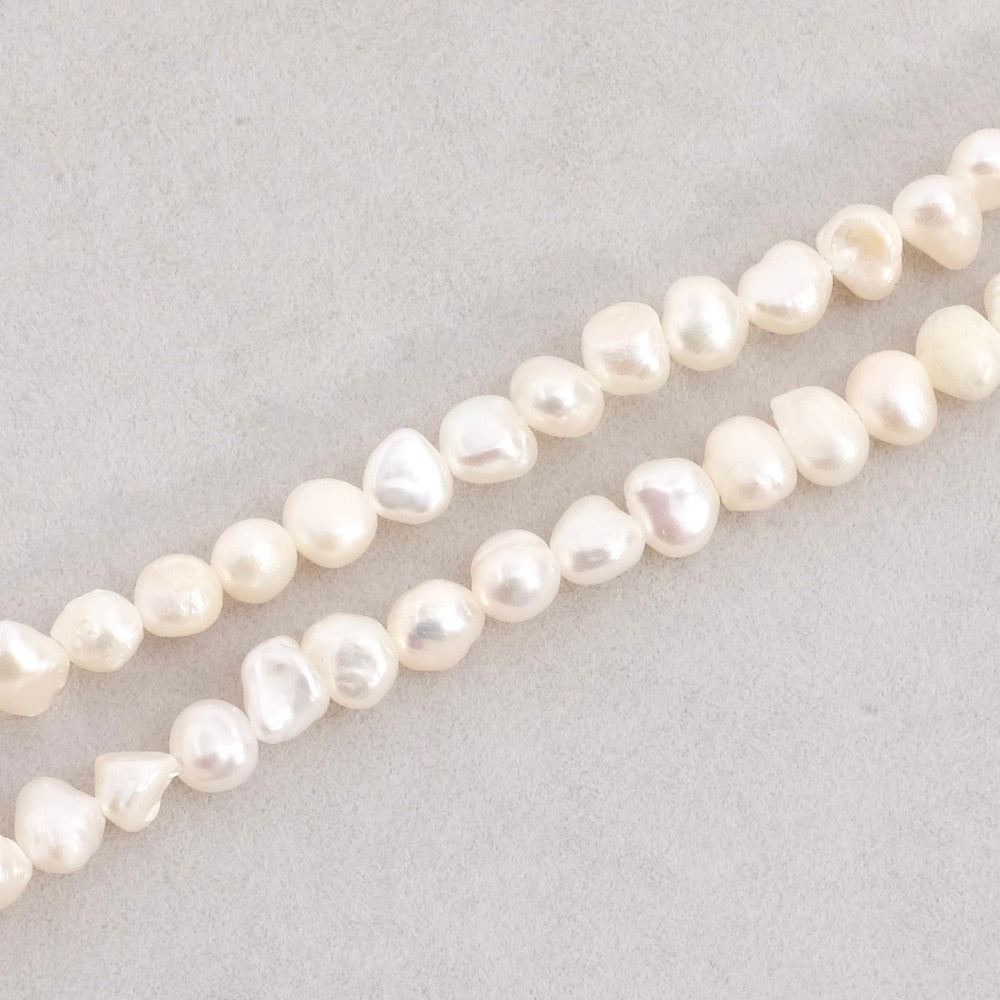
 21cm nugget chain
 1 strand of beads