|
Let yourself be seduced by the beauty of gemstones and the subtle sparkle of 24K gold in this exceptional choker necklace. A harmonious marriage of shades, transparencies and sparkling facets, enhanced by delicate gold beads for a refined contrast.
This "Éclats Précieux" necklace is the promise of a luminous, feminine piece of jewellery, to be worn on its own for a minimalist touch or in an accumulation for a more sophisticated look. Let yourself be inspired and create your own combination of gems! Find all the step-by-step explanations below.
|
|---|
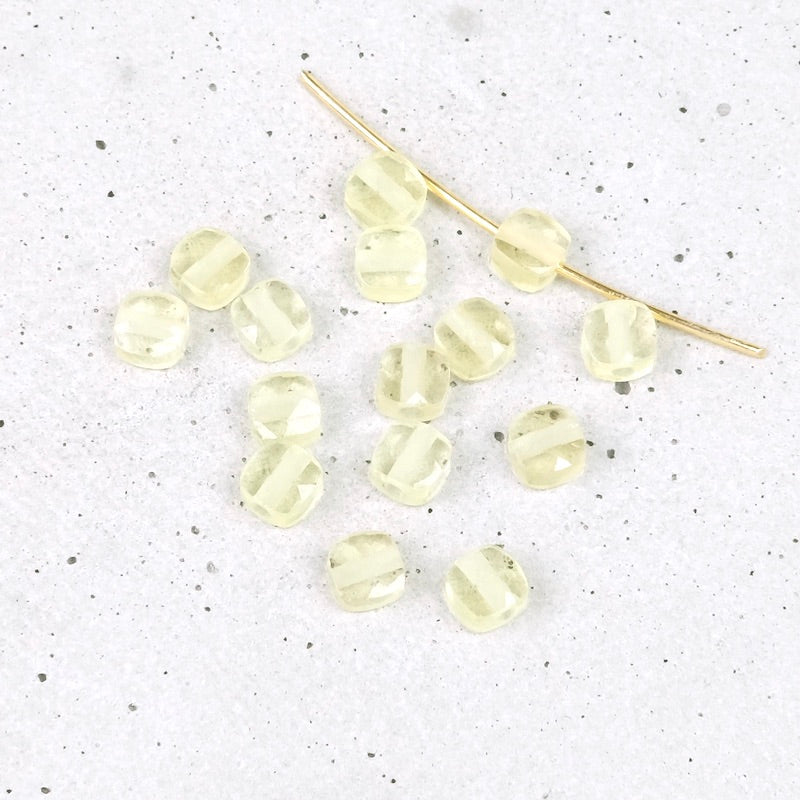
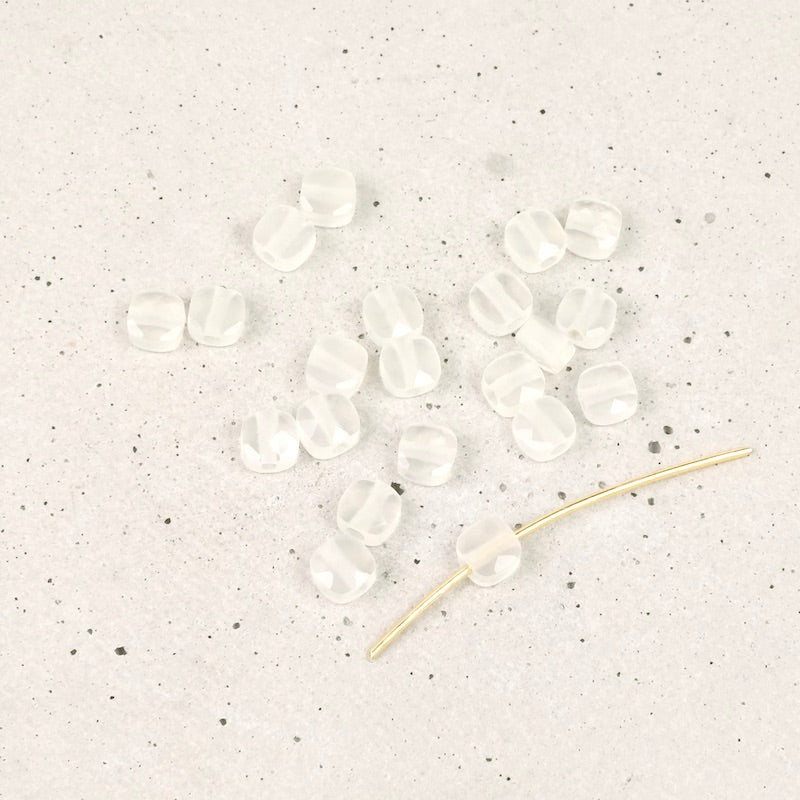
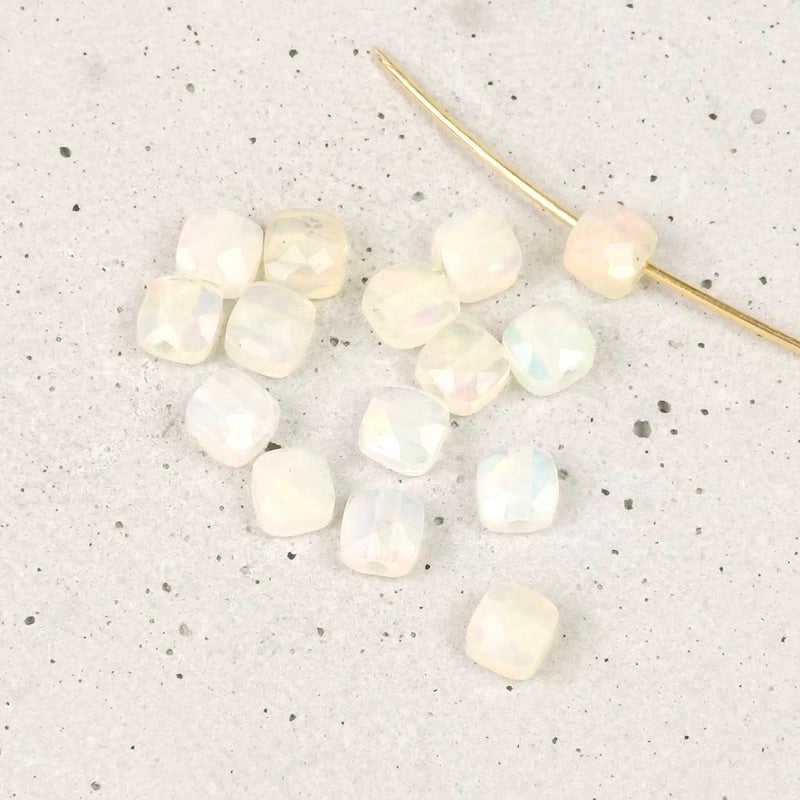
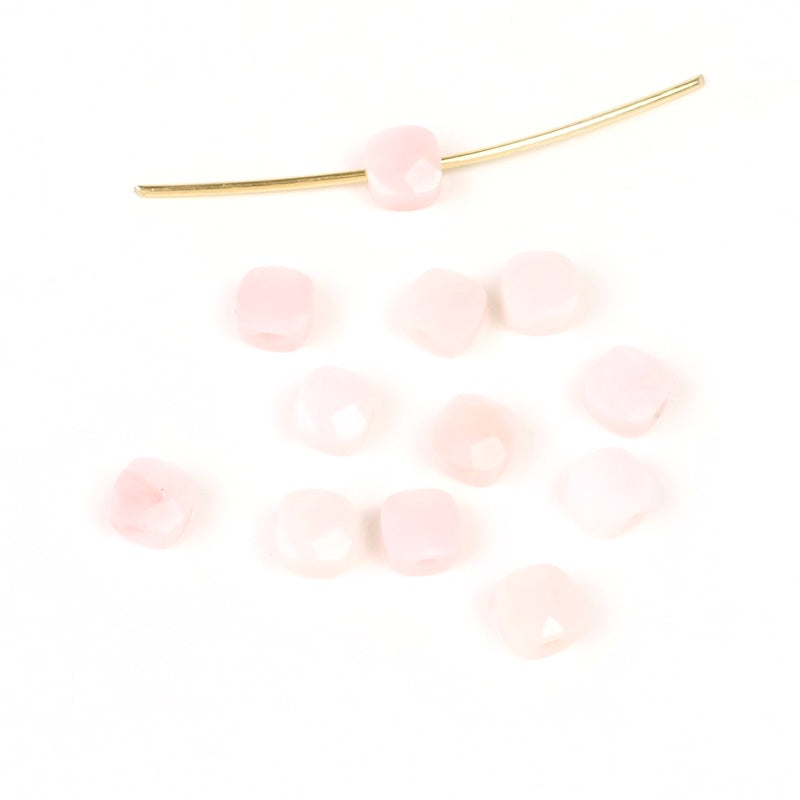
| You will need : | ||||
|
|
||||
| Tools to be used : | ||||
|
|
||||
|
Assembly: |
||||
|
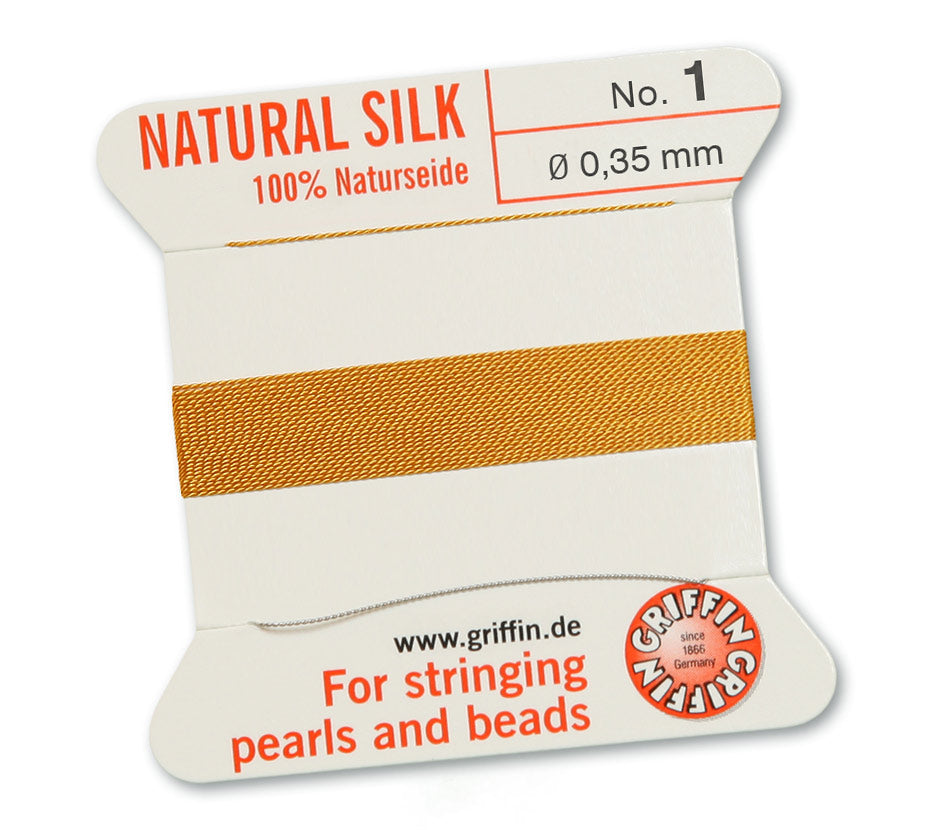
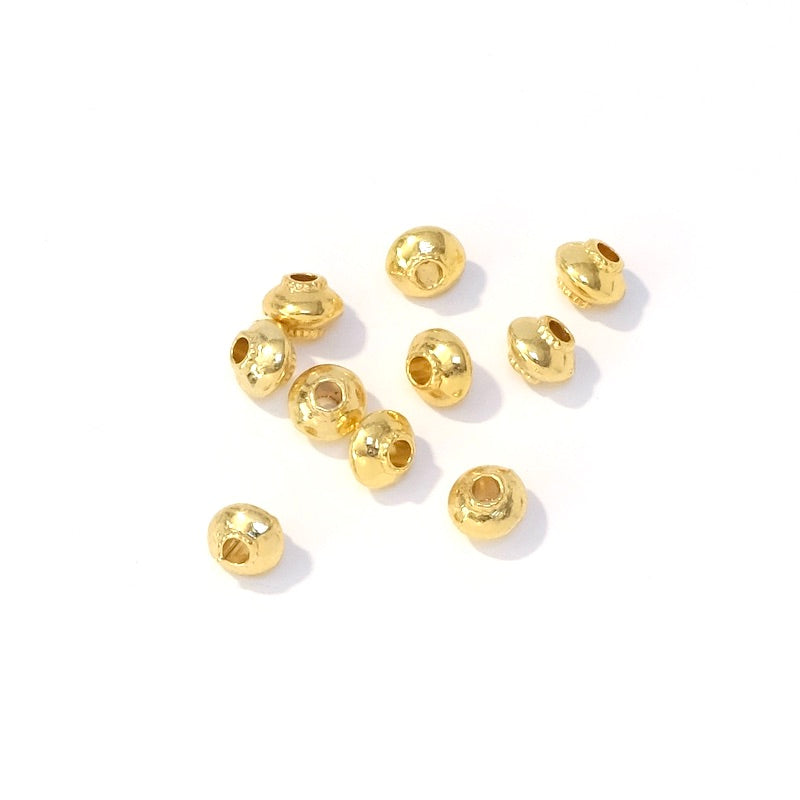
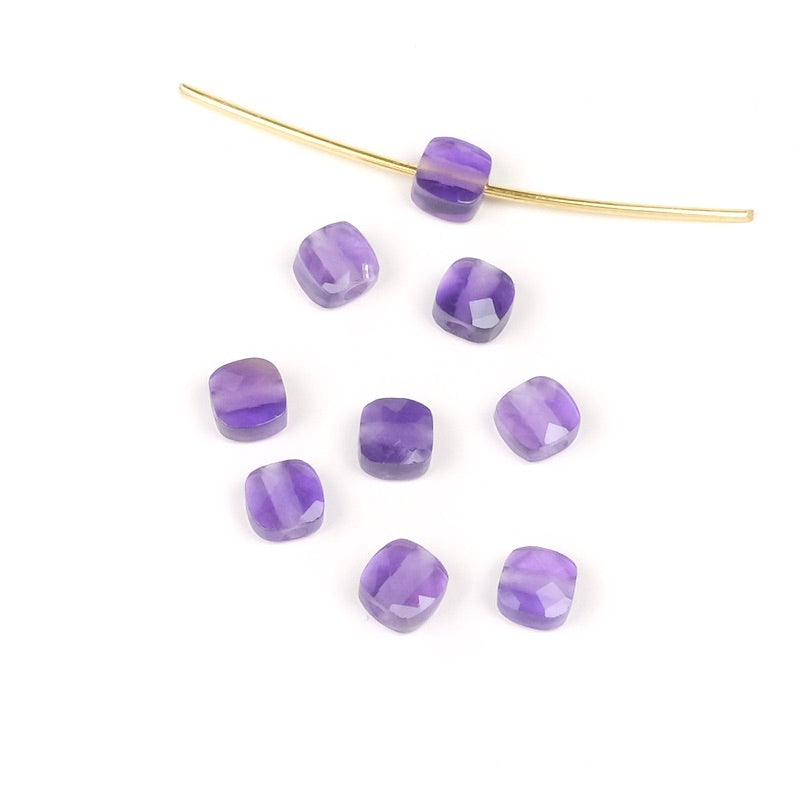
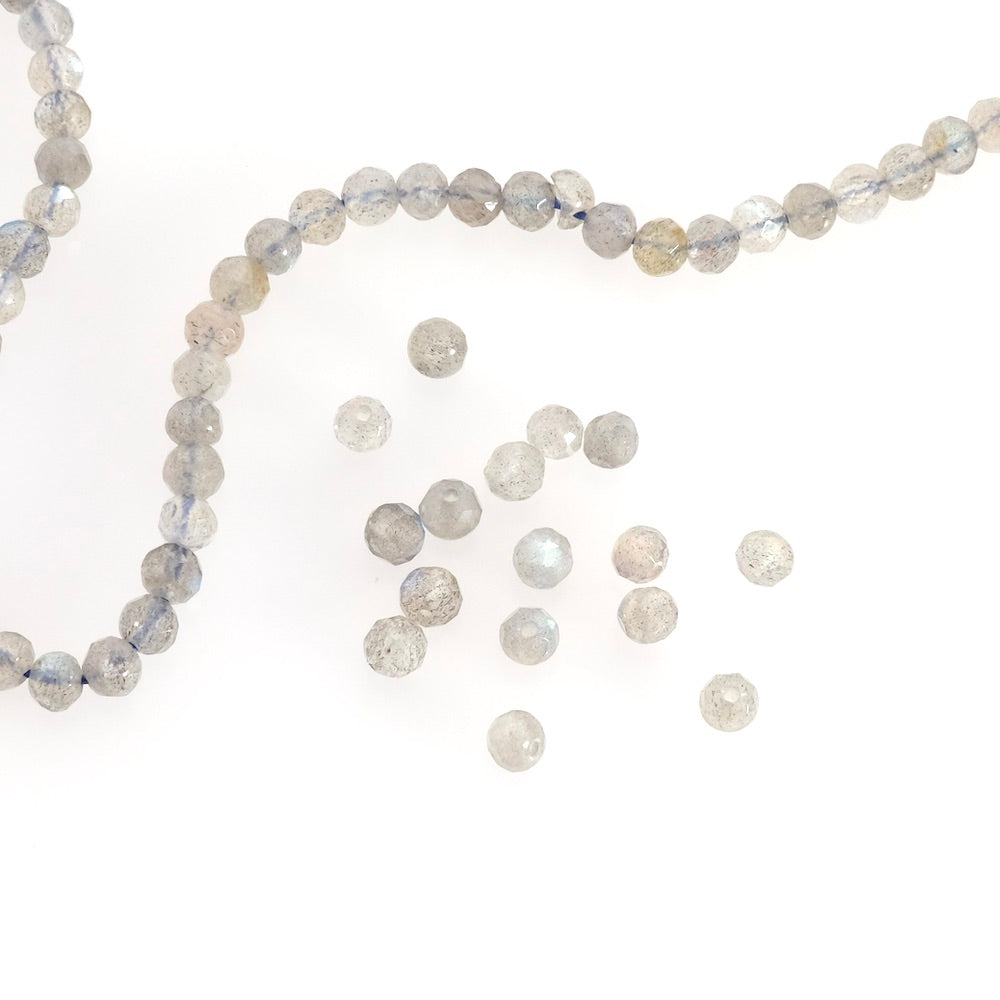
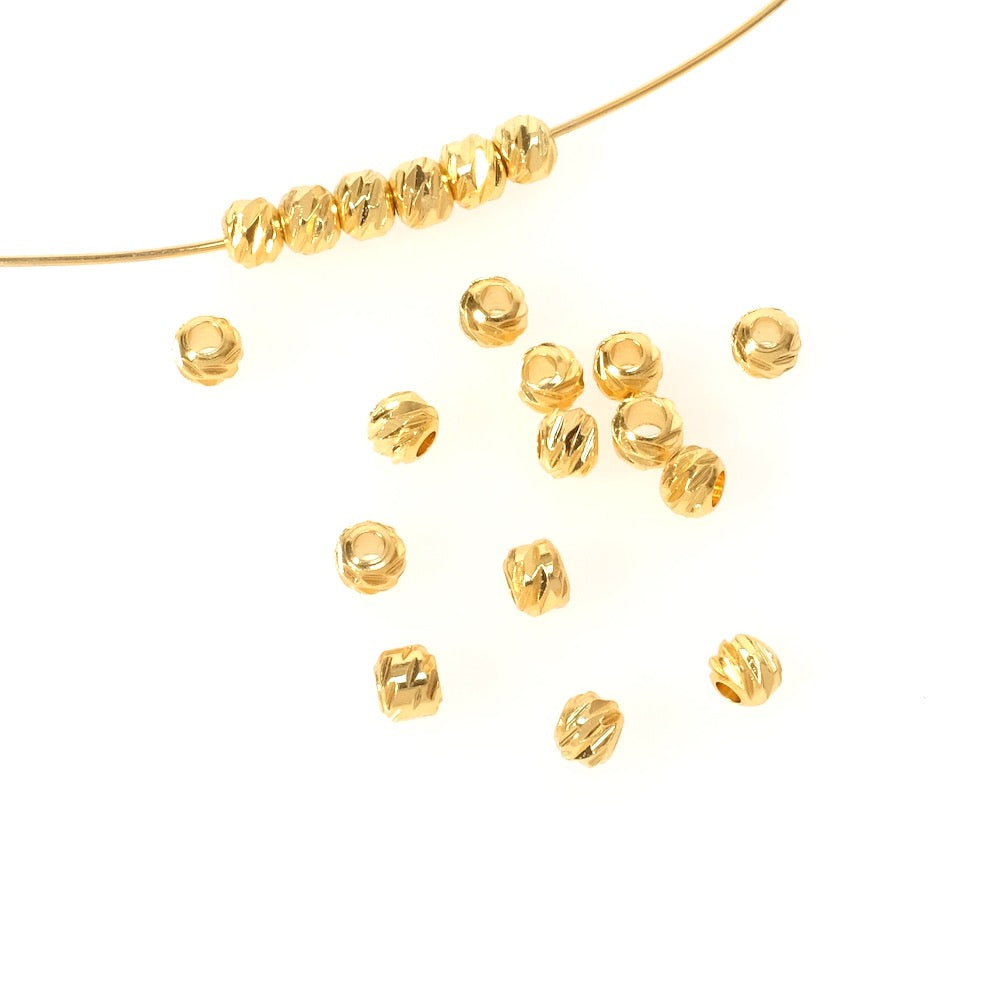
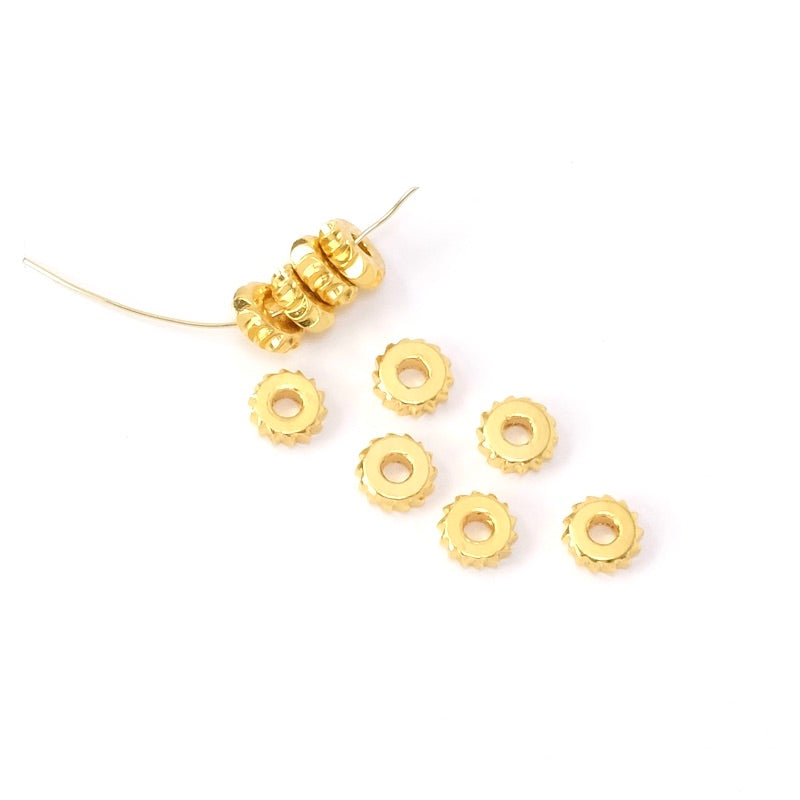
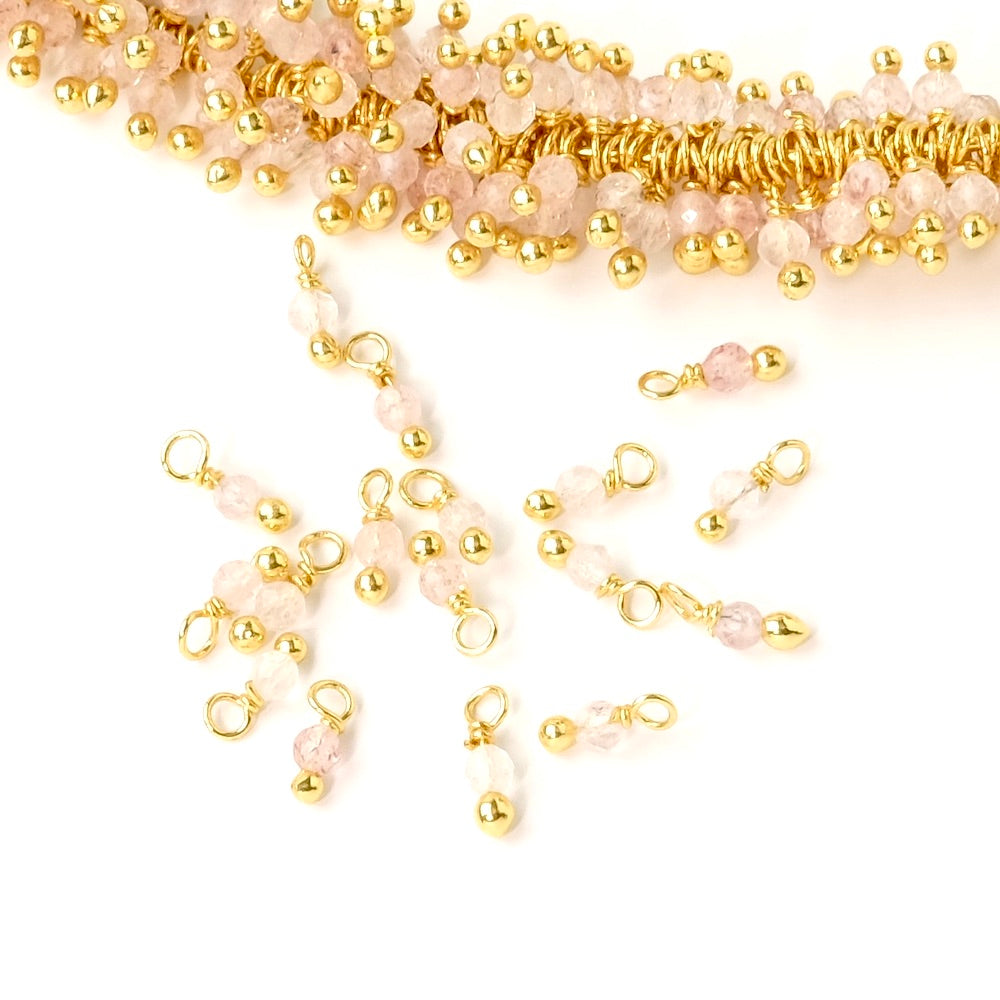
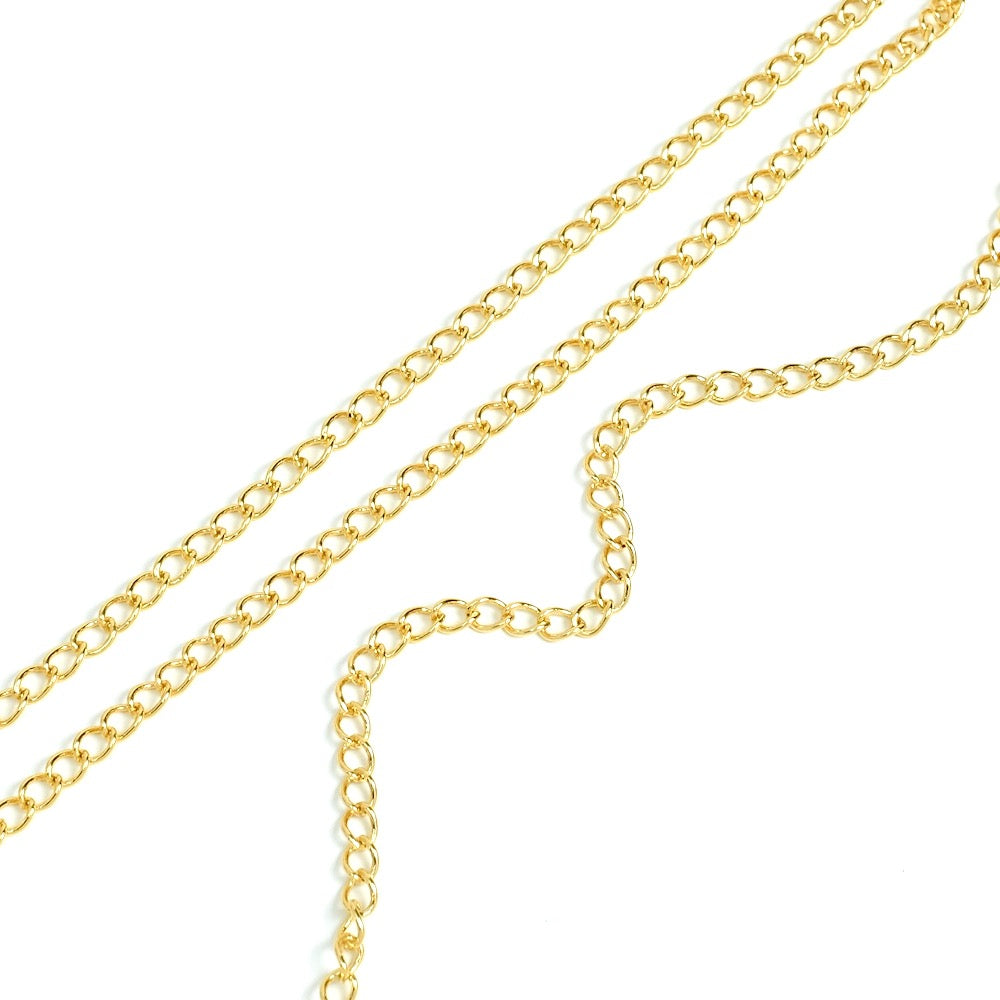
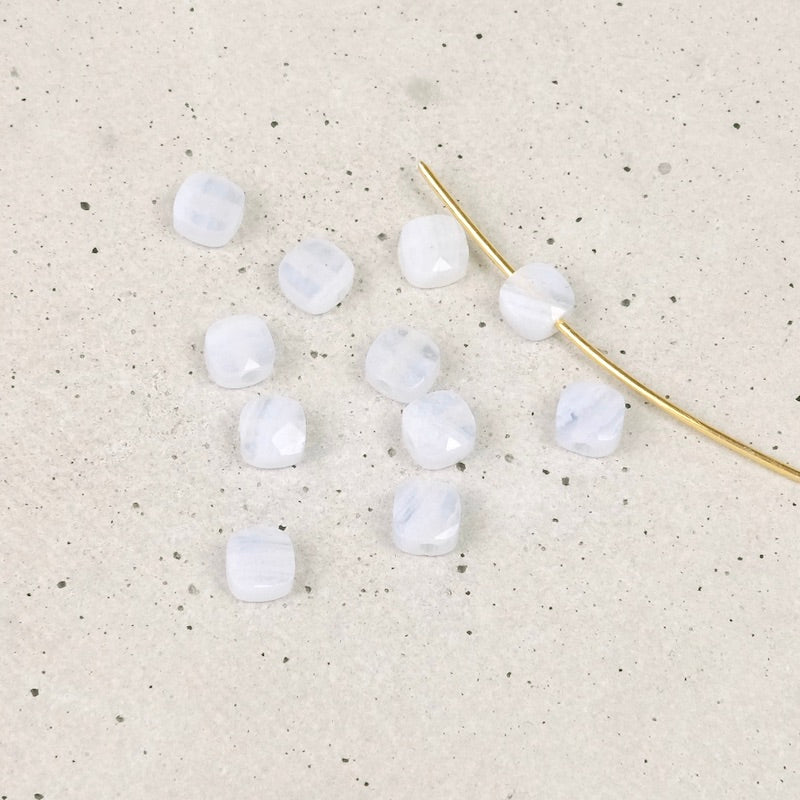
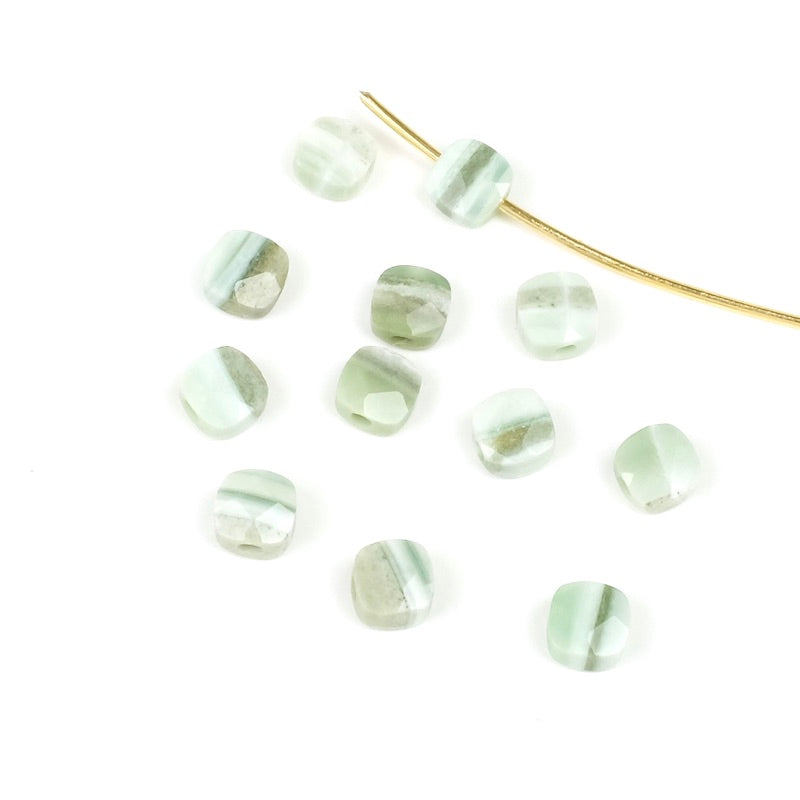
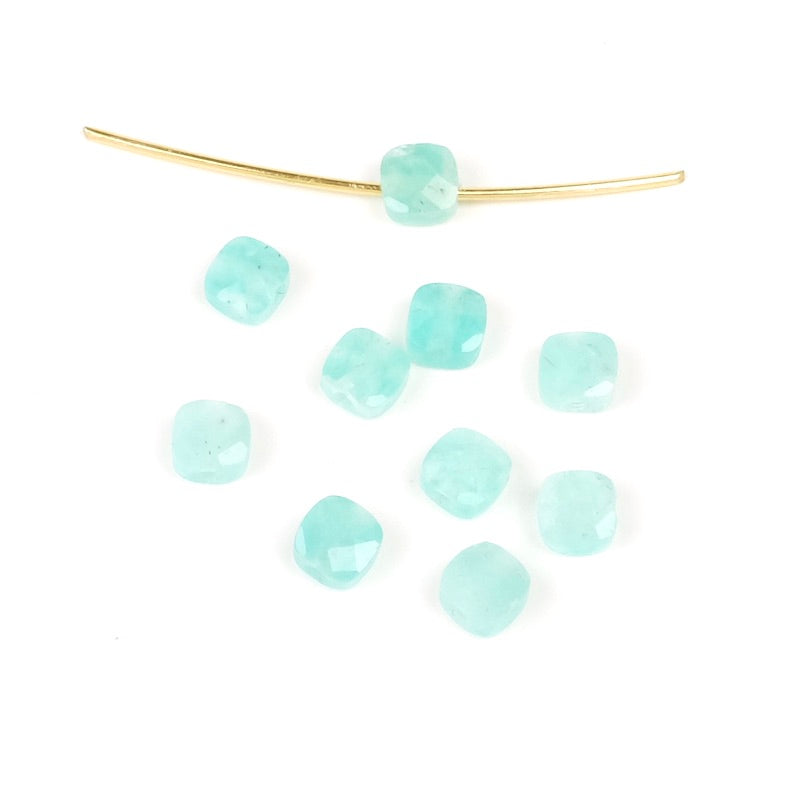
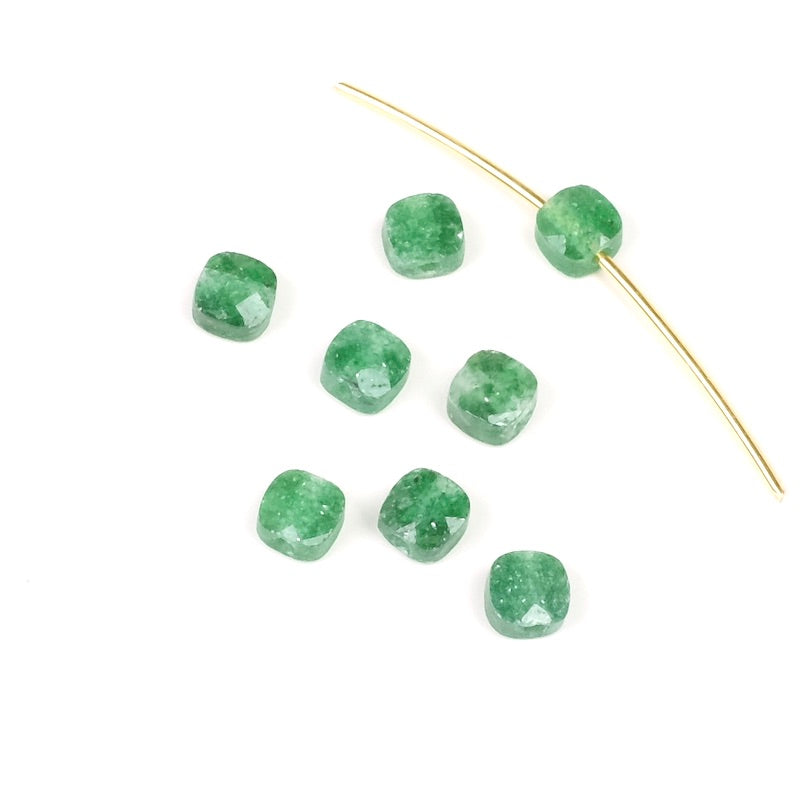
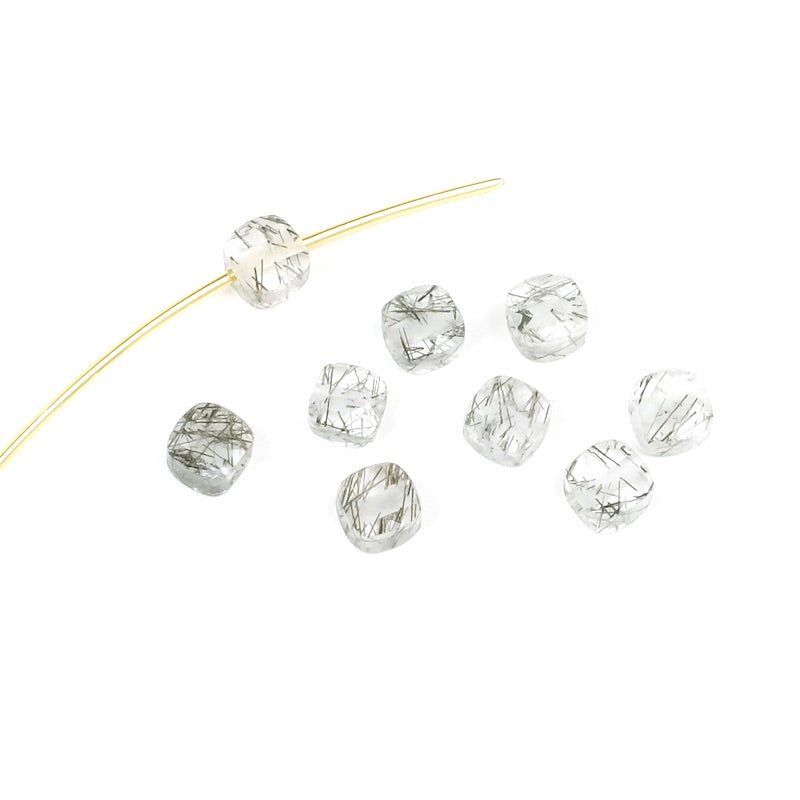
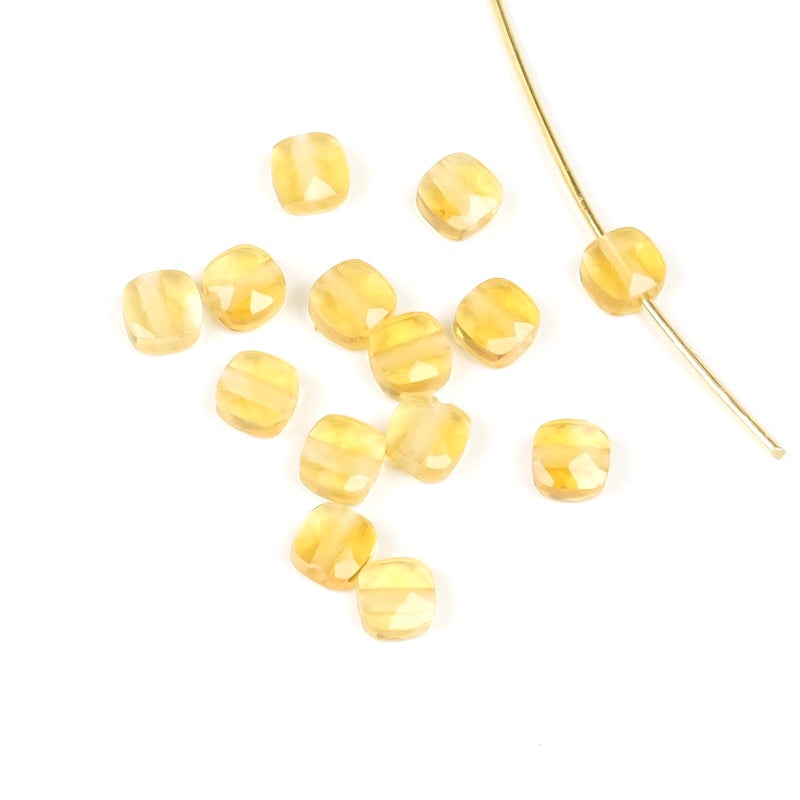
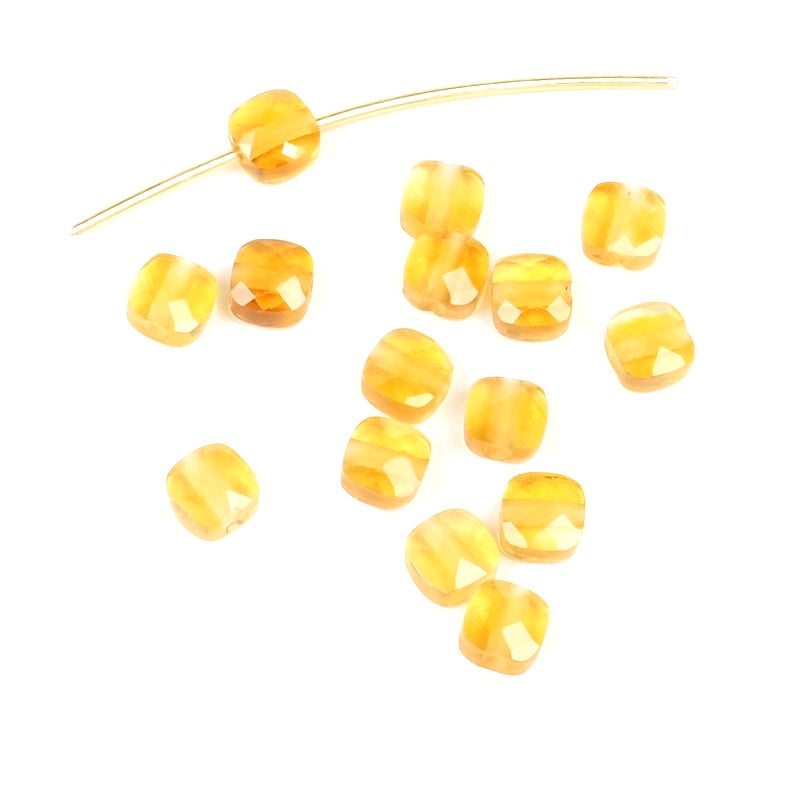
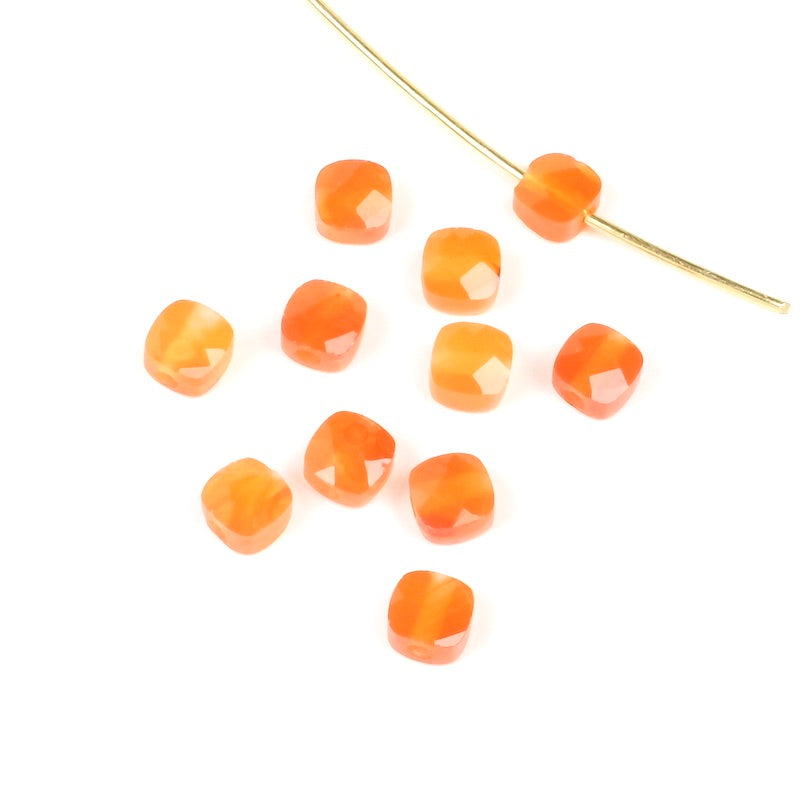
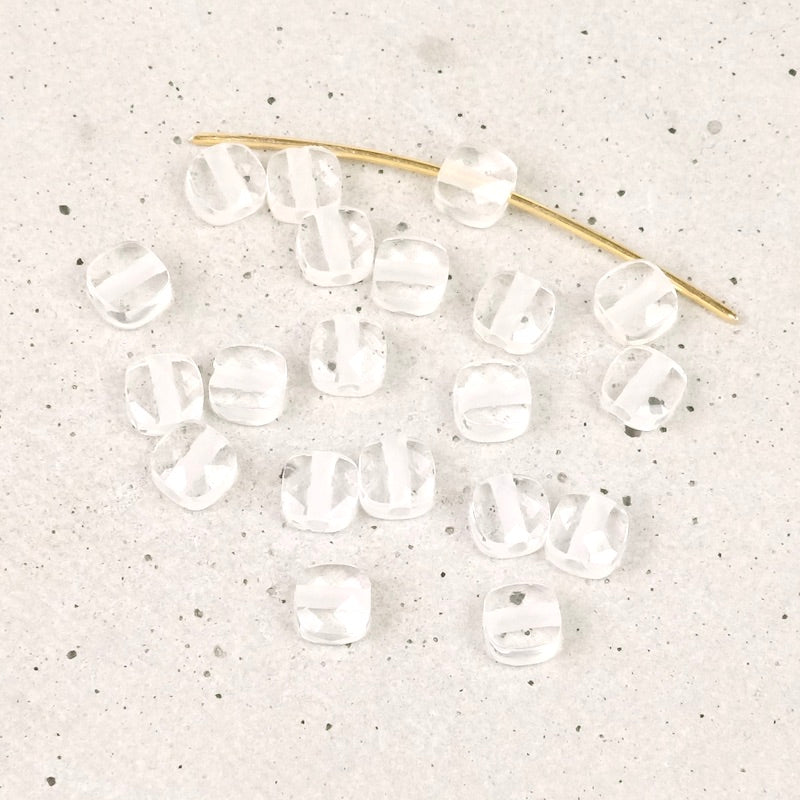
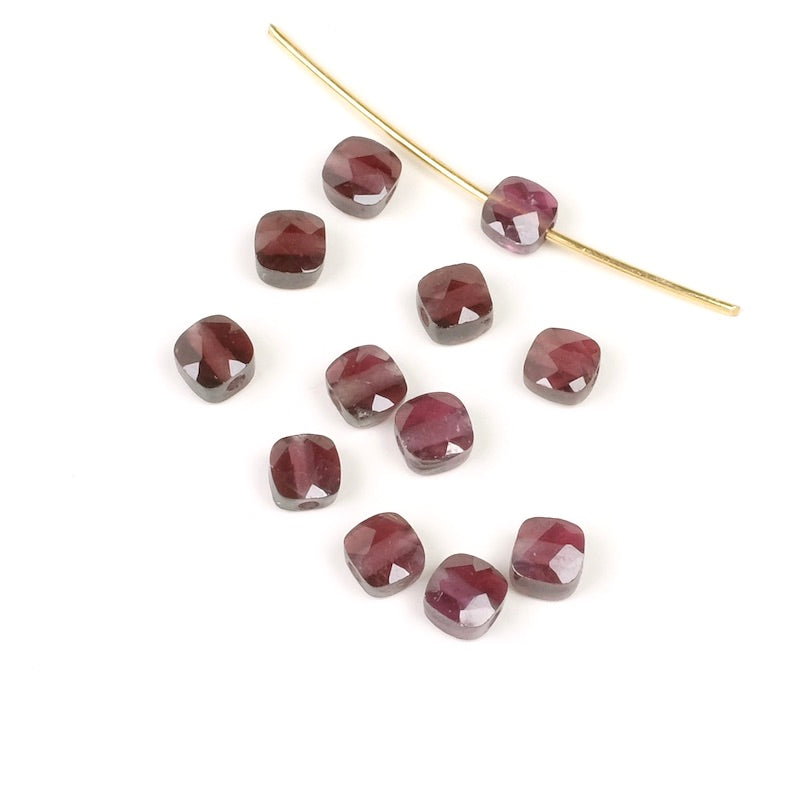
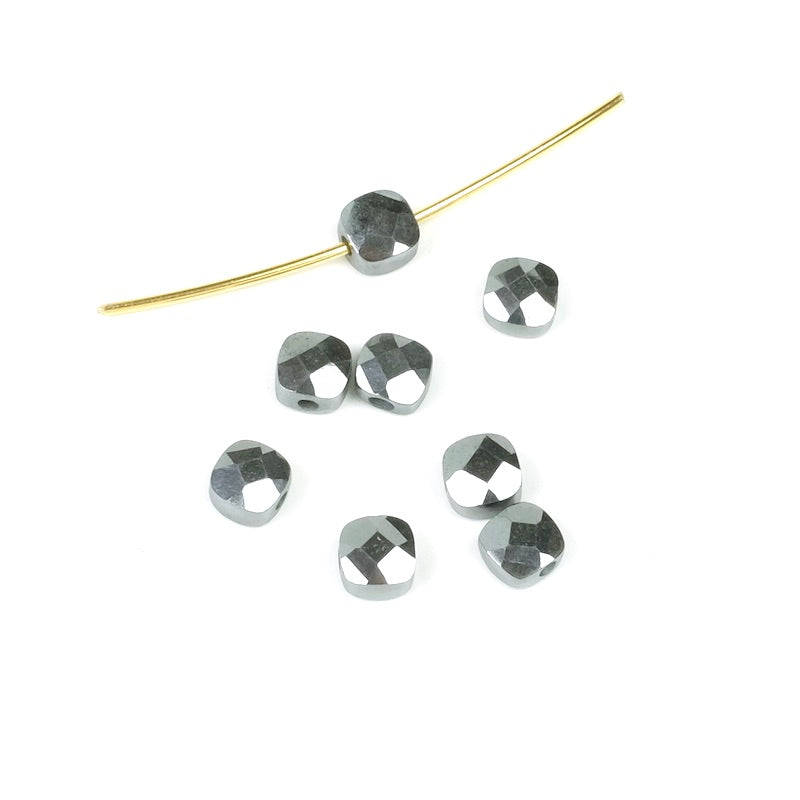
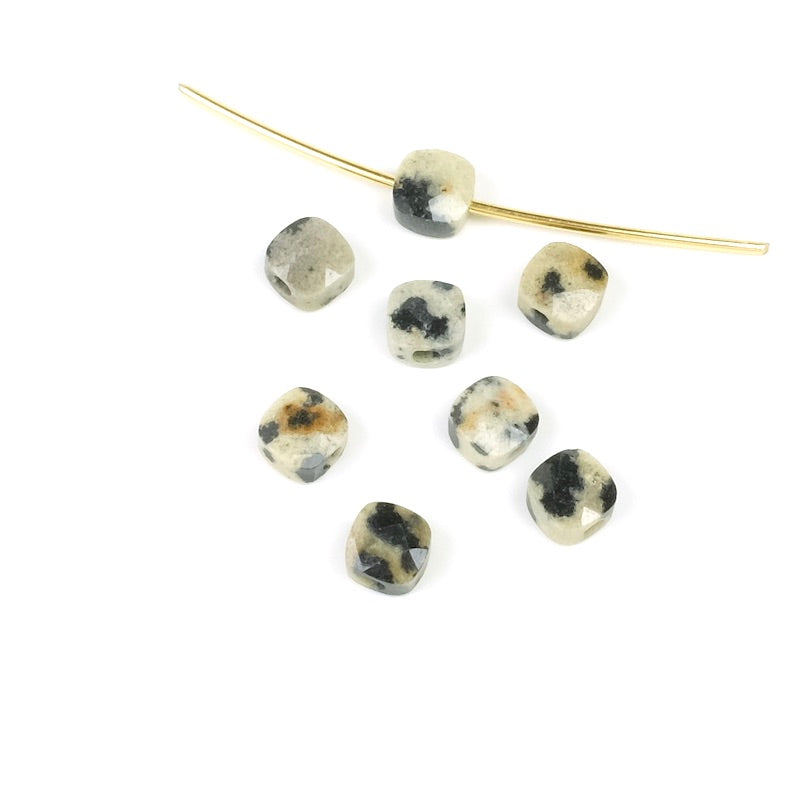
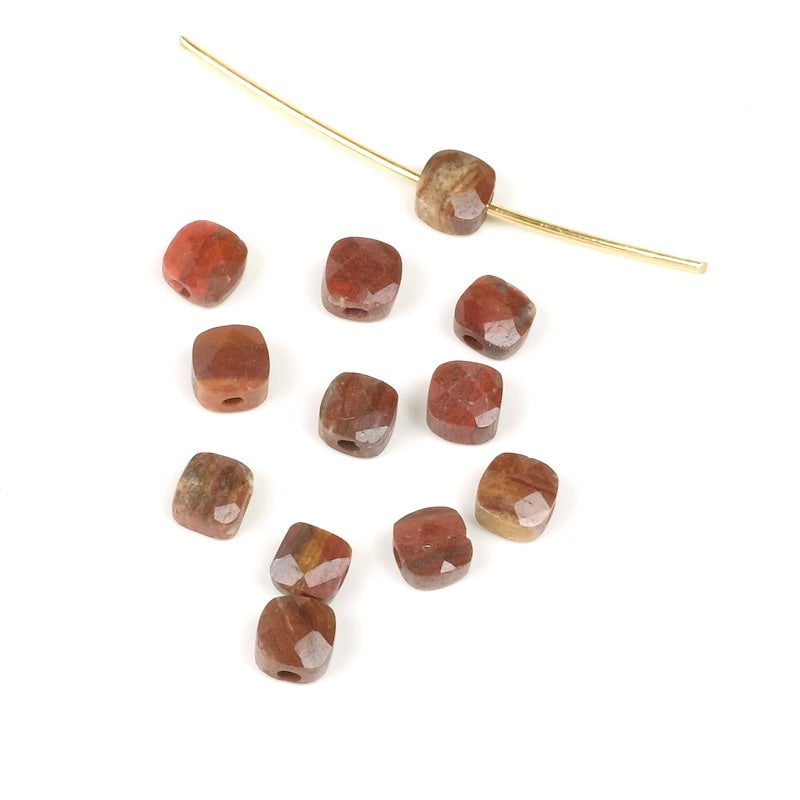
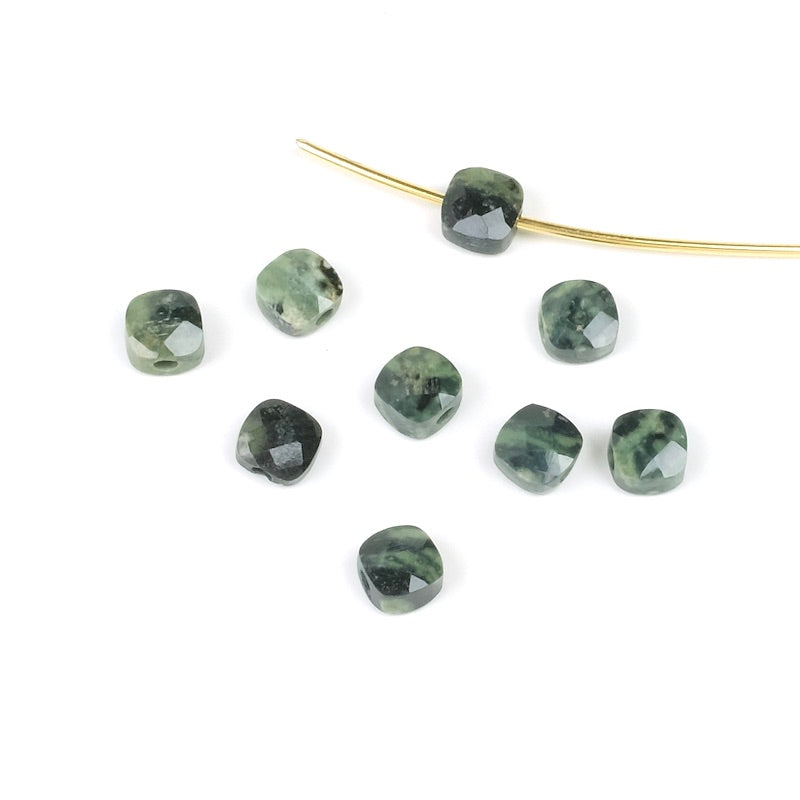
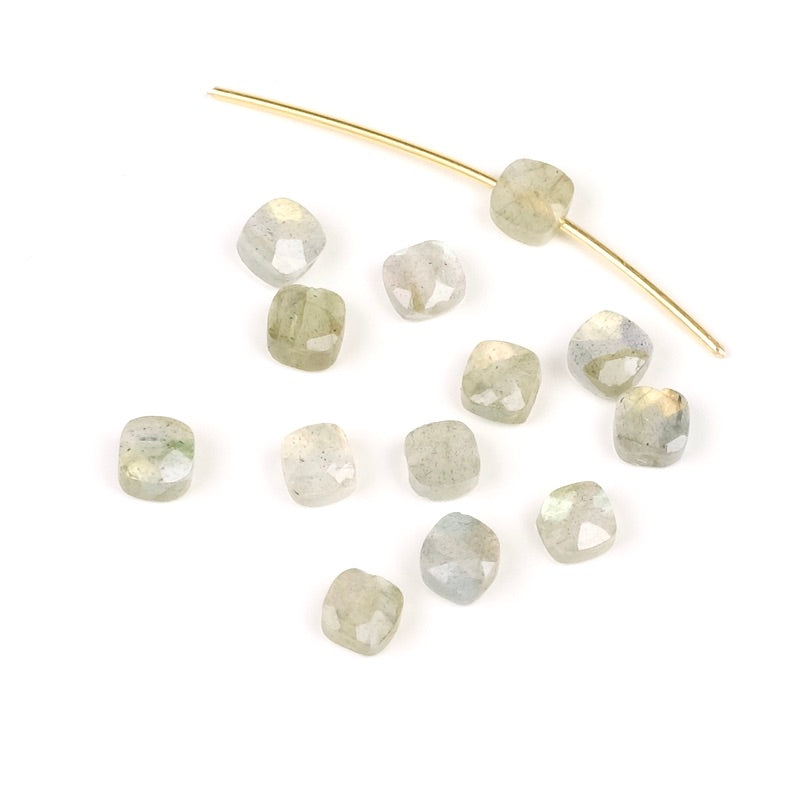
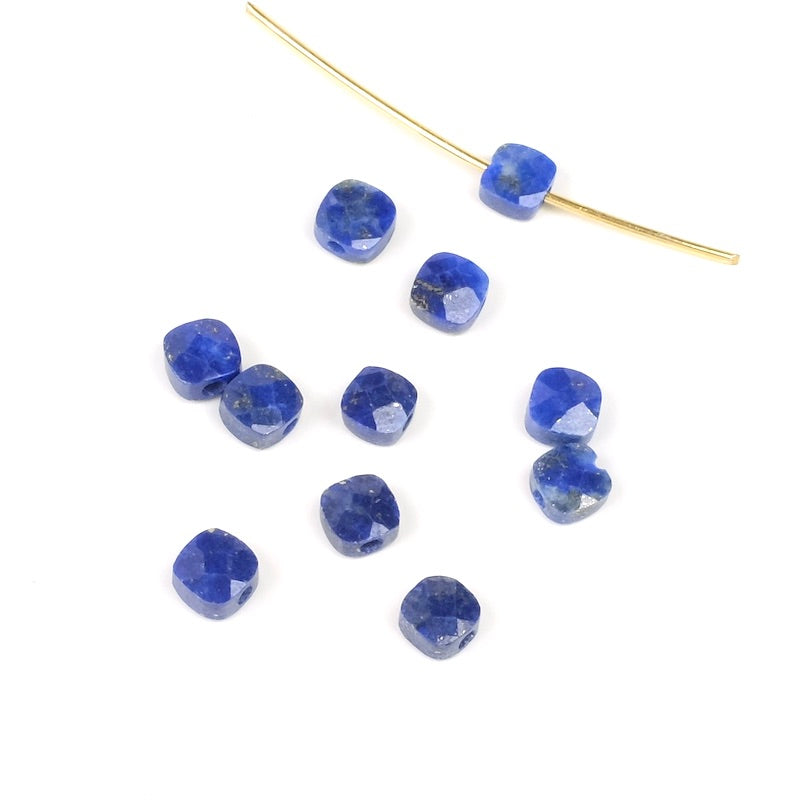
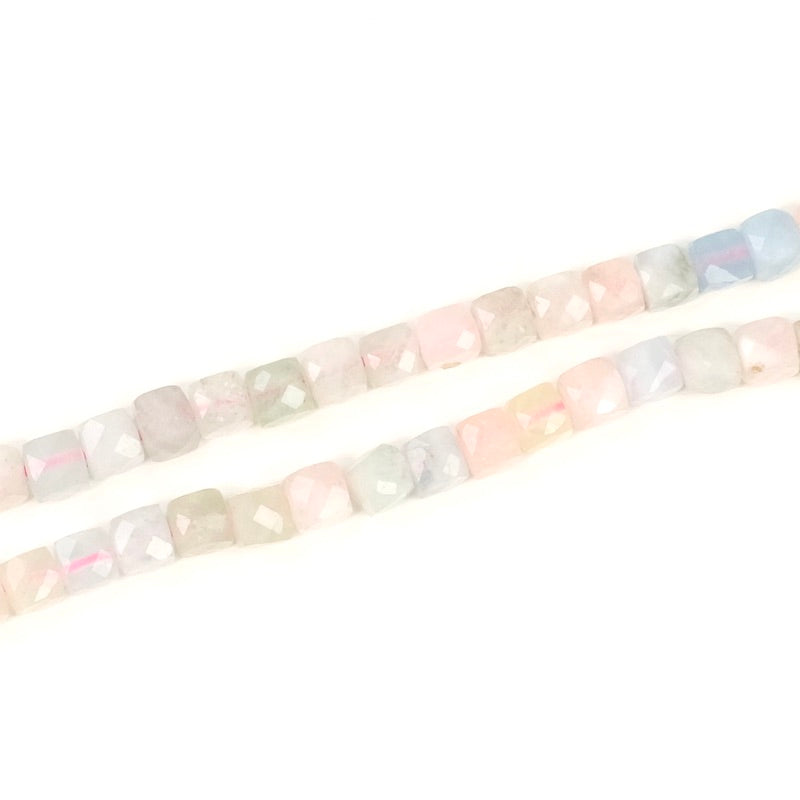
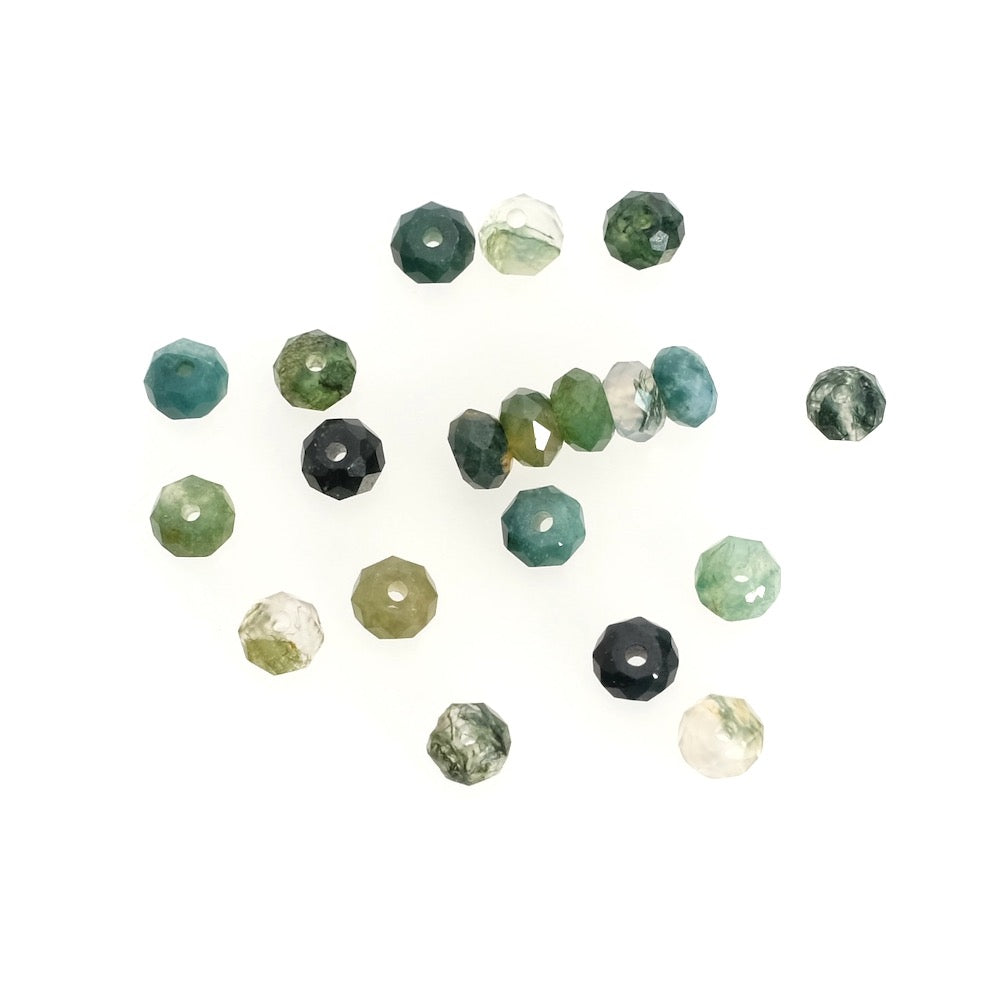
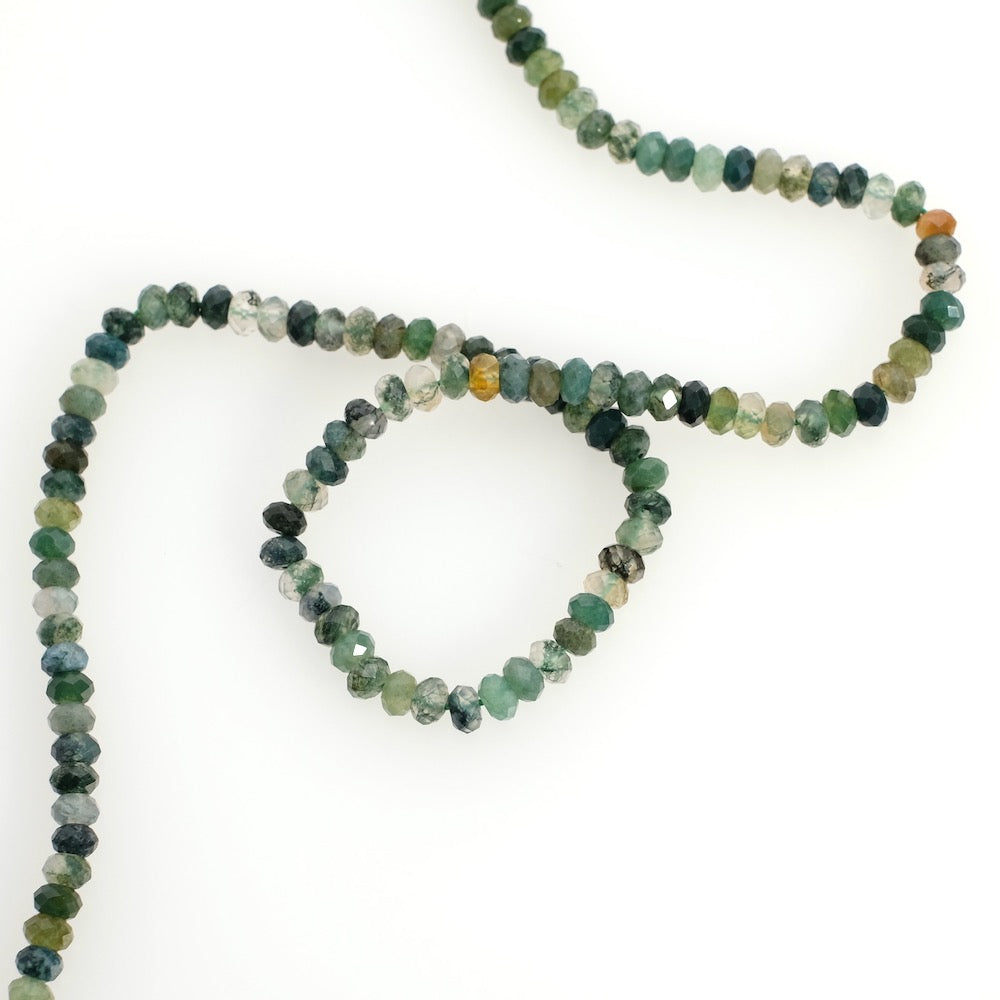
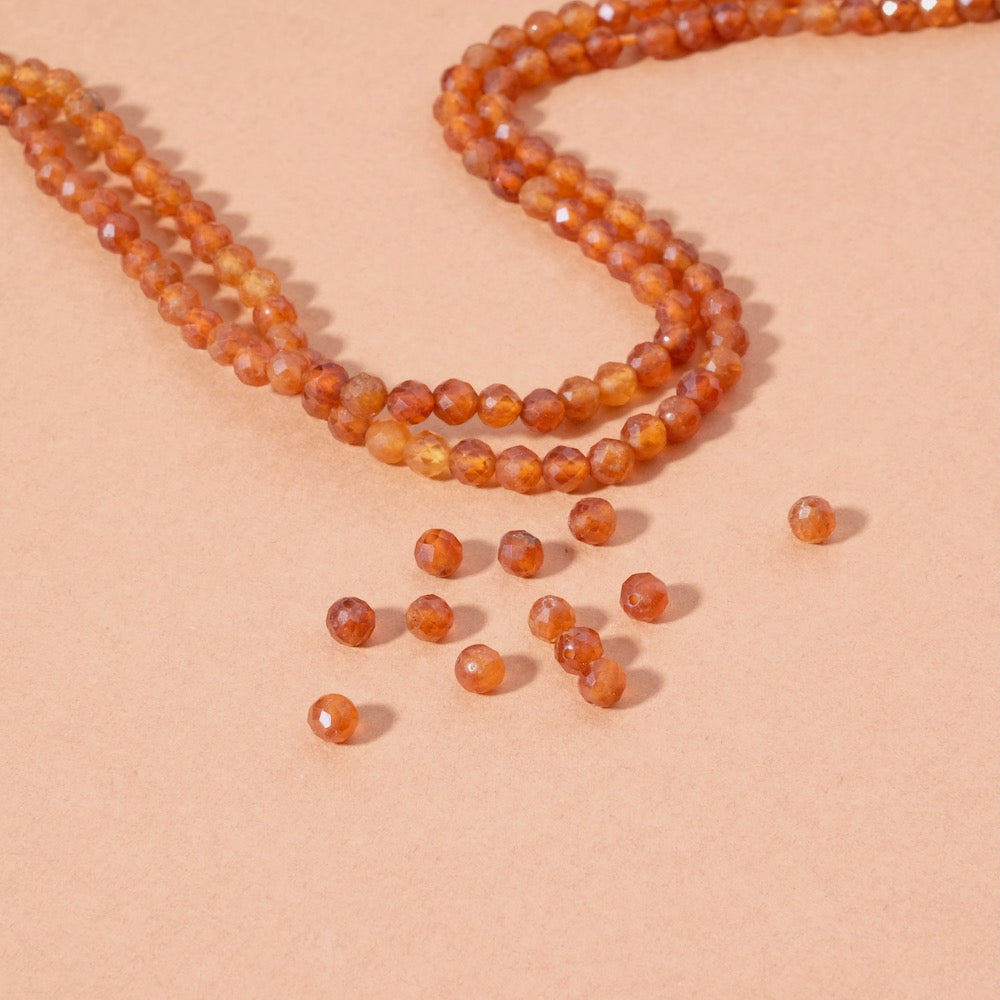
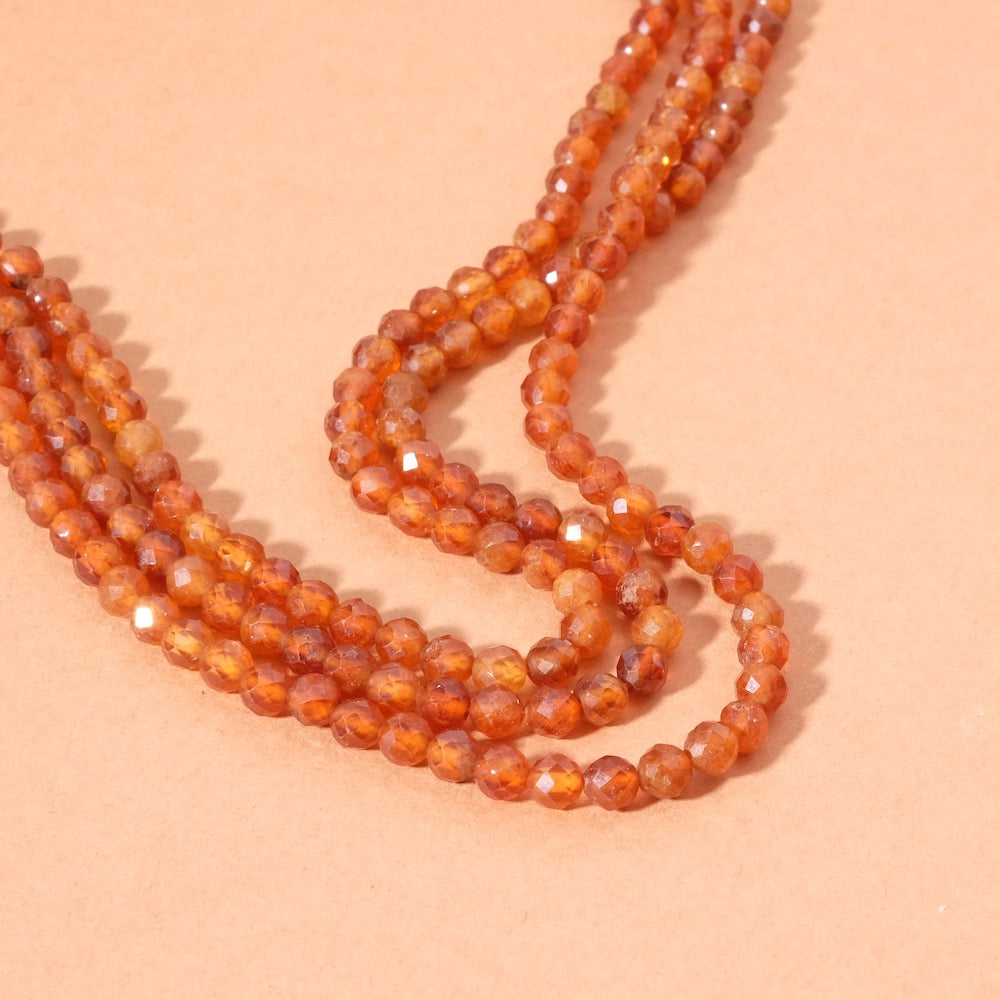
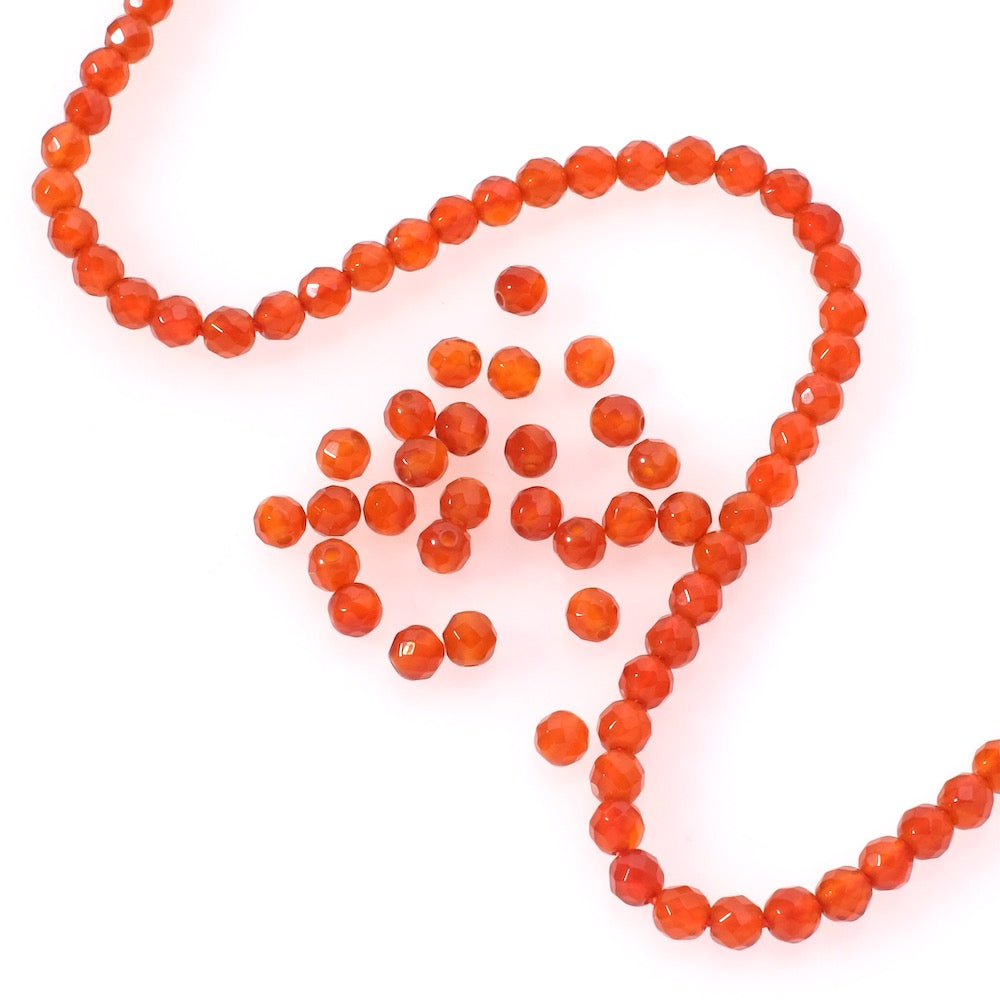
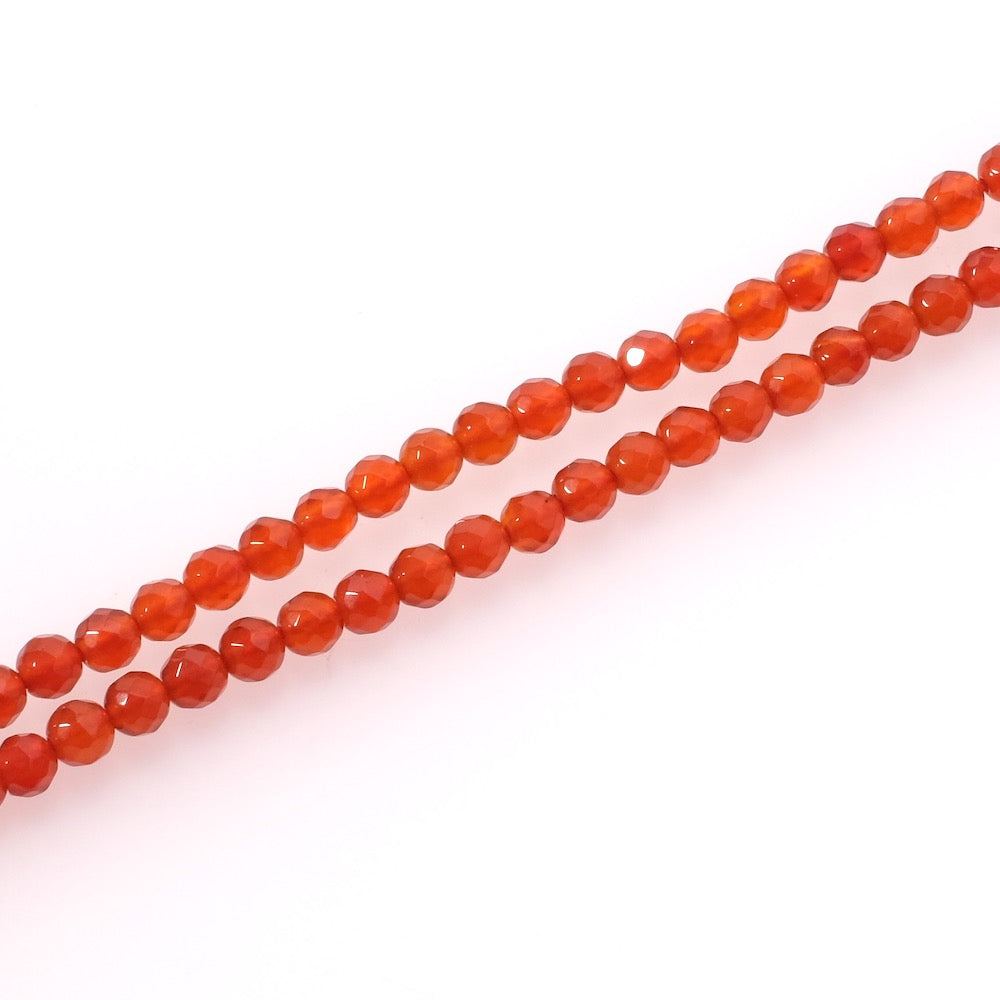
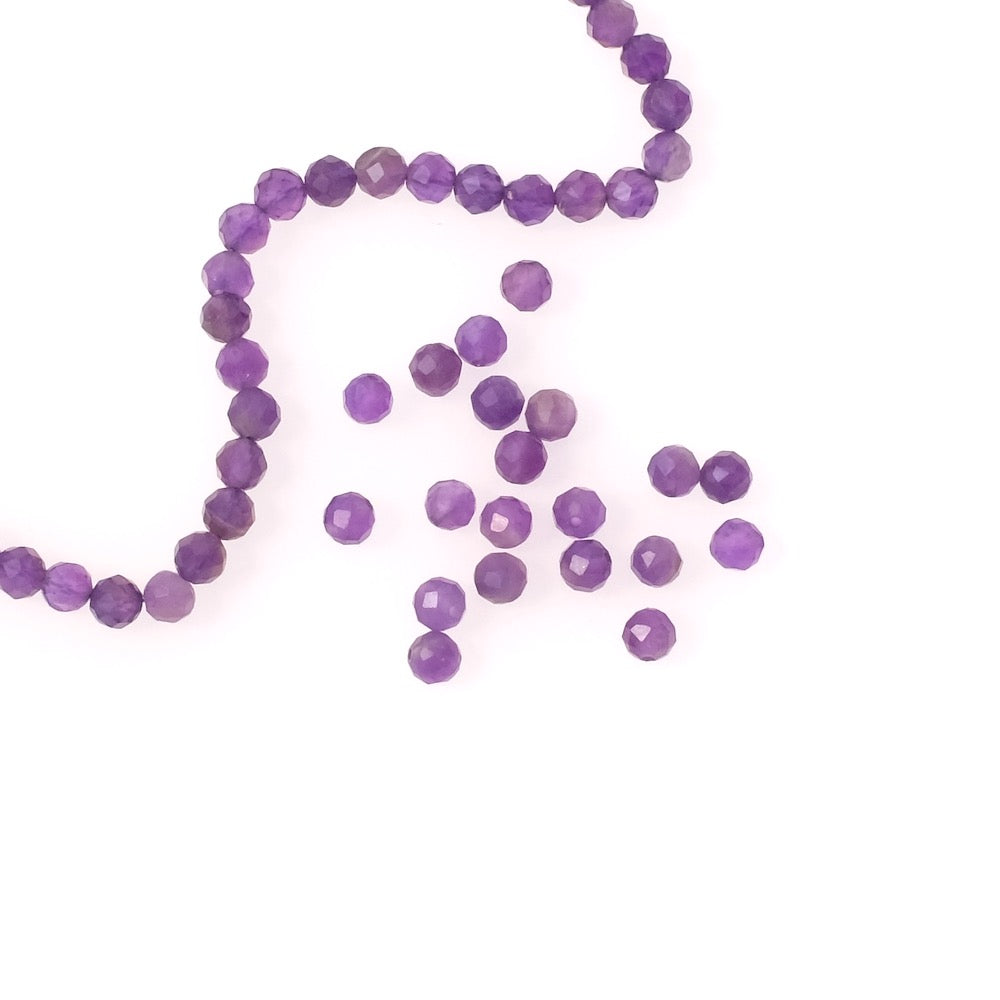
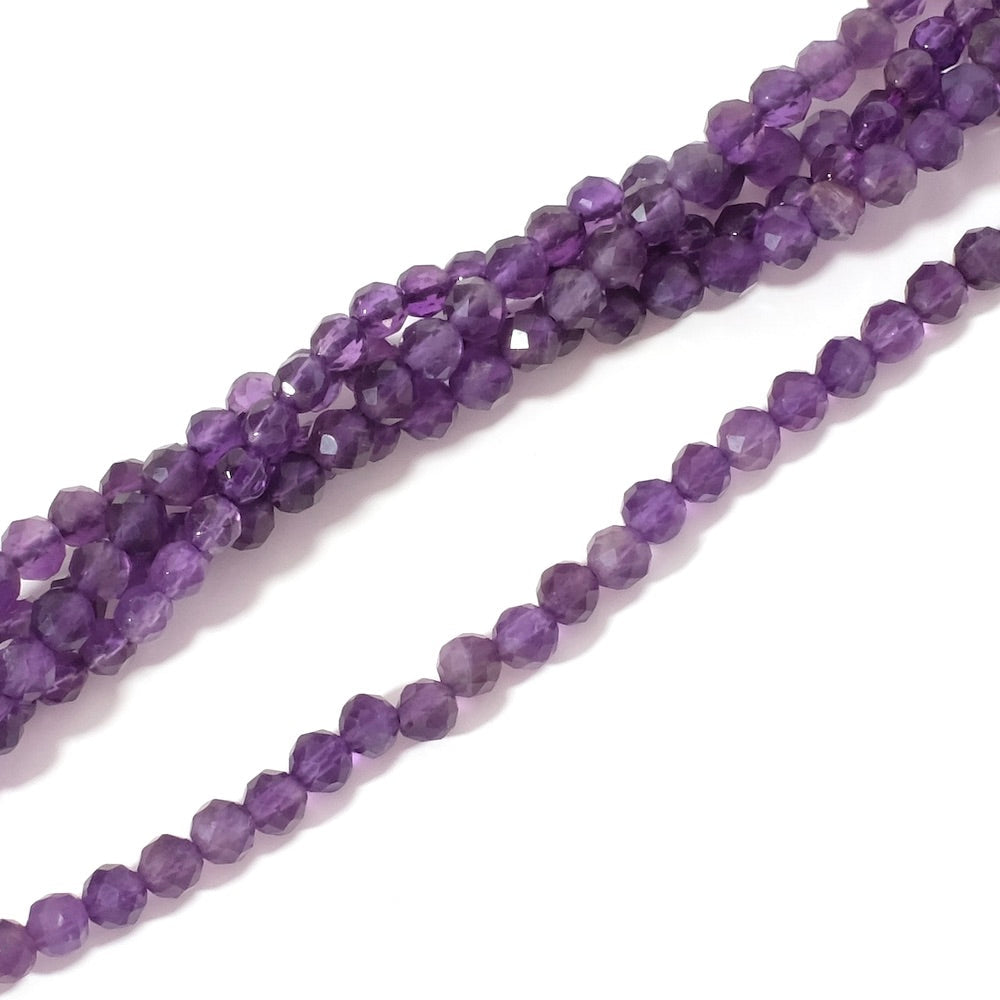
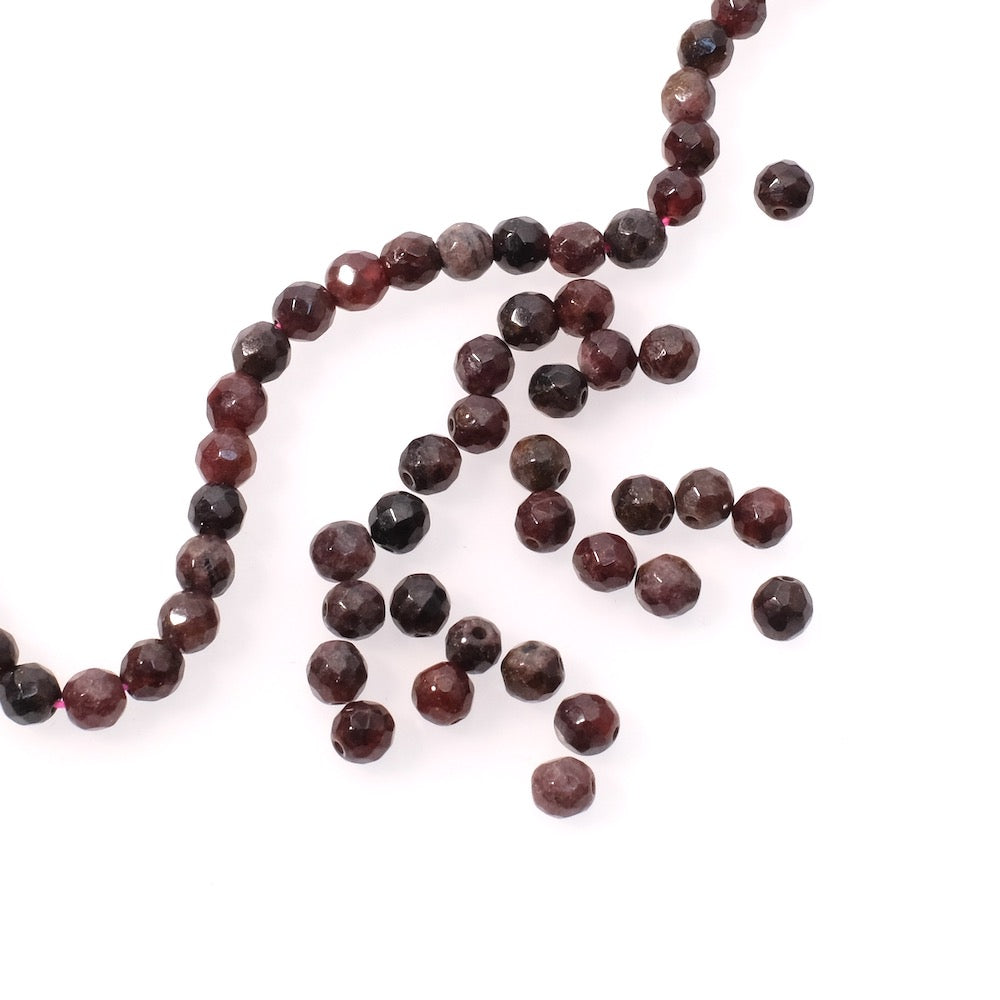
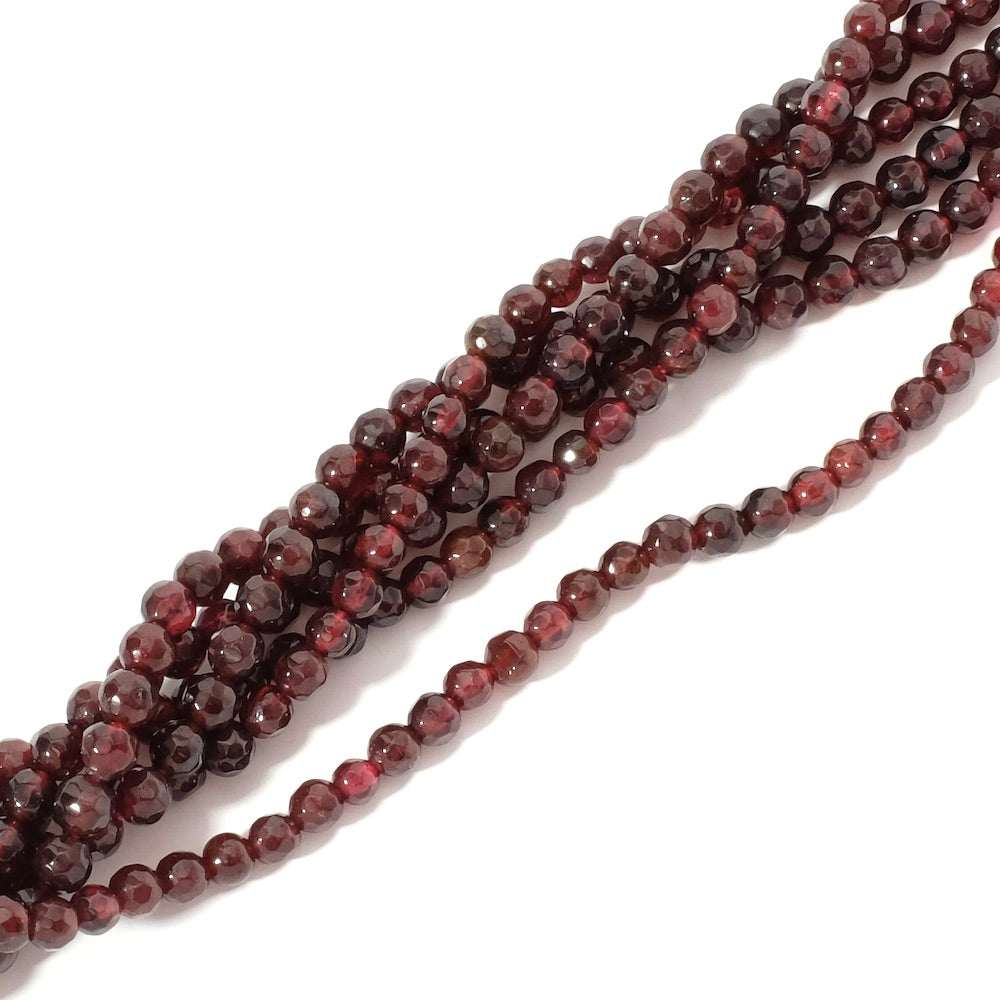
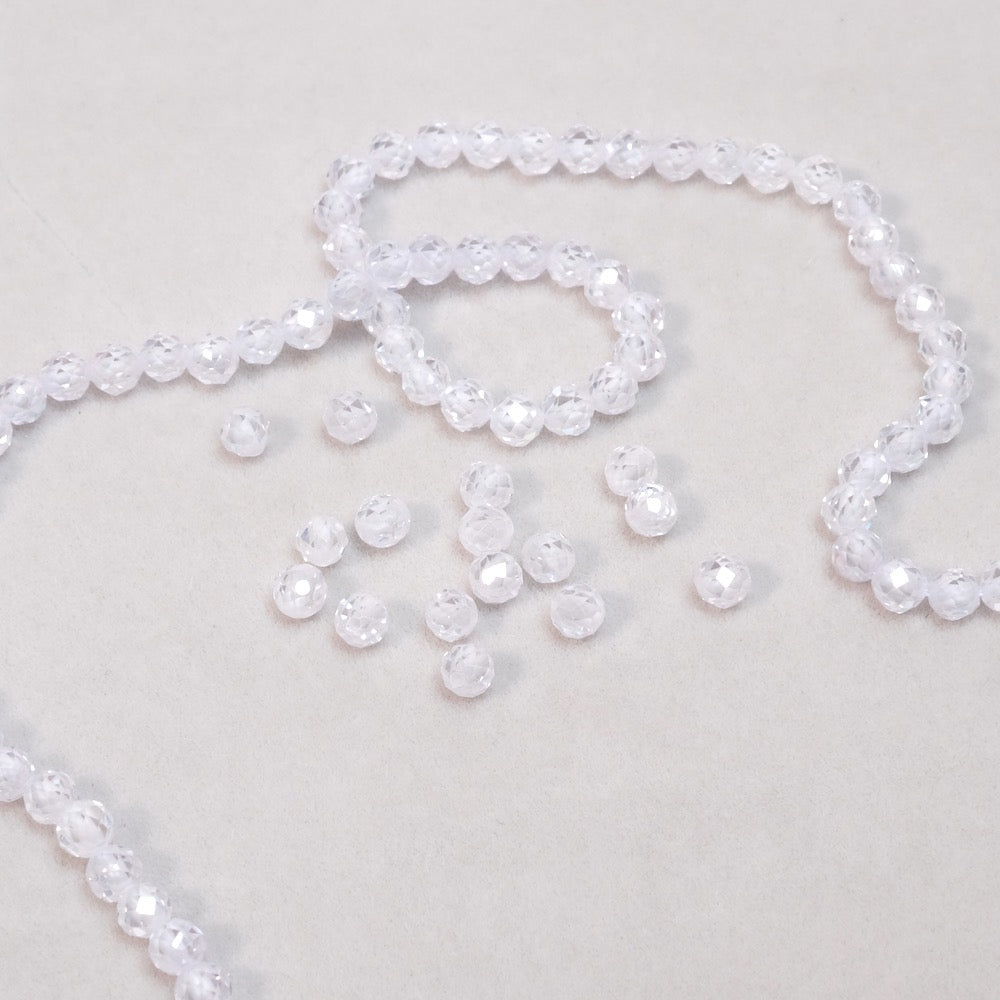
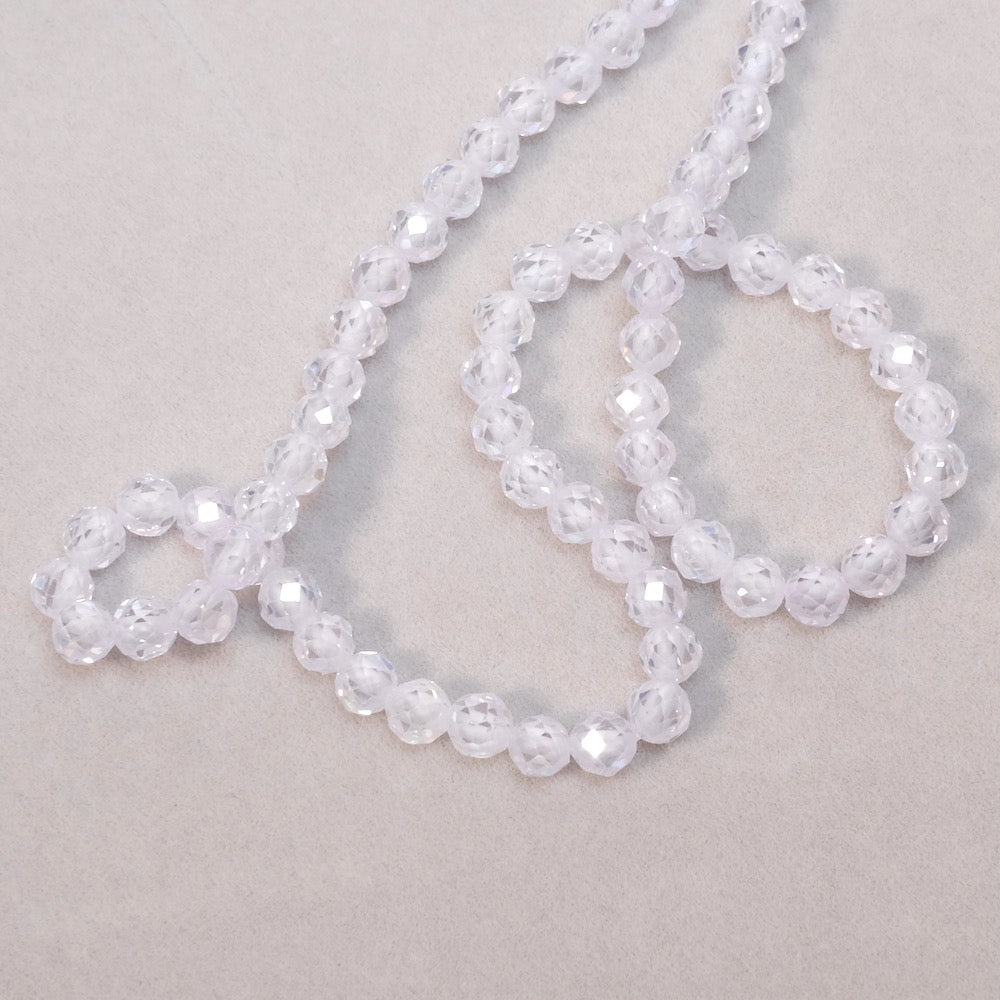
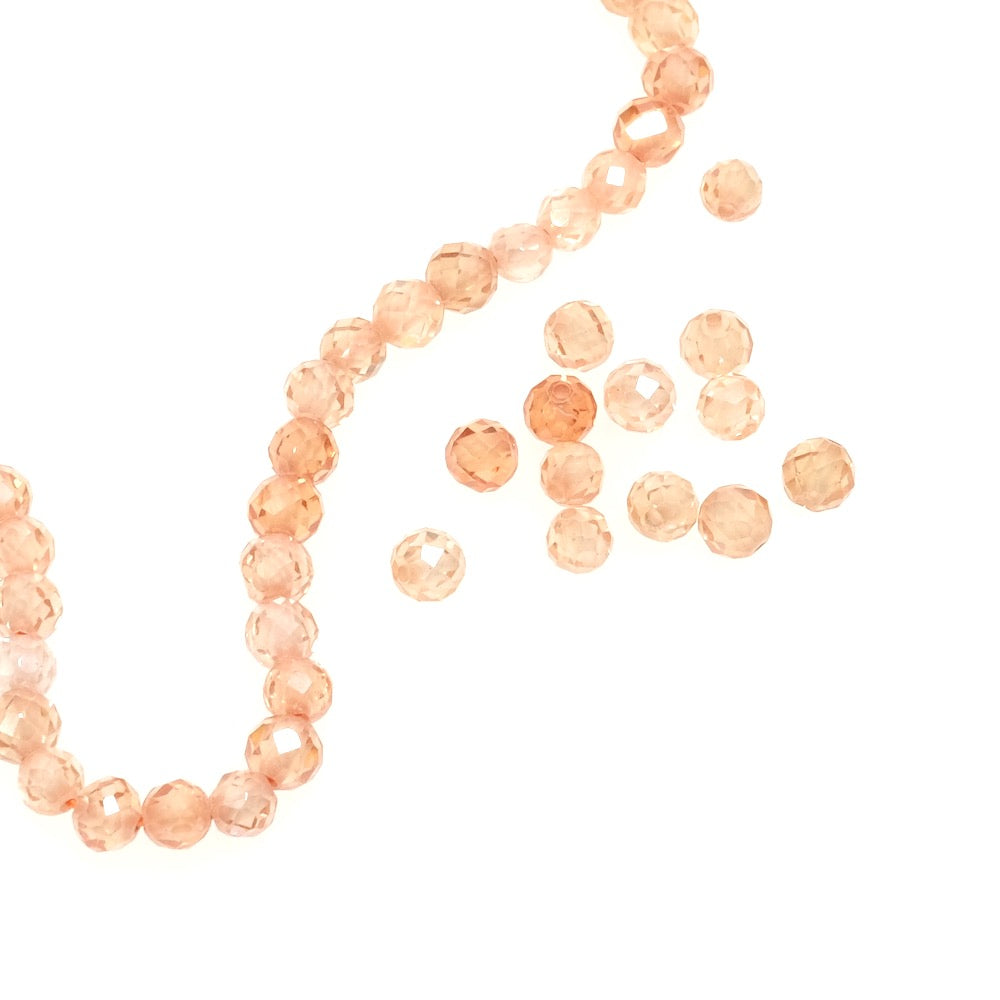
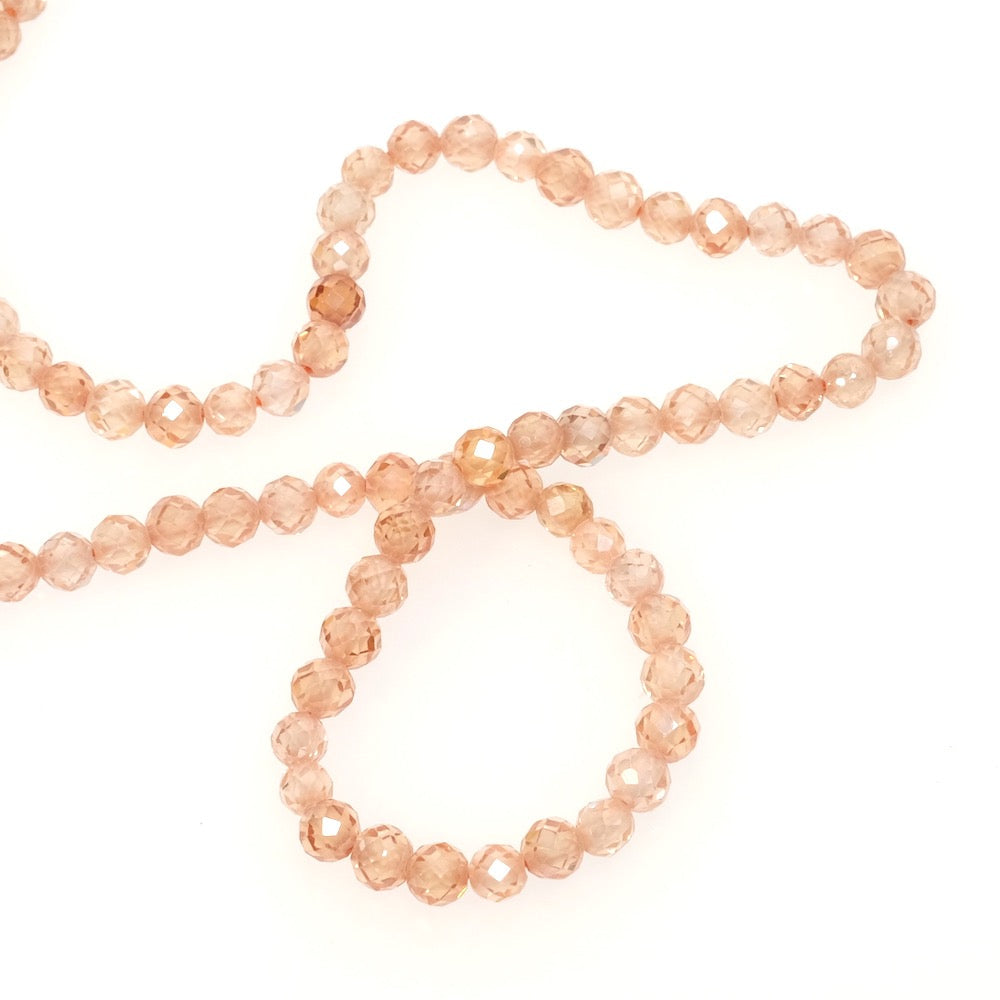
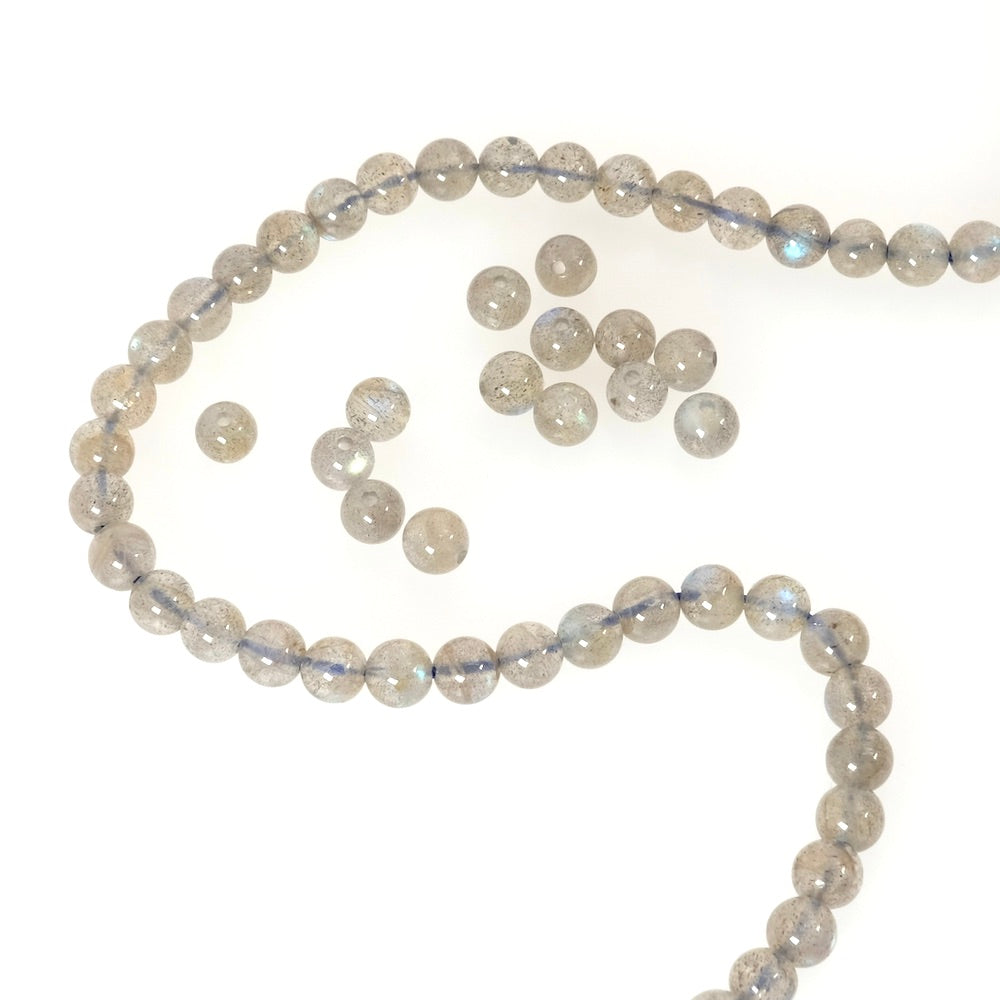
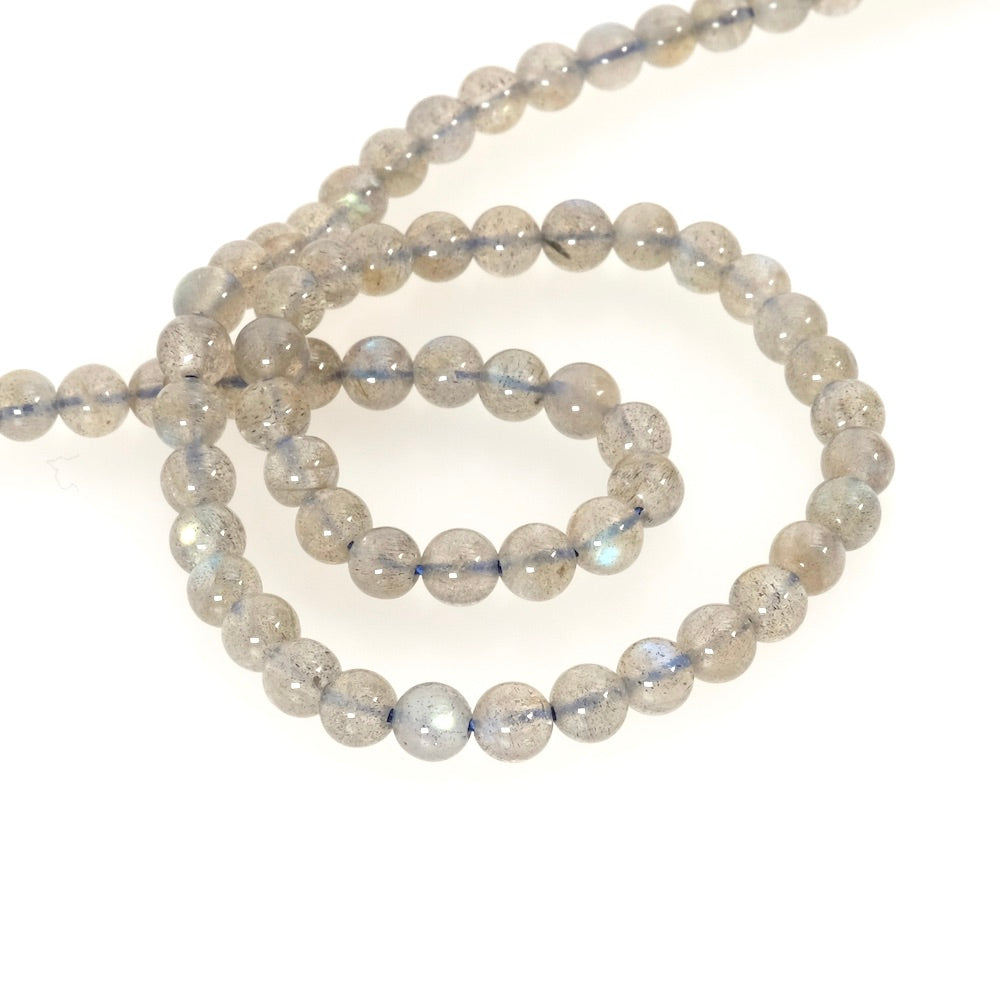
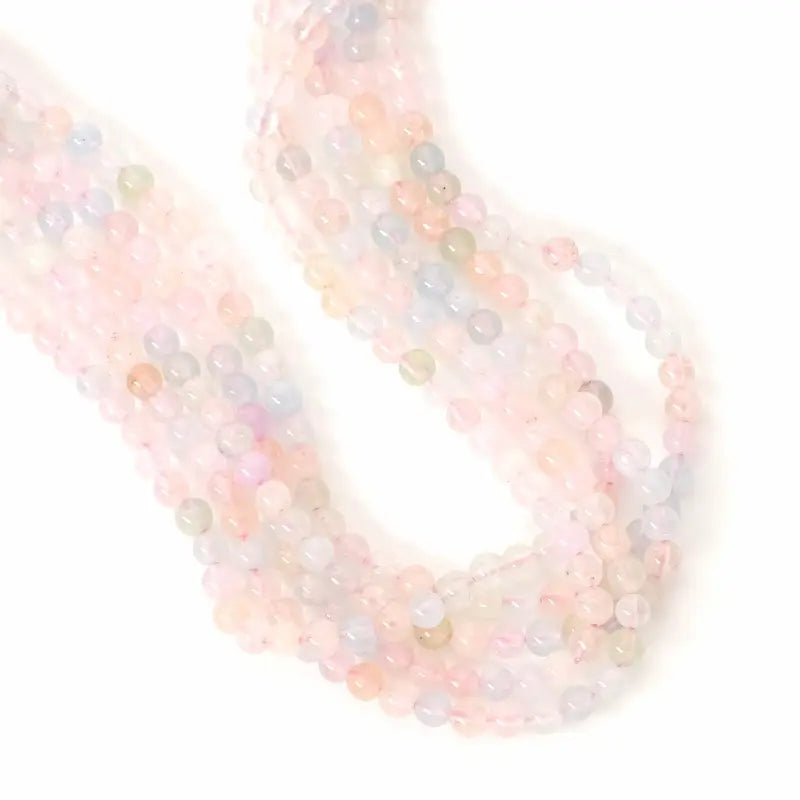
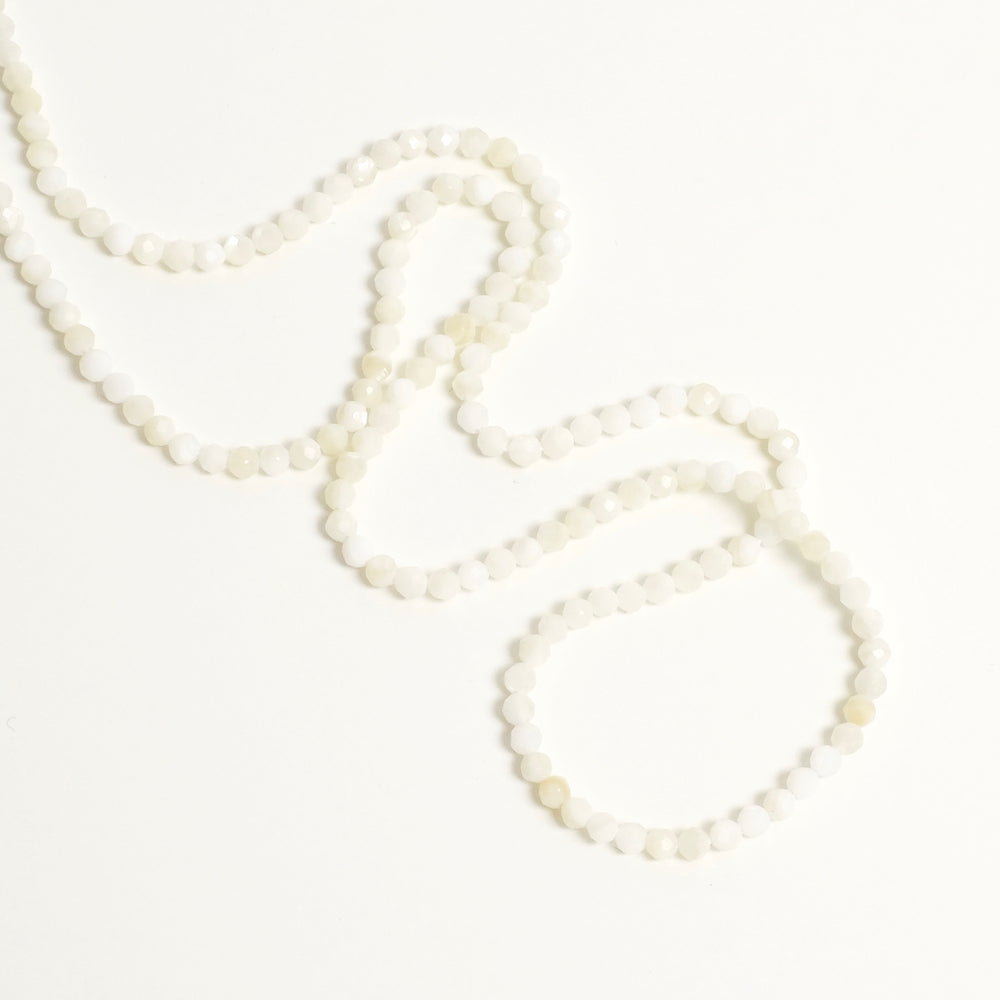
To begin with, choose your beads, play with the different shades, effects (smooth or faceted), sizes, shapes... Here we've used a strand of Tourmaline donut beads for the side and back of the necklace. For the front, we used Garnet, Labradorite and Amethyst beads, gold-tone metal beads, Strawberry Quartz beads and a Garnet drop stone. For the threading thread, use Griffin silk thread, which is very strong and supple for a comfortable collar. It's already fitted with a needle for easy threading! Tie the end of the thread to the clasp, making several knots to secure the assembly. Keep a small piece of thread to thread through the first beads at the end of the assembly. Thread a metal bead into which you can slide/hide the bow. Start stringing the beads... Here we've made a central part (mix of beads with the drop) which measures about 12cm. For a 40cm necklace, you would therefore string 14cm of Tourmaline beads. Once you've strung the first beads, start assembling the centrepiece. Alternate metal beads and natural stones of different sizes, shapes and colours. Place the drop bead in the centre, then repeat the symmetry. To finish, cut 3cm of extension chain, thread on a metal bead and the extension chain. Place the assembly on the table, taking care not to leave any gaps between the beads, but to ensure that the stringing is smooth. Do not lay the stringing in a straight line, as this could create tension between the beads when the necklace resumes its normal curved shape. Prick a pin into the wire at the edge of the metal bead. Now tie the knots around the pin to make sure the knots are in the right place. Remove the pin at the last moment. Pass the needle back through the metal bead and 4/5 beads. Trim off the excess thread. To finish, thread the starting thread through a beading needle and iron through a few beads before cutting the thread short.
Your jewellery is finished! Beautiful creation! |
||||
 |
||||


To be reserved alone or with friends!

Join Perles Corner to discover our new products, exclusive tutorials, and many other surprises... and receive your voucher by email!


 metal beads gilded with 24K fine gold