|
Tired of necklaces that all look the same and don't always match your mood or outfit of the day? Imagine being able to transform your jewellery in the blink of an eye, making it unique every day and at any time of the day... Our latest tutorial revolutionises the world of jewellery! Discover how to create a variety of pendants and chains, and then... magic! Interchange them as you wish for a creation that really reflects you. Here's to you!
|
||||
|---|---|---|---|---|
| You will need : | ||||
|
|
||||
| The advantages of this DIY tutorial : | ||||
|
|
|
|||
| Assembly: | ||||
|
|
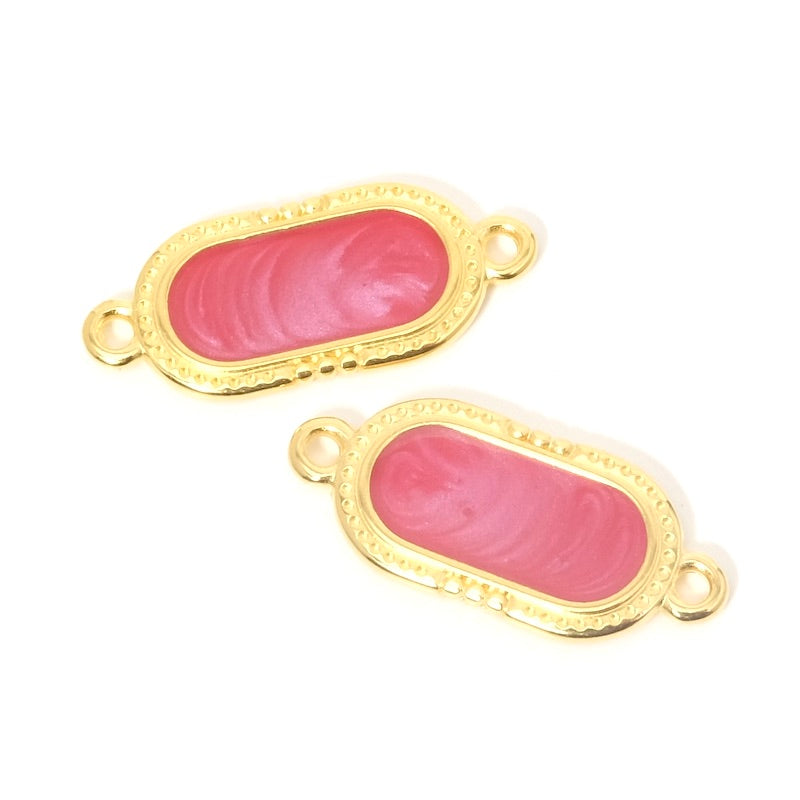
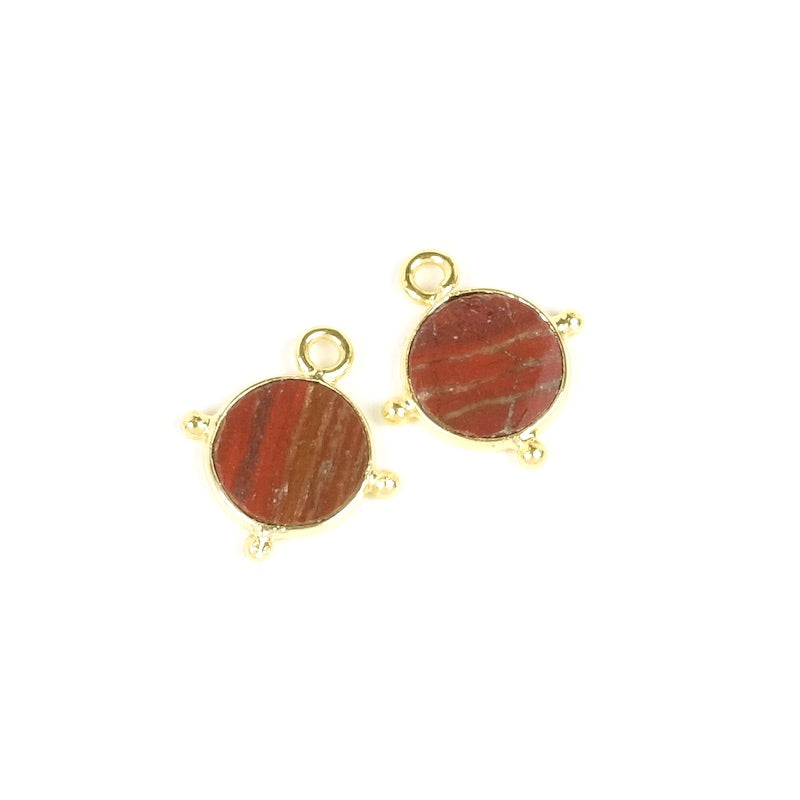
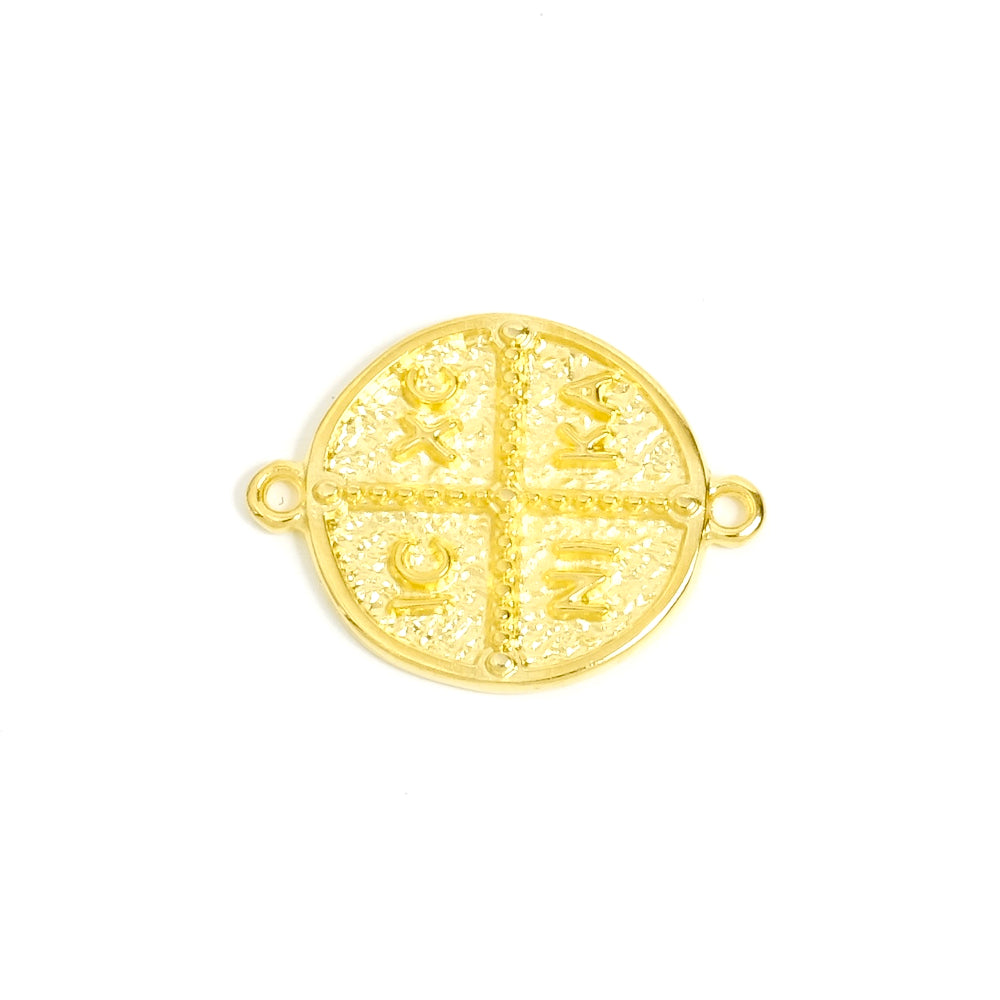
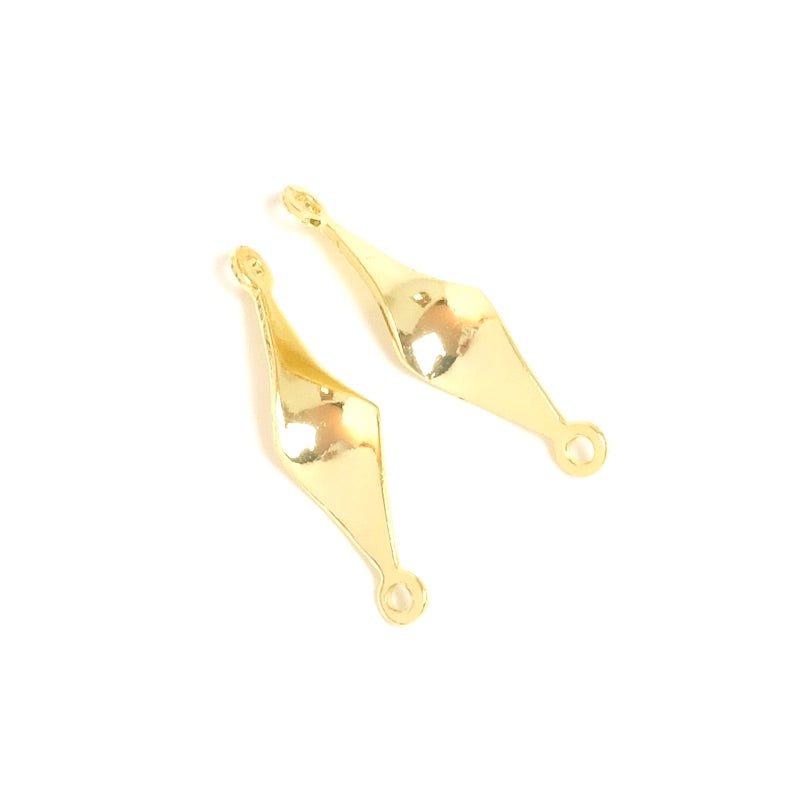
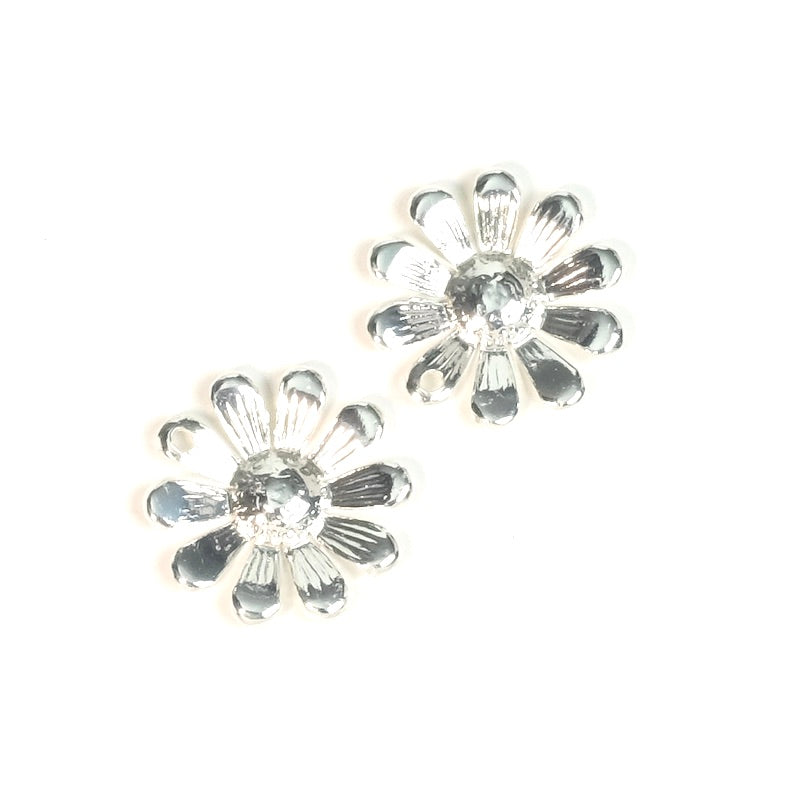
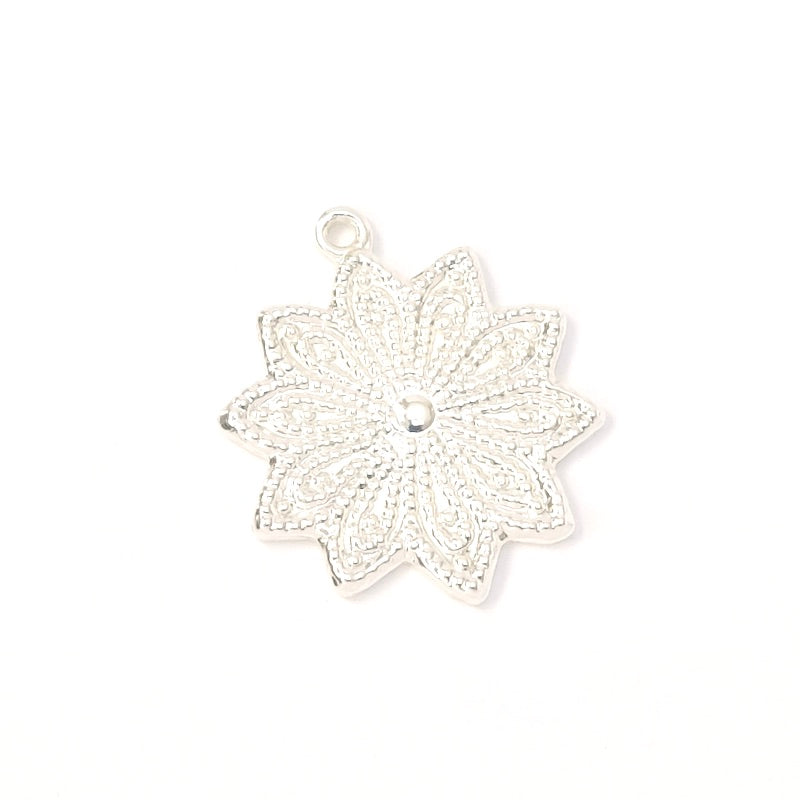
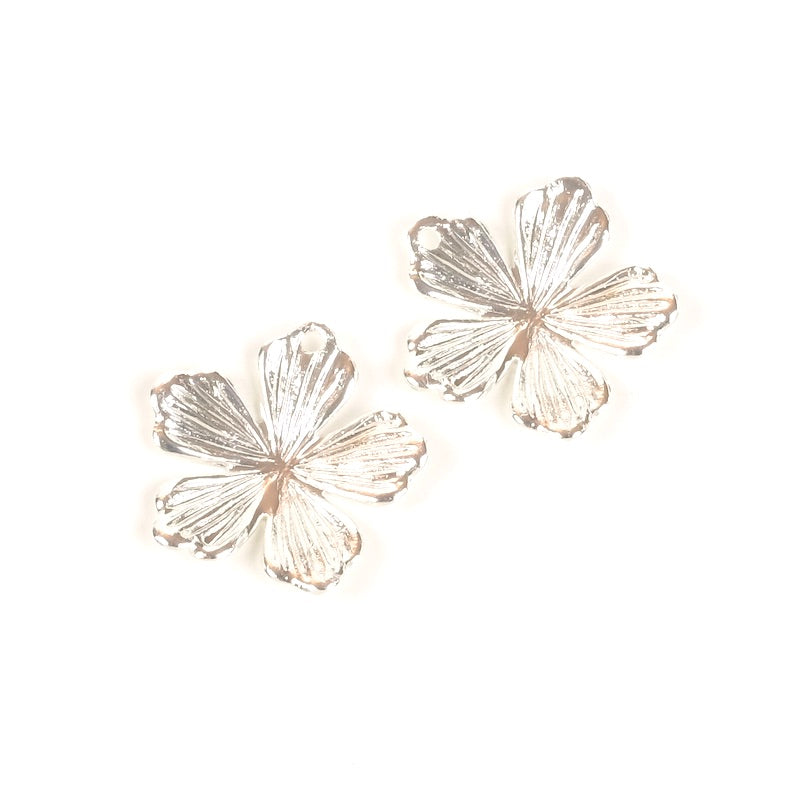
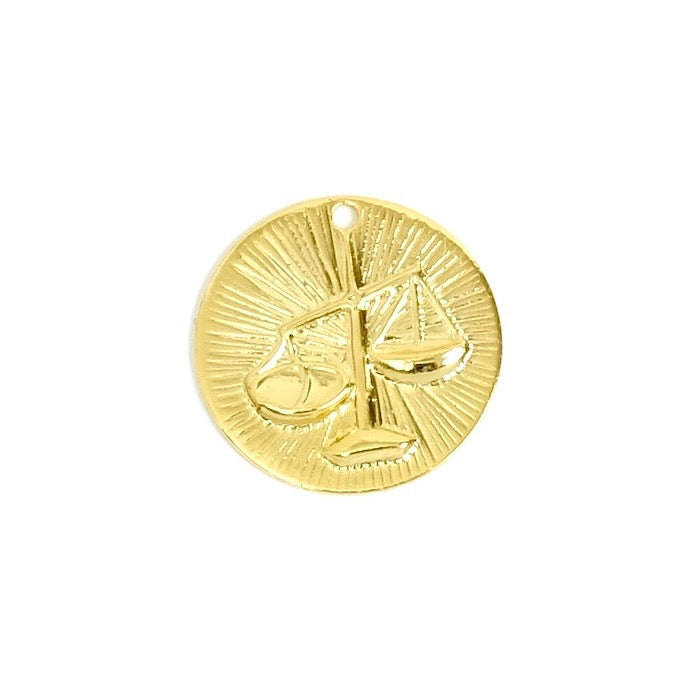
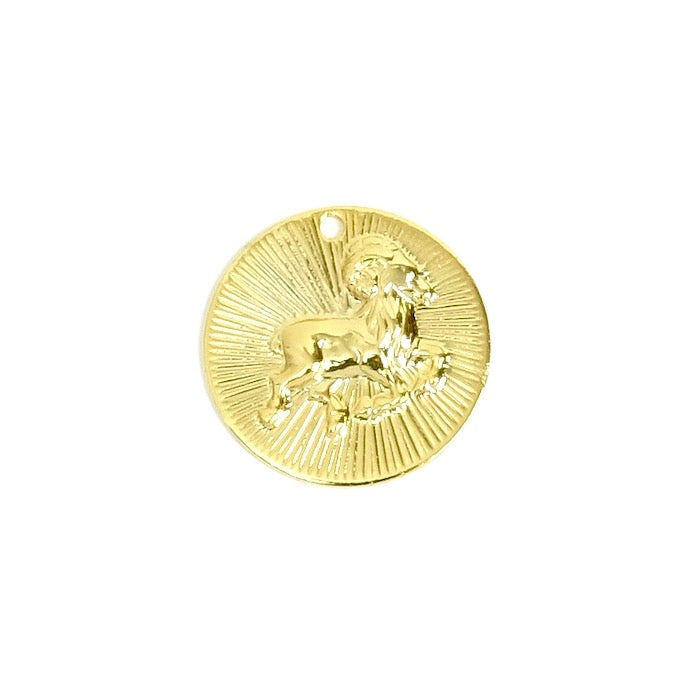
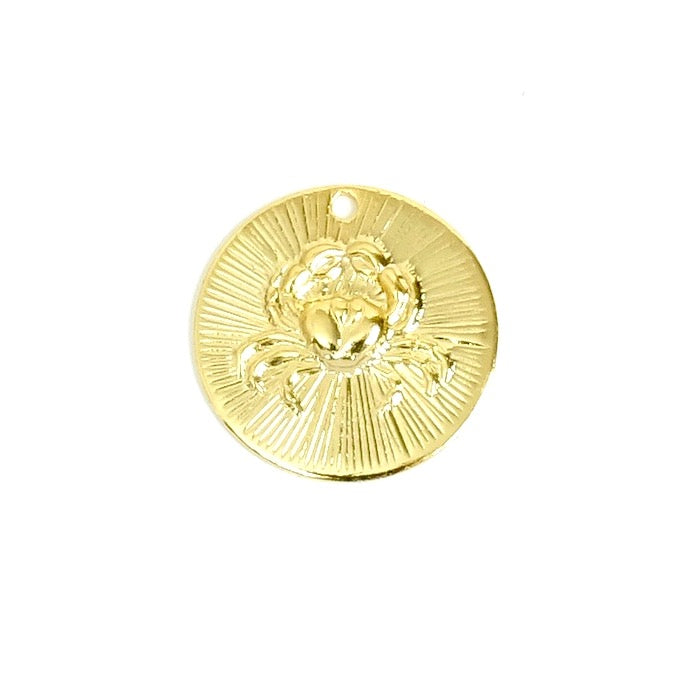
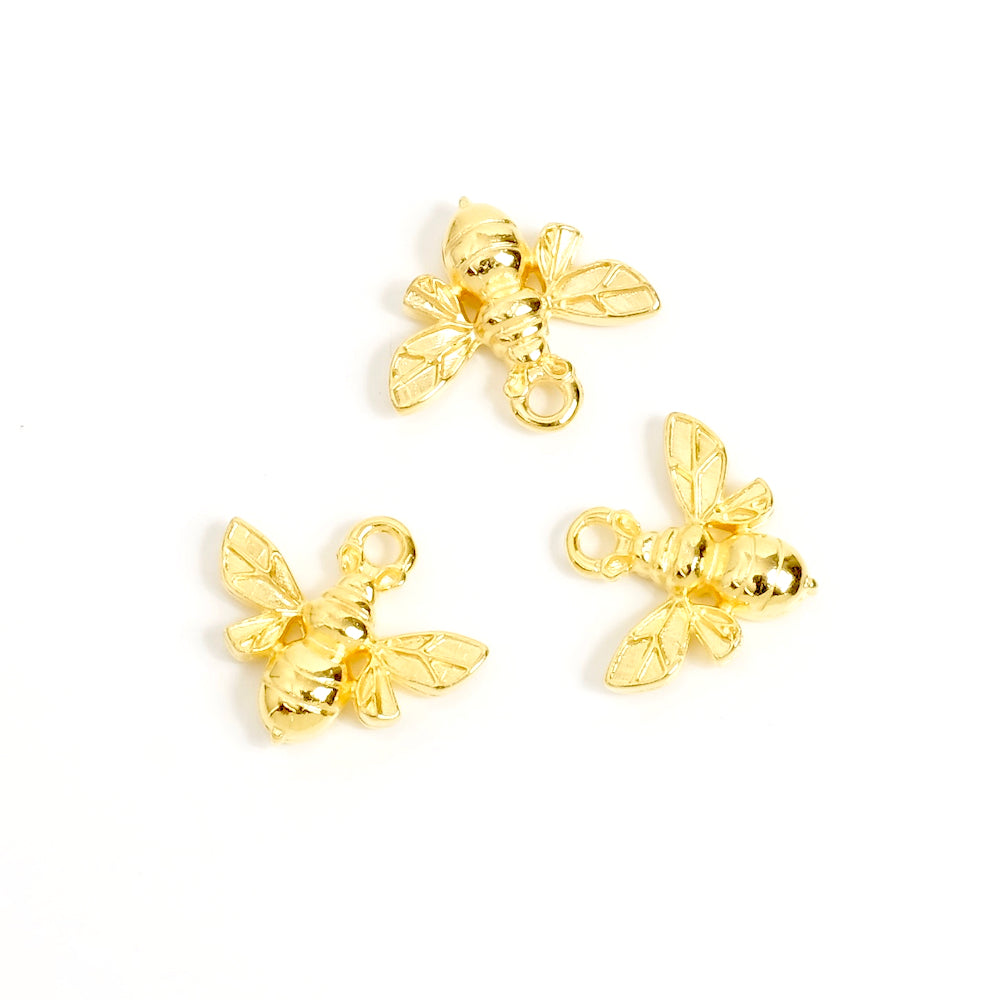
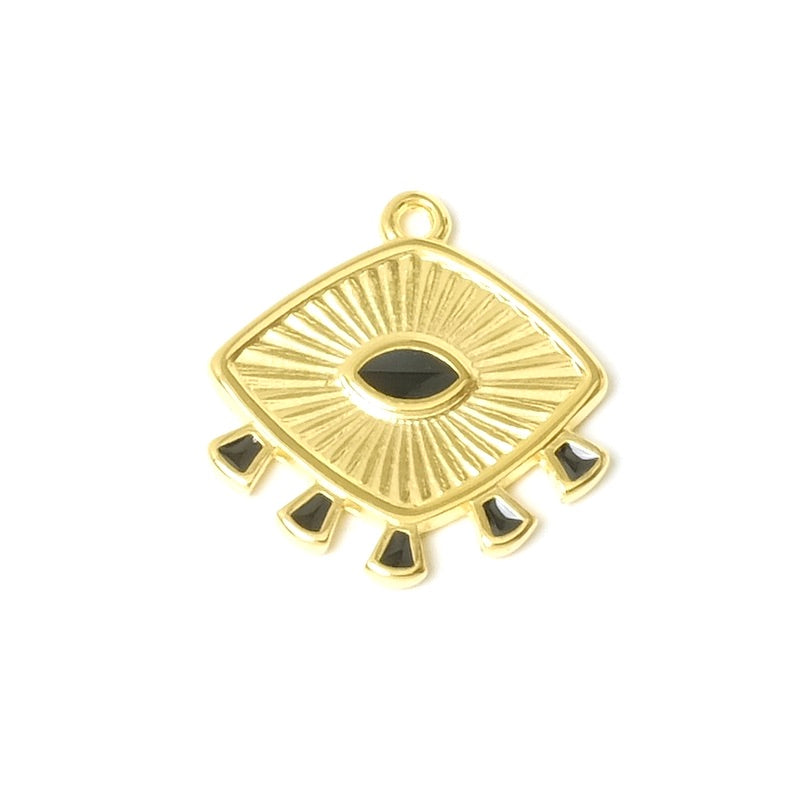
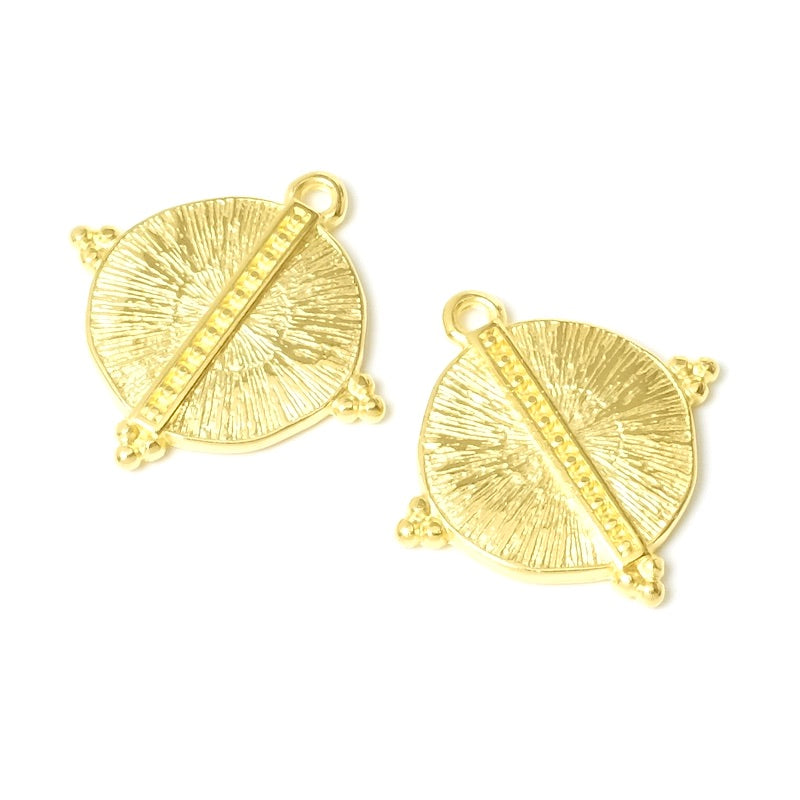
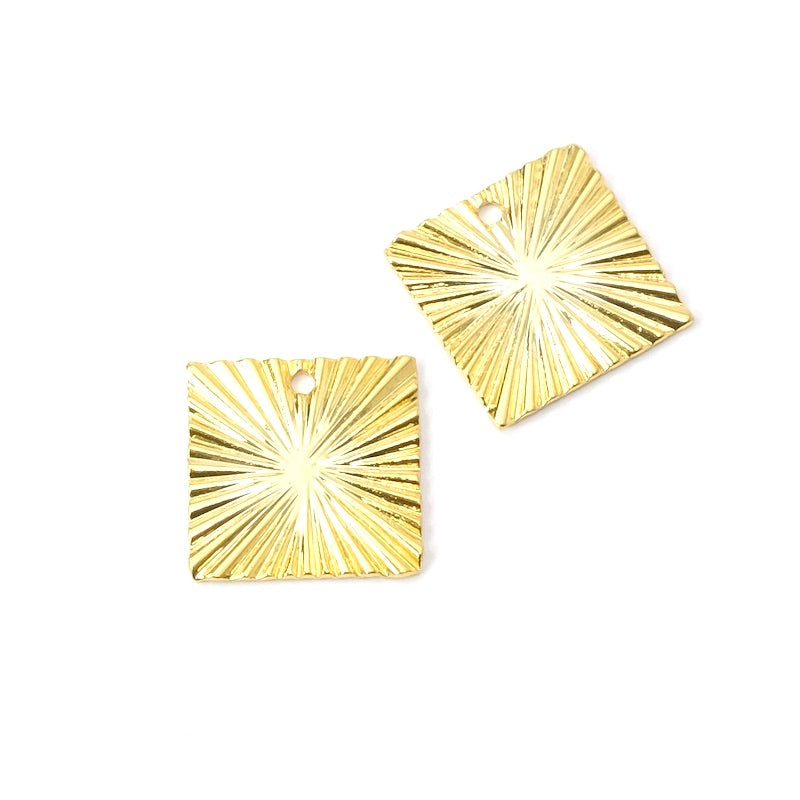
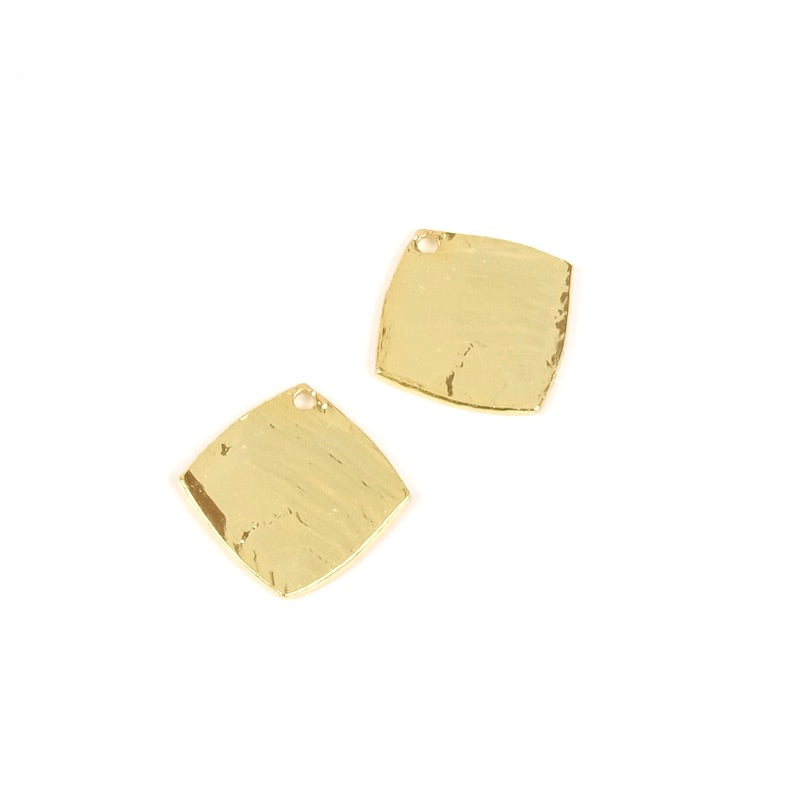
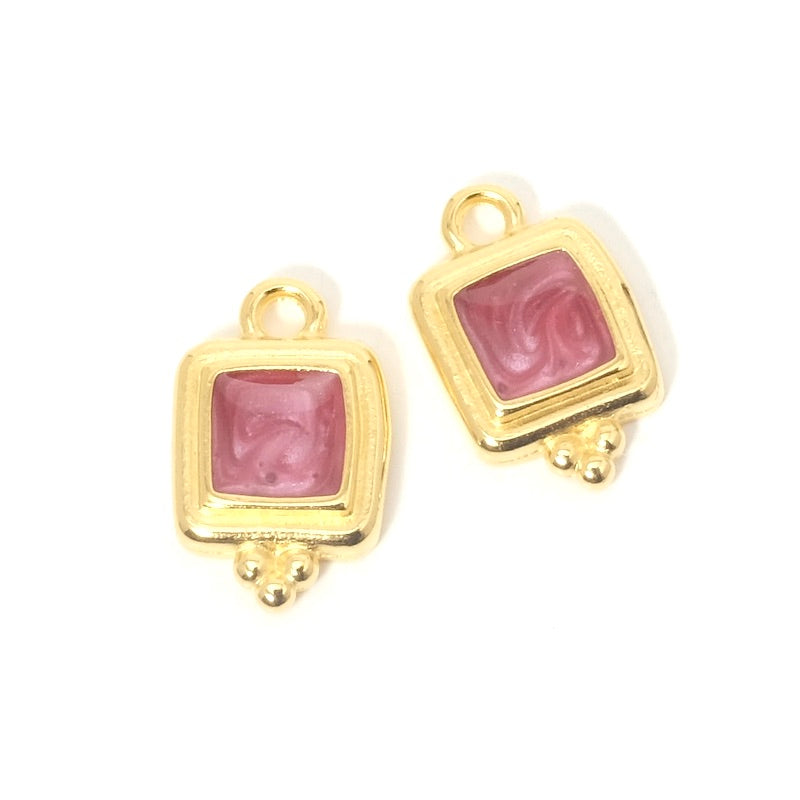
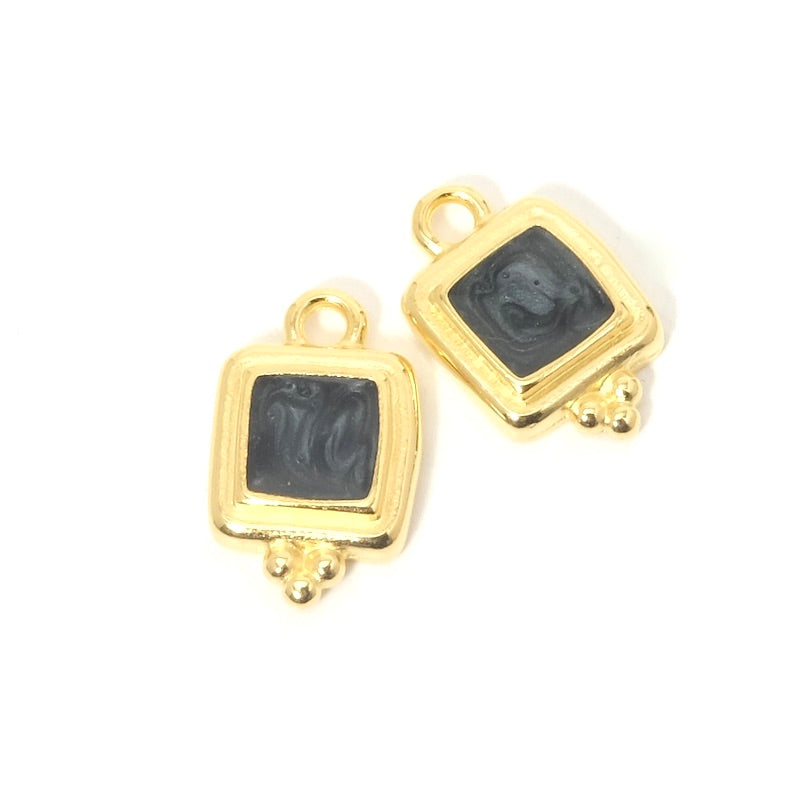
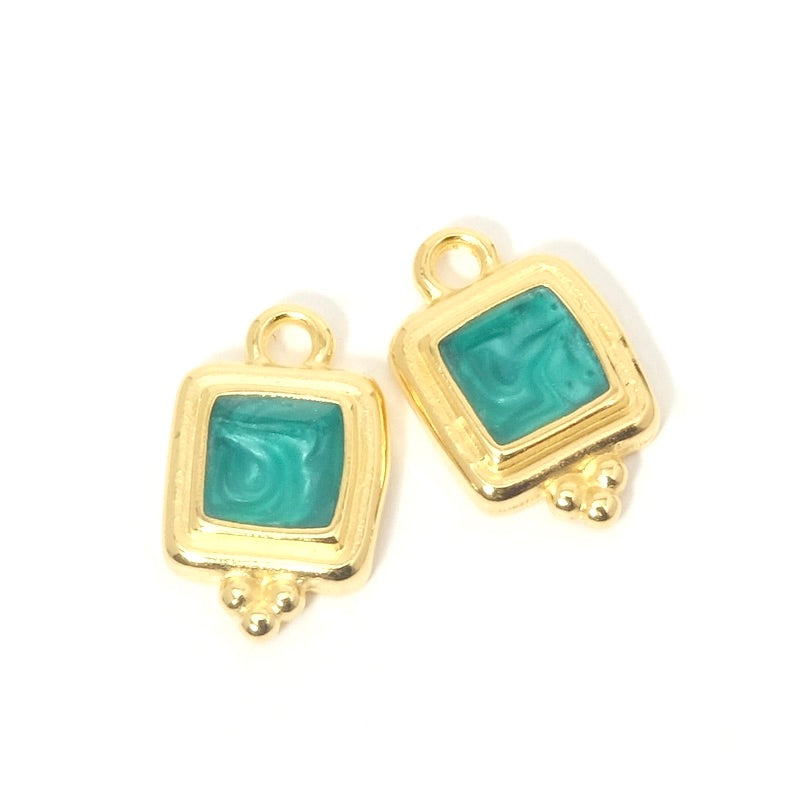
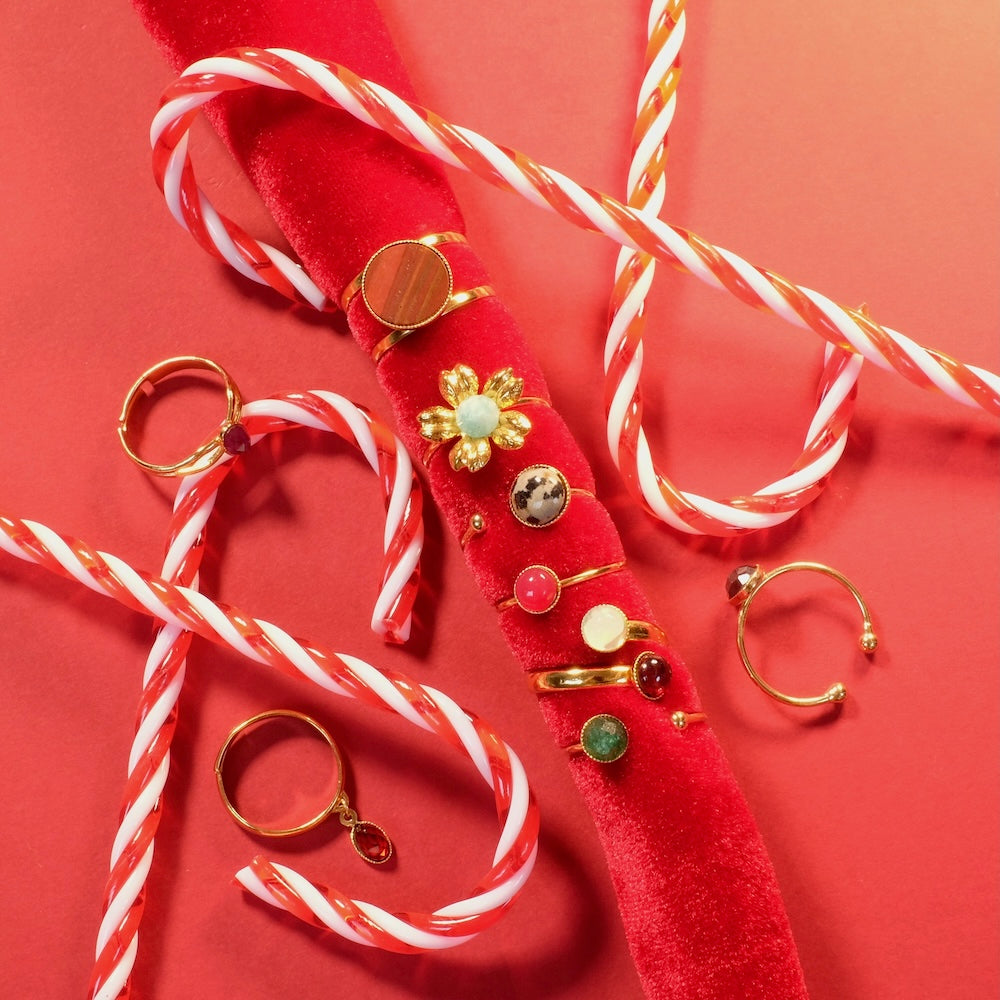
This piece of jewellery is very simple to make, so start by choosing your different pendants. You can choose simple pendants or connectors.
When it comes to choice, don't hesitate to vary shapes, patterns, textures, sizes... This will give you a wide range of possibilities.
Fitting pendants and connectors :
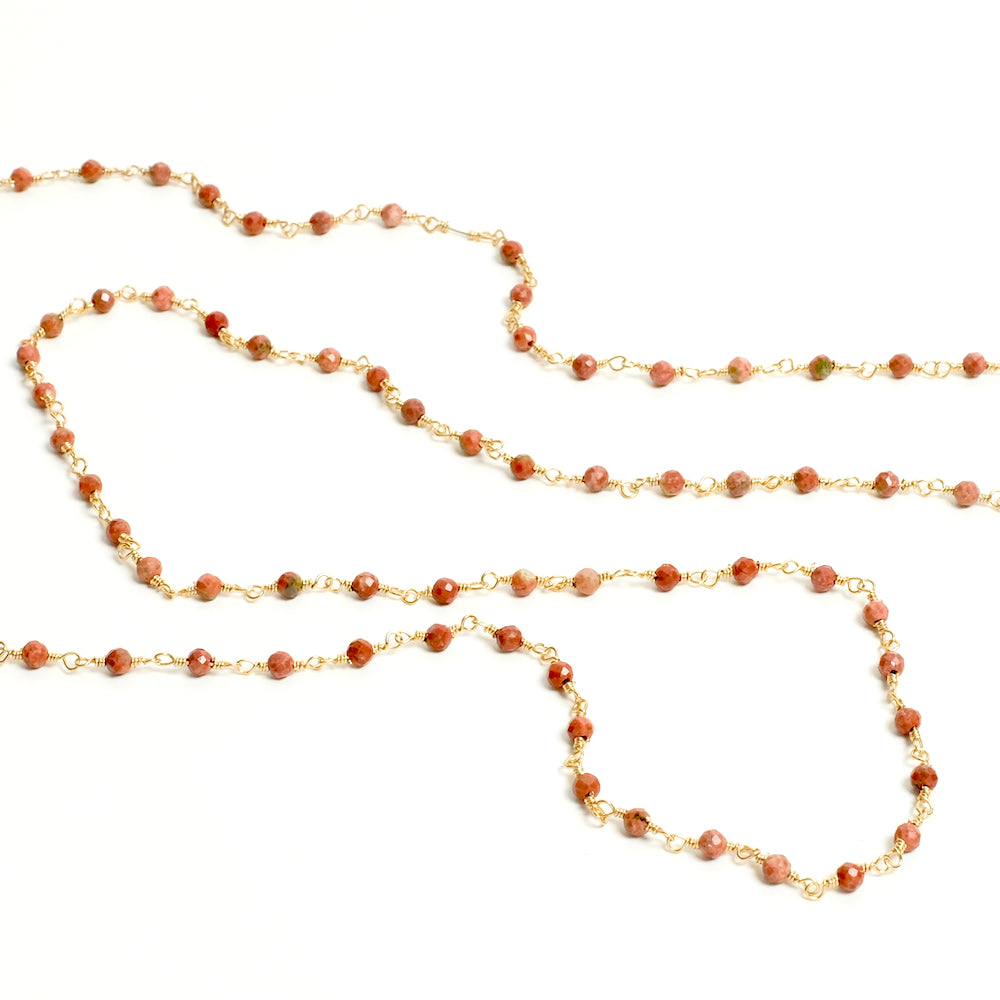
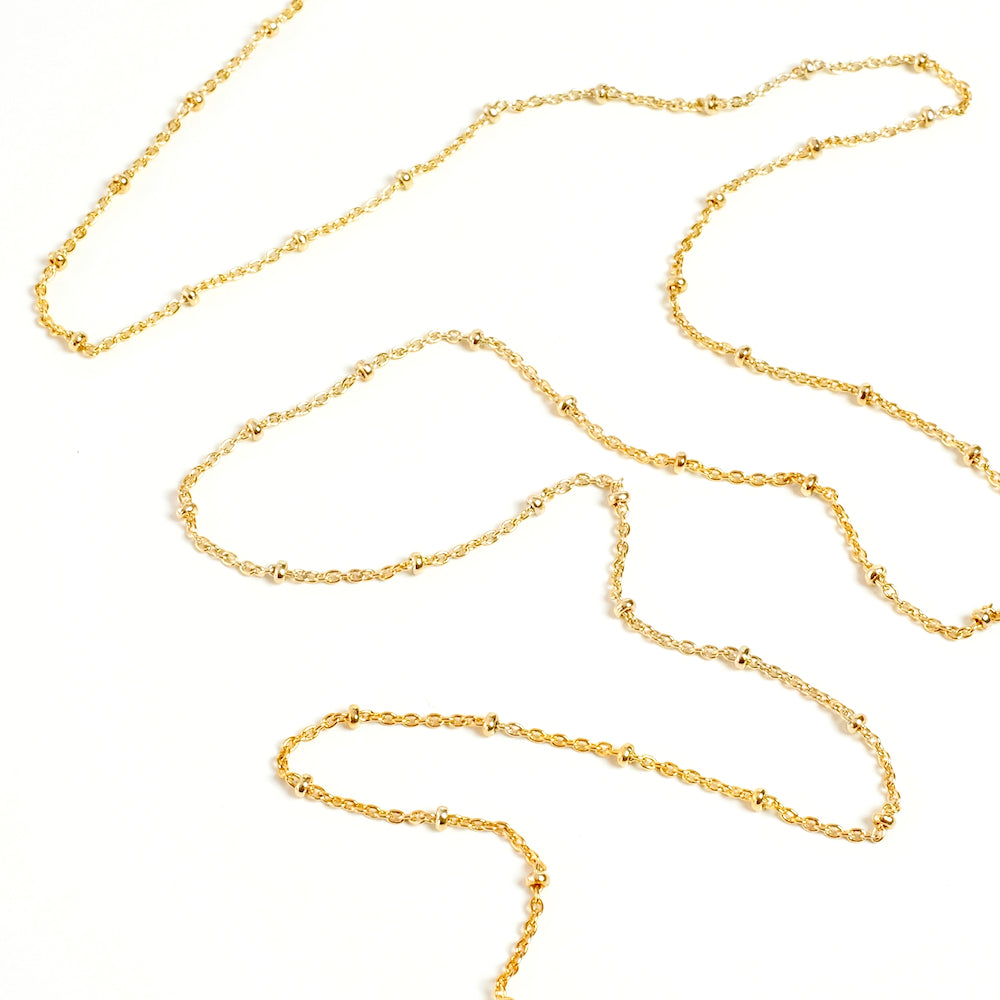
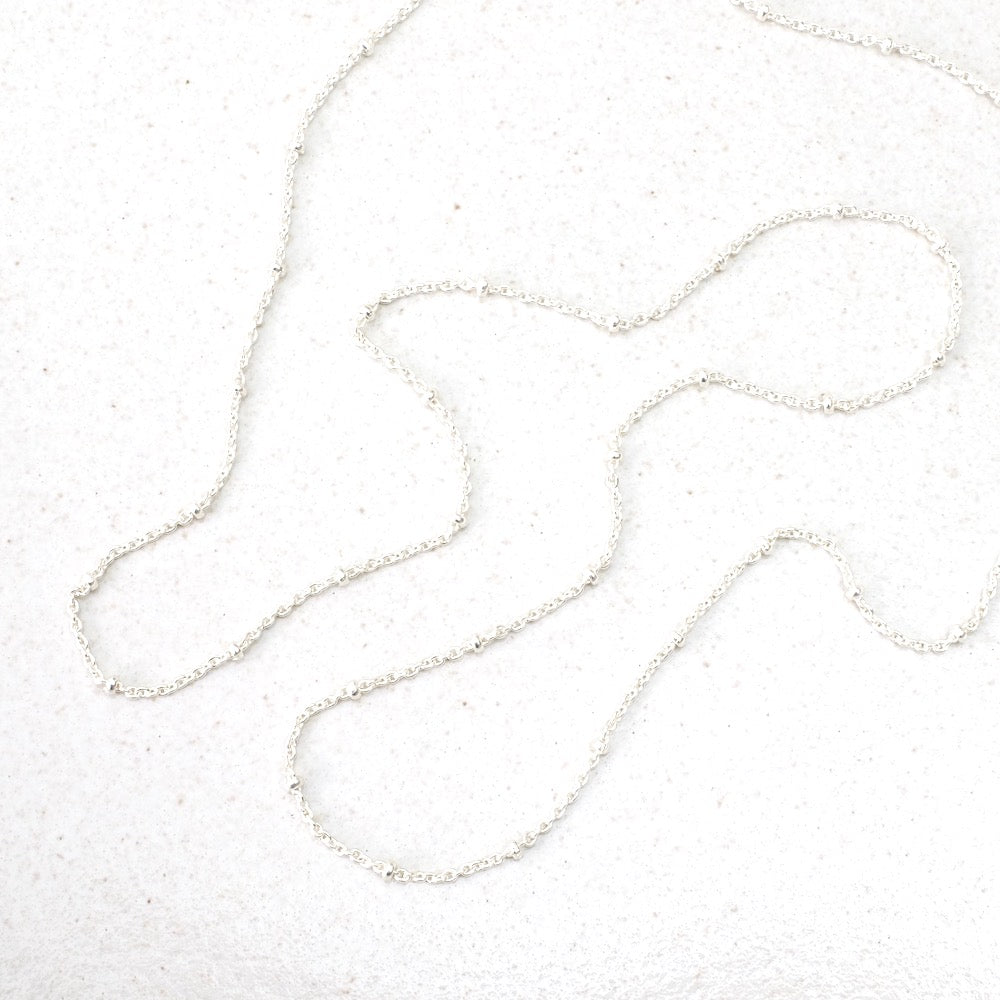
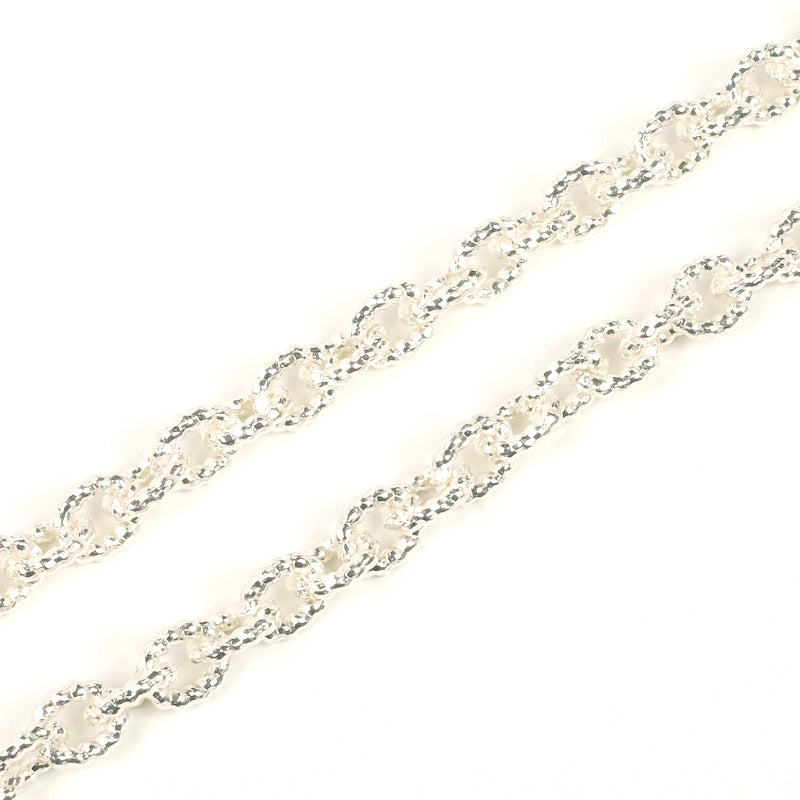
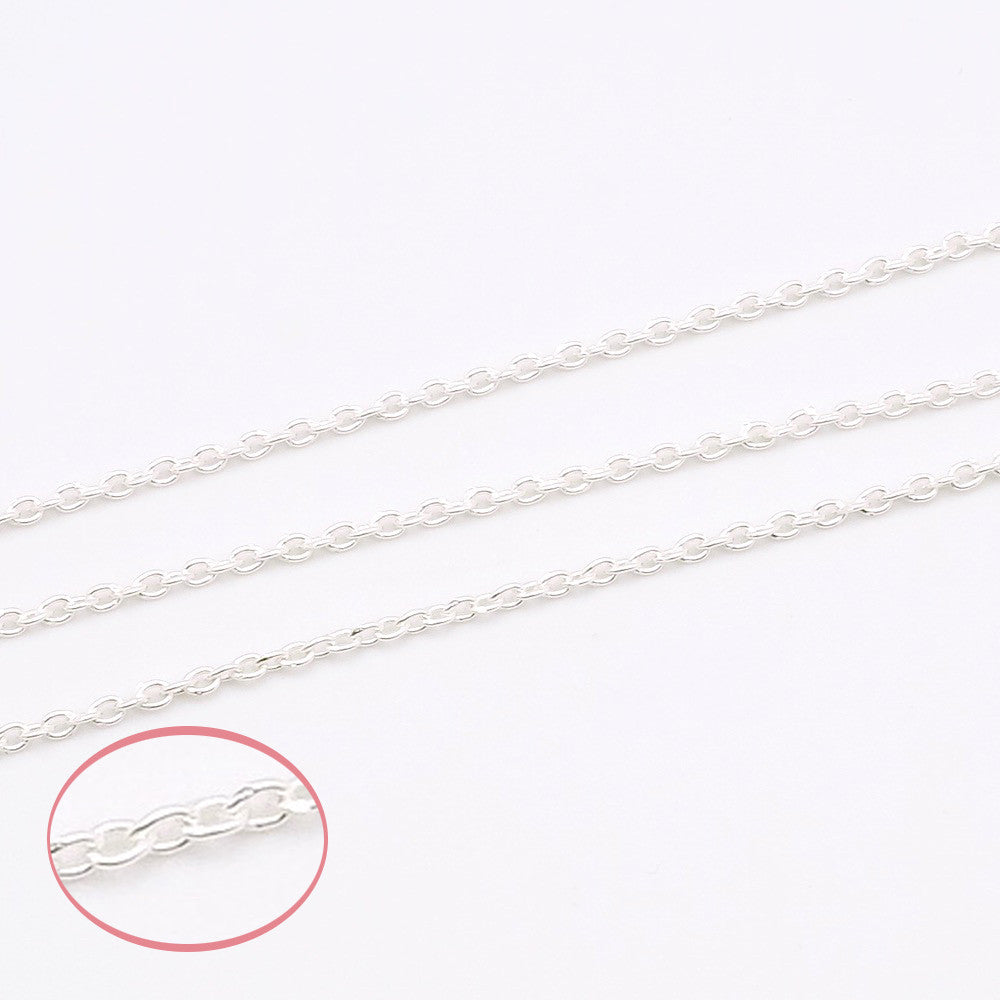
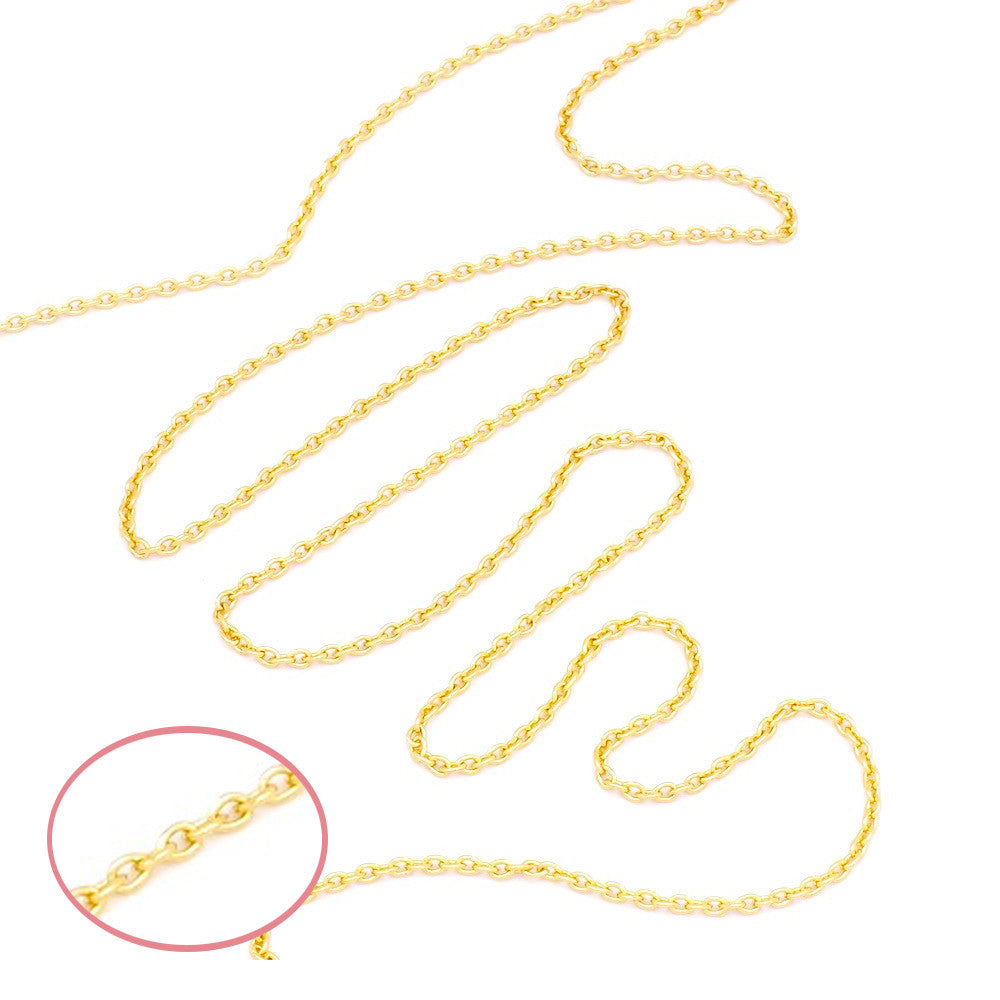
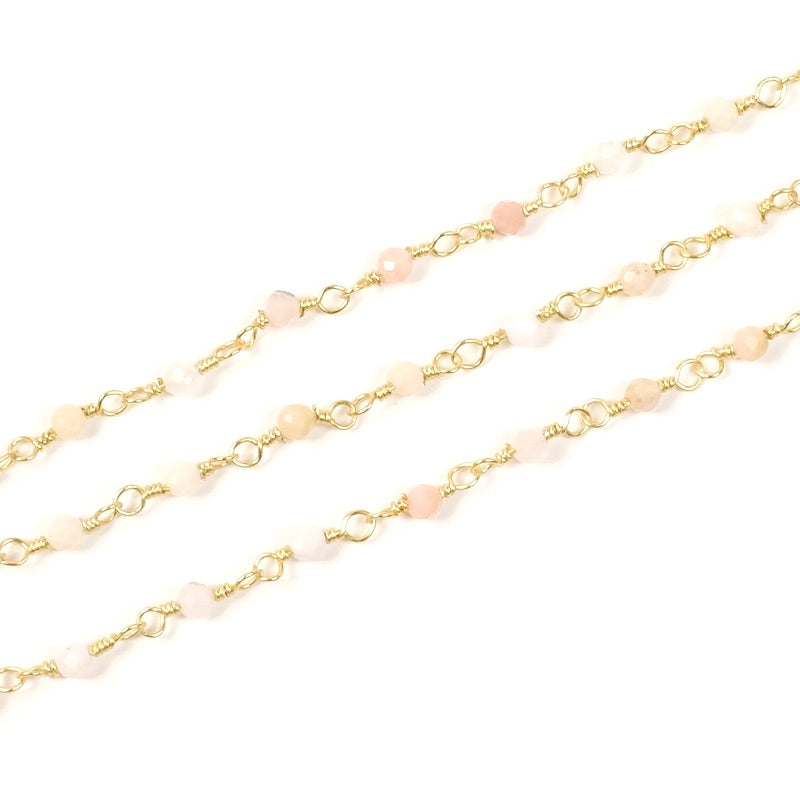
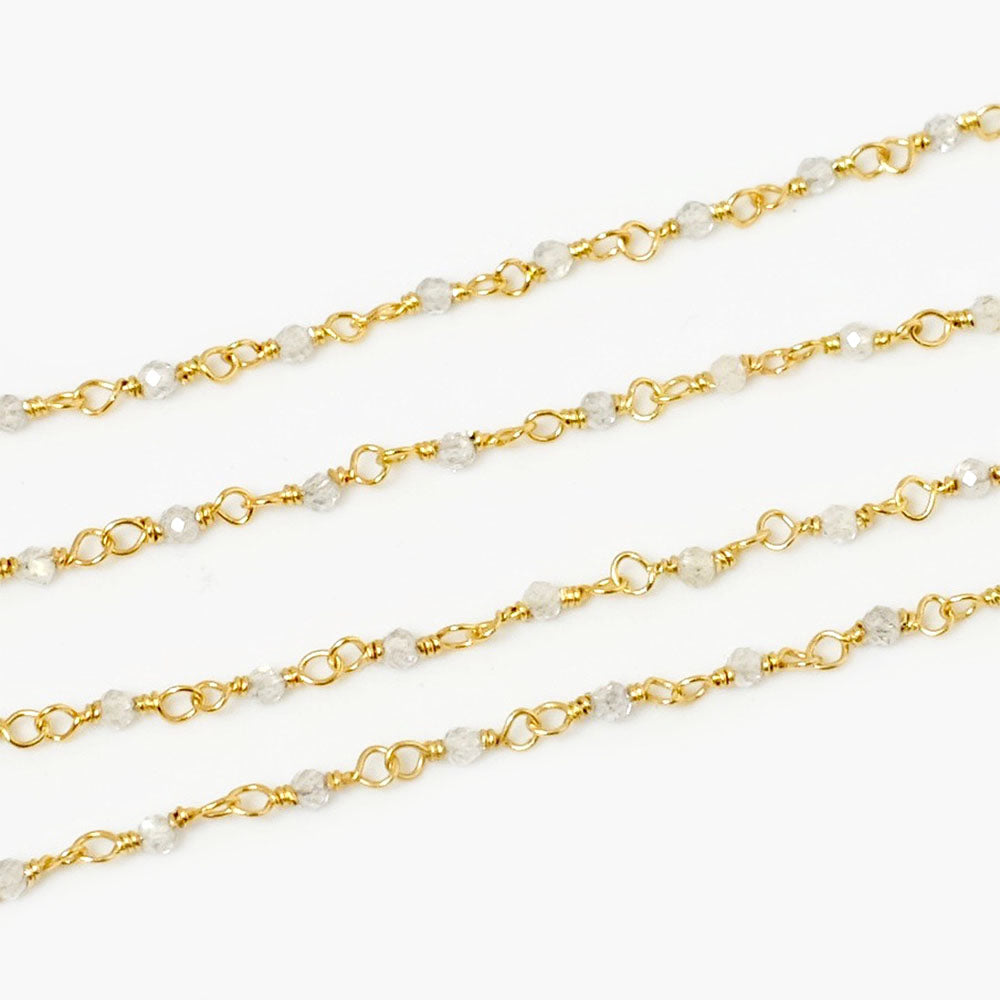
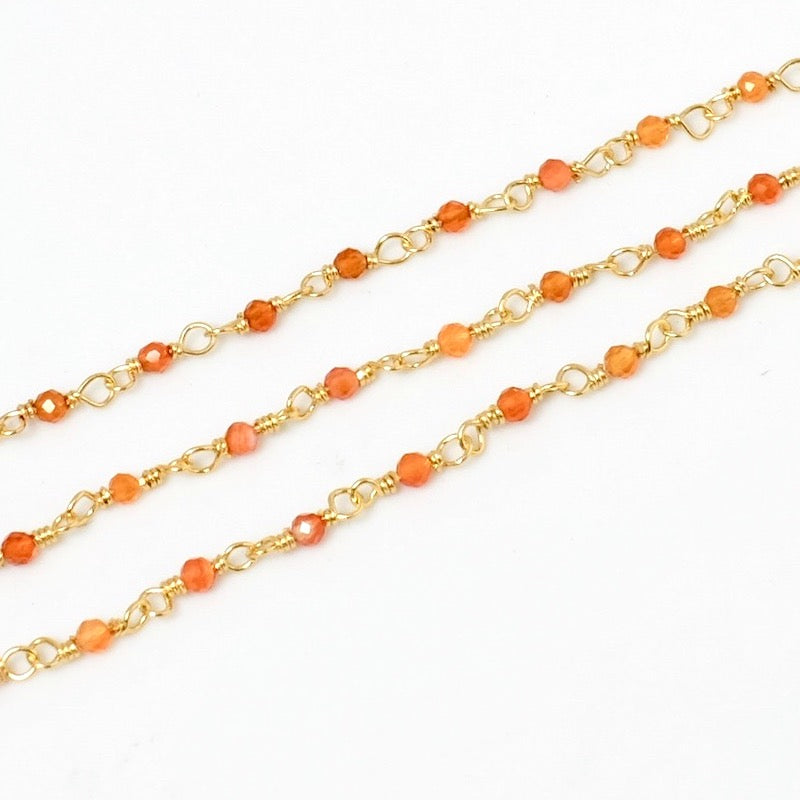
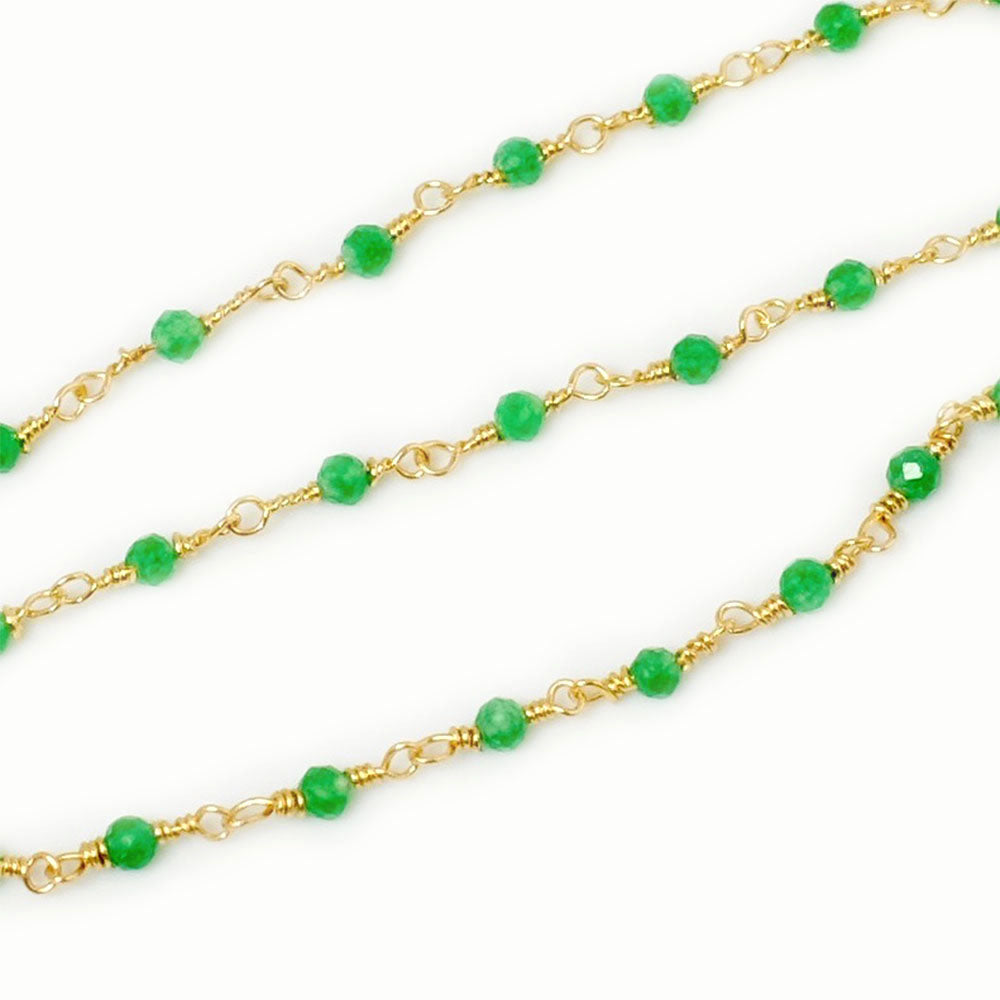
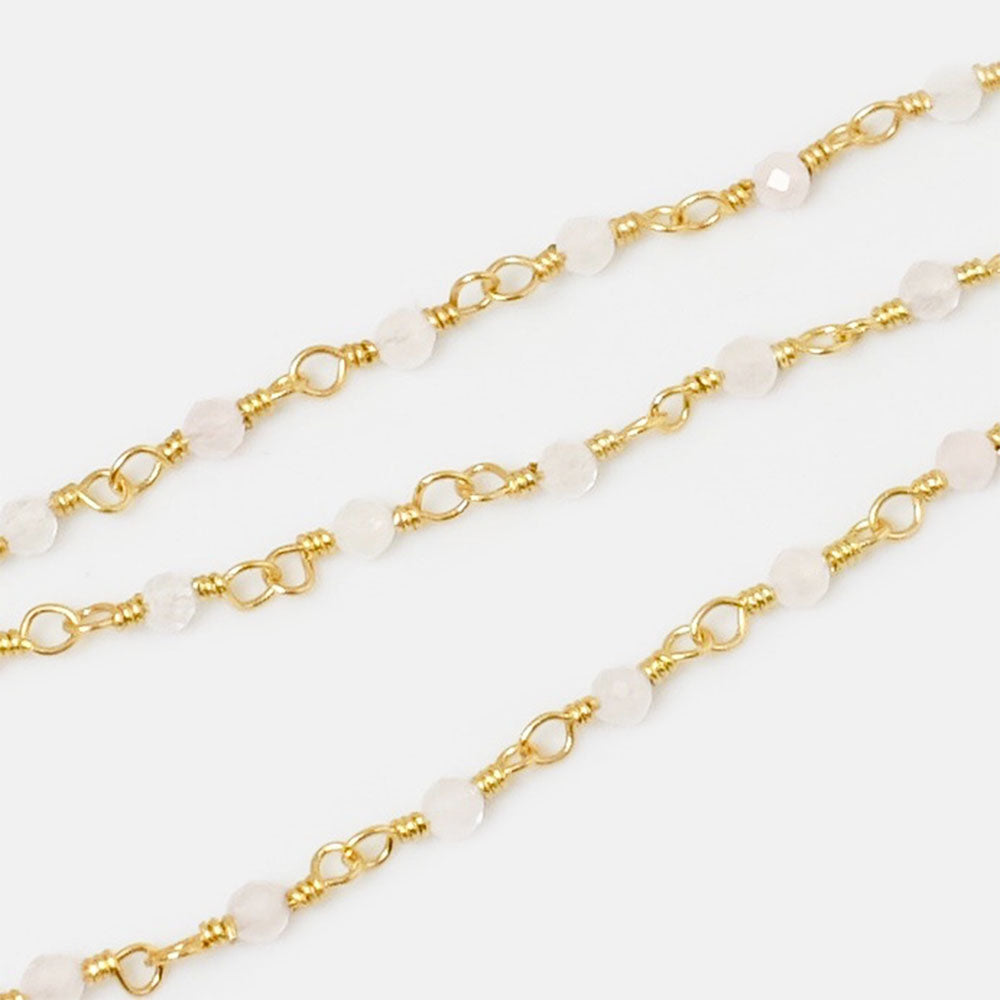
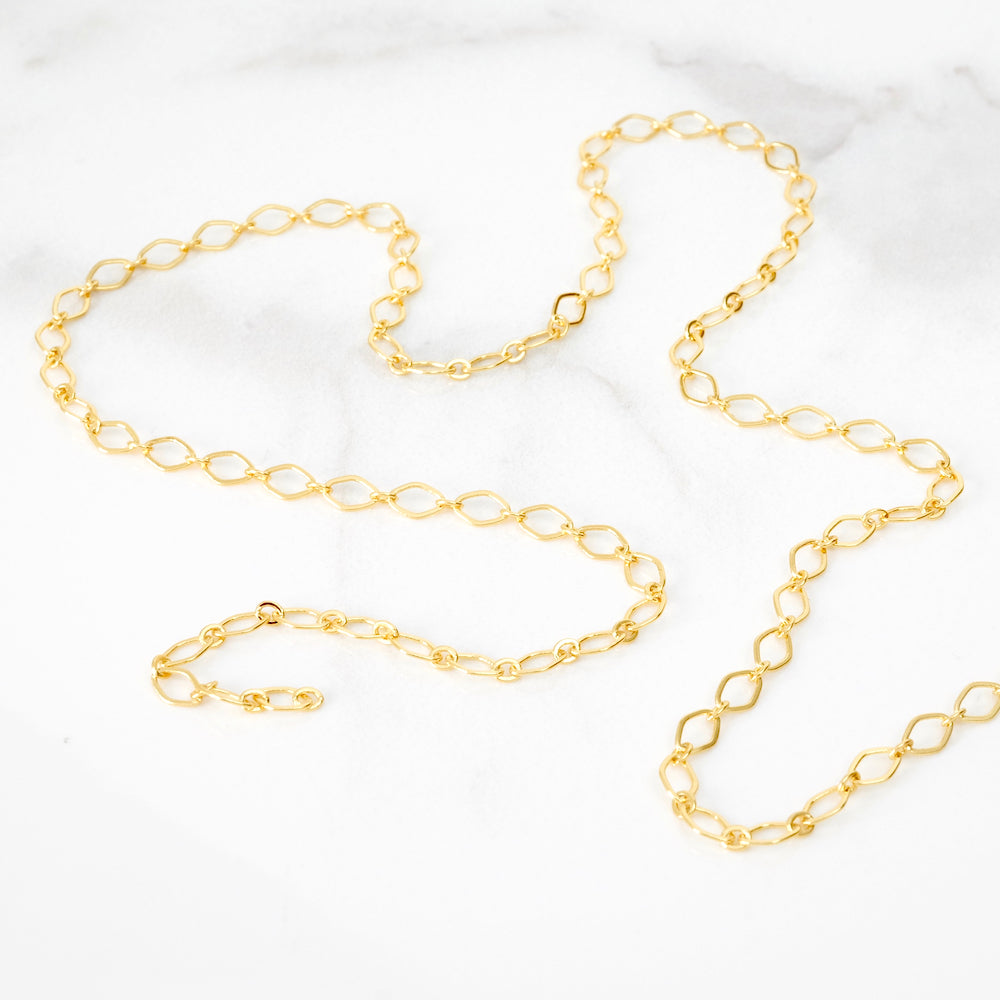
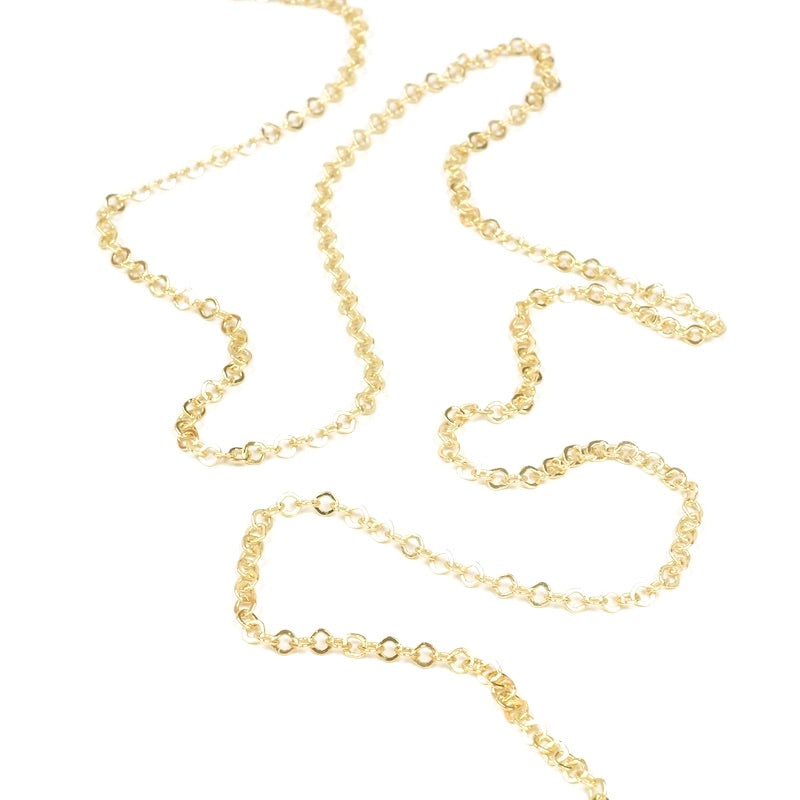
To begin, cut 2 pieces of fancy nugget chain. We've chosen this chain because it goes with all the other chains and pendants. Its size is neither too thin nor too thick.
Keep 5 nugget links on each piece of chain.
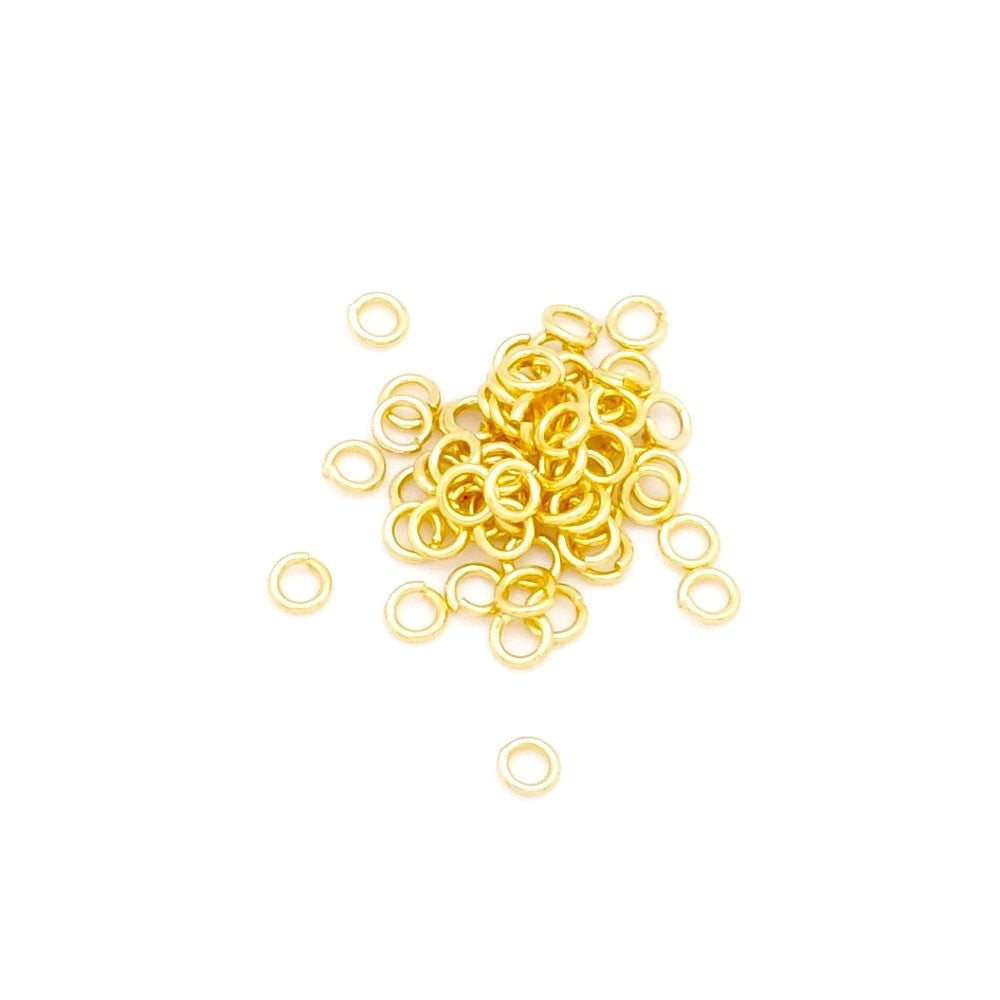
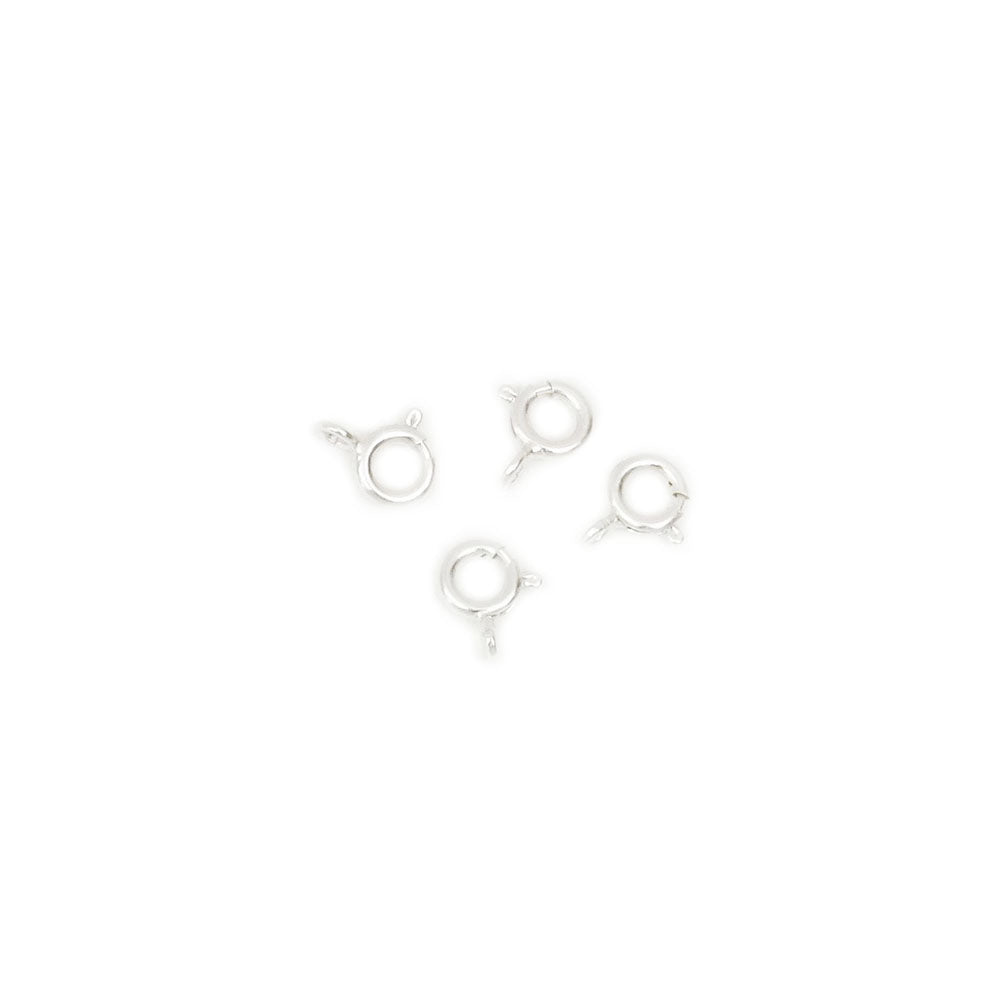
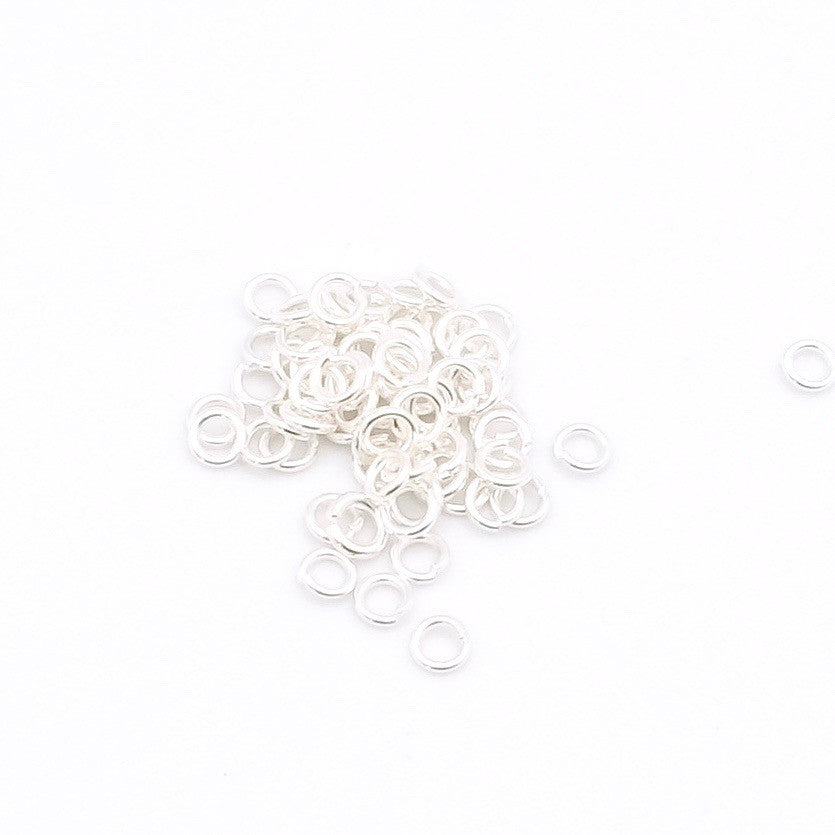
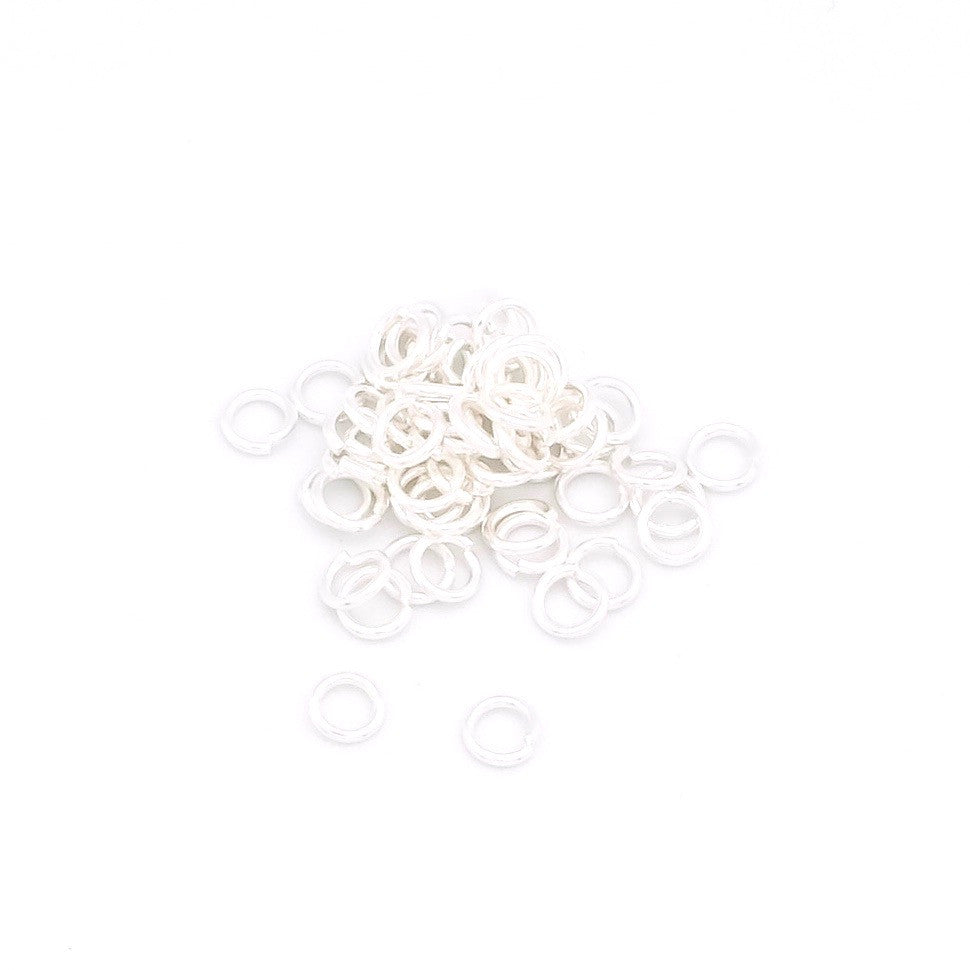
Now for a pendant, attach a 4mm ring to the top of the pendant. Then connect the 2 nugget chains to the 4mm ring with 3mm rings. For a connector, connect the 2 chains to the rings on the sides using 3mm rings. Now attach the clasps to the ends of the nugget chains using 3mm rings.
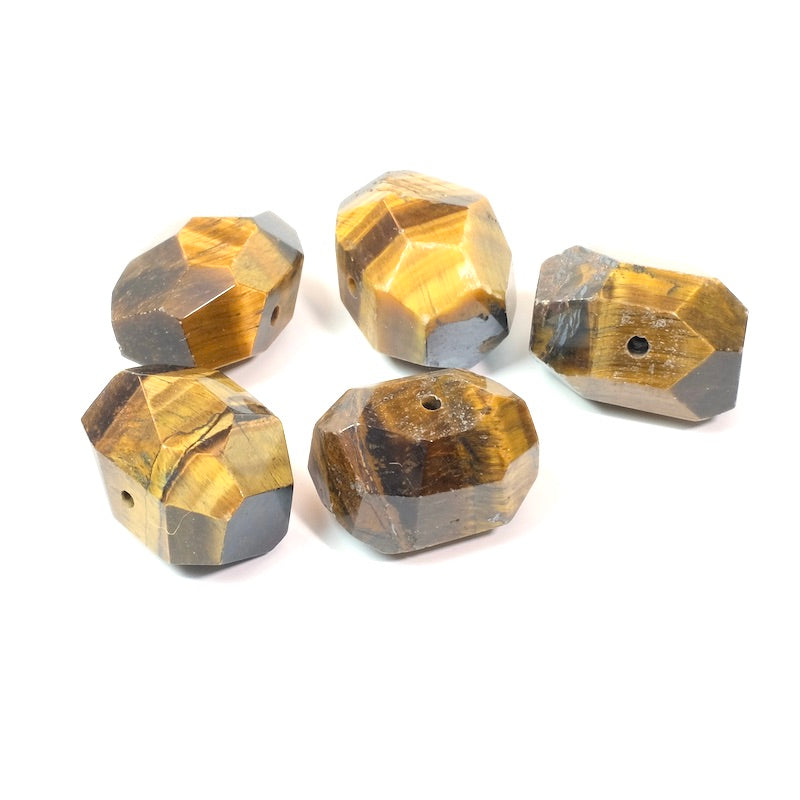
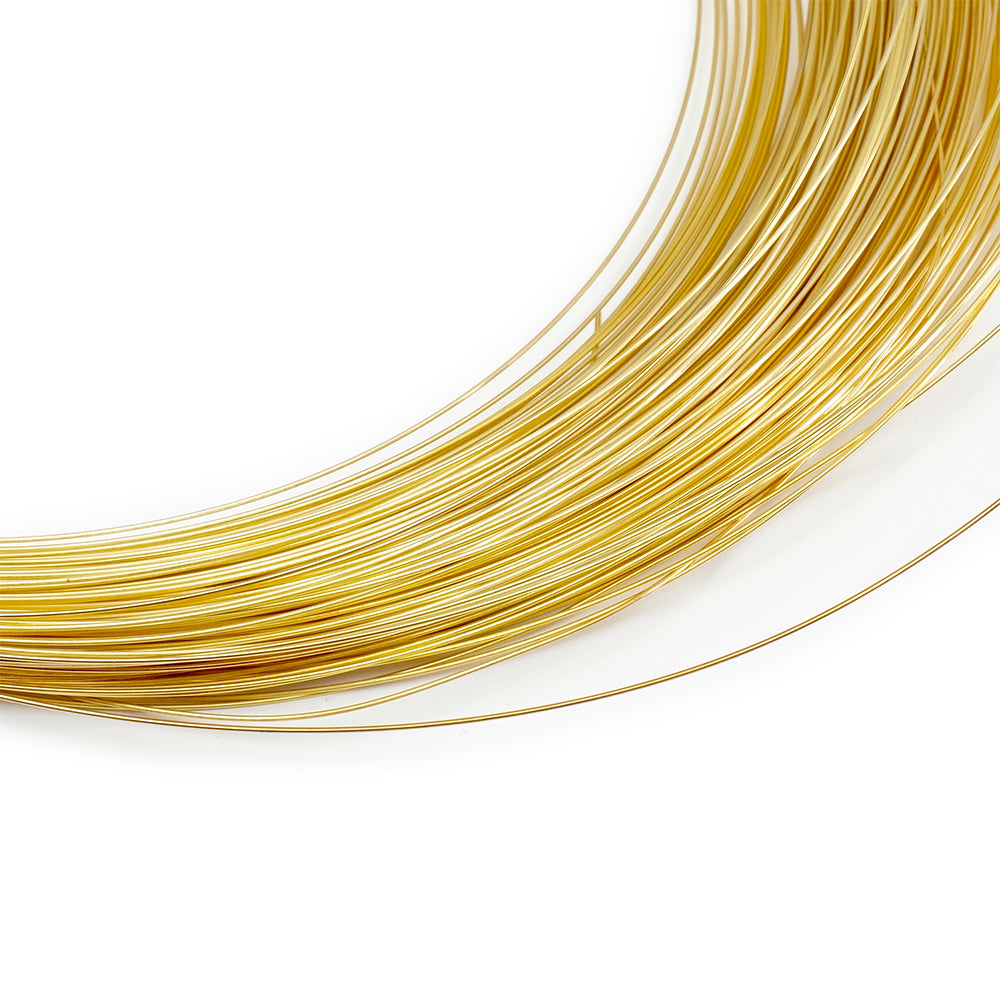
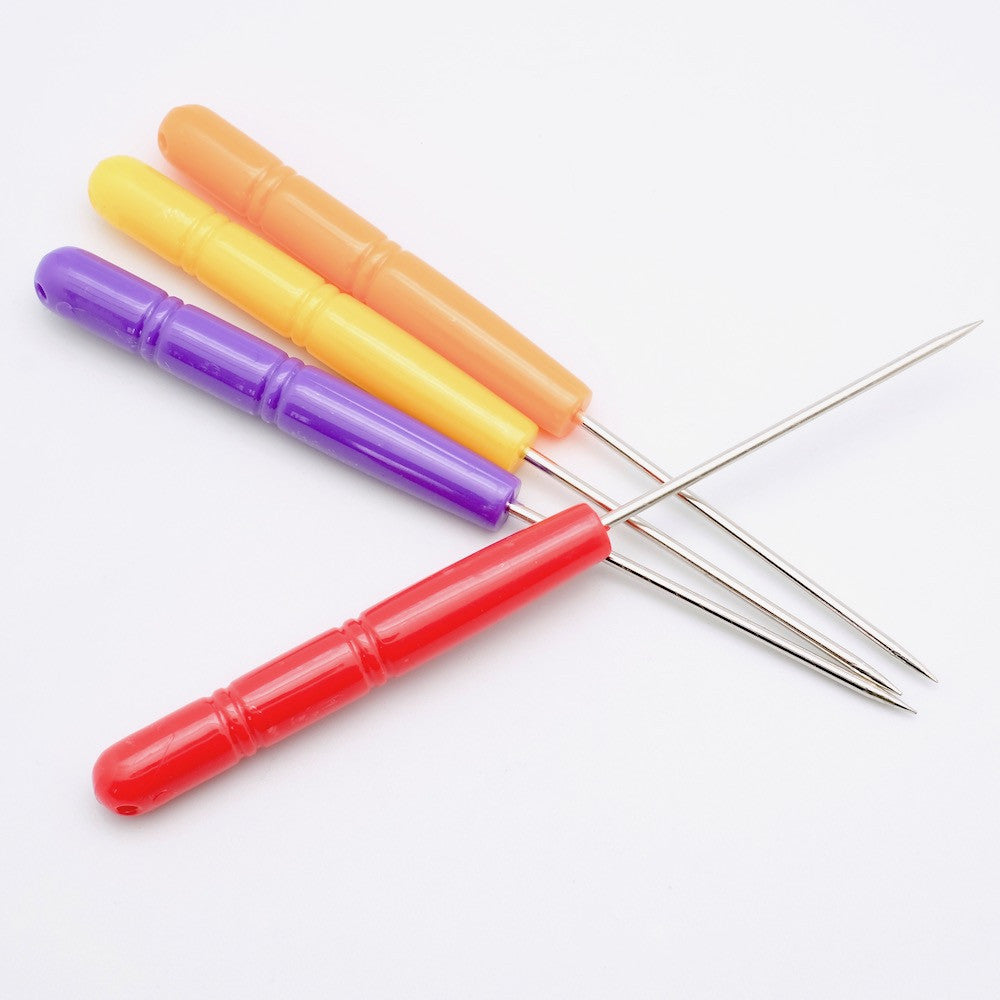
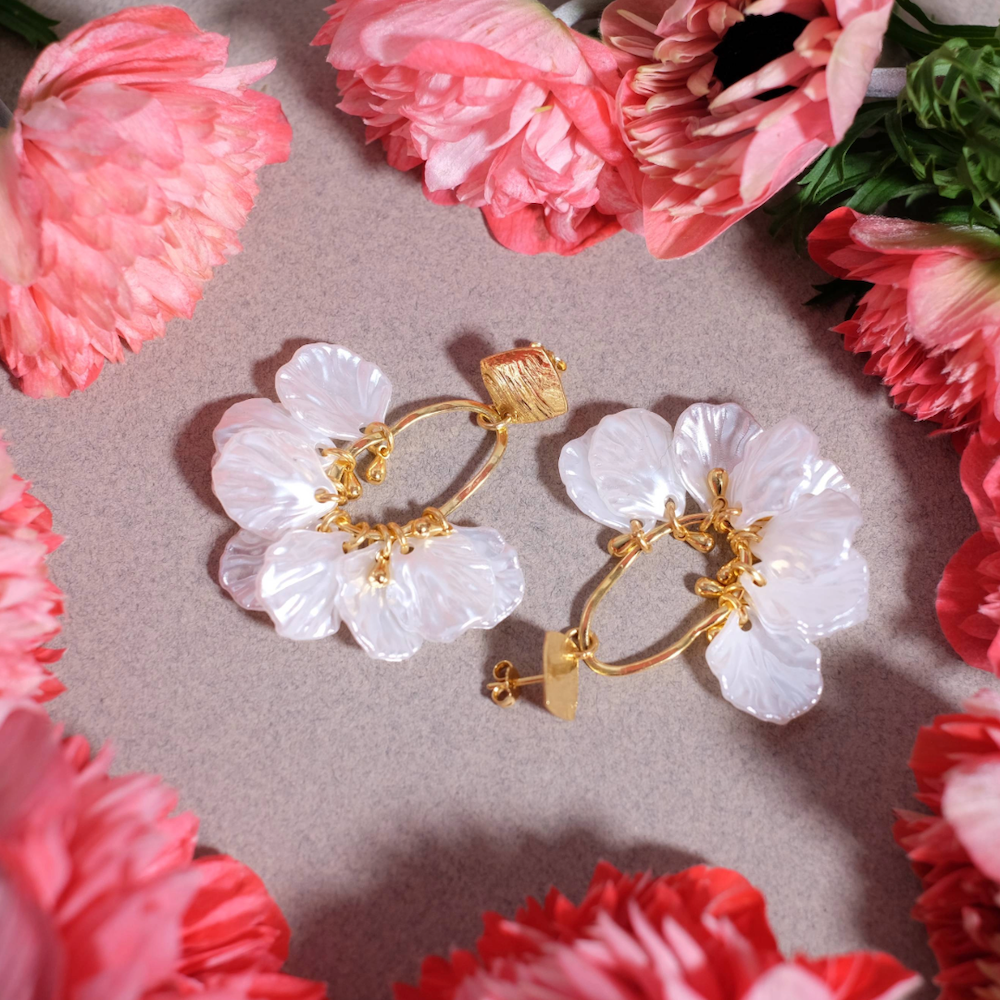
Use this method to mount all your pendants... And if you want to mount a pearl, use a brass wire or a nail!
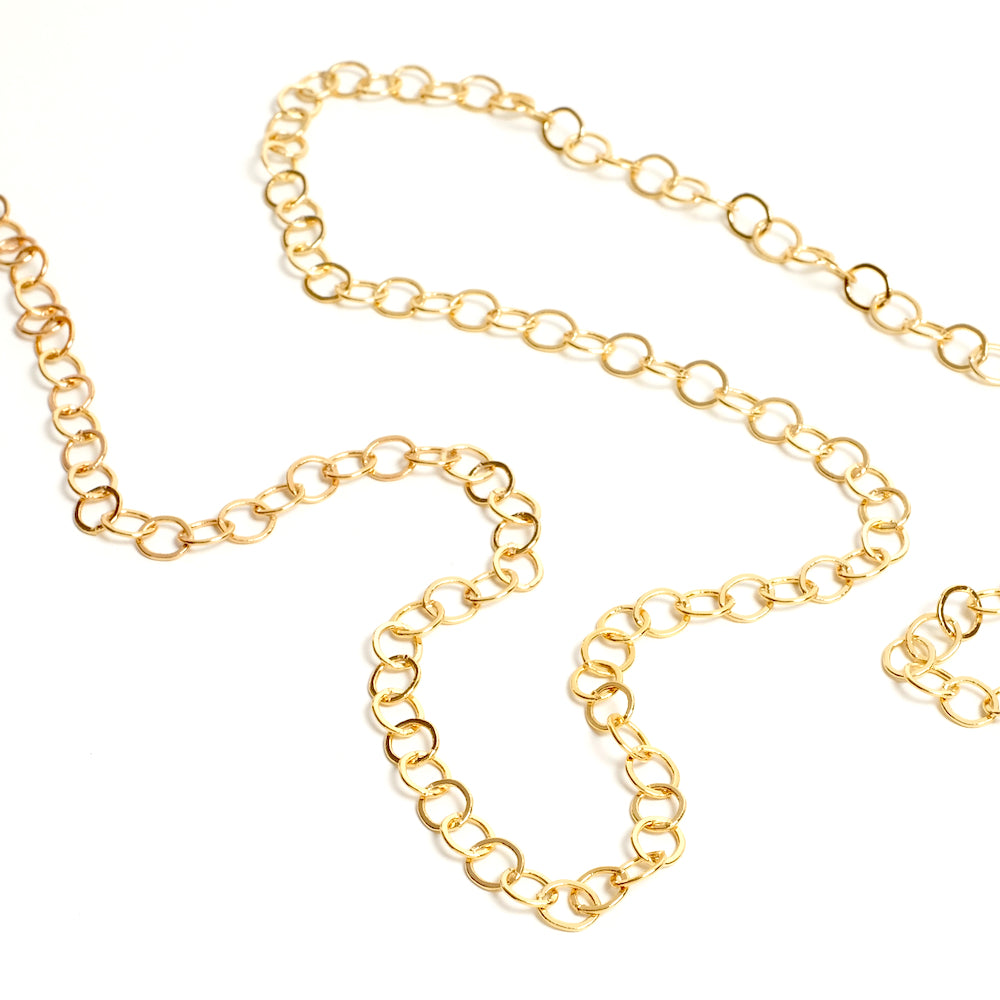
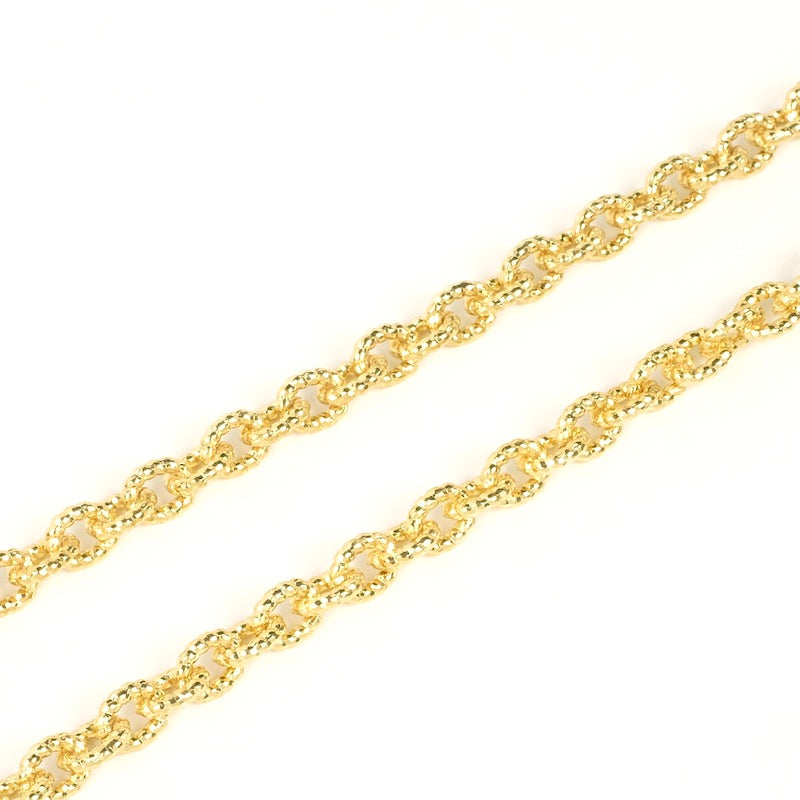
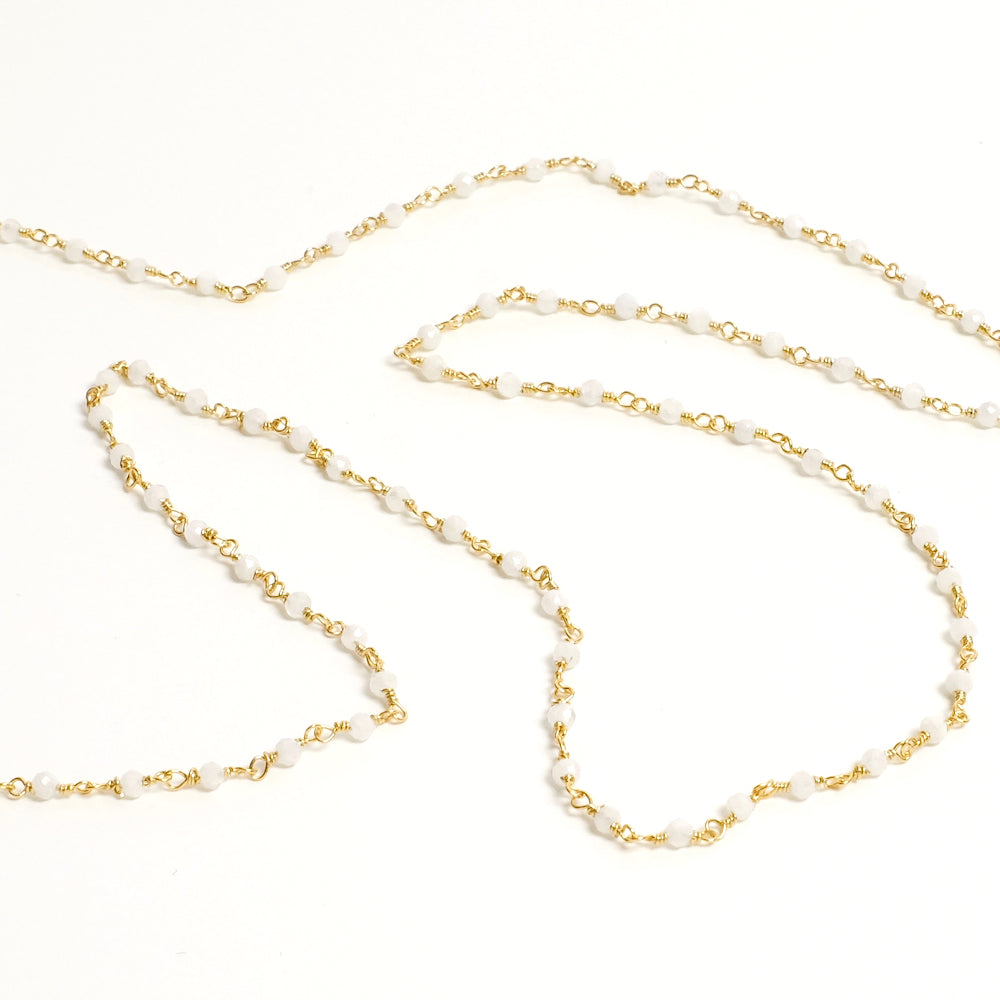
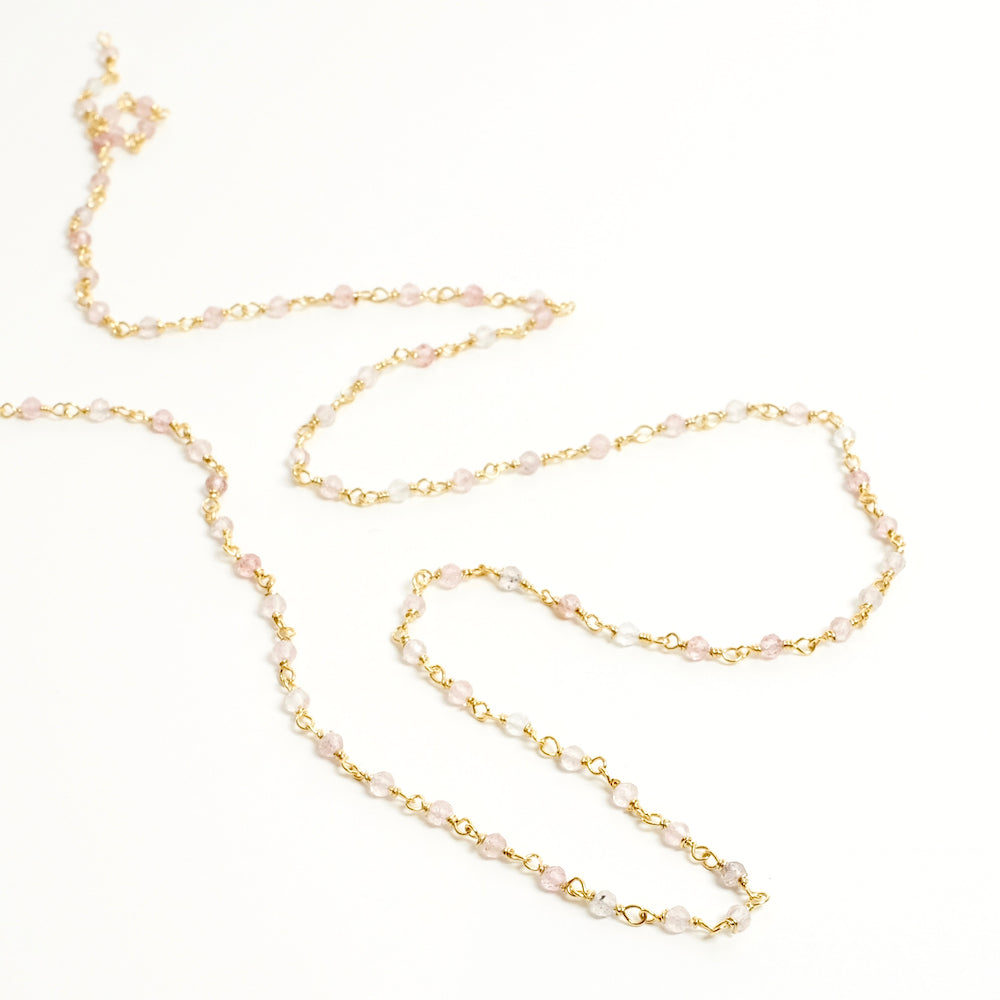
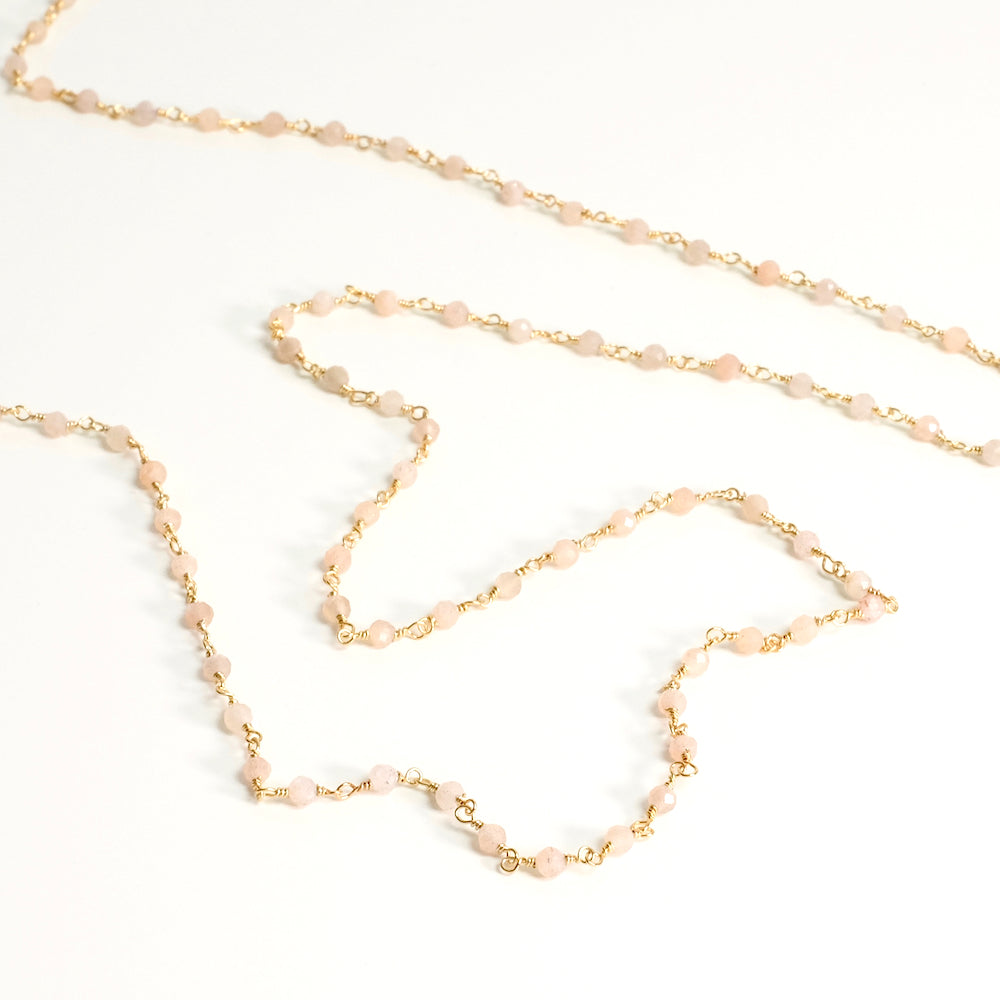
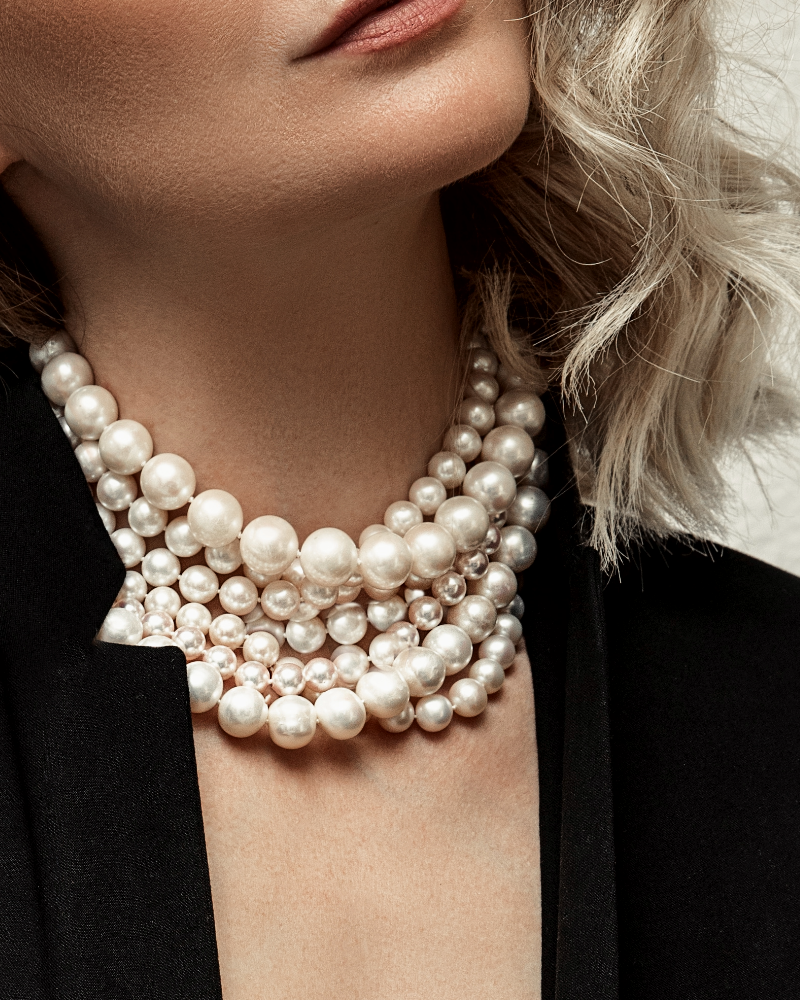
Assemble the various chains... Here we like choker necklaces and slightly longer necklaces just above the chest. Make your chains different lengths to match your different outfits. Vary chain lengths between 35cm (for chokers) and 50/60cm (for low necklines). Or more if you like long necklaces! Bear in mind that the pendant assembly will add length to the final assembly. Then place a 4mm ring at the ends of your different chains. These will be used to attach the buoy clasps to your pendants.
Tip for making double necklaces: With this type of assembly you can also join your chains together to make double necklaces. To do this, attach a chain to one side of the pendant and another chain to the other side. Attach another pendant to the ends of the chains. So when you place these necklaces around your neck, you'll get 2 rows of chains that you can modulate to place one necklace around your neck and another just below. Warning: For this type of assembly to work, you must assemble 2 chains of the same length! And voilà! A great achievement!
|
|||

Below are the supplies needed for the tutorial


To be reserved alone or with friends!

Join Perles Corner to discover our new products, exclusive tutorials, and many other surprises... and receive your voucher by email!


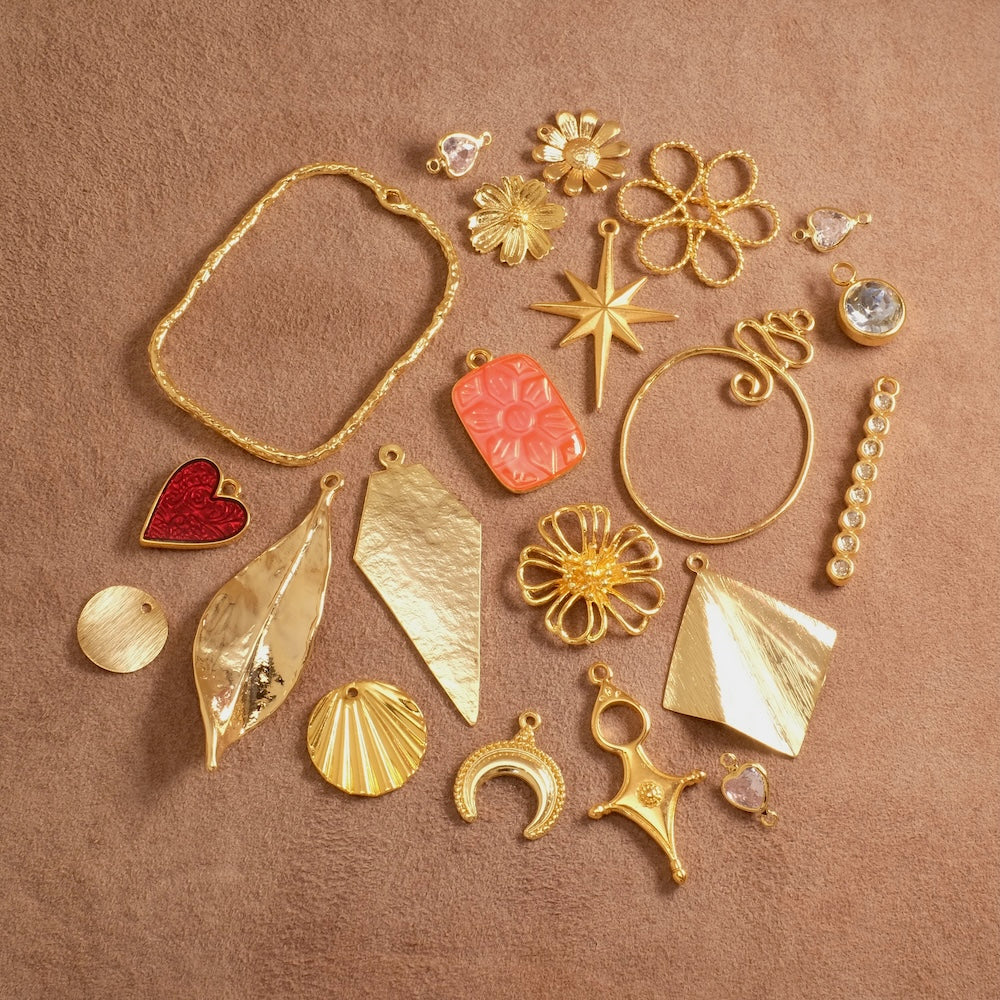

 pendants and/or connectors, shapes and sizes of your choice