|
Dare to go geometric with these easy and ultra-stylish DIY earrings! Mount different beads on nails, assemble them to form a colourful rhombus and give free rein to your creativity: each combination becomes unique. A quick and inspiring project that can be adapted endlessly... Find all the step-by-step explanations below.
|
|---|
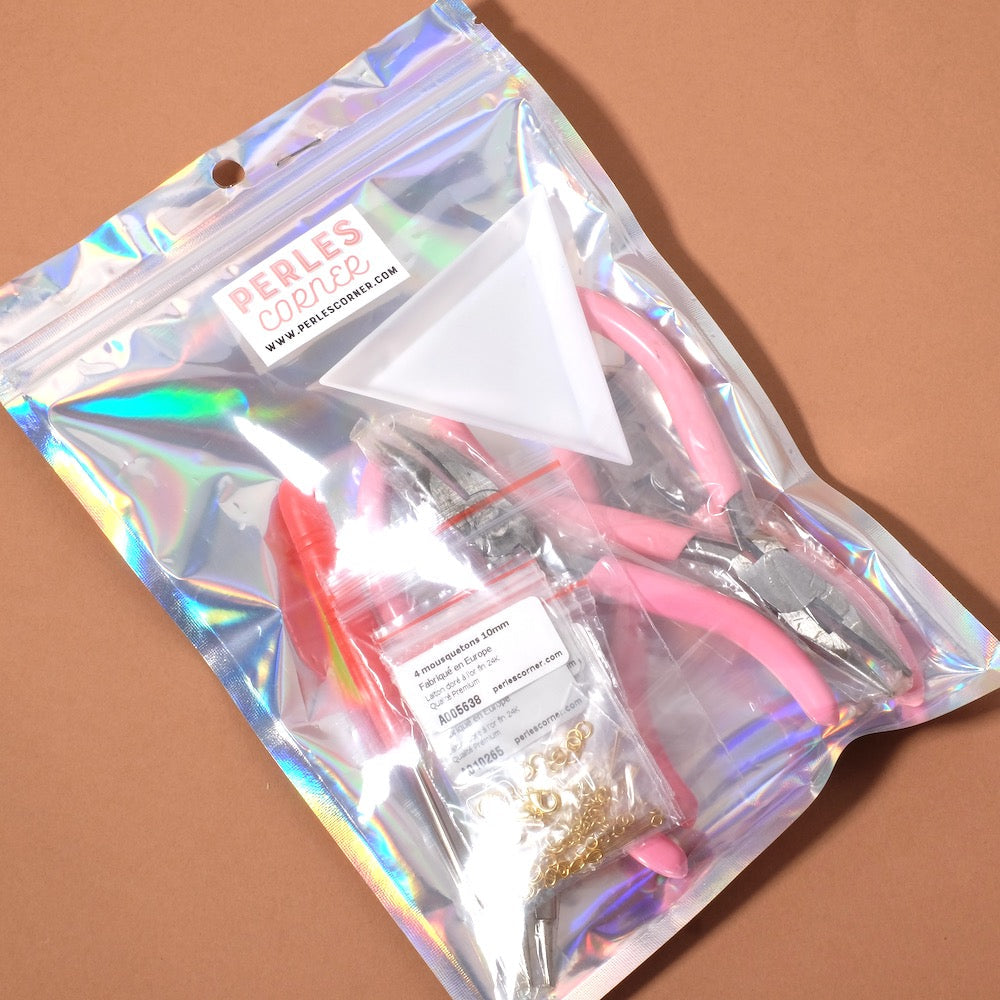
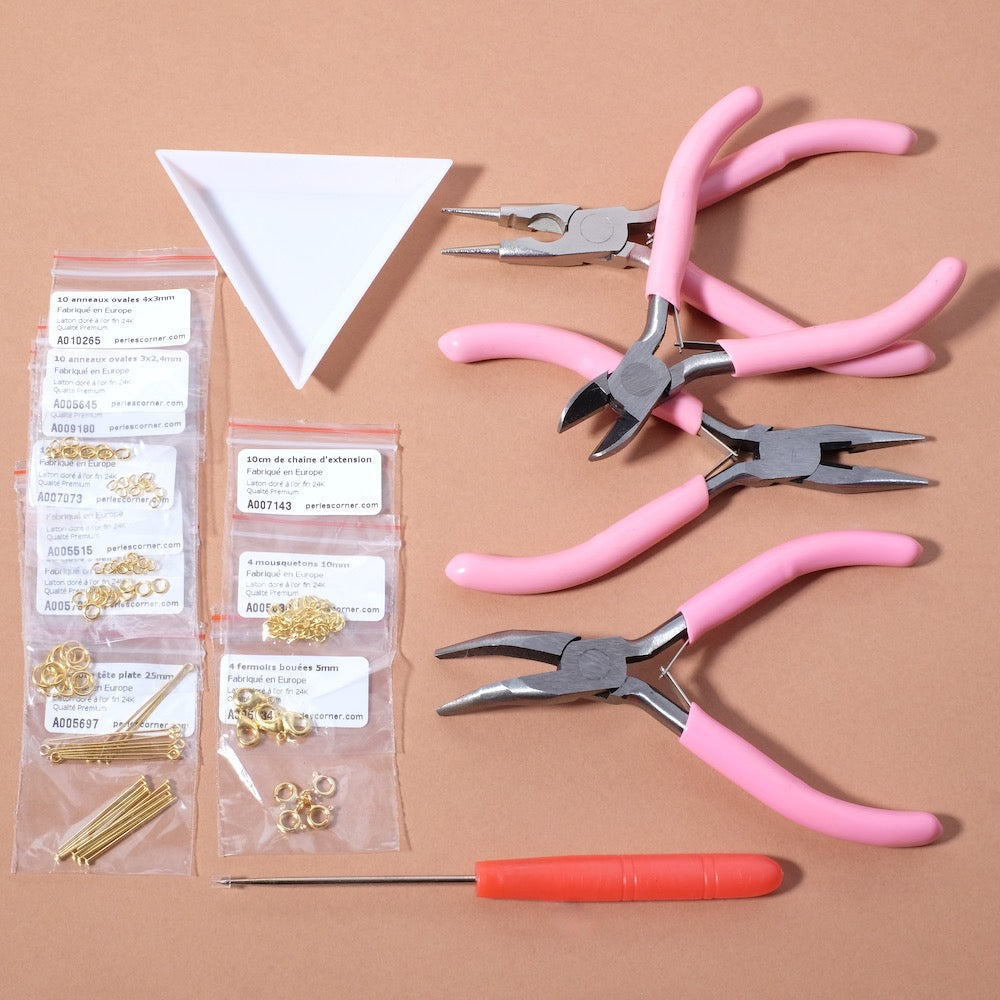
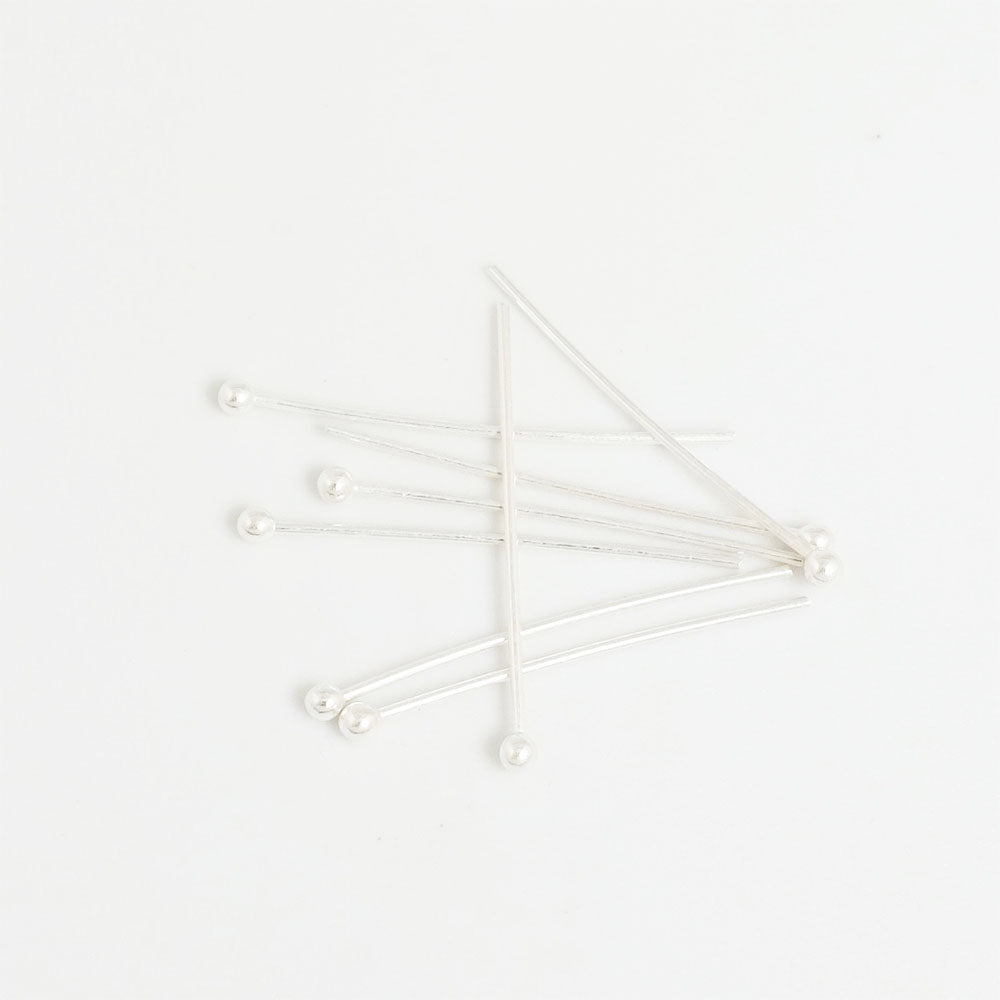
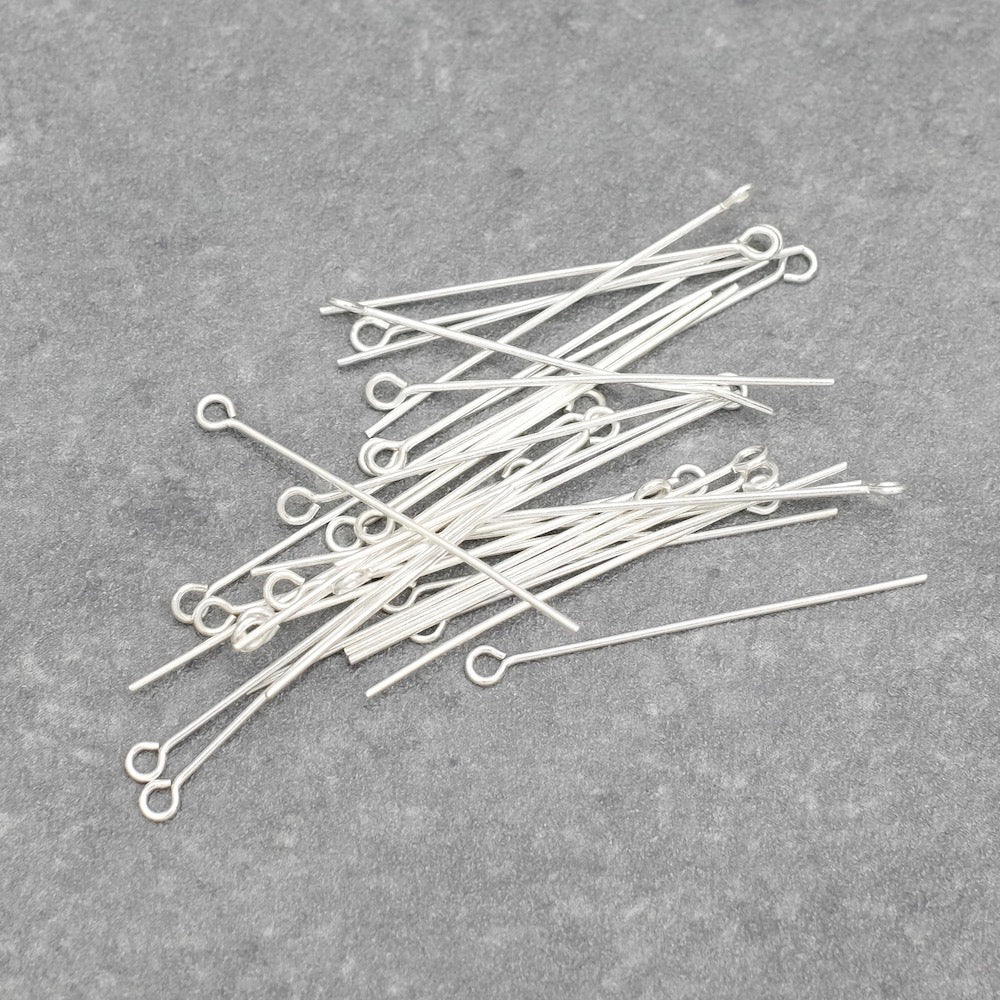
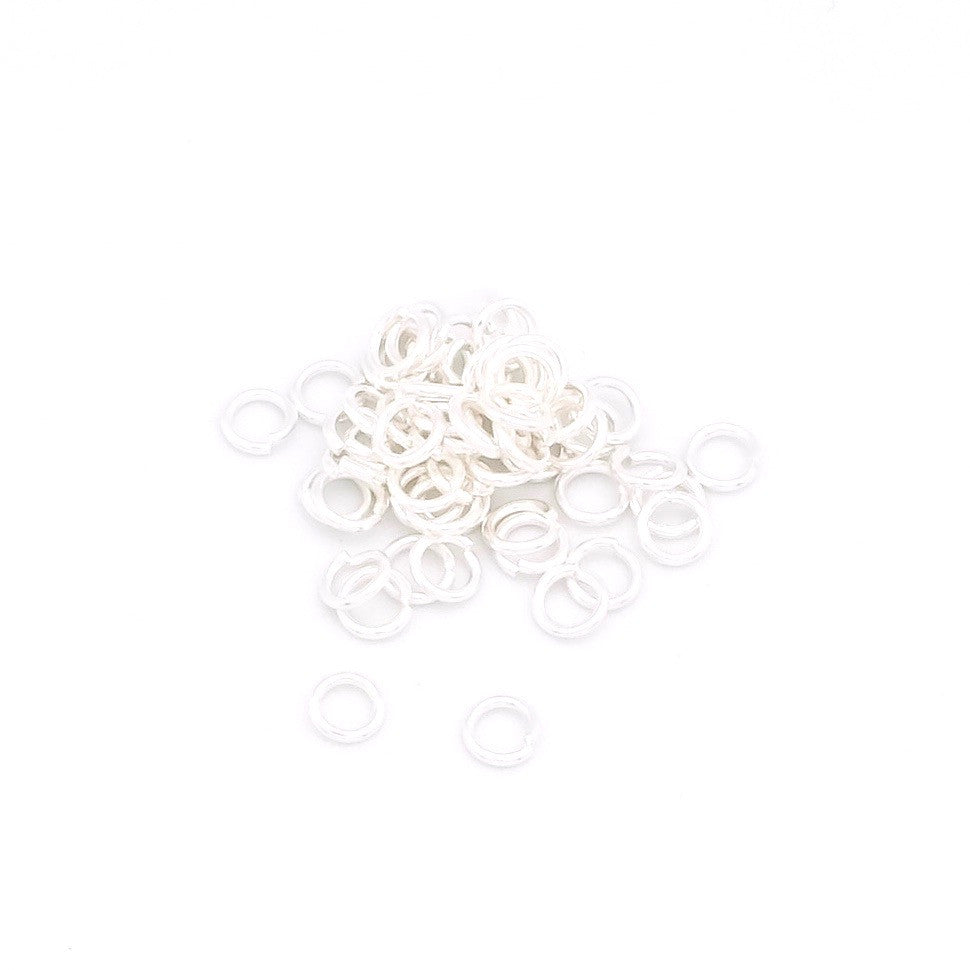
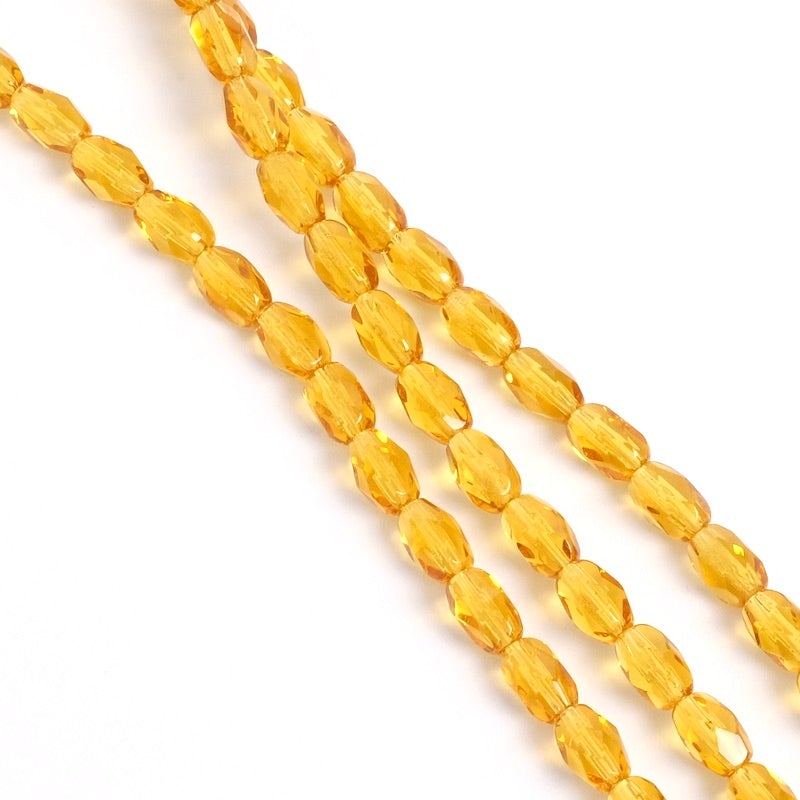
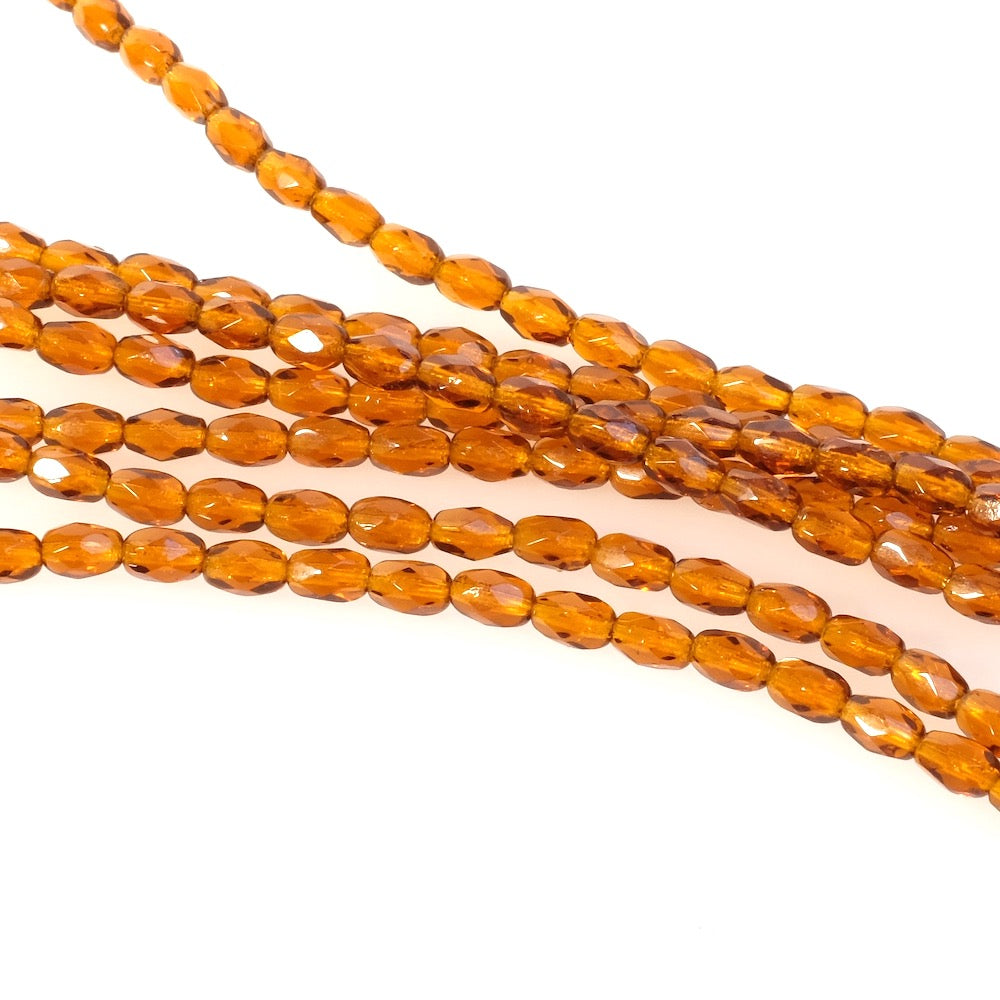
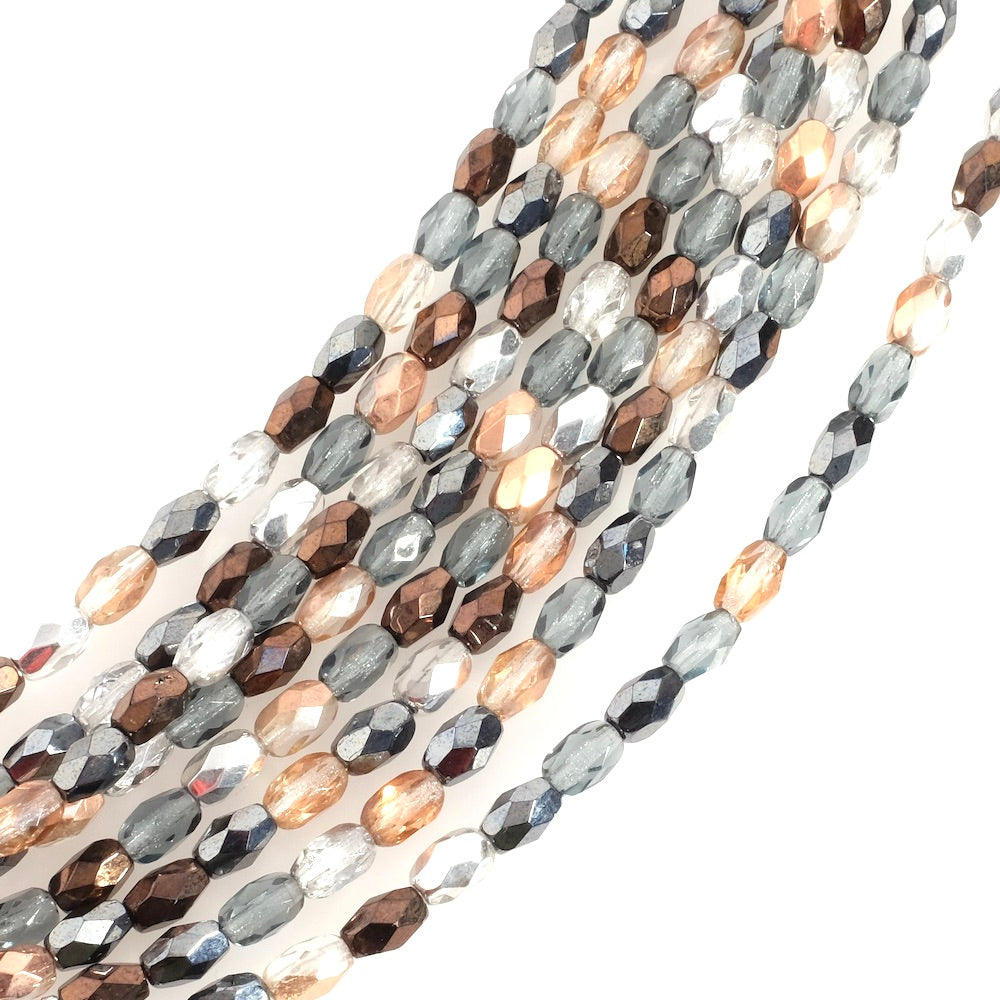
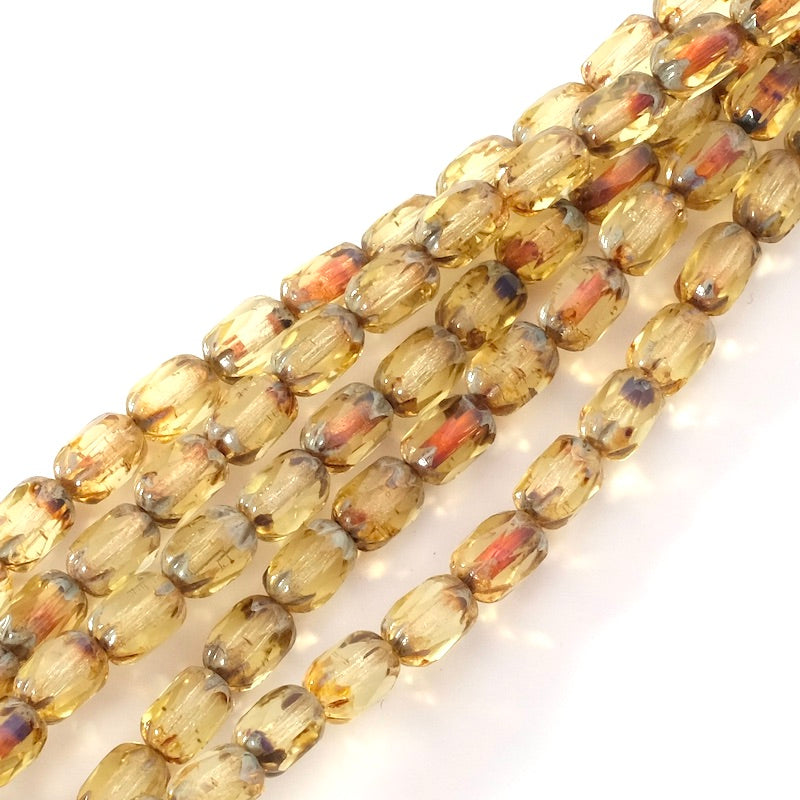
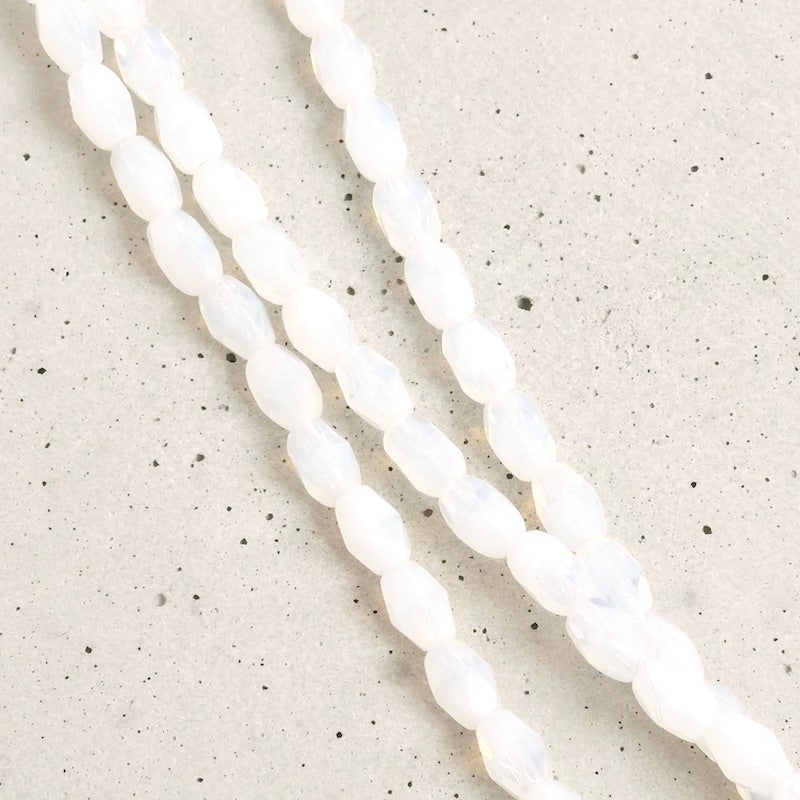
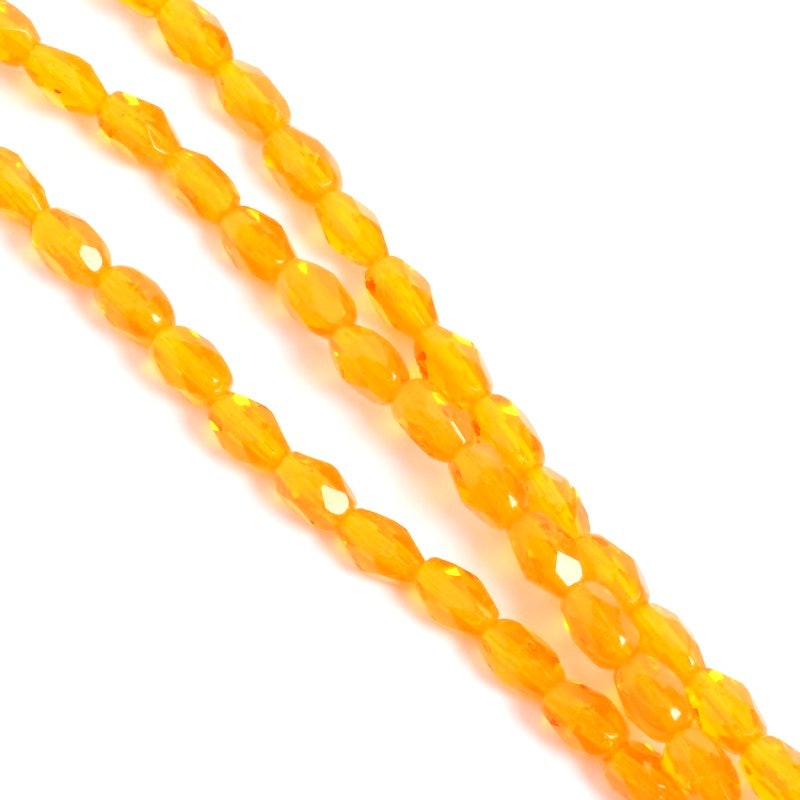
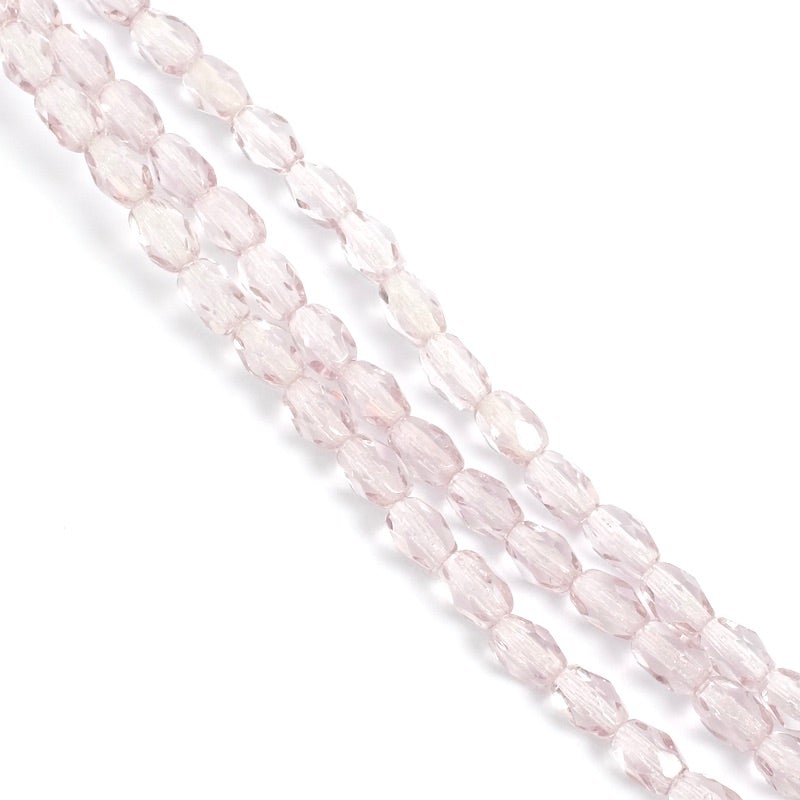
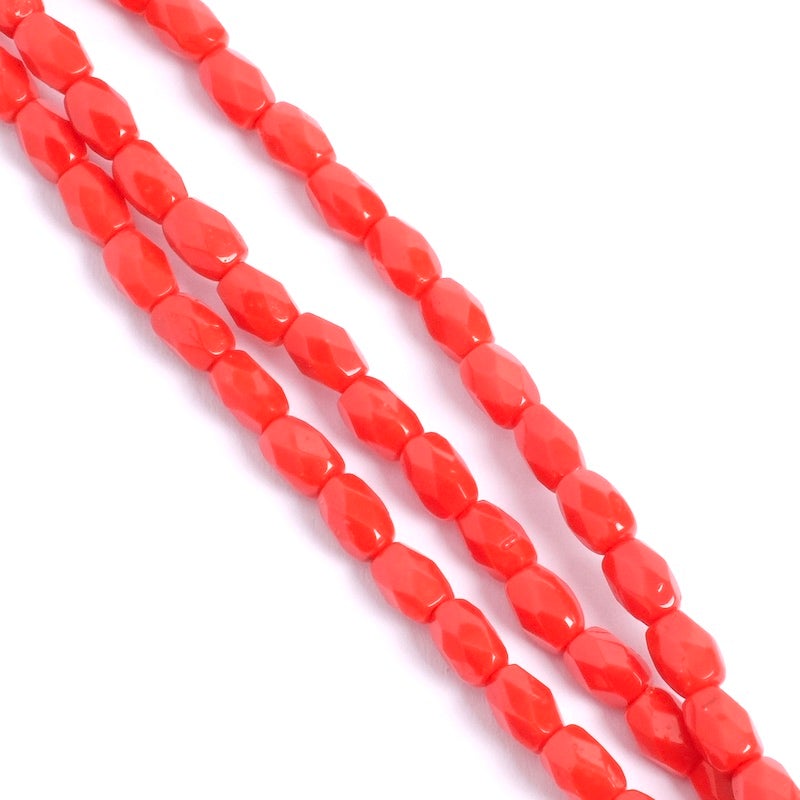
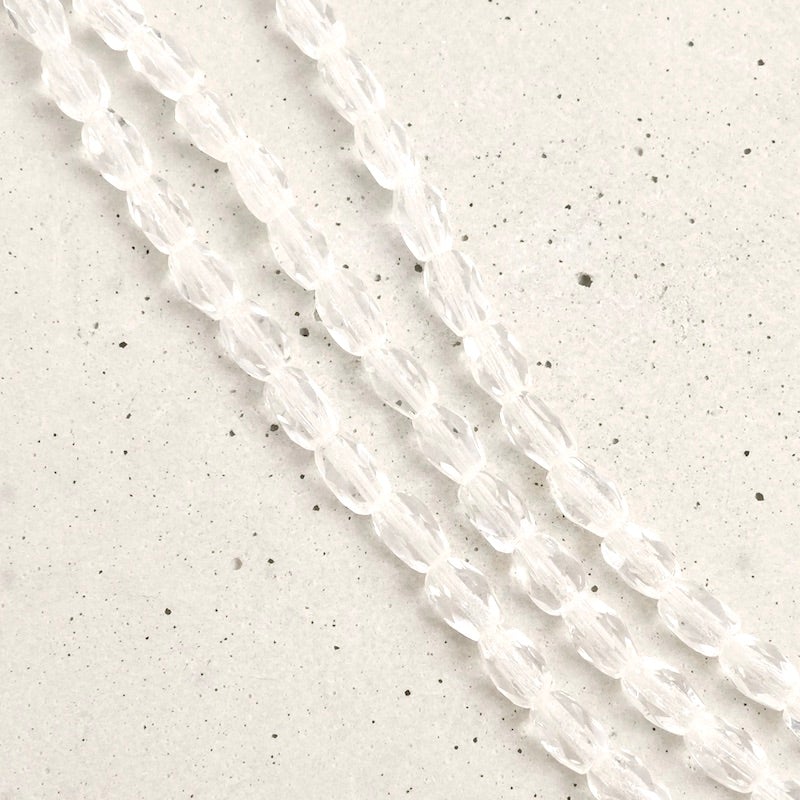
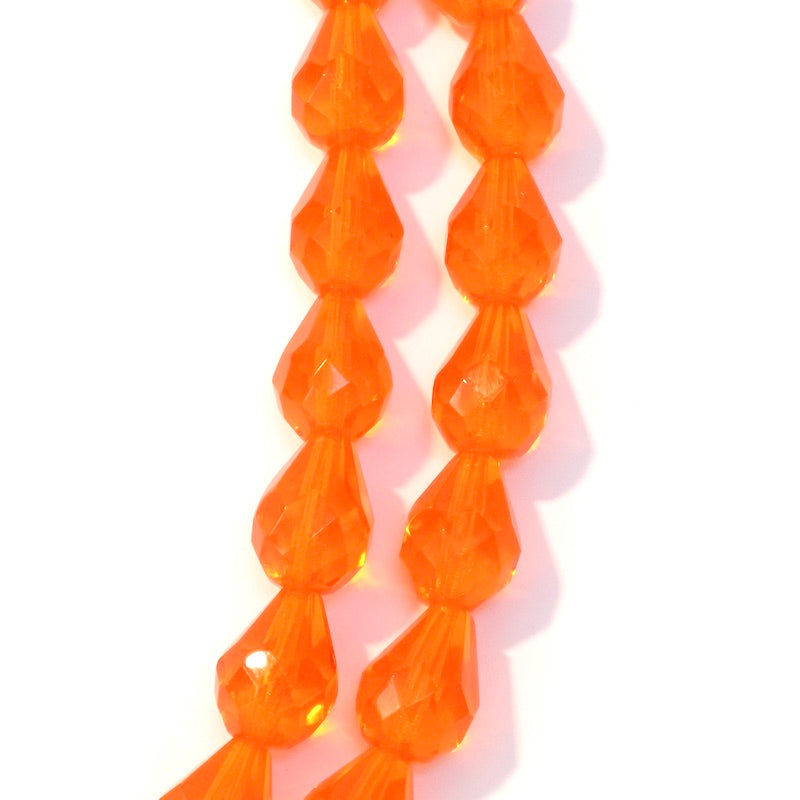
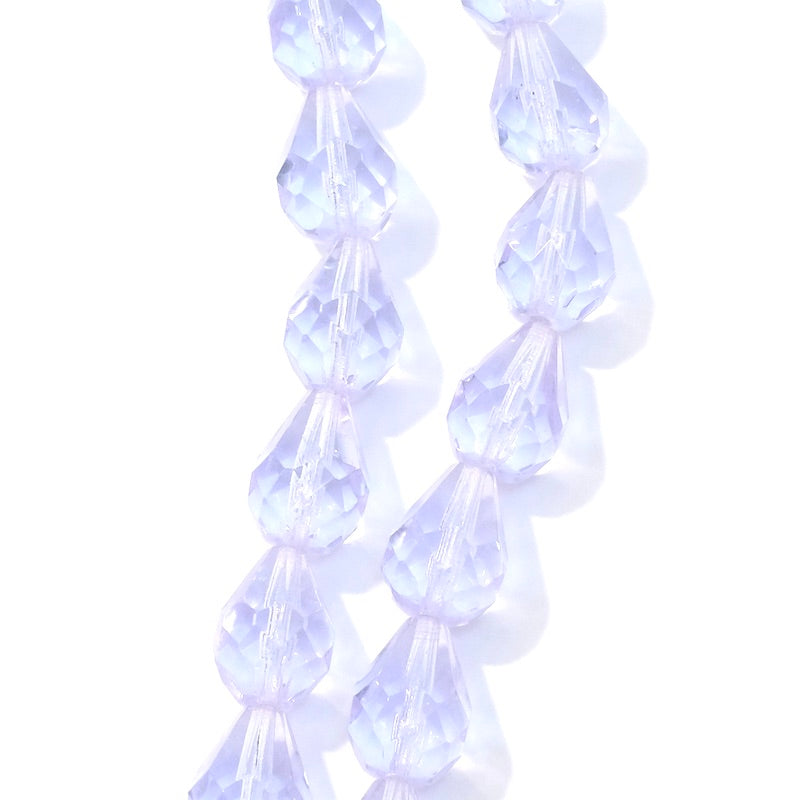
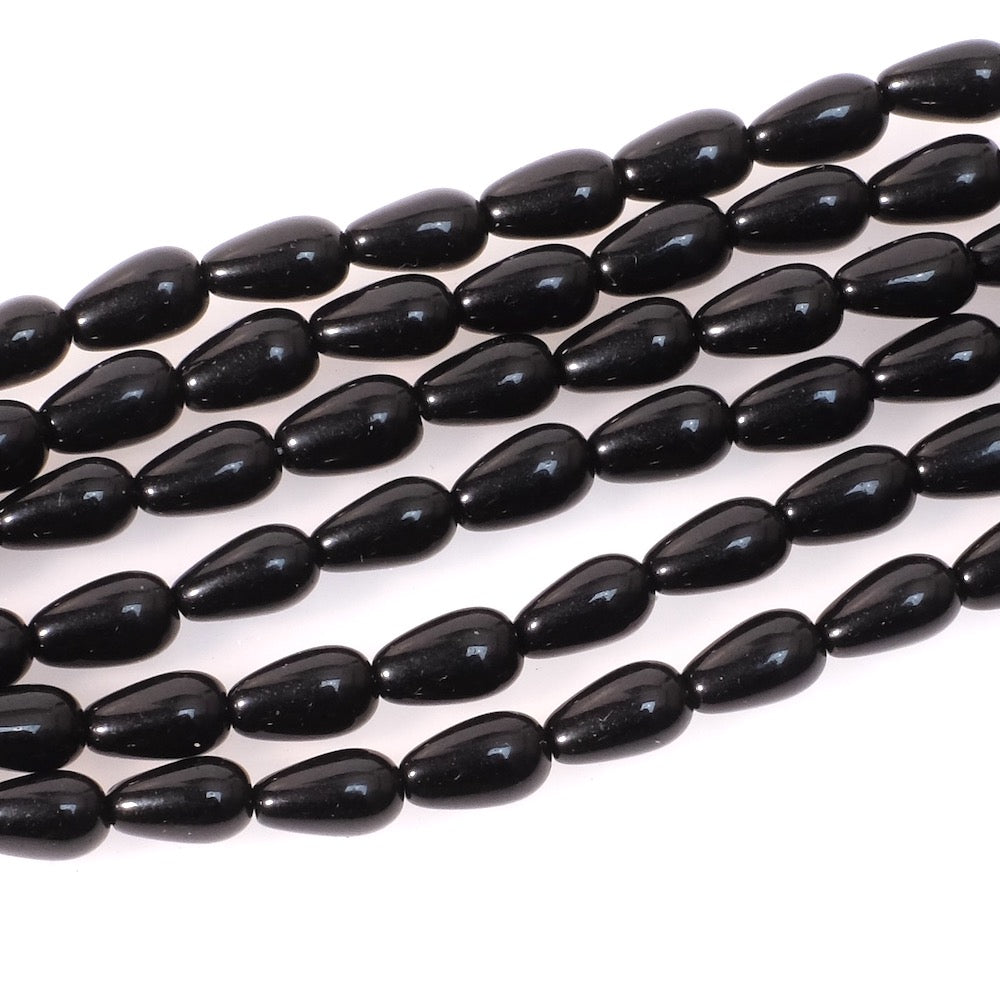
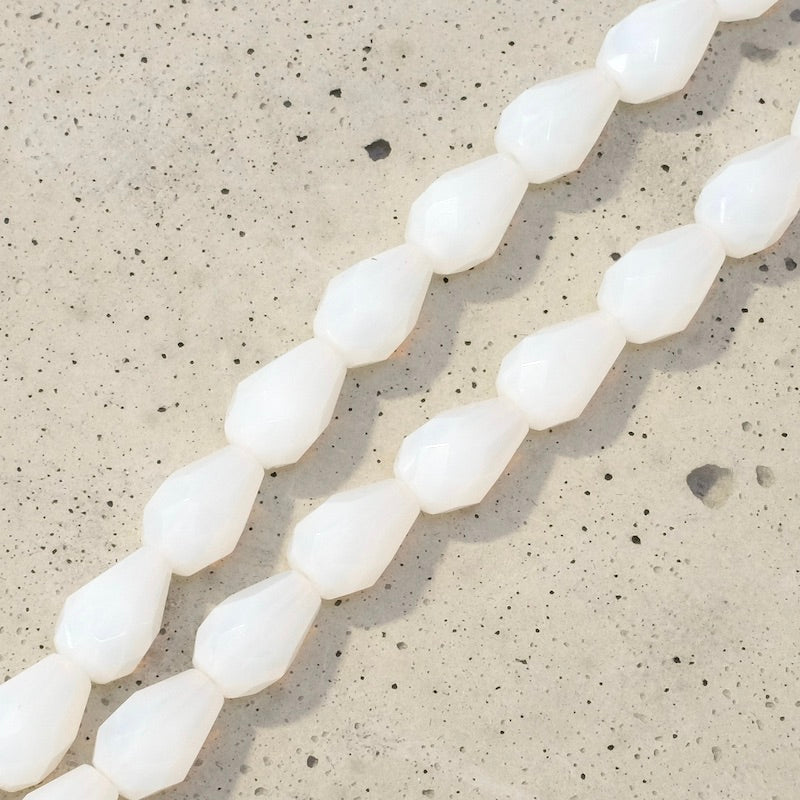
| You will need : | ||||
|
|
||||
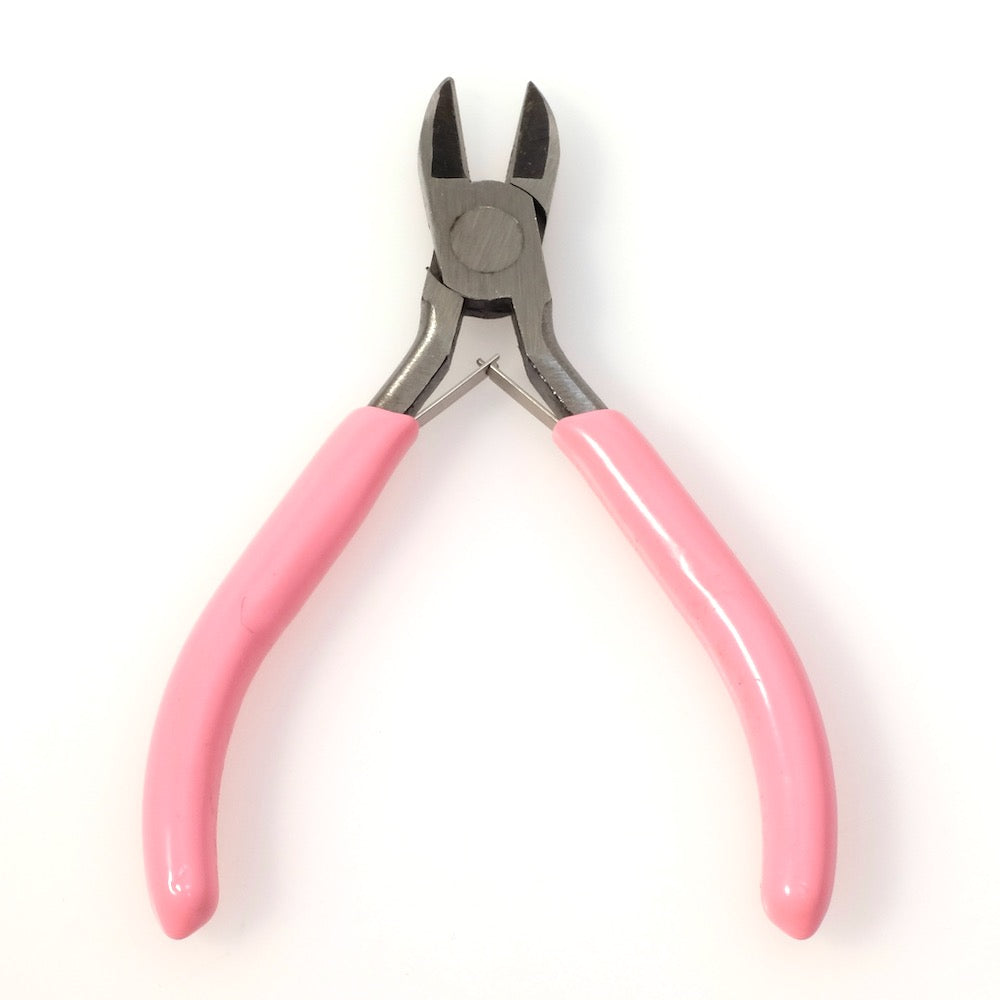
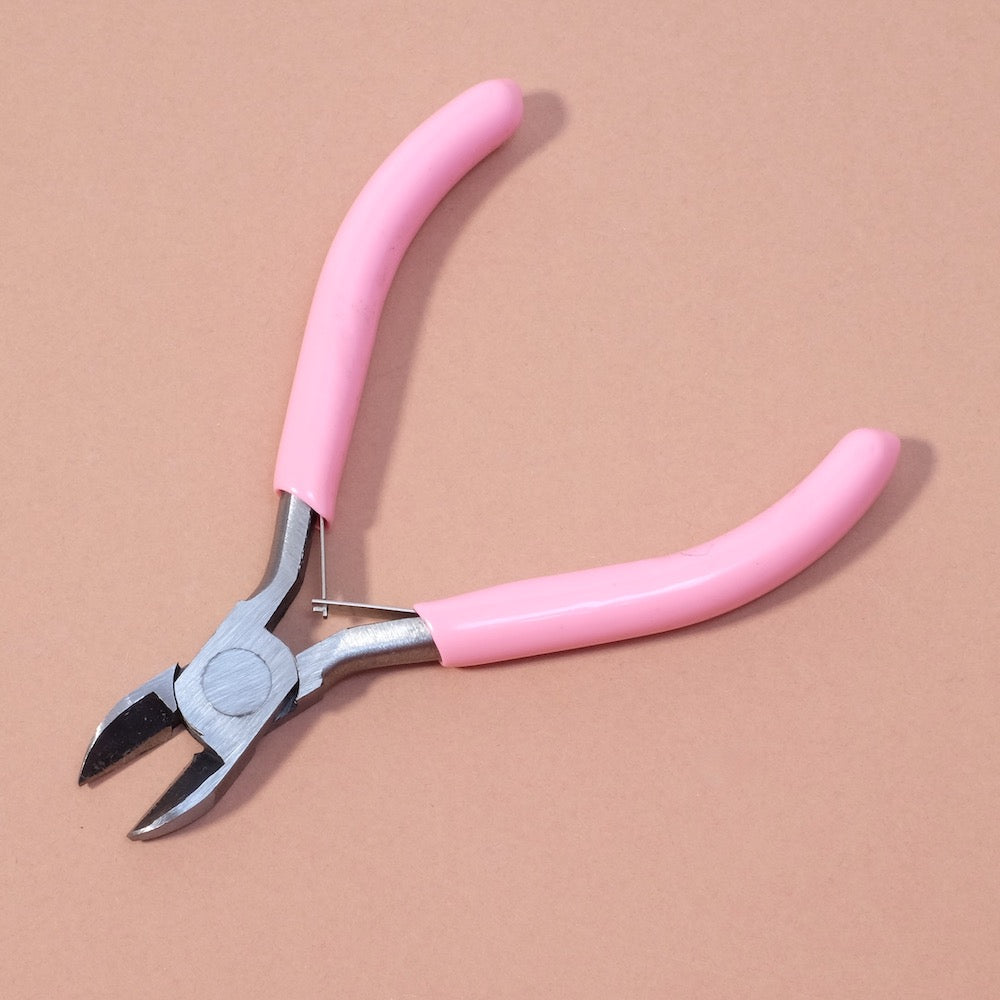
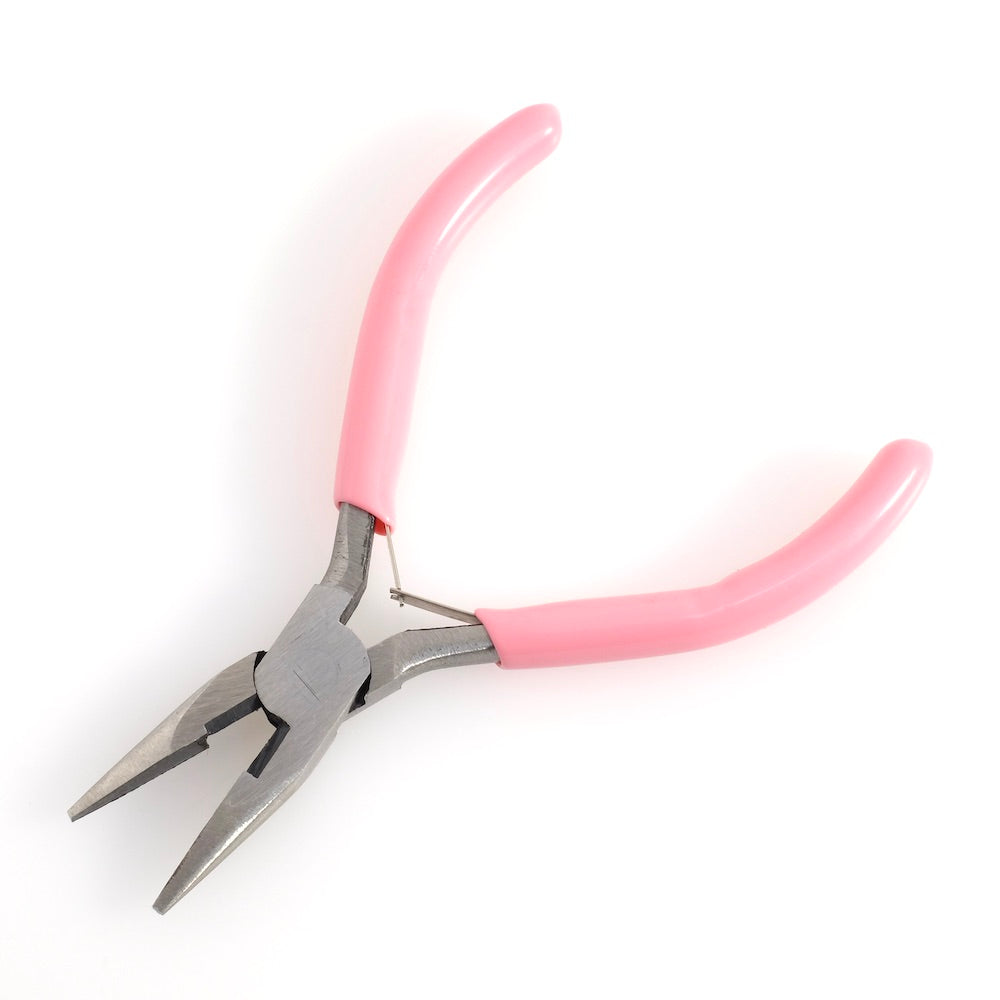
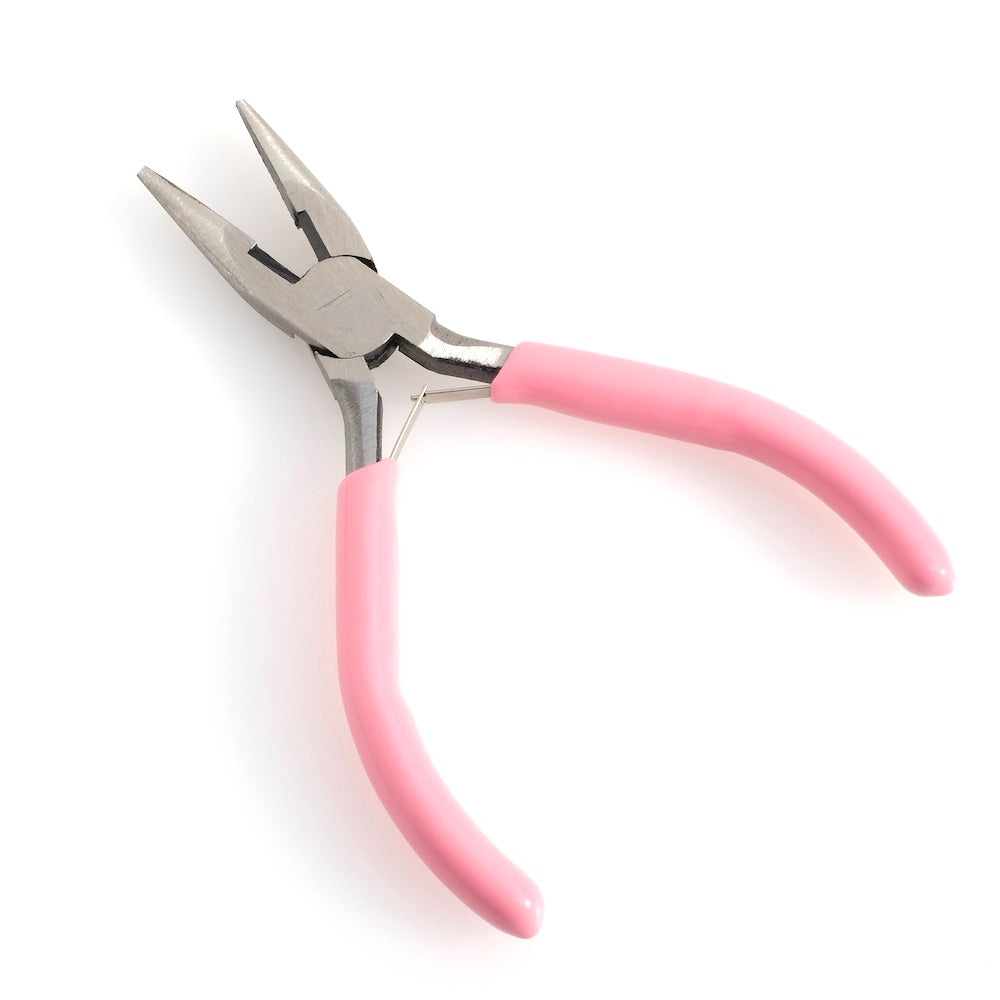
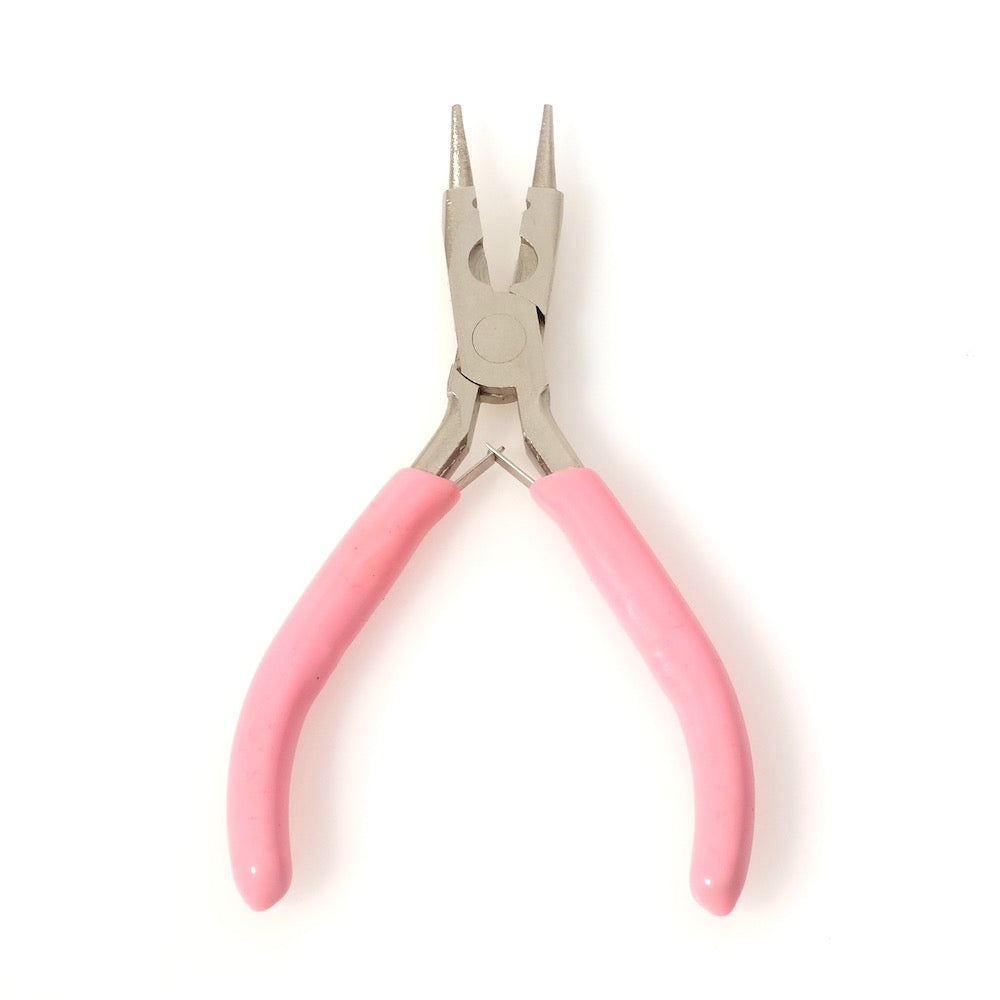
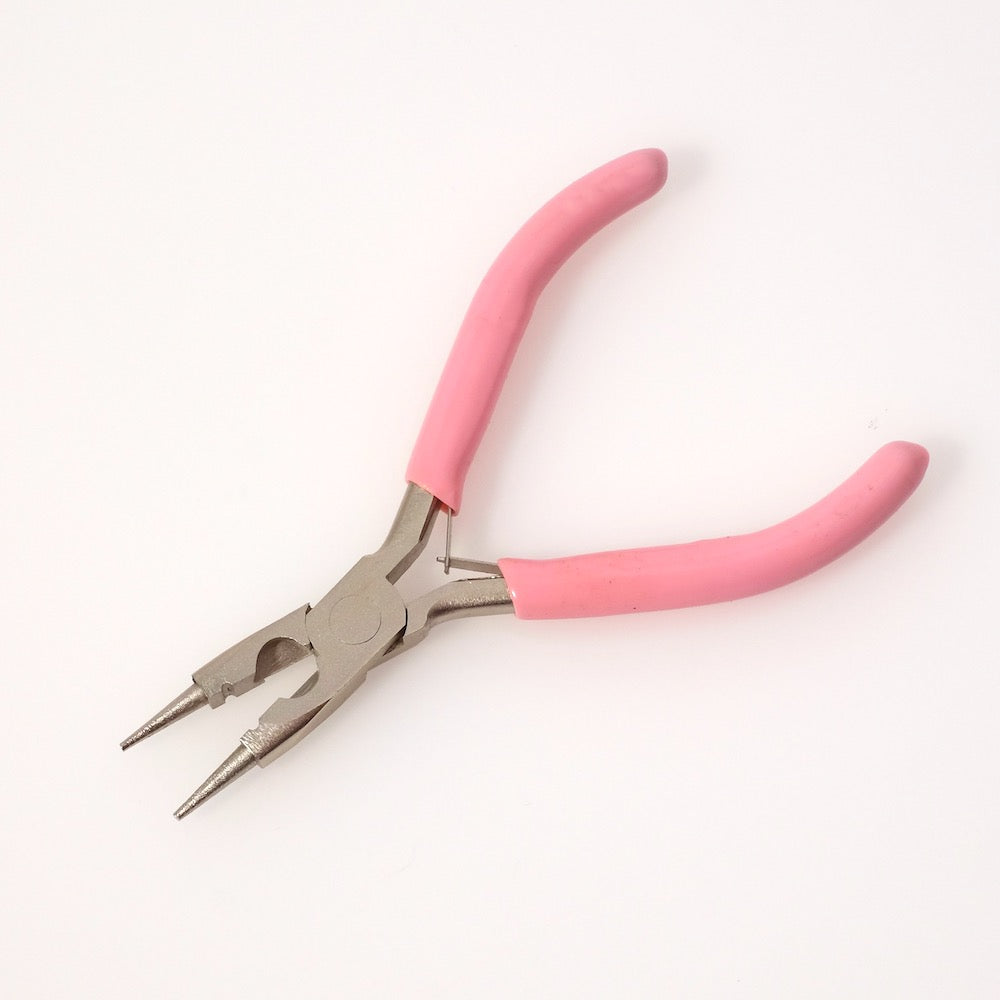
| Tools to be used : | ||||
|
|
||||
|
Assembly: |
||||
|
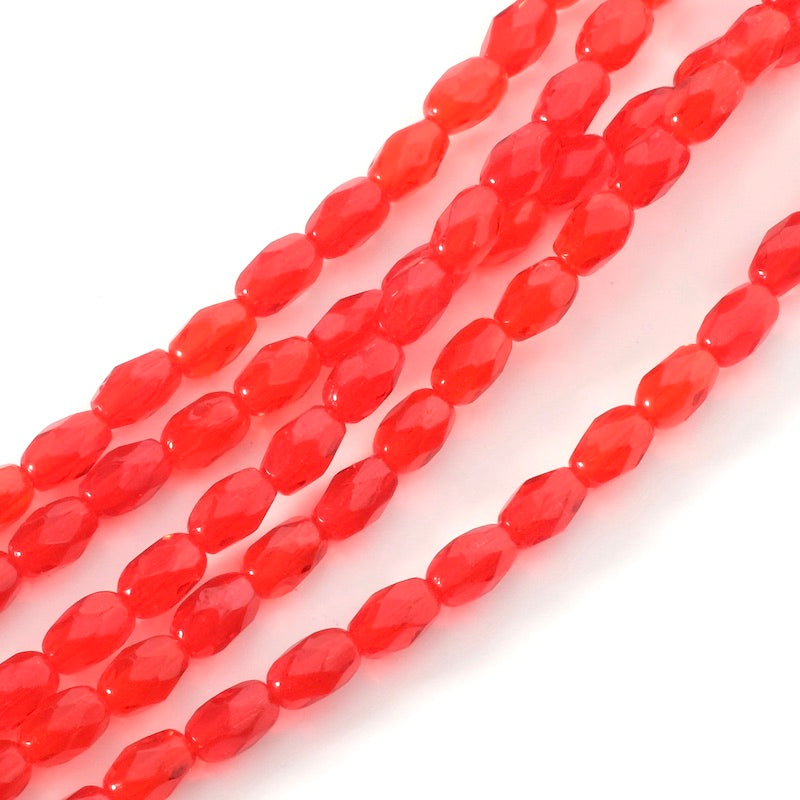
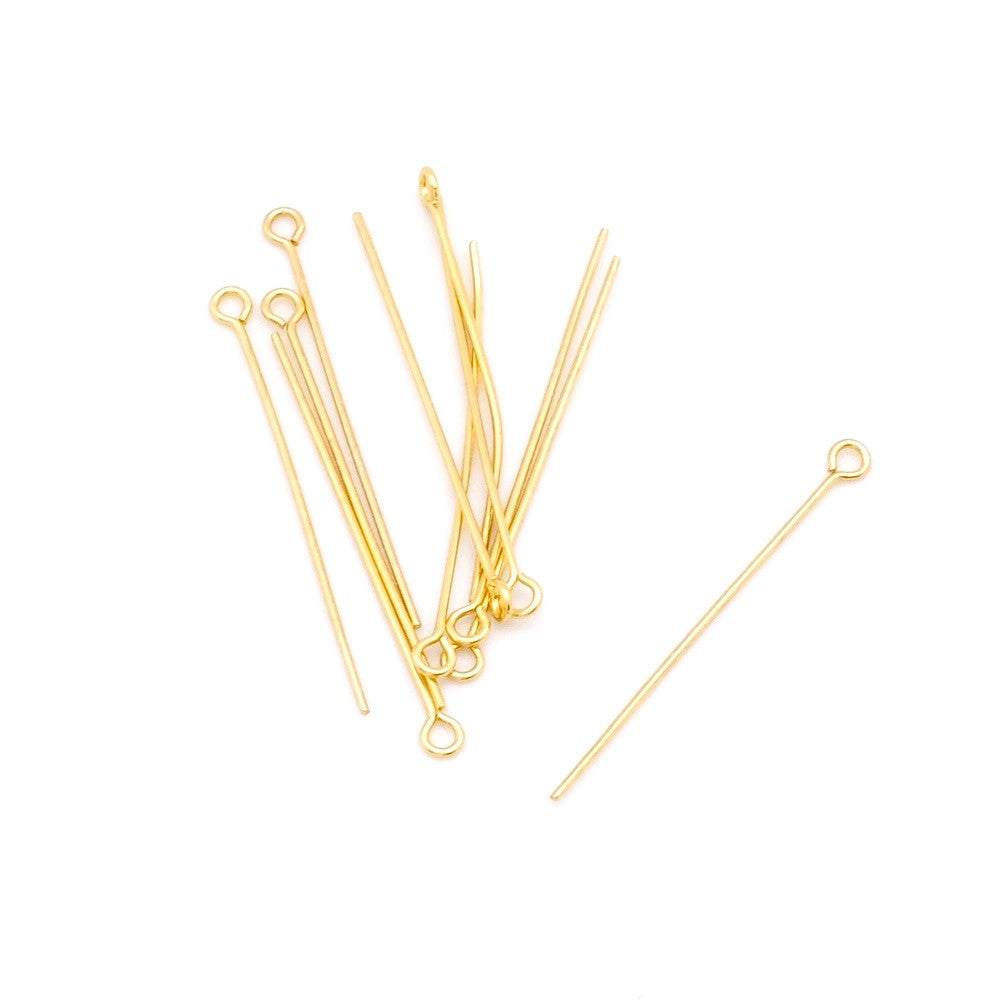
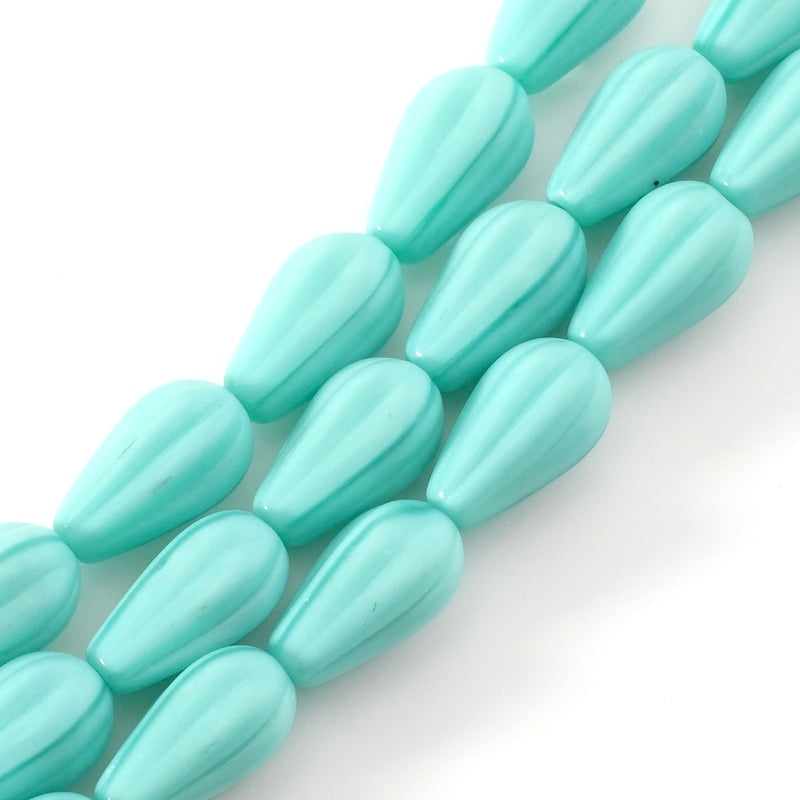
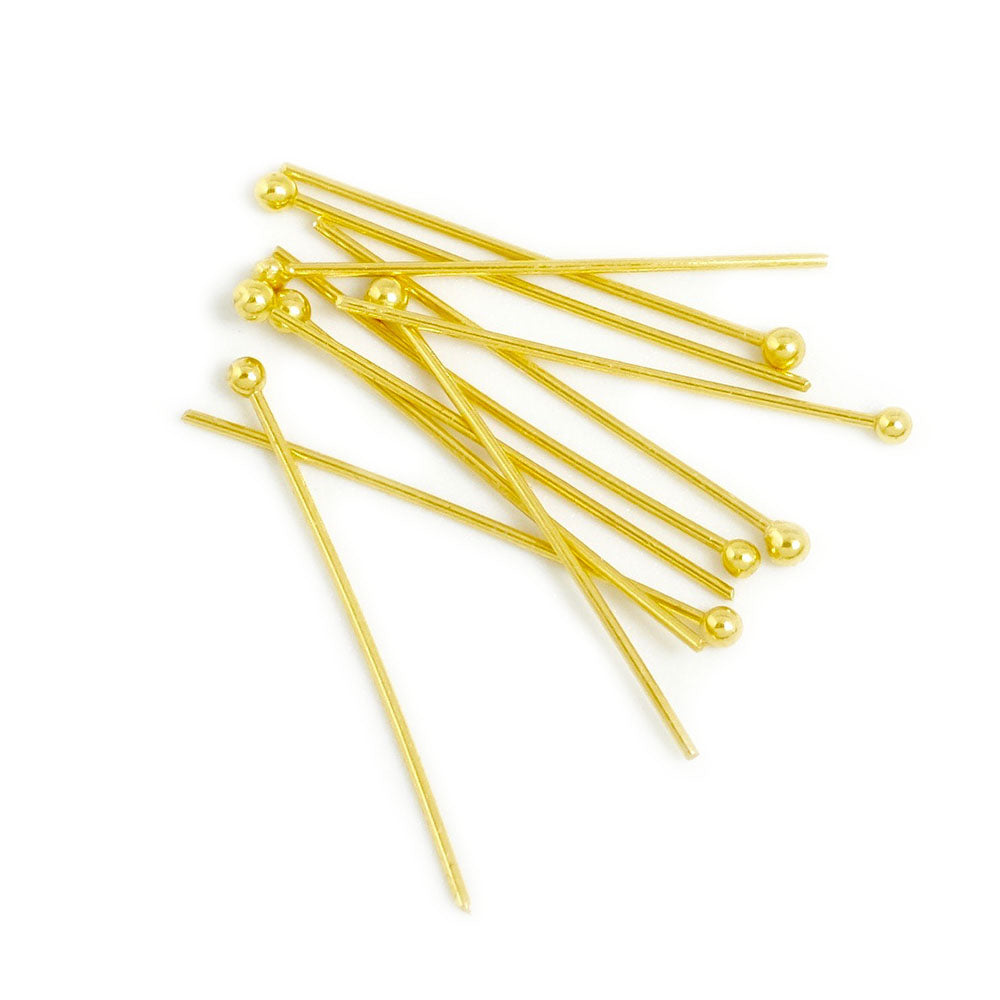
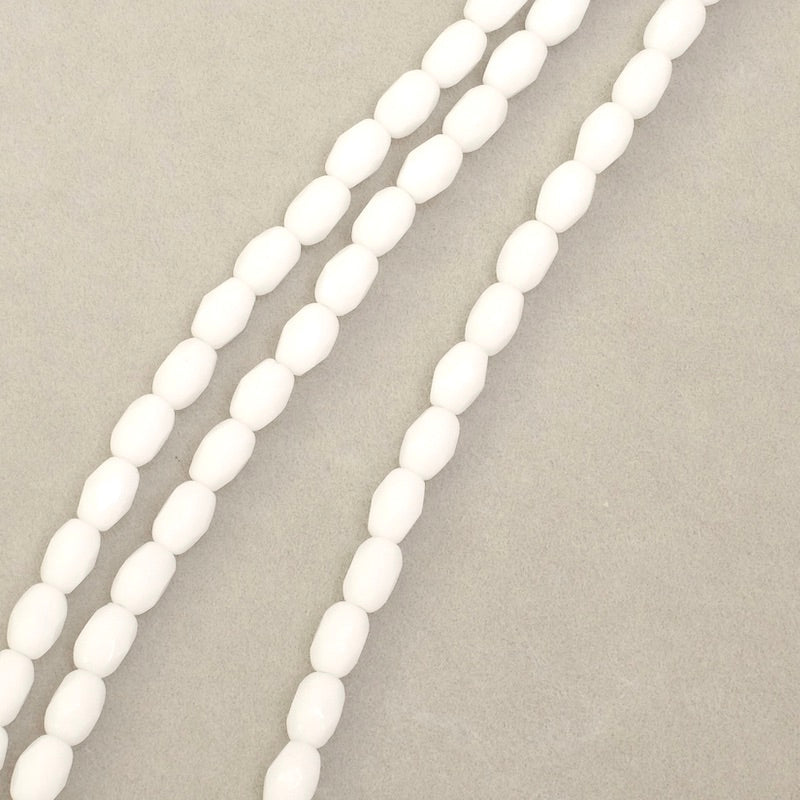
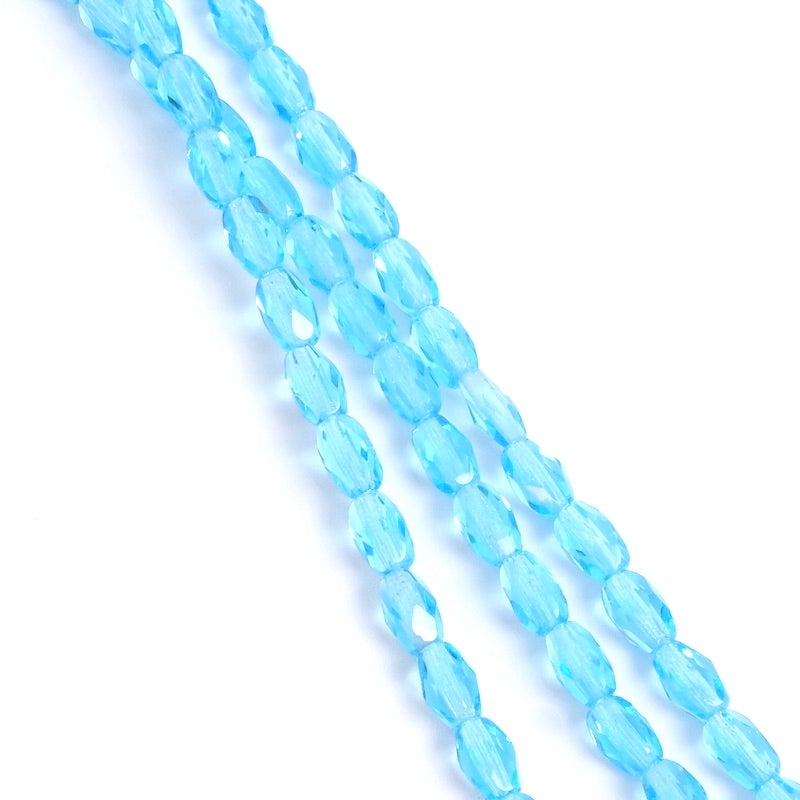
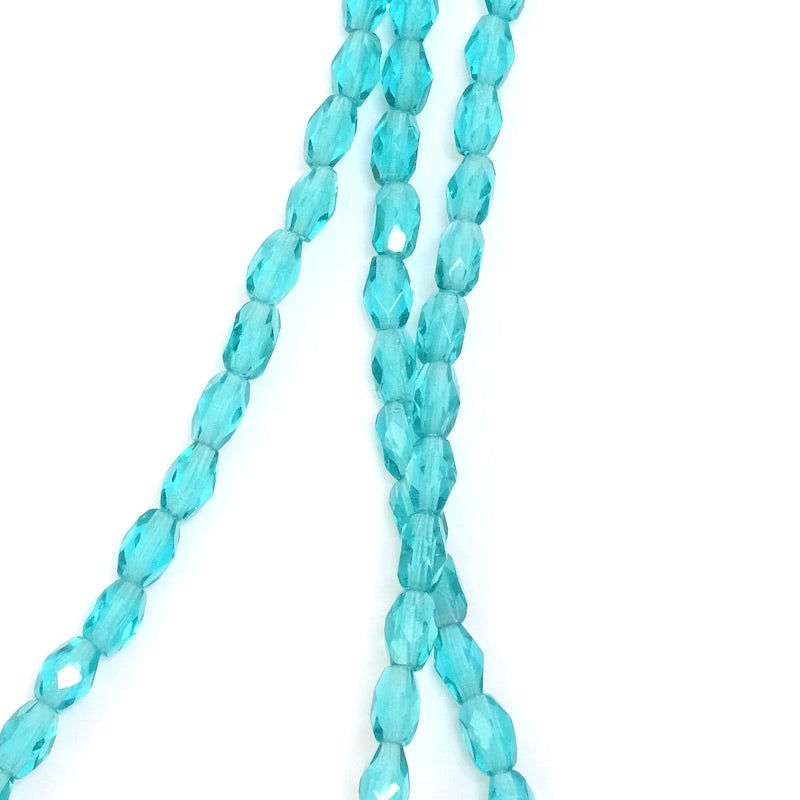
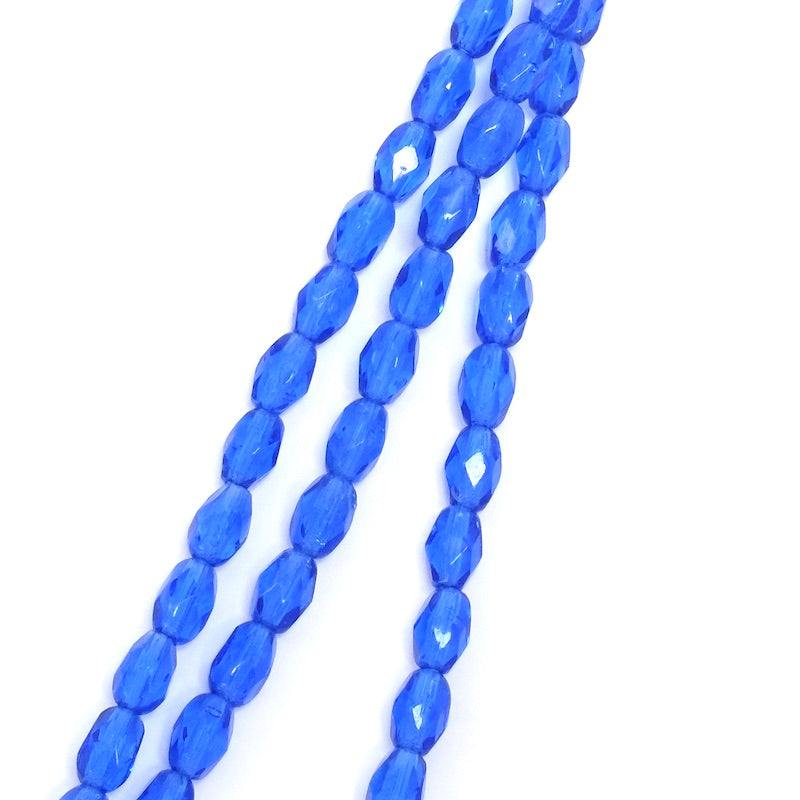
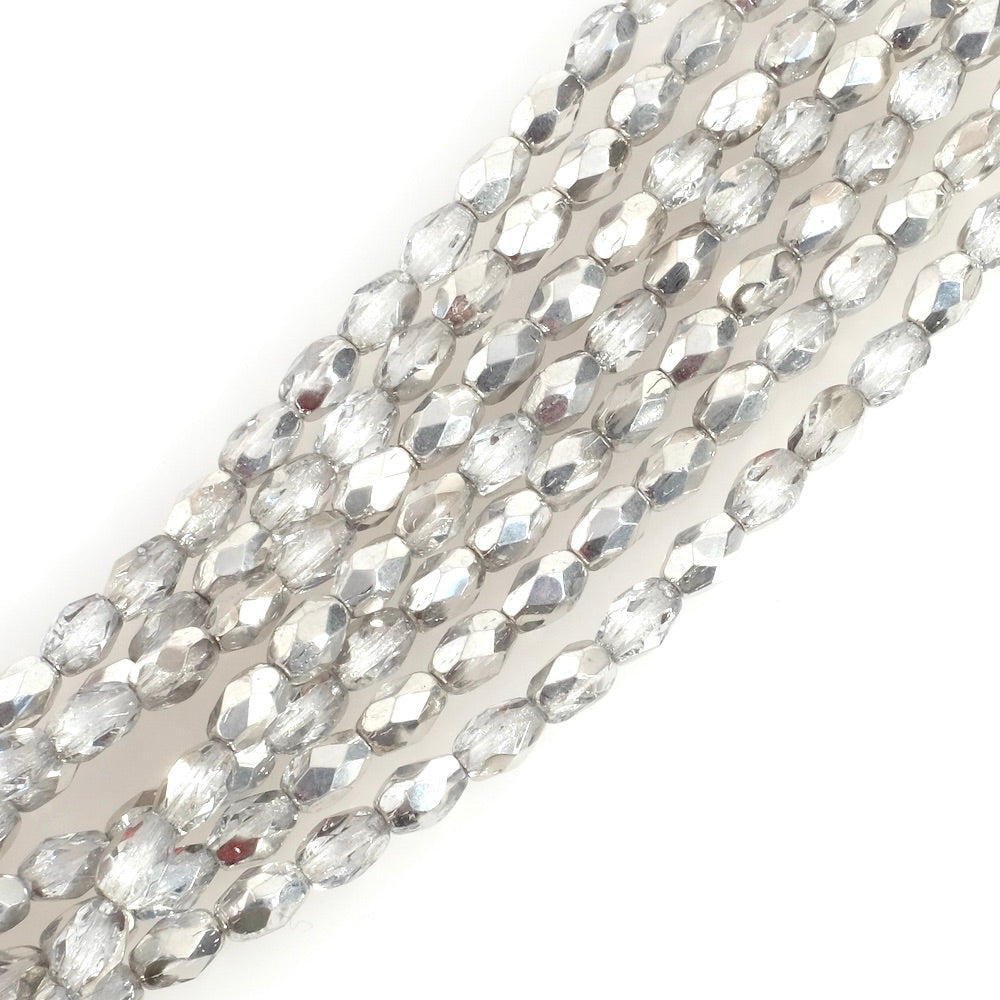
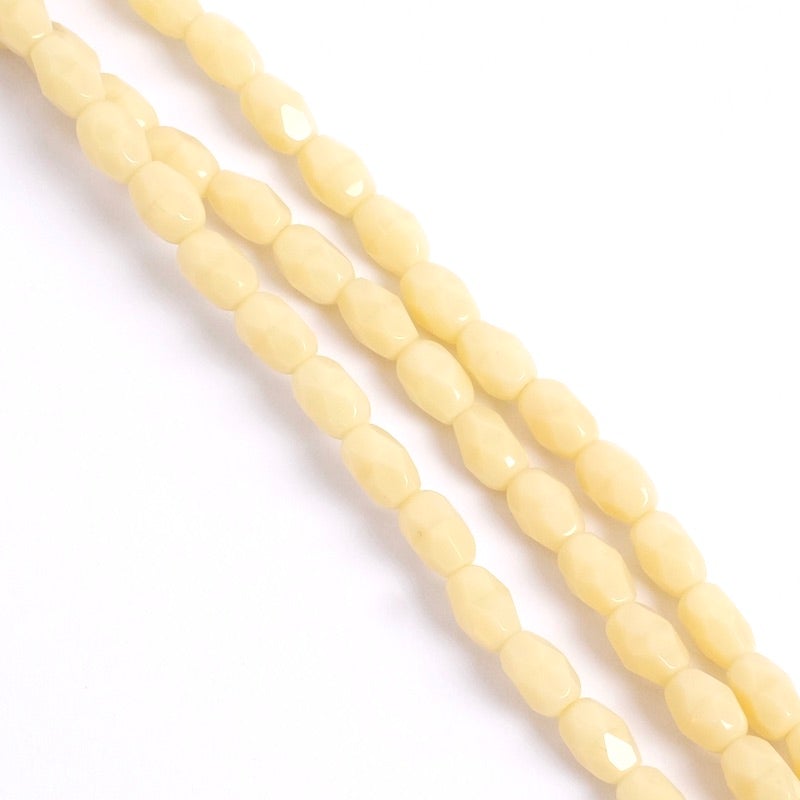
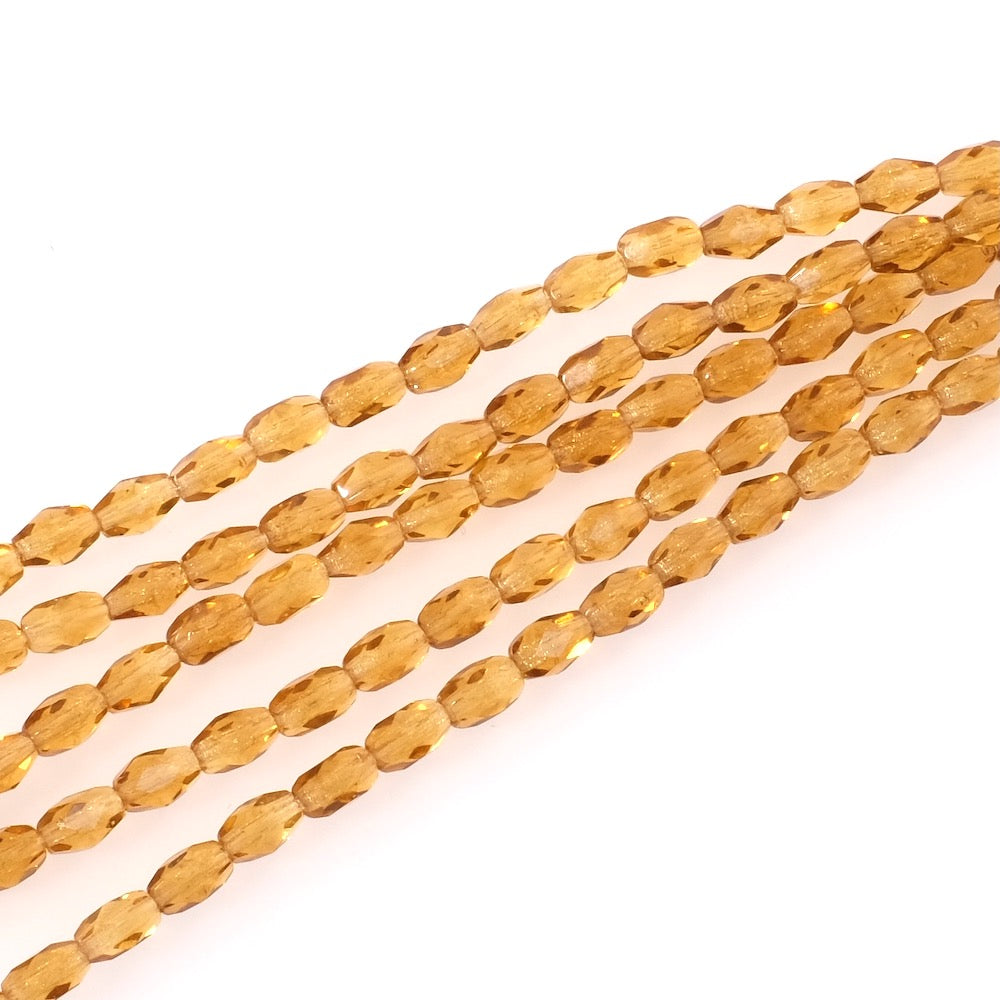
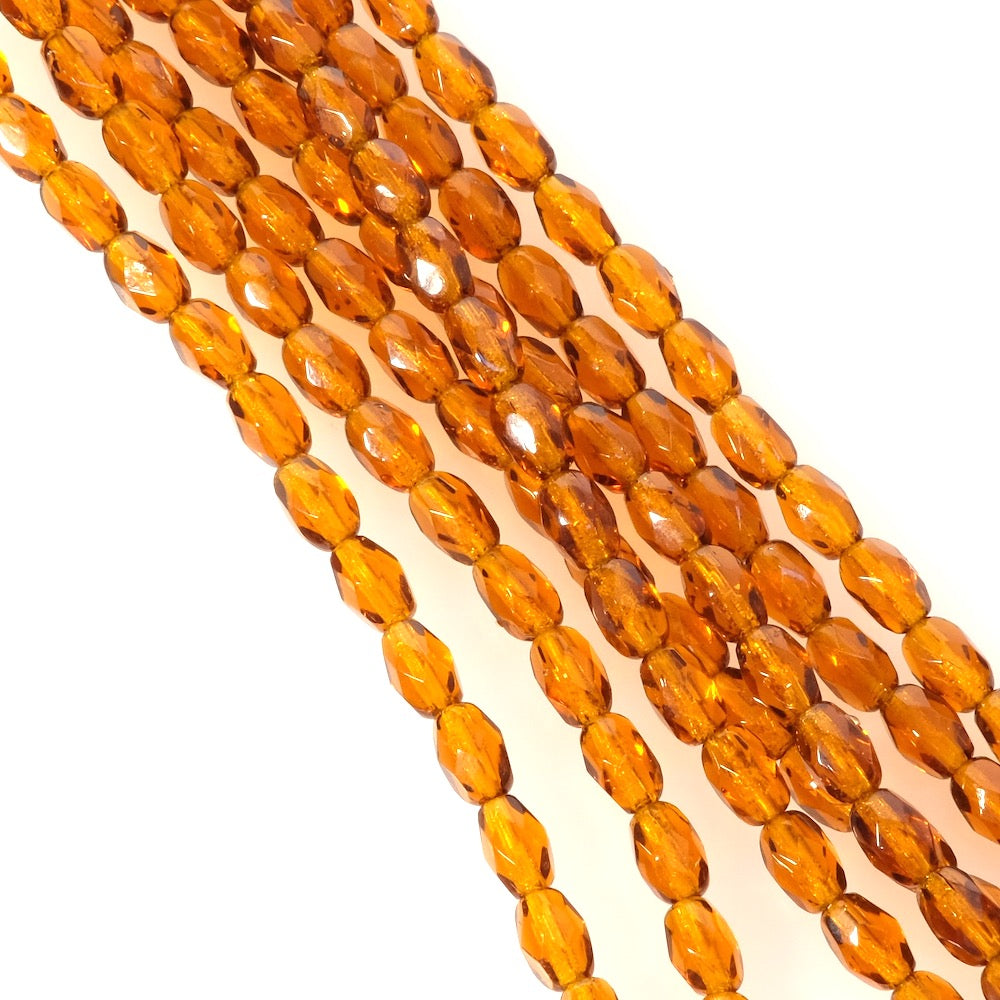
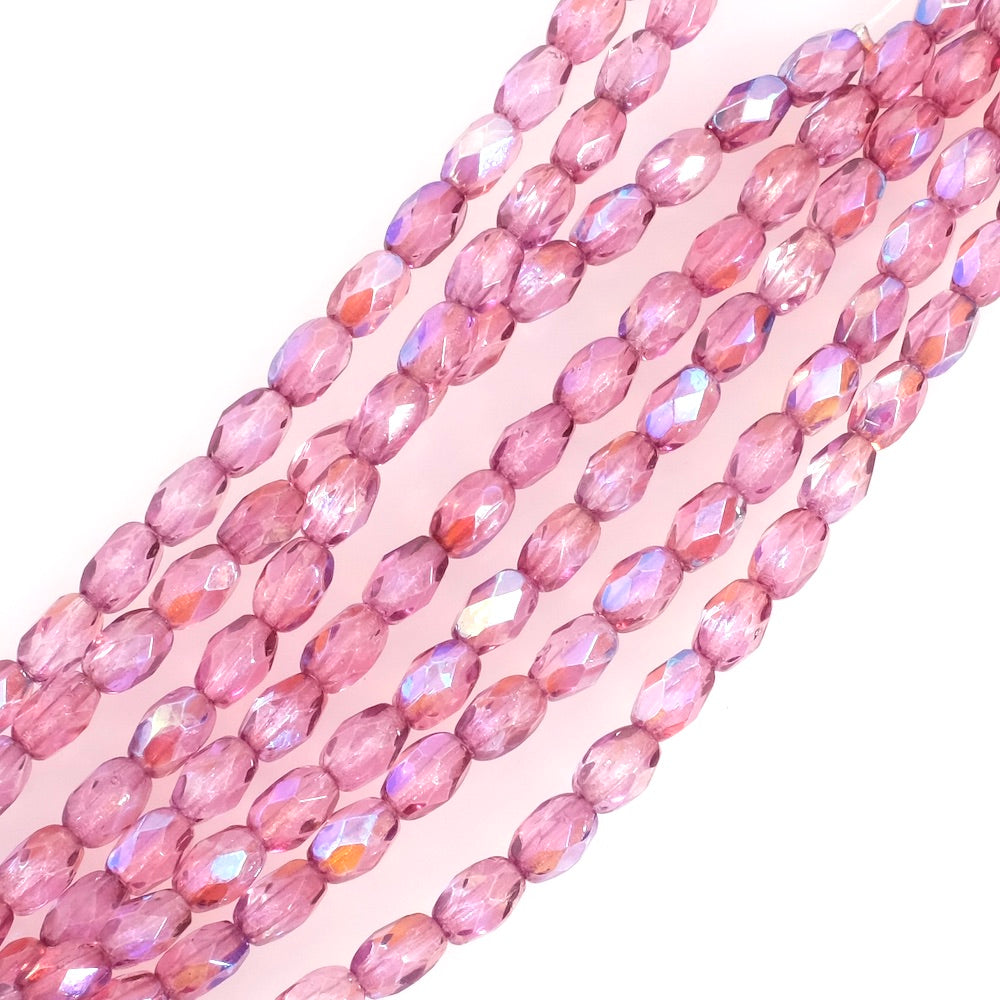
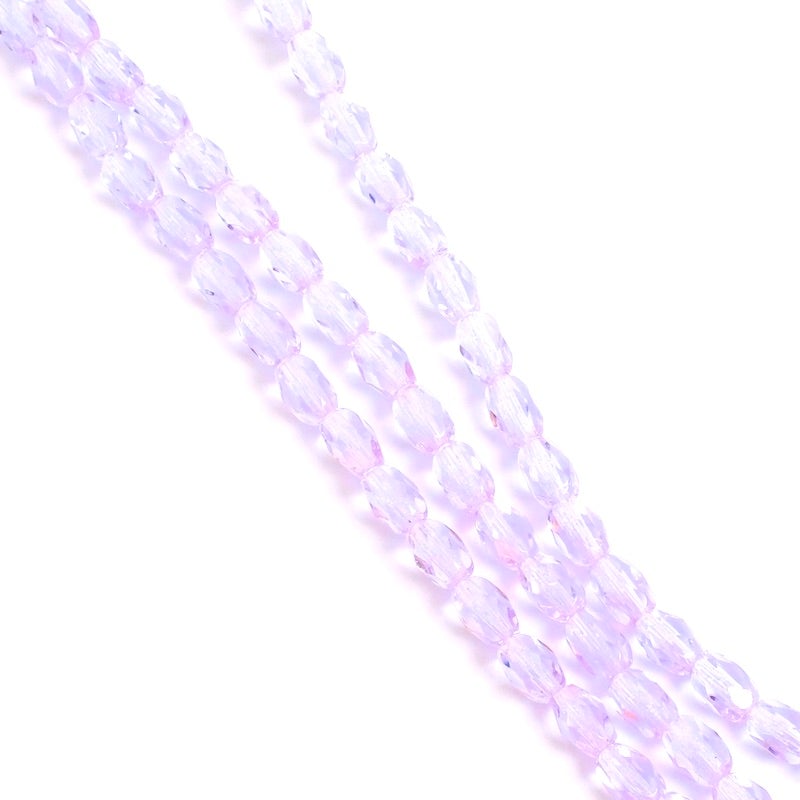
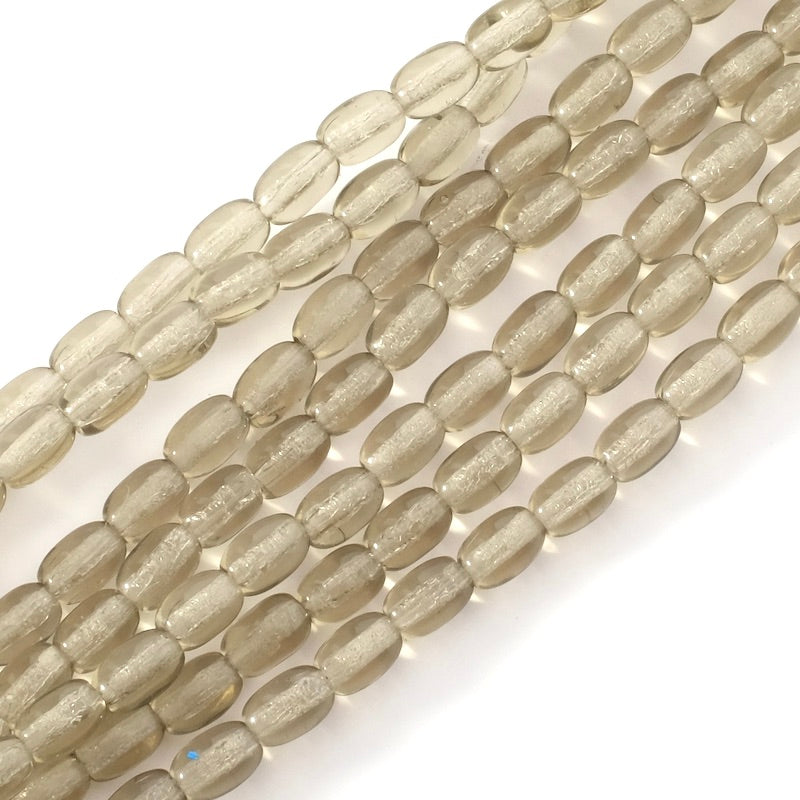
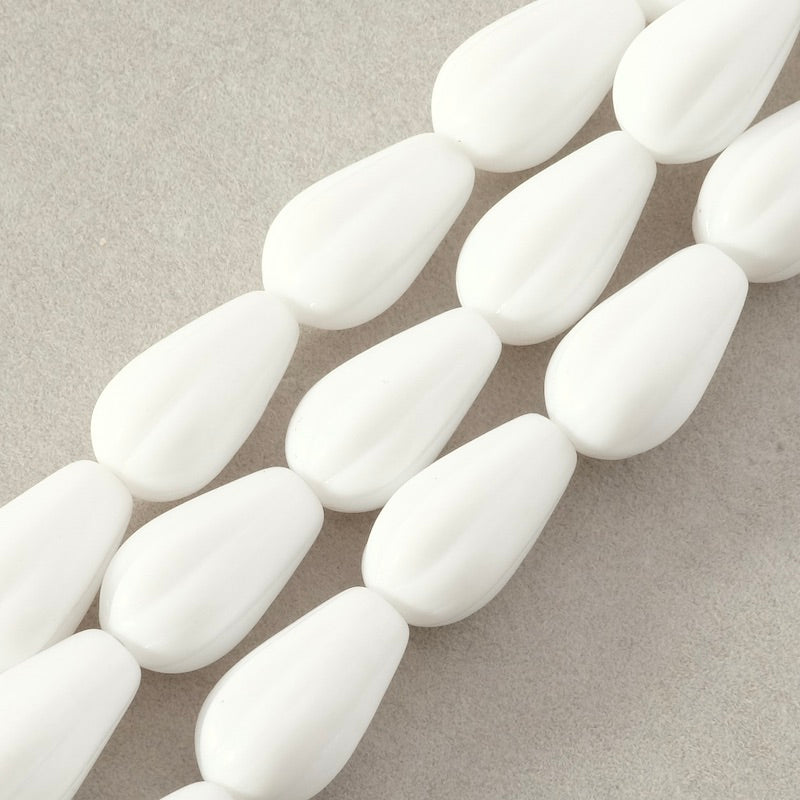
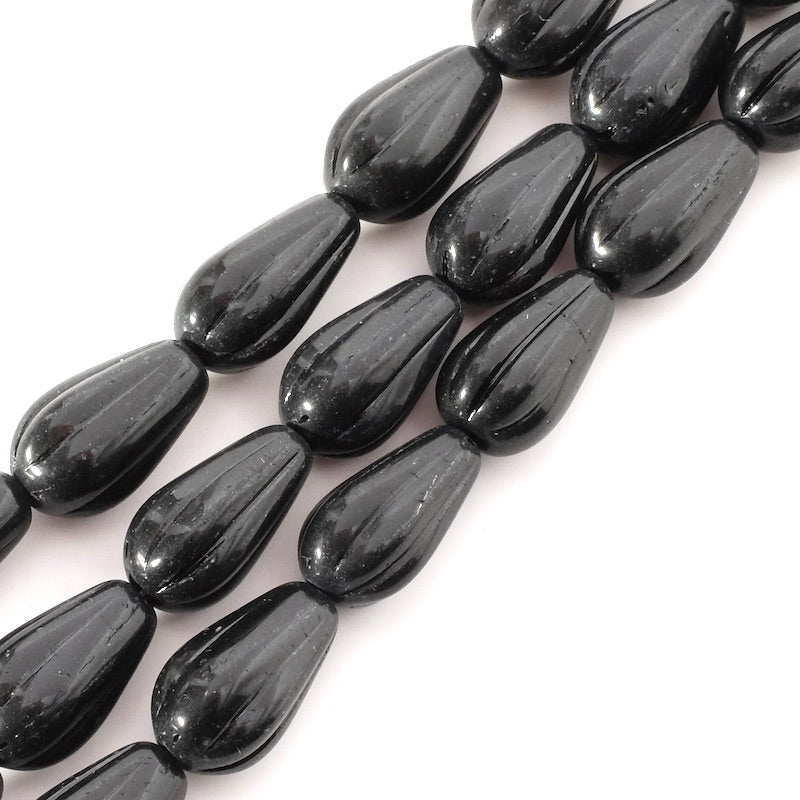
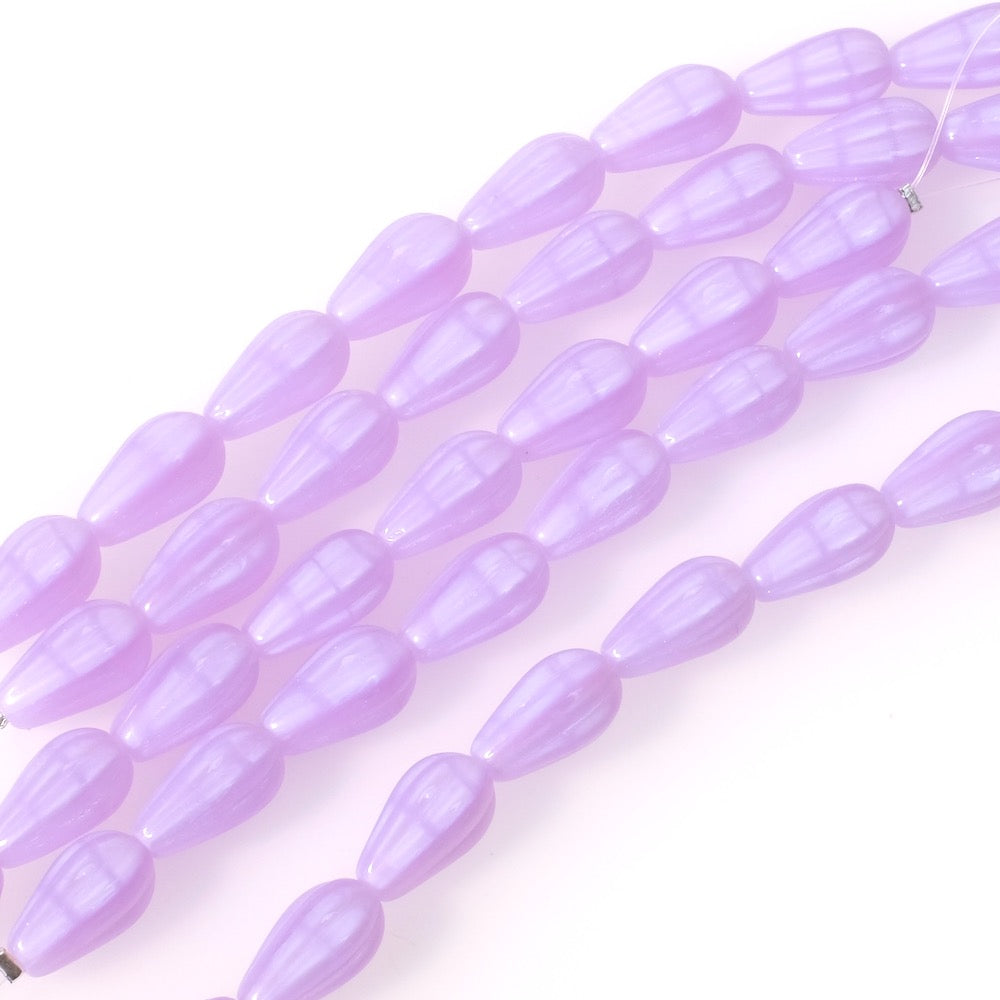
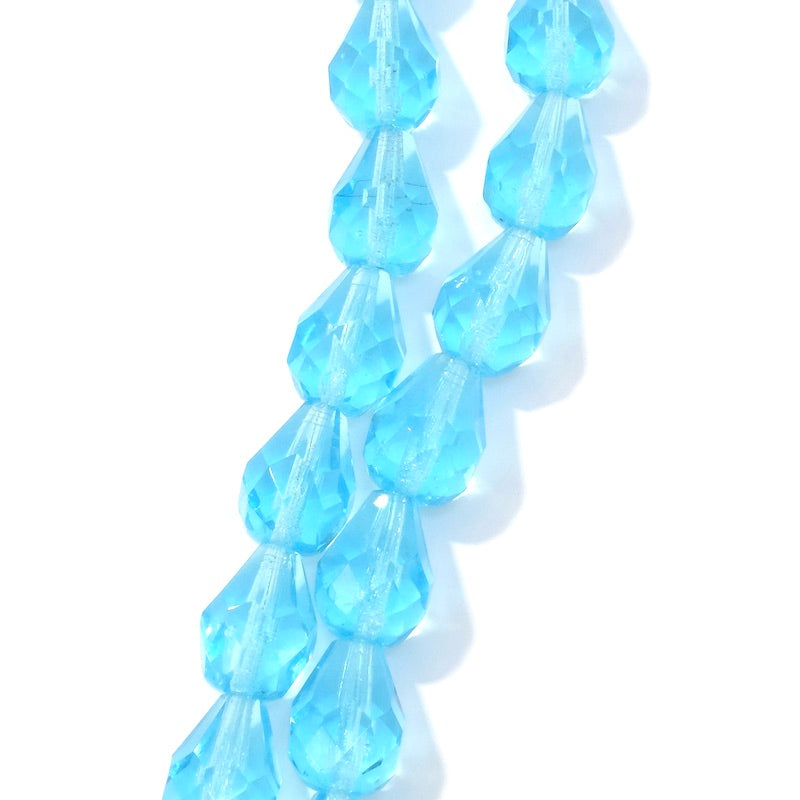
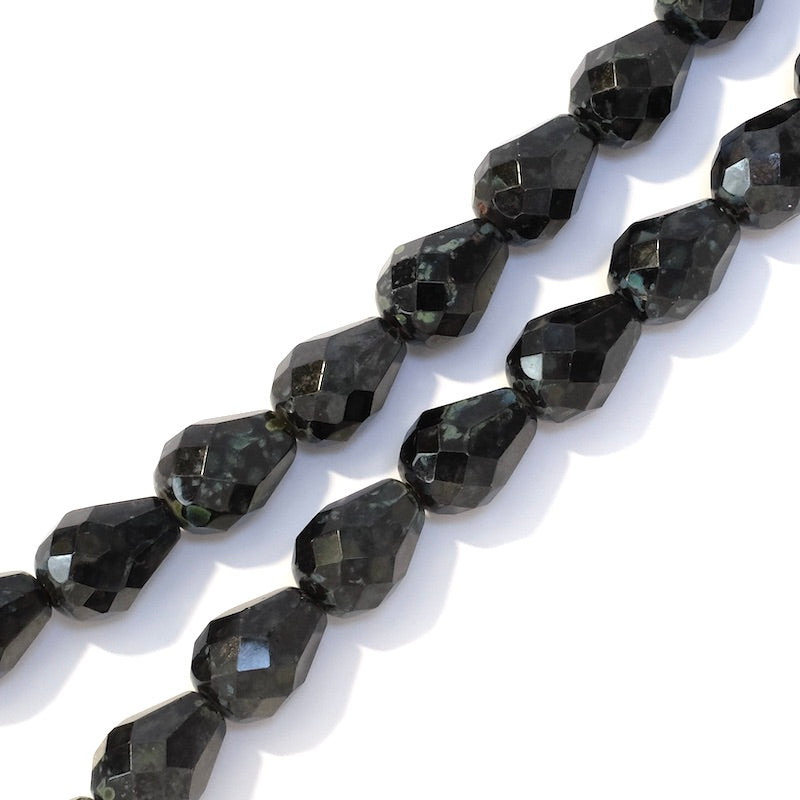
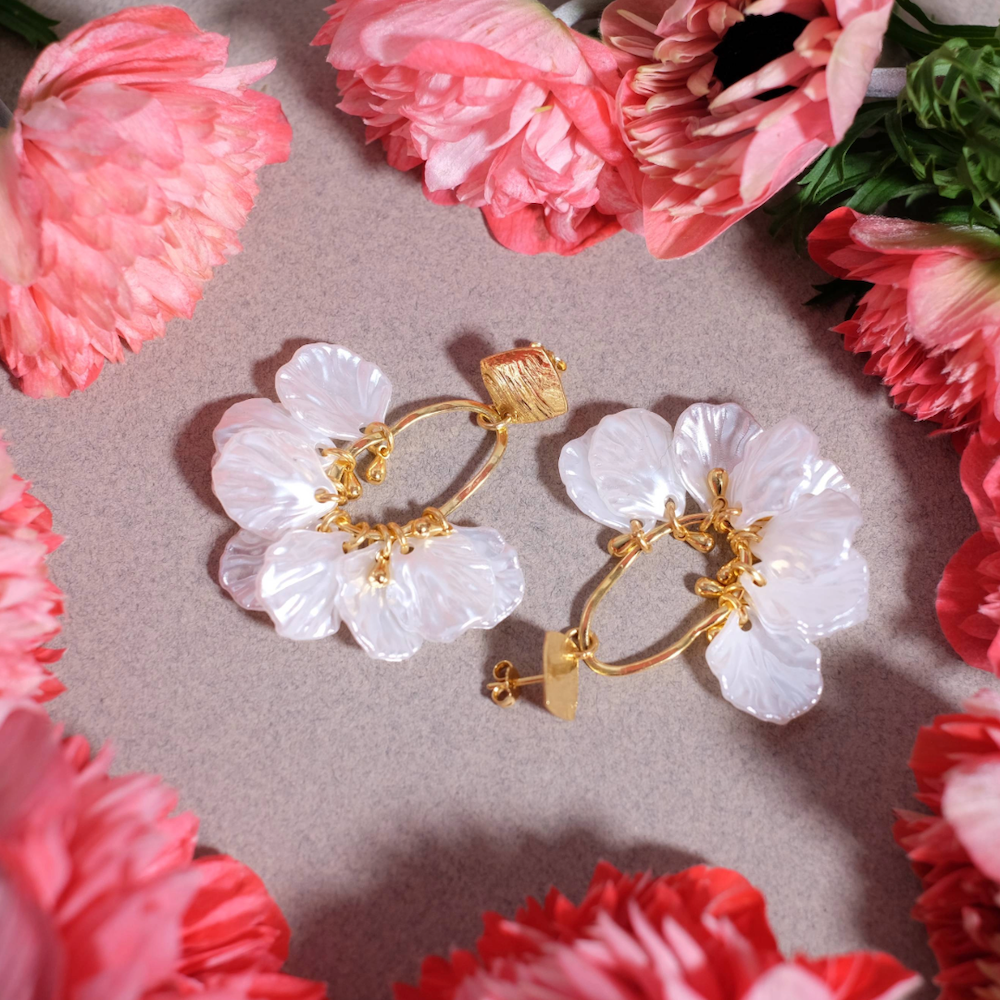
To begin, select your beads. Play around with the colours and shapes to give your creation depth. Mount the 6 drop beads on ball-head nails and form pretty curls of normal size, neither too small nor too large. Your loop should be about the size of a 4mm ring. Make 2 sets of 3 faceted oval beads on eye studs. Make 8 arrangements of 4 round 4mm beads on eye studs.
Connect the nails together as shown below. The nail with the oval beads serves as a connection between the different beads nails. Open one loop of the nailbeads ovalbeads ), insert a round beads assembly, a drop pearl nail and a round beads nail. Close the loop. Repeat this step on the other side. Connect the round beads studs at the bottom of the assembly to the ring of the central drop pearl.
To connect the round beads studs to the top of the assembly, use a 4mm ring which will also be connected to the ring of the earring holder. This ring will serve as a connection and allow the nails to fall perfectly in the right direction. This way, your assembly will face the right way when worn.
Repeat all the steps to make the other earring. And that's it! Your creation is complete. Beautiful creation! |
||||
 |
||||


To be reserved alone or with friends!

Join Perles Corner to discover our new products, exclusive tutorials, and many other surprises... and receive your voucher by email!


 10 eye studs Gilded in 24K fine gold