|
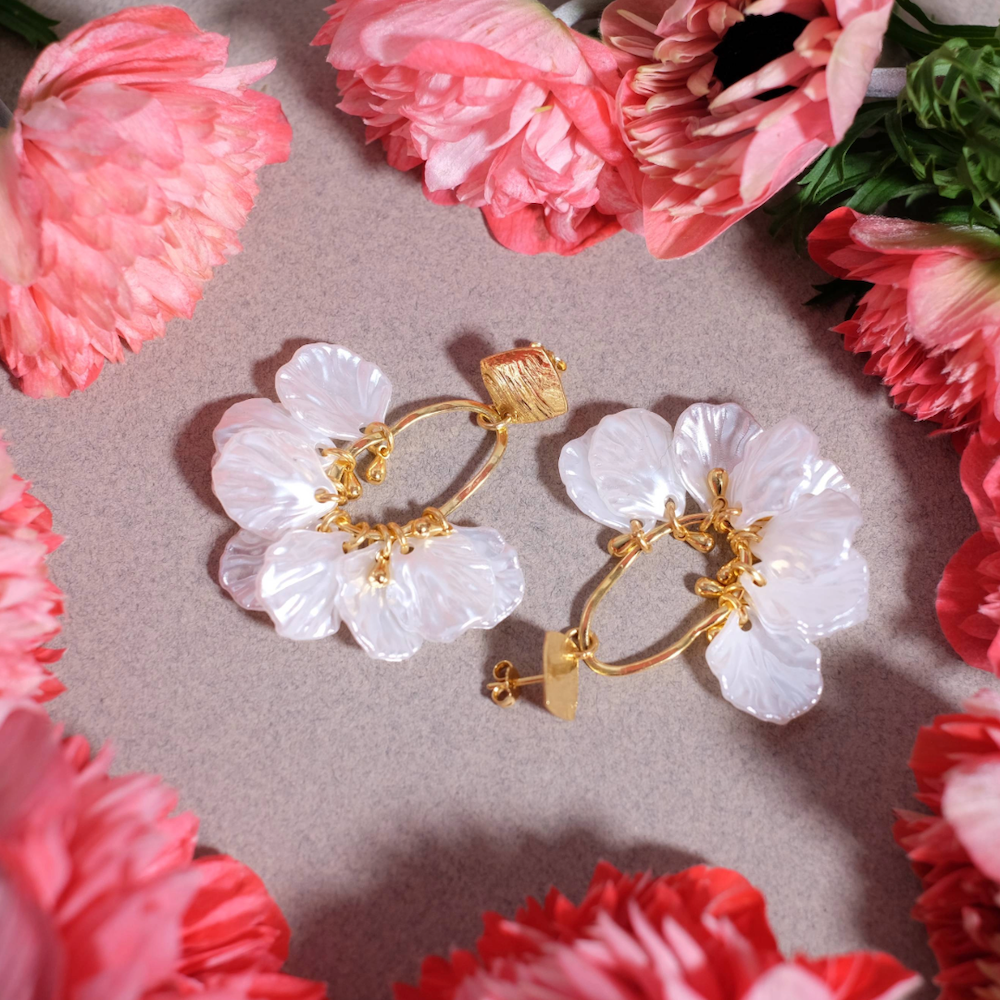
TUTORIEL VIDEO I'm delighted to present a new floral-inspired poetic creation. In this video tutorial you'll learn how to weave the beads directly onto the base, how to assemble the beads petals and how to create the coloured border. You can easily adapt this design to the colours of your choice! It's an easy-to-follow tutorial - just follow the steps in the video to reproduce this model to perfection! Beautiful creation!
|
|---|
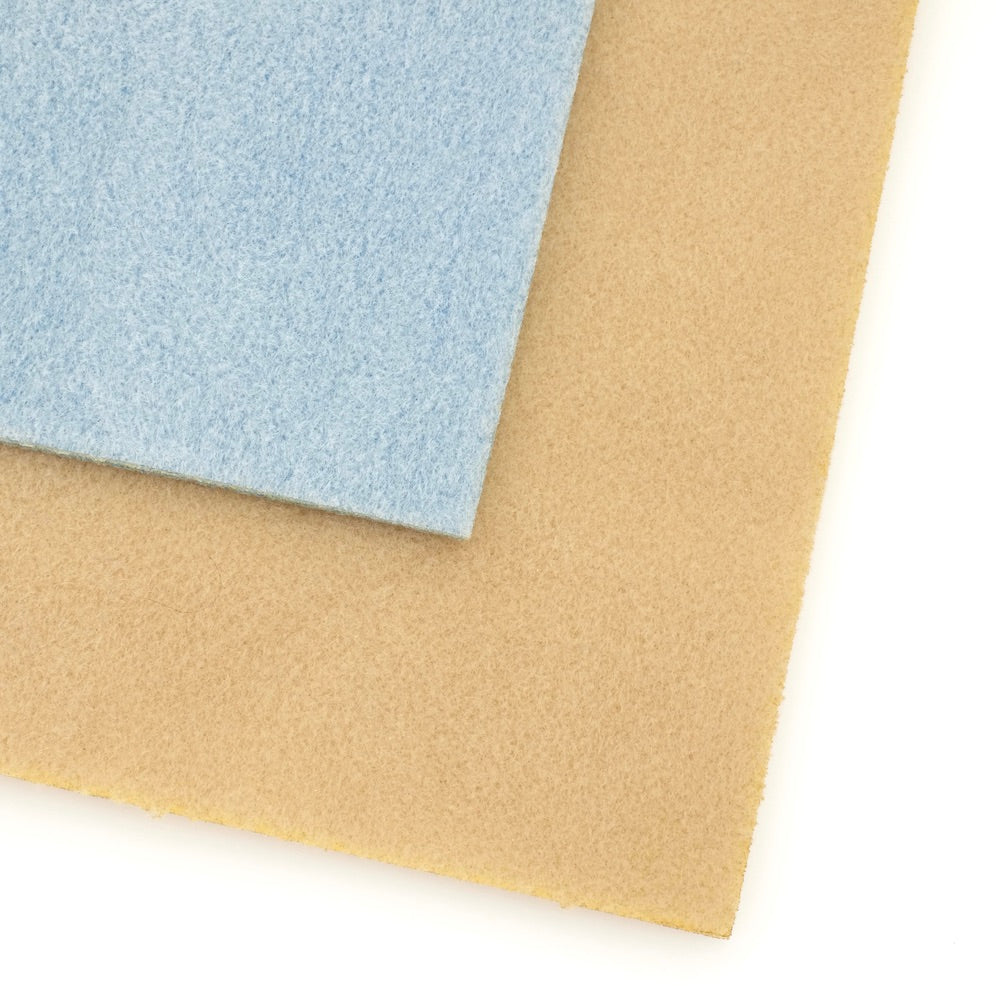
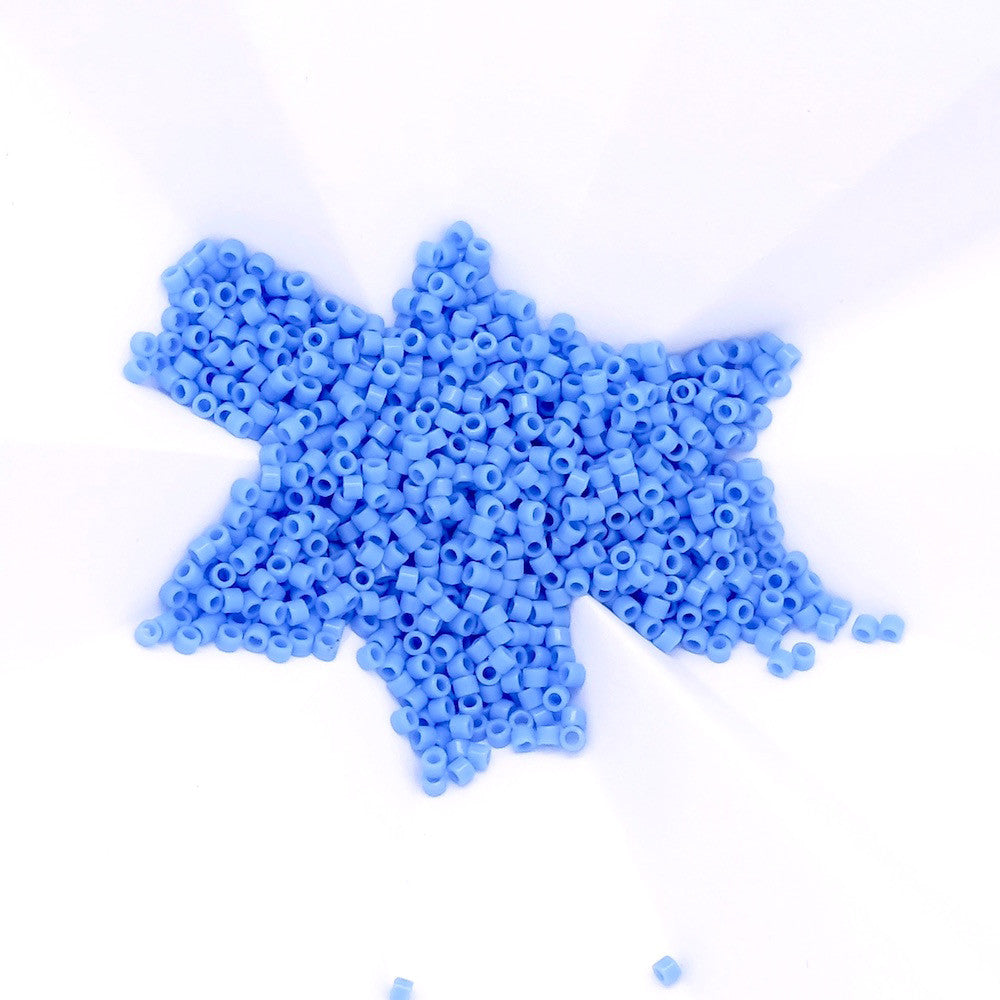
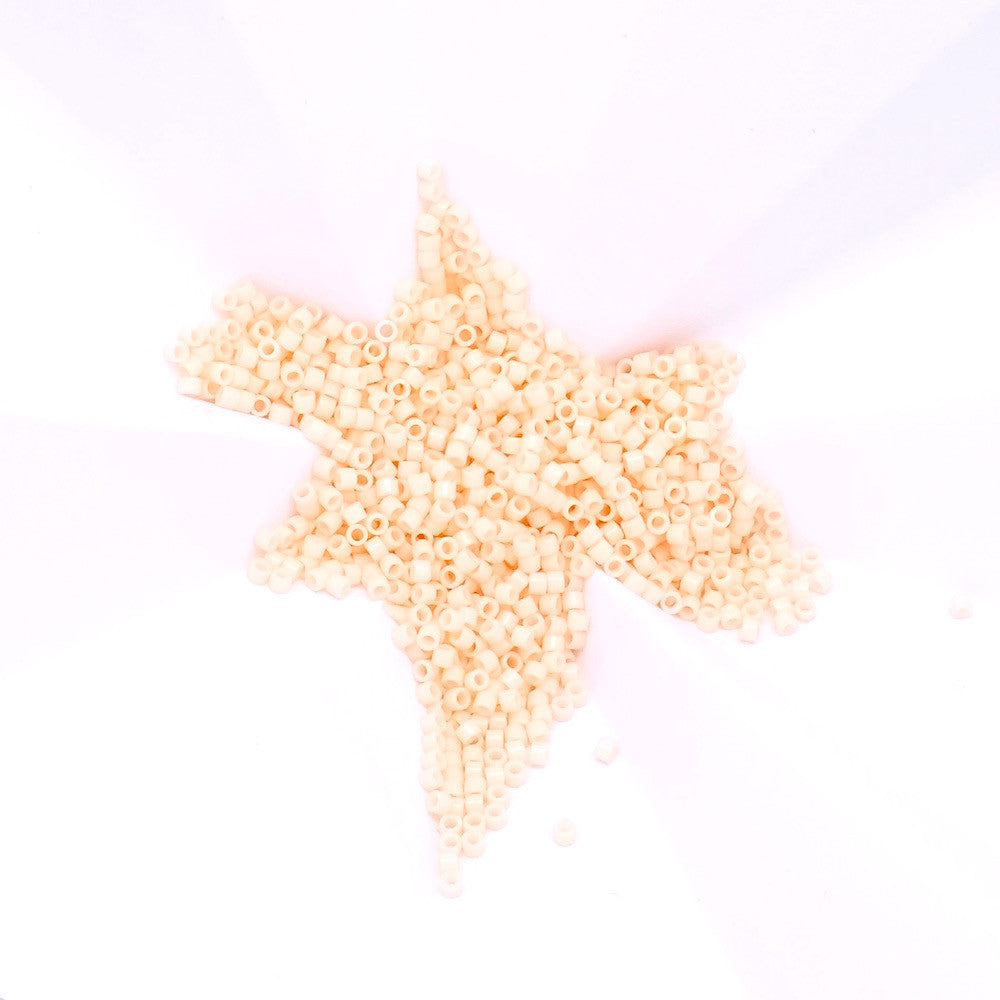
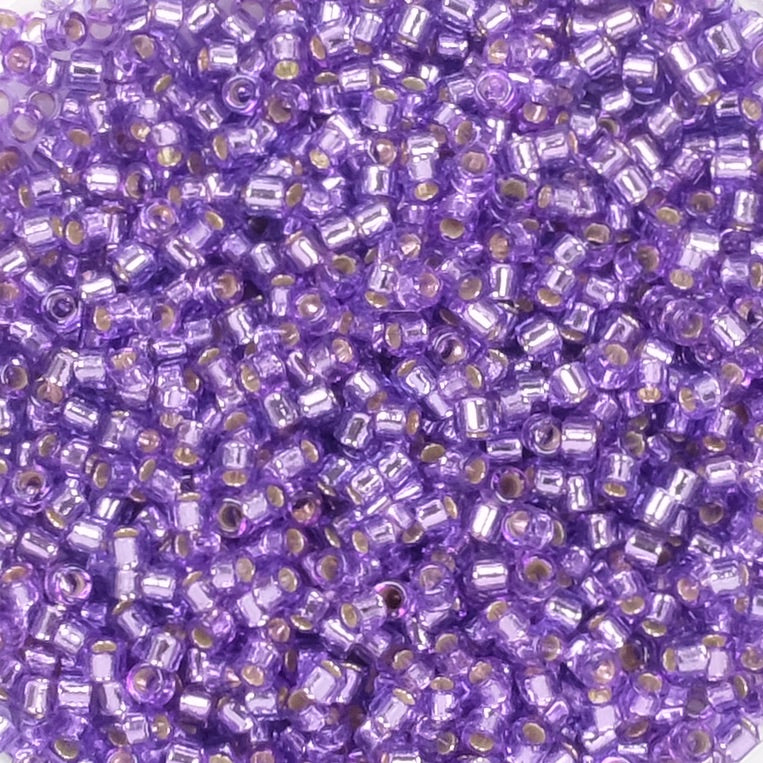
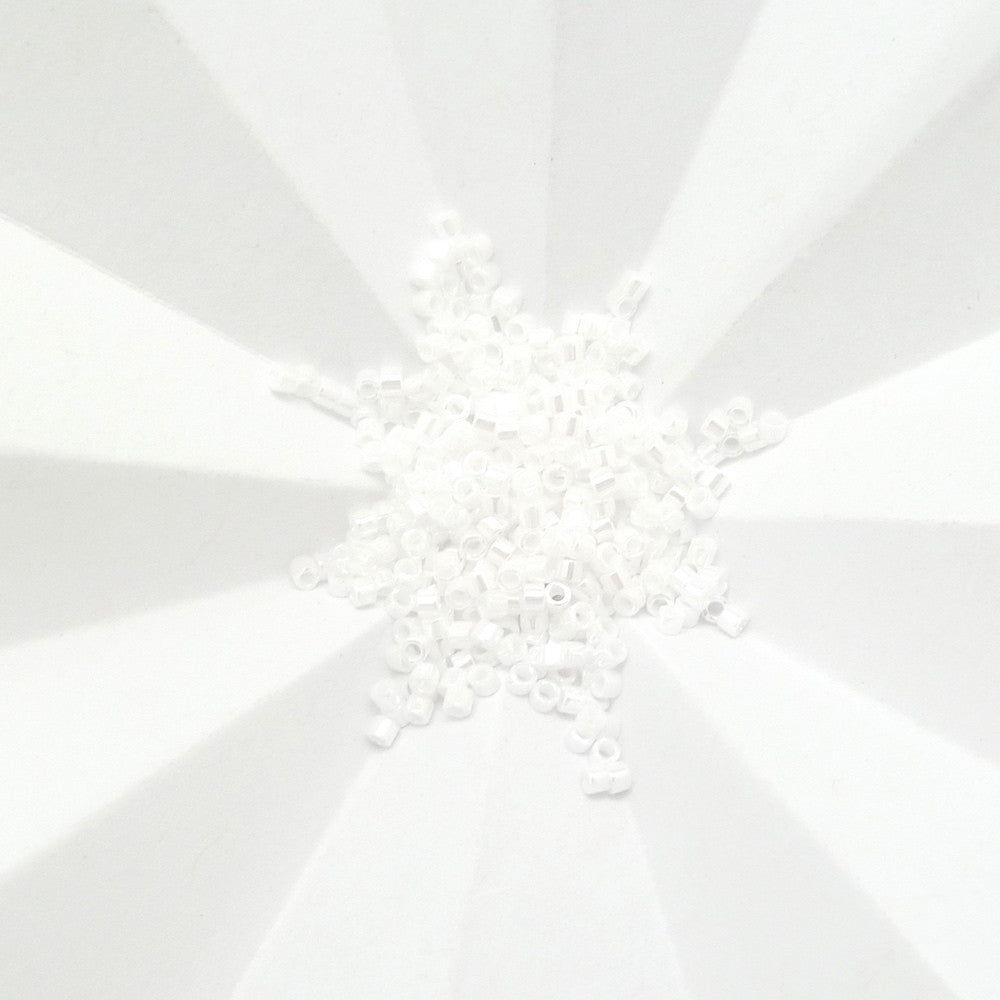
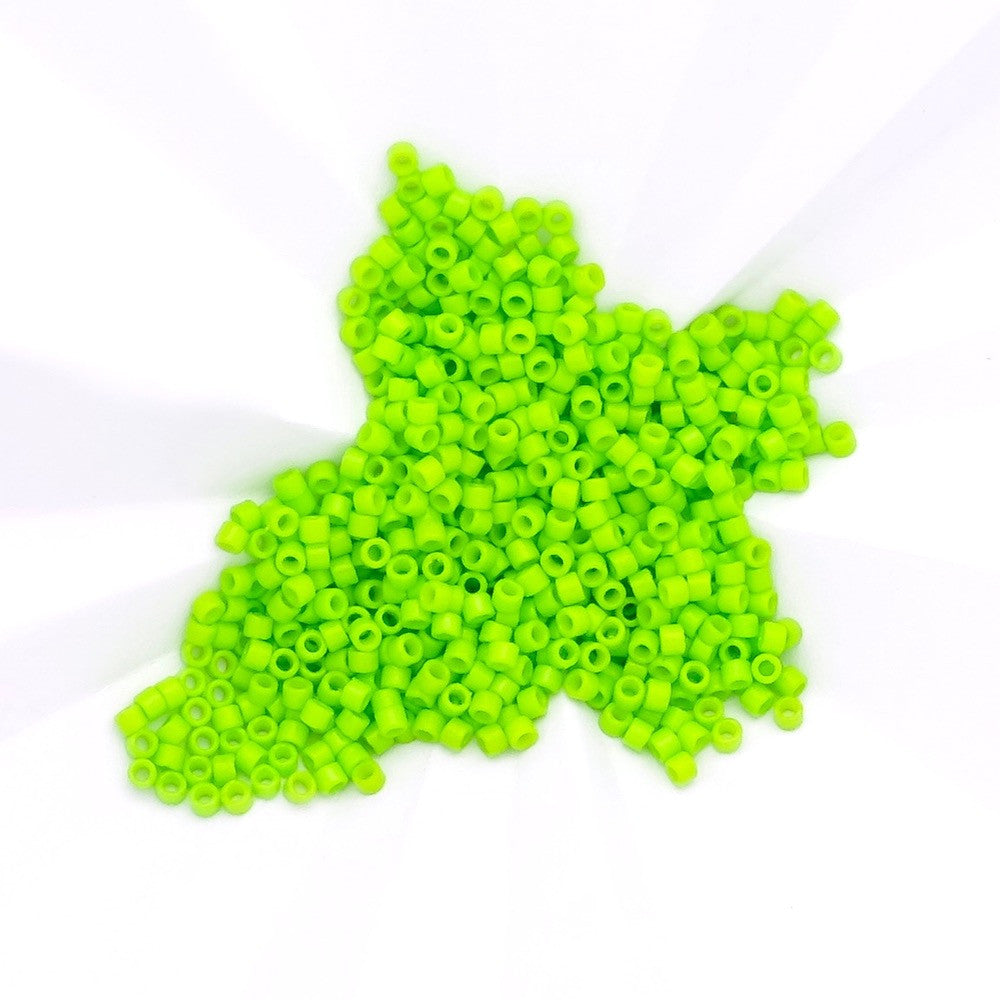
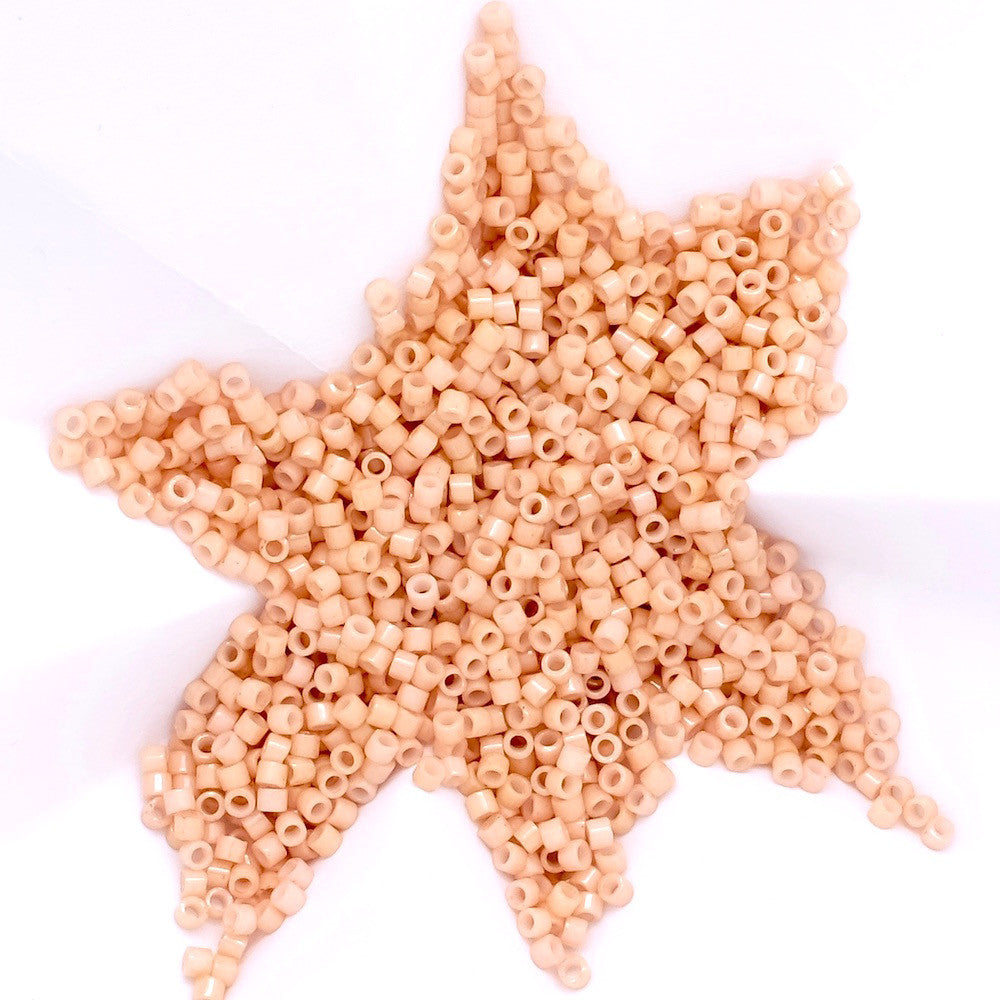
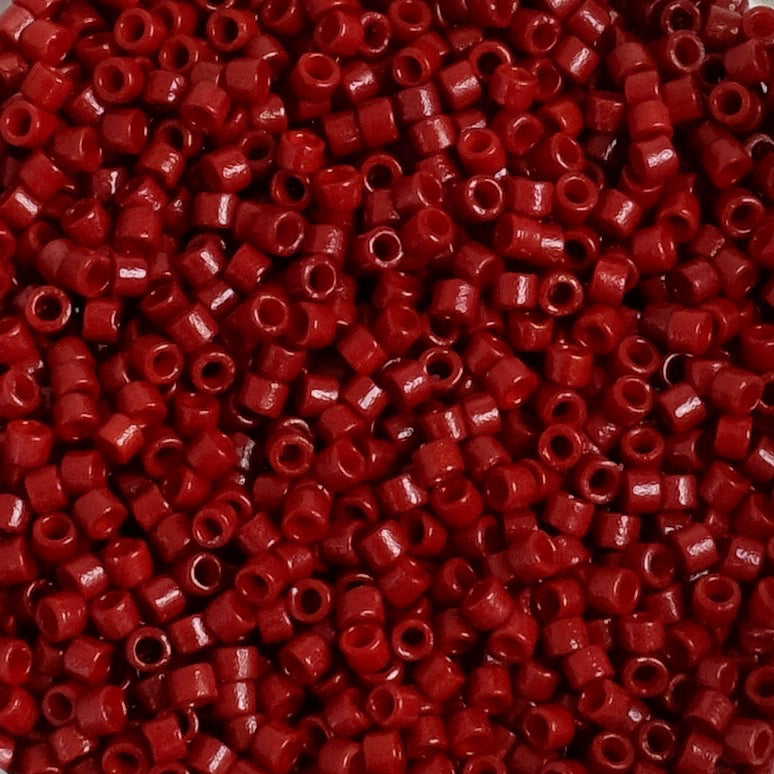
| For this you will need : | ||||
|
|
||||
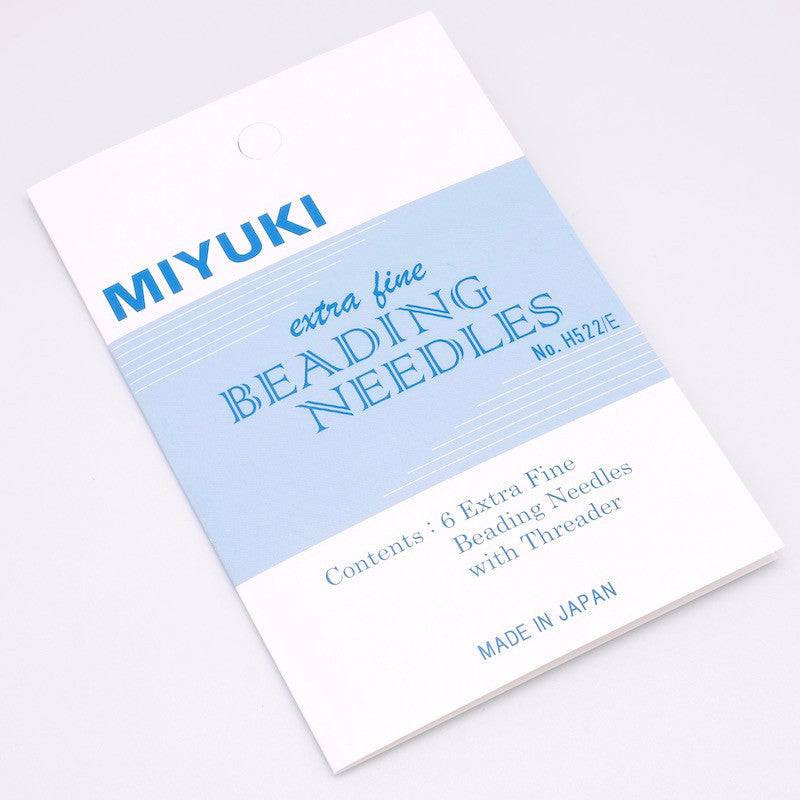
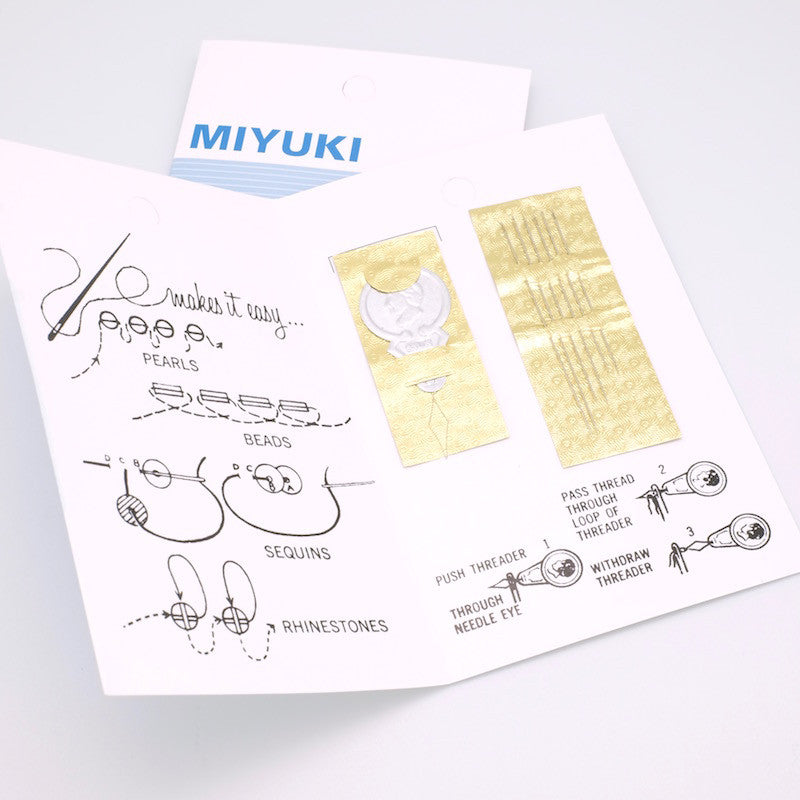
| Tools to be used : | ||||
|
|
||||
|
Assembly: |
||||
|
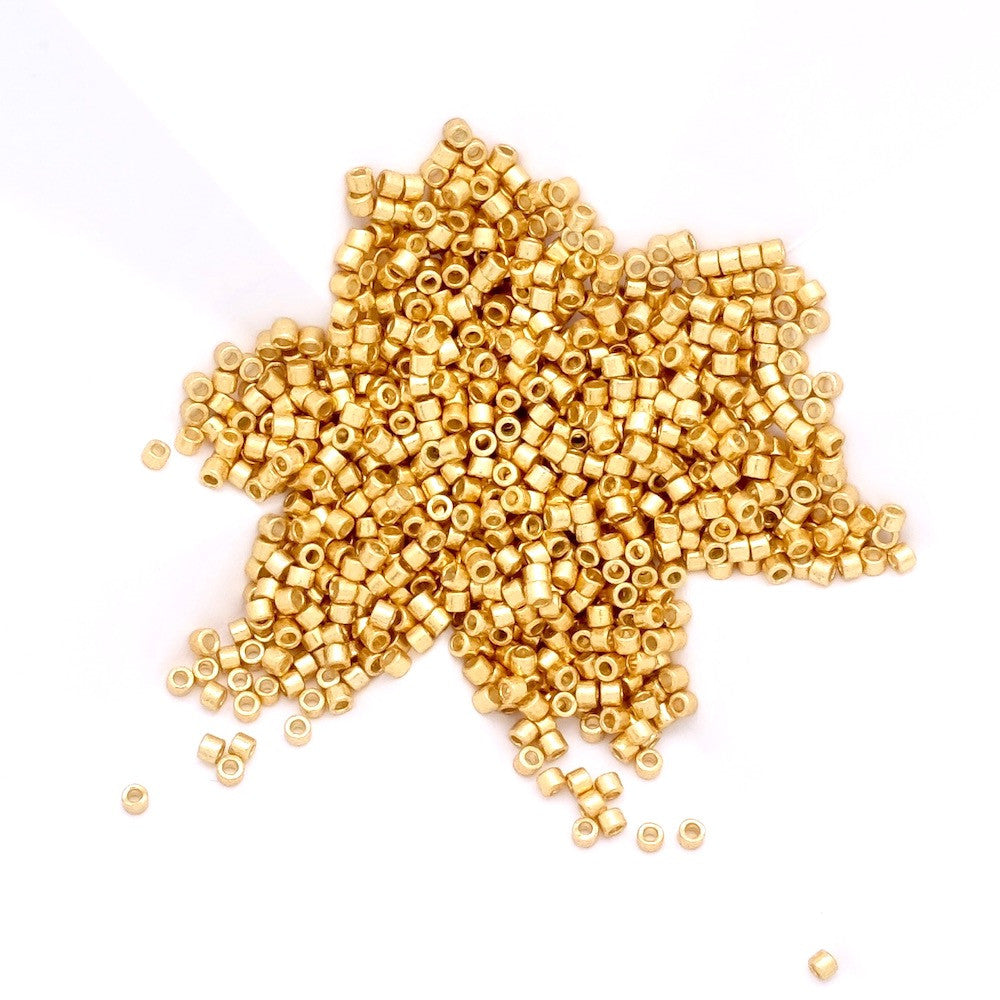
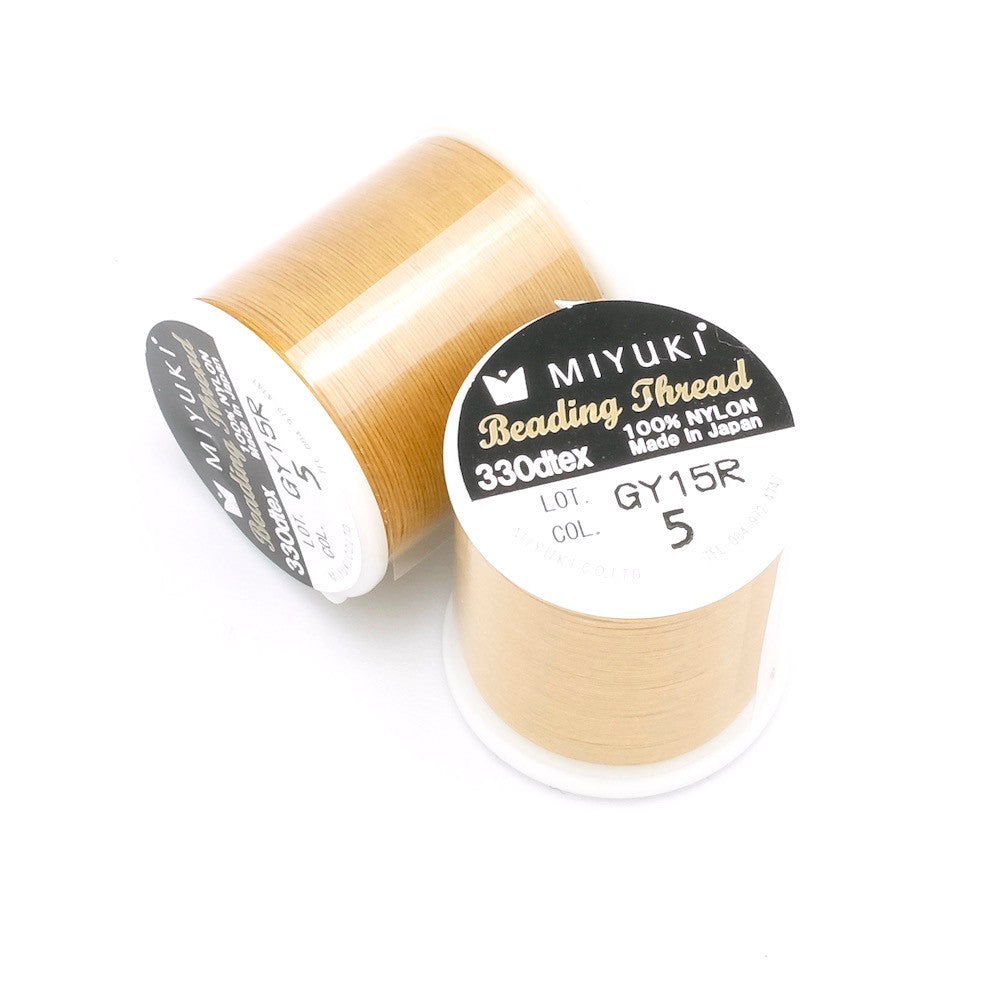
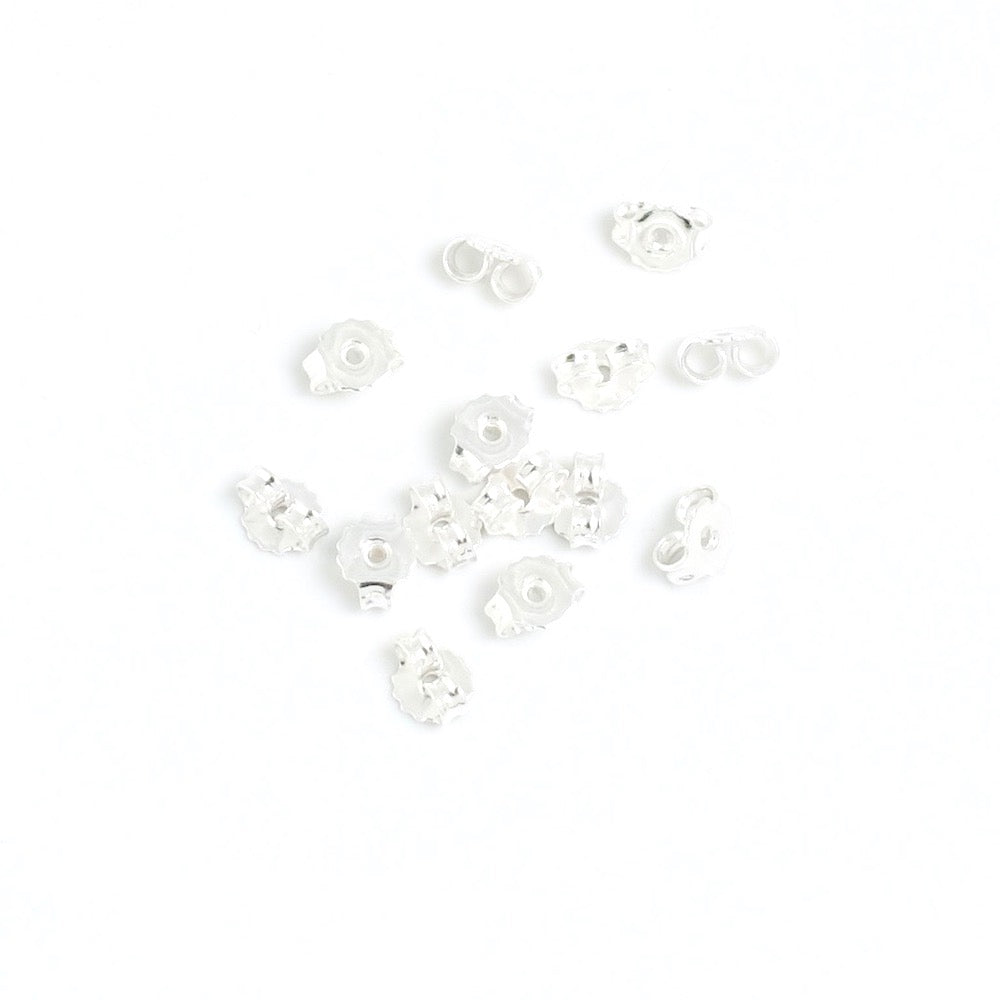
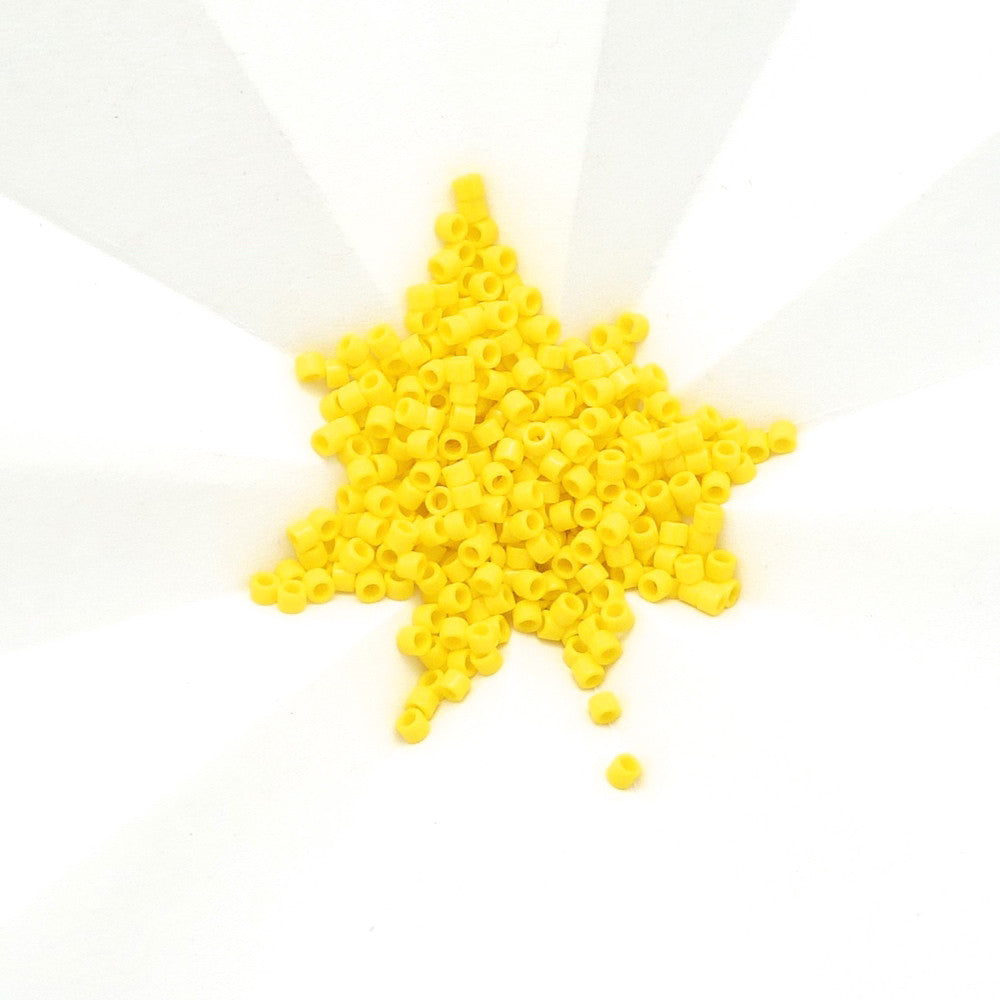
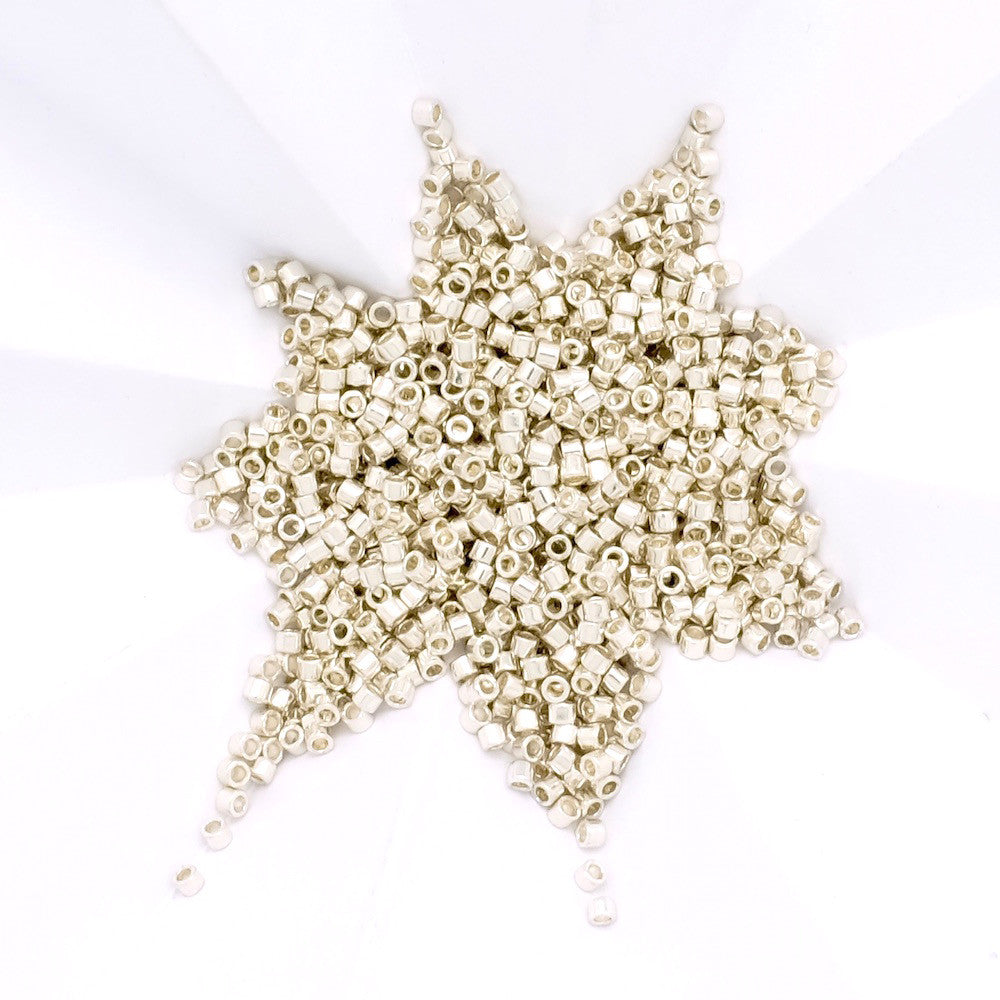
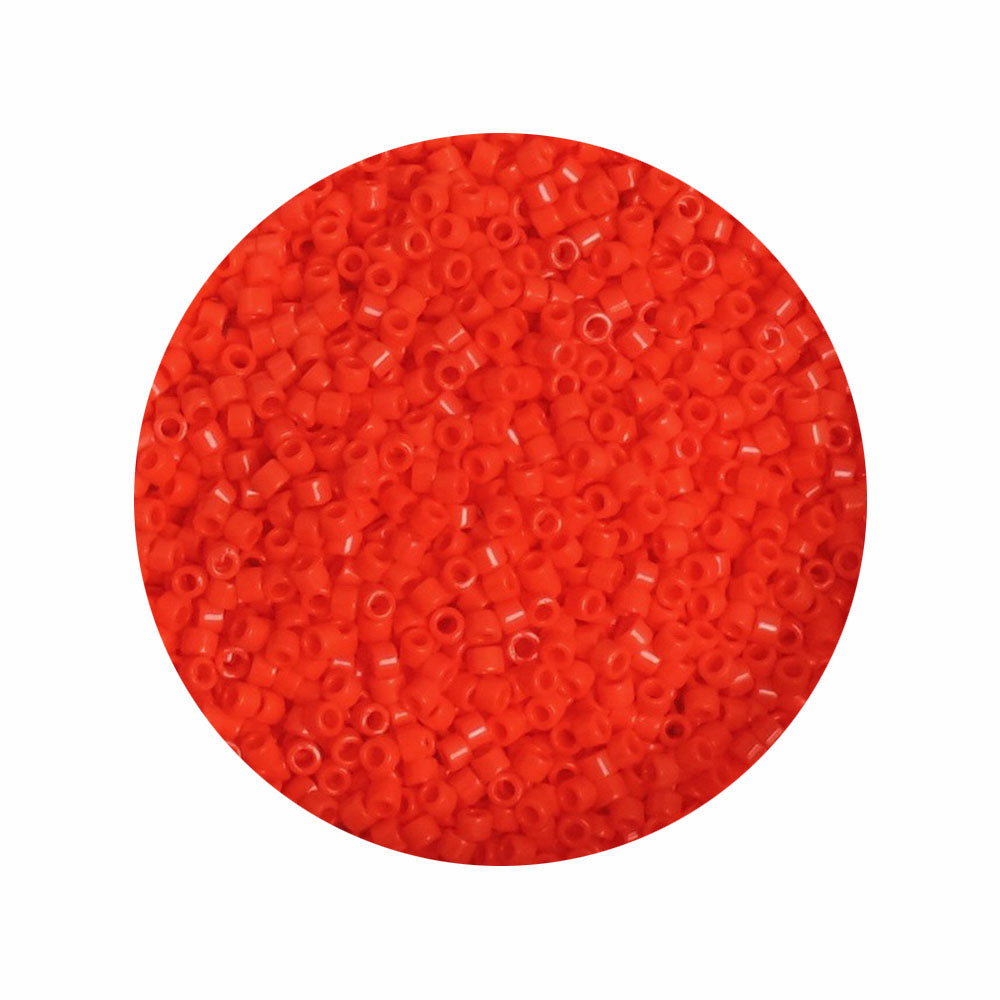
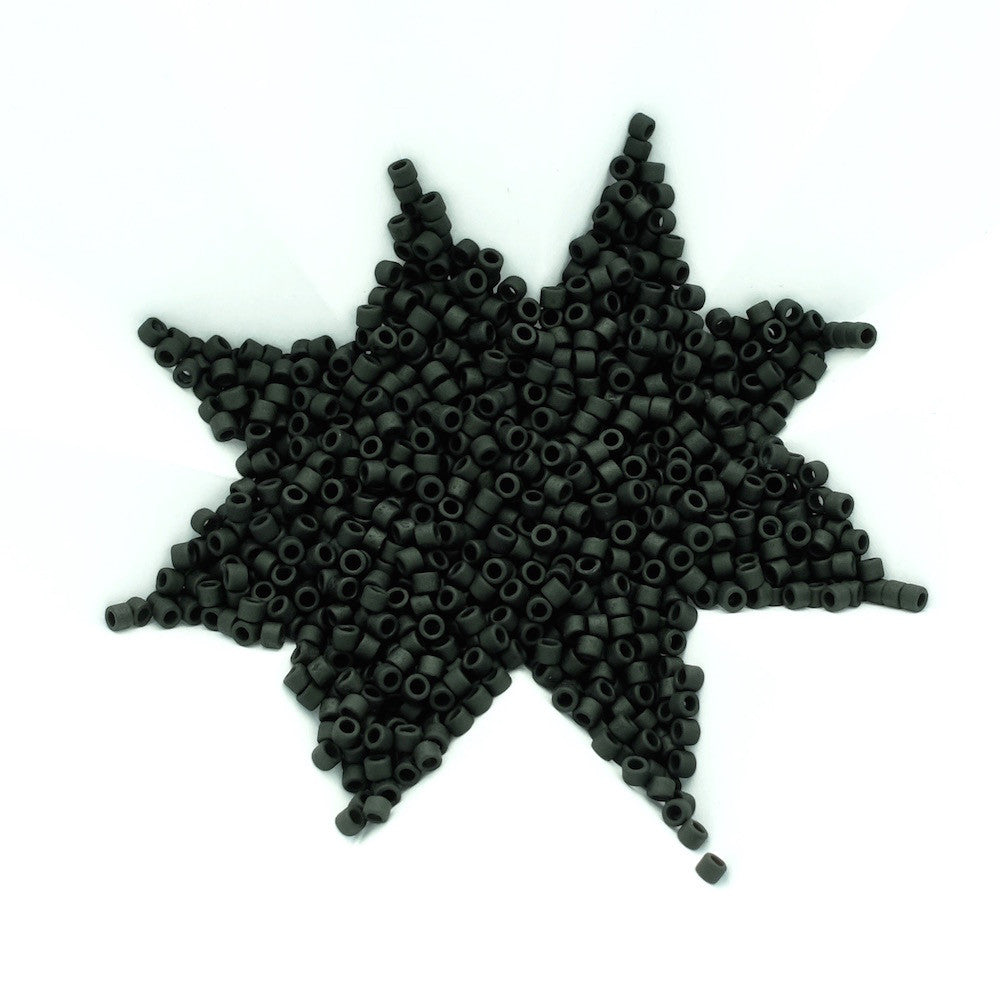
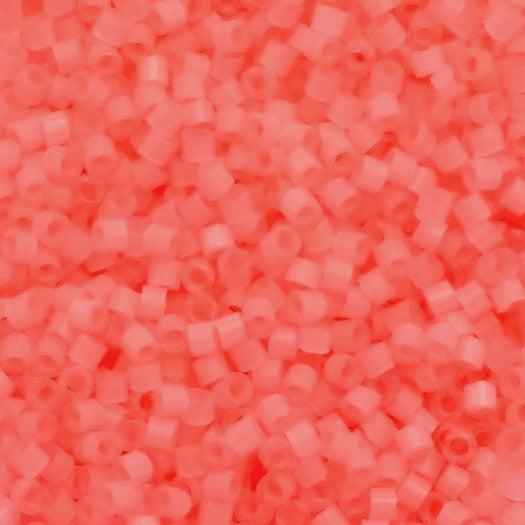
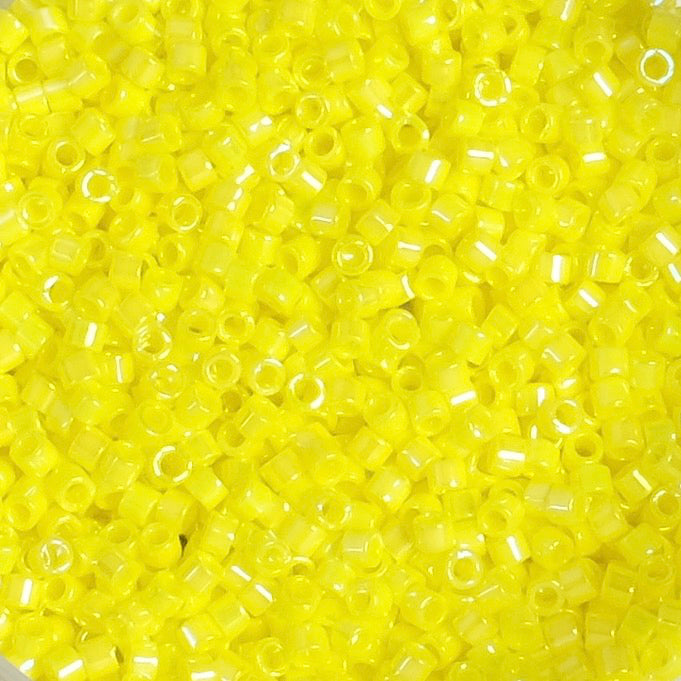
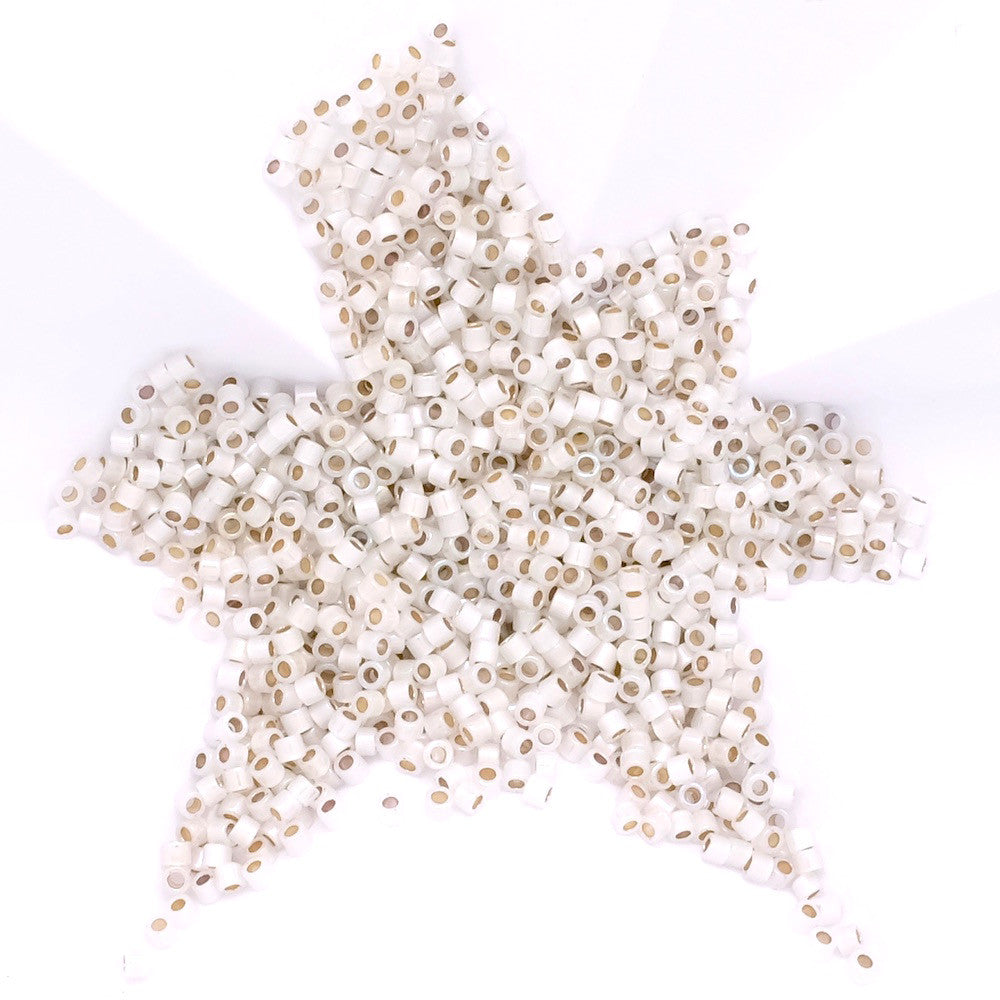
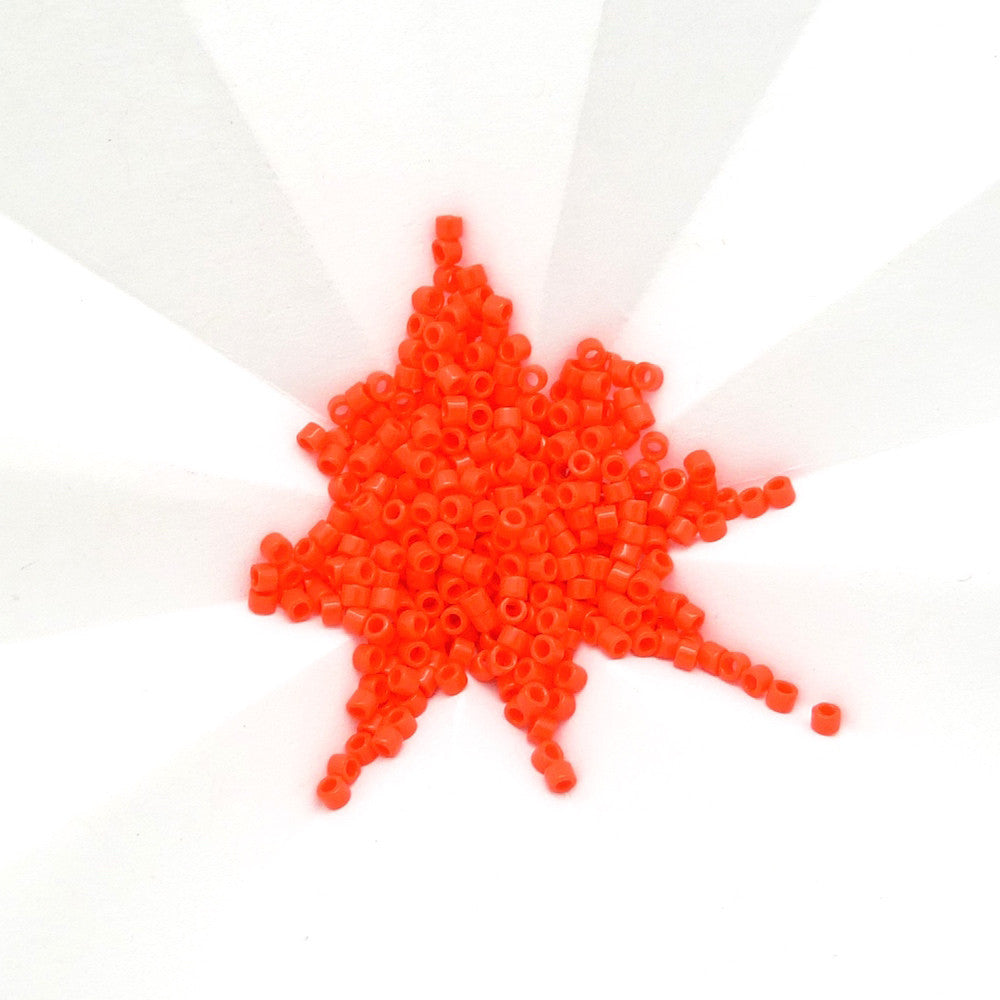
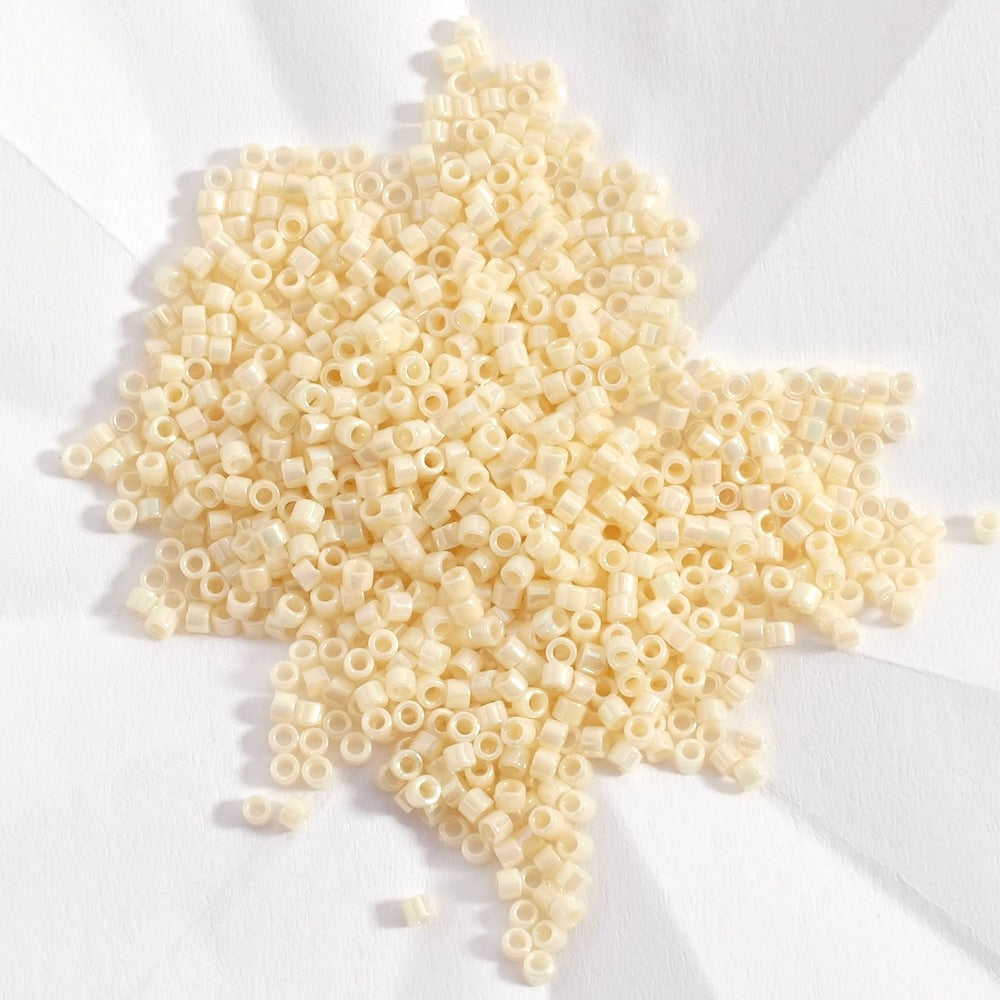
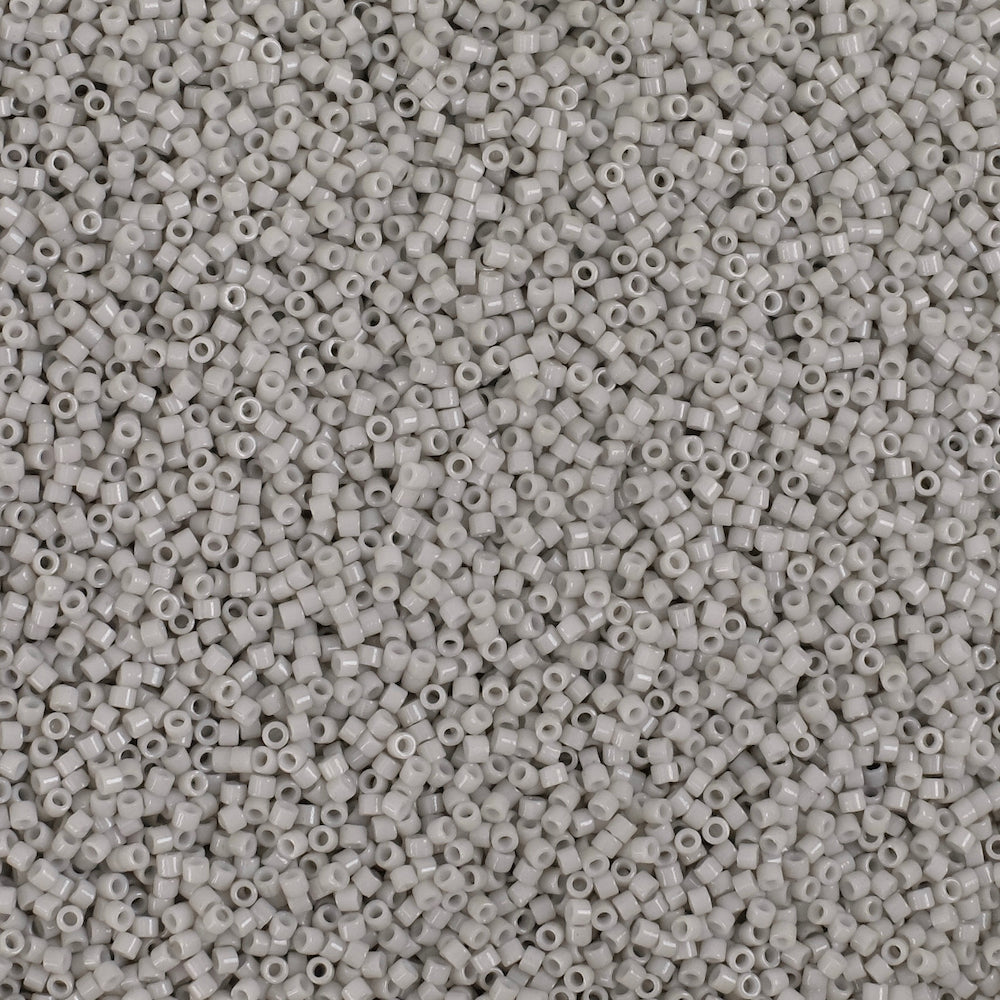
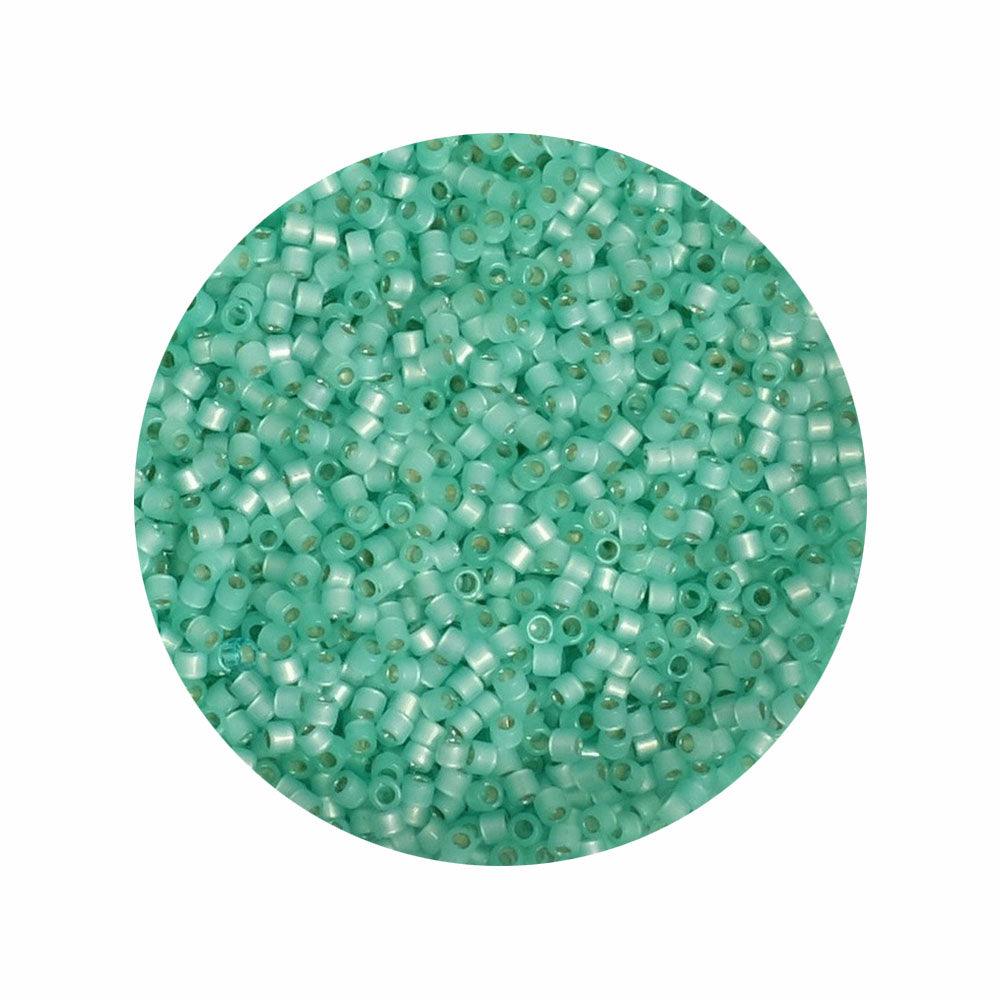
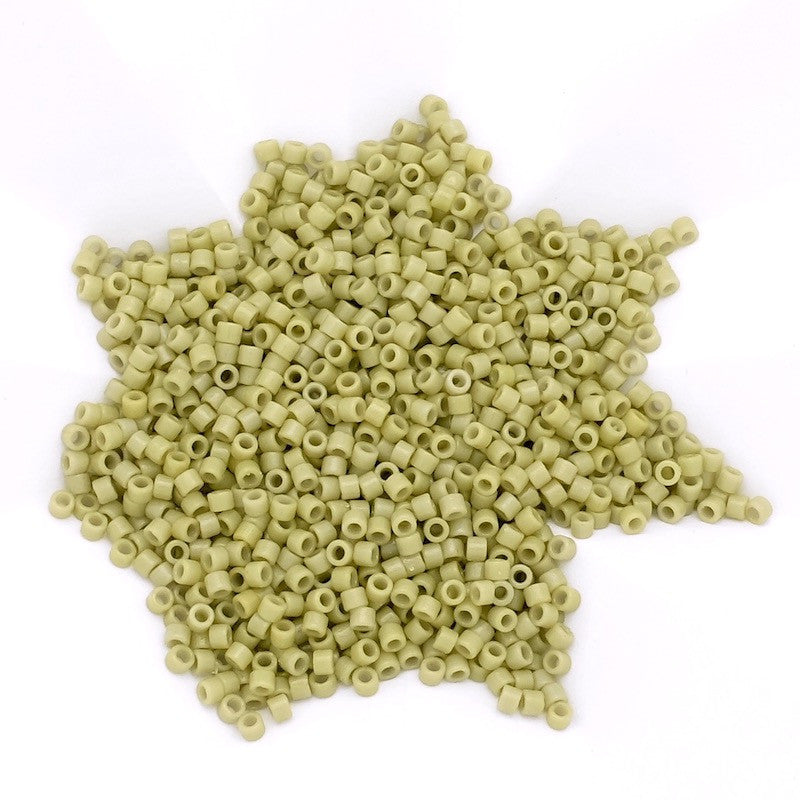
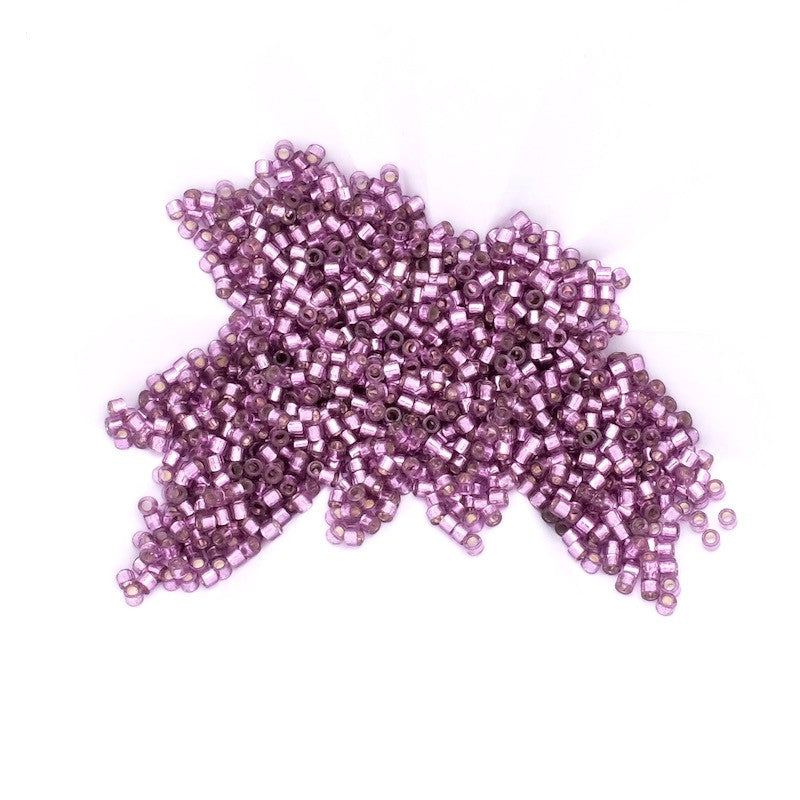
This creation is not very complicated to make, just follow the explanations below to reproduce this model faithfully. Our video below shows you the essential steps. Here I use the Brick Stitch weaving technique for the first row of beads. To begin, fit 26 gold Miyuki Délica beads around the edge of the closed ring. Then close the weave by ironing through the first bead in the row, then the last. Iron through the first and then the second bead. This will allow the beads to tighten and your thread to lock in place before starting the rest of the assembly. Now make the beads petals. To make it easier to understand, I'm going to give a number to the beads in the row you made earlier, with N°1 being the bead from which the thread emerges. Thread an olive Bohemian pearl and a coloured Miyuki Délica through the Bohemian pearl and then through the N°2 pearl. The Miyuki bead will block the Bohemian bead. Pull the thread tight to tighten the bead around the edge. Now move on to pearl N°3. Put on a Bohemian pearl and a Miyuki pearl, go back into the Bohemian pearl and then into pearl N°4. Move on to bead N°5. Continue in this way to position the 13 "petal" beads. Make the coloured border. To do this, work your way up a pearl petal and back through the Miyuki pearl at the top of the Bohemian pearl. This positions you for the border. String 8 coloured Miyuki Délica beads, then thread through the bead at the end of the next bohemian bead. Continue in this way until you have completed the entire border. To consolidate the assembly, iron the first beads of the border. To assemble the earring holder, pass through the hole in the holder and then through the bead underneath. Repeat the pass once to consolidate the assembly. To finish, go back down to the first row of beads and go back through a few beads.  Your jewellery is finished! Beautiful creation! |
||||
 |


To be reserved alone or with friends!

Join Perles Corner to discover our new products, exclusive tutorials, and many other surprises... and receive your voucher by email!


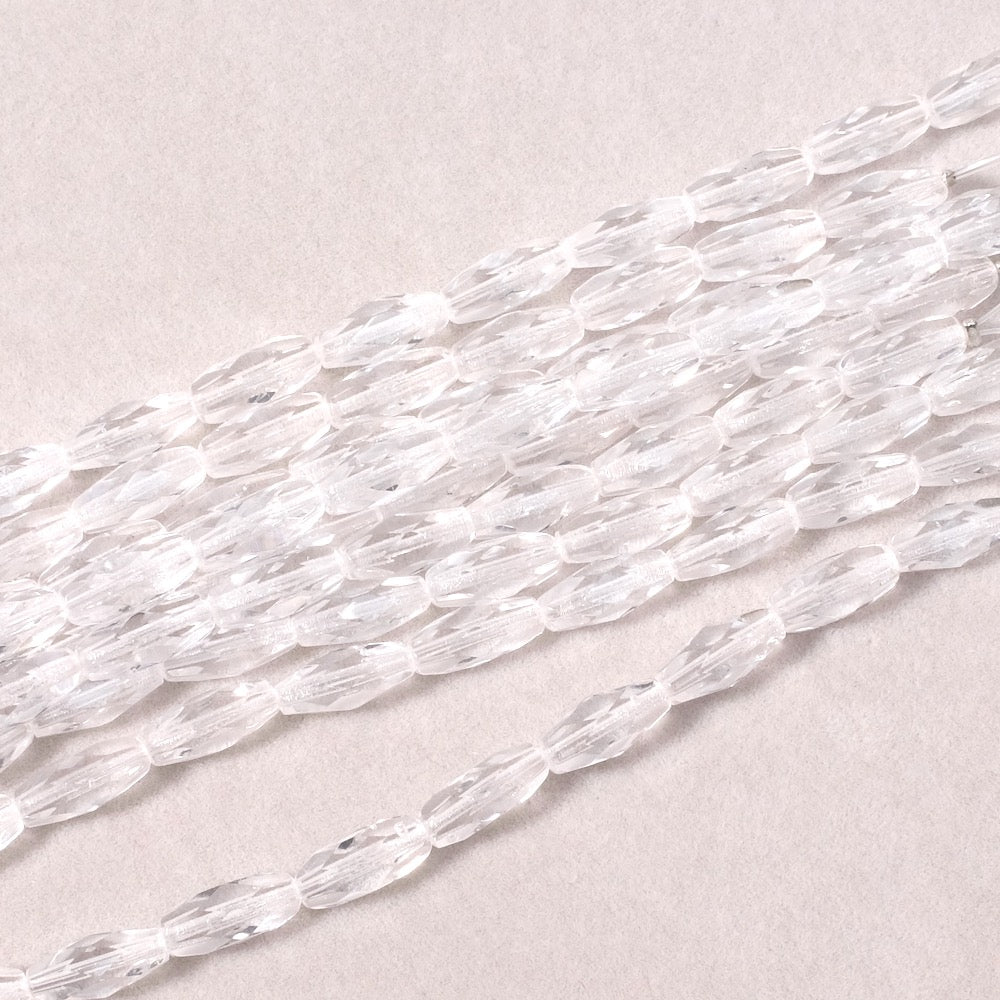
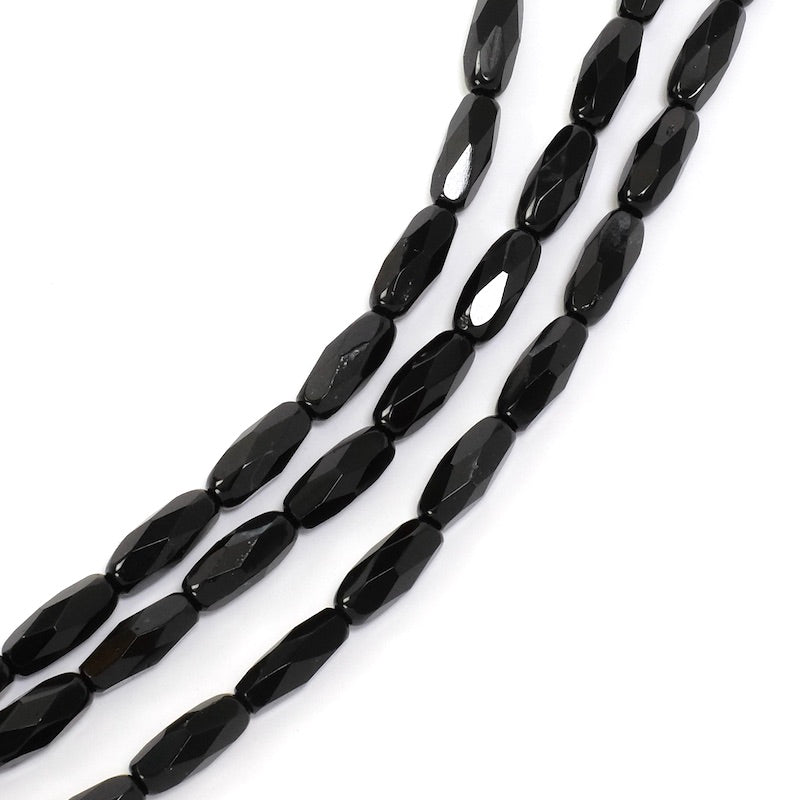
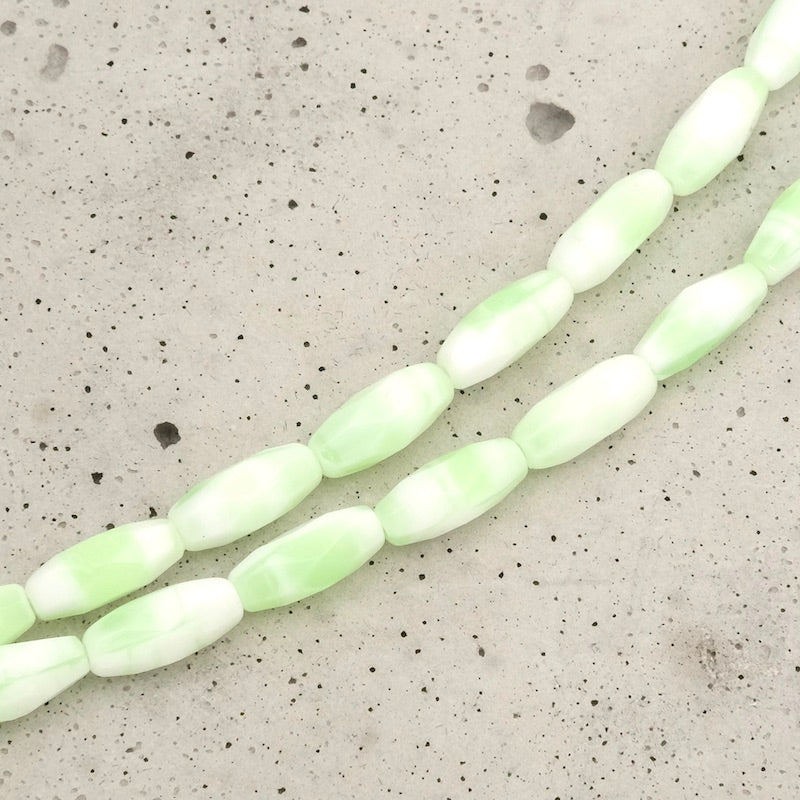
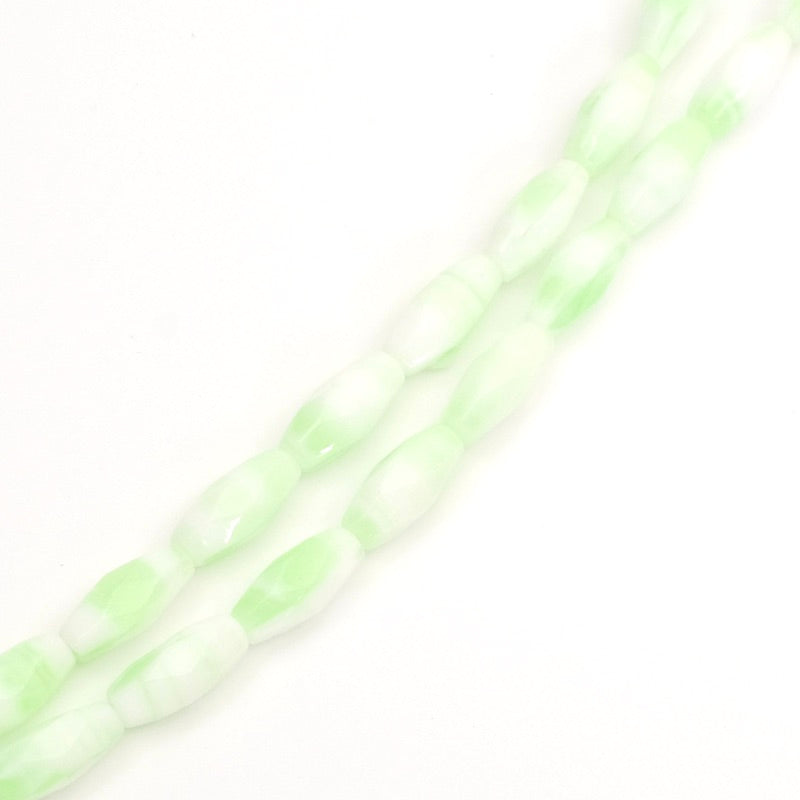
 26 bohemian olive beads
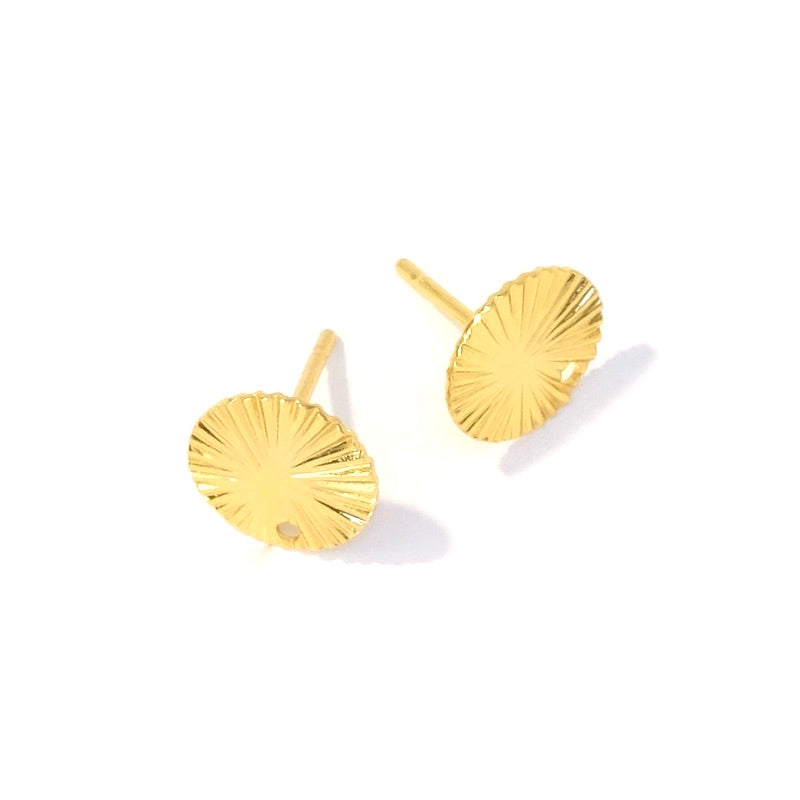
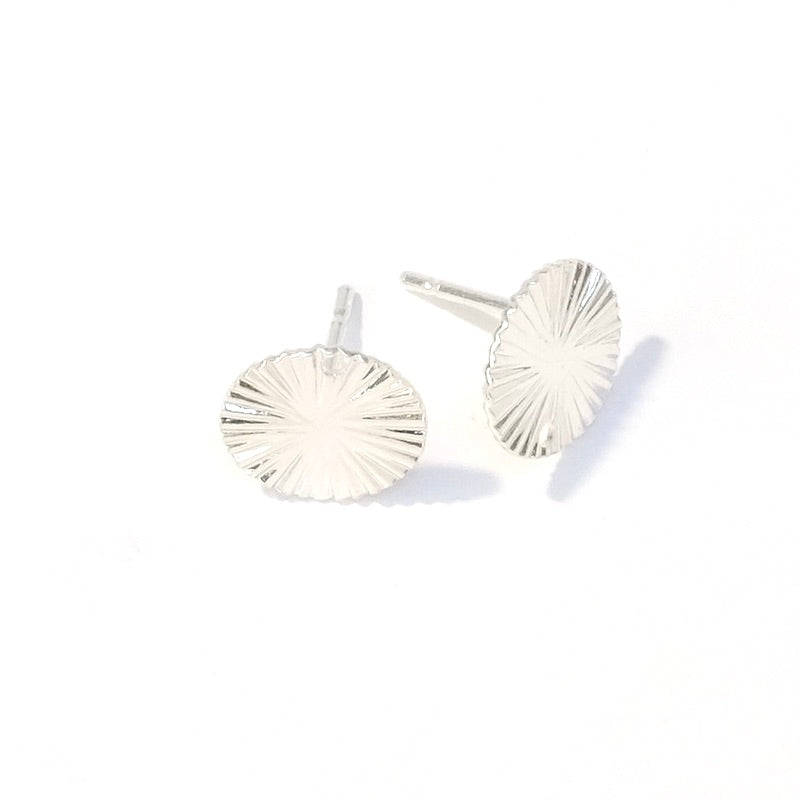
  a pair of earrings Gilded with 24K fine gold