|
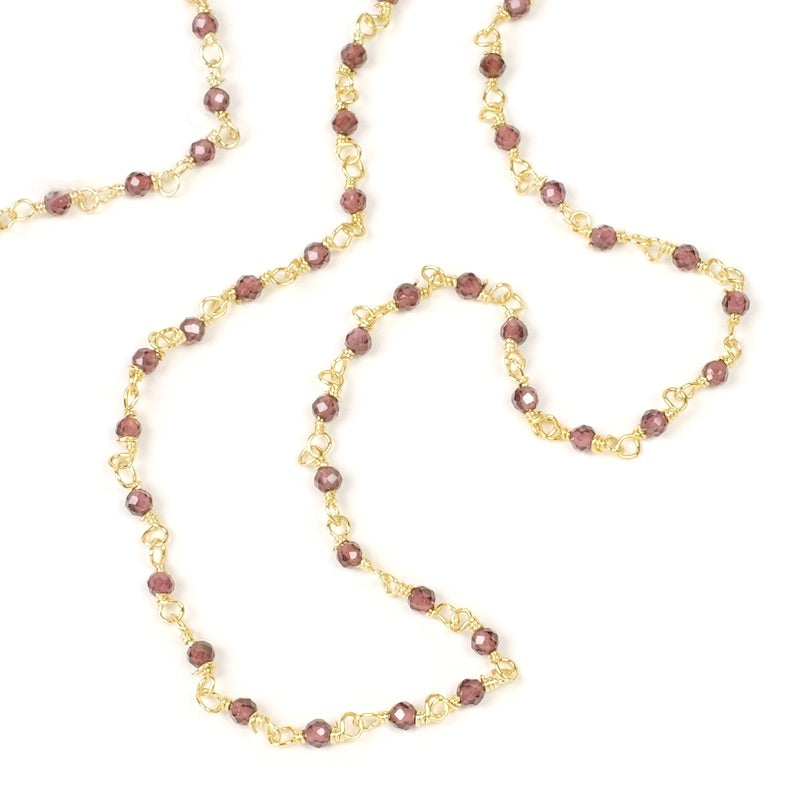
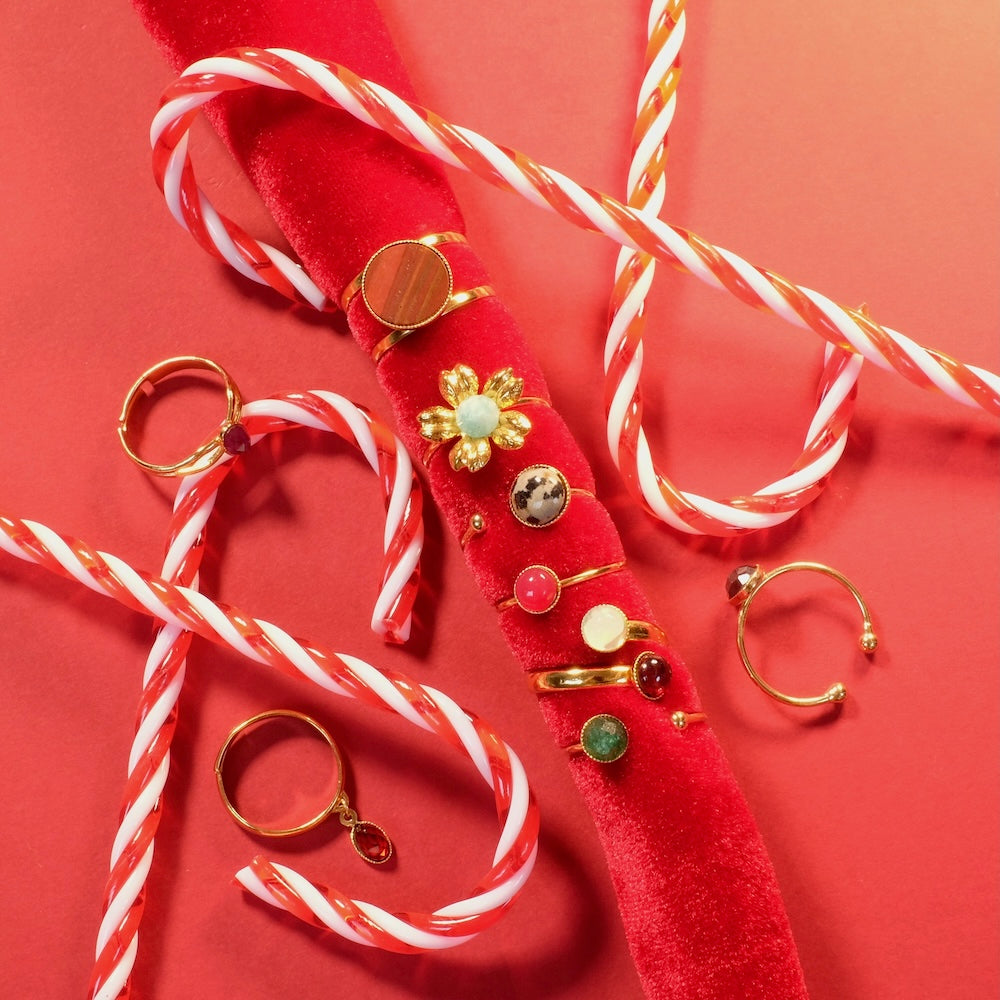
Let yourself be inspired by our three multi-row bracelets designed as a game ofmatching natural stones. Three trendy combinations that play on colour and shape combinations with several rows of mix & match. Selected gems, meticulous finishing, a feminine look that catches the light - for wrists that tell a story.
|
|---|
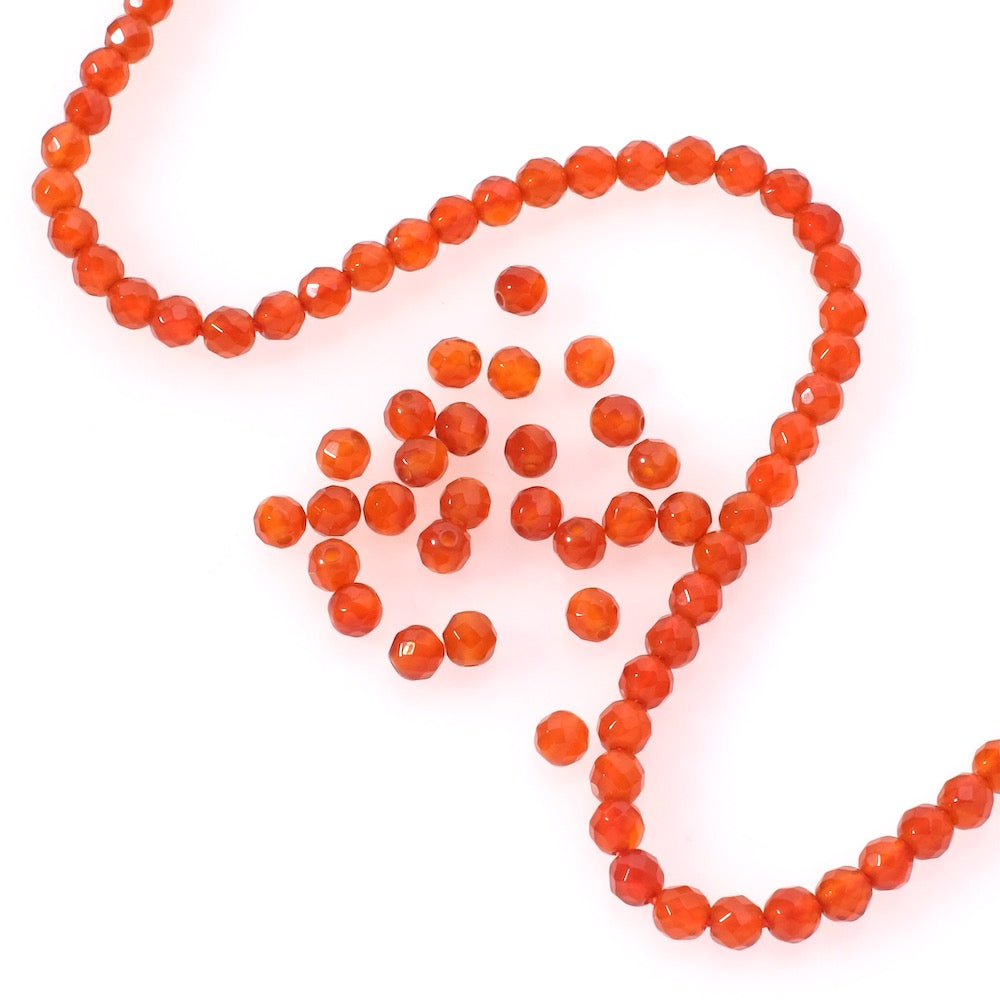
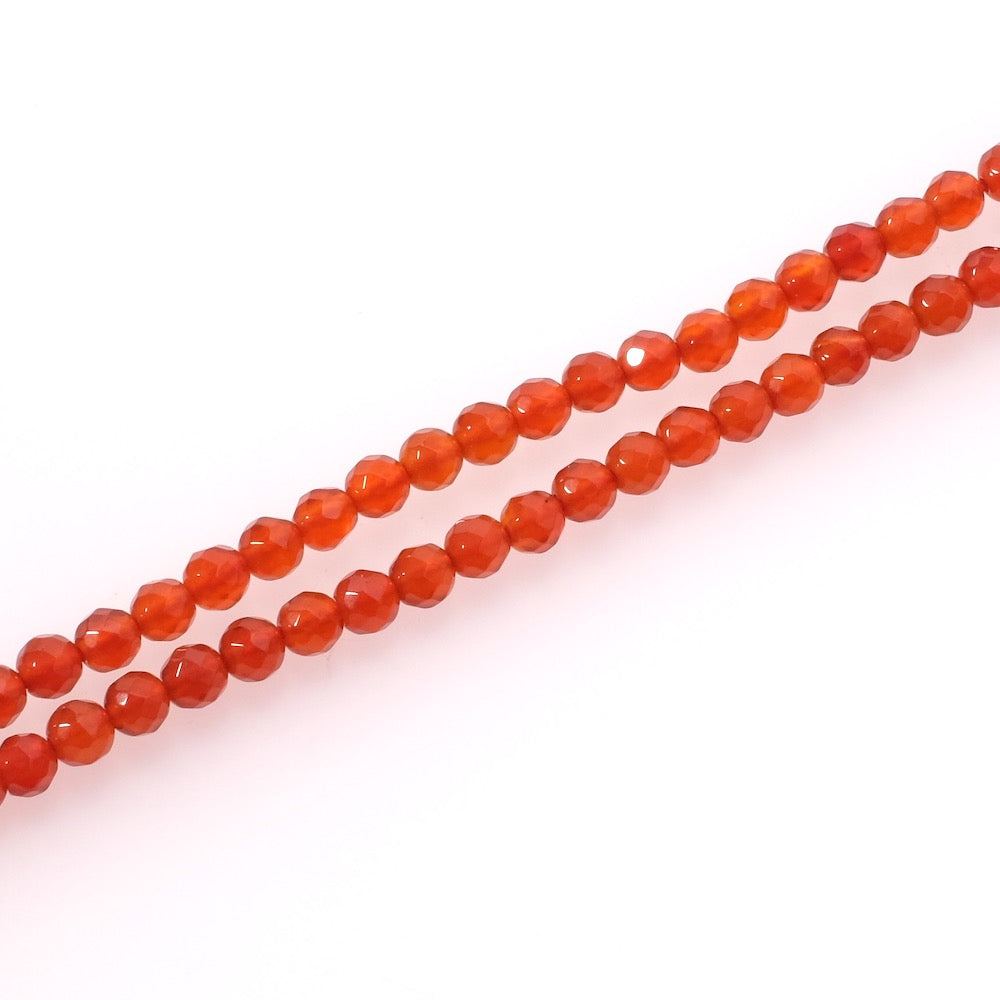
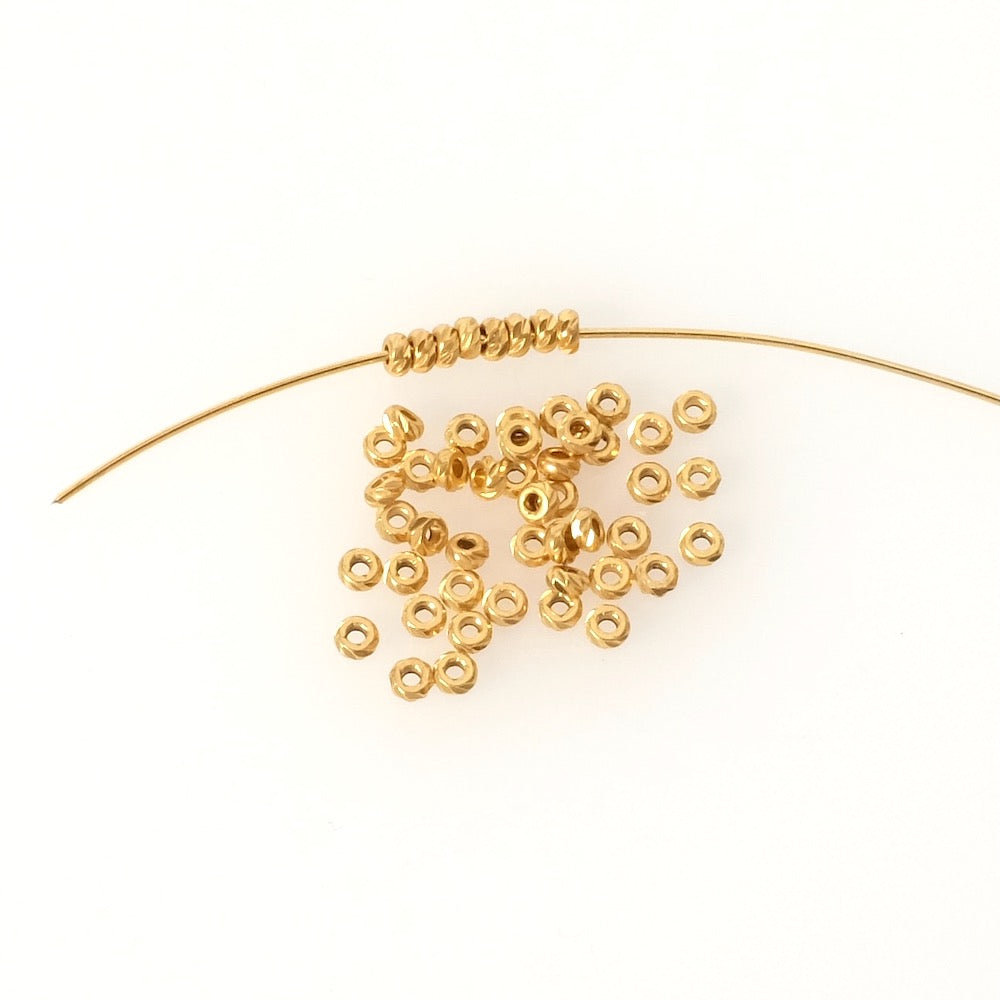
| You will need : | ||||
|
|
||||
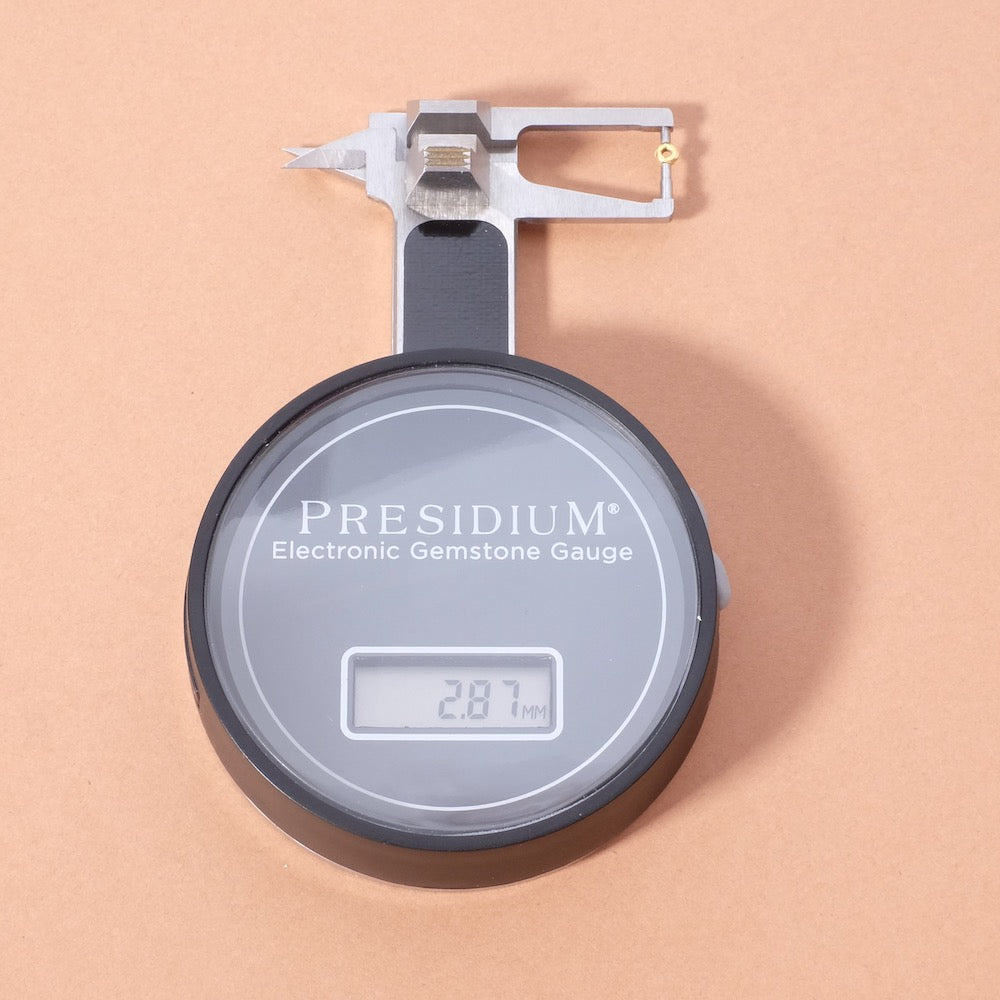
| Tools to be used : | ||||
|
|
||||
|
|
||||
|
Assembly: |
||||
|
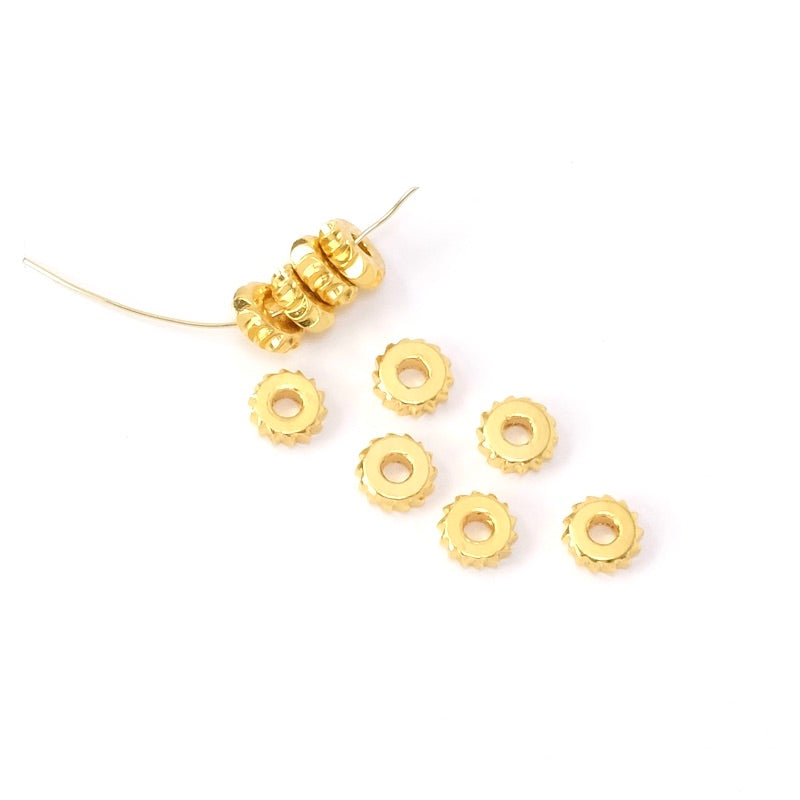
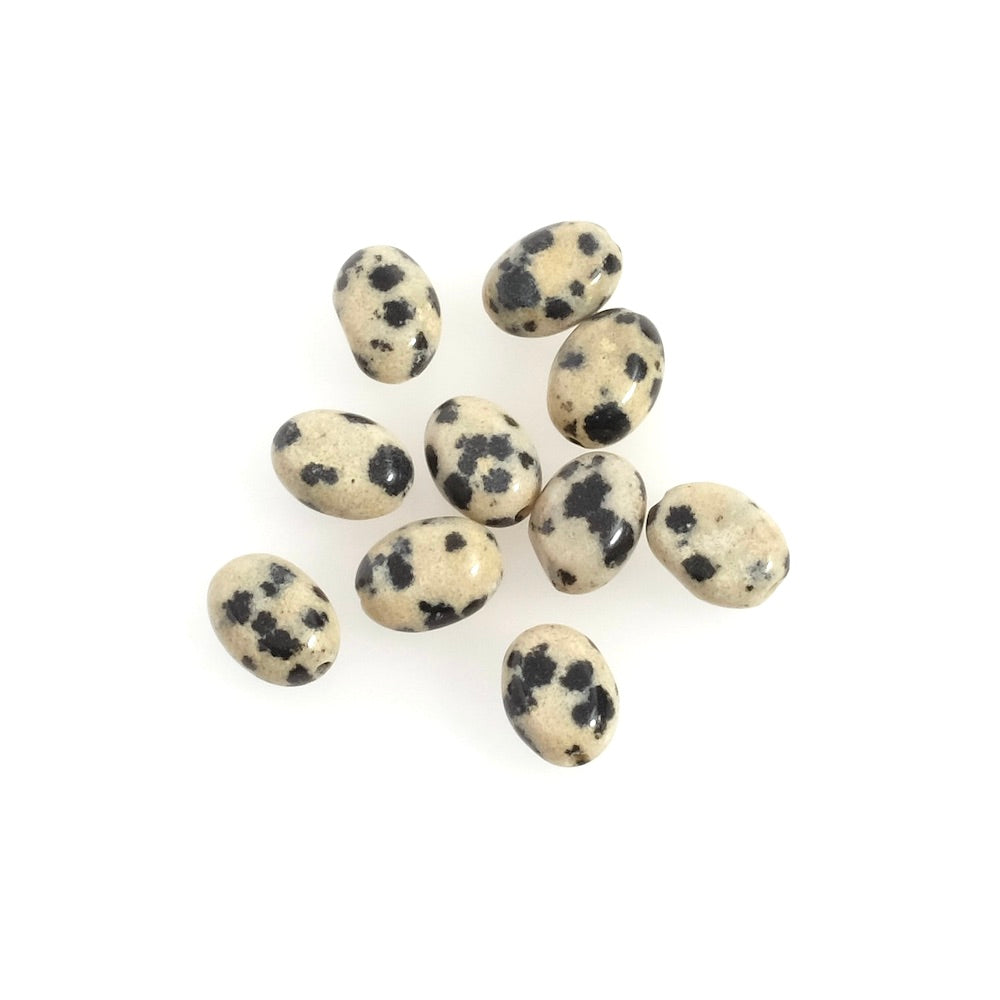
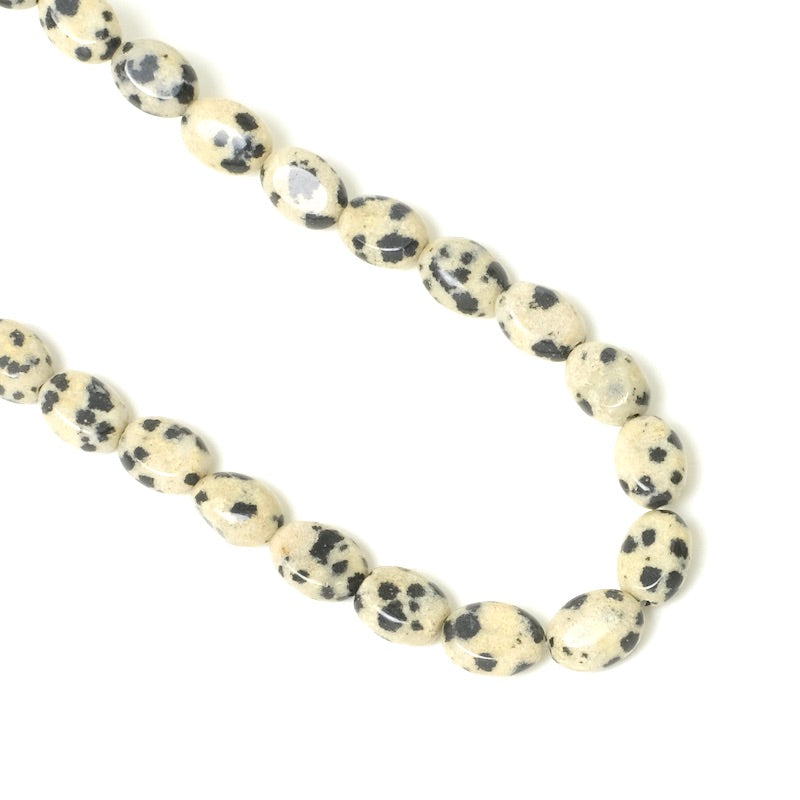
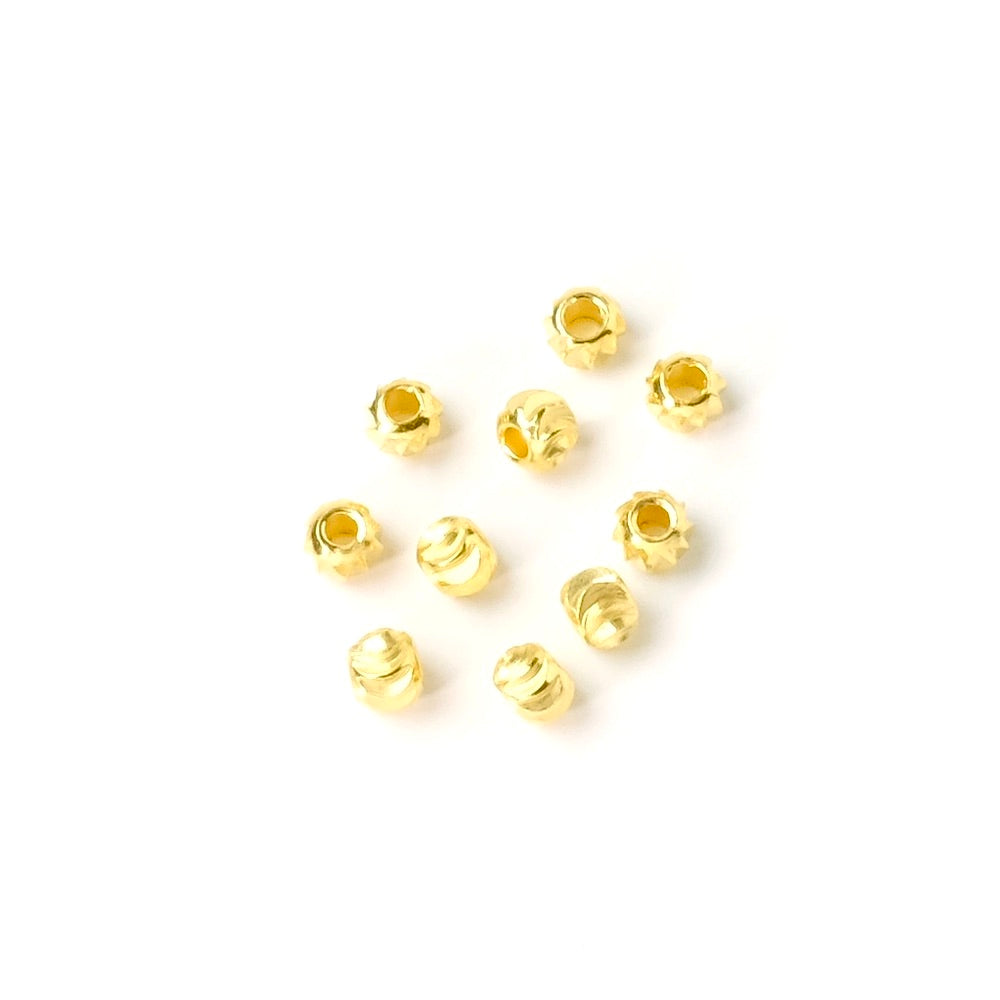
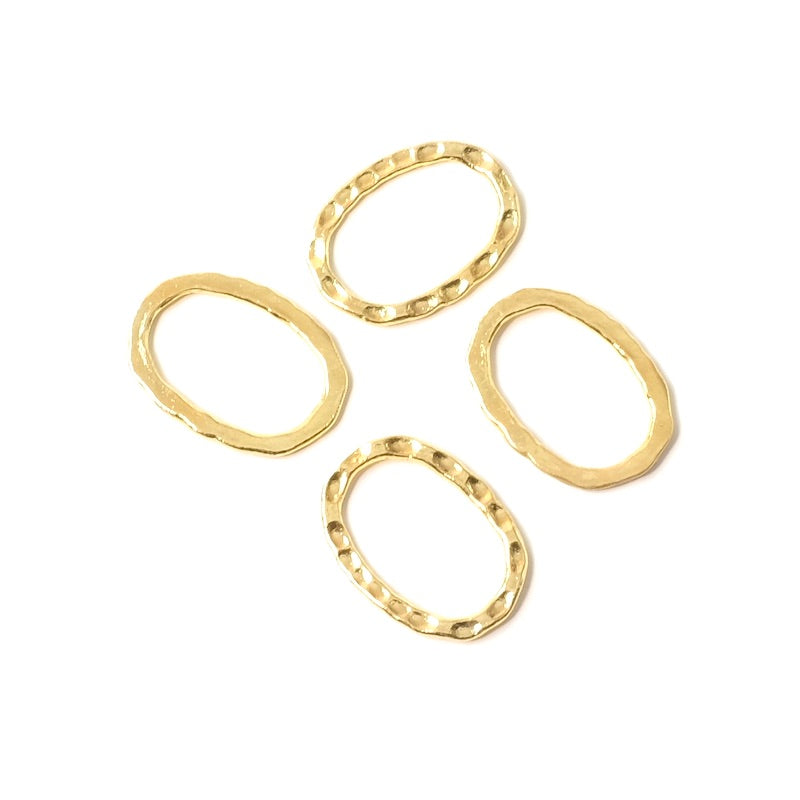
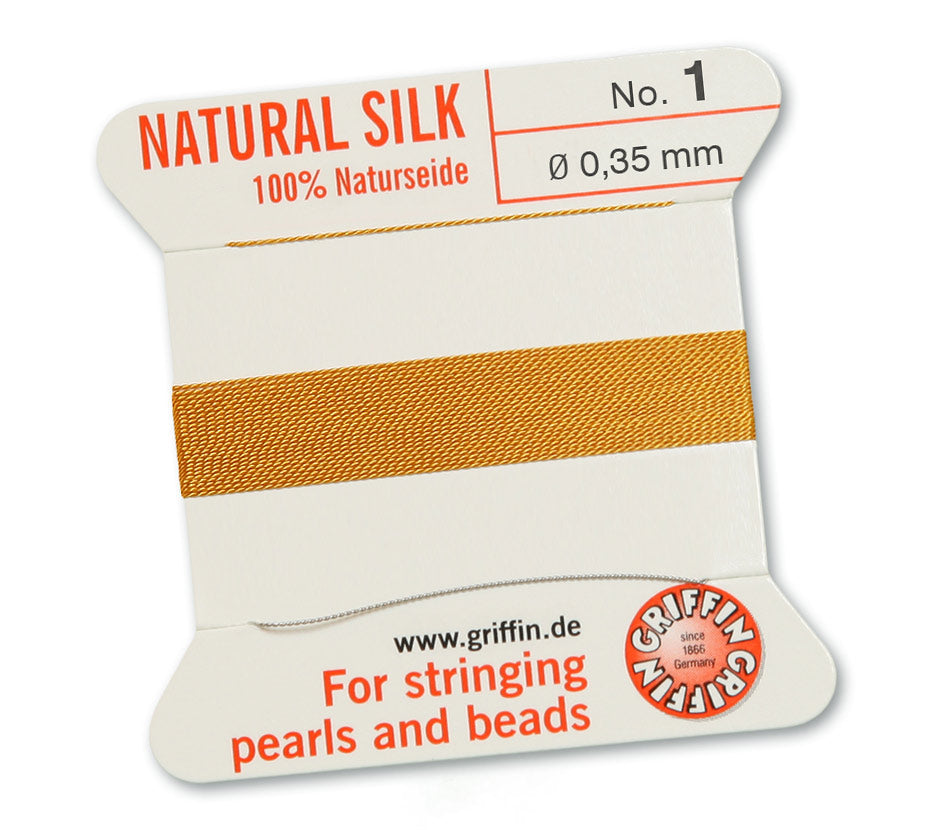
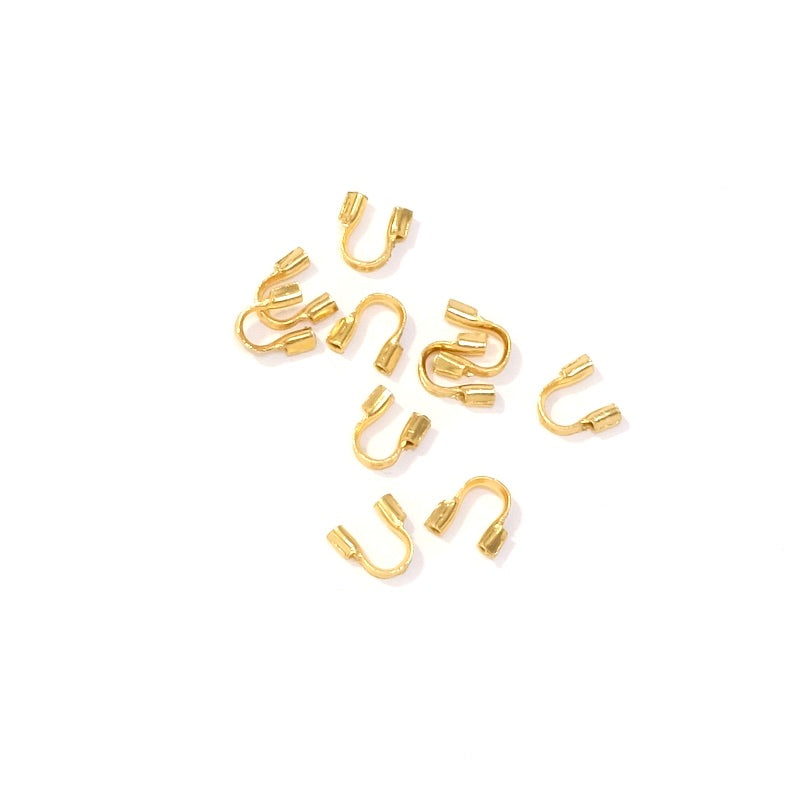
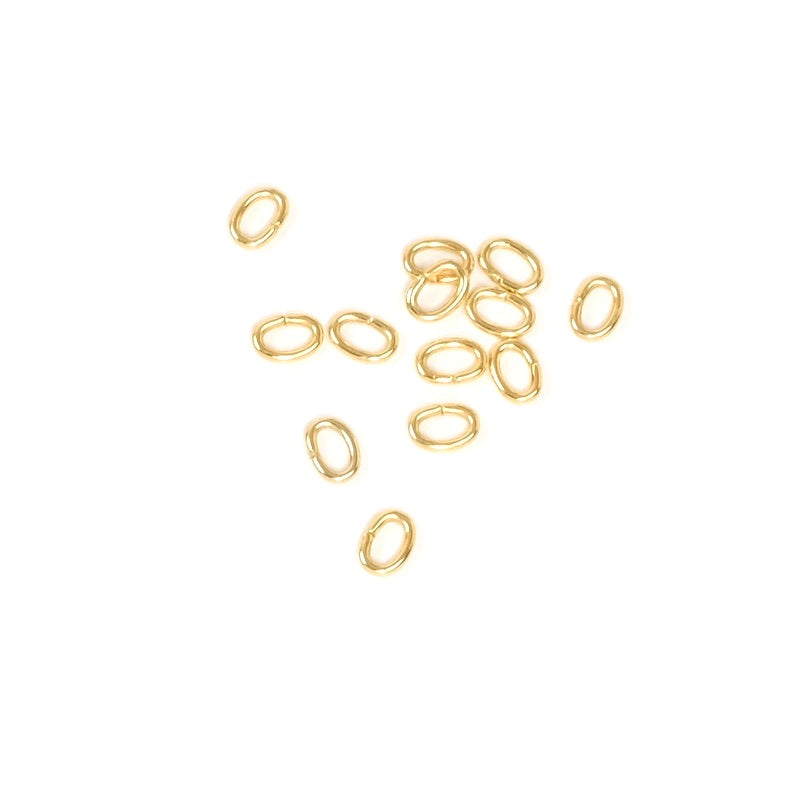
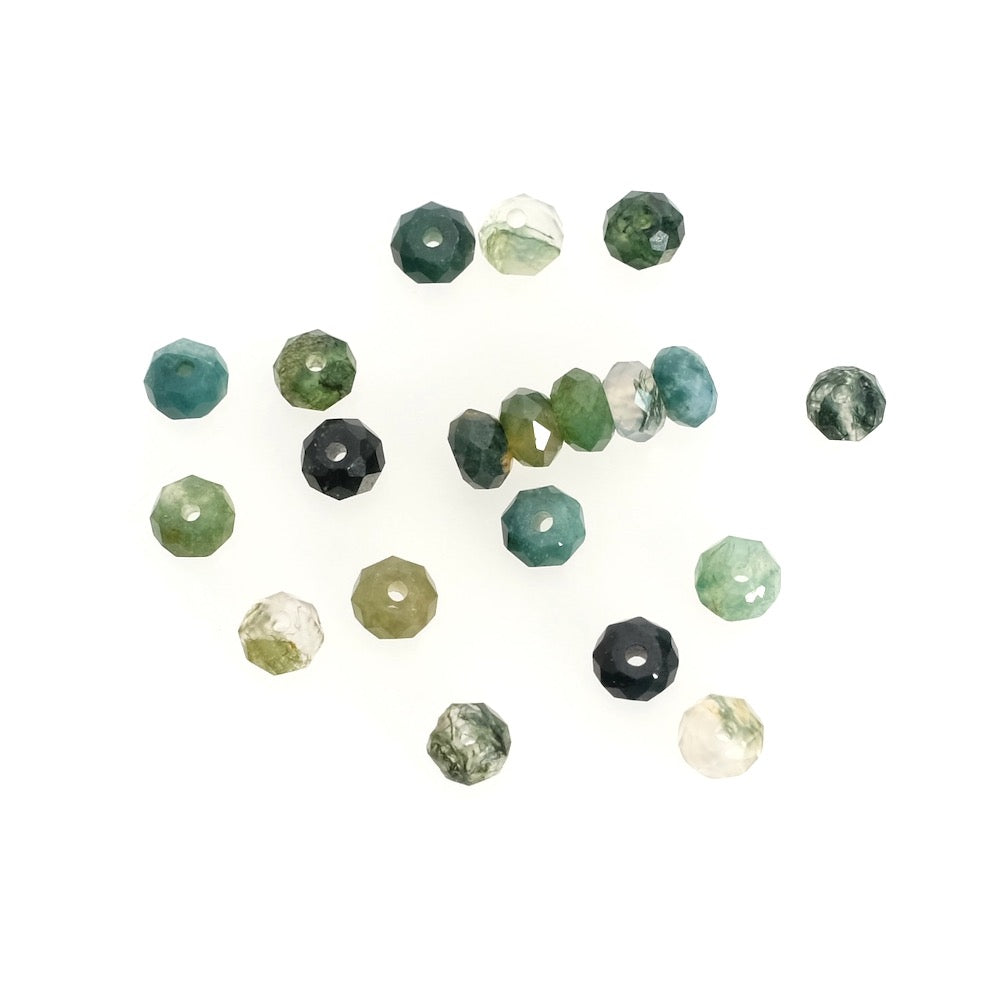
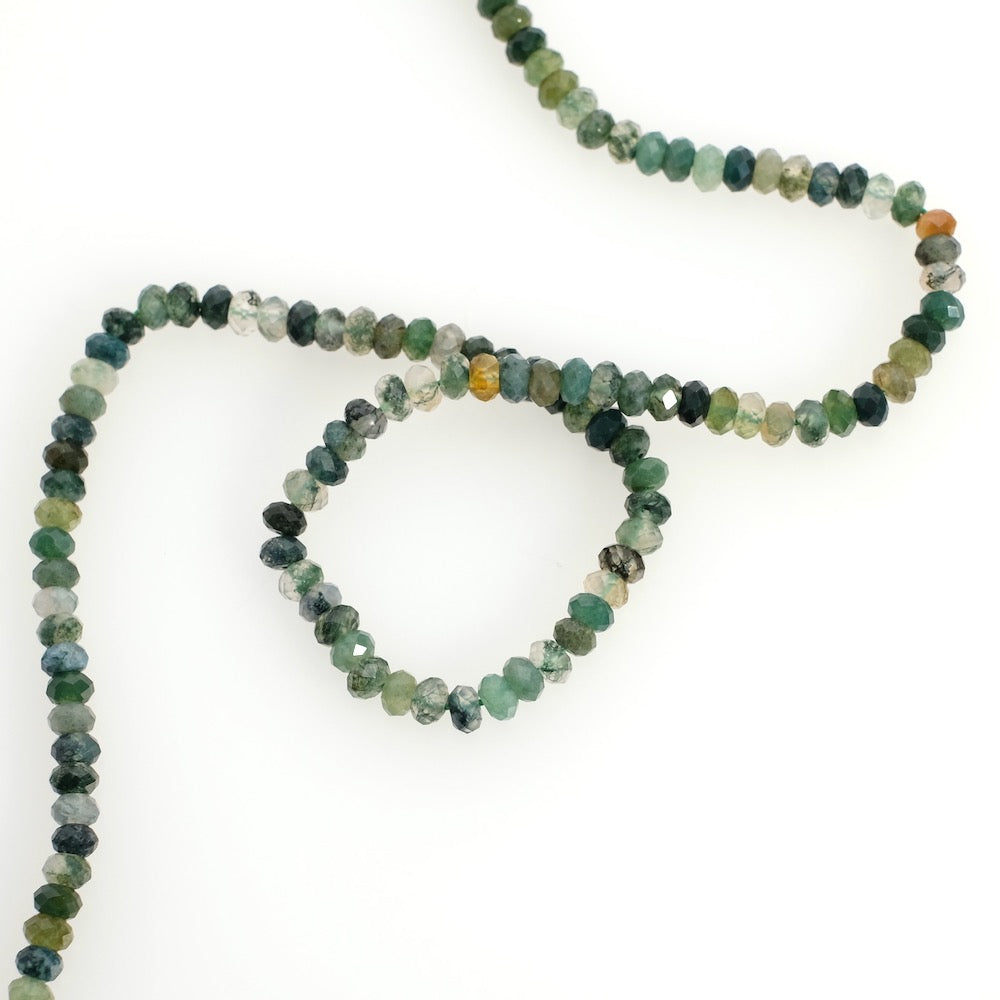
To begin, select the natural stone beads and create a pretty combination of shapes, sizes and shades. Lay them out in a row so you can see how they look. Thread a metal bead, then the thread protector to be crushed, and iron through the metal bead. Bring the elements back to the end of the silk thread. Using flat-nose pliers, flatten the legs of the thread protector one by one. This will block your thread "like a pearl to be crushed". Thread an oval link through the thread protector, then tie a double knot with the thread at the edge of the thread protector. Now start stringing the beads. During assembly, I advise you to measure your stringing so that you can see which bead will be placed in the centre and how many beads you need to place. Don't forget to measure the clasp and oval rings.
Once all your beads are mounted, thread a metal bead and the thread protector. Bring them back to the row of beads. Before flattening the thread protector, place the assembly smoothly to avoid creating tension between the beads. Crush the flaps of the thread protector to lock the assembly in place, then thread the second oval ring through the thread protector. Tie a double knot at the edge of the thread protector, then start again with a few beads. Trim off any excess threads.
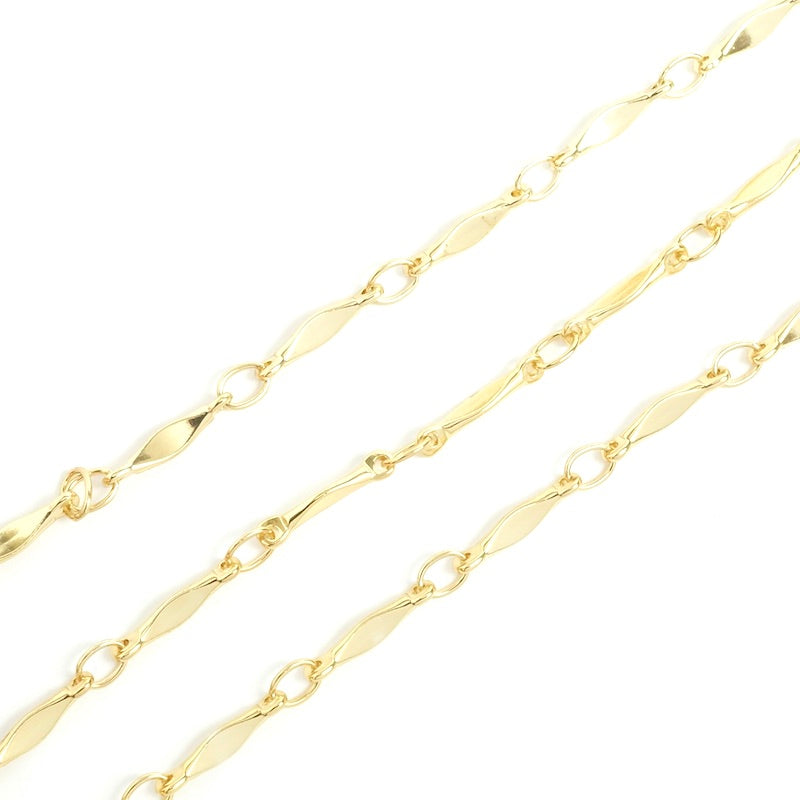
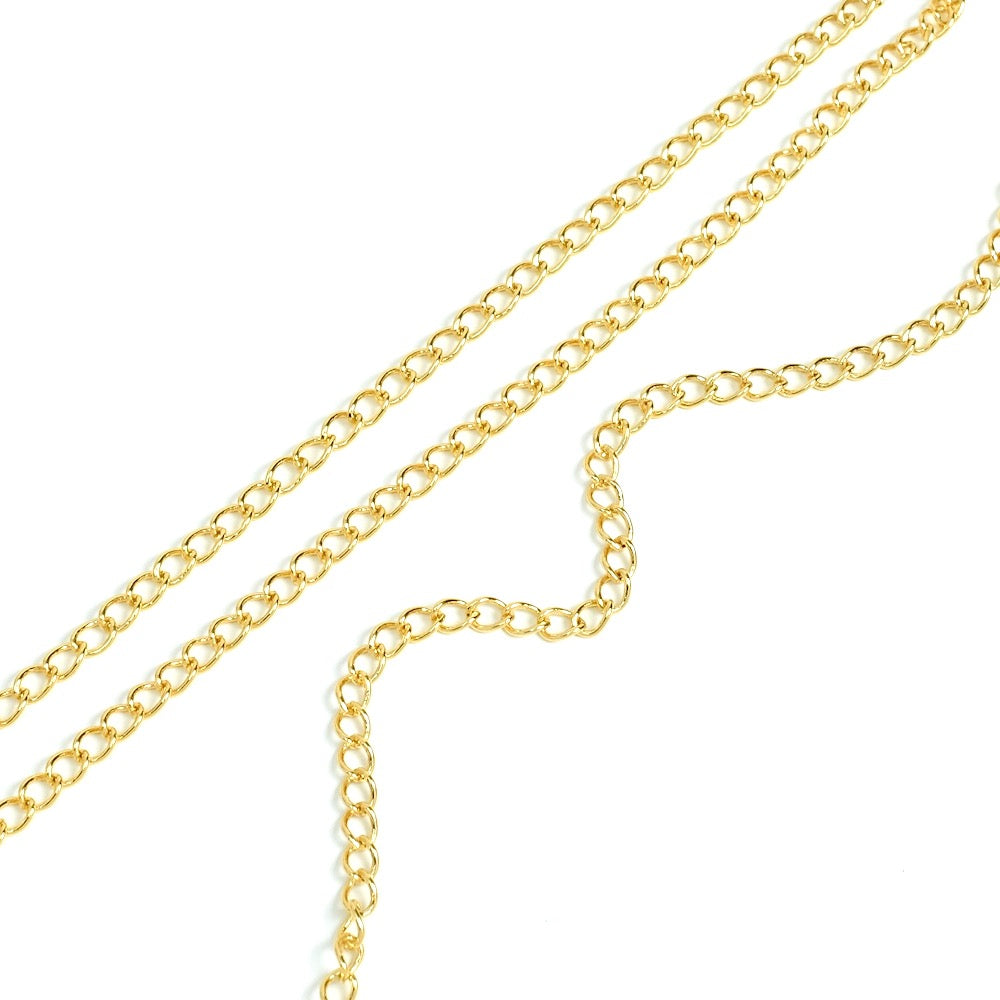
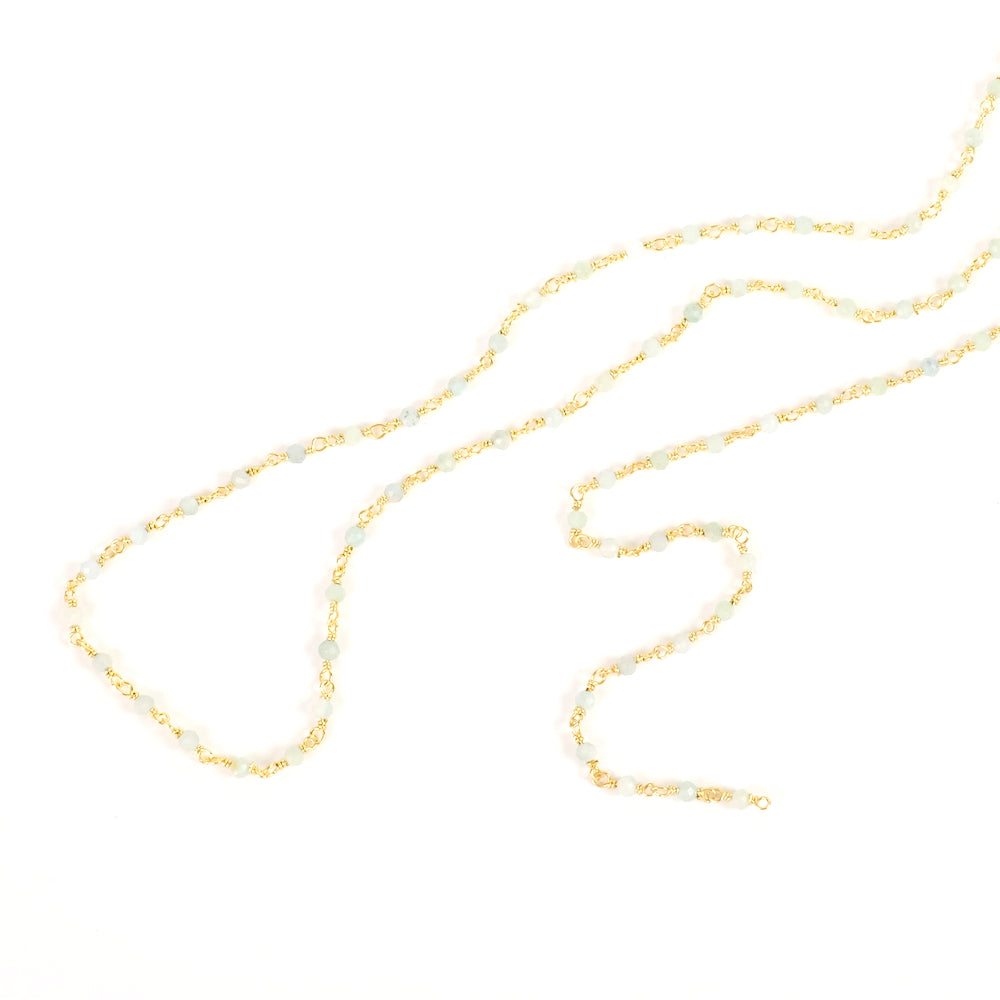
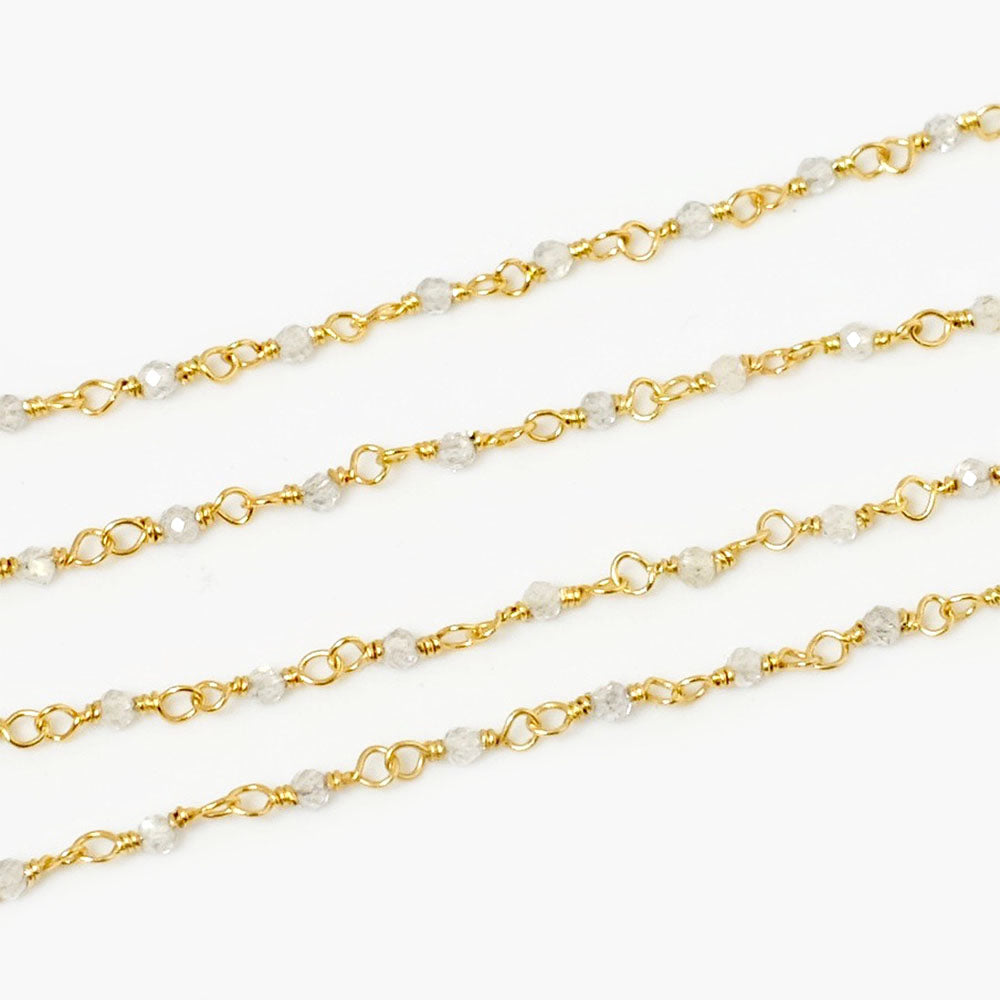
Cut 2 other chains the same length as your bead stringing. Be careful, if the measurement does not fall perfectly at the level of a link to be cut, shift the cut to the longest link. It is better to use a slightly longer chain to avoid creating tension in the bracelet.
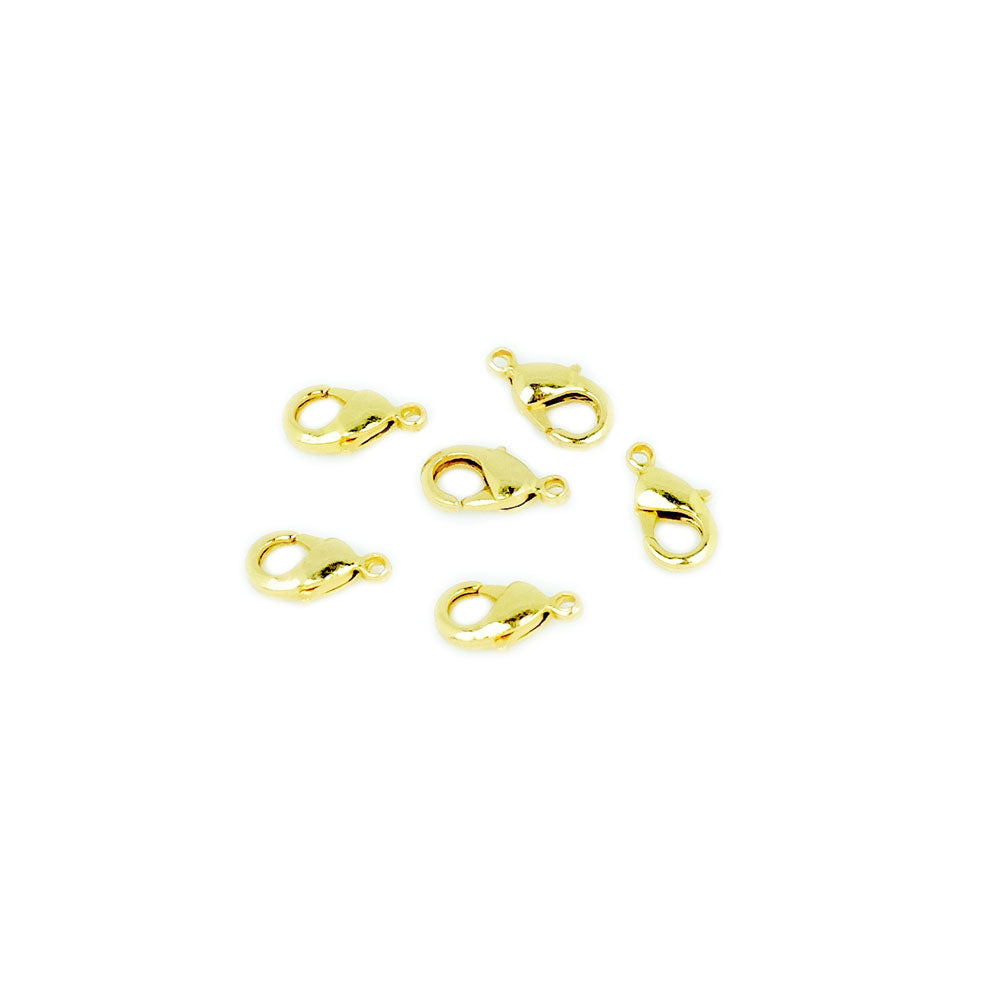
Assemble the chains on the oval rings with 4x3mm rings, paying close attention to the direction and order of the chains. They must be aligned without crossing. Finish by fitting the clasp and about 3cm of extension chain with 4x3mm rings.
Feel free to create several variations, playing with warm and cool colours and shapes...
Your jewellery is finished! Beautiful creation! |
||||
 |
||||
 |
||||


To be reserved alone or with friends!

Join Perles Corner to discover our new products, exclusive tutorials, and many other surprises... and receive your voucher by email!


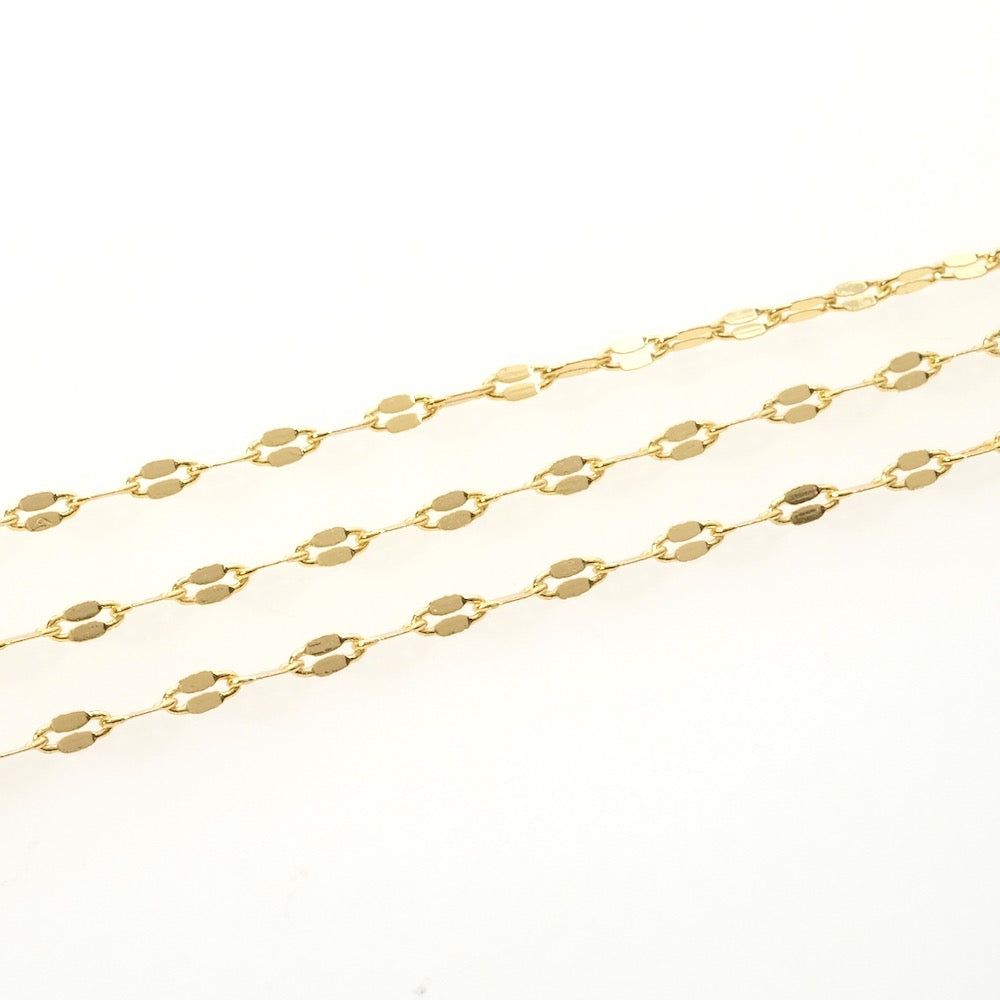
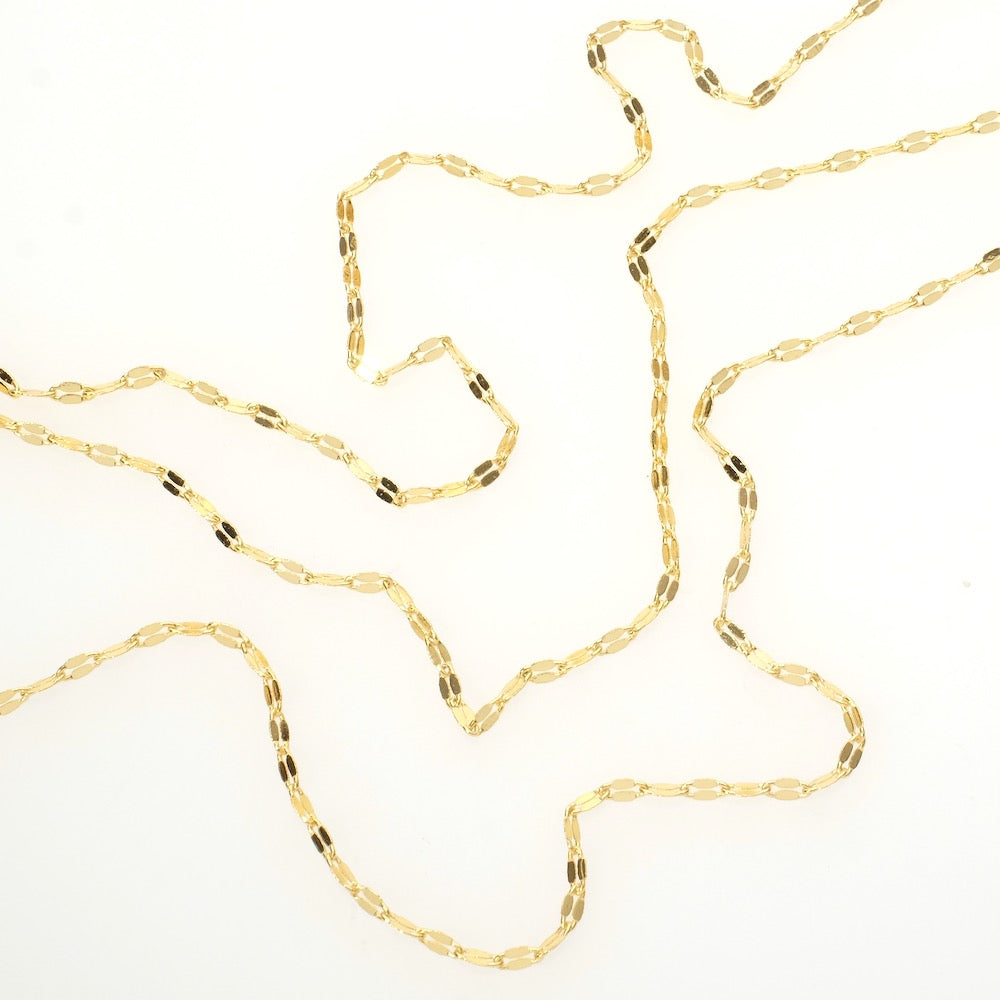
 Fancy chain and rosary in a choice of 24K fine golds